rieferman
Well-known member
Re: garage refurb
Nice, go go go.. You're a machine! Keep up the good work
Nice, go go go.. You're a machine! Keep up the good work

I like the look of the old doors myself. I know they are poor for heating but look cool!


Hell NO! We're just getting to the good parts.
Party on NUTTSGT!
Am I boring everybody ?
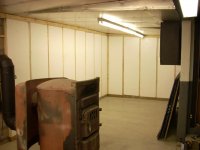
How tall are your ceilings? And once you get a fire going in the woodstove, how long before it's comfortable in there? Sorry for all the questions!!
I saw the latex based stuff but I was going over a dark gray that is already oil based. I figured the oil based would cover better. I believe it was also a few bucks cheaper for the 5 gallon bucket too.By the way, Kilz makes an indoor primer that doesn't stink half as bad as the oil based primer, and works just as well.
Lookin good man. How was the coverage w 2 coats? Just wondered bc I'm getting ready to do my garage addition.
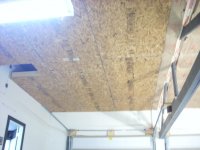
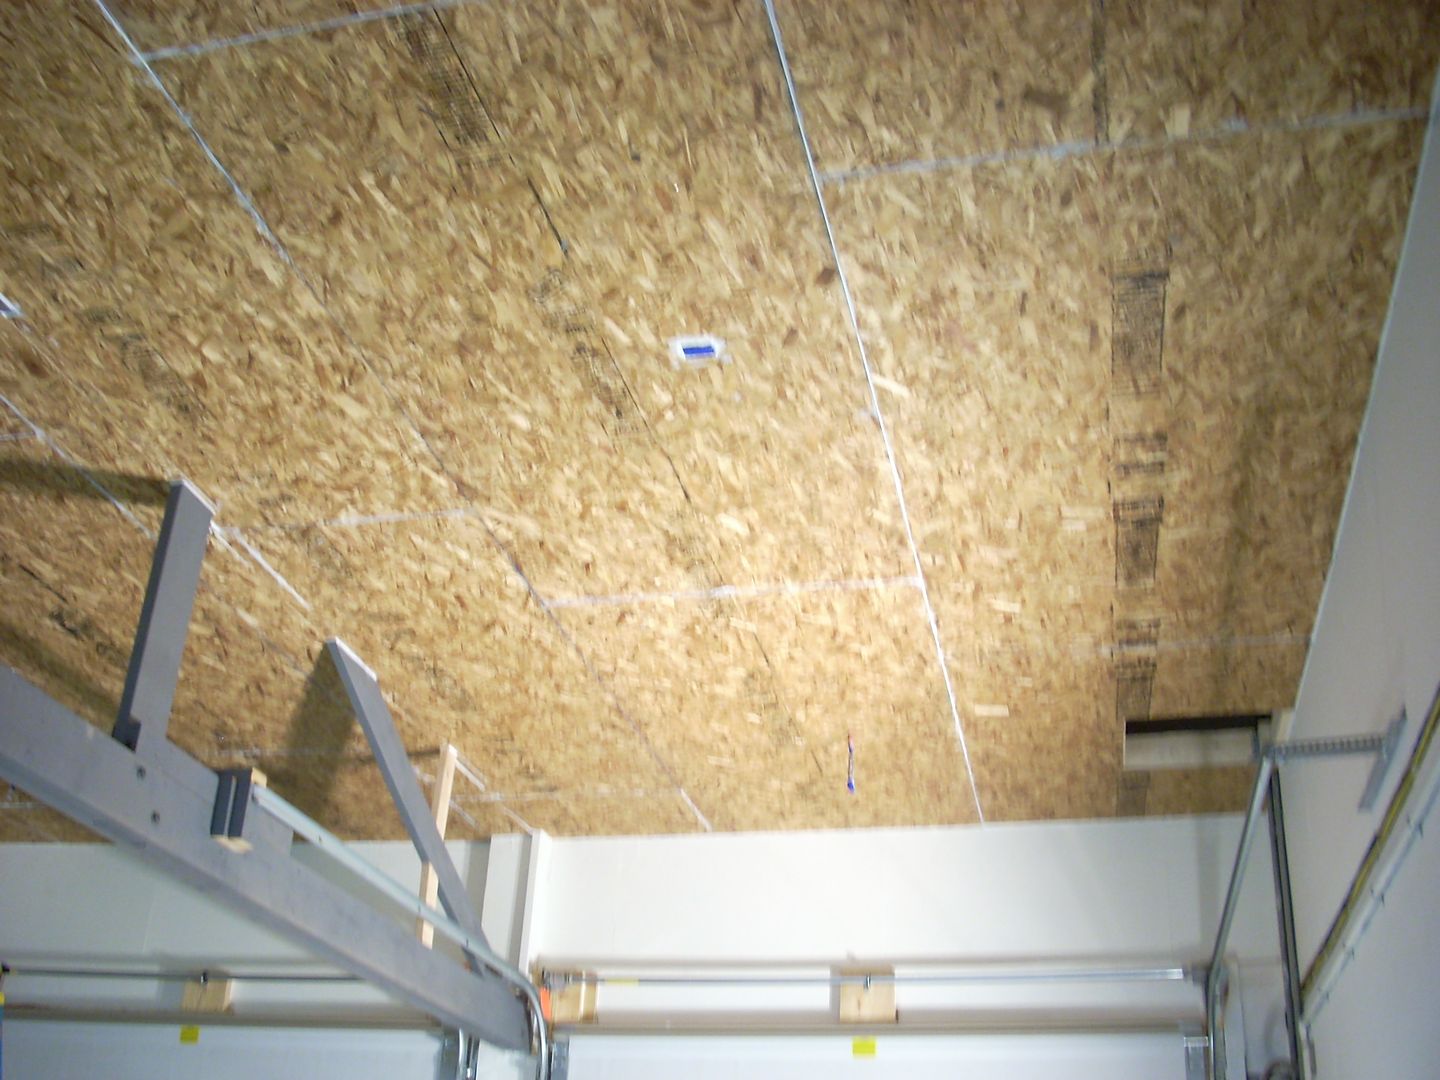
I absolutely cannot believe you were hanging 7/16" OSB on the ceiling that high by yourself


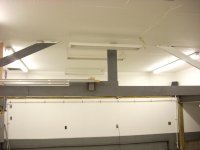
It looks good. That foam should make quite a differance when you start heating in there.


Nice progress. Don't feel bad about the the paint, atleast you got it off the floor.


Thanks guys. The neighbor came over last light to check it out, he asked if I was going to perform surgery out there. lol
Any updates to this cool thread?