mwbailey
Well-known member
Re: garage refurb
NUTTSGT,
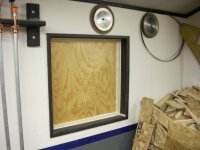
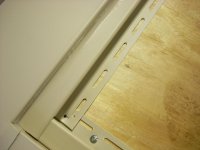
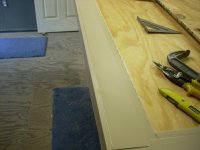
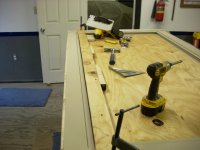
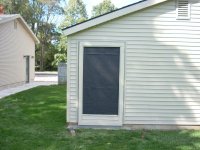
Funny how doors get too big. I had a similar issue, but fortunately the edges of my doors could be "ripped" 1/2 inch or so without a problem!
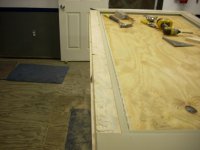
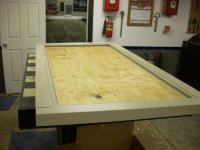
I know what you mean about being heavy. I just about lost one of my door standing it up!! Just finished my third and last door for my workshop. . . .
NUTTSGT,
Funny how doors get too big. I had a similar issue, but fortunately the edges of my doors could be "ripped" 1/2 inch or so without a problem!
I know what you mean about being heavy. I just about lost one of my door standing it up!! Just finished my third and last door for my workshop. . . .


 Creative, O.