
Kevin54
MEMBER EMERITUS
Re: garage refurb

Nice job!! That really added to things and makes the drive look a lot better.
Where is your downspout running to? I see in one pic that you have a piece of corrugated pipe on it.
Nice job!!
That really added to things and makes the drive look a lot better.Where is your downspout running to? I see in one pic that you have a piece of corrugated pipe on it.
 Hell, you're closer than I thought.


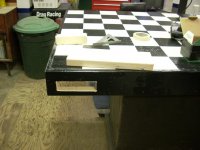
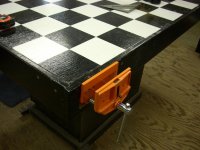
 I'll have to pick another one up somewhere. I still don't have my large Desmond Stephens vise mounted yet. I almost pulled the trigger and started drilling some holes, but then I started thinking about making a stand, and mount it over by my mill and lathe. Then use a receiver hitch so I could either have my vise mounted, or to mount my grinder on.
