1Garageman
Well-known member
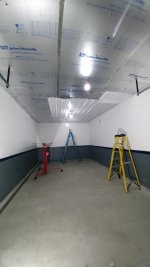
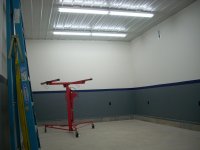
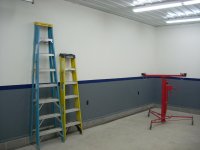
The garage is looking great and almost done!
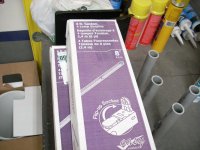
What kind of air lines are you going to run? Pipe or that "Rapid Air" system?
I am considering the Rapid Air system when I re-do my garage this summer.
What kind of air lines are you going to run? Pipe or that "Rapid Air" system?
I am considering the Rapid Air system when I re-do my garage this summer.