xtremek
Well-known member
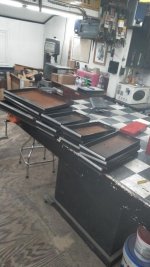
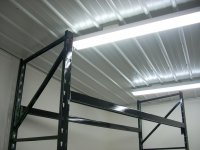
What are those lights?


... No, mudding/taping and sanding or priming/painting...

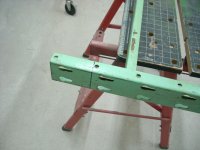
Nice job on the access panel.
Eric, that looks terrific. Nice job.
What are those lights?
your lights look fantastic and it shows off all your hard work nicely too.
the box not so much, but I guess it will hold stuff.
if you don't have favorite methods of removing rust from your tools you find there is a great rust removal thread and here's the link with a few options.
https://www.garagejournal.com/forum/showthread.php?t=473607
Wow that looks really good with the ceiling and lights done! Nice work.
Like Charlie Sheen, WINNING!
Place is looking great!

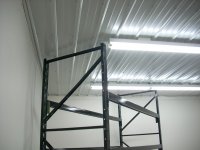
The new lights look great. Will the pallet rack go on the back wall?
How warm is the addition now since you have had the ability to heat it for 2+ weeks?

Always a pleasure to see your work, Eric.
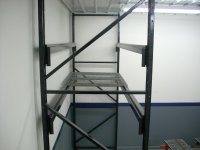
you should be fine and just take your time. also one thing to think about is that sometimes used racks that have been thrown around a bit don't fit as easily as when they were new so be patient. I've also had to move a shelf up or down a bit cause one level's holes were a bit off.
good luck!!
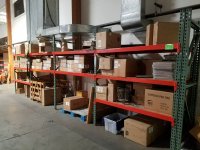
The racking looks really good.
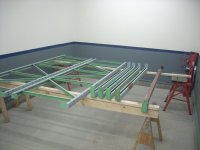
Nice NUTTSGT, looking forward to seeing the finished rack.
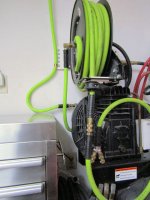
Eric, I suspect it's too late but I discovered a 50-foot 1/2" Flexzilla air hose fits on those bargain reels. Have to pay extra attention to the rewind process but the volume increase is significant, especially with V-style fittings.Not much progress in the last few days. I did pick up a hose reel and some Flexzilla to "re-hose" it. Along with a bag of some valves and fittings.

I'm very curious how you are going to make an upright that is wider tie in with the existing ones you already have set up.
when I mentioned you get a lot done it was about how quickly you've managed to finish the inside of your new garage. that said I want to give you a BIG SHOUT OUT for you doing your MOD duties here on GJ too.
WELL DONE!!
also good luck on getting the new (used) upright to work with your other shelving.
Eric, I suspect it's too late but I discovered a 50-foot 1/2" Flexzilla air hose fits on those bargain reels. Have to pay extra attention to the rewind process but the volume increase is significant, especially with V-style fittings.

They look really nice. That looks like they'll give you a ton of storage.