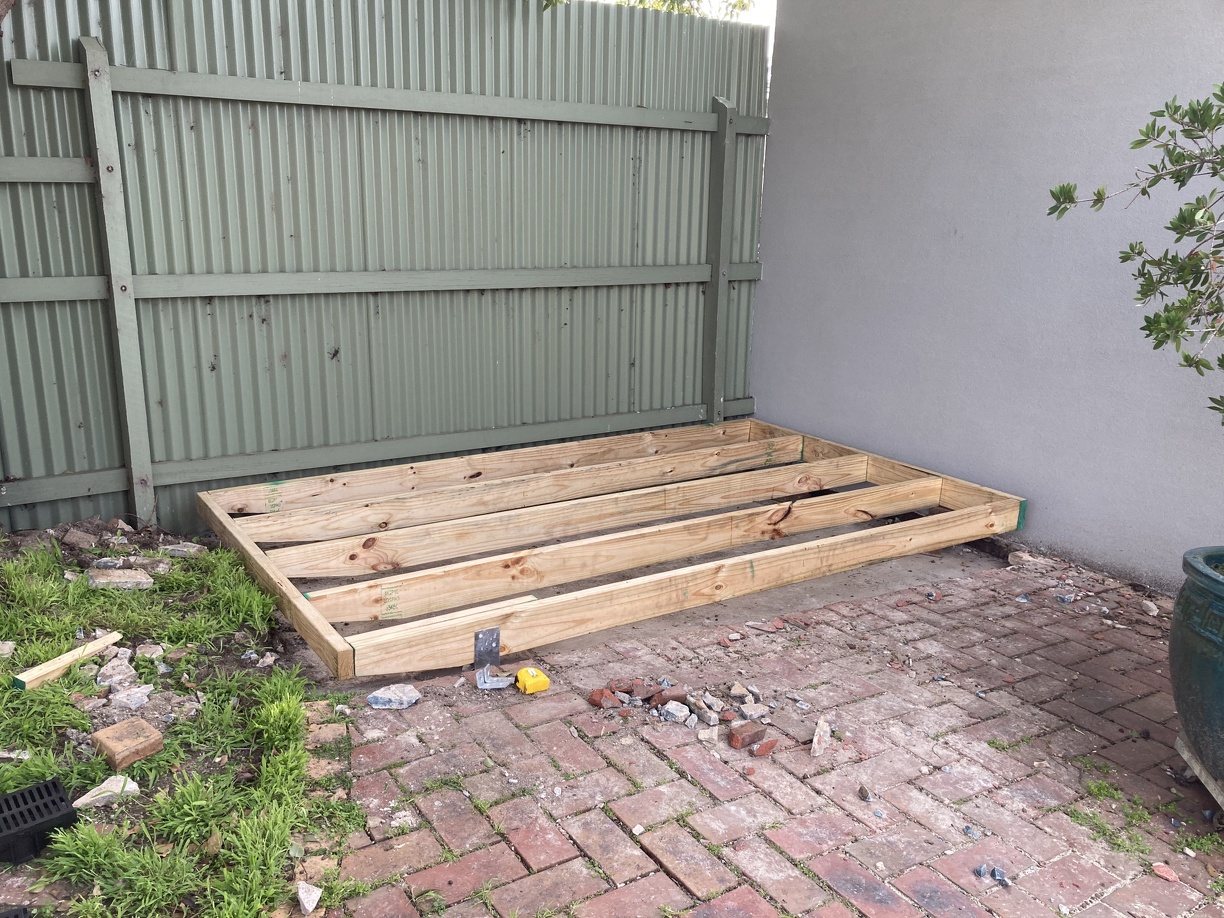
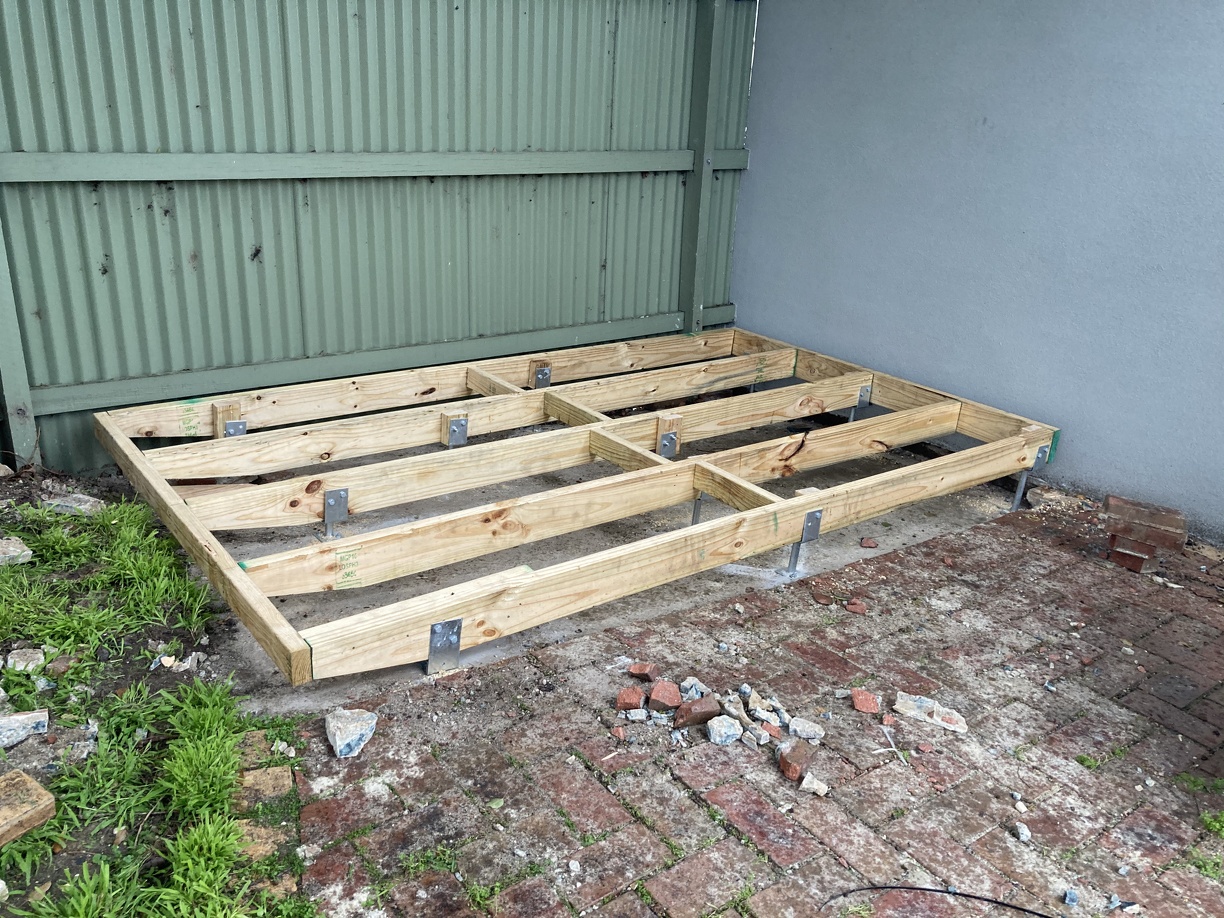
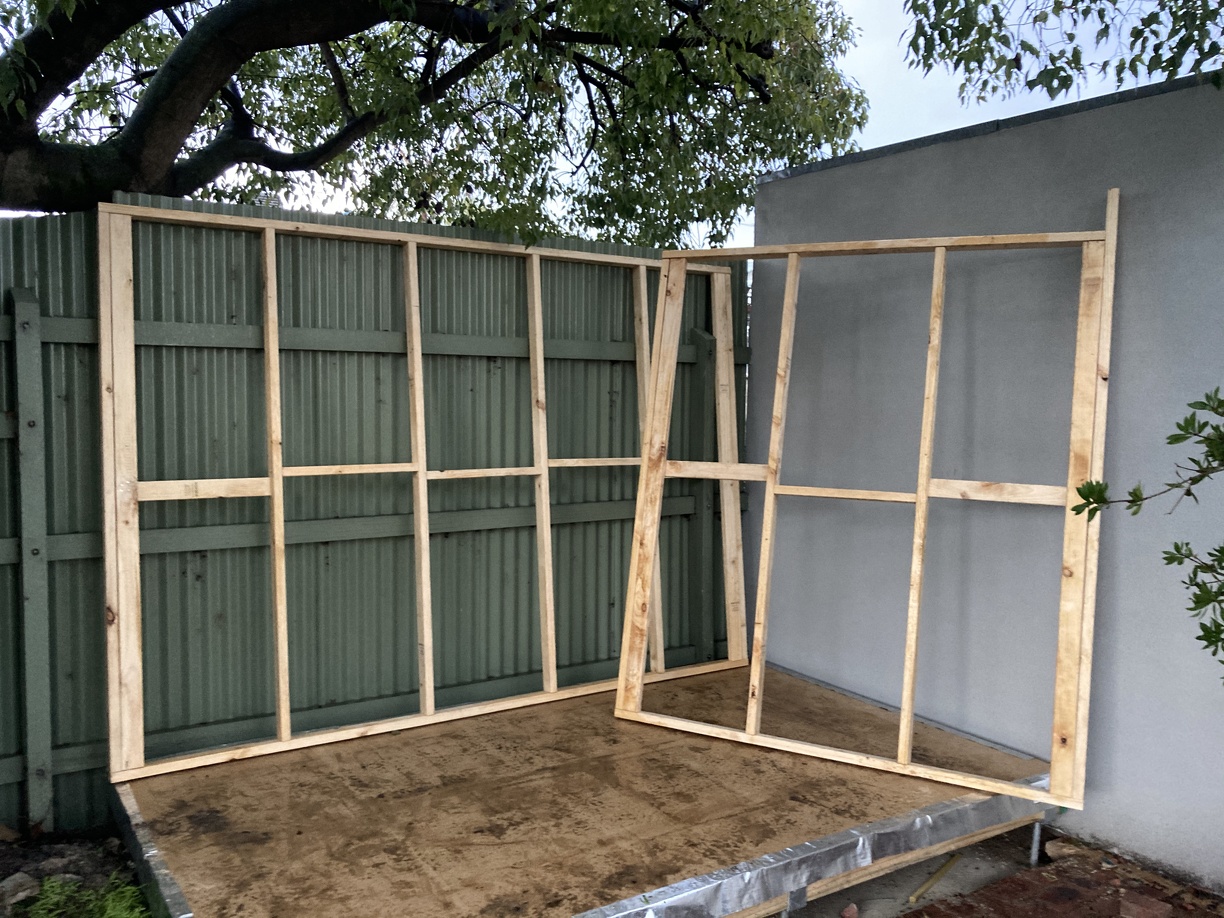
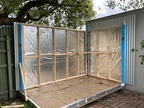
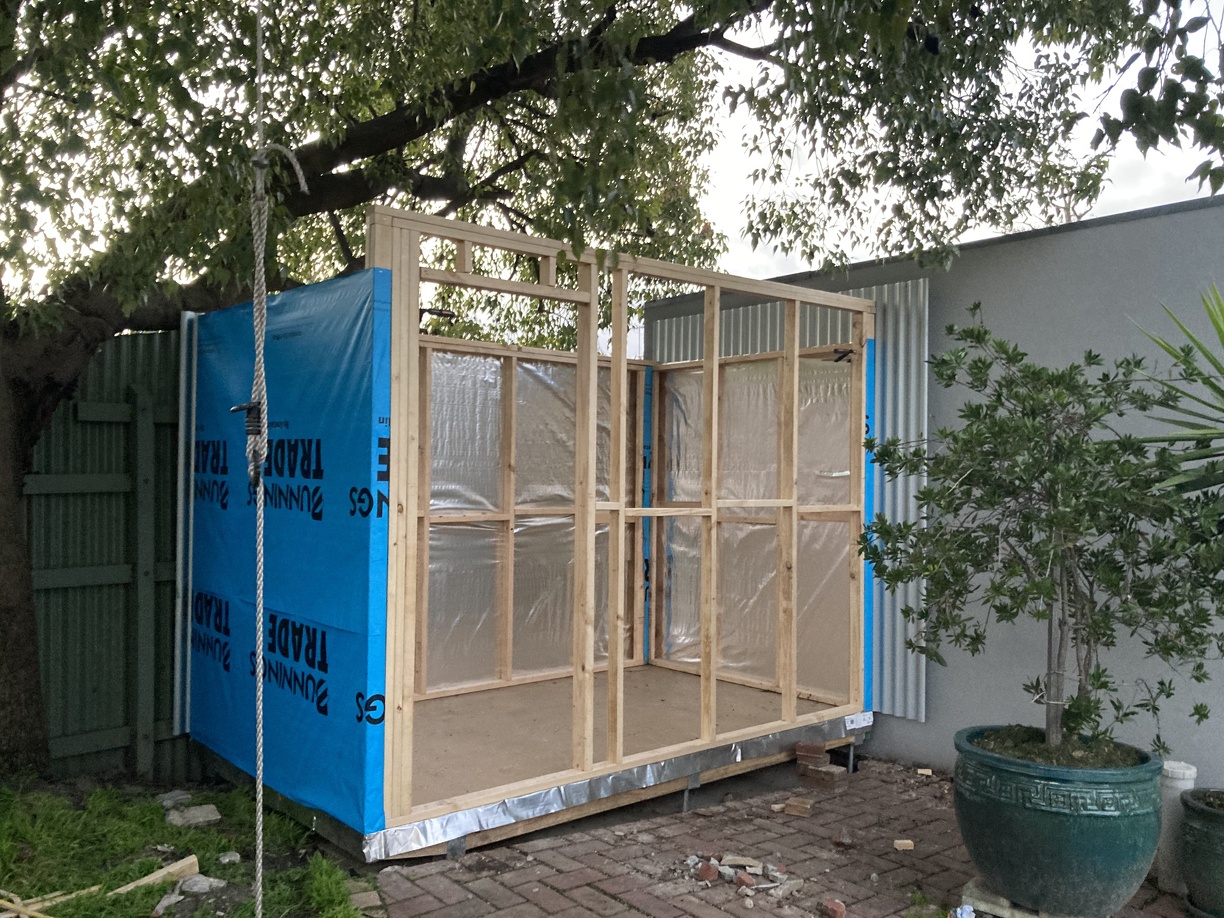
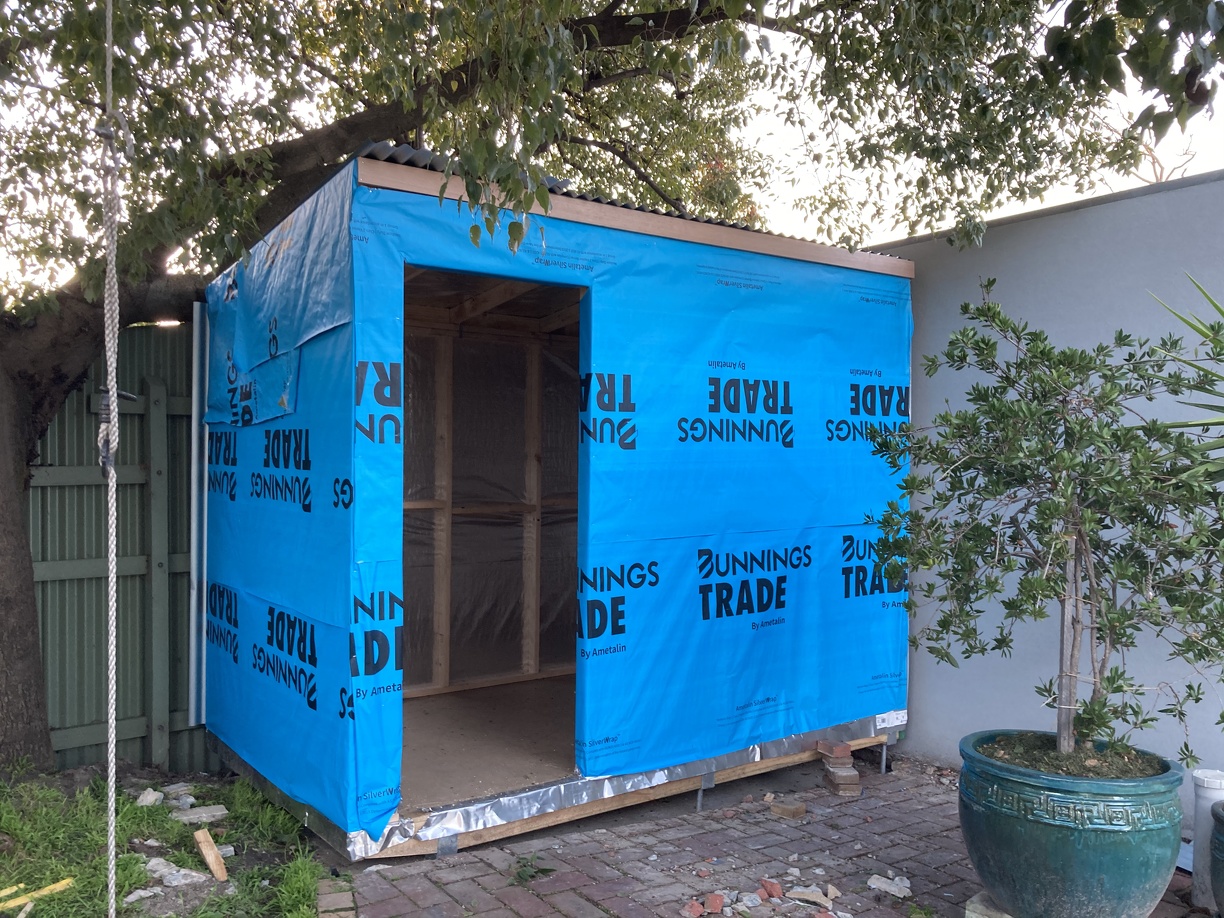
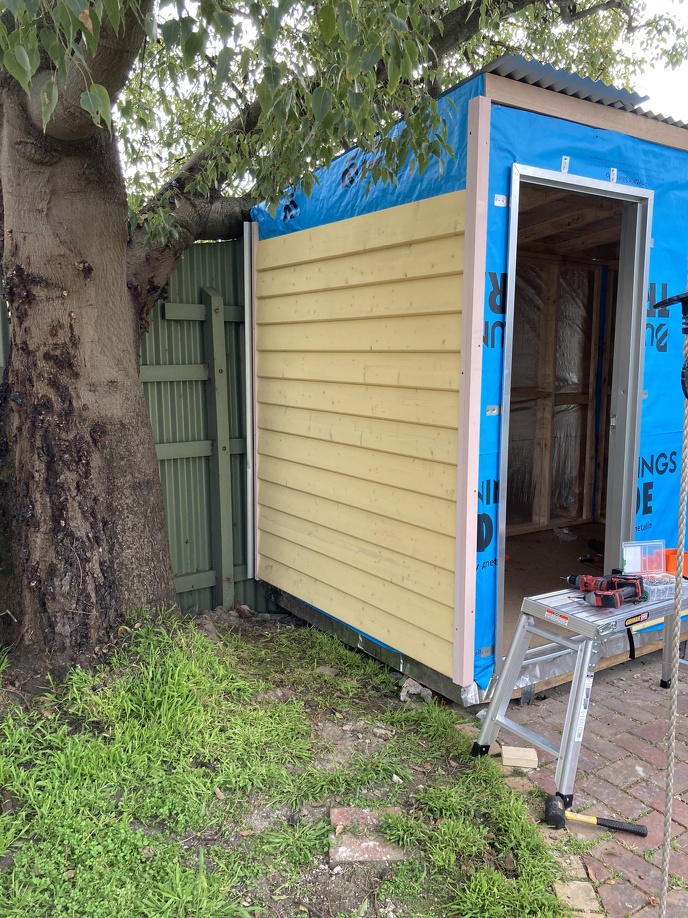
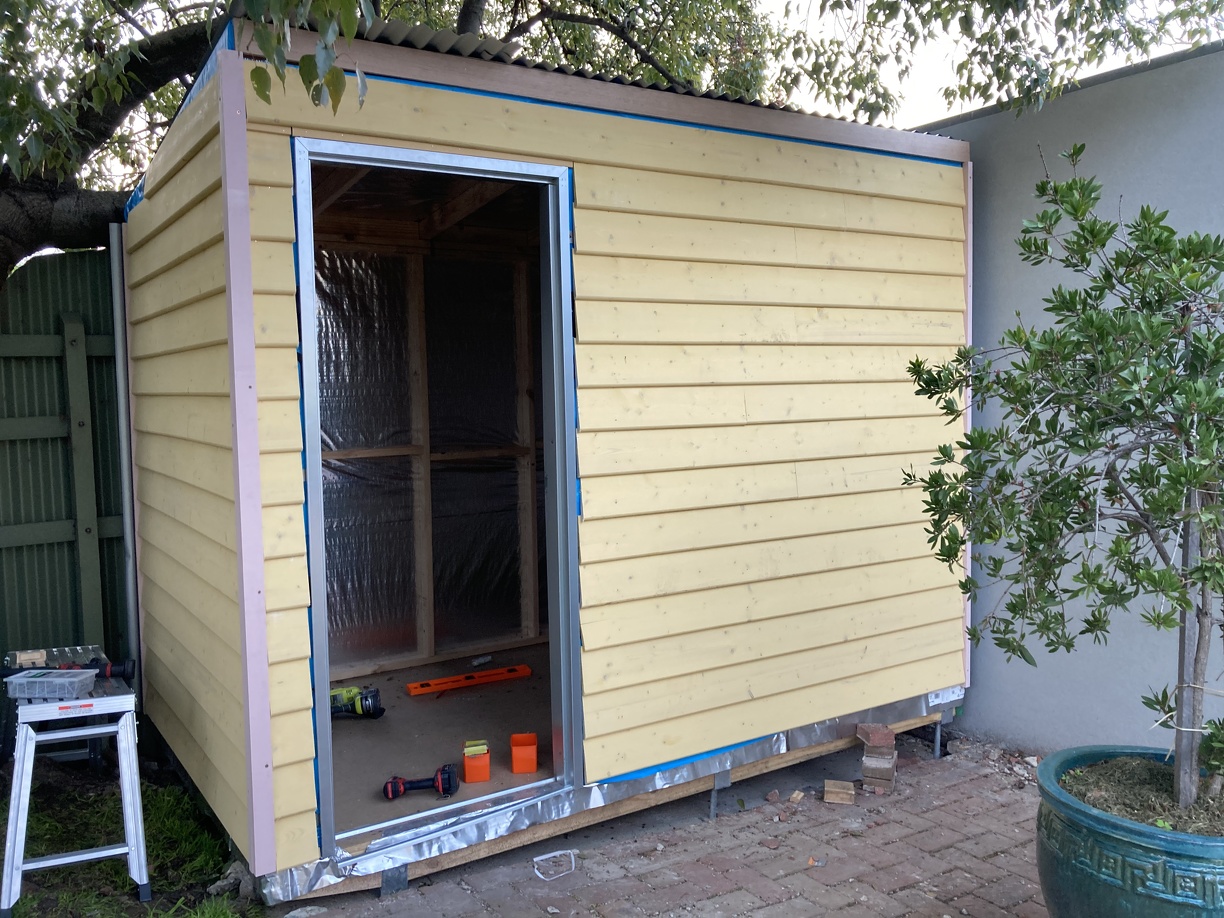
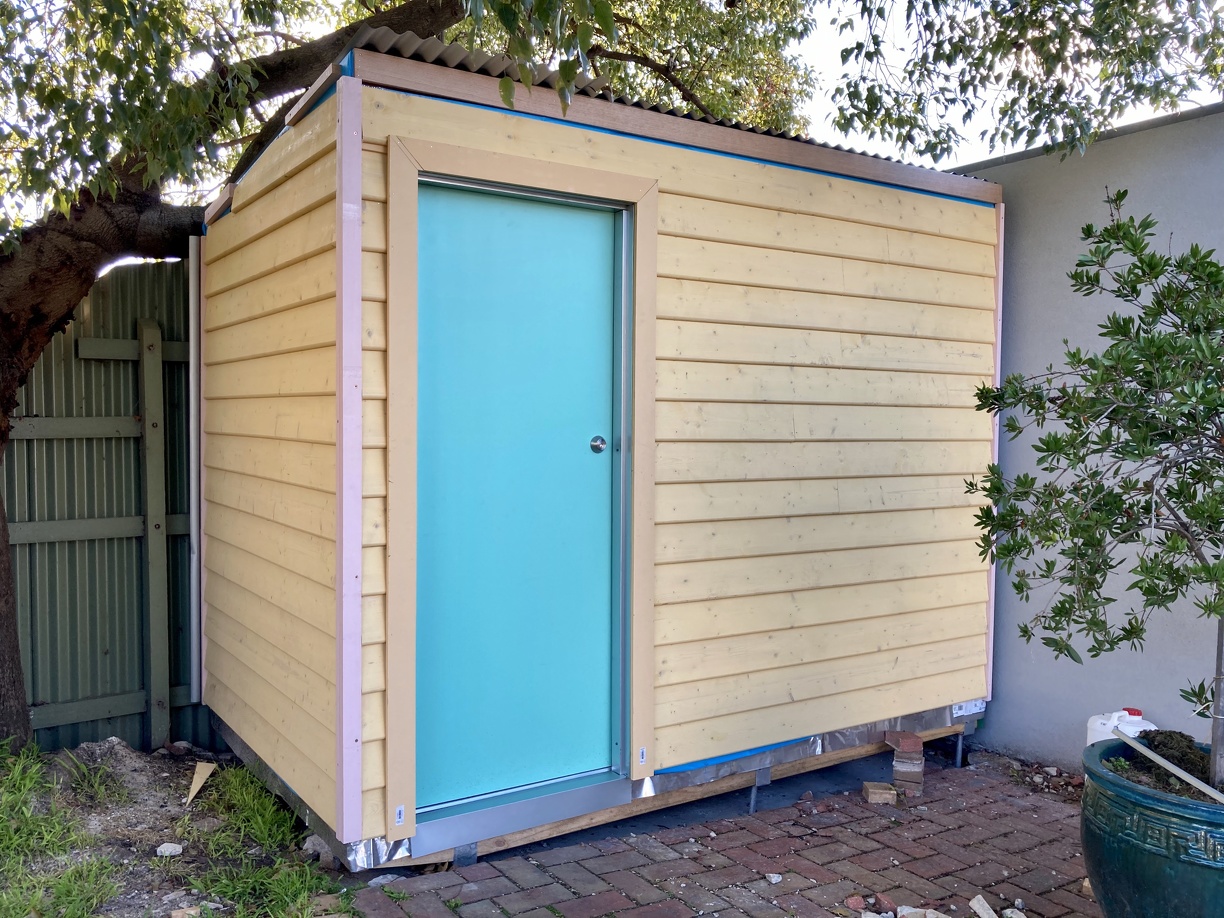
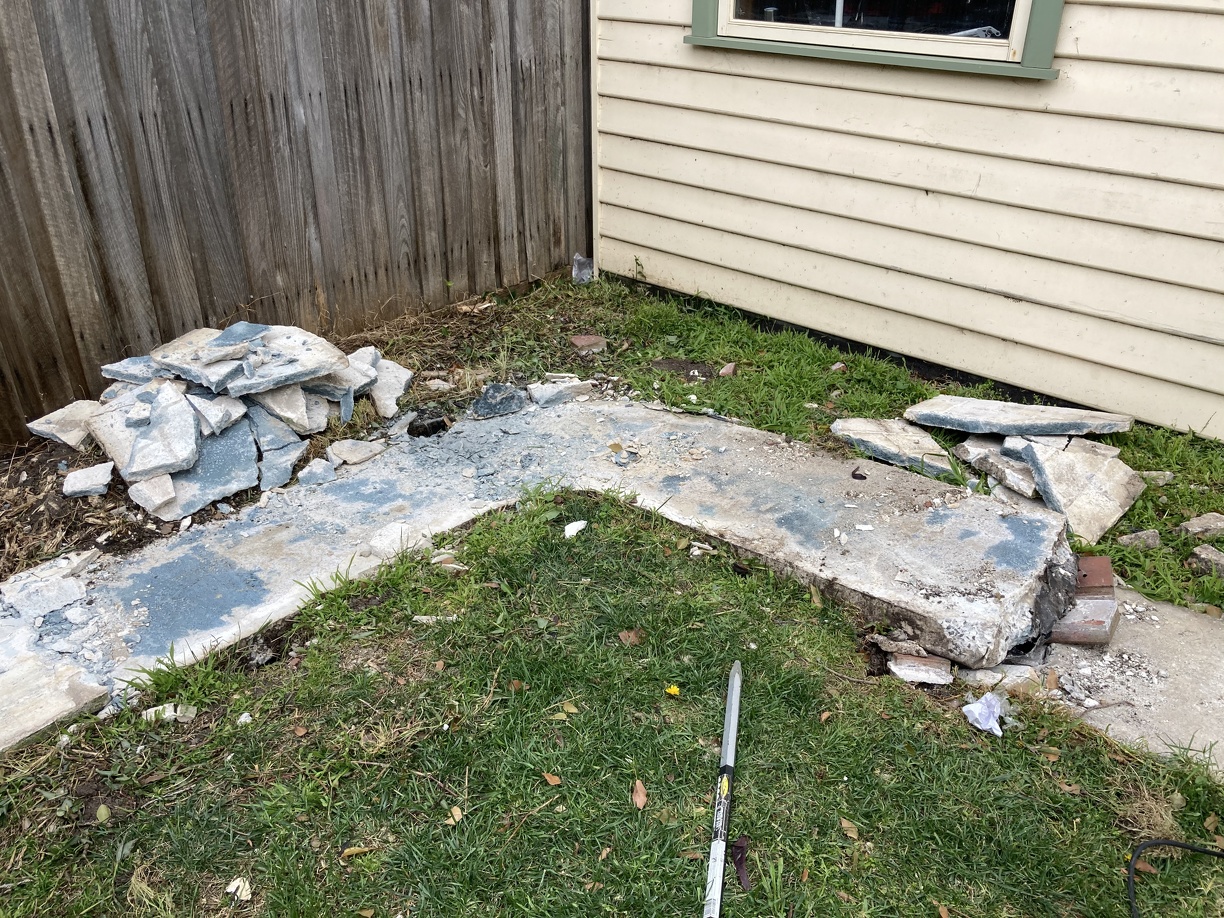
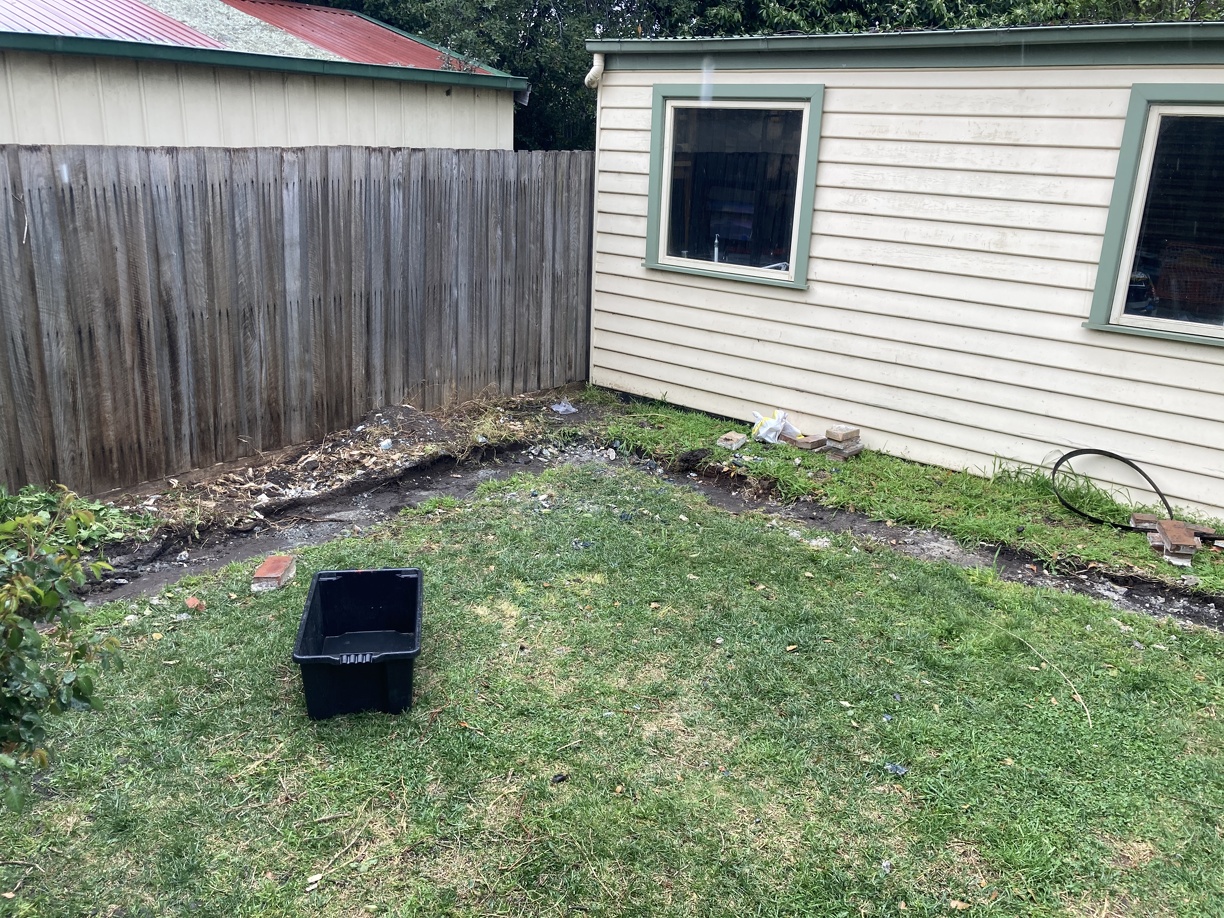
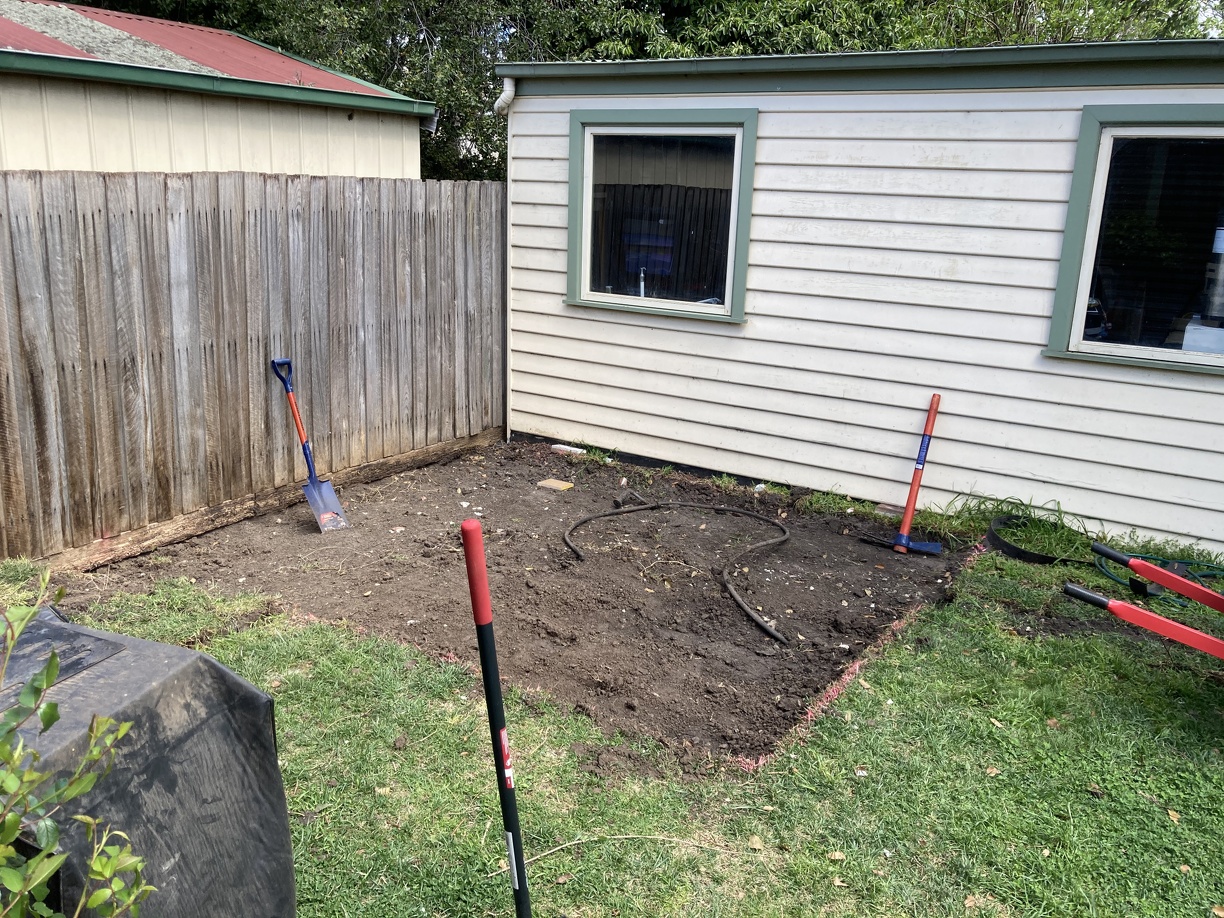
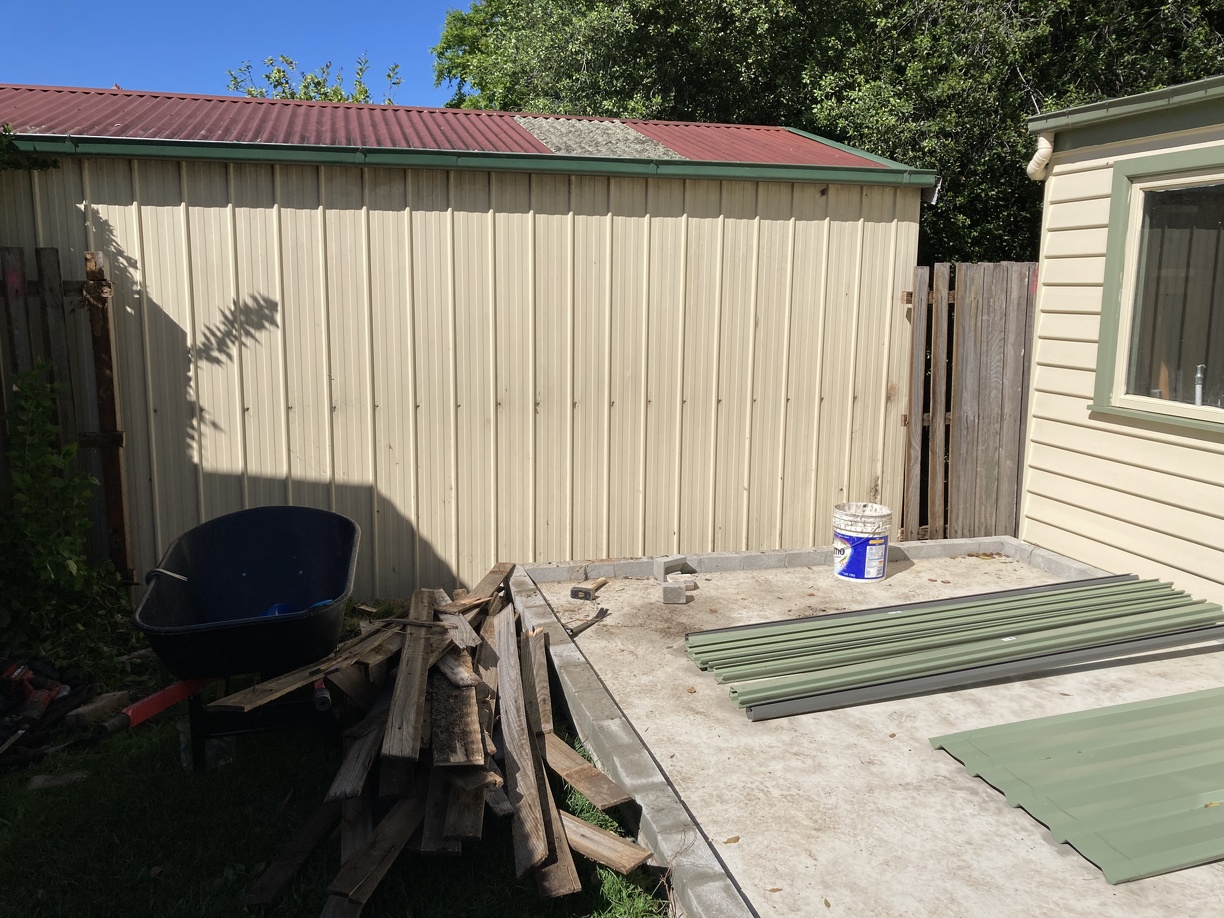
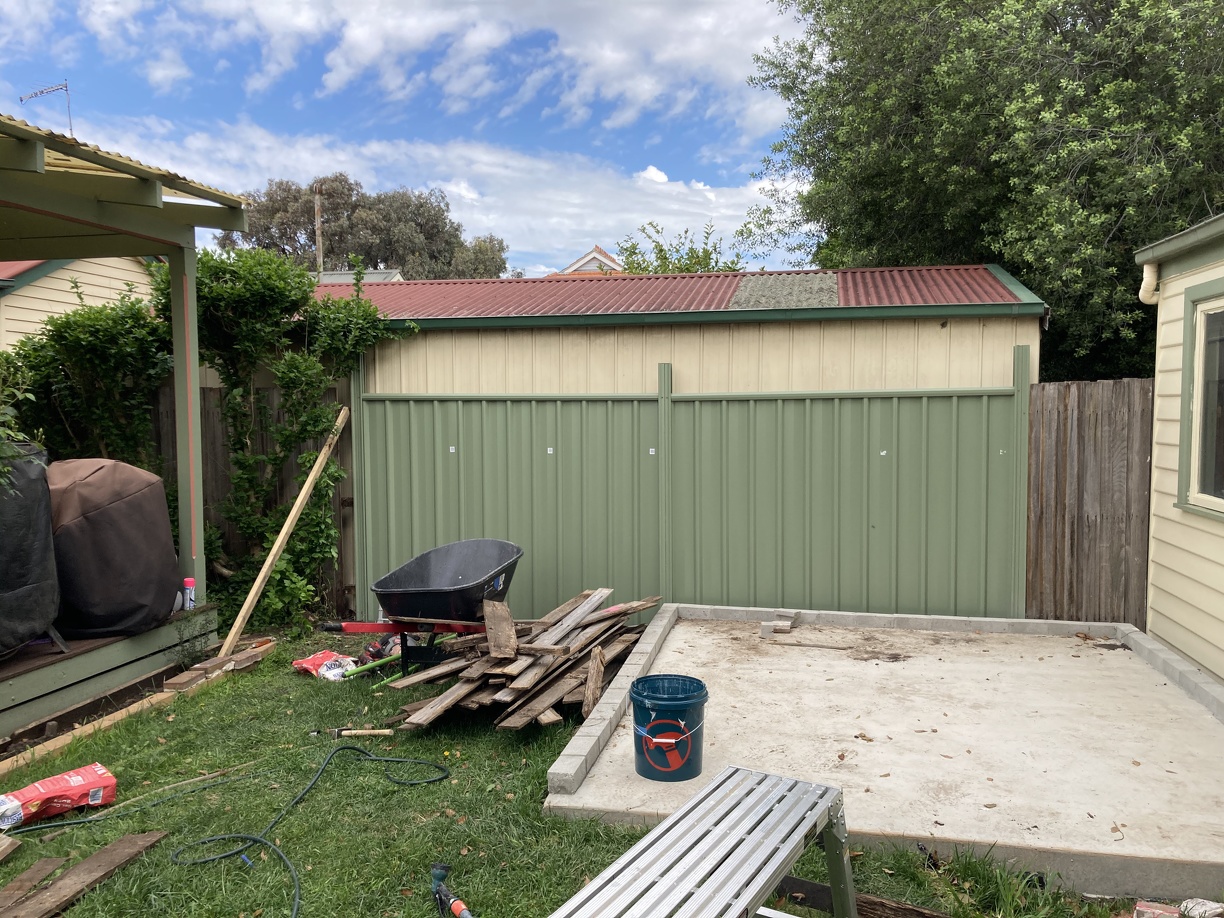
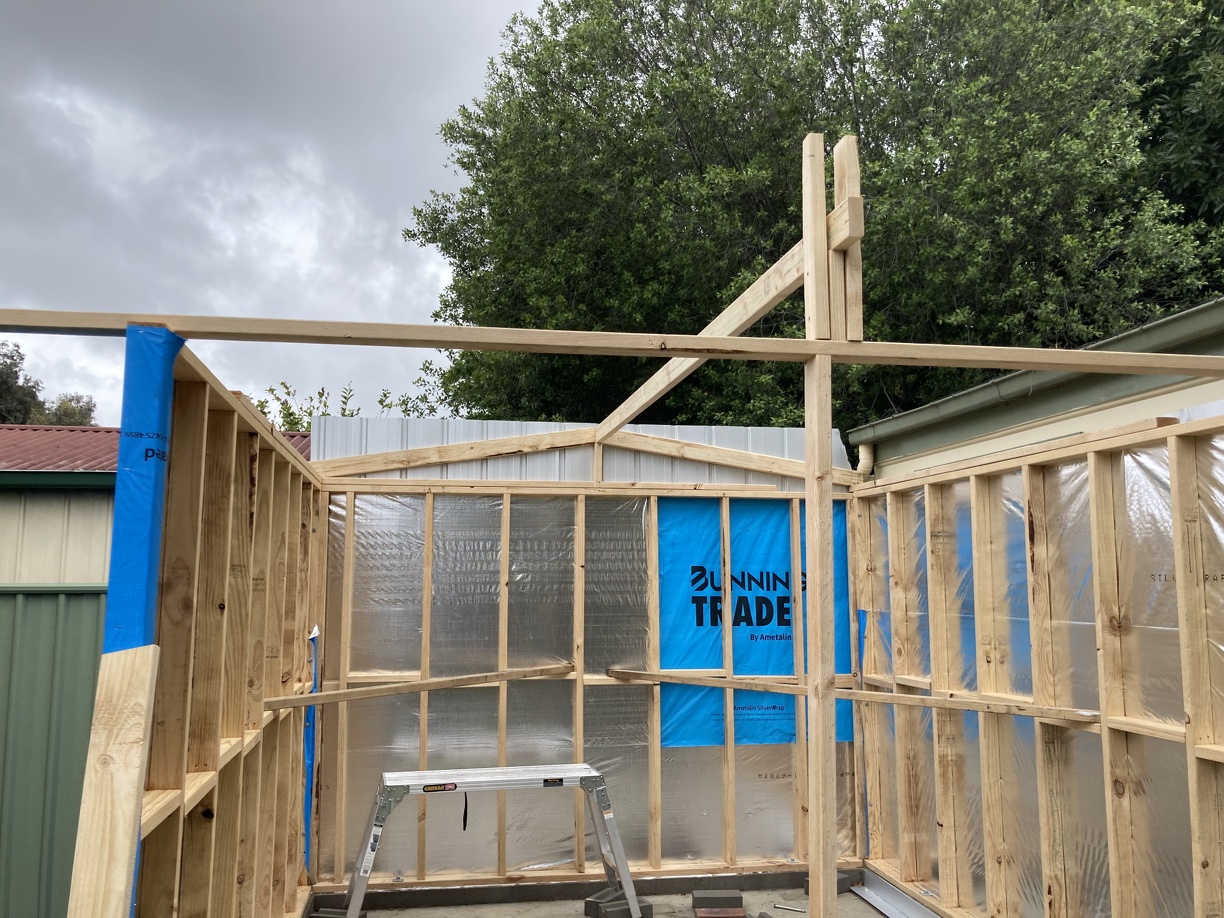
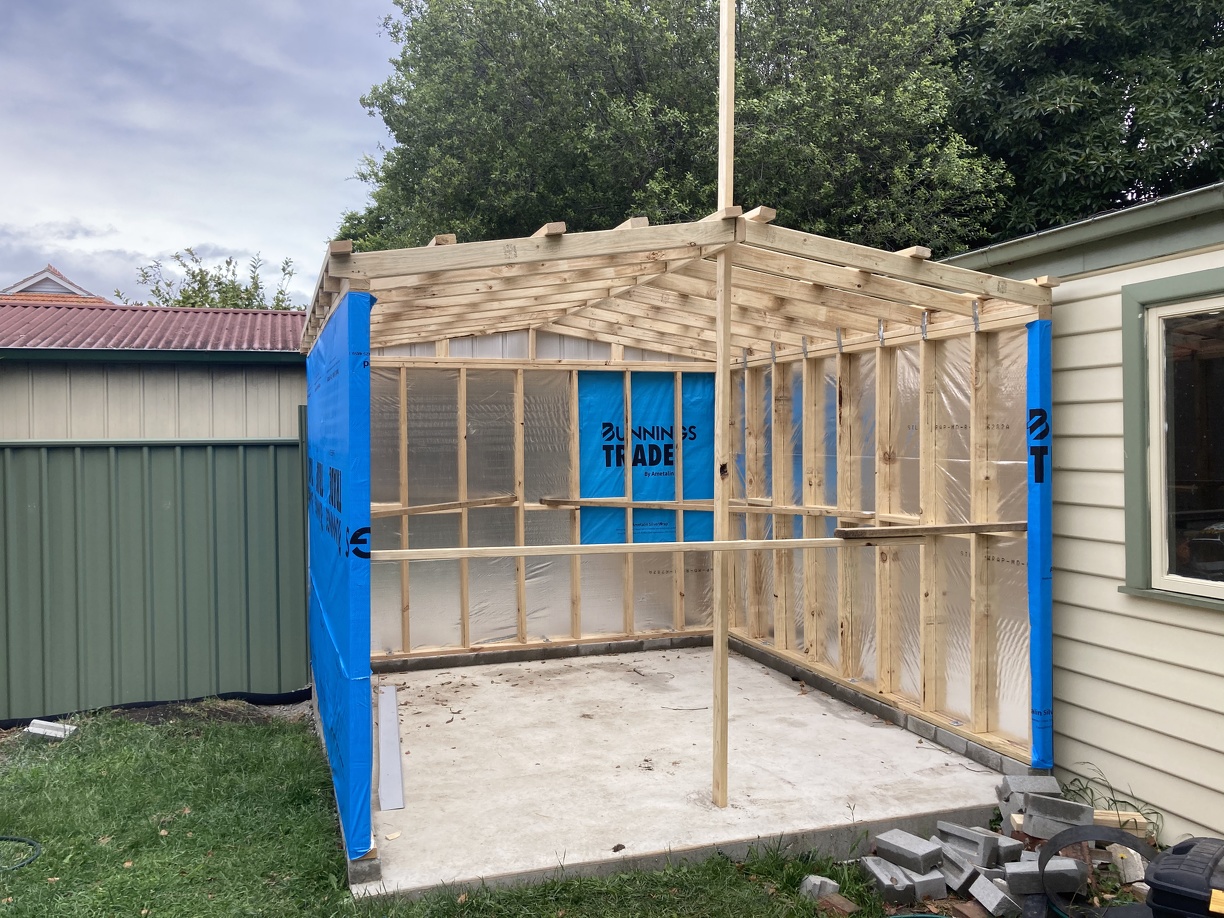
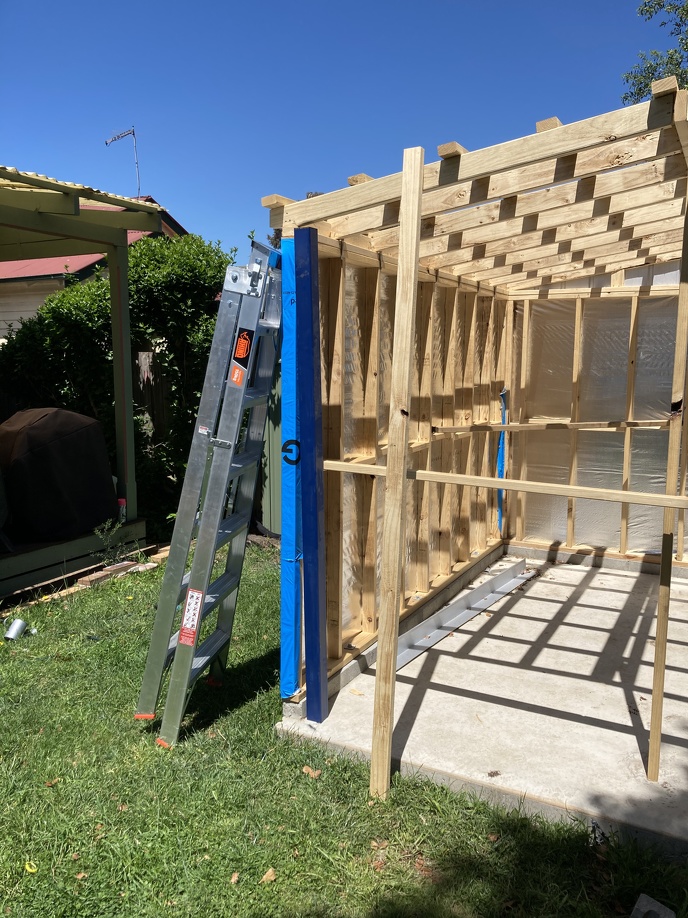
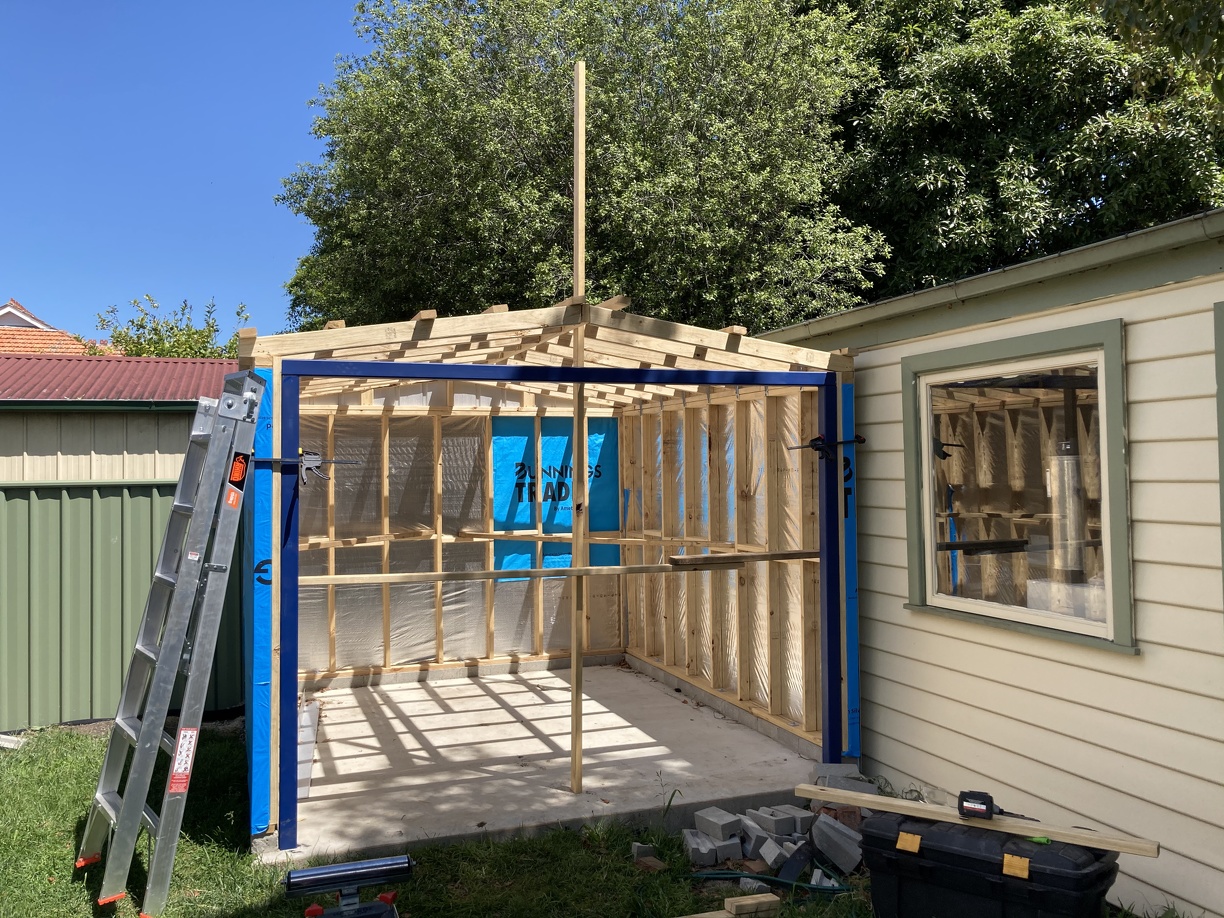
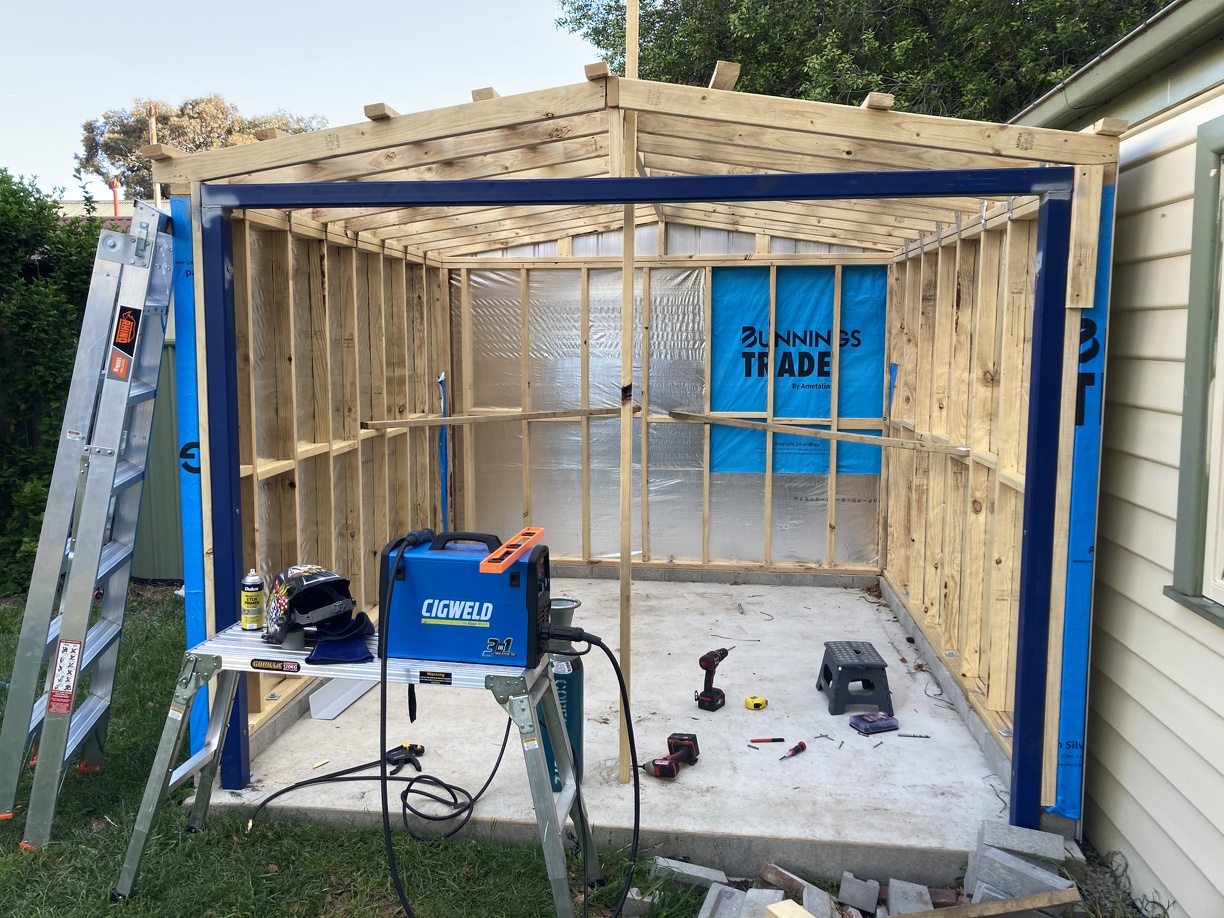
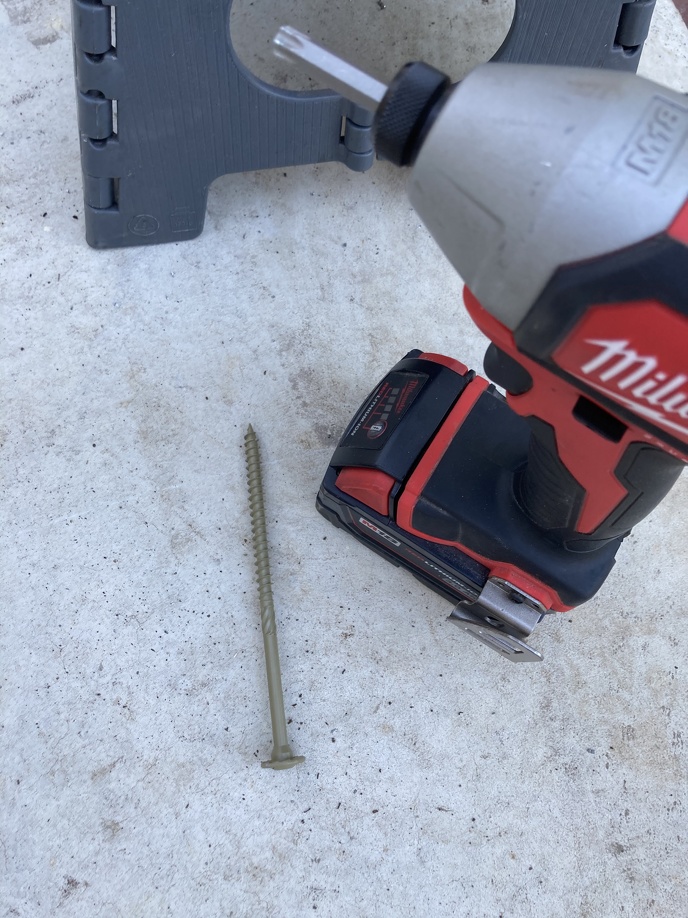
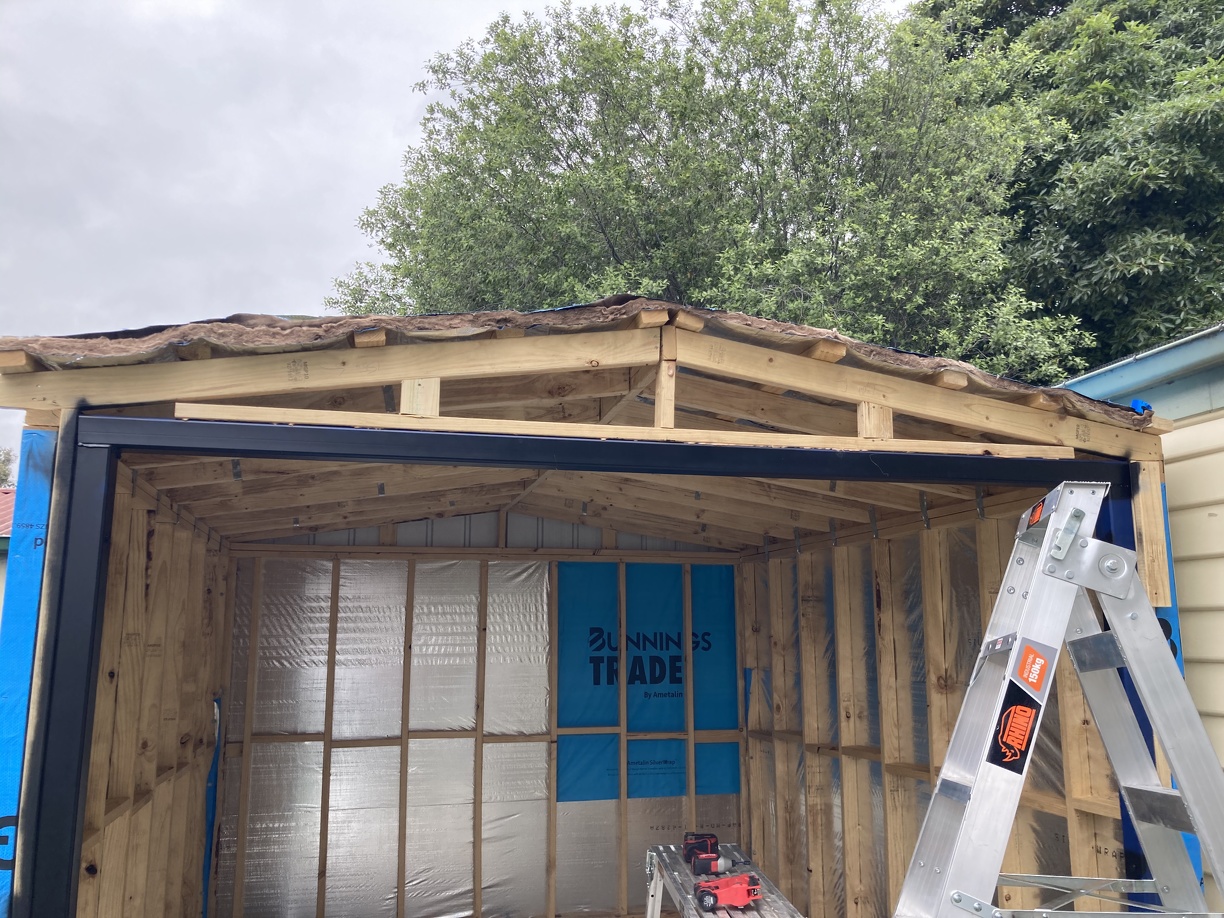
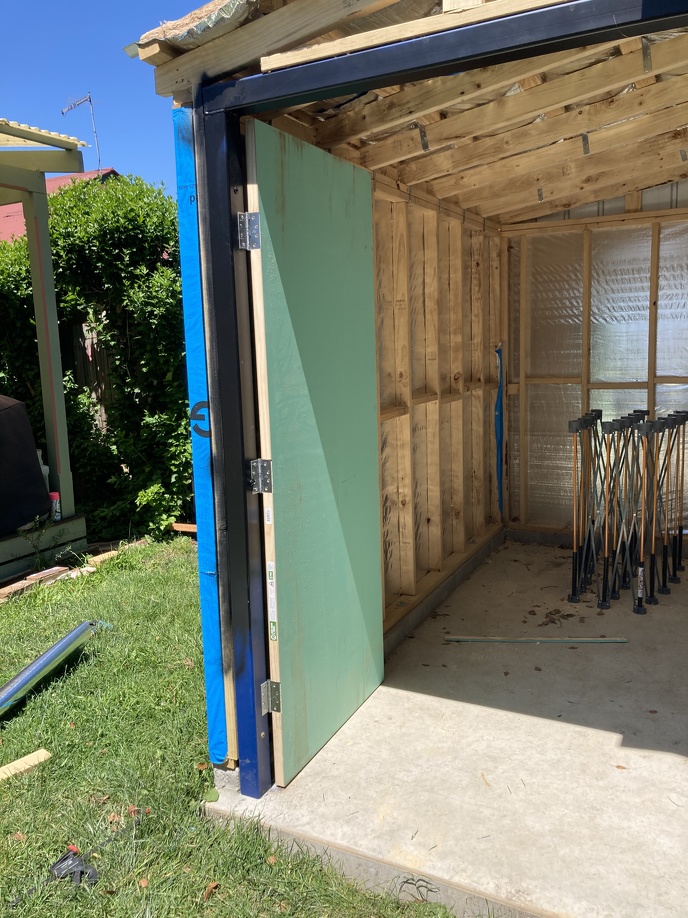
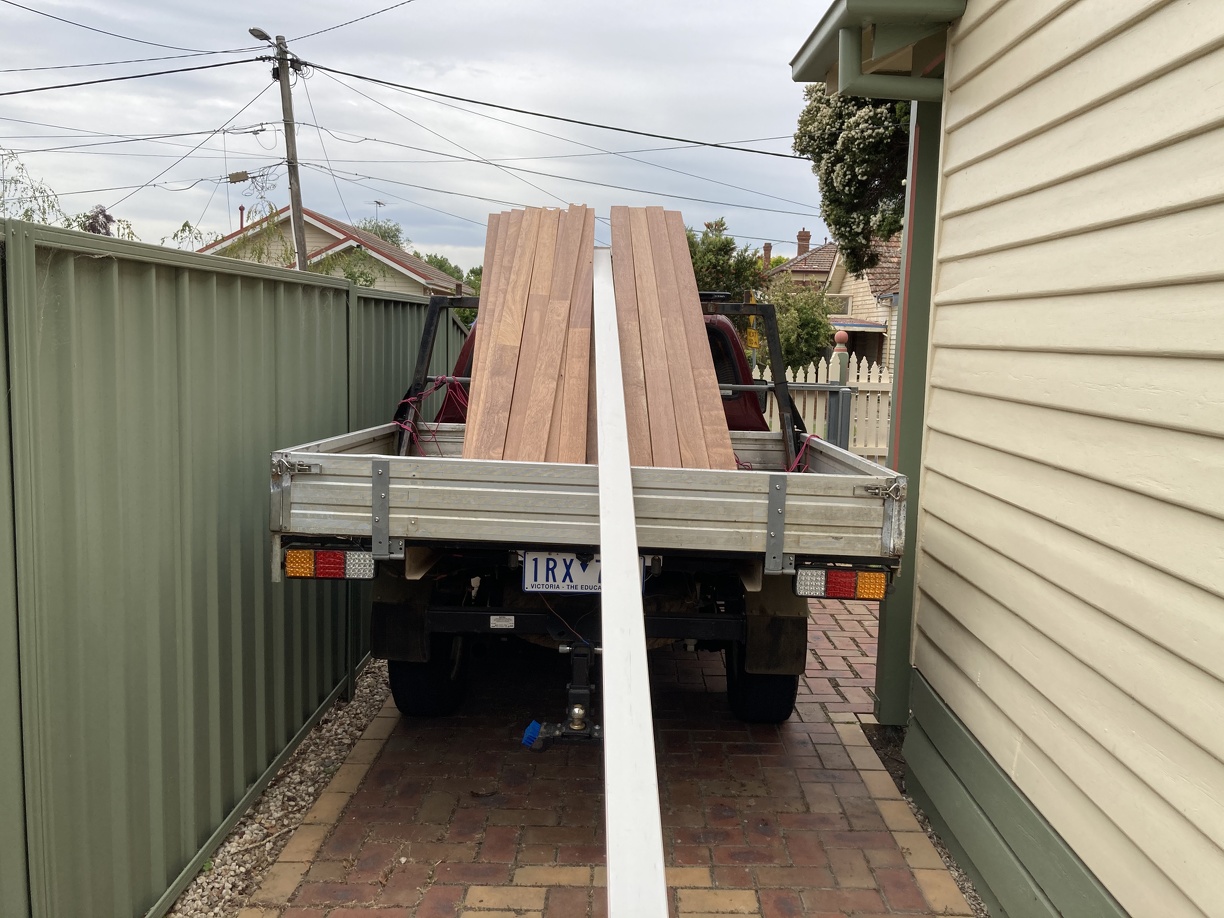
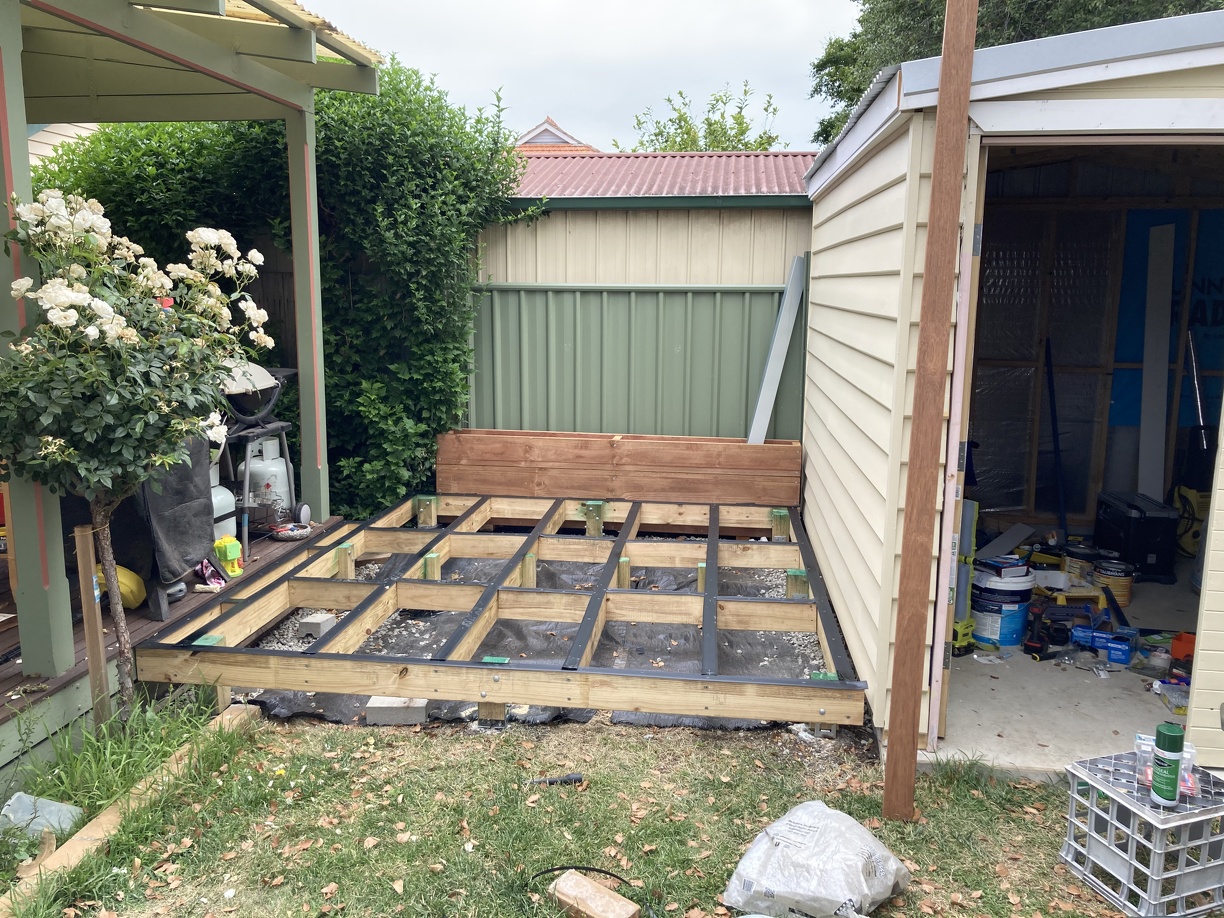
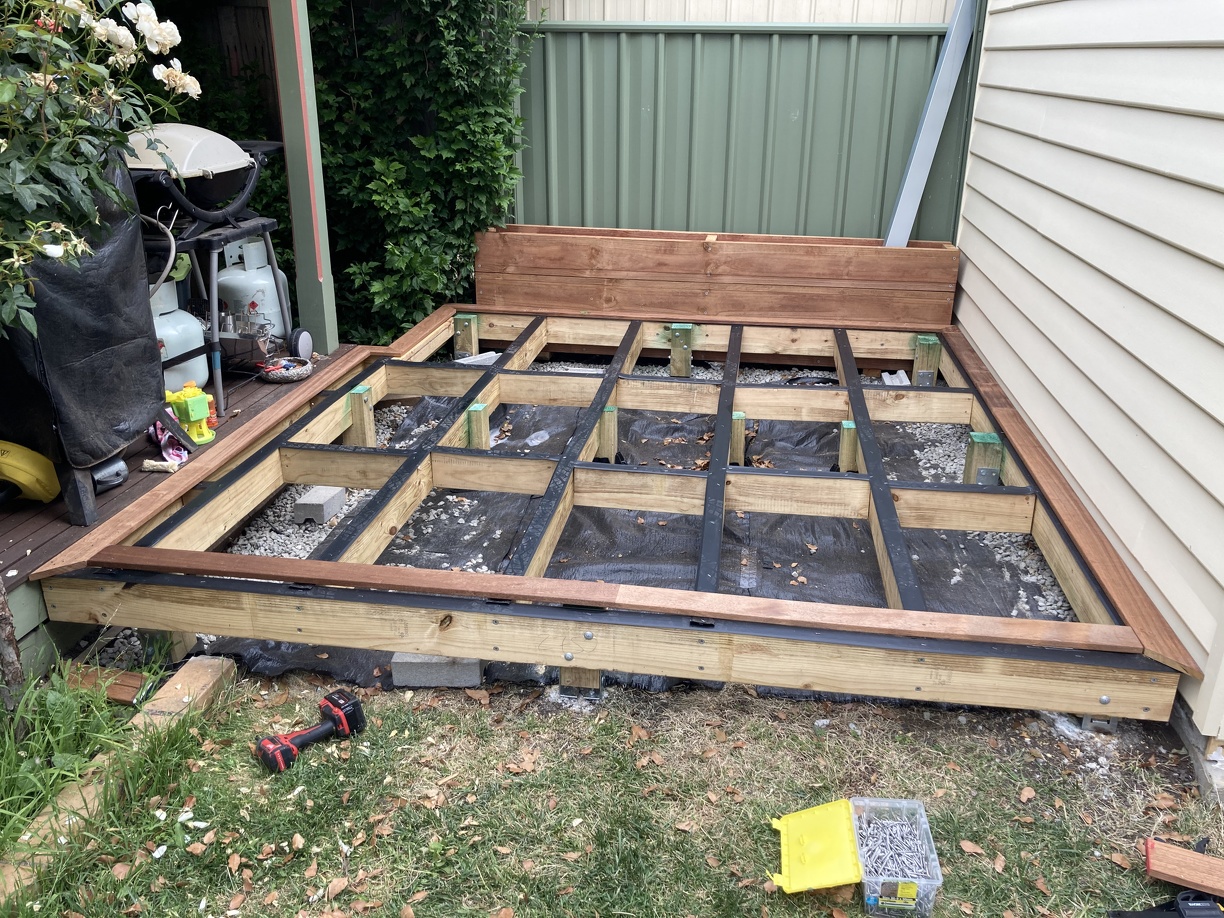
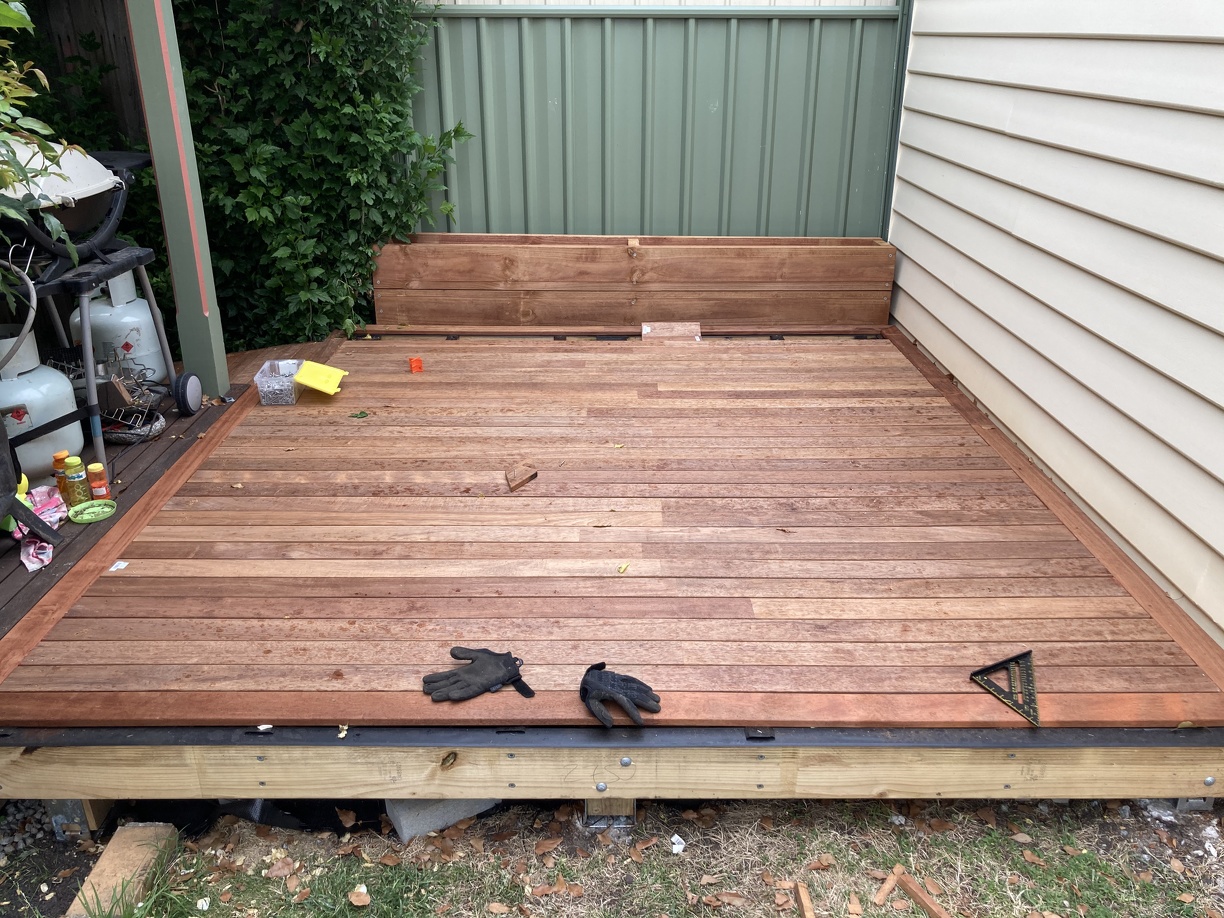
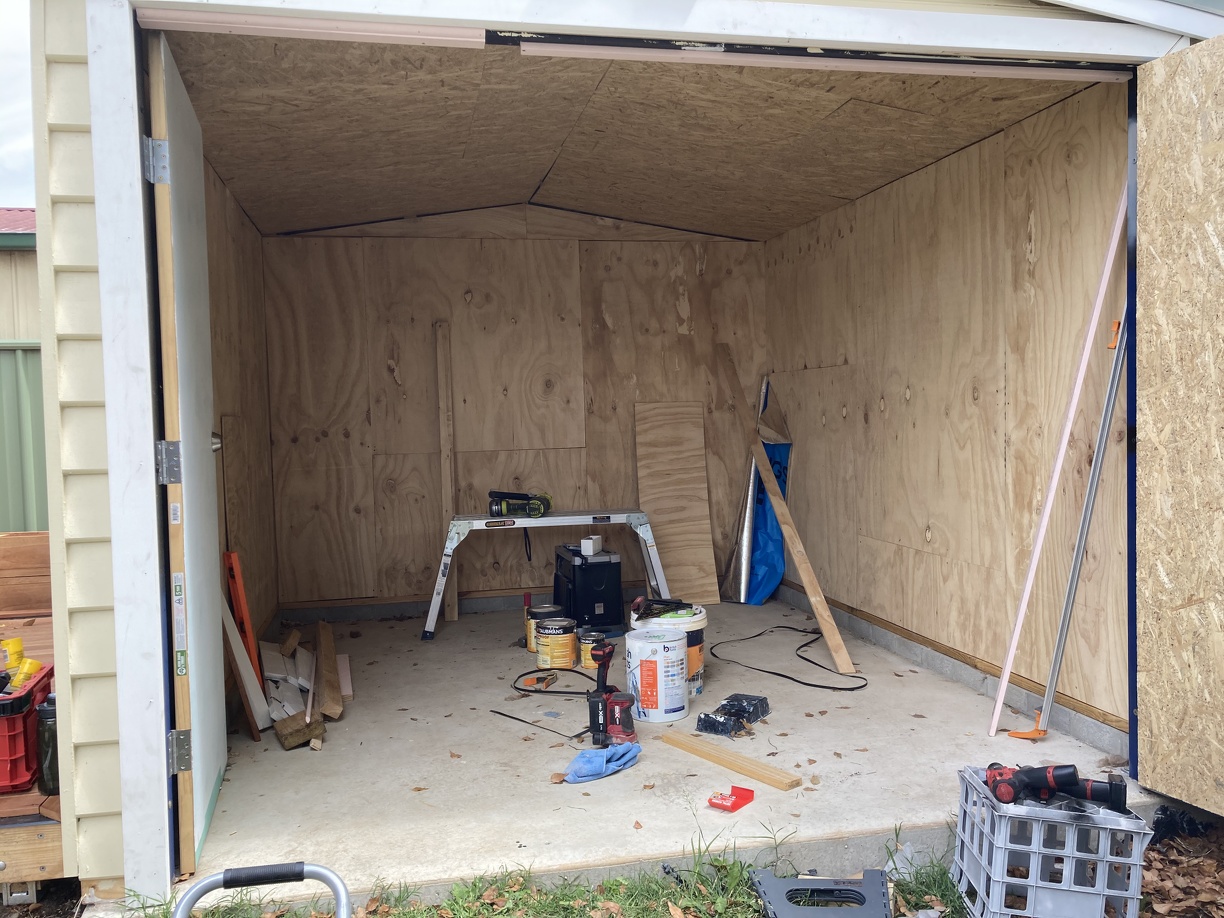
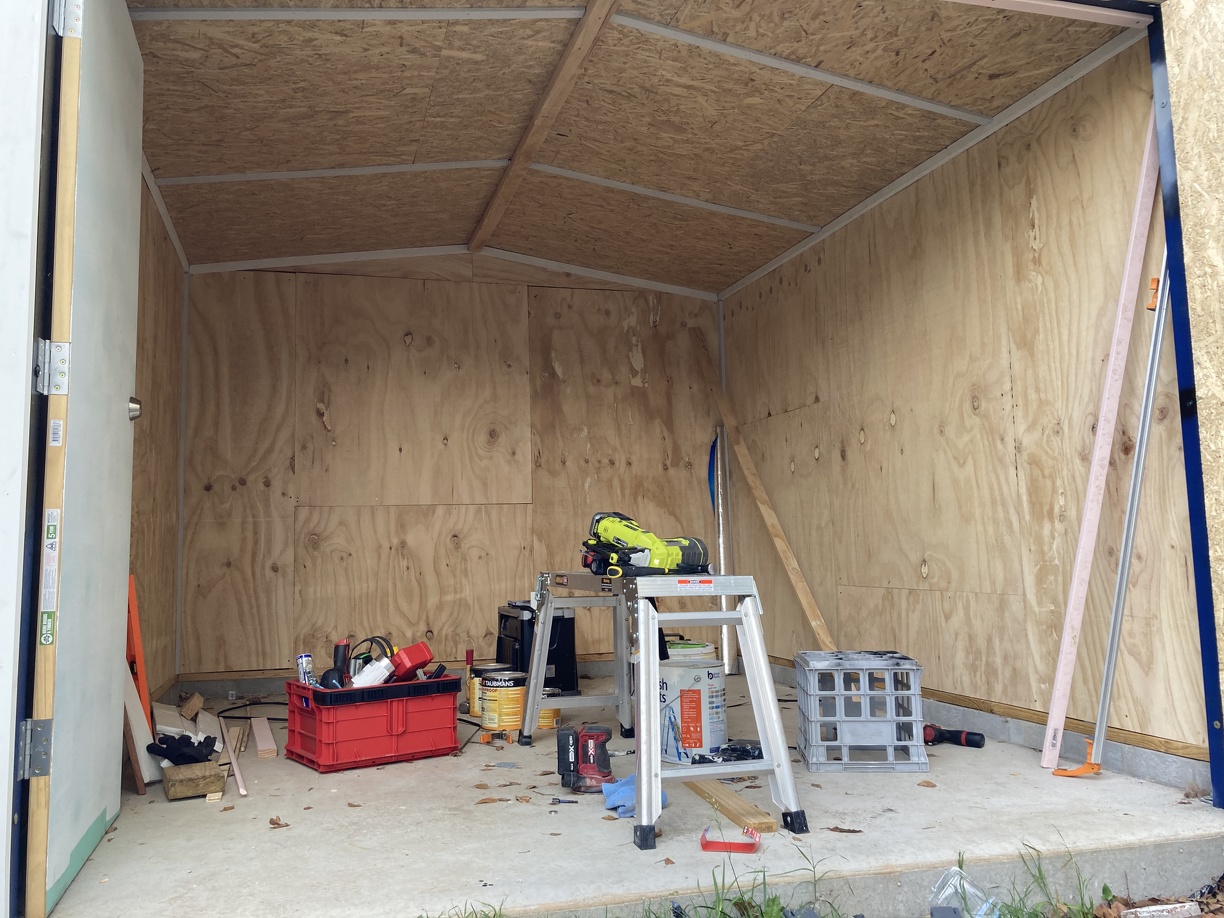
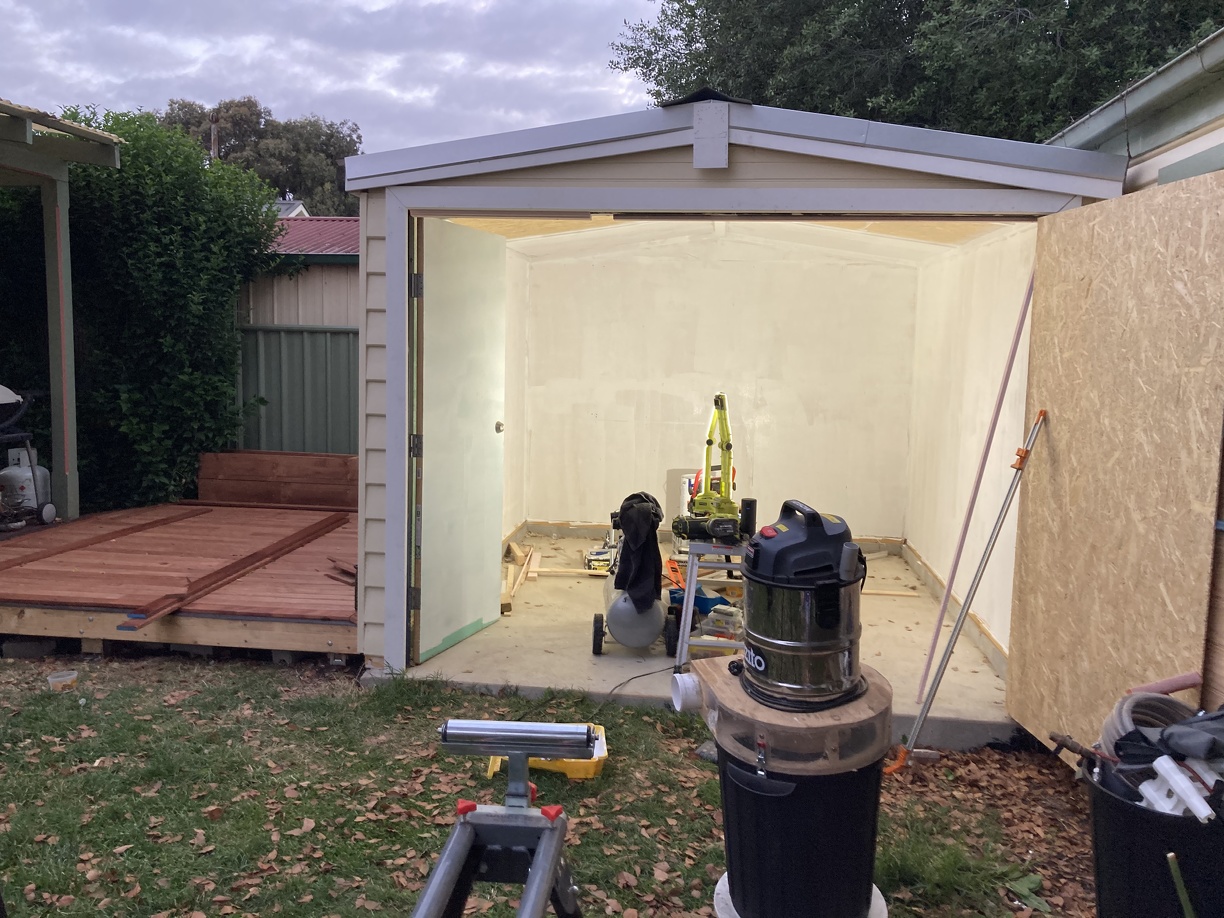
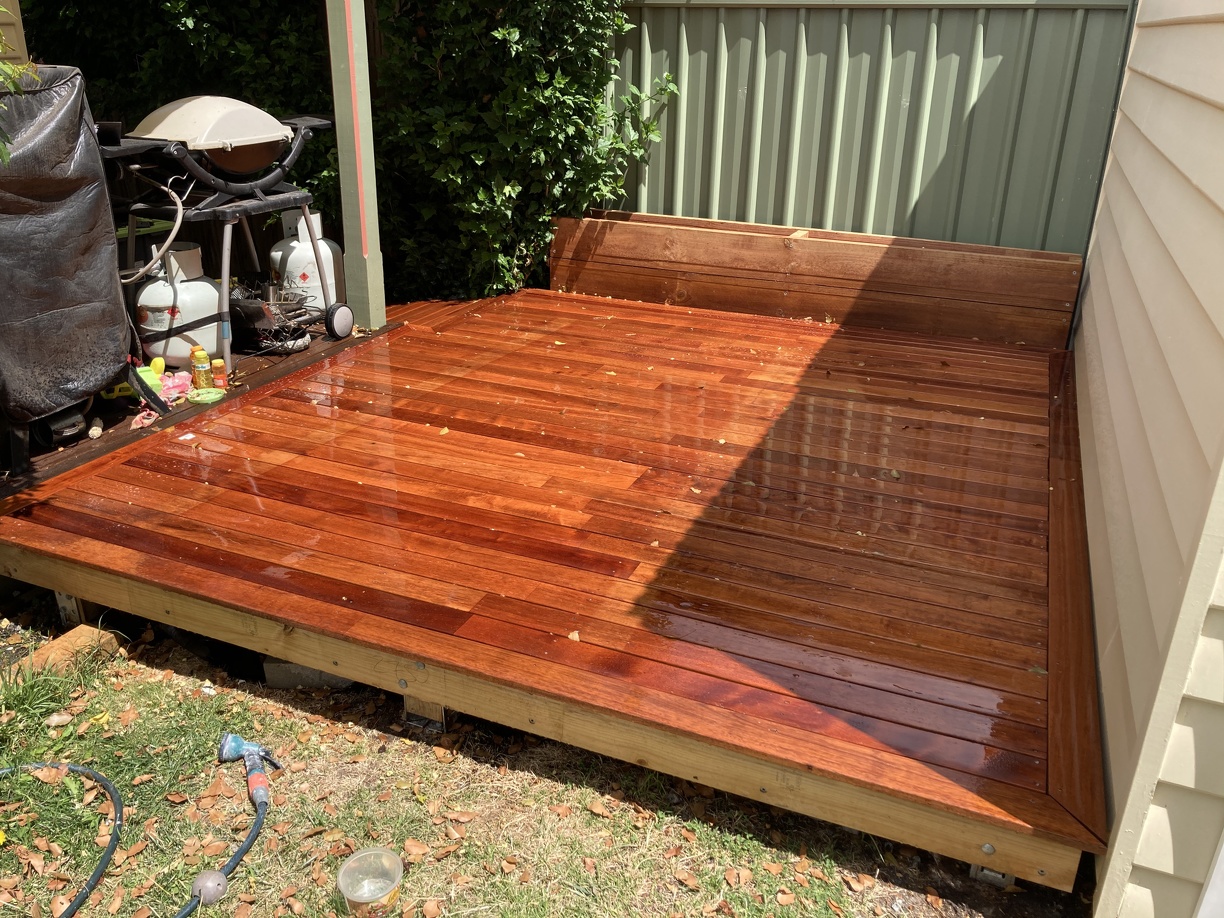
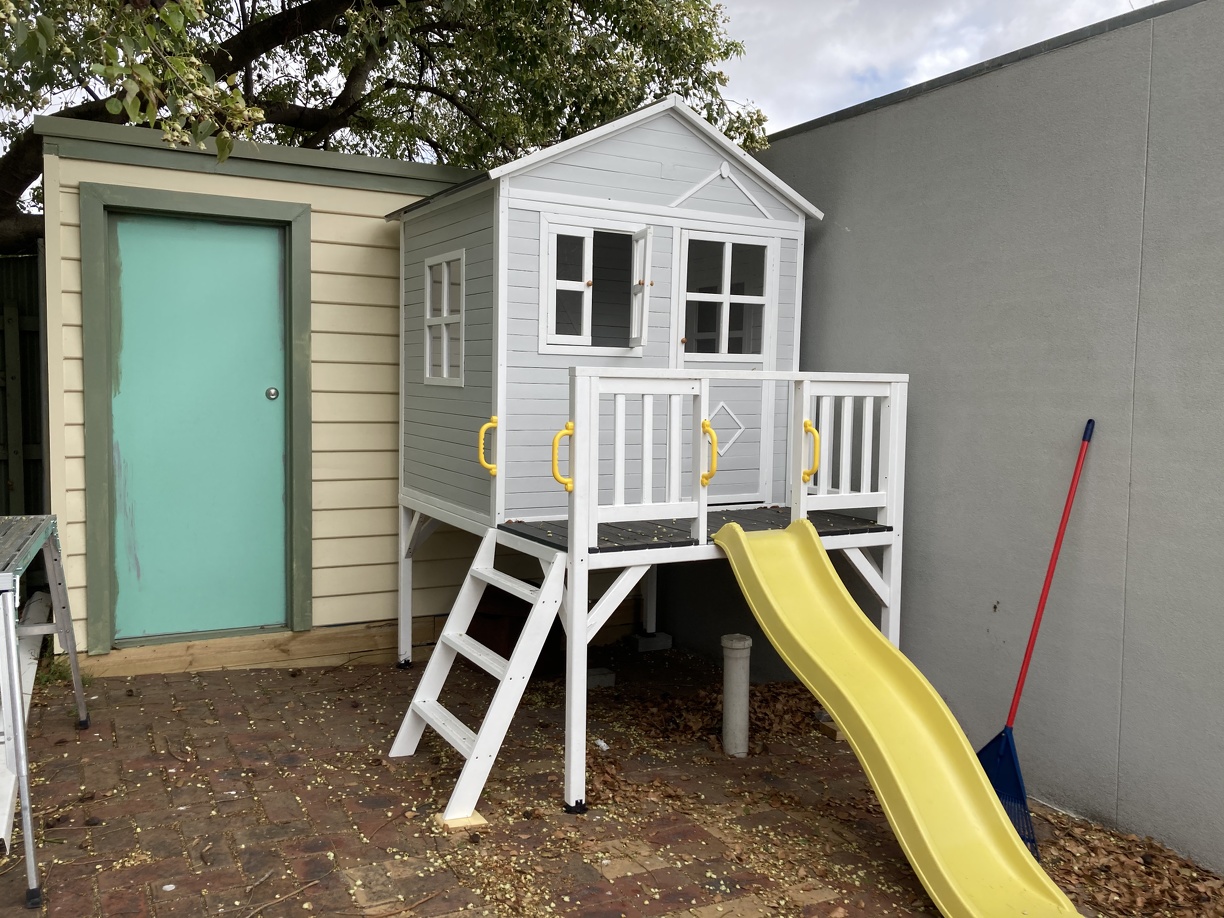
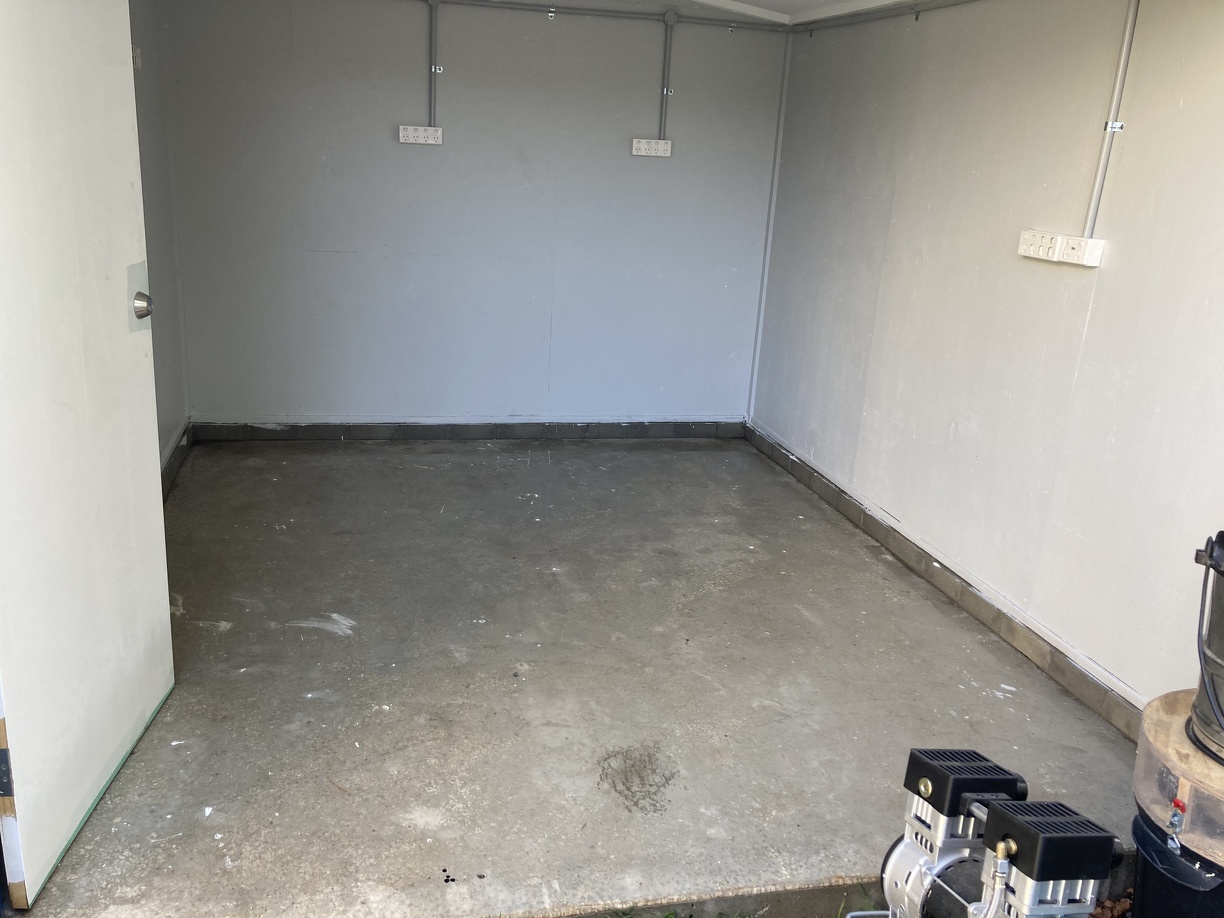
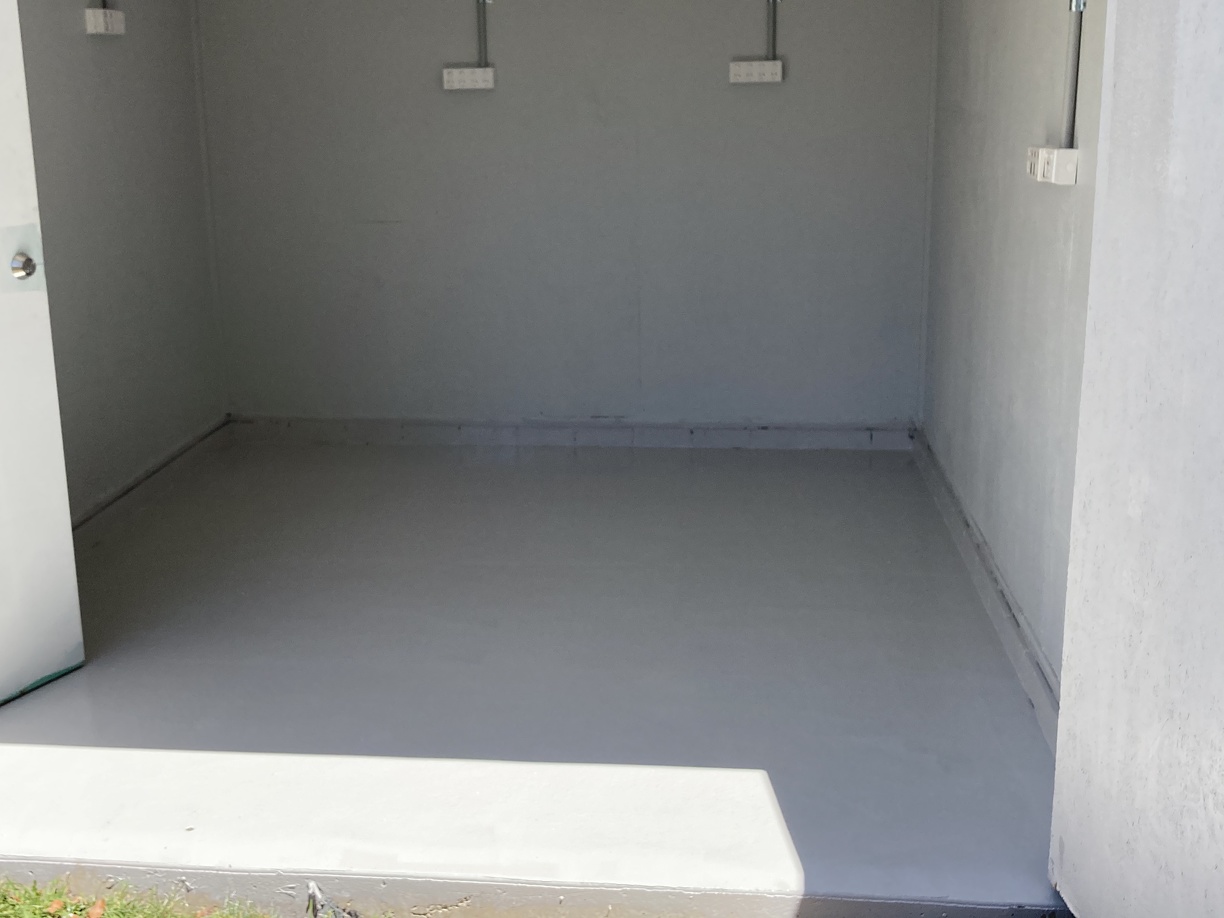
The first thing after registration was to start getting everything ready for its first job, which is to help us move house in a month. As part of moving house I need to build a storage/garden shed for a bunch of stuff, and hence this needs to be able to do Bunnings runs.
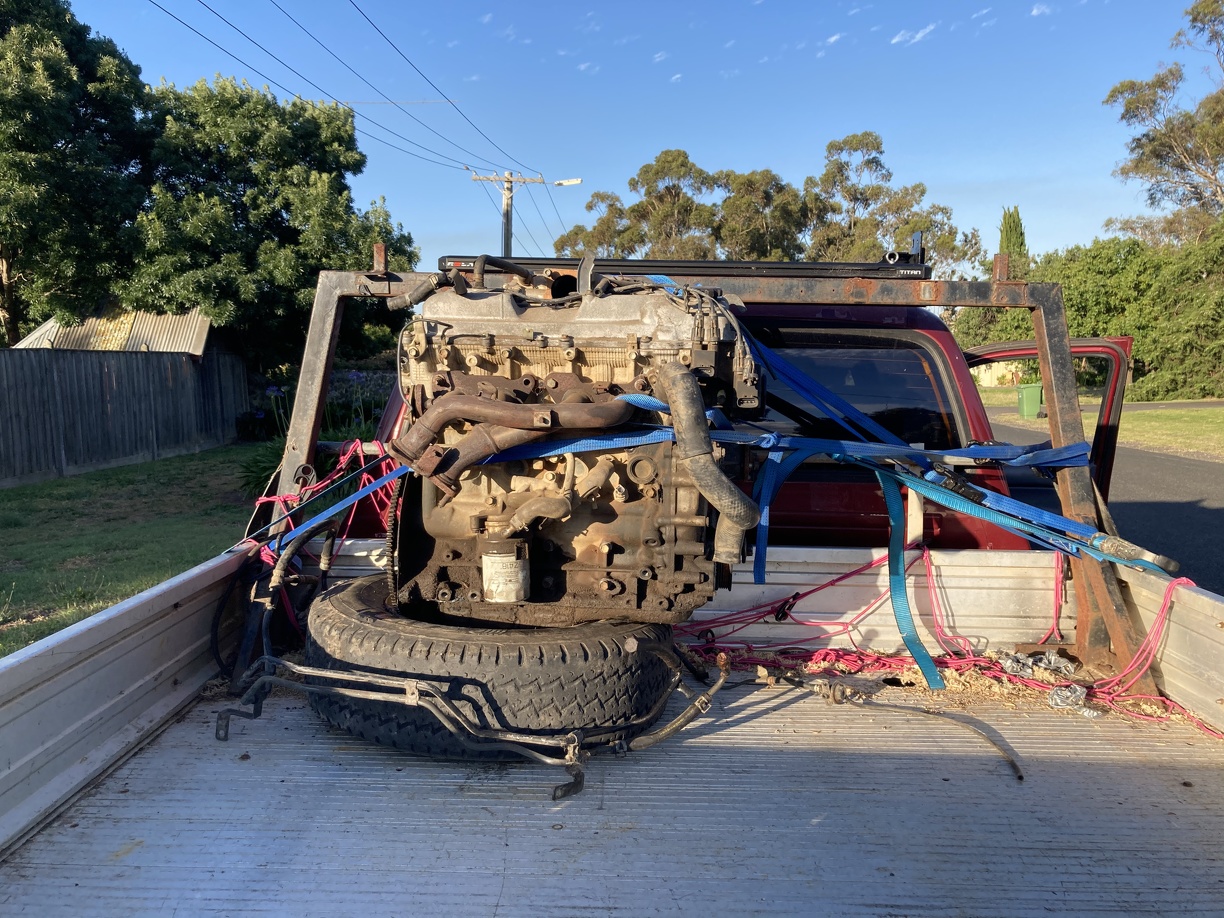
Now, if you were keen eyed in the earlier photos you might have noticed something weird about the tray (apart from it just being trash). The ladder bar isnt a ladder bar at all. Its been cut down to run full sik lights on it, and actually sits below the roof line. Eventually I will rebuild the entire tray, but for now I need to be able to figure out what size to make some extensions for the ladder bar so that I can carry materials without it hitting the roof. To figure out that height i set about getting the roof rack installed.
I was originally going to just get an eBay aluminium rack kit, but in the Supercheap sale recently they had 30% off the Rola racks, including the Titan trays. So cue this tray:

I also got a rail rack mounting setup from eBay, and set about making a rail from a Colorado fit with the Rola rack and the Hilux. First thing is to figure out if the ears will fit into the rain channel:

Followed by getting enthusiastic with a screwdriver and levering up the rain rails for a quick mock up:
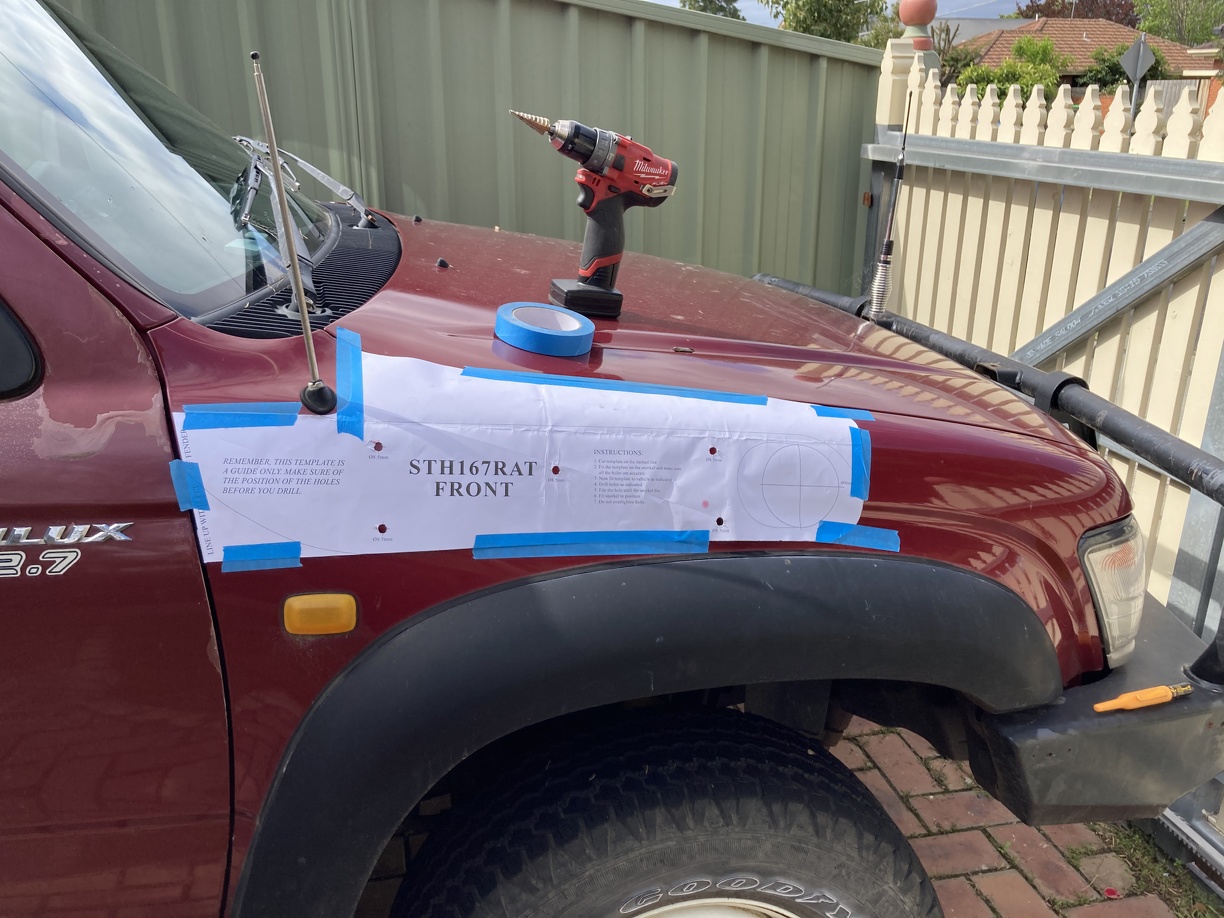
I then made the very silly choice of getting out the drill at 3:30pm on an overcast day... But hey no going back now:

Test fit:

Follow that up with a flurry of activity to Sikaflex and bolt in the four mounts before sun set and the rain started.
Oh and did i mention that i had to drop the entire roof lining to do this?
Kind of worked out ok, except for finding out that the tube of Sikaflex i had bought was white not black. But it sealed ok. Next day it looked like this:


No leaks.
However, the rain rails were absolutely busted, so i ducked over to Clark Rubber and got some samples of anything 20mm wide:
Ended up using some glazing channel that I Sikaflexed in place (and filled up the area around the mounting ears). Was reminded about how much I hate Sikaflex. Just gets everywhere.
After letting it all dry for a day or so that it was a fairly trivial exercise to mount up the rack
Surprisingly just fits up to the standard bolt holes, no fettling required.
Need to replace the mounting bolts for the rack to rails, as the rail kit came with plain zinc plated mild steel bolts. Have already replaced the ear to rail bolts with 12.9 stainless and nylocs, and the ear to roof bolts are 12.9 M6 stainless socket head cap screws with stainless nylocs.
But in the end you can see here how much lower the bar is than the rack, and now i can build a spacer to suit:
Oh and then the next project started:

Another thing I had grabbed in the initial phase was a new pair of seats. When I had my old Hilux i figured out that WRX seats fit in pretty easily with only minor modifications (drill an extra hole where there is tons of meat and some minor fettling. But while WRX seats are quite comfortable, they aren't particularly available and dont fit well for a parts hauler. So with some help from Marty at MCM i found out that pretty much every Subaru from 1997-2005 had the same seat pattern.
Then a quick search on Facebook marketplace turned up a very cheap set of Forester seats, which i went to pick up at night. Being night time i missed the fact that the drivers seat had evidently been used by someone rather portly and had cracked the seat base mounts:

Not to worry, add some significant reinforcement with the MIG:

Then on with fitting. Took half an hour to get them in and voila:
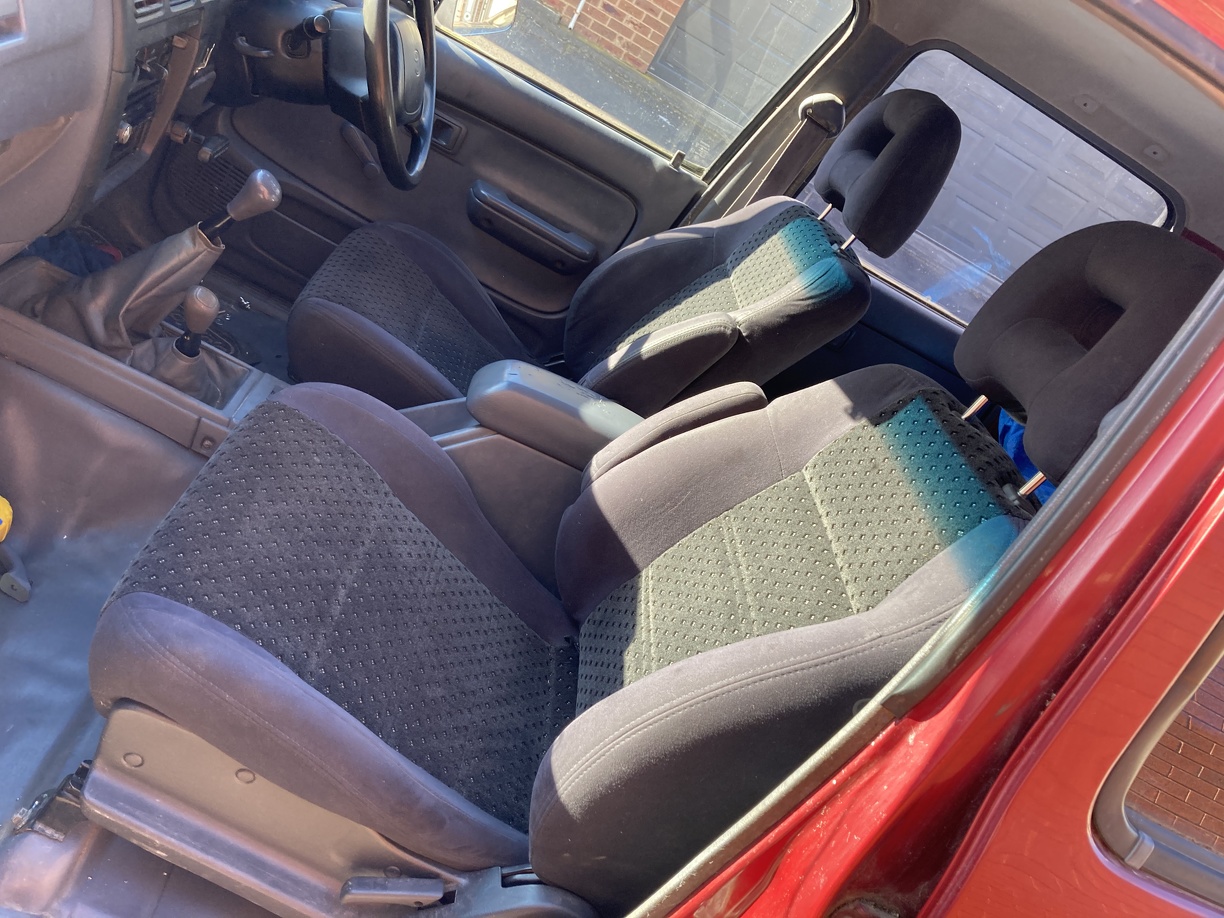
Oh and did i say they have arm rests:
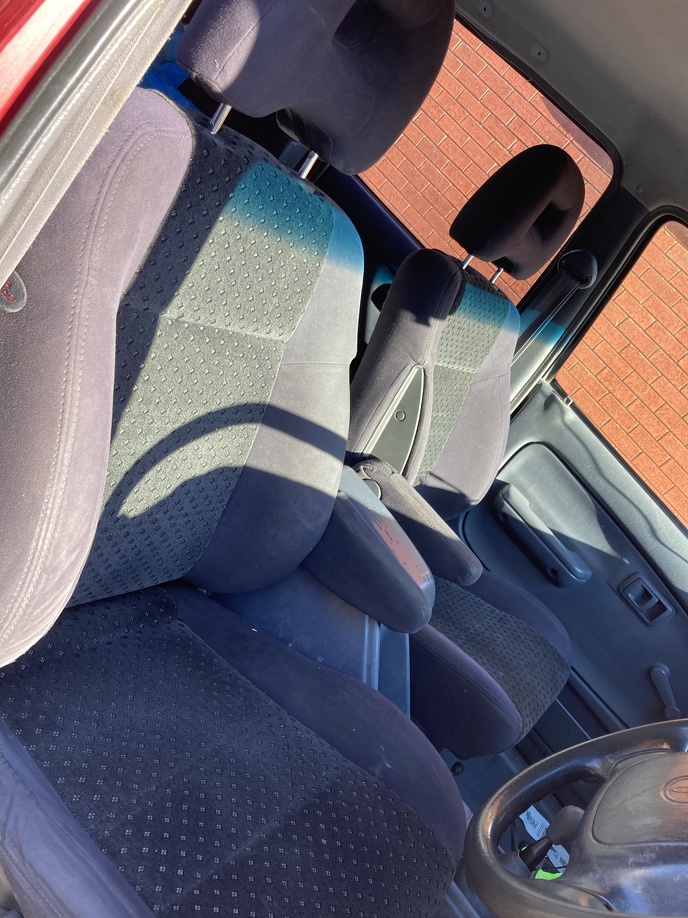
Quite comfy and very good for the $50 outlay.
After getting the seats in I turned to getting some of the wiring sorted out from the rats nest that had been put in the car. Spent about two hours just tracing random wires, and finding things like these RCAs jammed into the A pillar base:
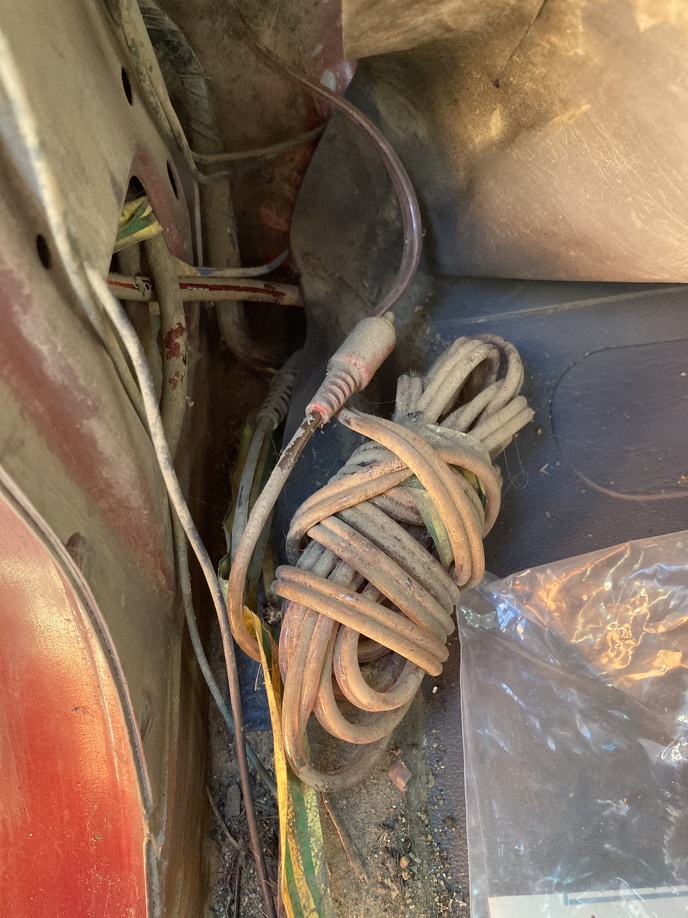
Along with an uninsulated and permanently live 8AWG feed.
Mercifully that one was fused:
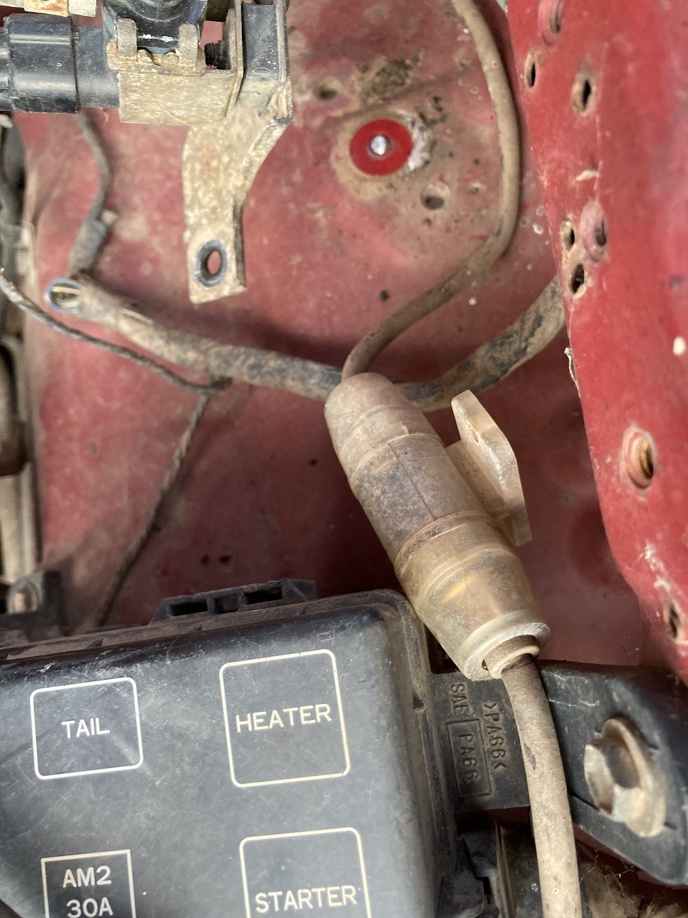
...with a 150A fuse, which wouldnt have blown before the 8AWG caught on fire. SMH
Anyway after that automotive archaeology i started to put some better wiring back into the thing. Started with a fuse box and some brackets
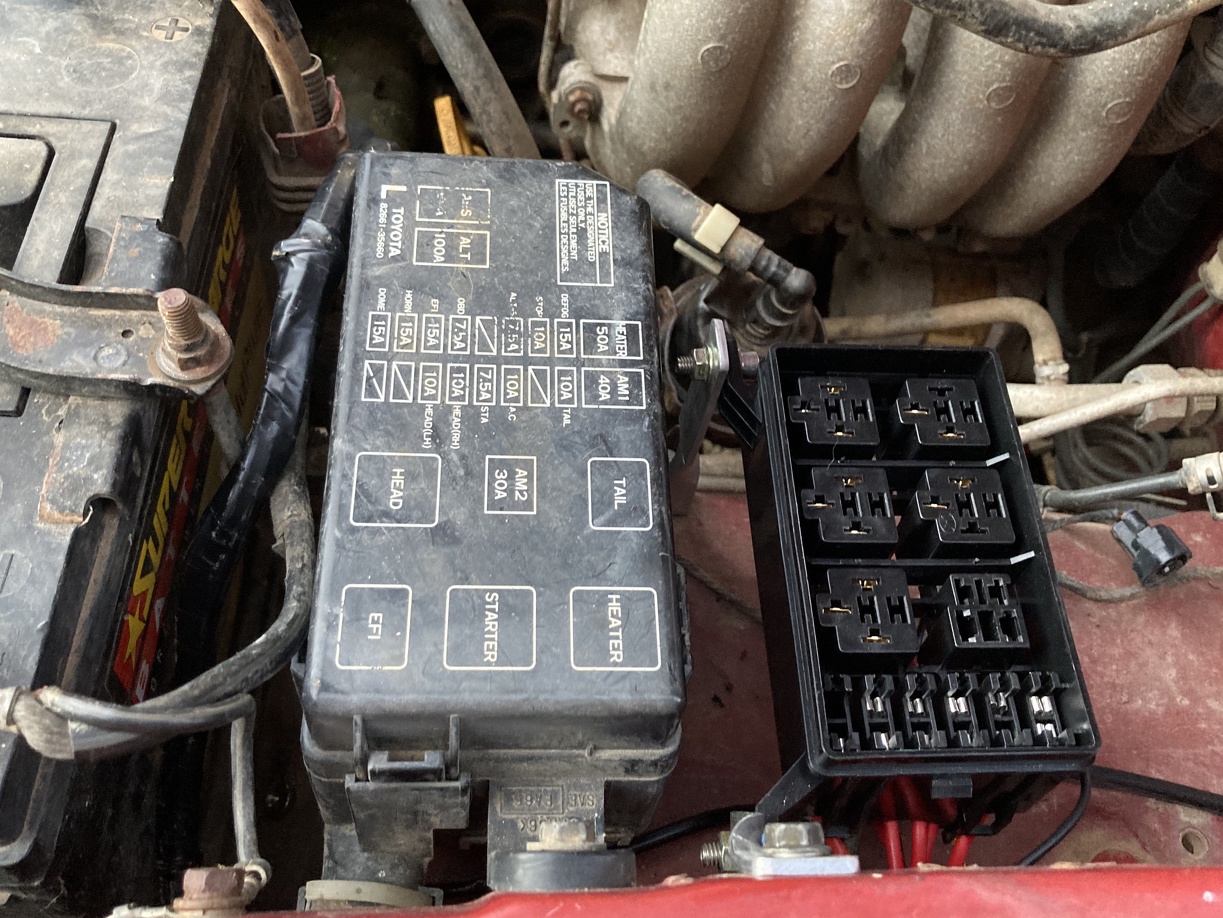
...not quite Binky spec, but this thing doesnt really deserve that.
Still looks quite respectable with the cover on:

Wired up an inline hard mounted USB power supply for the reversing cam and GPS speedo:

Installed the rear view mirror/dash cam/reversing camera setup:
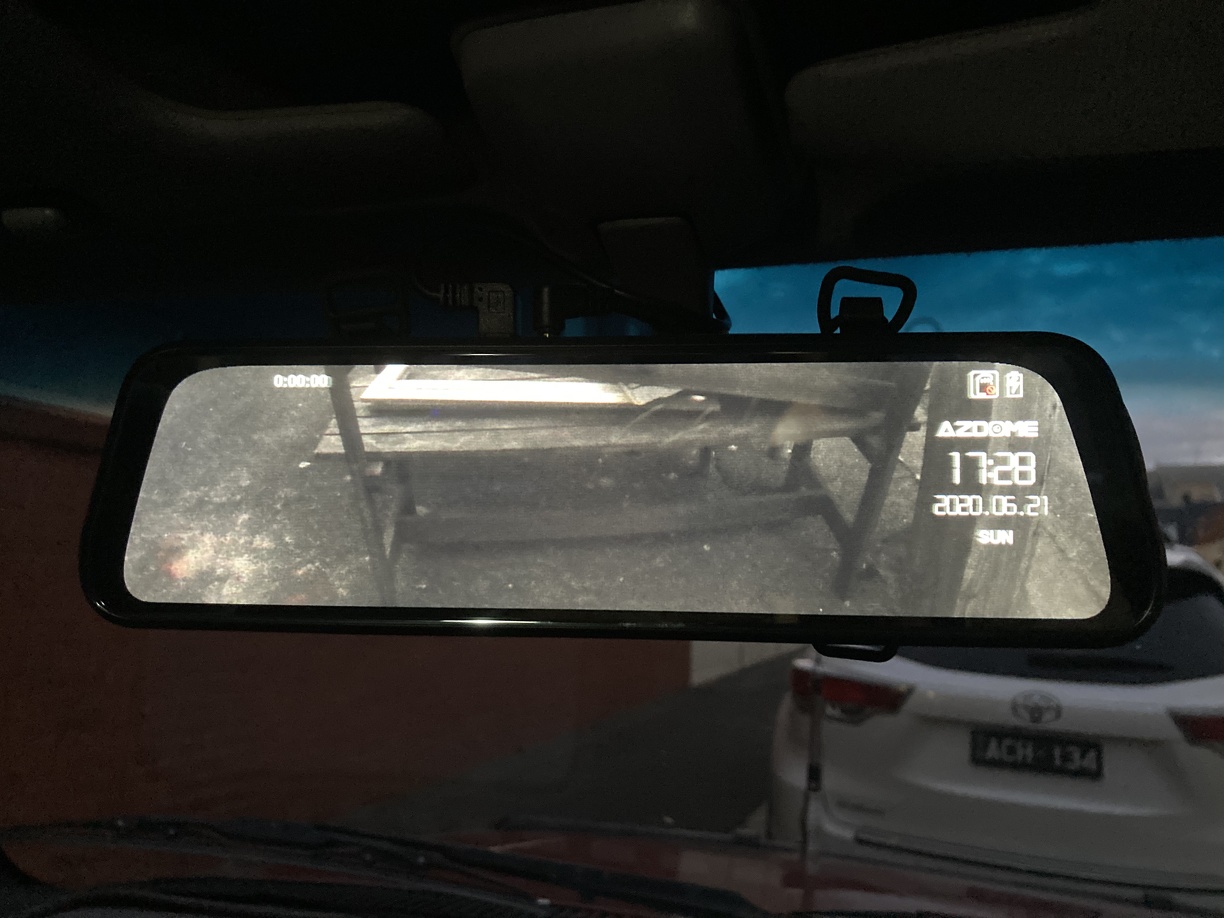
Seems quite decent with a good view behind and reasonable visibility with the LCD turned off
Ill come up with a better mounting system for it later when some other bits arrive.
Added a CB back in as well. Evidently there was one there before as the cutout in the dash fit almost perfectly:
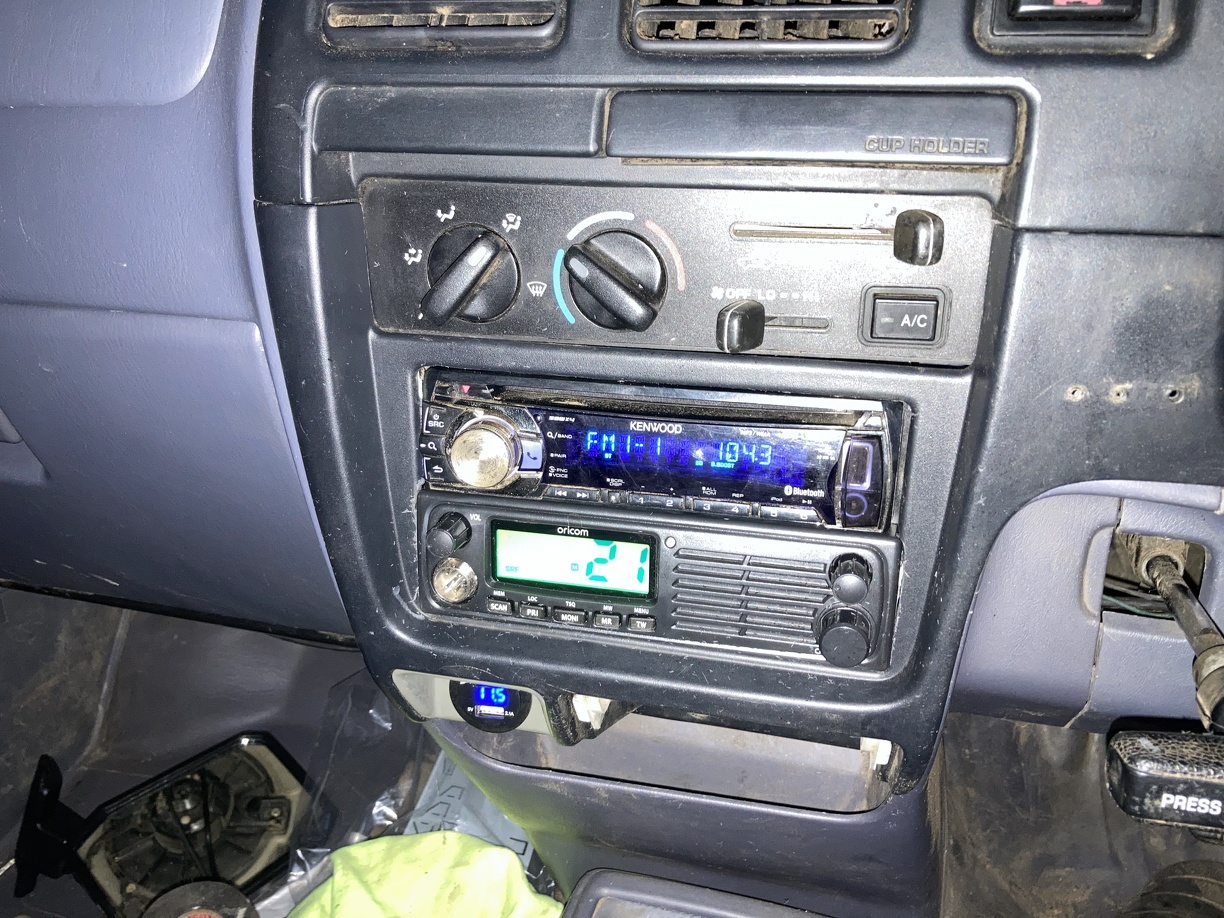
Plus you can see the extra two USB ports and voltmeter replacing the factory cigarette lighter.
While i was mucking around under the dash i ran a multicore over to the switch area beside the steering column to run all my lighting switches. Wired all of those up only to find that the switch plates in the Hilux are a slightly different size to the newer ones...

Never mind, 3d printer to the rescue. Quick measure up and start printing:
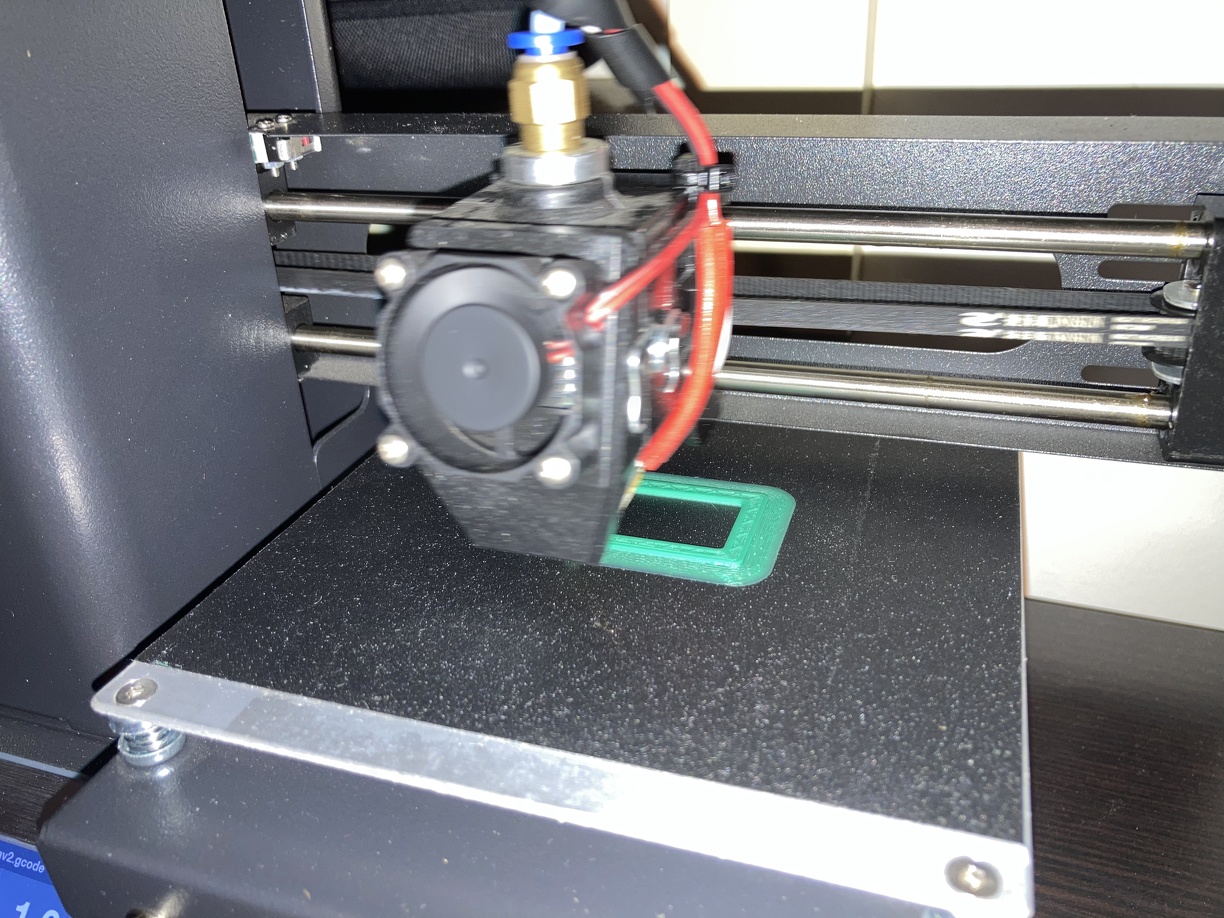


First prototype fits perfectly. Debating whether to just glue the rings in to the dash and be done with it, or print full adapters.
Either way I need to get some black or grey filament before i can continue.
Oh and the AGM battery i had from the old Hilux fits behind the rear seat:
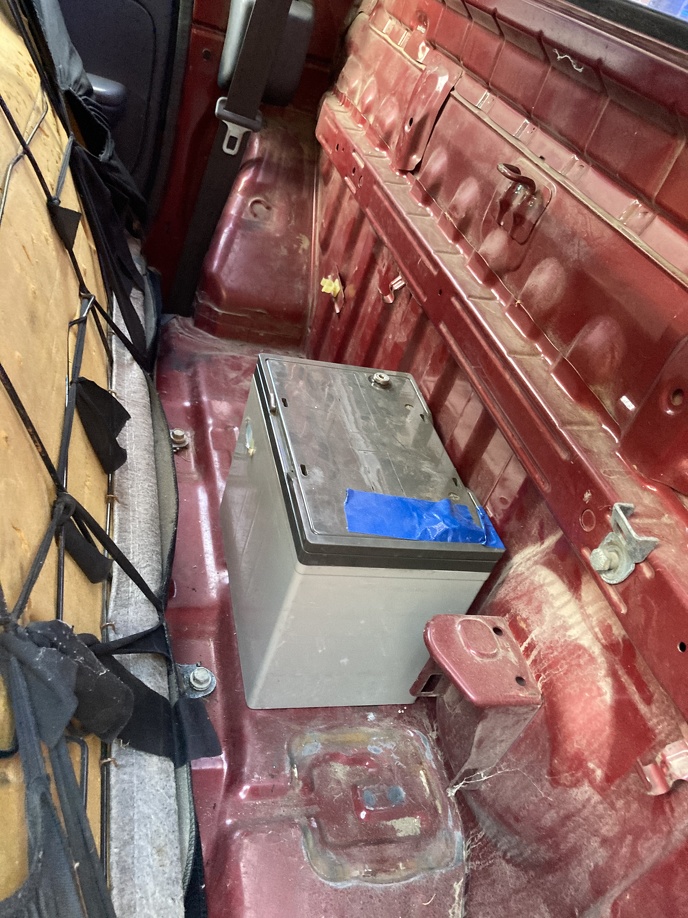
Ill have to get to wiring that up soon.
Now, if you were keen eyed in the earlier photos you might have noticed something weird about the tray (apart from it just being trash). The ladder bar isnt a ladder bar at all. Its been cut down to run full sik lights on it, and actually sits below the roof line. Eventually I will rebuild the entire tray, but for now I need to be able to figure out what size to make some extensions for the ladder bar so that I can carry materials without it hitting the roof. To figure out that height i set about getting the roof rack installed.
I was originally going to just get an eBay aluminium rack kit, but in the Supercheap sale recently they had 30% off the Rola racks, including the Titan trays. So cue this tray:
I also got a rail rack mounting setup from eBay, and set about making a rail from a Colorado fit with the Rola rack and the Hilux. First thing is to figure out if the ears will fit into the rain channel:
Followed by getting enthusiastic with a screwdriver and levering up the rain rails for a quick mock up:
I then made the very silly choice of getting out the drill at 3:30pm on an overcast day... But hey no going back now:
Test fit:
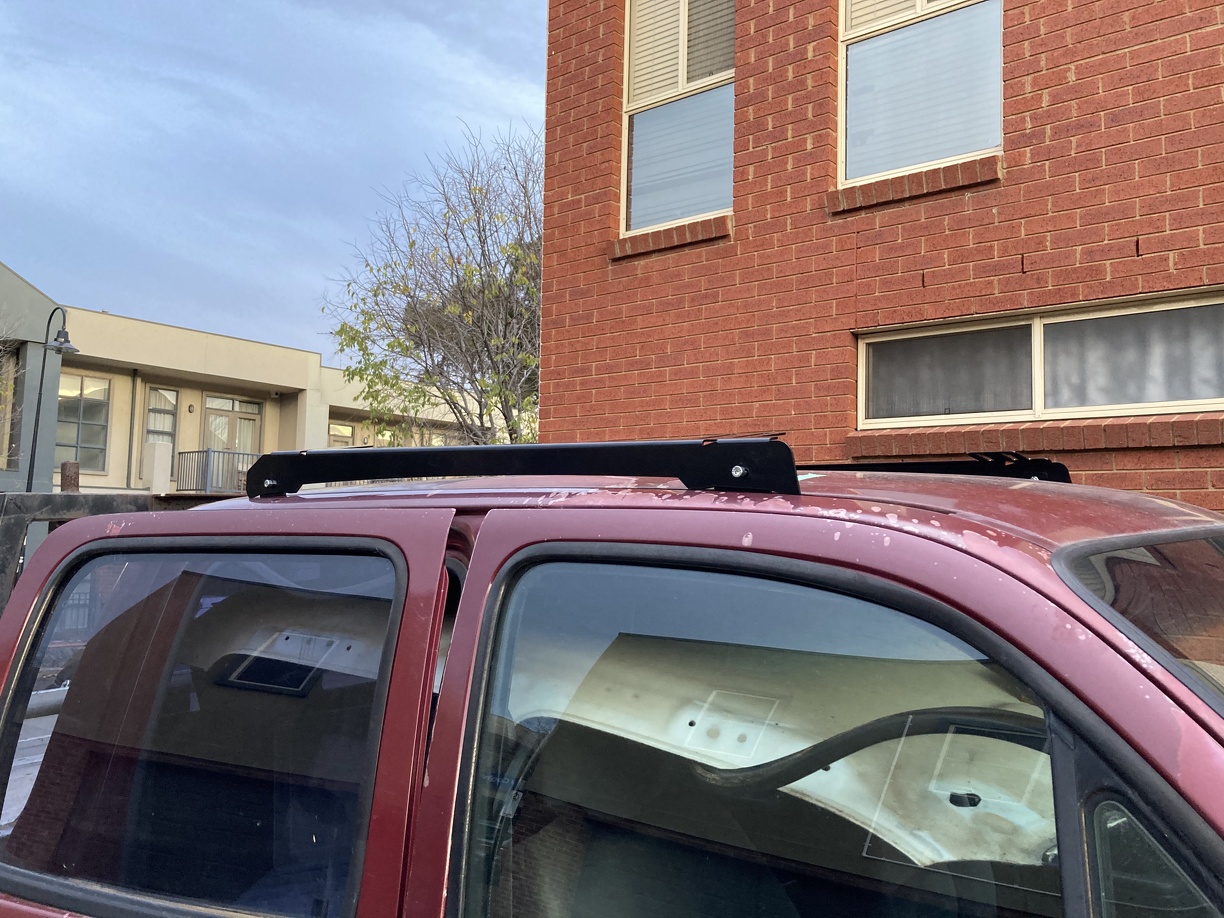
Follow that up with a flurry of activity to Sikaflex and bolt in the four mounts before sun set and the rain started.
Oh and did i mention that i had to drop the entire roof lining to do this?
Kind of worked out ok, except for finding out that the tube of Sikaflex i had bought was white not black. But it sealed ok. Next day it looked like this:
No leaks.
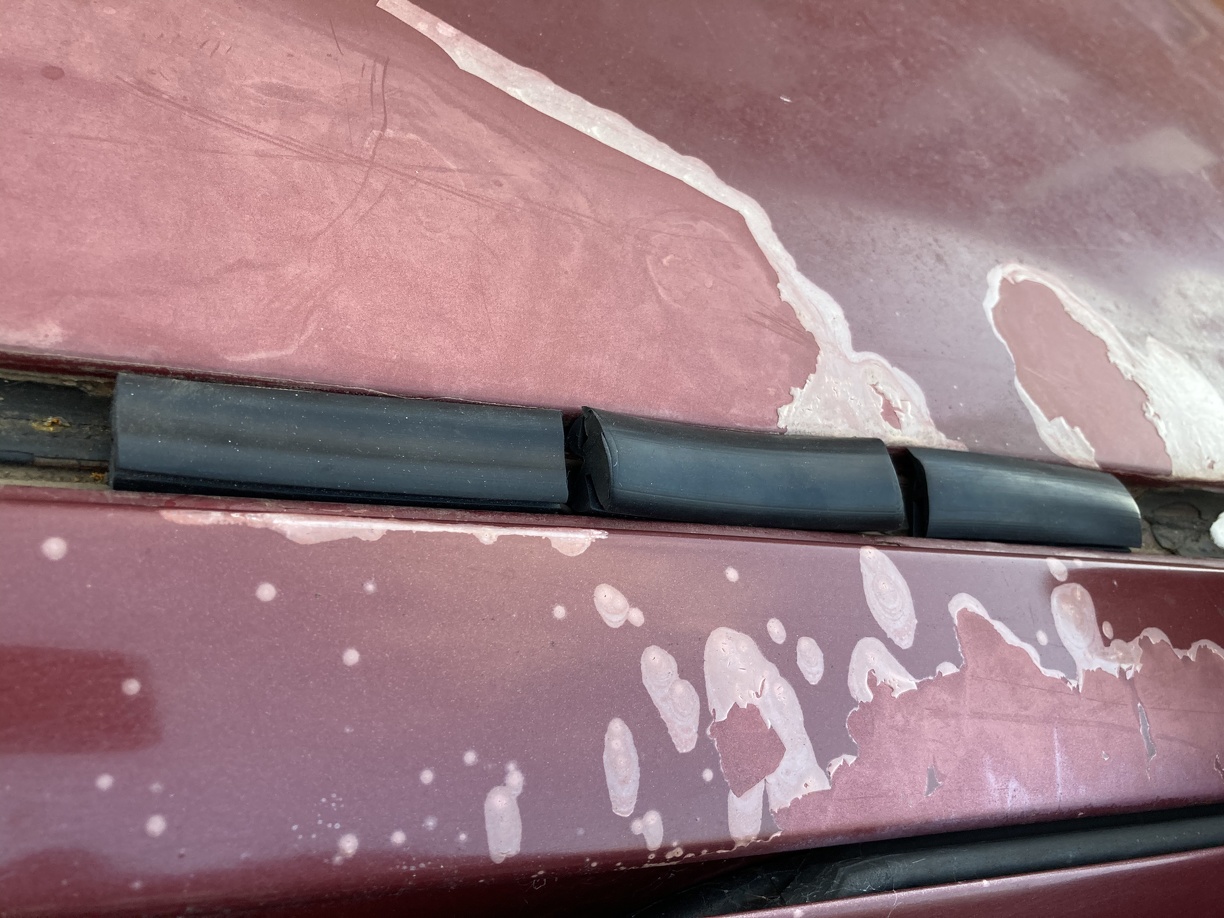
However, the rain rails were absolutely busted, so i ducked over to Clark Rubber and got some samples of anything 20mm wide:
Ended up using some glazing channel that I Sikaflexed in place (and filled up the area around the mounting ears). Was reminded about how much I hate Sikaflex. Just gets everywhere.
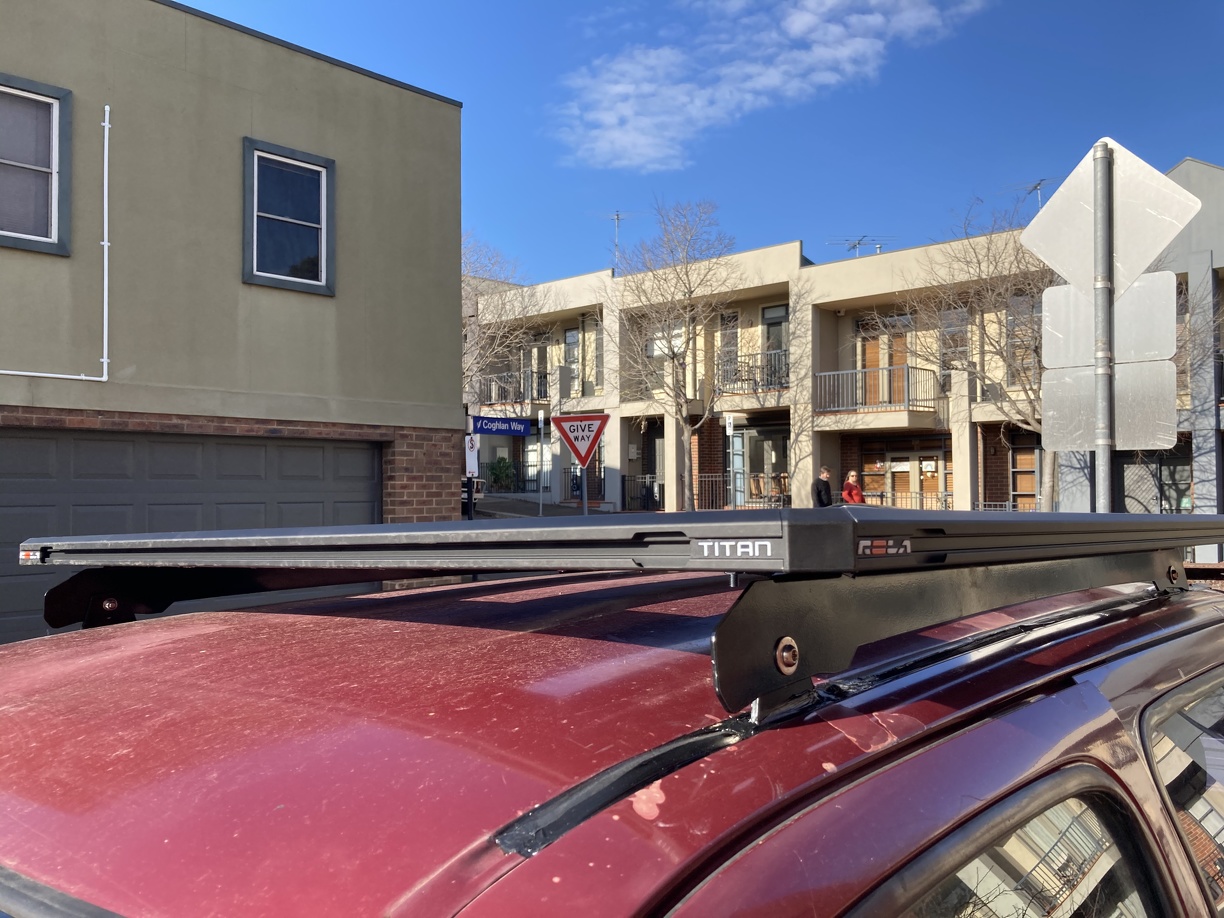
After letting it all dry for a day or so that it was a fairly trivial exercise to mount up the rack
Surprisingly just fits up to the standard bolt holes, no fettling required.
Need to replace the mounting bolts for the rack to rails, as the rail kit came with plain zinc plated mild steel bolts. Have already replaced the ear to rail bolts with 12.9 stainless and nylocs, and the ear to roof bolts are 12.9 M6 stainless socket head cap screws with stainless nylocs.
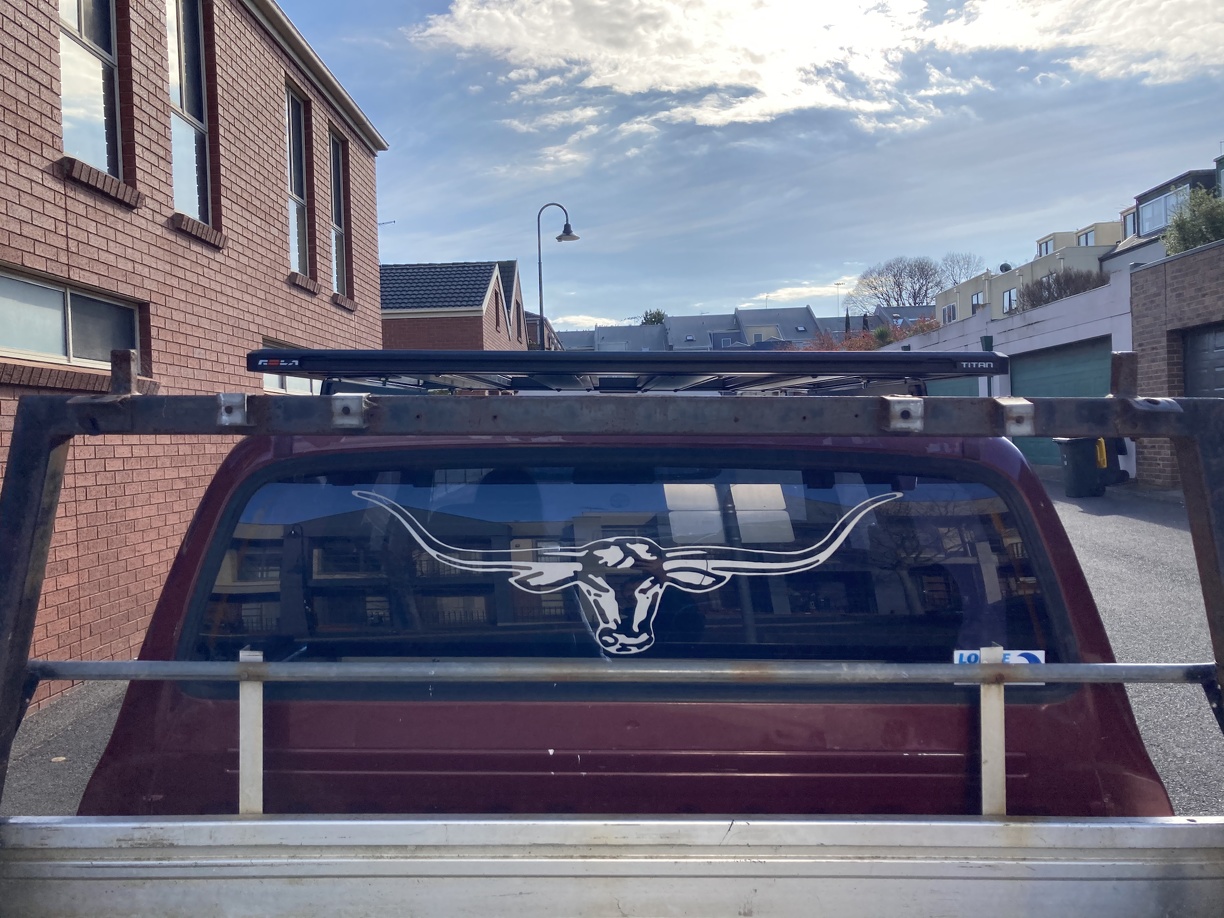
But in the end you can see here how much lower the bar is than the rack, and now i can build a spacer to suit:
Oh and then the next project started:
Another thing I had grabbed in the initial phase was a new pair of seats. When I had my old Hilux i figured out that WRX seats fit in pretty easily with only minor modifications (drill an extra hole where there is tons of meat and some minor fettling. But while WRX seats are quite comfortable, they aren't particularly available and dont fit well for a parts hauler. So with some help from Marty at MCM i found out that pretty much every Subaru from 1997-2005 had the same seat pattern.
Then a quick search on Facebook marketplace turned up a very cheap set of Forester seats, which i went to pick up at night. Being night time i missed the fact that the drivers seat had evidently been used by someone rather portly and had cracked the seat base mounts:
Not to worry, add some significant reinforcement with the MIG:
Then on with fitting. Took half an hour to get them in and voila:
Oh and did i say they have arm rests:
Quite comfy and very good for the $50 outlay.
After getting the seats in I turned to getting some of the wiring sorted out from the rats nest that had been put in the car. Spent about two hours just tracing random wires, and finding things like these RCAs jammed into the A pillar base:
Along with an uninsulated and permanently live 8AWG feed.
Mercifully that one was fused:
...with a 150A fuse, which wouldnt have blown before the 8AWG caught on fire. SMH
Anyway after that automotive archaeology i started to put some better wiring back into the thing. Started with a fuse box and some brackets
...not quite Binky spec, but this thing doesnt really deserve that.
Still looks quite respectable with the cover on:
Wired up an inline hard mounted USB power supply for the reversing cam and GPS speedo:
Installed the rear view mirror/dash cam/reversing camera setup:
Seems quite decent with a good view behind and reasonable visibility with the LCD turned off
Ill come up with a better mounting system for it later when some other bits arrive.
Added a CB back in as well. Evidently there was one there before as the cutout in the dash fit almost perfectly:
Plus you can see the extra two USB ports and voltmeter replacing the factory cigarette lighter.
While i was mucking around under the dash i ran a multicore over to the switch area beside the steering column to run all my lighting switches. Wired all of those up only to find that the switch plates in the Hilux are a slightly different size to the newer ones...
Never mind, 3d printer to the rescue. Quick measure up and start printing:
First prototype fits perfectly. Debating whether to just glue the rings in to the dash and be done with it, or print full adapters.
Either way I need to get some black or grey filament before i can continue.
Oh and the AGM battery i had from the old Hilux fits behind the rear seat:
Ill have to get to wiring that up soon.