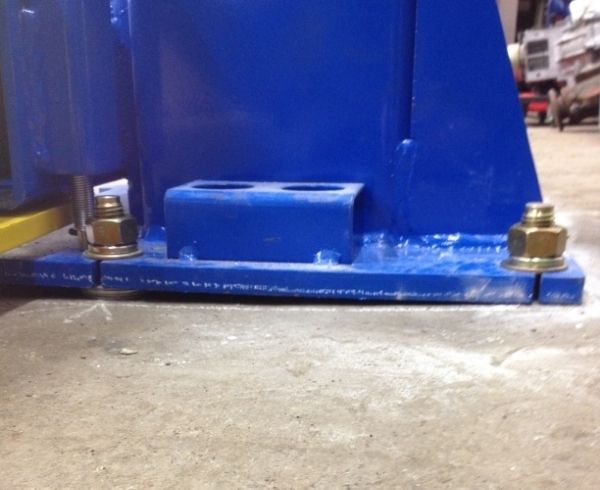
I have managed to stabilize the posts somewhat, they dont bend anymore as much and I can live with the current state.
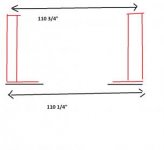
My runways are completely level side to side, but there is some minor slope horizontally (as in the front of the car sits a tad higher than rear). I had to do this because my car wouldnt clear, its too low. I suspect the difference is about 3/4" between the two ends of the lift. Anyways I am explaining this because I dont know if it can explain the following issue I am about to describe (I dont think its related).
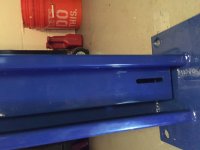
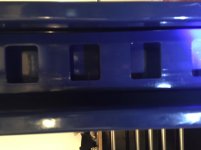
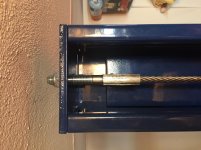
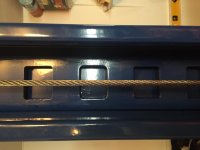
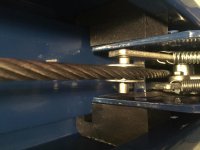
One of the posts (passenger front side) is having an issue with the ladder where as the runways go up to 2nd top most lock or so, it starts sticking out way too much and going to its side (see pictures). Also, right when this starts happening, the ladder synchronization gets completely messed up. For the first 10 or so locks, all locks engage right at the same time as if they are all one, but as it reaches there, it all goes haywire. Its only that 1 post. Other posts have their ladders also at an angle somewhat, but not too bad, certainly nothing like this.
My runways are completely level side to side, but there is some minor slope horizontally (as in the front of the car sits a tad higher than rear). I had to do this because my car wouldnt clear, its too low. I suspect the difference is about 3/4" between the two ends of the lift. Anyways I am explaining this because I dont know if it can explain the following issue I am about to describe (I dont think its related).
One of the posts (passenger front side) is having an issue with the ladder where as the runways go up to 2nd top most lock or so, it starts sticking out way too much and going to its side (see pictures). Also, right when this starts happening, the ladder synchronization gets completely messed up. For the first 10 or so locks, all locks engage right at the same time as if they are all one, but as it reaches there, it all goes haywire. Its only that 1 post. Other posts have their ladders also at an angle somewhat, but not too bad, certainly nothing like this.