To avoid these ads, REGISTER NOW!

help building timber garage/workshop

mollydog

Member
Joined
Sep 8, 2018
Messages
18
Location
Cambridgeshire (England)
a lurker with first time post

I was planing on posting a full request but till I have 5 posts I can't add the links so will ask in five posts

I have found this forum very informative and enjoy the posts :)
 
To avoid these ads, REGISTER NOW!
OP
M

mollydog

Member
Joined
Sep 8, 2018
Messages
18
Location
Cambridgeshire (England)
I’m a long time lurker first time poster, I have a few questions I would like to ask please

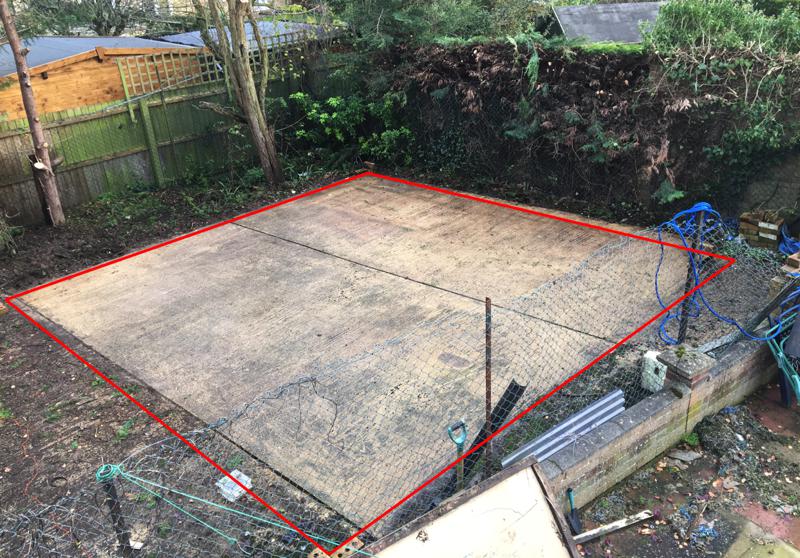
I’m planing on building my own timber garage come workshop, I already have a large concrete pad to build this garage on,


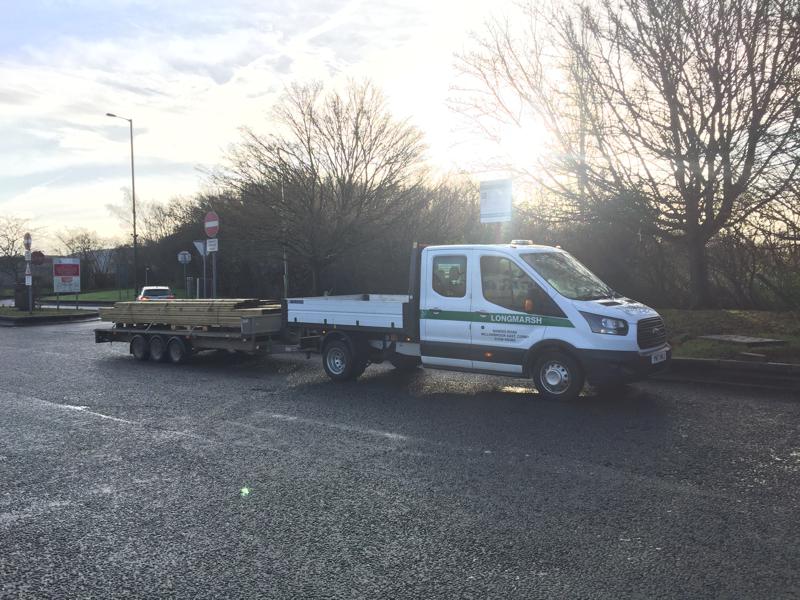
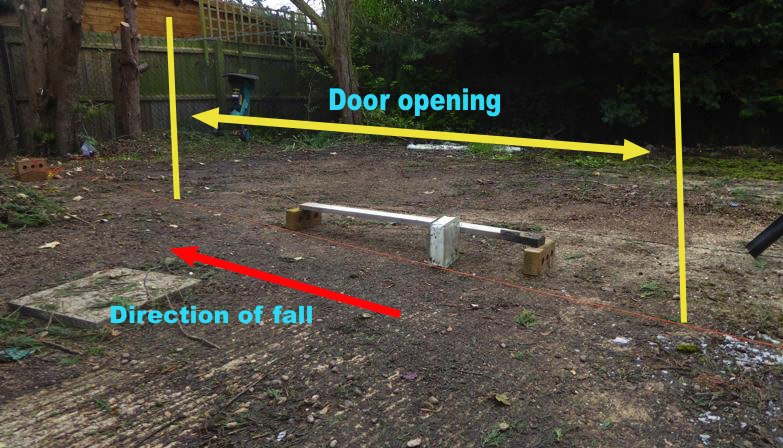
red line mark’s approx spot


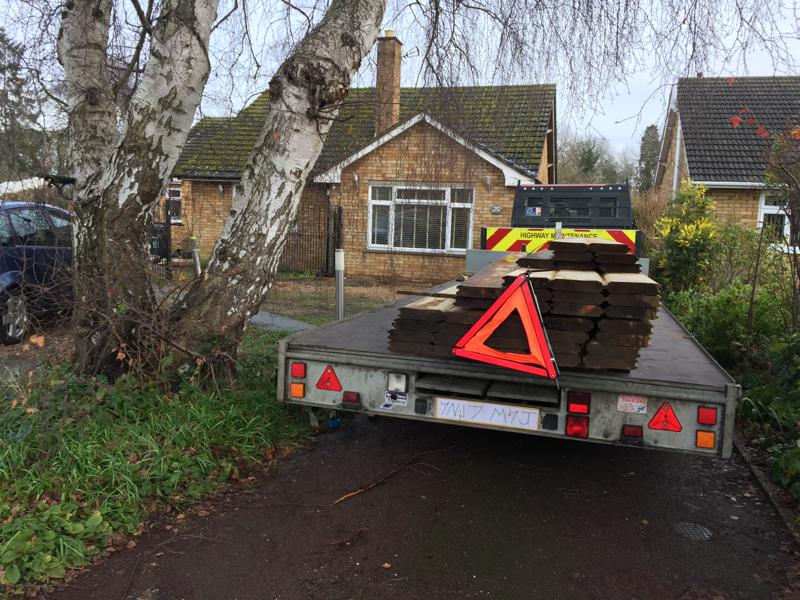
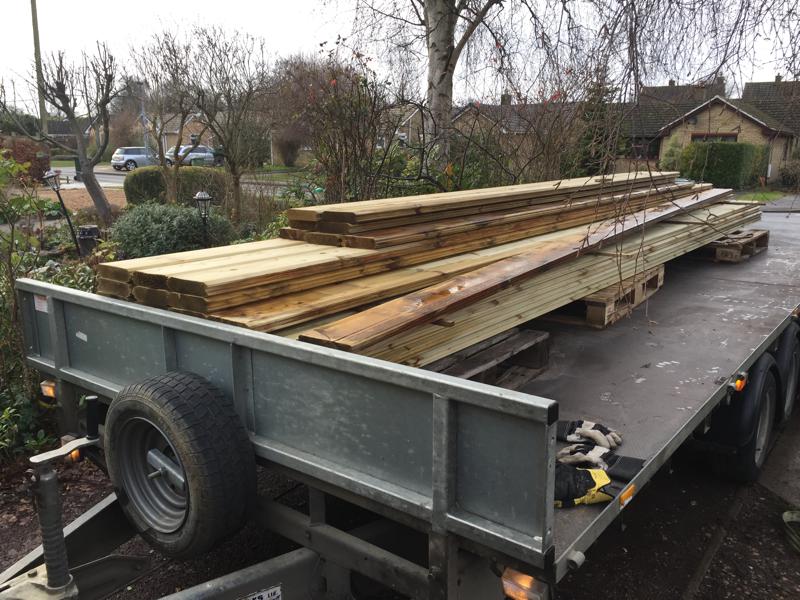
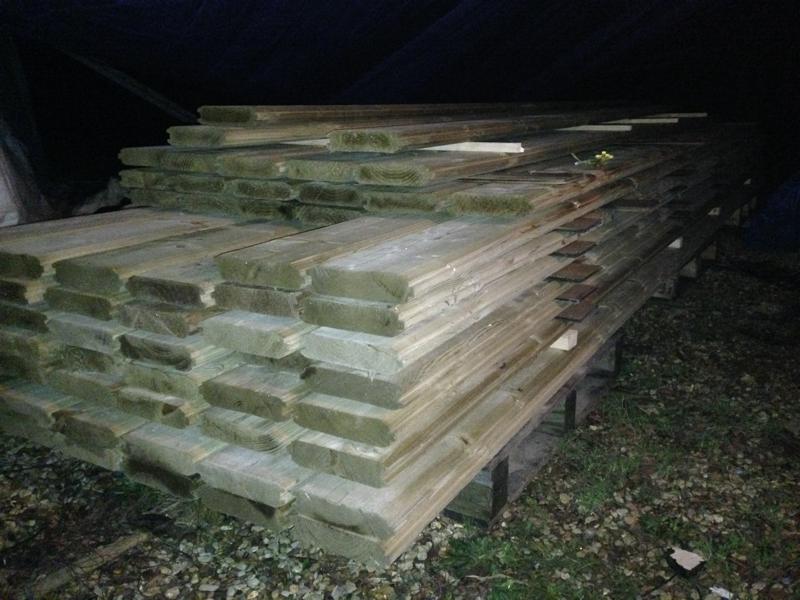
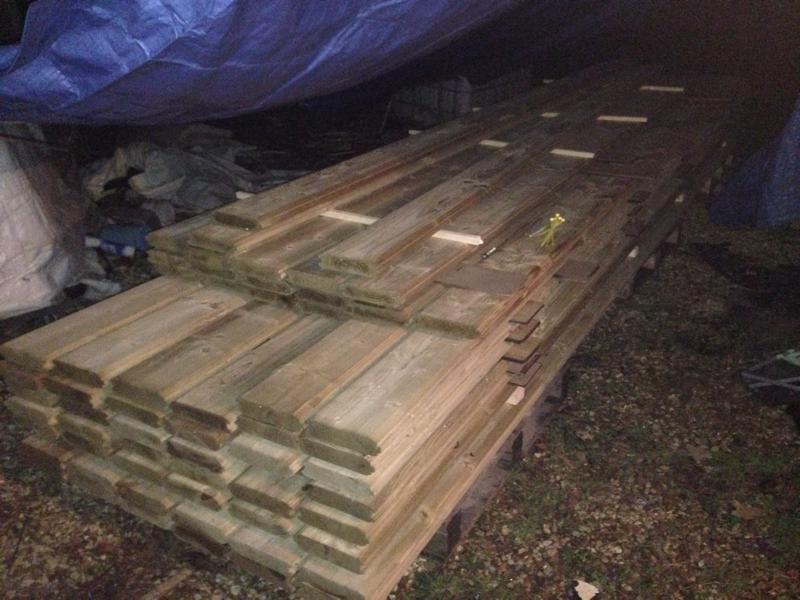
I bought my timber called “Dung boarding” or sometimes “Dung walling” farmers use it a lot and is/was a lot cheaper then buying a ready made log garage,


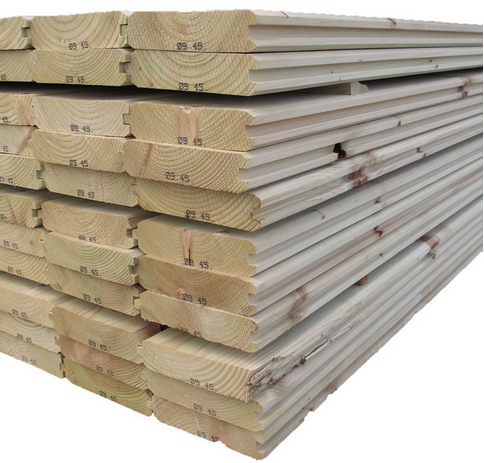
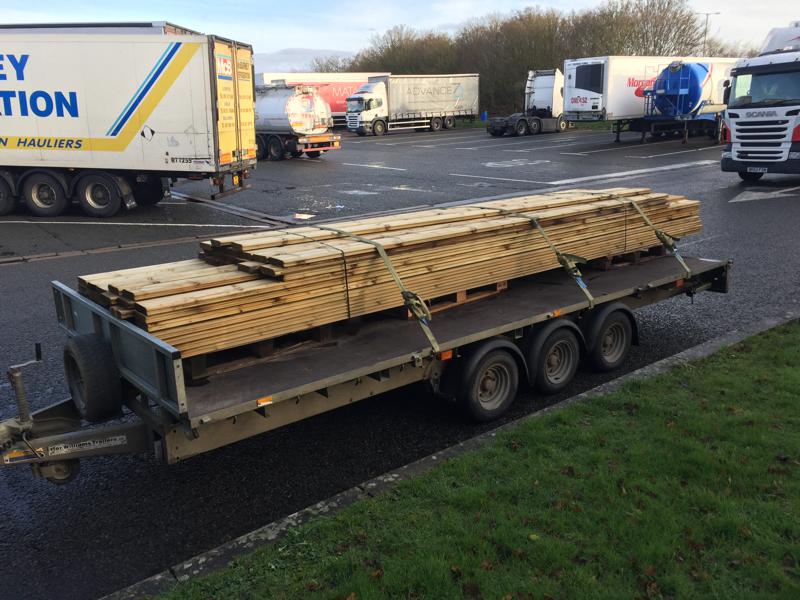
this timber should be enough to build the walls and for the joists, I’ll be buying the timber for the roof and doors as I need them as I’m restricted has to how much timber I can keep sheltered from the rain

the main reason for not taking the ready made route was the size was either too small or too large but nothing in the 6M x 5M / 6MxM range plus the cost I thought was way over what I could get it done for myself if bought the timber individually

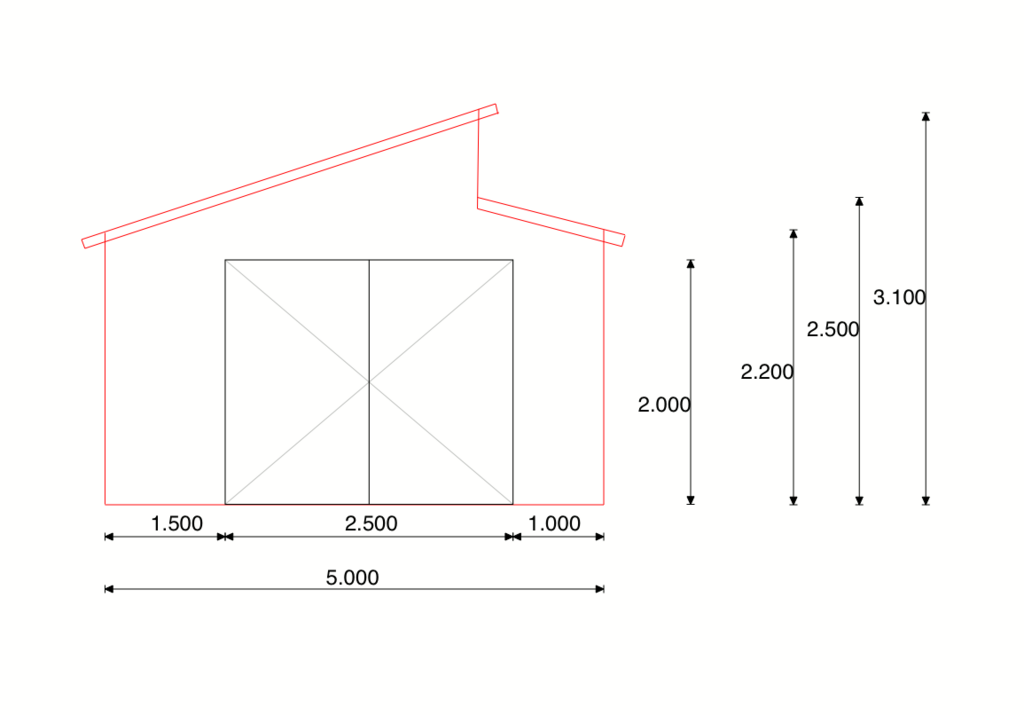
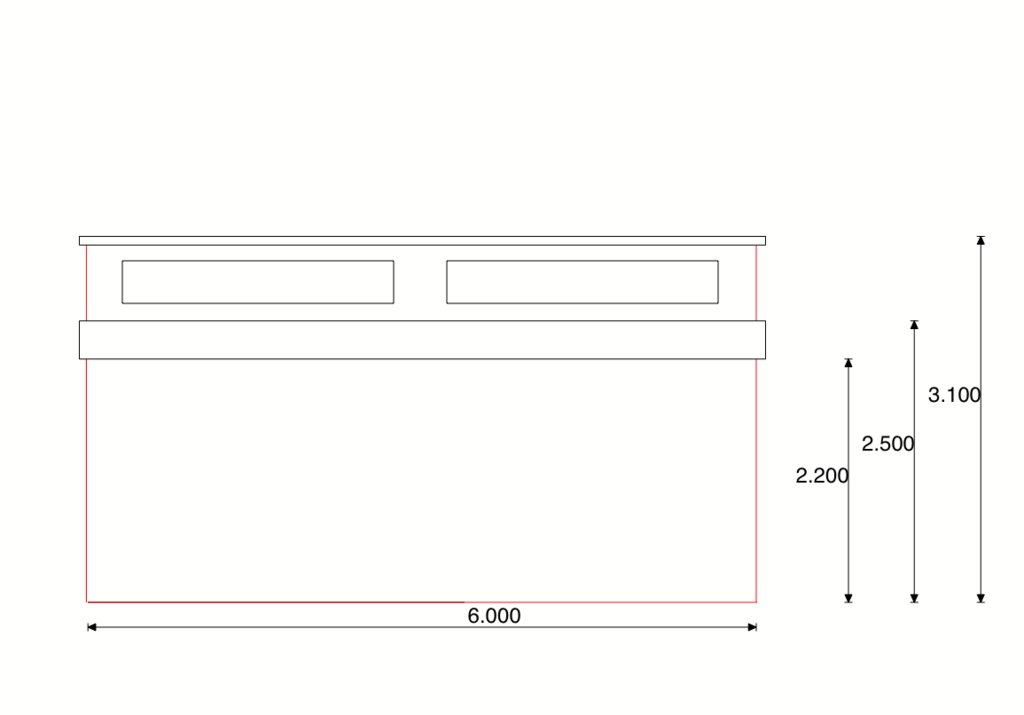
this is my home drawn plan (a copy of what I saw on the internet),but to my size


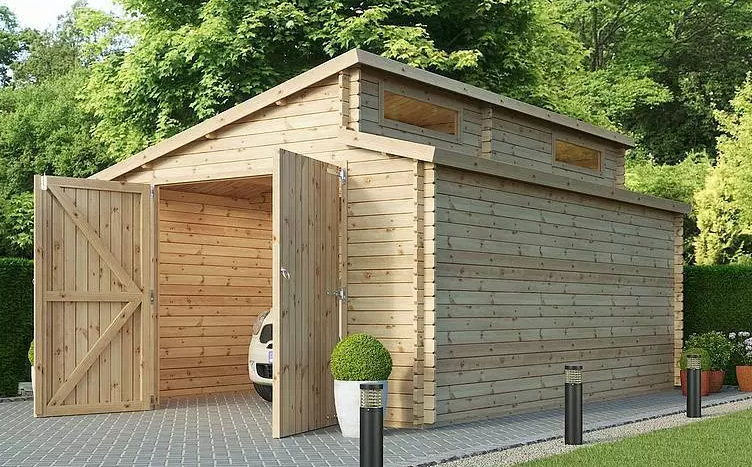
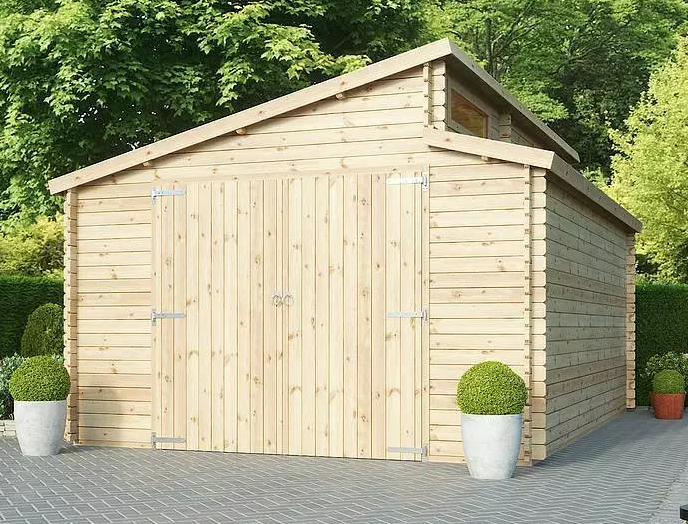
a copy from one of these


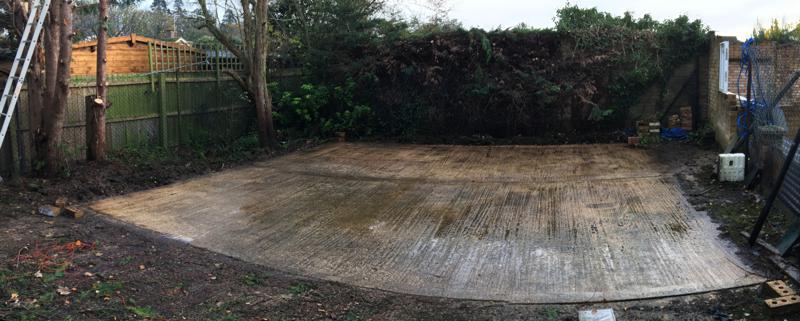
when I had the concrete laid I had it with a slight fall to one side, approximately 70mm drop in 6M


I don’t it to be a good idea to be laying the dung walling timber straight on to the concrete pad even though the timber has been tanalised/ preservative treated.

so two things here, I thinking having a 70mm fall in 6M is a bit on the large side, the fall won’t be running in to the doors but across it as in image 1, an I right in this fall needs levelling?

if so what is the easiest (and maybe the most cost effective) way for a non professional builder like myself to tempt this?

I was planing on laying a corse or two of red engineering bricks as a form of damp proof but I’ll still be having the issue of the fall to sort out, I don’t think I could make up 70mm in two cross of brickwork.

One method that had crossed my mind was to lay a concrete strip covering the garage footprint there by killing to birds with one stone in that this rated concrete will act as a platform for the timber wall and also having the top level, overcoming the 70mm drop

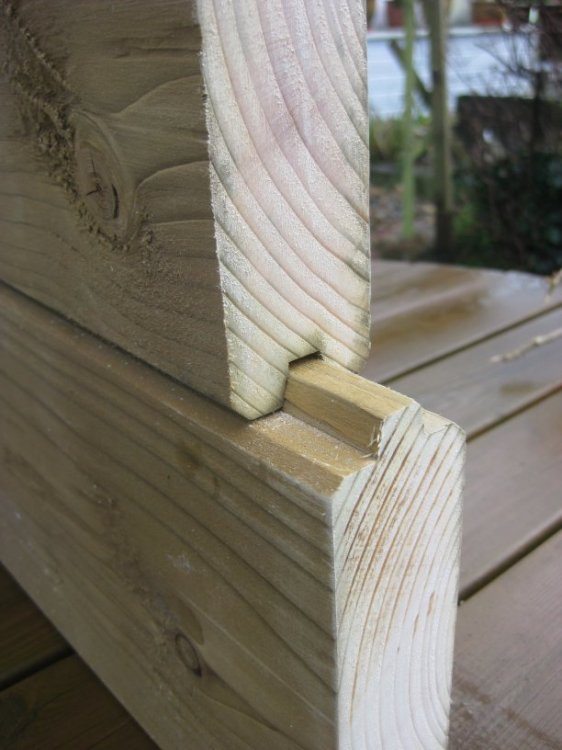
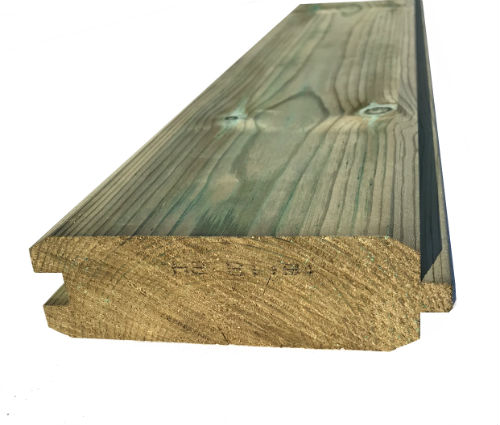
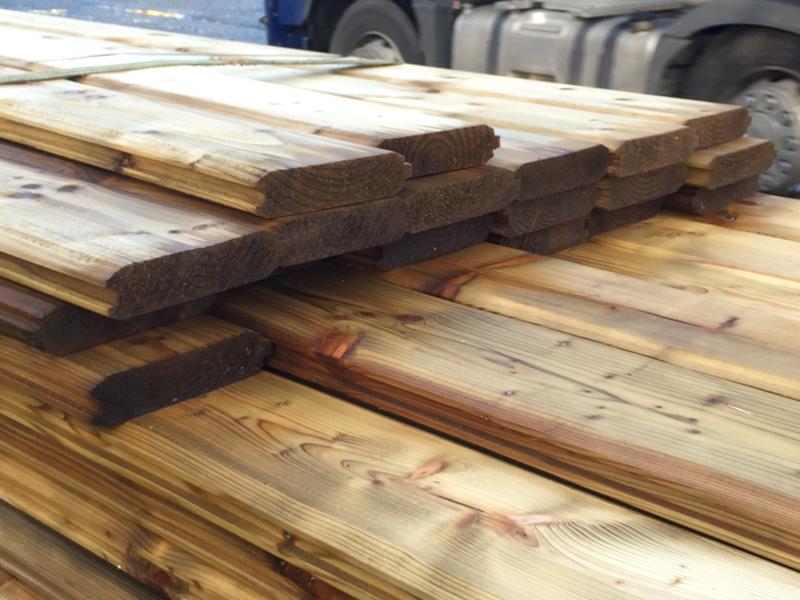
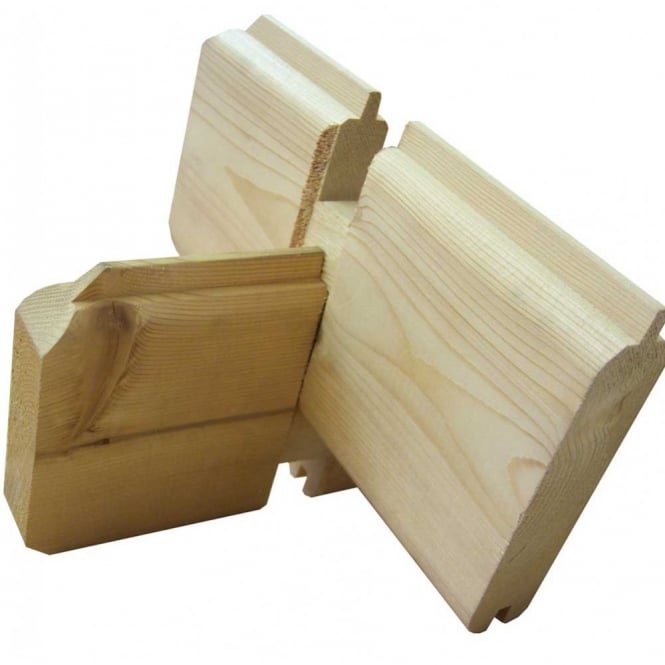
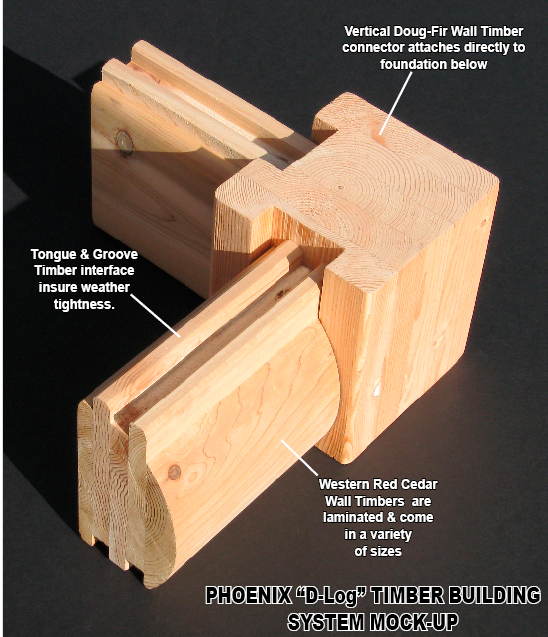
now for the other question, the pre-fab’s have the ends notched to interlock the timbers

like this:


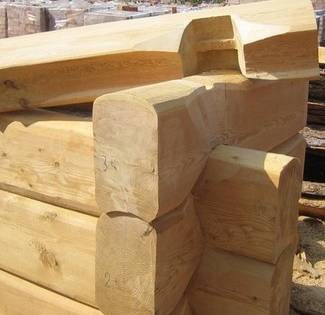
and seen even where only the bottom of one timber plank is notched. something like this one


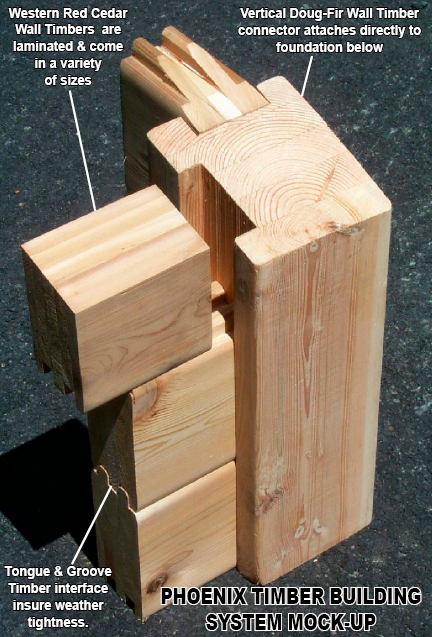
I’ve seen these kind of corner timber posts, not sure how stable these are


I will be phoning around to see if there are any carpenters that would come to my home to do this notching, but I’m sure it’s either going to cost me as much as the timber or there’s not going to be much consistency to the notched to interlock so looking for other alternatives to notching really

any help, tips or opinions, good or bad very much appreciated
 

Stuart in MN

Well-known member
Joined
Sep 8, 2005
Messages
23,025
Location
Minneapolis
Where are you located? I think that type of construction is more common in the UK and Europe - people from those parts of the world may be better able to respond.

In any case I'd be concerned about the bottom row sitting right at grade, rot could be a problem.
 
OP
M

mollydog

Member
Joined
Sep 8, 2018
Messages
18
Location
Cambridgeshire (England)
the timber has been “Kiln dried and Treated to UC3 specification” (which I don’t know what it refers to)

I don’t think it is western red cedar, as it wasn’t too expensive , some info from the site:


* Stocked at full 15’ and 20’ lengths (approx 4.5M and 6.1M)
* Section size, ex. 50mm x 200mm
* Large TGV boards for sheds, barns etc.
* Increase protection with water repellant
* Tanalised for external use

Product Details
Stockwalling boards
Firstly our stock walling boards are machined from mixed whitewood and redwood timbers and are pressure treated for exterior use.


this was me on my way home (taking a rest in a motorway services) from collecting the timber around 250 miles from home


when I arrived back home I had my daughters boyfriend help me unload the trailer and the two of us still took a good 40 odd minute to unload


I bought 44 x 6.1M long and 18 4.5M long, I think this should be very close to what I need with a good 10 to spare (for errors)

I’ve placed them on a flat base (timber pallets) under a tarpaulin with thin timber separating each row to allow them to dry as when I picked up the timber most of the night before and on the day of picking them up it was raining


To avoid these ads, REGISTER NOW!

matt_i

Well-known member
Joined
Mar 14, 2008
Messages
10,725
Location
SE Michigan
My opinion is that despite best efforts building on a sloped slab is going to forever invite water to run thru the building. Even if you level out courses of bricks via steps to provide a perfectly level foundation, water is still going to pool on the high side of the foundation during heavy rains. And there's always going to be some minuscule crack where its going to weep in and attempt to travel across your finished space. Only way around it I can think of would be to build the foundation just outside the pad, then the level issue will only be inside and you can slope the grade away from it in all directions.

The endwall with the swinging doors seems to be a weak design. Right and left of the doors is just a stack of timbers, on edge. There's only one timber pictured that spans the entire way across as the "header" of the door. The grooved columns seems like more of a trim piece than a stucture. I suppose that could be sunk like a post-frame building, a couple feet into the earth so it becomes moment-bearing but then the wood-in-the-ground problems start.

I think a lot of the sturdiness is going to be related to the quality of the machining...and then the rate at which the wood expands and contracts. I would make sure every groove faces downward and every tongue faces skyward otherwise its an immediate moisture trap.

I would use a lot of screws designed for pressure treated timbers, and metal connectors as well to keep your building aligned as it goes higher and higher.
 
OP
M

mollydog

Member
Joined
Sep 8, 2018
Messages
18
Location
Cambridgeshire (England)
I’m resurrecting a very old thread of mine, well since these last posts I’ve very nearly finished my garage

I don’t mind brining my thread from another forum over to here if it’s requested (will take some time) but for now here is the link to my adventure of building my own timber garage on another forum

if you want to go through 4 years of my garage build adventure


nadogail

Well-known member
Joined
Jan 23, 2009
Messages
31,918
Location
Coronado, CA
Your narrow walls on either side of the large door openings might benefit from Shear Panels of plywood glued and screwed to the inside of your tongue and groove walls. The plywood panels will be highly resistant to “racking”.
 

rayra

Well-known member
Joined
Dec 1, 2014
Messages
4,724
Location
Escaped from Los Angeles
A lot of work accomplished. That's about the only good I can say. The rest of the methods utilized in a comparatively wet place make me expect a lot of rot and mold issues are in the OP's future.
 
OP
M

mollydog

Member
Joined
Sep 8, 2018
Messages
18
Location
Cambridgeshire (England)
I just read your whole garage build thread on retro rides. Wow! Great job. What a journey.

Have you got doors yet?
It sure was a journey and a half, there are many things I would now have done different but I was learning as I was going along

covid came just as I was planning on making a start, overnight places were closed, I couldn’t visit builders merchants, I could order on line and pick up but couldn’t walk round rummaging, a few places had limits on people entering so between 30 minutes to one hour queue’s were common

Not yet got the doors fitted, I have a carpenter booked in for the job, I’m waiting for the electrics to be finished then sit down with the carpenter to finalise the doors

Originally I was planning on having barn doors but my structural engineer friend advised me if I was to have barn doors, I needed to strengthened the side walls to the opening, otherwise when opened, the 2M wide weight of each door would pull out at the top, together we thought the best option was either sliding doors or bifold, not 100% sure on bifold but it’s the front runner at the moment
 
OP
M

mollydog

Member
Joined
Sep 8, 2018
Messages
18
Location
Cambridgeshire (England)
Your narrow walls on either side of the large door openings might benefit from Shear Panels of plywood glued and screwed to the inside of your tongue and groove walls. The plywood panels will be highly resistant to “racking”.
If I’ve understood you correctly

The section through the wall would be (from outside to inwards):

44mm Dung board
Vapour Barrier
50mm air space
High Density Polystyrene Insulation 50mm x 1200mm x 2400mm
30mm brace strap
9mm or 12mm (not sure now) 1200mm x 2400mm OSB (chip board) screwed not nailed

IMG-2703-HEIC.jpg

IMG-3527-HEIC.jpg

IMG-3632-HEIC.jpg

IMG-3847-HEIC.jpg

IMG-3812-HEIC.jpg

IMG-3741-HEIC.jpg
 
OP
M

mollydog

Member
Joined
Sep 8, 2018
Messages
18
Location
Cambridgeshire (England)
A lot of work accomplished. That's about the only good I can say. The rest of the methods utilized in a comparatively wet place make me expect a lot of rot and mold issues are in the OP's future.
I’ve took some precaution to prevent this, hopefully it works but it’s something that might eventually rot

This is a cross section of my dwarf wall

fig1a-dry-bricks2.png


IMG-3186-HEIC.jpg

IMG-3184-HEIC.jpg

Not shown but the bitumen eventually was painted on all brickwork, outside only, inside was left to let the brickwork breath
 
Last edited:
To avoid these ads, REGISTER NOW!
Top Bottom