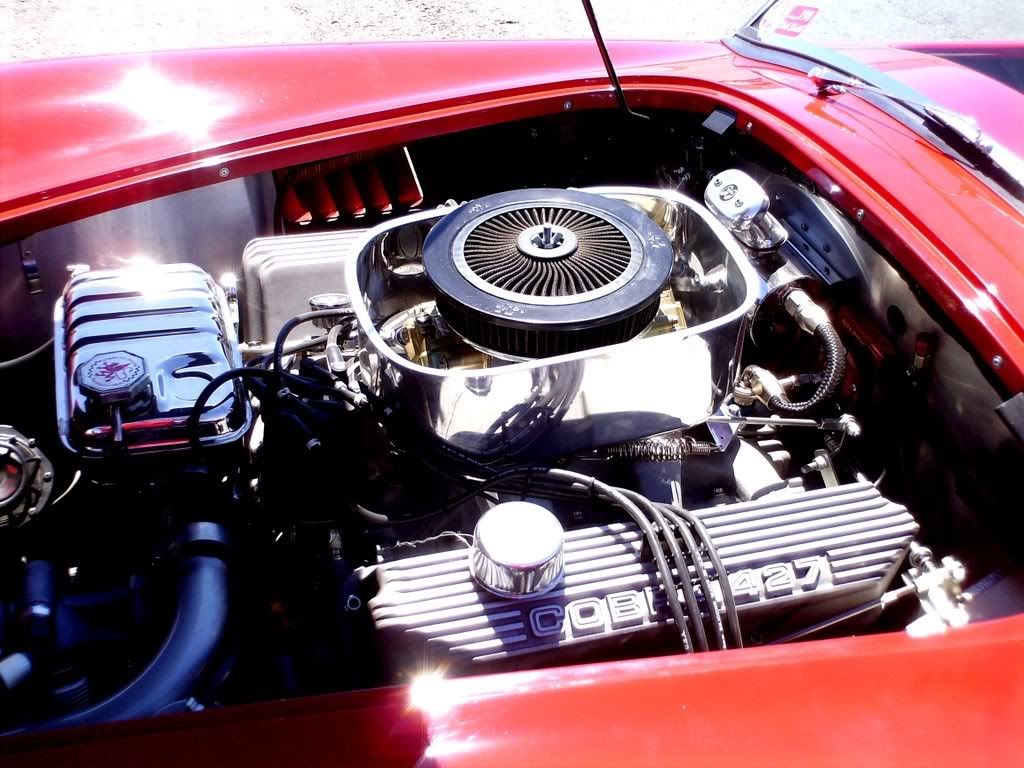
Want some pictures of the Tiger ?
Here is some background on the recent work on Ford 260 in the car -
I have had a chronic problem with cylinders #5 and #3 not firing properly. Have exhaustively checked the ignition system and determined that it is something mechanical.
The strip down.
Intake manifold off, was quite a challenge to get the rear bolt off. I discovered that the PO used a stud on the back driver side so I had to use vise grips to carefully unscrew it and then the manifold was able to be removed.
First head off. The rear pushrod cannot be removed without moving the head. I will need to remember to have that pushrod in place when I install the head. The rear head bolts where a PITA too.
Cylinders are in very good shape. It seems that the PO was telling me the truth that the engine had been rebuilt. I also verified that the heads are 1964 260 (C4OE A code). These were the last 260 heads made by Ford and have 289 valves. They are the best breathing OEM 260 heads made. PO also has screw in rocker studs installed.
I also pulled the oil pan and removed the oil pump. It was producing way too much pressure (75-100 psi, cold) so I will have it checked and replace it if necessary.
Heads will go to Paul Burke to be checked. I will then paint everything the correct Ford blue which will make a great improvement to the engine compartment appearance. Will also be powder coating many components and having the exhaust manifolds ceramic coated inside and out.
Head examination results -
Complete trash valve job, the kind you get an auto parts store for $75. All valves will need to be replaced and hardened exhaust valve seats installed. Looking at the valve seats, I am amazed that the engine ran at all. It is very much like another head I had serviced recently.
All is good though. It is a SBF and the parts are dirt cheap. Actually, will be using some Chevy intake valves ;>)
Leaky valves were the culprit.
Note how sunk the valve seats are, larger intake will correct most of the intake side. New hardened exhaust seats with new valves the exhaust.
You can see the uneven contact area of the seat here -
The ugliest of all, check out the chatter marks on the valves as the cutting stone was allowed to skip on the valve surface. Paul does not use stones.
Just wait till you see what Paul does to these heads.
Getting closer. Picked up the ceramic and powder coated parts. The Ford blue is rattle-can engine paint.
Check out the new valve covers -
The engine decal was hand stamped by Larry Atkisson
(25 Jan) Got the heads back from Paul yesterday. Got BUSY today with painting and install.
First the heads. The heads did not have any hardened exhaust valve seats. The intake seats were also sunk in badly due to several bad valve jobs.
To save the heads Paul installed hardened exhaust valve seats and larger Chevy valves. Intake - 1.72", exhaust 1.50". This brought the exhaust back up to the proper height and the intakes are now within .020 of the original height. With some investigation, it was determined that this engine suffered a head gasket failure and cylinder #7 had had water in it for some time. This was most likely the reason for the engine rebuild.
Here is the before and after of a combustion chamber. Note the multi angle valve seat work. This was accomplished by machining, NOT stones. The valves have the same multi angle machined surface.
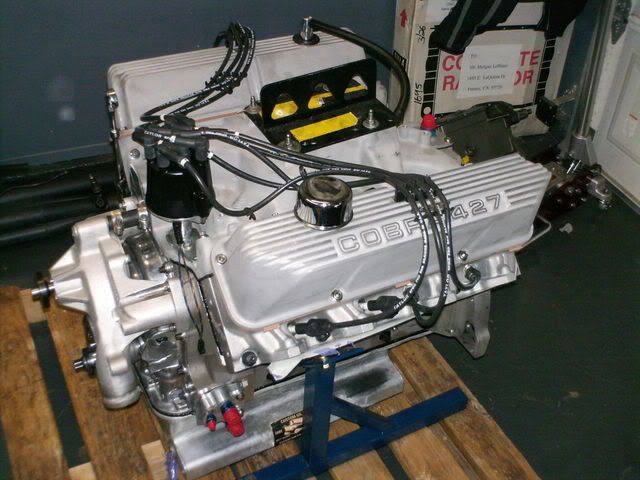
Here are some pictures of the heads painted up and Paul’s handy work -
The RA for the head surface is between 60-70. That is all that is needed with an iron heads on a iron block.
The engine is coming back together. Looking much better than what I started with -
And now -