

You are using an out of date browser. It may not display this or other websites correctly.
You should upgrade or use an alternative browser.
You should upgrade or use an alternative browser.
ideas needed for a homemade bolt bin
- Thread starter dukes
- Start date
1320stang
Well-known member
I think I'd use 1x instead, poplar would be nice. Slot them halfway thru and slip together, use white bathboard (masonite) for the back. Use 1x2 with a 30 degree cut on the front.
I bought these at an auction. 3 for $5 if I remember correctly. Shelves and sides are 3/4" plywood and drawers are paneling / hardboard.
My next favorite thing to use are half-gallon juice containers. Cut them off to a consistent height with a table saw. Make a frame with 1x lumber and a plywood bottom, like a drawer. I have one cabinet that has angle iron "drawer slides" that these drawers slide on.
My next favorite thing to use are half-gallon juice containers. Cut them off to a consistent height with a table saw. Make a frame with 1x lumber and a plywood bottom, like a drawer. I have one cabinet that has angle iron "drawer slides" that these drawers slide on.
Attachments


StevePgh
Well-known member
A friend of mine used to have one that his father made. His complaint was because of gaps between the cubbyholes and in the back of the bin where washers would either drop through, slide under, or get stuck in the cracks. With decent joinery it should be easy to prevent that from happening - if you see potential problem areas, I'd use some caulking to prevent that.
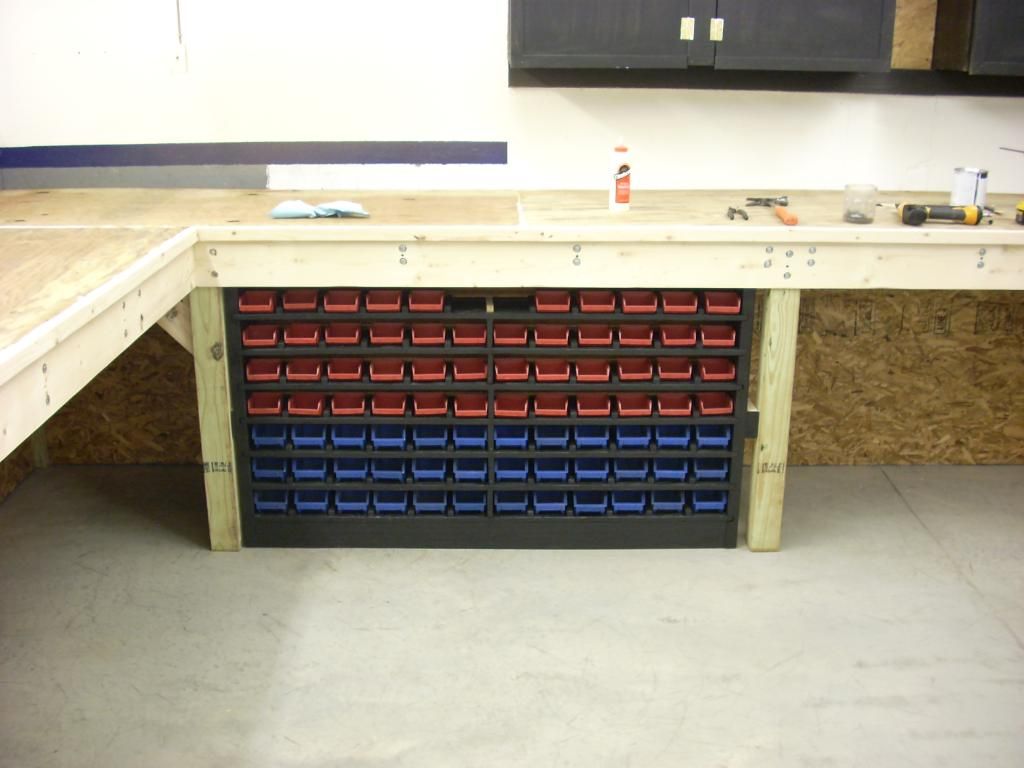
If it were me, I'd go with shelves sized for specific plastic bins with a strip of molding on the front edge of them to prevent accidental pull-outs. There are a huge variety of USA manufactured plastic bins out there. I'd inset the shelves/bins from the front a bit, taking into account the molding from the frame or the front of the box if they protrude a bit in case you wish to mod it later with a cover. For the same reason, if you are not wall mounting it, give it a base to get the bottom shelf at least 2" off the ground/bench. That space on the bottom will come in handy later if you want to make
I've also seen folks use a sheet of poly with a tomato stake rolled up and stapled on the bottom weighting it down and tacked through molding at the top to serve as a cover to prevent debris from getting into the bins. I've also seen someone who mounted a roll-up blind to the top for the same purpose as you can get them both cheap and cut to any width - that would take a slightly different design for the top of the box if you wanted to make it pretty. All of these approaches mean you can't have anything protrude from the carcass. to keep it decently sealed.
Depending on size you can use a piano hinge on the sides with magnetic latches to make a set of doors for it to prevent dirt/dust from getting in the bins. If you are going that far, and you want to REALLY go nuts, I'd make the cover a smaller box about a couple of inches deep on the inside. Use some little screw-in L-shaped hooks that you can use to store small quantities of bagged fasteners where they are easily visible and somewhat organized (think hardware aisle of a hardware store). Then buy ziplock bags with a pegboard hole in 'em and a sharpie to mark what size they are (100 bags each of 2 sizes is around $10 shipped from the site I linked to). I've seen folks do this with cup hooks, but it is hard to get several bags on the same hook without them bunching up. I like the style shown here (style #15, 9586T4, 50 for $7.20).
I have been planning to build something using the hooks and bagged fastener approach, as I find that easier to manage, organize, and KEEP organized than fishing tackle organizers and partially opened bags sitting in bins that I currently have.
1320stang
Well-known member
My current bolt bins are antifreeze jugs with the side cut out.
crazytrain
Well-known member
I found a few on line.


Using old soda bottles

Old oil quart bottles

Old jars

My grand father did something like this in his shed. He used a 1x3 and screwed the lids of the jars to it. Then he hung the 1x3's with lids attached to the rafters. After filling the jars full of various nuts, bolts, washers, screws and nails he just screwed them into the lids. At a glance he could look up and see what he needed.
Using old soda bottles
Old oil quart bottles
Old jars
My grand father did something like this in his shed. He used a 1x3 and screwed the lids of the jars to it. Then he hung the 1x3's with lids attached to the rafters. After filling the jars full of various nuts, bolts, washers, screws and nails he just screwed them into the lids. At a glance he could look up and see what he needed.
I found a few on line.
Using old soda bottles
Old oil quart bottles
Old jars
My grand father did something like this in his shed. He used a 1x3 and screwed the lids of the jars to it. Then he hung the 1x3's with lids attached to the rafters. After filling the jars full of various nuts, bolts, washers, screws and nails he just screwed them into the lids. At a glance he could look up and see what he needed.
The soda bottle idea is brilliant. You could even stack and glue short lengths of PVC pipe for the rack they slide into.
Rixter58
Well-known member
The cabinet that the soda bottles are in look a LOT like an old mail sorting desk.
I made some plywood to make shelves and dividers. On those shelves went some HF bins of two different sizes.
If you search the thread in my sig, you can see the pictures.
If you search the thread in my sig, you can see the pictures.
Last edited:
IMCA38
Well-known member


RBailey
Well-known member
One of the jobs that has been due for a long time is sorting out all of my my nuts and bolts. I have had a plastic sorting boxes for years but they have always laid on a shelf and not been as organised as I wanted. So a few sheets of plywood and a bit of time with table saw and a router and sorted !

So what is in them all.

Top shelf is for small assortment boxes :-
- Circlips, Split pins, Rivet Nuts, ‘O’Rings, clevis pins, roll pins and springs.
Then in the boxes on the regular shelves one for each :-
- Small screws and self tapping screws.
- Large screws and raw plugs
- Metric nuts and bolts M10 and bigger
- Metric nuts and bolts M8 and smaller
- Washers.
- Imperial nuts and bolts.
- Electrical bits, fuses, relays and heat shrink.
- Electrical crimp terminals.
- Hose clamps and air fittings.
- Abrasive paper (in A4 folder).
- Pop rivets and staples.
- Plastic body clips.
- Batteries.
These are the parts boxes I use. They are a bit flimsy but gluing in the orange removable dividers solved that problem.

The shelves are just screwed and glued into dado grooves I routed into the sides.

Castors to keep it mobile to take to the track / desert.

And a lock, not that I don't trust you but ......

Once I have used it a while and happy nothing needs changing I will hit it with some paint.
Cheers,
Richard B.
So what is in them all.
Top shelf is for small assortment boxes :-
- Circlips, Split pins, Rivet Nuts, ‘O’Rings, clevis pins, roll pins and springs.
Then in the boxes on the regular shelves one for each :-
- Small screws and self tapping screws.
- Large screws and raw plugs
- Metric nuts and bolts M10 and bigger
- Metric nuts and bolts M8 and smaller
- Washers.
- Imperial nuts and bolts.
- Electrical bits, fuses, relays and heat shrink.
- Electrical crimp terminals.
- Hose clamps and air fittings.
- Abrasive paper (in A4 folder).
- Pop rivets and staples.
- Plastic body clips.
- Batteries.
These are the parts boxes I use. They are a bit flimsy but gluing in the orange removable dividers solved that problem.
The shelves are just screwed and glued into dado grooves I routed into the sides.
Castors to keep it mobile to take to the track / desert.
And a lock, not that I don't trust you but ......
Once I have used it a while and happy nothing needs changing I will hit it with some paint.
Cheers,
Richard B.