Bib Overalls
Well-known member
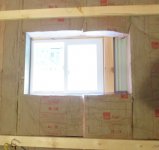
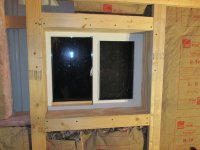
No suggestion on cutting the holes. But I'm sure they will come out right. Everything else you have done is spot on.

No suggestion on cutting the holes. But I'm sure they will come out right. Everything else you have done is spot on.
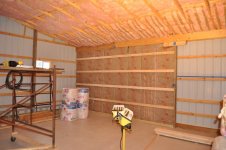
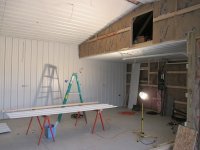
Very nice! You've done excellent work and it will be so enjoyable to work in such a great space. JT
Looks great.
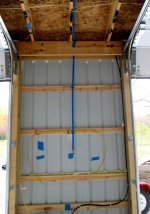
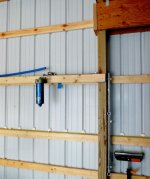
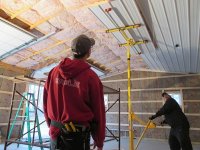
How rigid is the rapid aire pipe?
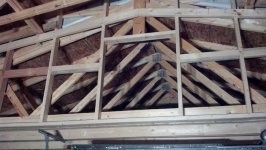
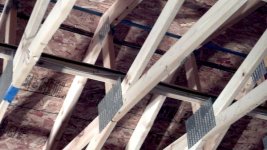
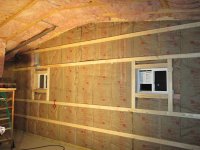
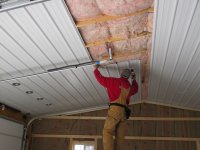
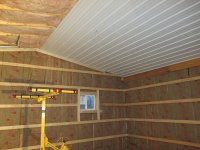
why is the batts facing out on the cieling and the reverse on the wall.s I have never hung insulation in a ceiling before.


I feel you on the cold! I'm up in Pellston MI the ice box of the nation lol. I have not been getting much work done in my garage either. Hard to get motivated when its not even above 0 or in single digits most of the time. But keep up the good work and pics! Spring is on its way.
Sent from my SAMSUNG-SGH-I317 using Tapatalk
")
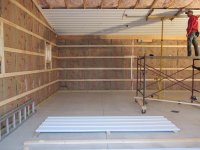
Great looking garage and nice work.