To avoid these ads, REGISTER NOW!

Jumpman-Z 4-Car Garage

To avoid these ads, REGISTER NOW!
OP
J

Jumpman-Z

Well-known member
Joined
Jun 9, 2014
Messages
144
Location
Amarillo
Nice video for your TT Z.

Thanks Boosted1, I should have some more videos of it coming soon, I have a few small (hopefully) repairs to make.

he needs a torque wrench in his hand , maybe drip some blood on it.

Haha, yeah that would be awesome!:lol:

The Charger looks epic:thumbup: Is it a set or is it your design? You have to find a bigger Toretto:lol:

It's a set that released a little while ago, Lego Technic set 42111. Yeah, unfortunately this was the best I could do, I just used a few pieces I had from some other minifigures to make him.
 

FullMetalTrousers

Active member
Joined
Jul 27, 2020
Messages
35
Location
Texas
your work is just badass. Been watching your youtube site for a while. I'm 'sorta' copying your approach to the Vidmar cabinets, the problem now I need them to get here.

Keep posting, Jumpman!
 

cros13

Well-known member
Joined
Sep 29, 2014
Messages
496
Location
Sydney, Australia
Just caught up on your whole thread brother!

Love the garage, love the cabinets and the colour scheme, and especially the bowling alley benchtop! Gotta give credit to you and the likes of T-handle who have the patience to fully strip the cabinets, and refurbish them to better than brand new condition.

I feel like i only have patience to be that meticulous with the Z. I have passed up many a good deal on old cabinets like that because i loathe the idea of having to fully refurbish them.

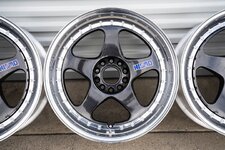
Love everything in the garage too! I have soft spot for the 300zx, I'd love one, I'd get a white one and put it on gold BBS rims with chrome lips, ohh that and a nice clean 2 seater 280zx on watanabe's would be pretty sweet ya know, round out the family....

Ohhhhh and a 3rd forester, importing a STI one from Japan, oh, and importing a 71 Chevy Nova from the states....

Yeah......

I think the wife would divorce me!

Looking forward to seeing you tackle your early Z too, i can see your attention to detail with it will be on par with how i am with mine!

Rudi.
 
OP
J

Jumpman-Z

Well-known member
Joined
Jun 9, 2014
Messages
144
Location
Amarillo
your work is just badass. Been watching your youtube site for a while. I'm 'sorta' copying your approach to the Vidmar cabinets, the problem now I need them to get here.

Keep posting, Jumpman!

FullMetalTrousers, thank you very much! With the exception of the Lego build, these projects have all been new experiences for me. I'd definitely to see your cabinets!
 
OP
J

Jumpman-Z

Well-known member
Joined
Jun 9, 2014
Messages
144
Location
Amarillo
Just caught up on your whole thread brother!

Love the garage, love the cabinets and the colour scheme, and especially the bowling alley benchtop! Gotta give credit to you and the likes of T-handle who have the patience to fully strip the cabinets, and refurbish them to better than brand new condition.

I feel like i only have patience to be that meticulous with the Z. I have passed up many a good deal on old cabinets like that because i loathe the idea of having to fully refurbish them.

Love everything in the garage too! I have soft spot for the 300zx, I'd love one, I'd get a white one and put it on gold BBS rims with chrome lips, ohh that and a nice clean 2 seater 280zx on watanabe's would be pretty sweet ya know, round out the family....

Ohhhhh and a 3rd forester, importing a STI one from Japan, oh, and importing a 71 Chevy Nova from the states....

Yeah......

I think the wife would divorce me!

Looking forward to seeing you tackle your early Z too, i can see your attention to detail with it will be on par with how i am with mine!

Rudi.

Thanks Rudi! Stripping the cabinets down to repaint them seemed like a daunting task at first, but it really wasn't that bad. Like you said, the main thing I needed was patience (especially with paint curing).

I've been following your 260z build as well, I love that color. Counting the days till I can legally own and drive S15 around in the States.

I like your taste in cars, watanabes are a perfect match for the 280ZX. I learned how to drive on my mom's 280ZX, BTW. :)

So far, I've only gathered a few NOS parts for the S30, but I'll get to it. Right now, my main focus is on fixing the small things on the black 300ZX, and I'm about to replace the ****** on my D21 starting this week, as it is usually my daily driver and is currently out of commission. :sad: I'll probably post a Youtube video capturing some of the work, since this is my first time replacing a transmission.
 
OP
J

Jumpman-Z

Well-known member
Joined
Jun 9, 2014
Messages
144
Location
Amarillo
Sometimes unexpected (and undesired) projects come up out of the blue. 1-1/2 months ago, I replaced the worn out drum brakes in hopes of fixing an increasingly loud dragging noise. I soon discovered from a pool of fluid on the ground that the transmission on my D21/Hardbody was going out and was actually the culprit, and I caught it just in time before I ended up stranded somewhere. It turned out to be the input shaft bearing, but after doing a little research, I figured it'd be less hassle to replace the transmission. I was able to find one with supposedly 86k miles the same day I discovered the problem.

With a lot of other stuff going on, this has been a horrible time for me to take on this project, especially with it being my first time doing any transmission work other than master and slave cylinder replacements. But, I need learn how to do this so I can take on some bigger jobs on my other vehicles, so it's a good experience.

The replacement transmission was filthy when I purchased it, but after a few hours of scrubbing, spraying aircraft cleaner, degreaser, and brake cleaner (and loss brain cells), I was able get the exterior and bellhousing cleaned up. This was a project in itself, as the bottom of the ****** had been sprayed with some kind of black rubberized material.
241.jpg


242.jpg


243.jpg


It took me a while and a lot of disassembly, but I got the old transmission out. As you can see, with over 100k more miles and some leaks, it's even filthier than the other one. I'll save it to tinker with later.
244.jpg


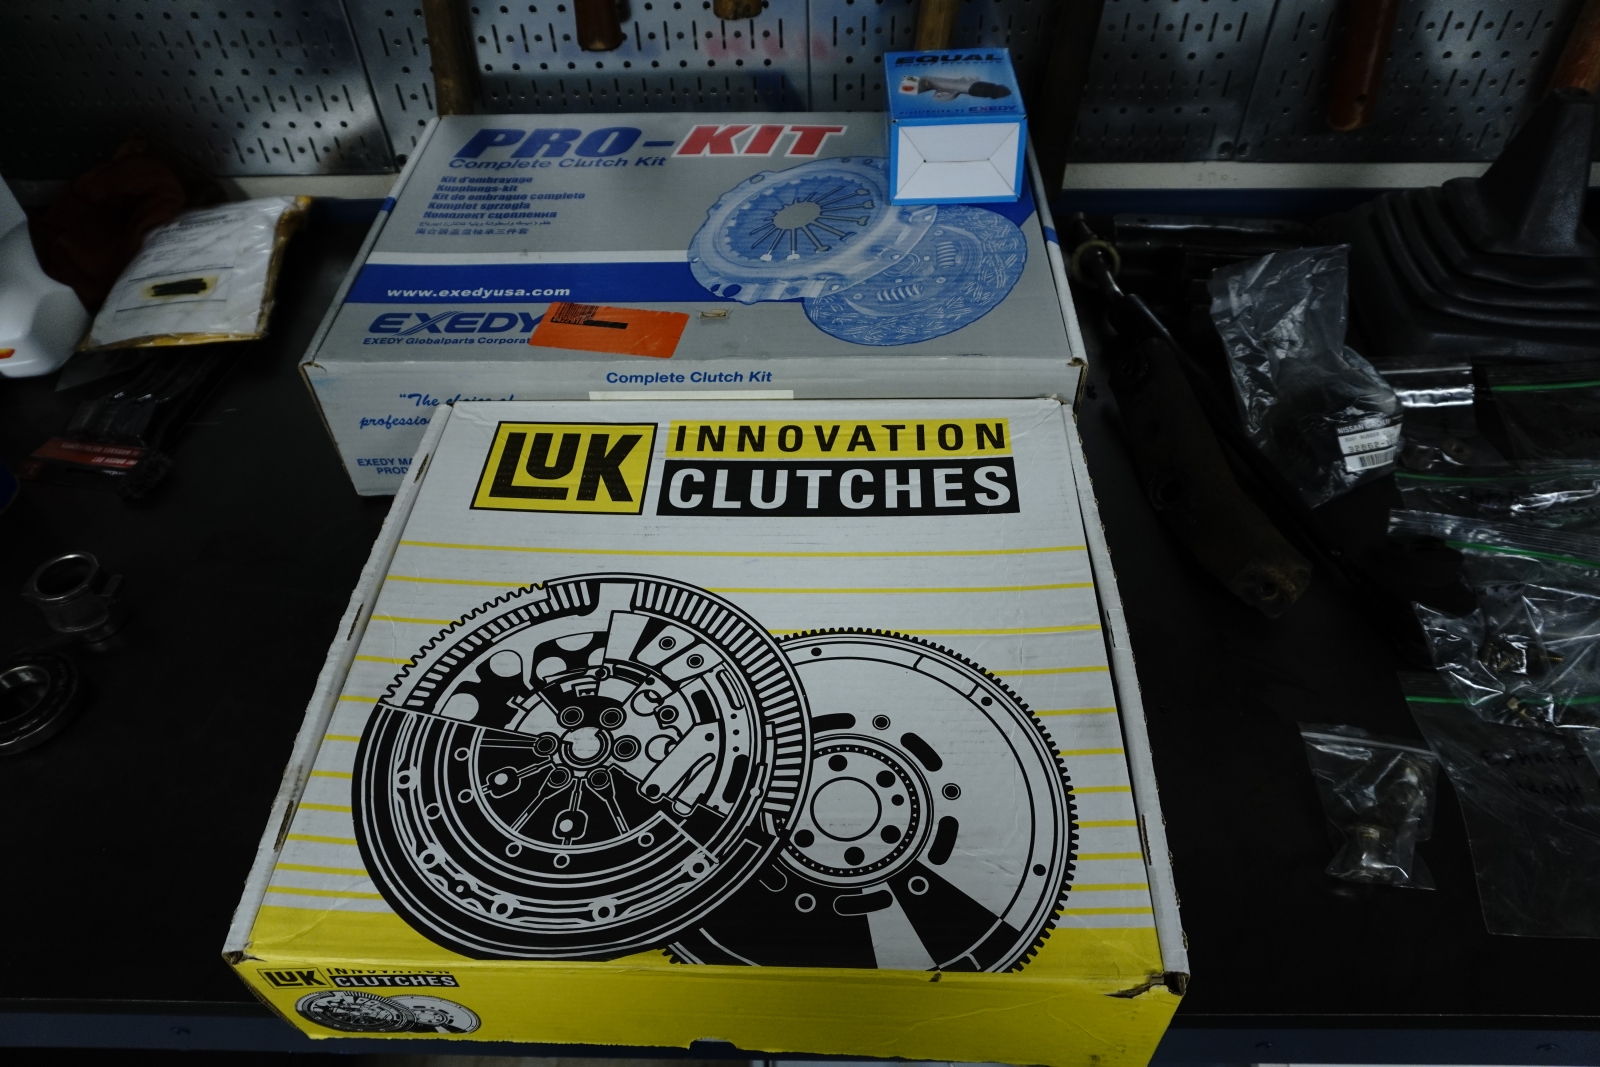
Since I'd prefer not to do this again for a while, I'm replacing everything else that may potentially be a problem in the future. This includes a new throw out bearing, new pilot bushing, new clutch, new flywheel, new rear transmission oil seal, and of course a new rear main seal. Luckily, the OEM oil seals are still available from Nissan.
245.jpg


Removed and replaced the rear oil seal on the ******.
246.jpg


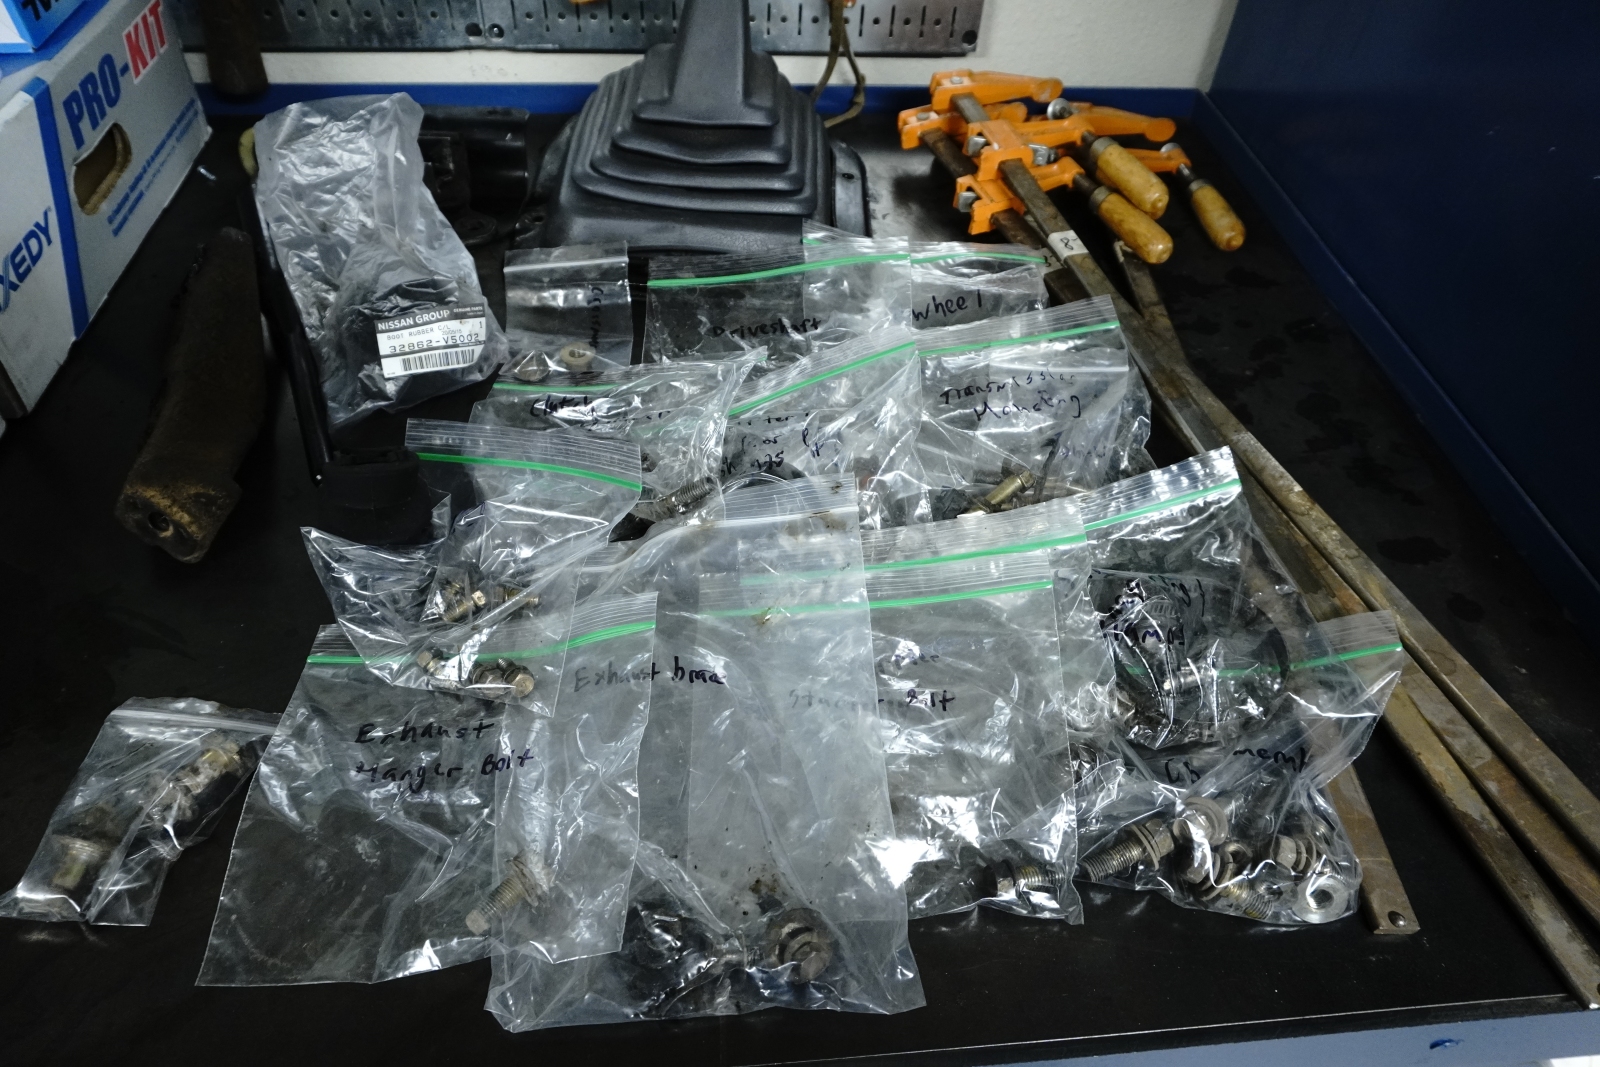
I had to remove a lot of stuff, so I figured it'd be best to separate and label everything.
247.jpg


Cleaned up the clutch fork, throw out bearing sleeve, and springs. Taking a tip from Youtube, I used my vise and some scrap wood to press the new throw out bearing on. The old one had quite a bit of play, so this is probably the most necessary part to replace while I have everything apart.
248.jpg


249.jpg


250.jpg


251.jpg
 
Last edited:

DeeDubz

Well-known member
Joined
Nov 20, 2019
Messages
1,454
Location
Socal
awesome work op ill be following. Your garage looks awesome. Ill check out your youtube channel.
 
OP
J

Jumpman-Z

Well-known member
Joined
Jun 9, 2014
Messages
144
Location
Amarillo
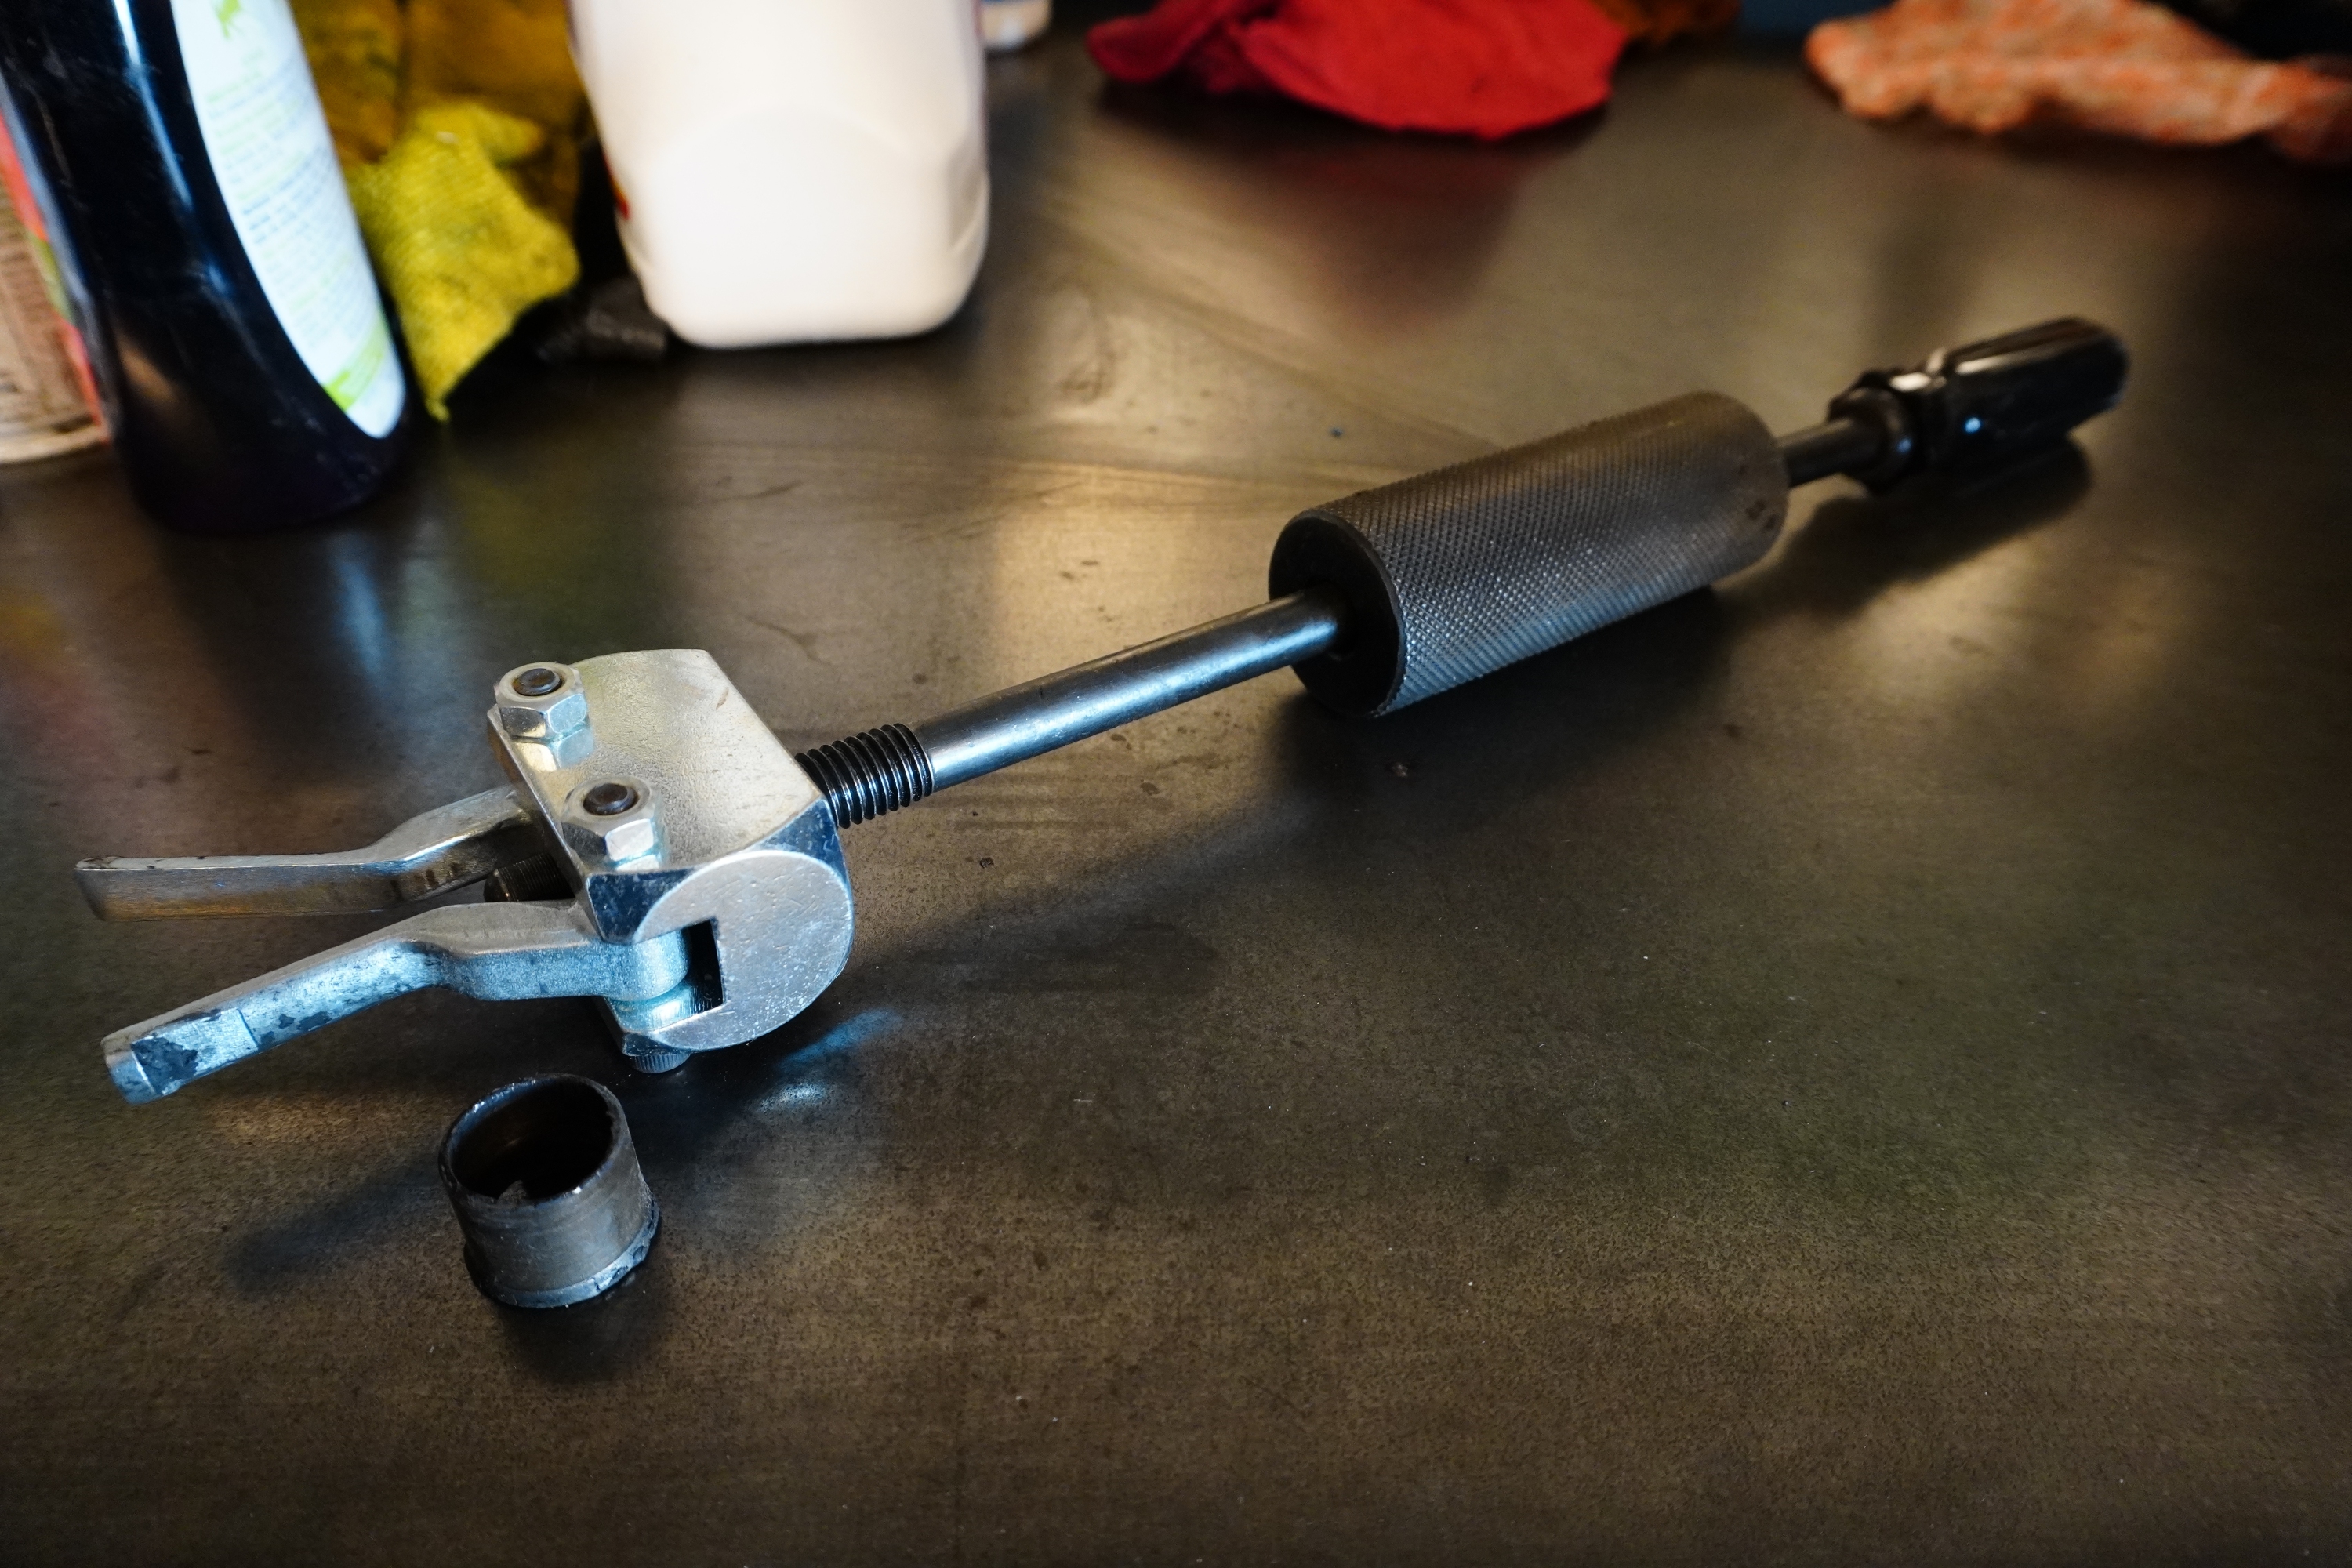
Ordered this slide hammer style tool to take out the pilot bushing. Worked like a champ, had it out in about 20 seconds.
252.jpg


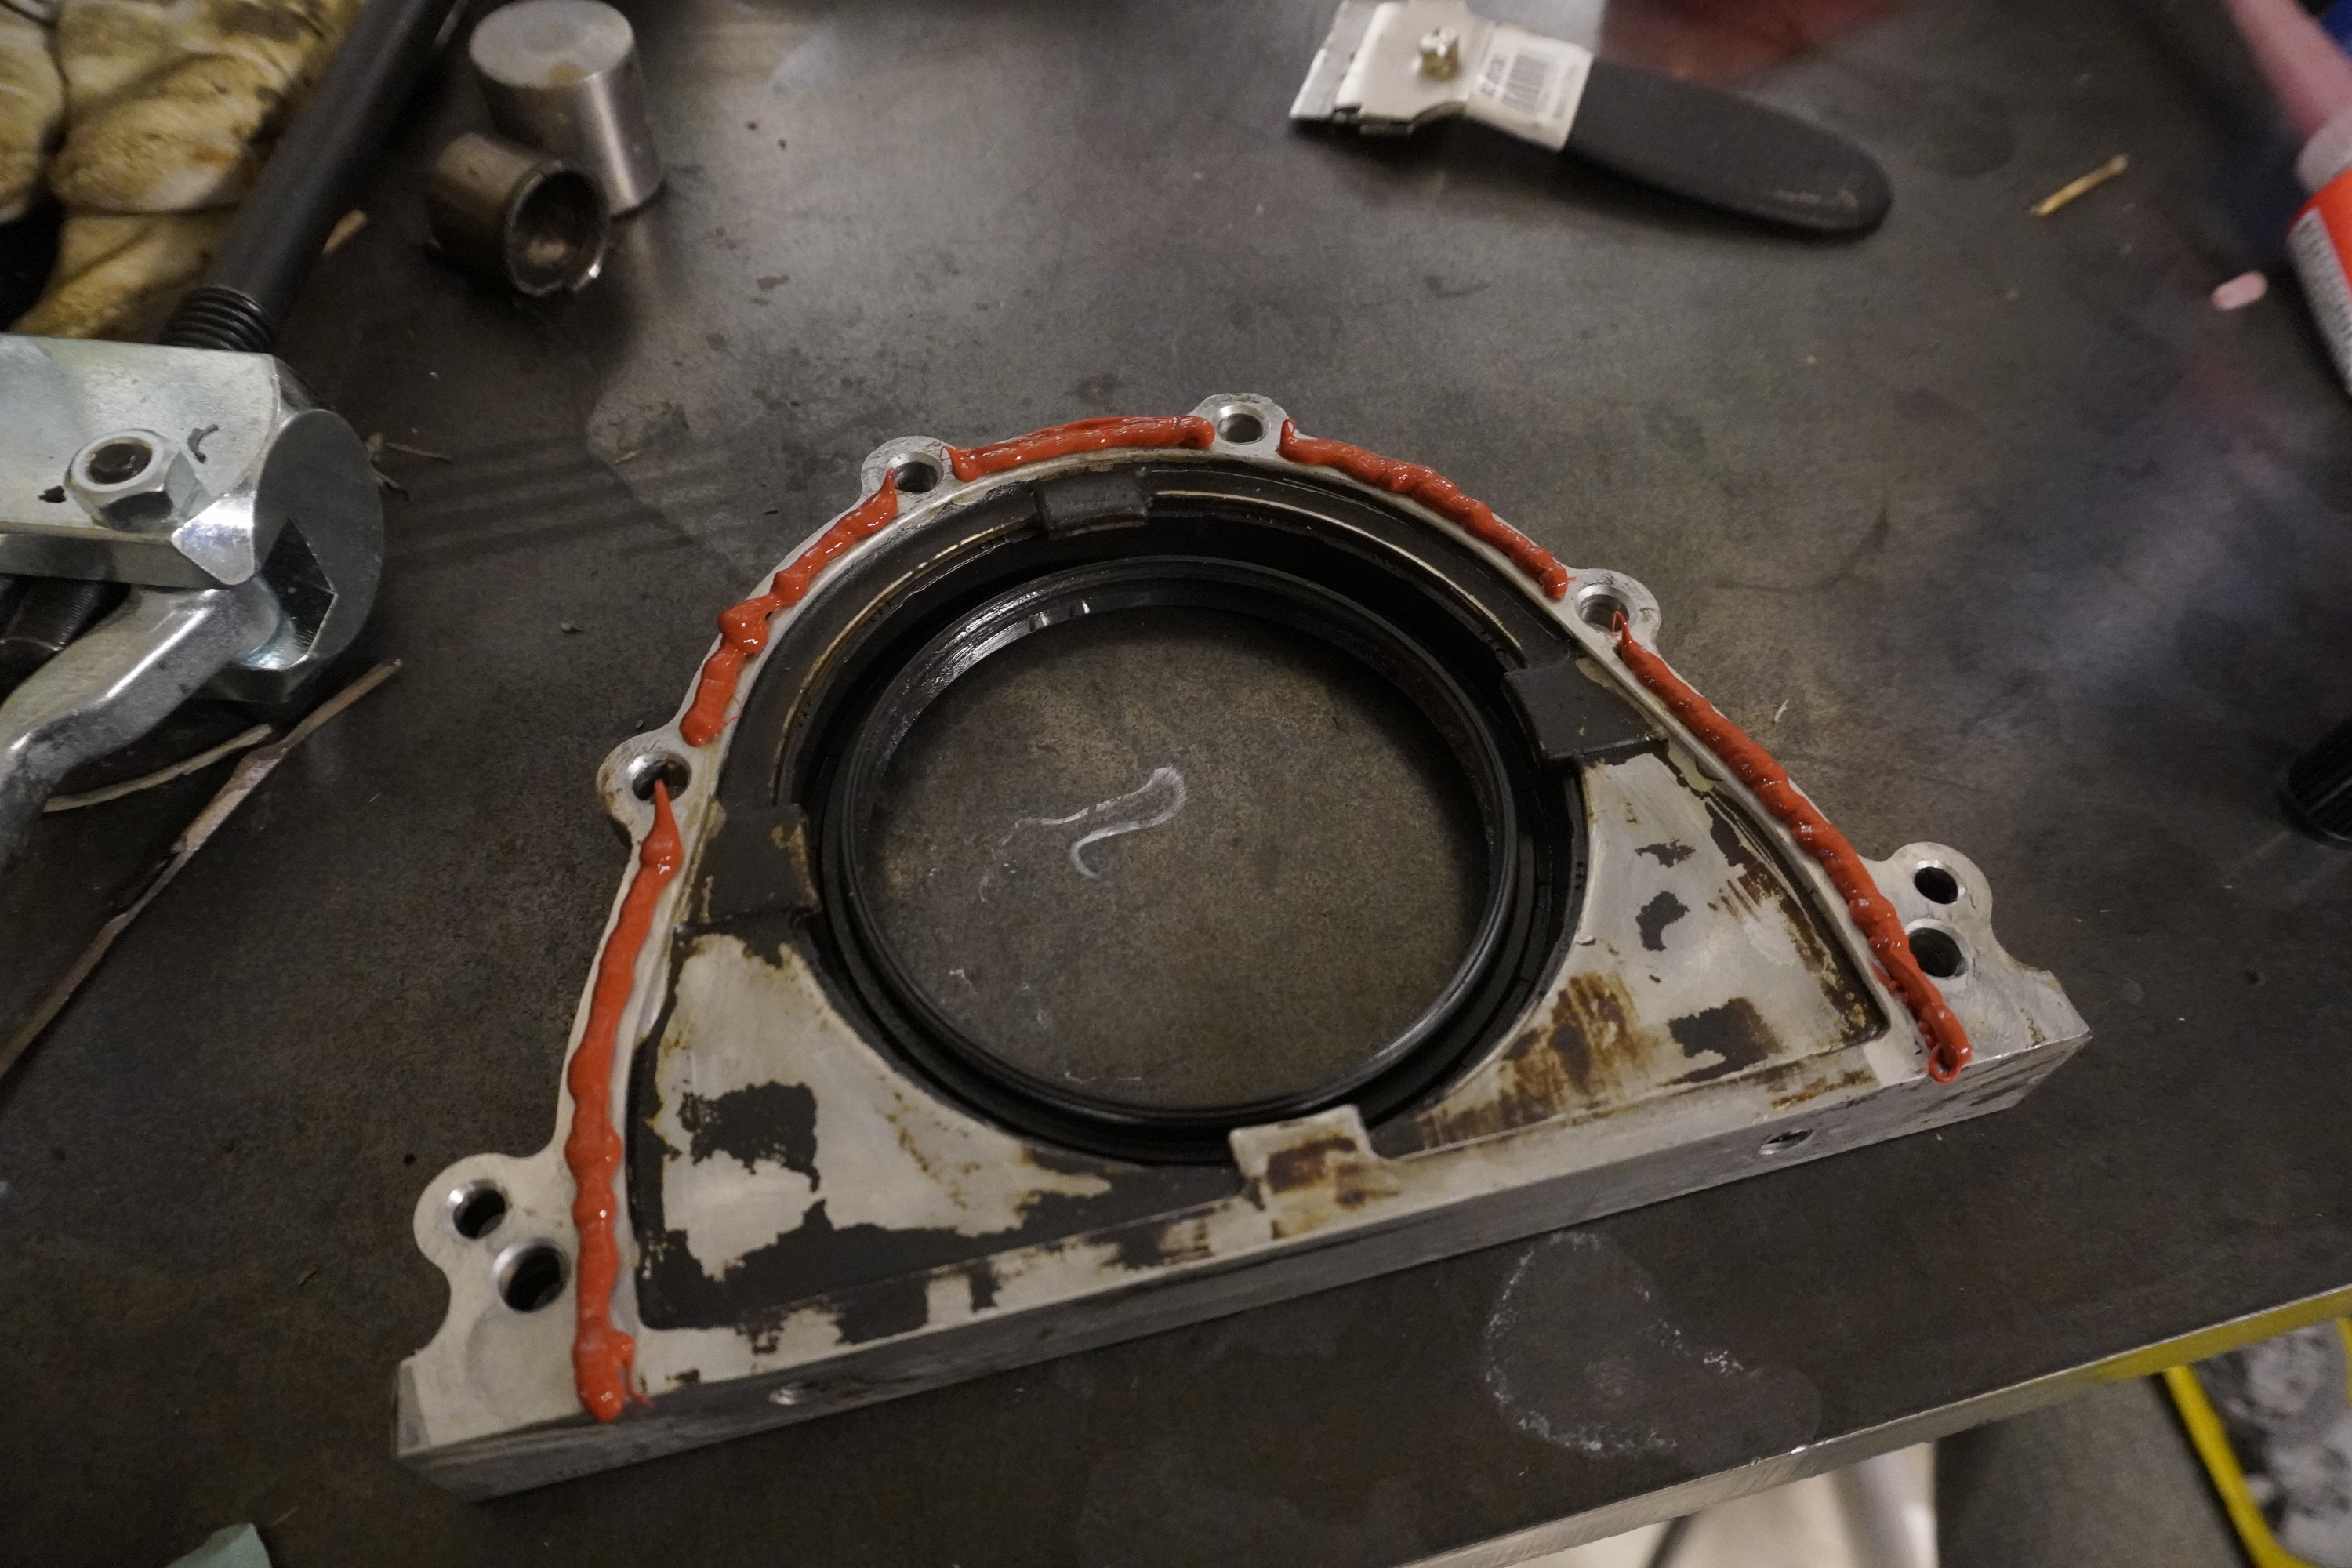
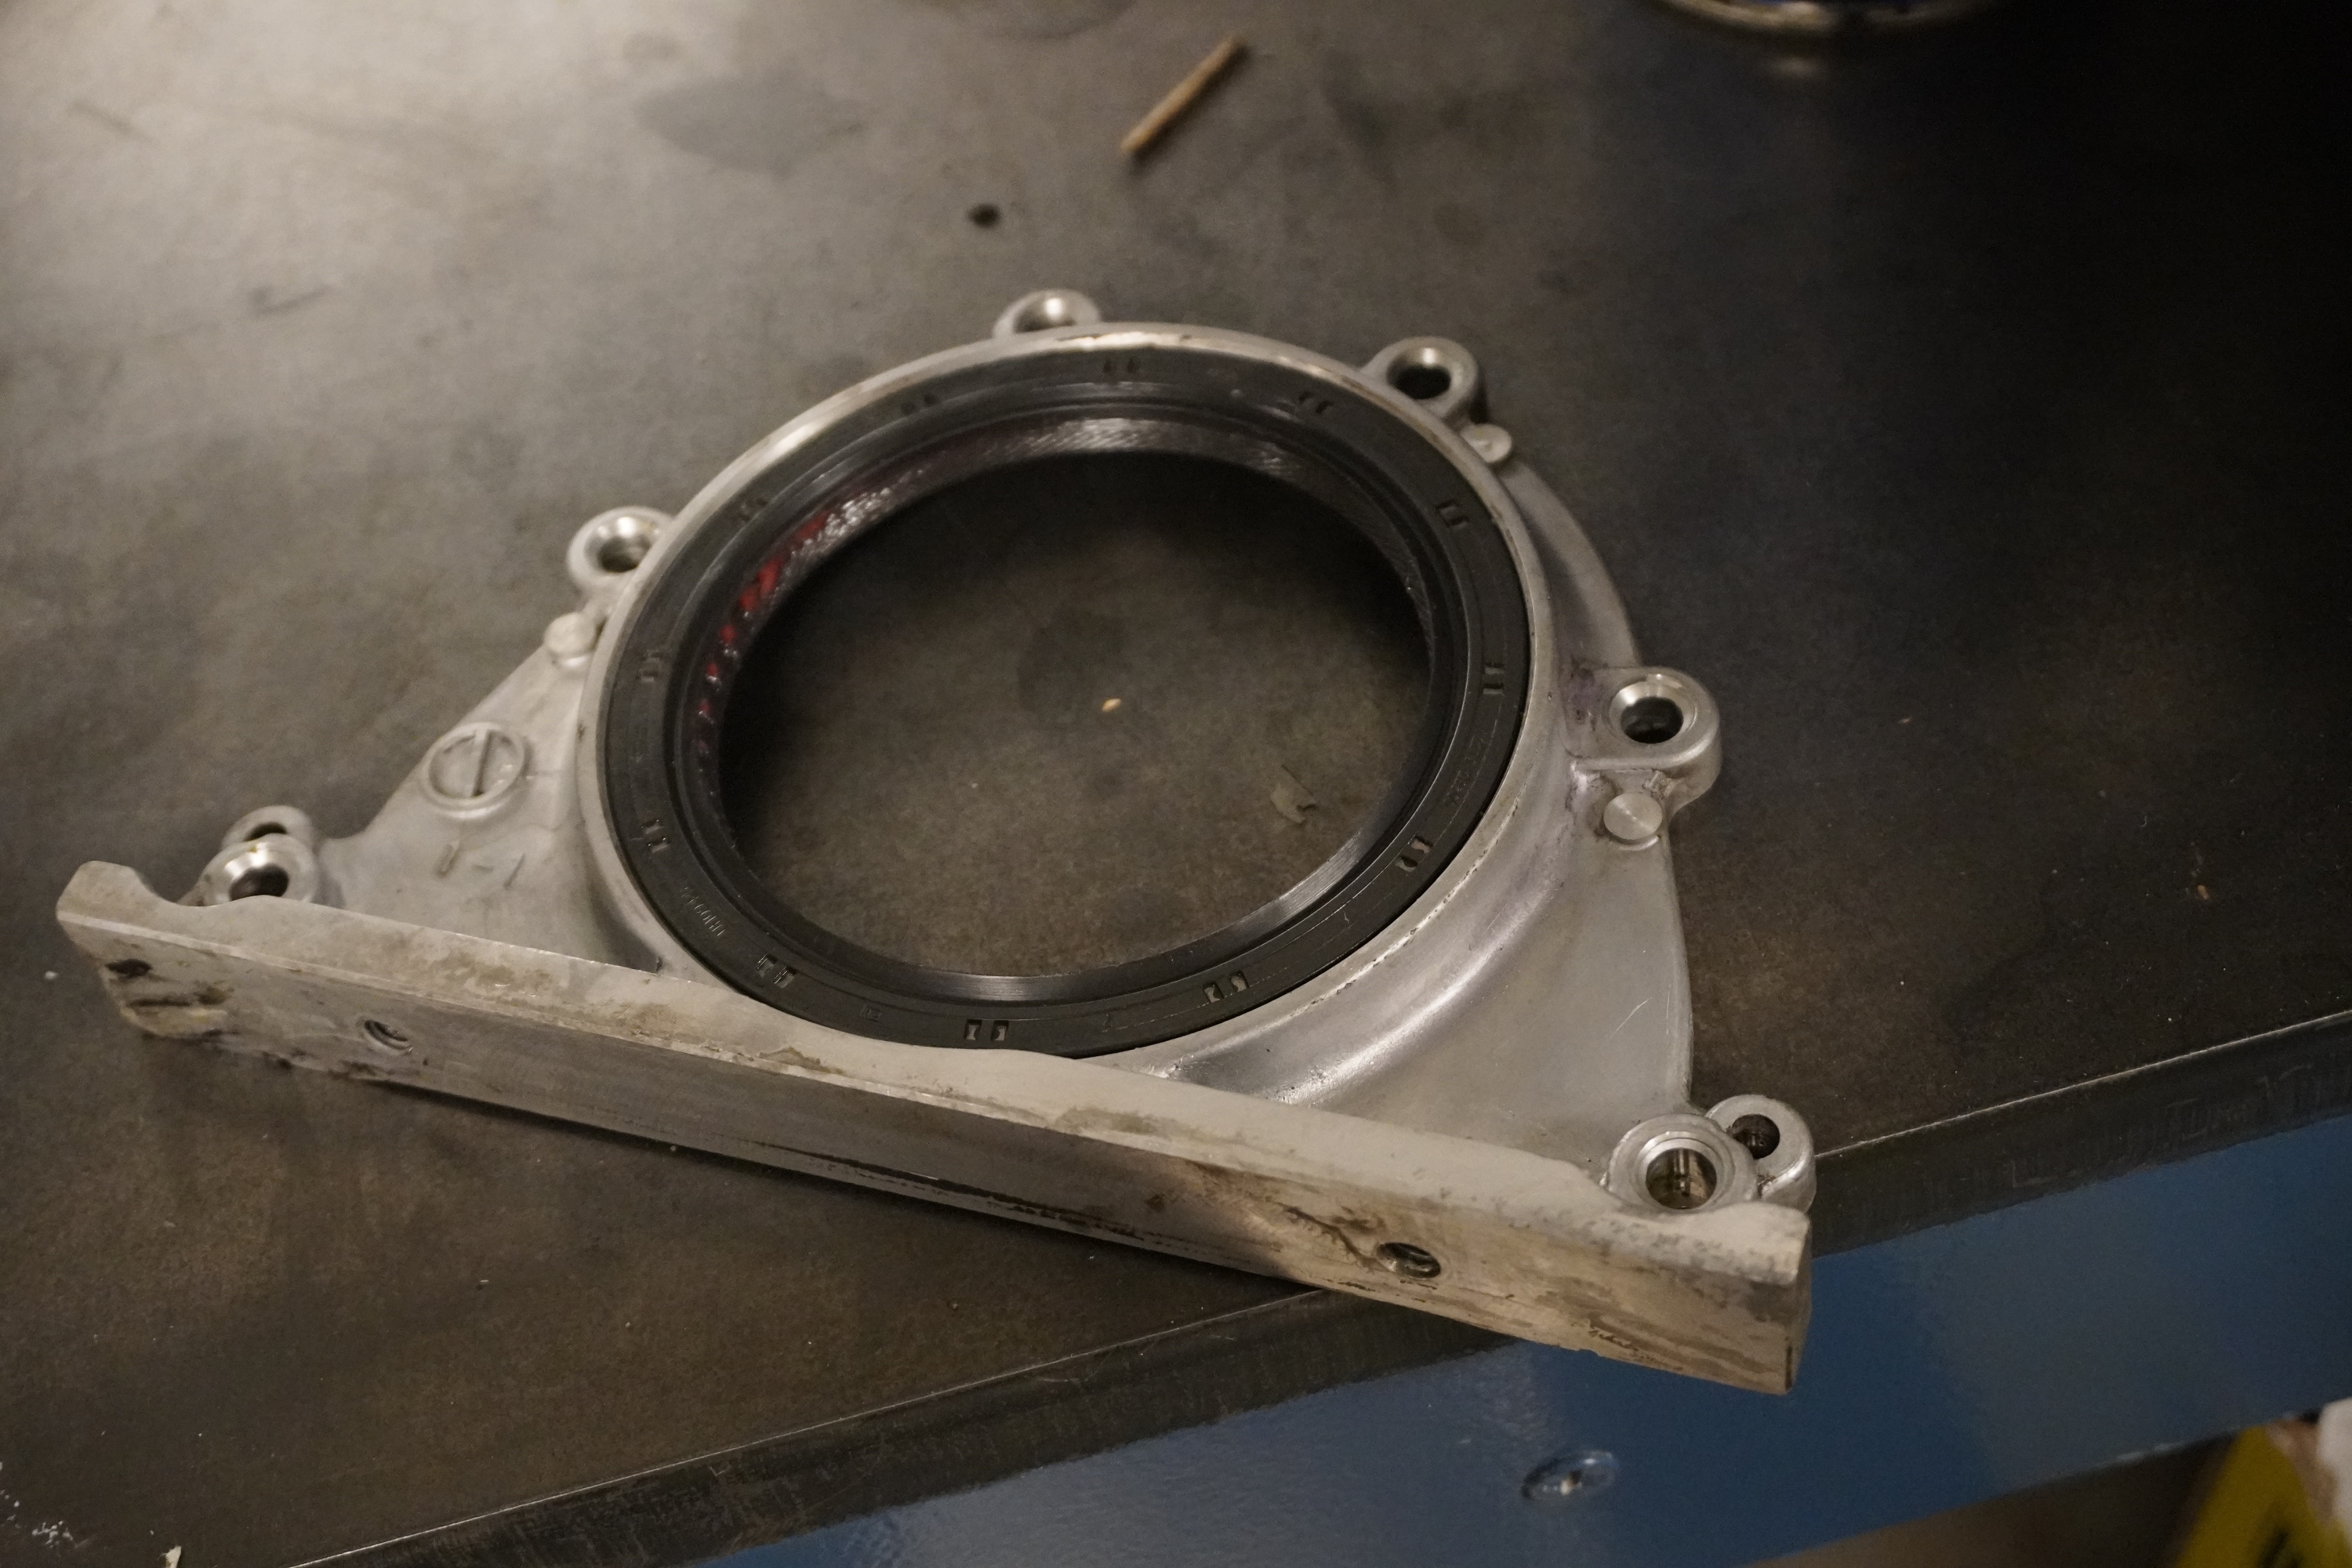
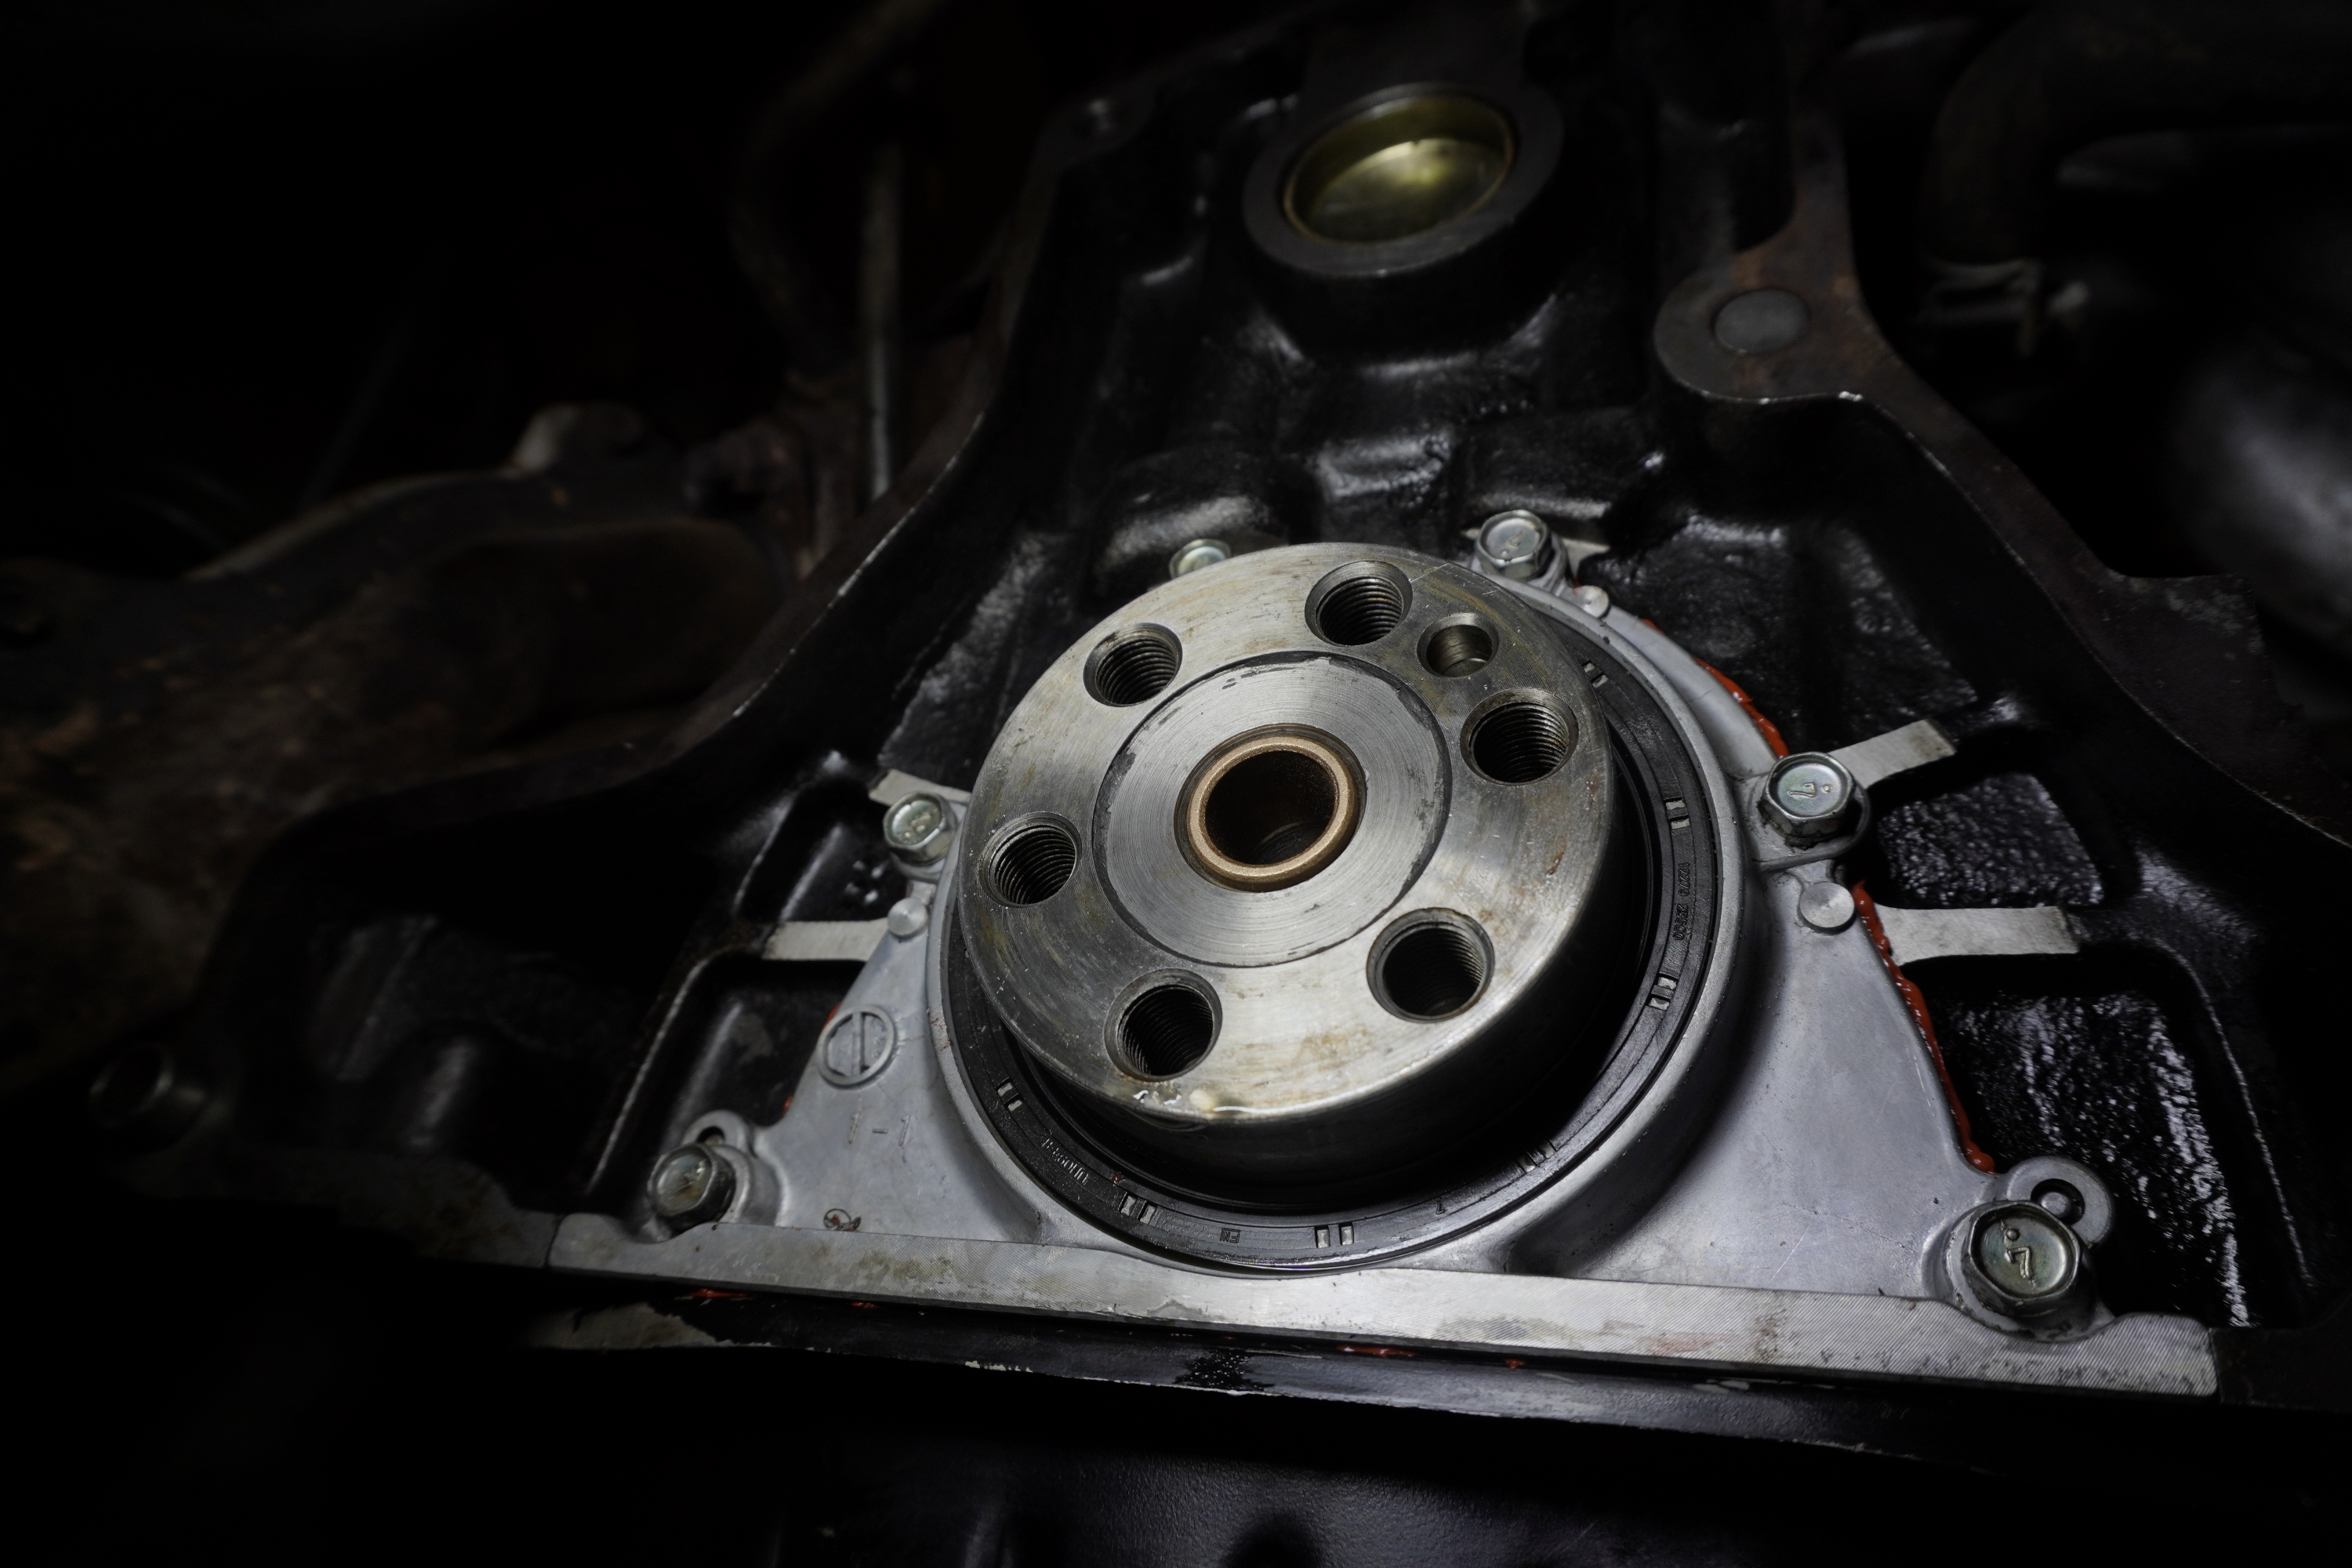
I decided to go ahead and replace the rear main seal while I had everything apart. I don't believe it had a leak, but this is the only time I'll get to do this preventative maintenance. I used an Nissan OEM rear main seal.
253.jpg


254.jpg


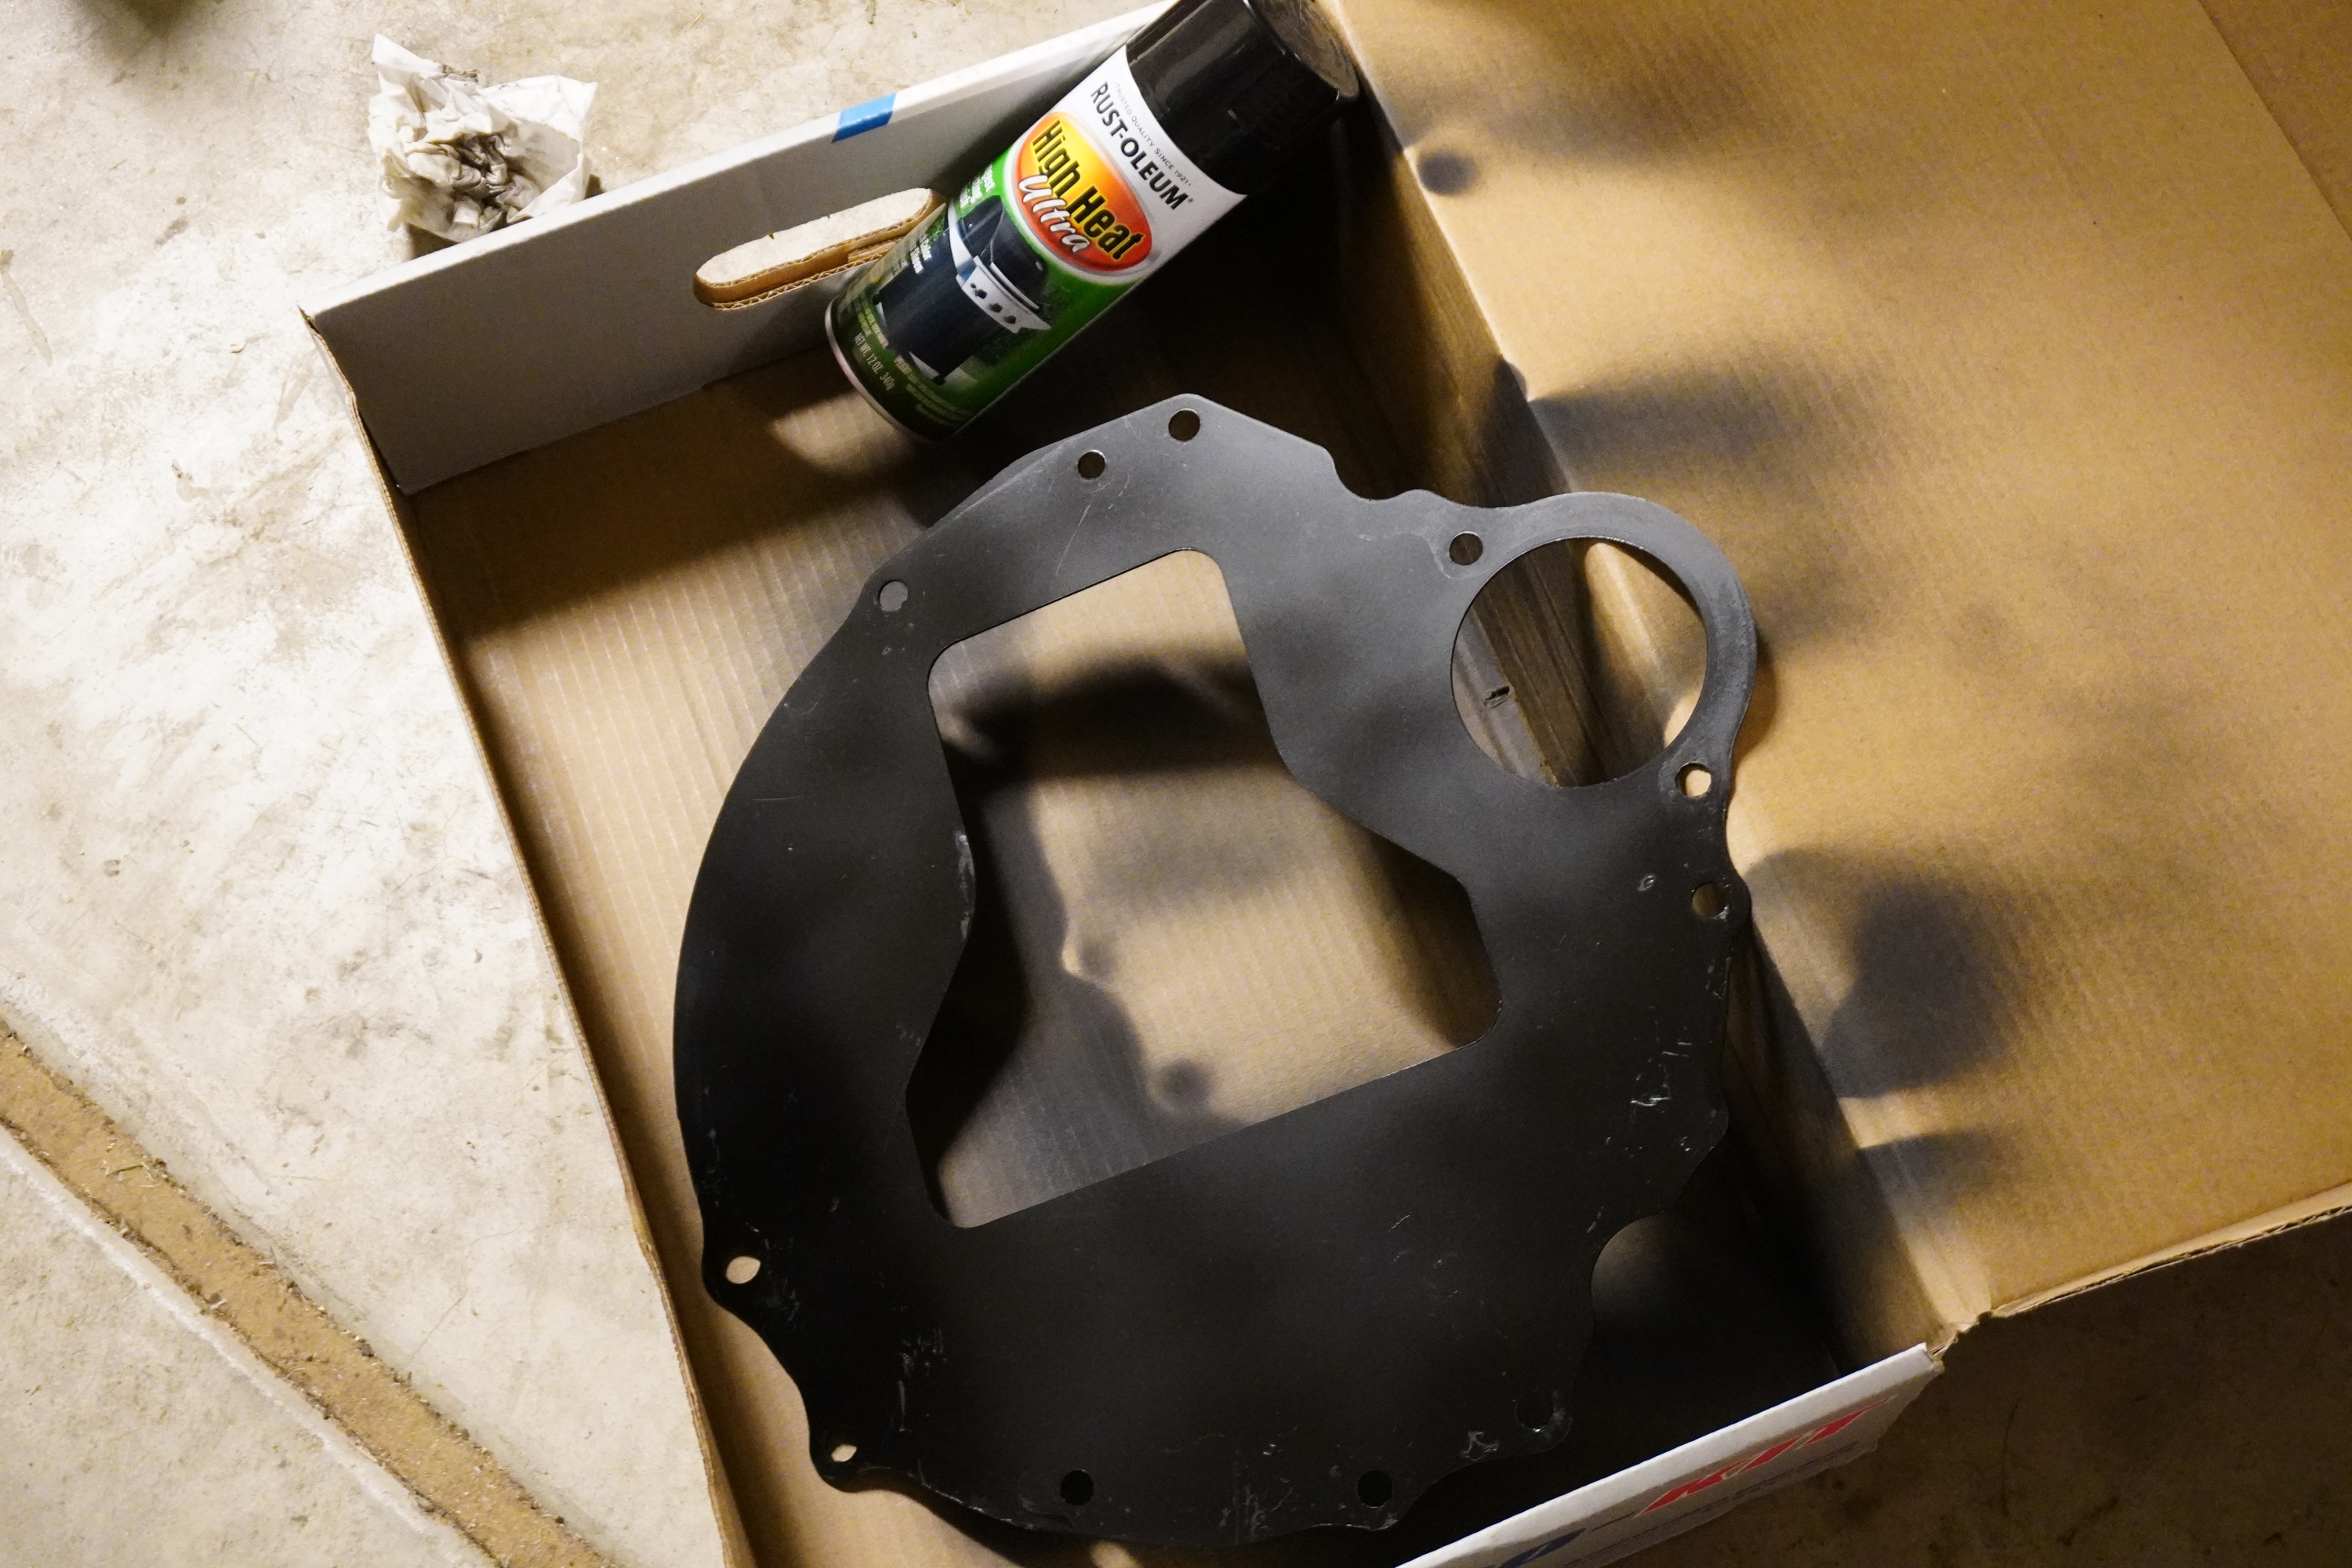
I gave the ****** dust plate a fresh coat of paint. I just used some high temp BBQ grill paint that I had left over from another project.
255.jpg


The back of the engine was pretty nasty, so I spent some time cleaning it up before I replaced the rear main seal.
256.jpg


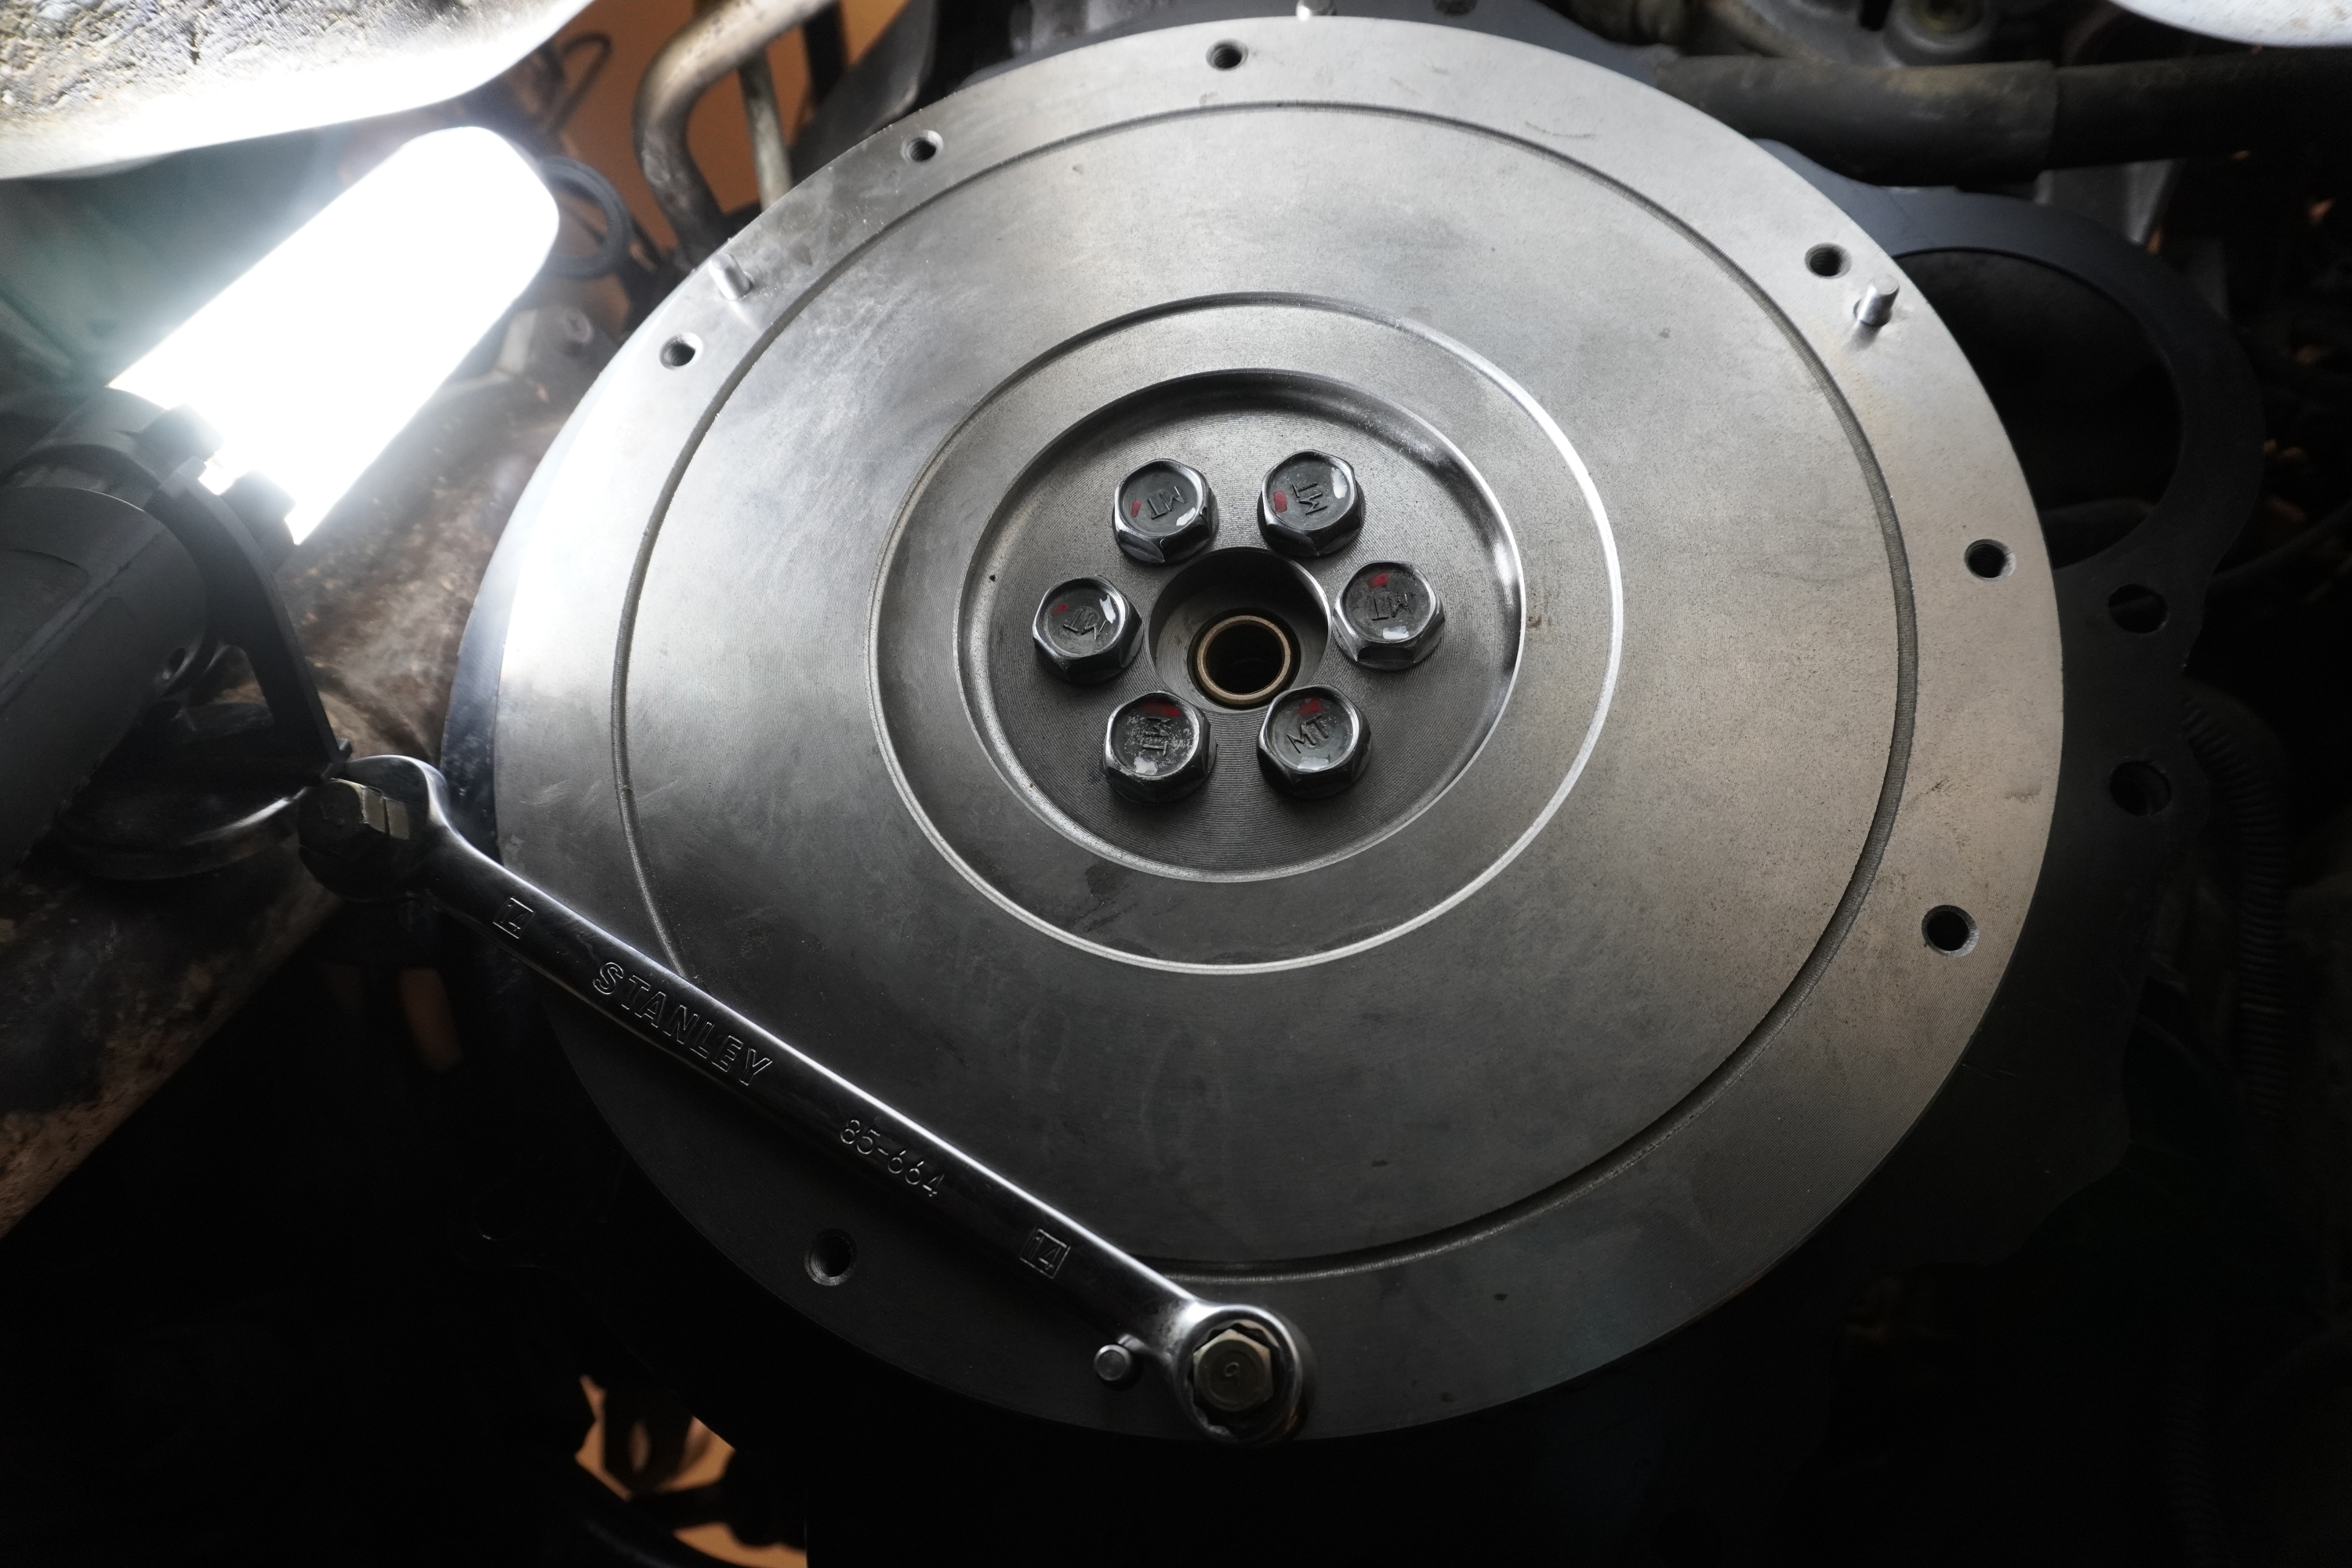
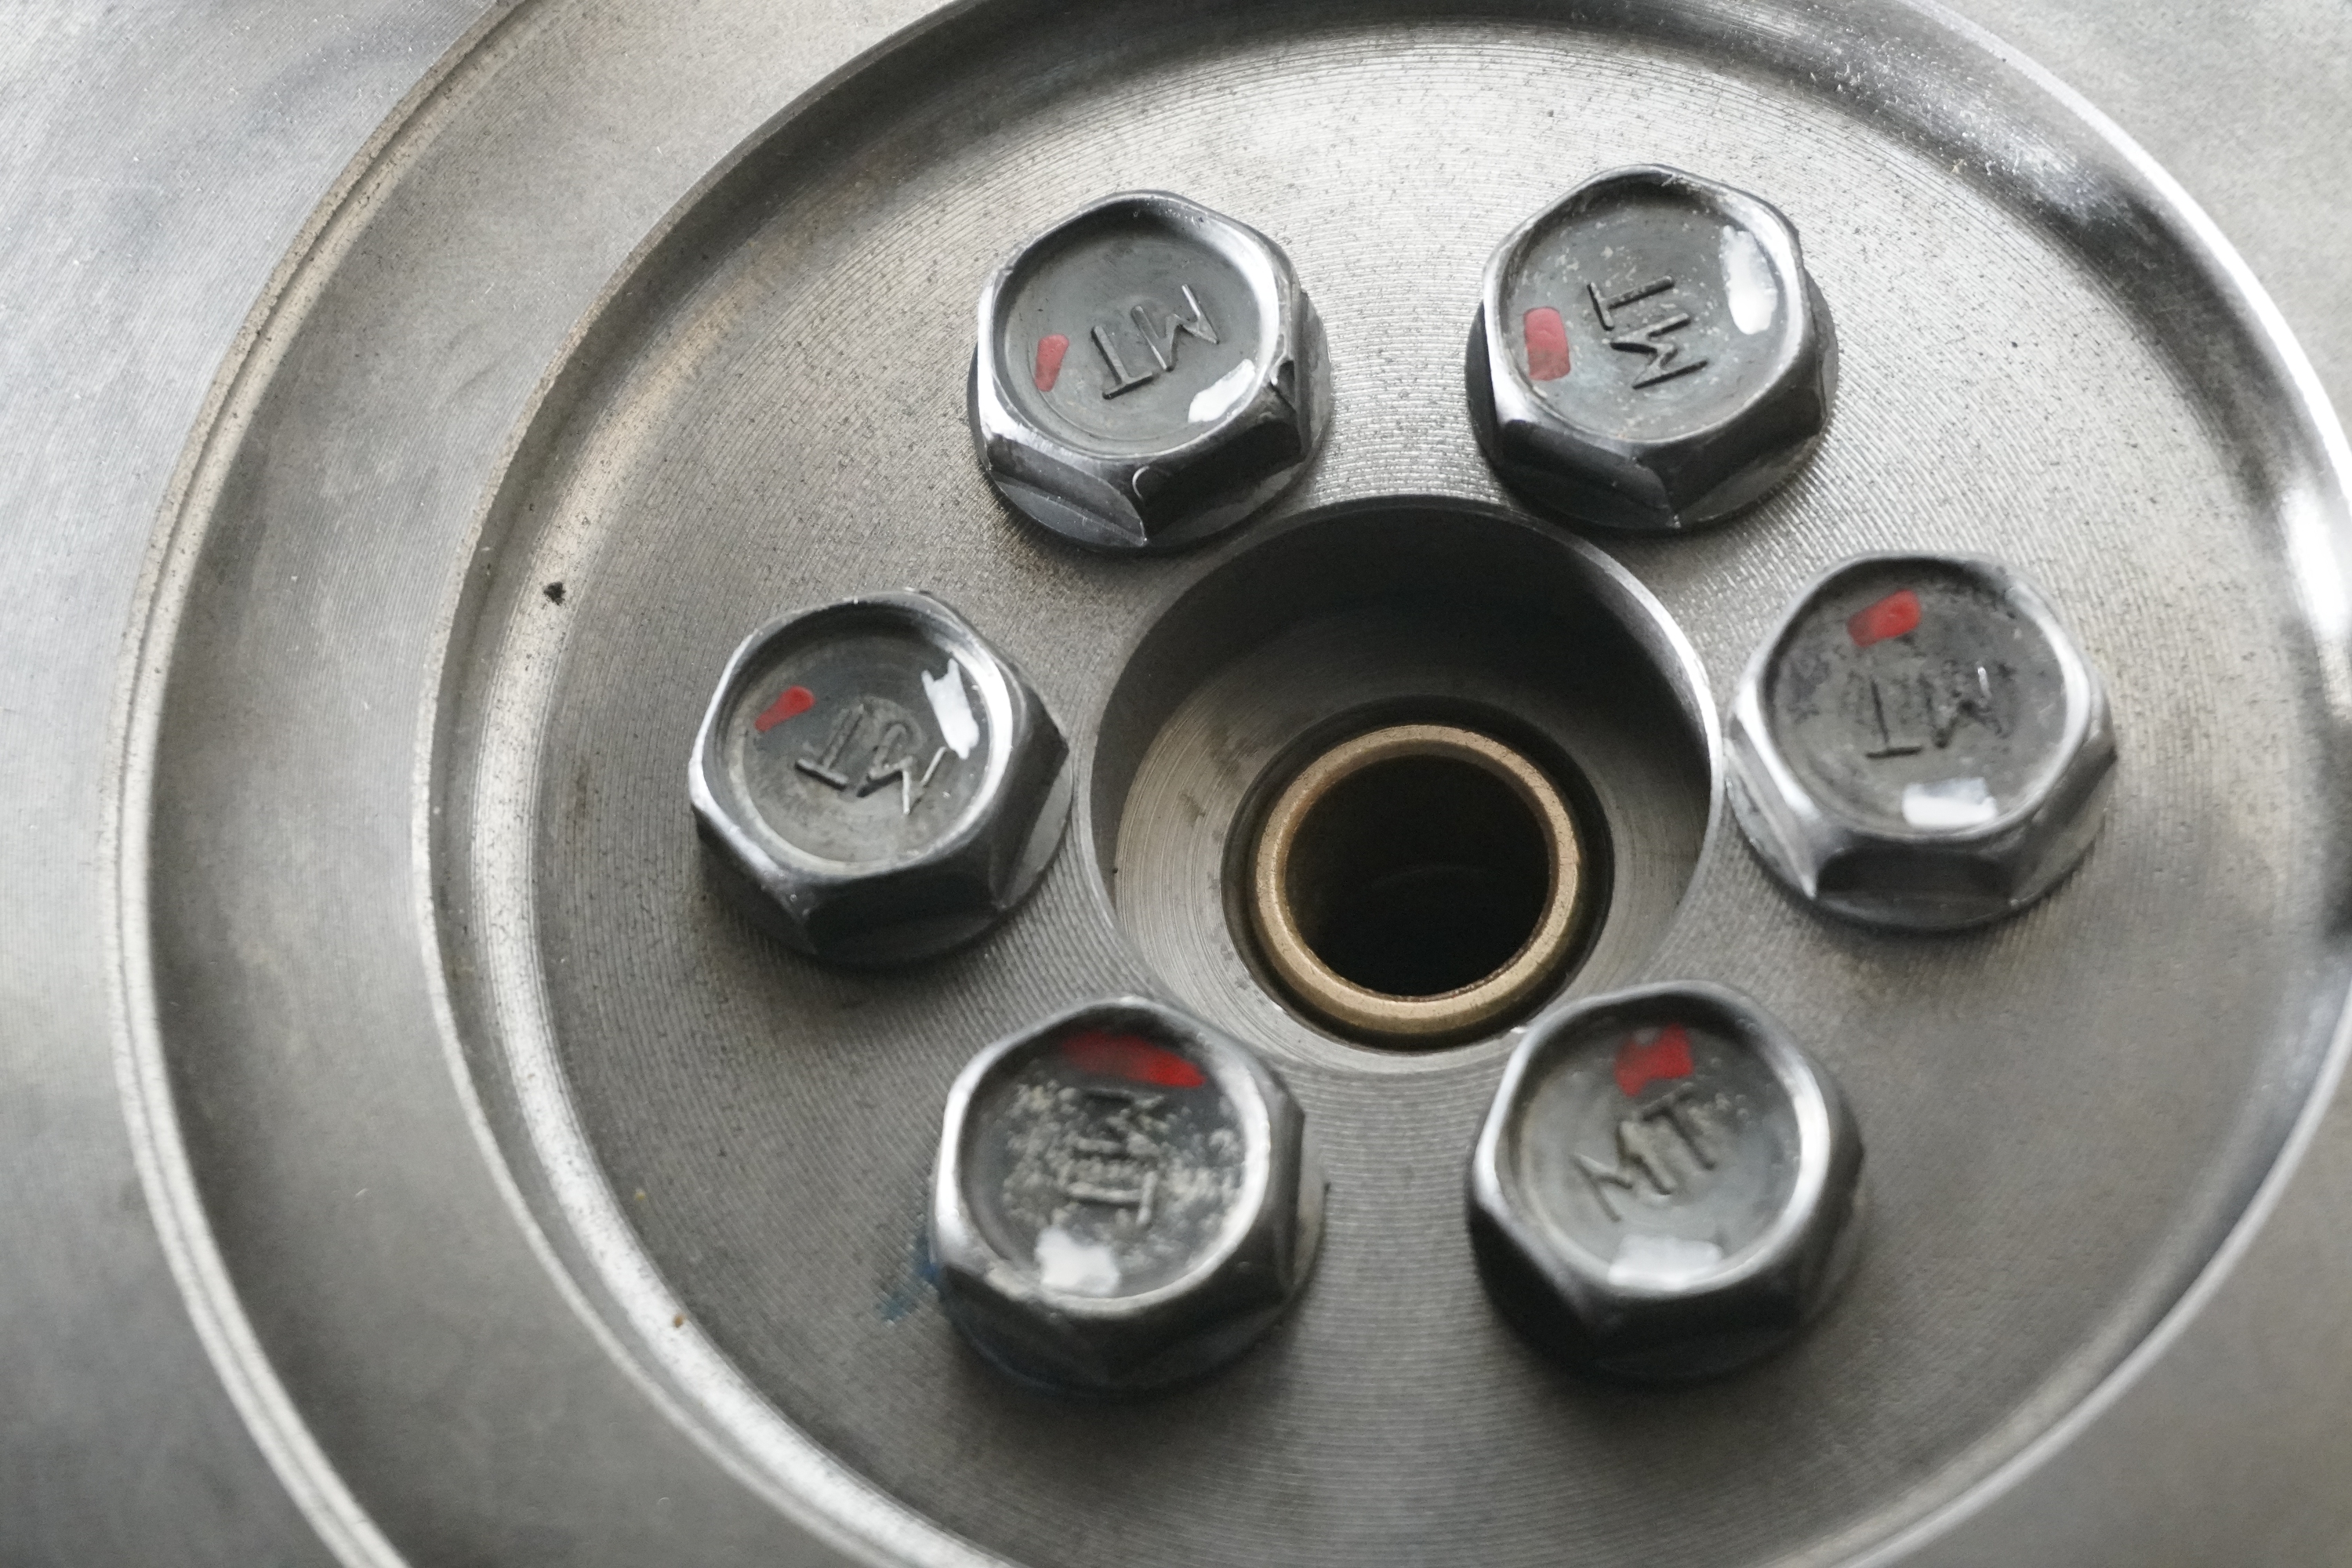
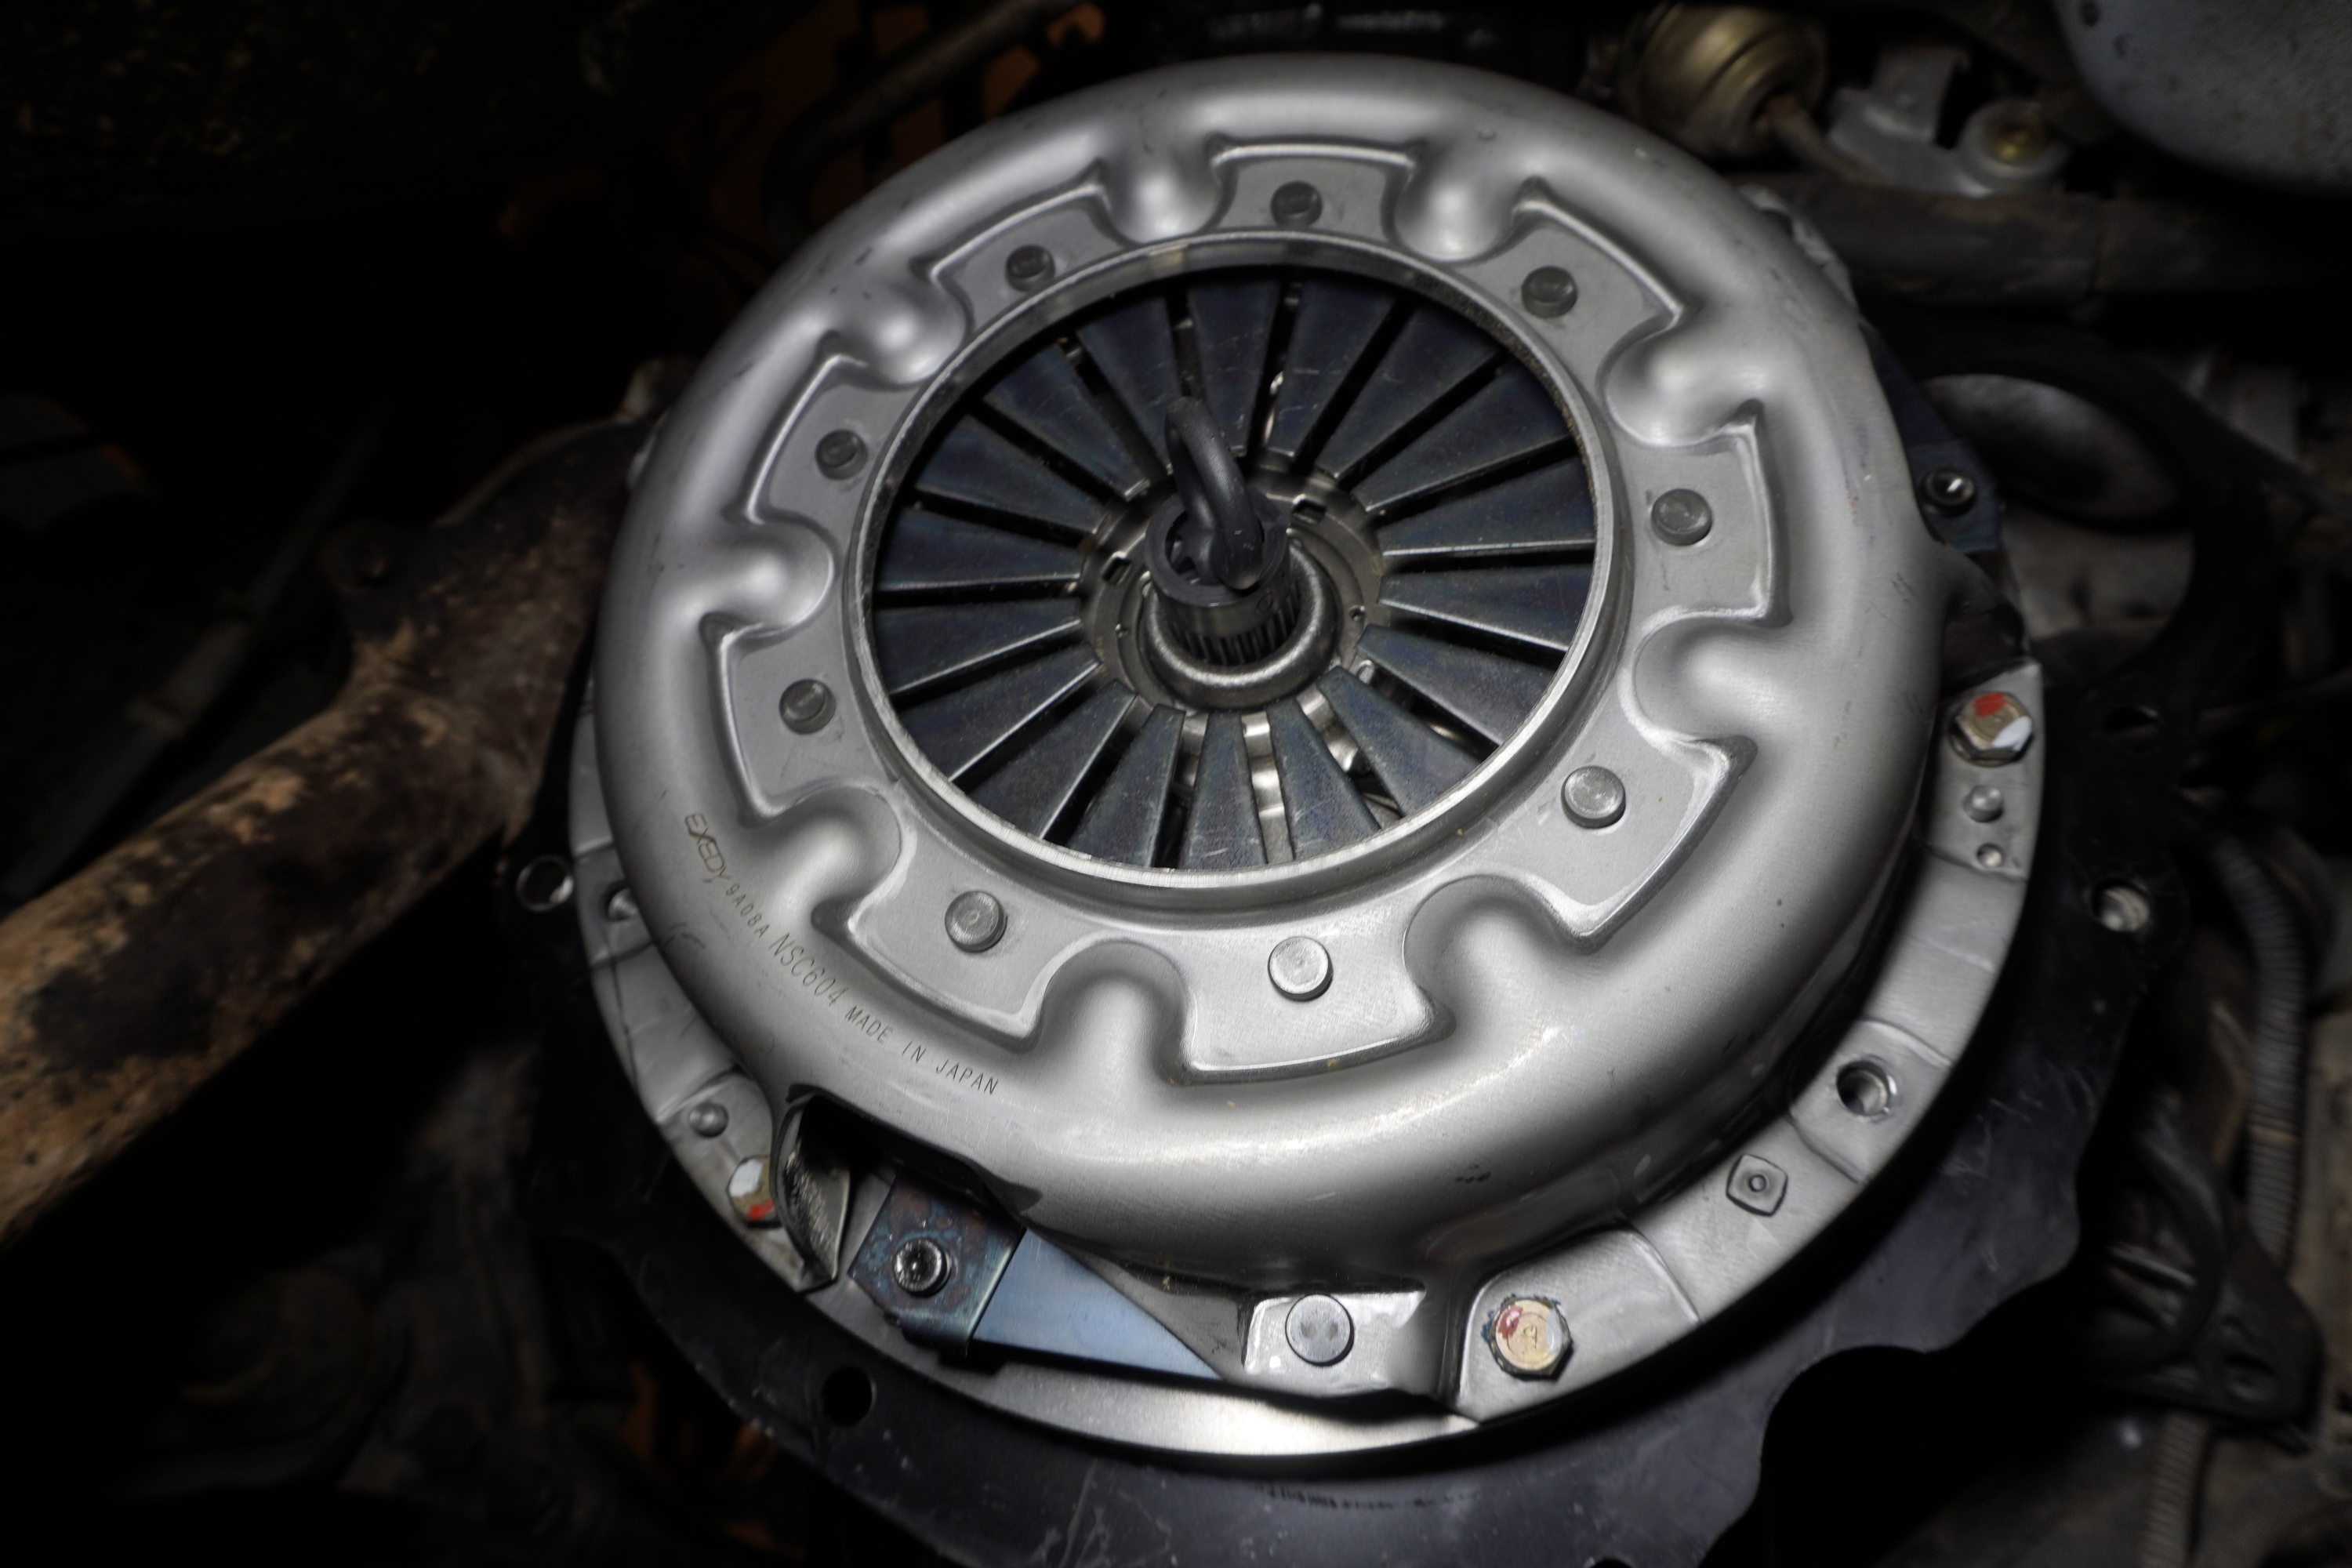
Mounting the clutch and flywheel. I went with an Exedy clutch and a Luk flywheel. I used paint markers to keep track of which bolts were thread locked, and which ones were torqued. One mark after thread locking, and another after torquing. I still found myself second guessing a couple of times. :headscrat
257.jpg


258.jpg


259.jpg


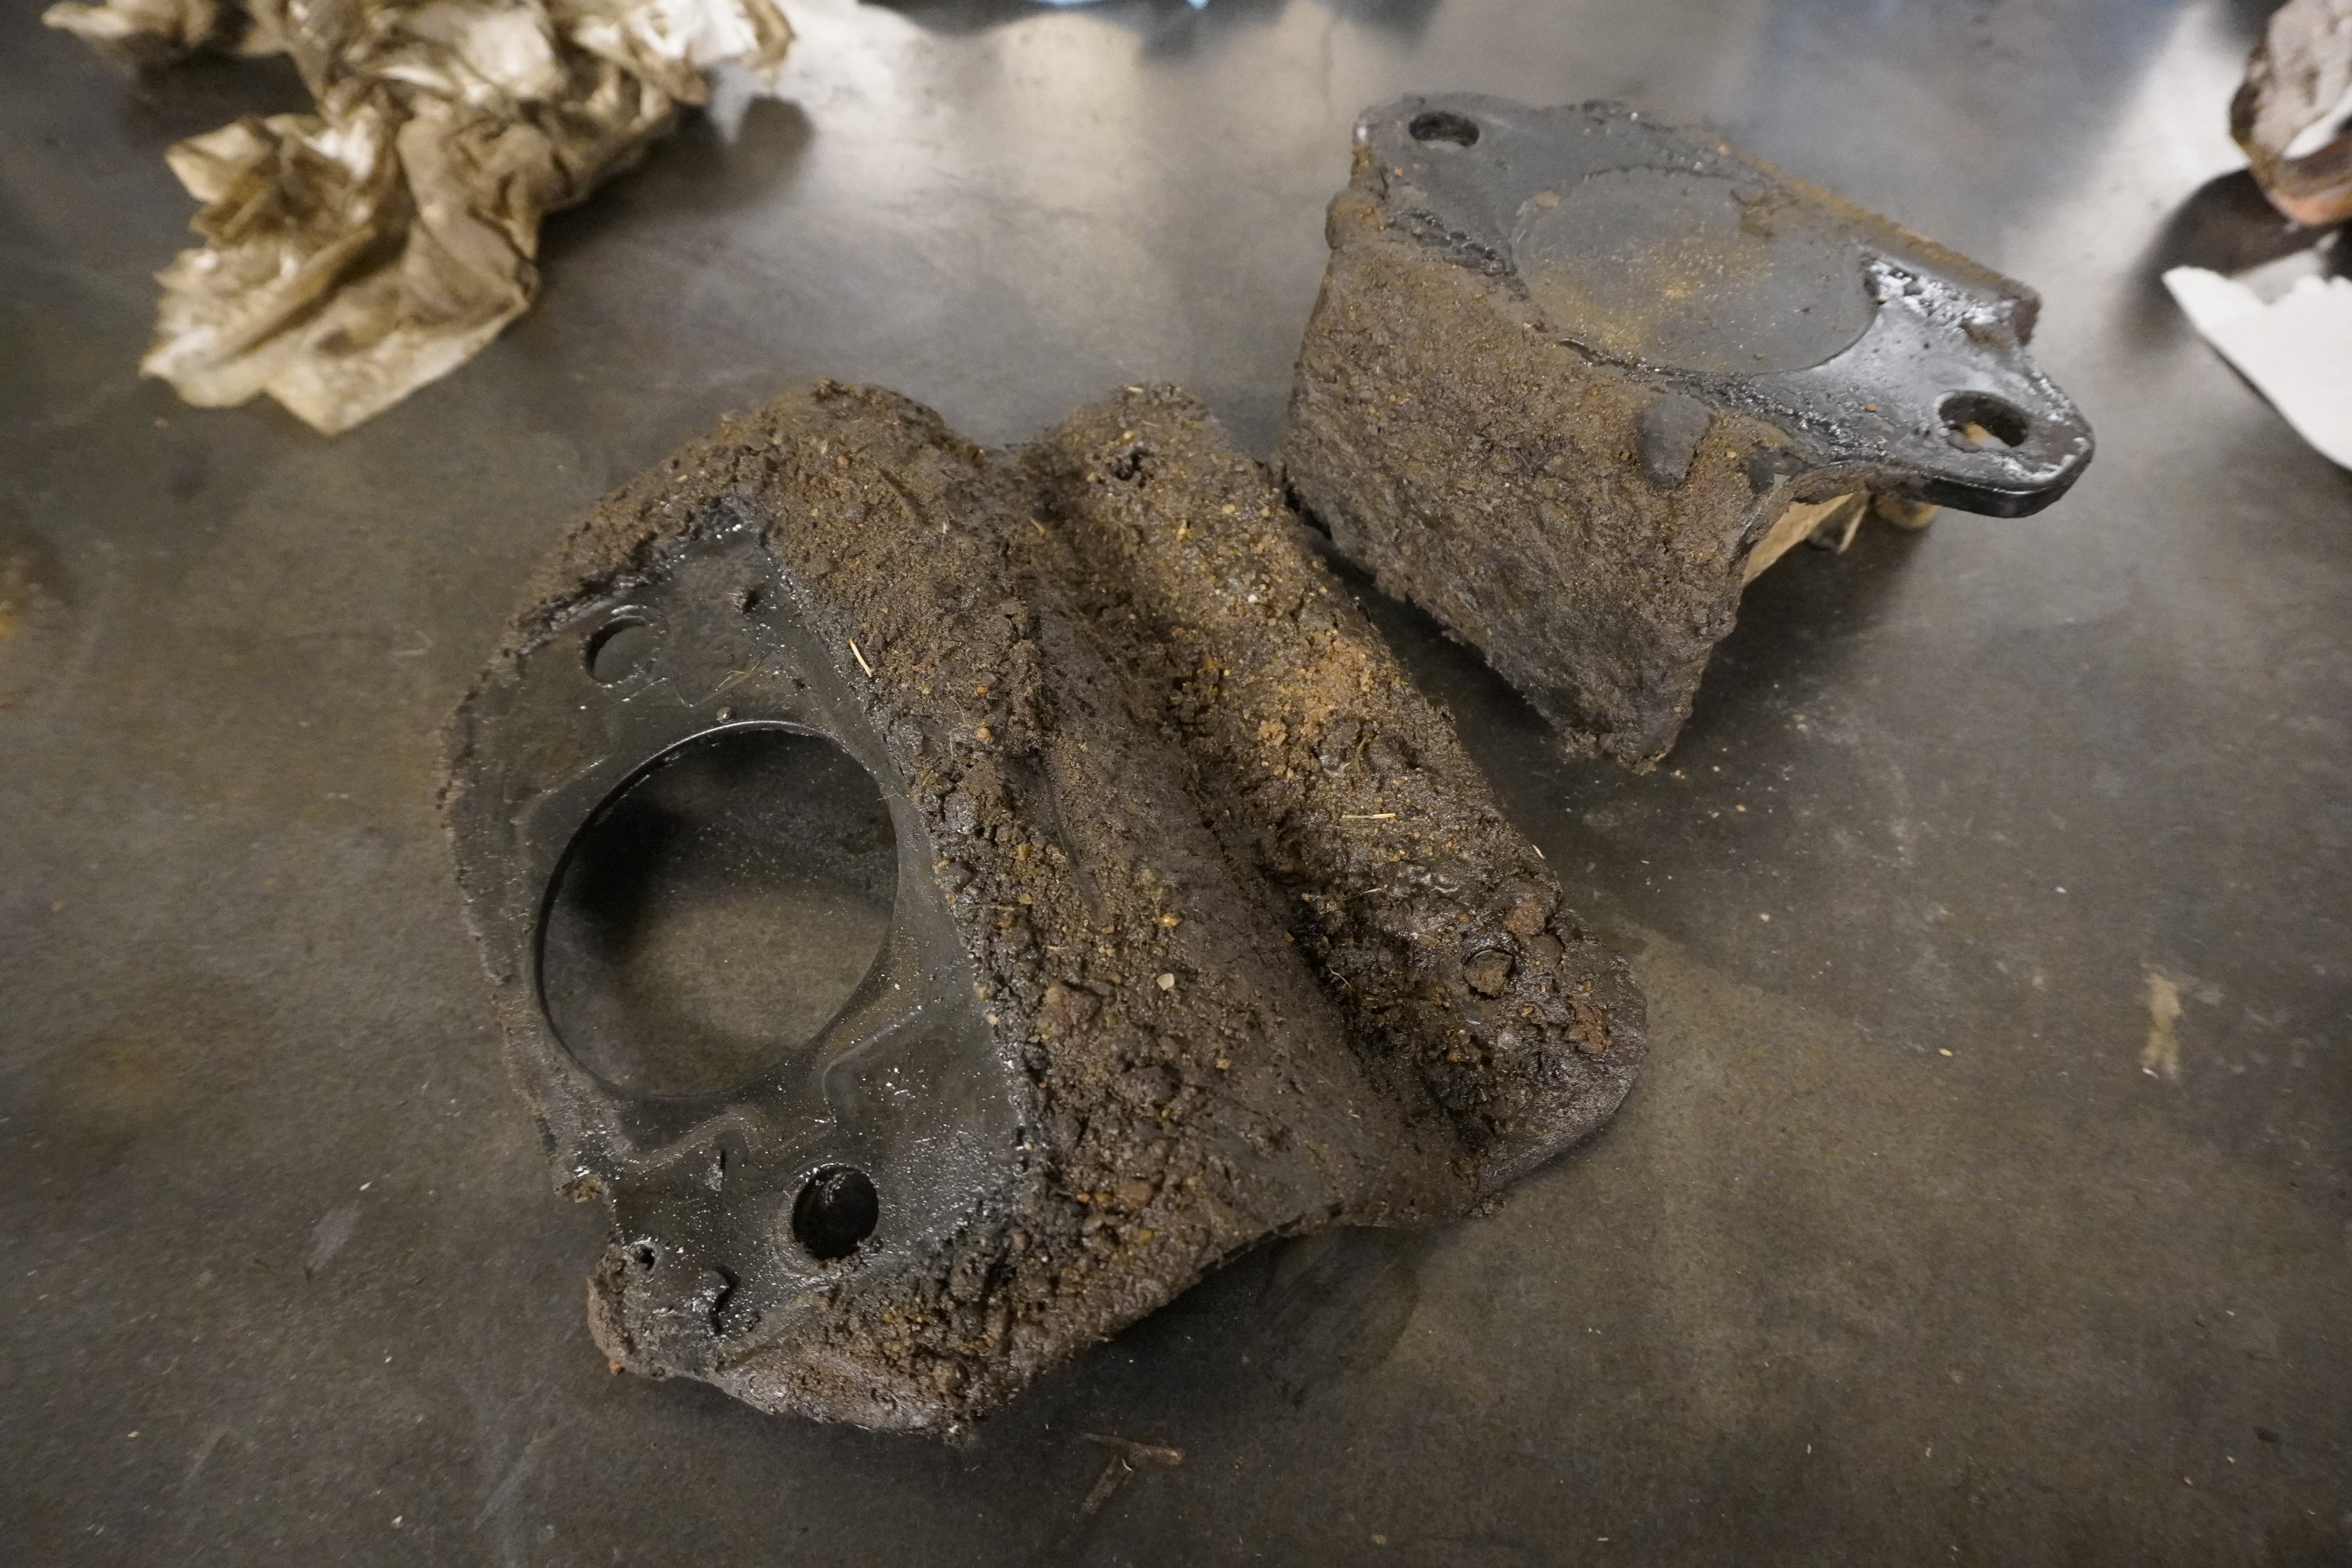
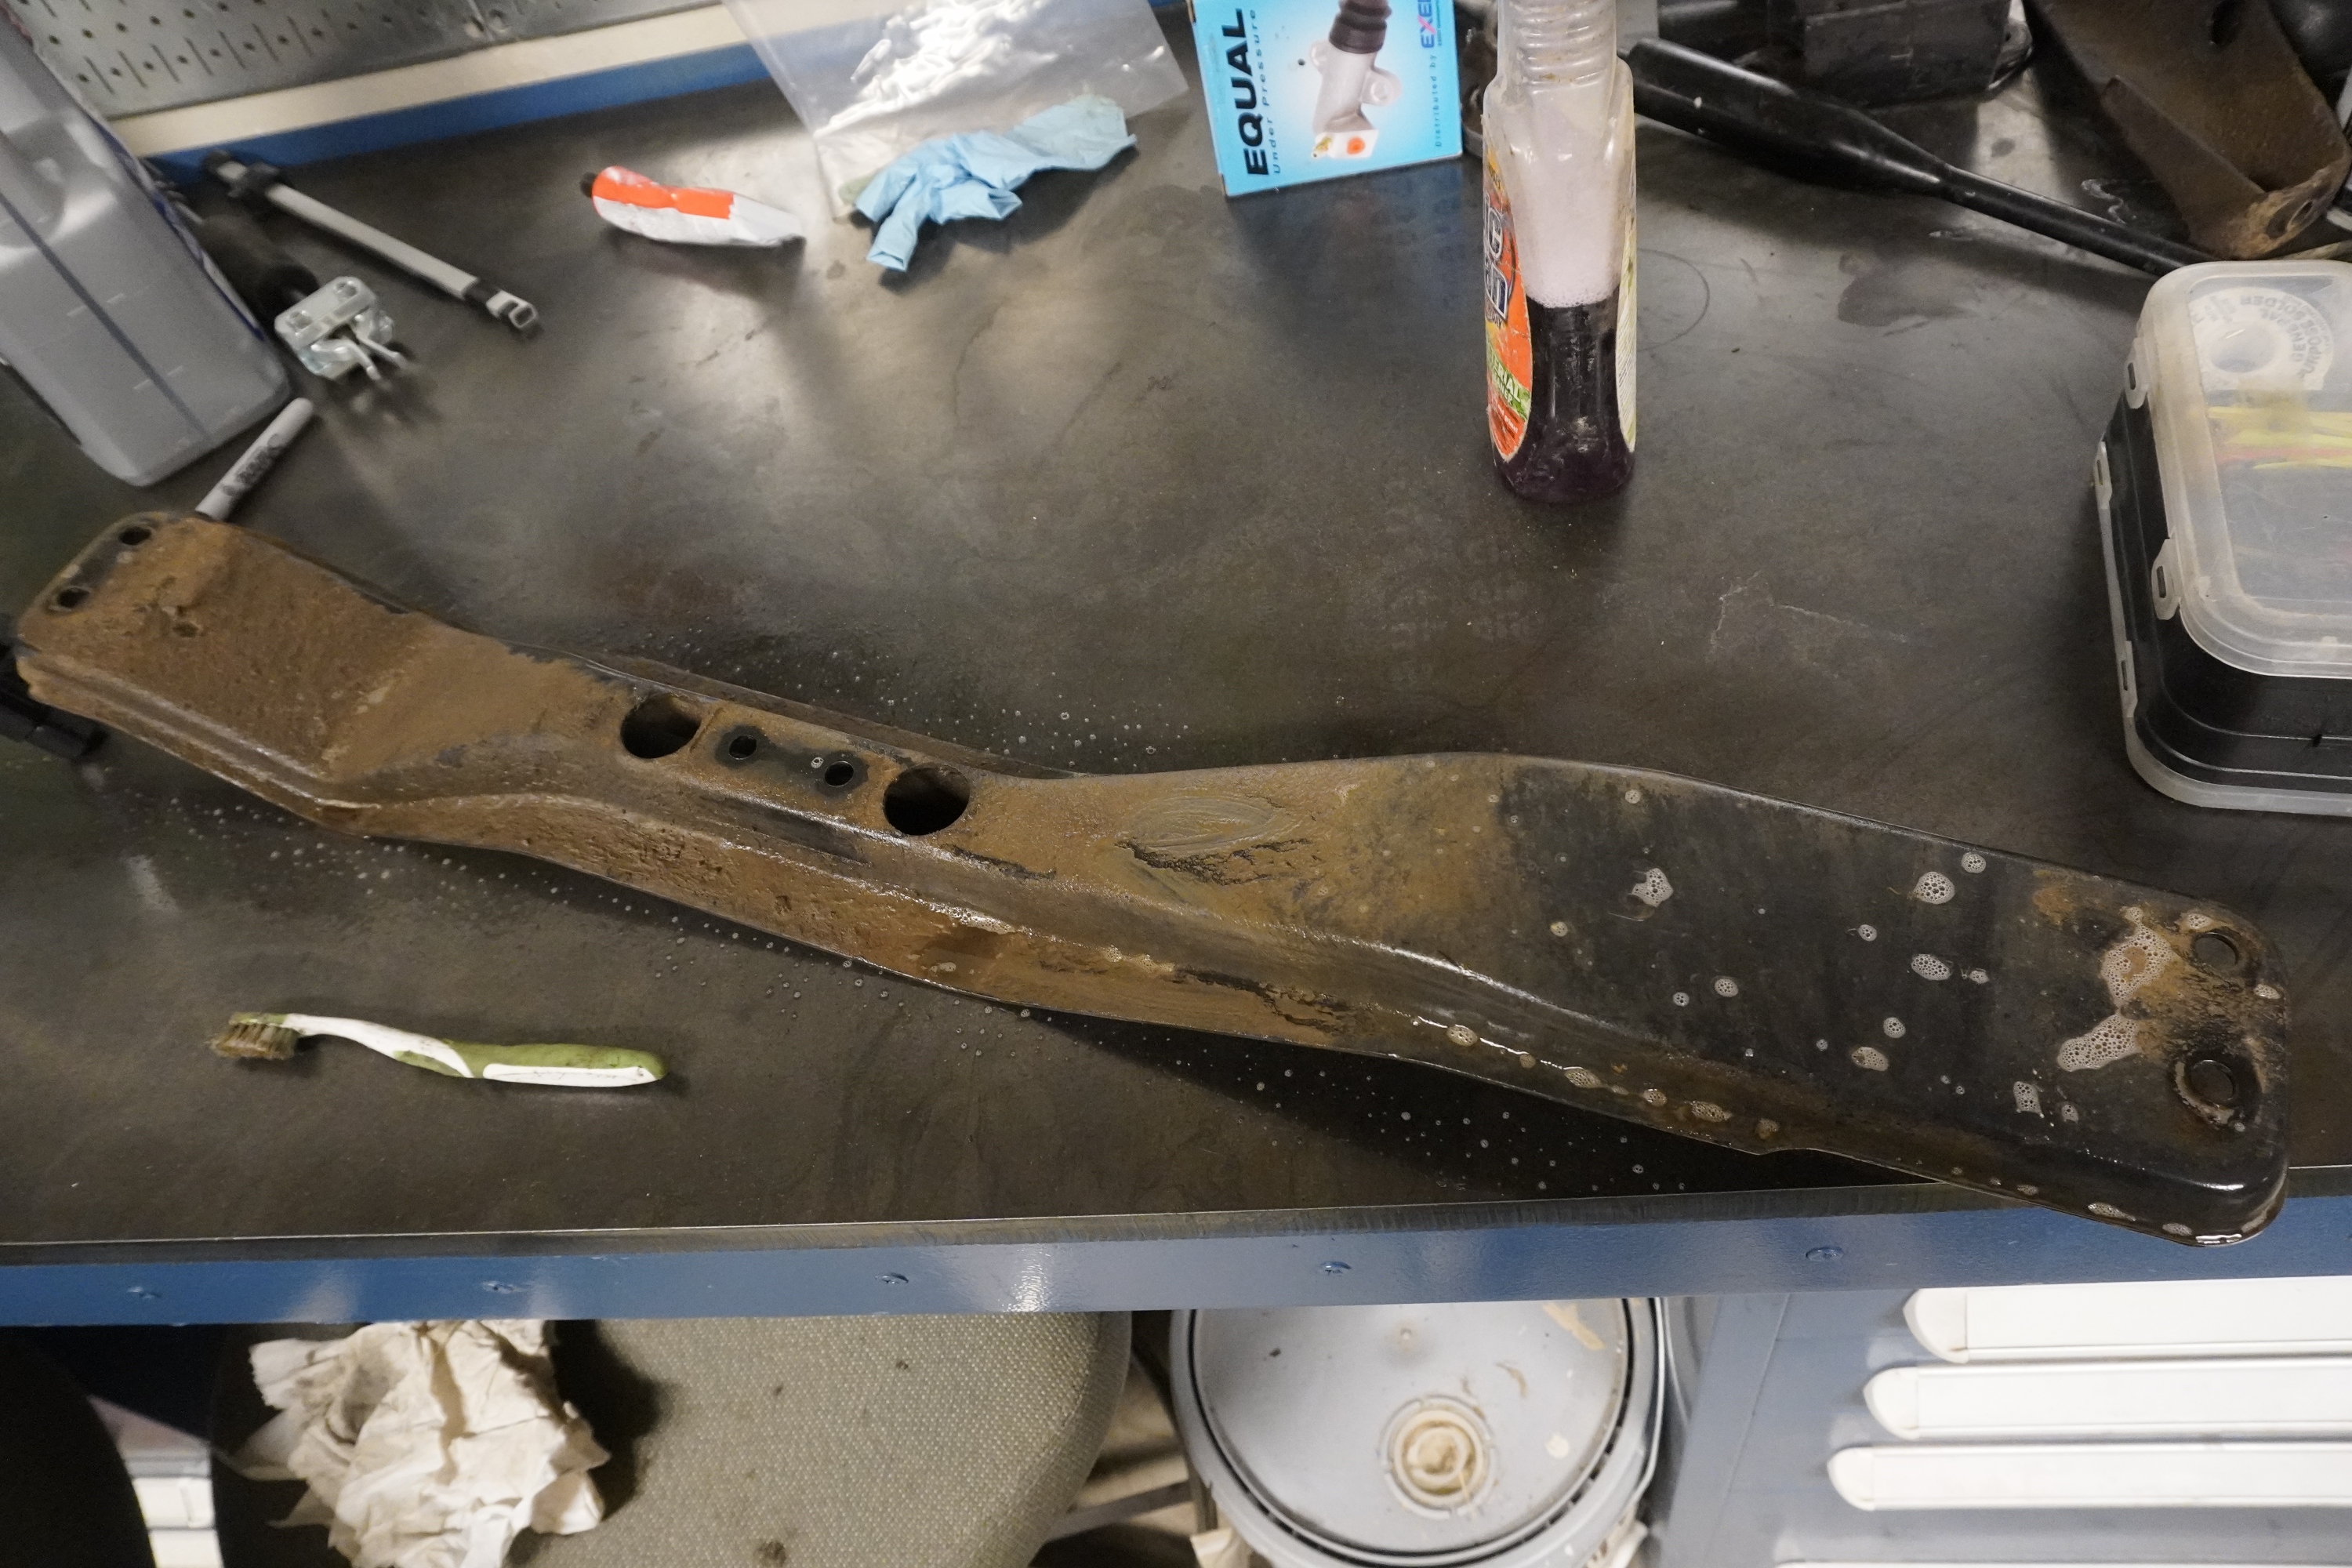
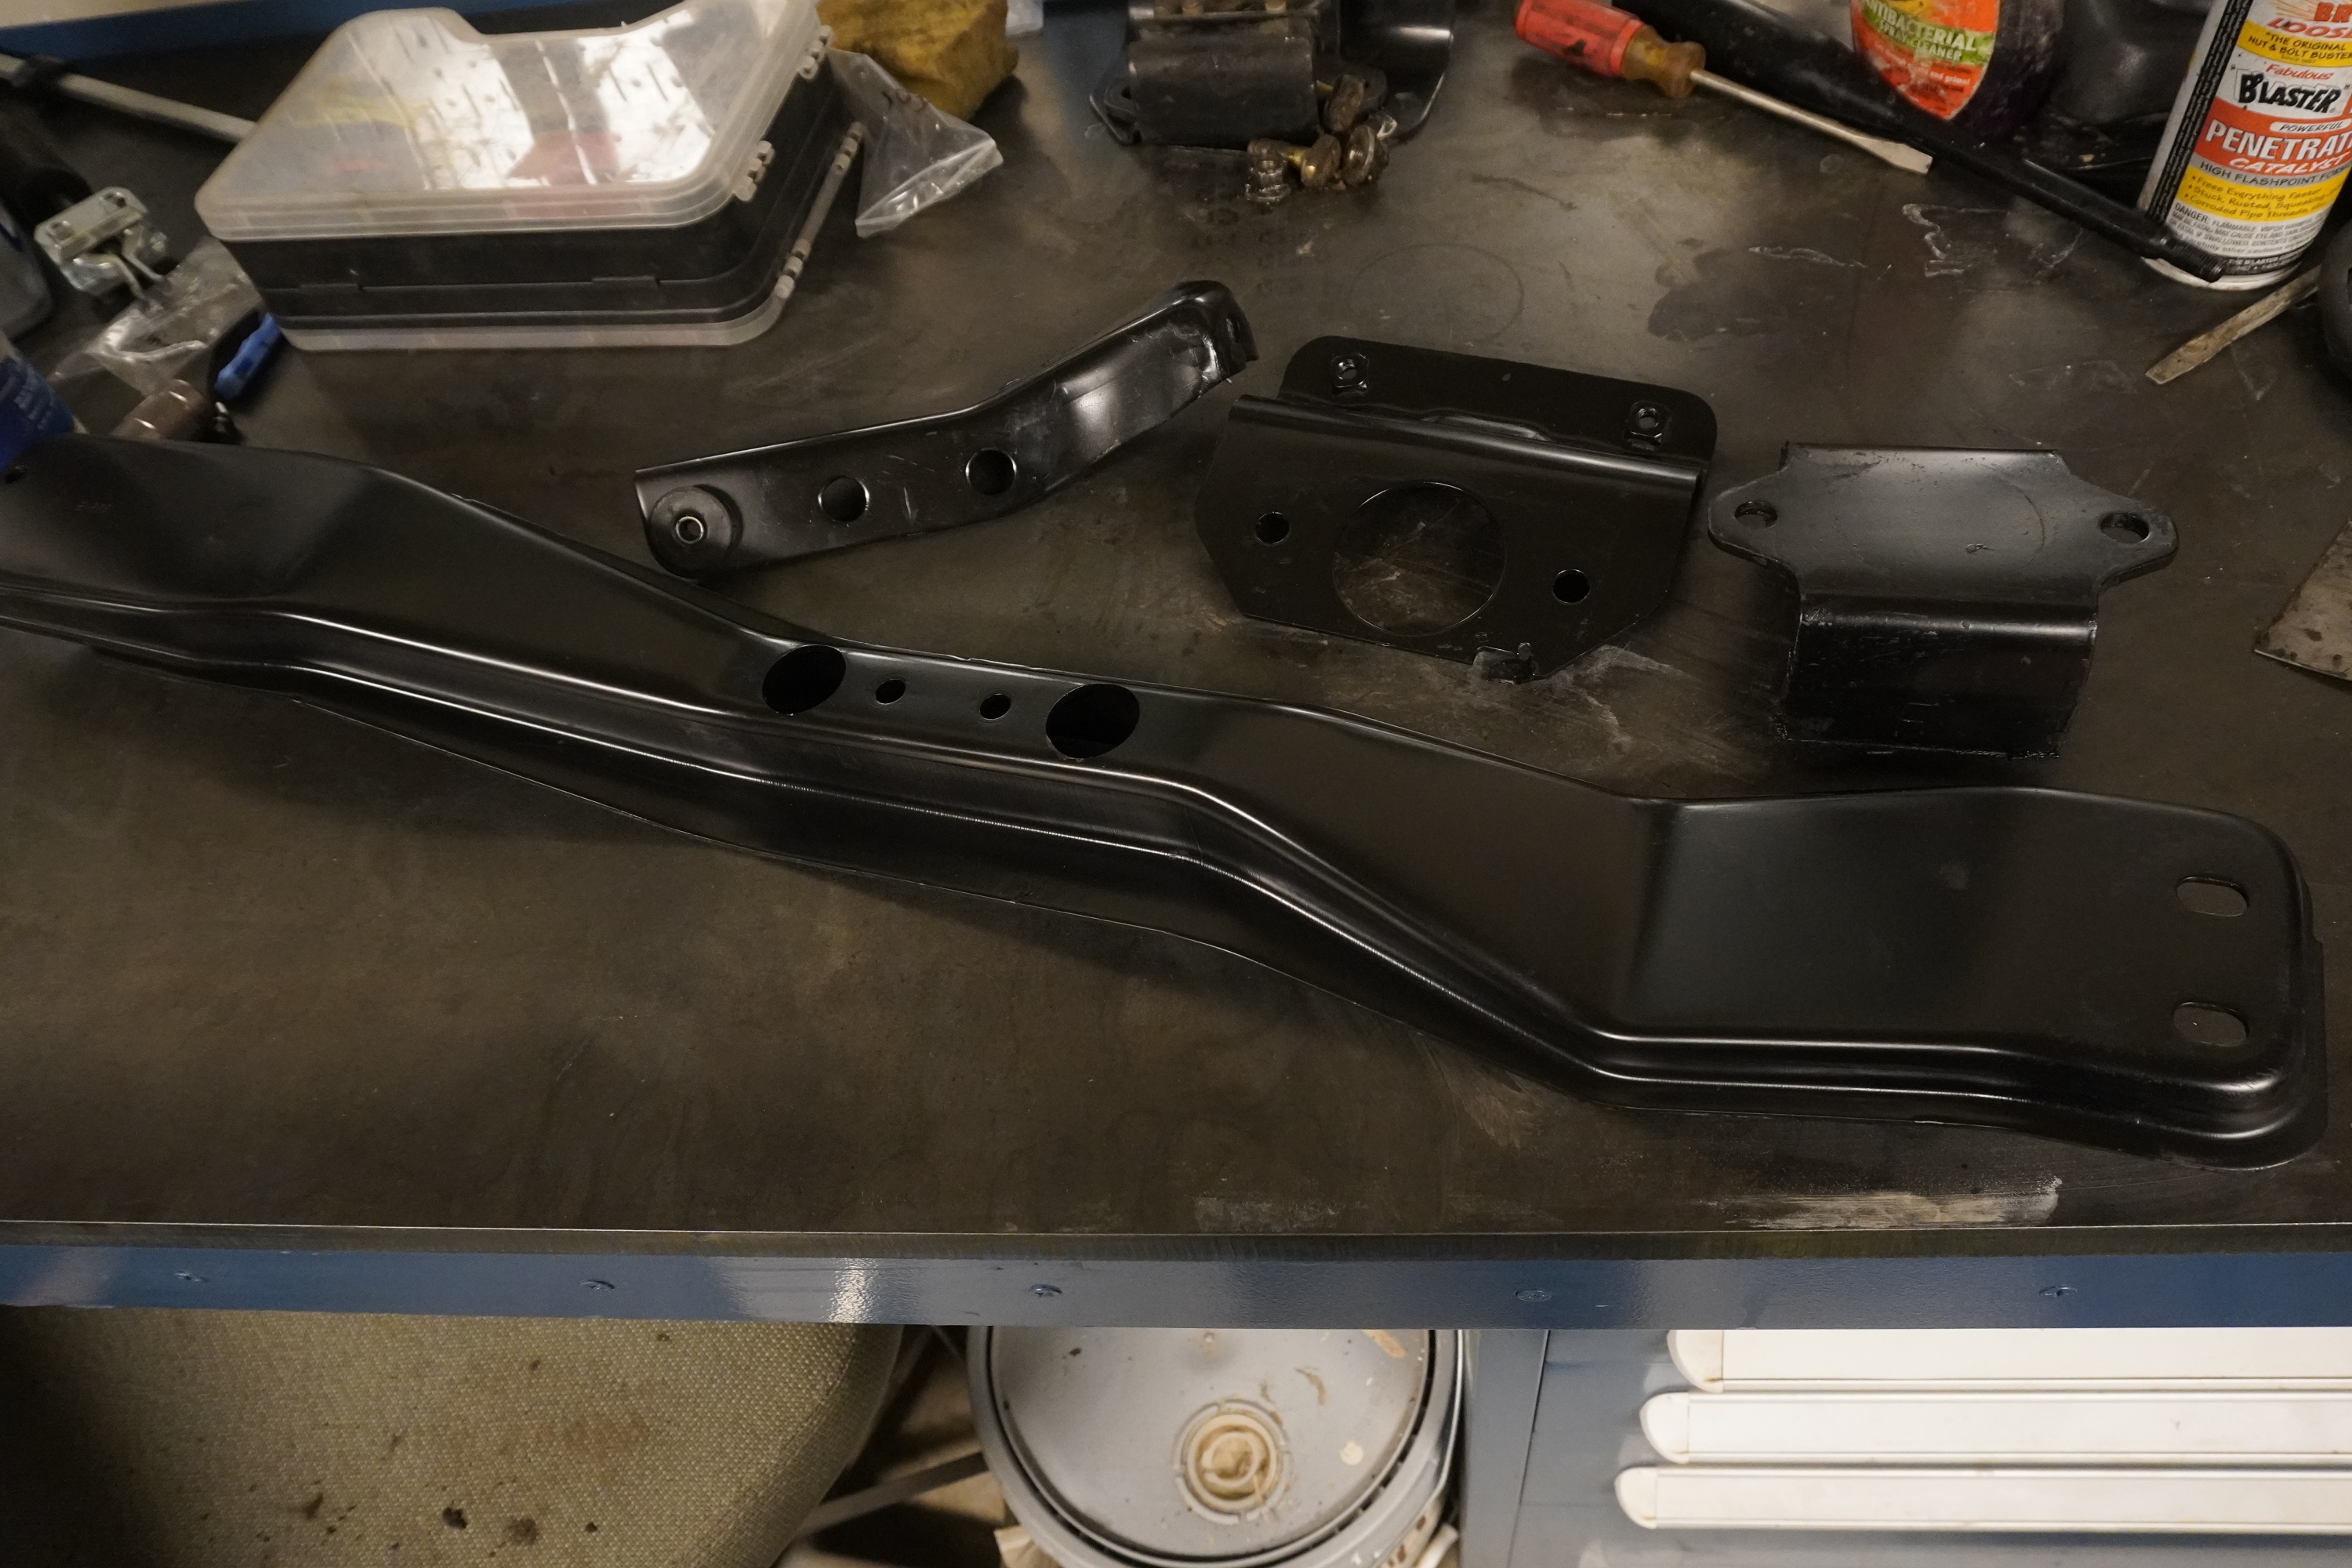
I decided to clean up the cross member, transmission mount, and one of the exhaust hangers. The mount was covered in grime, probably 1/2-inch thick in some areas. I also gave it all some fresh BBQ grill paint.
260.jpg


261.jpg


262.jpg


The transmission is back in after fighting with it and all of the things that got in the way for quite some time. This part was exhausting.
263.jpg


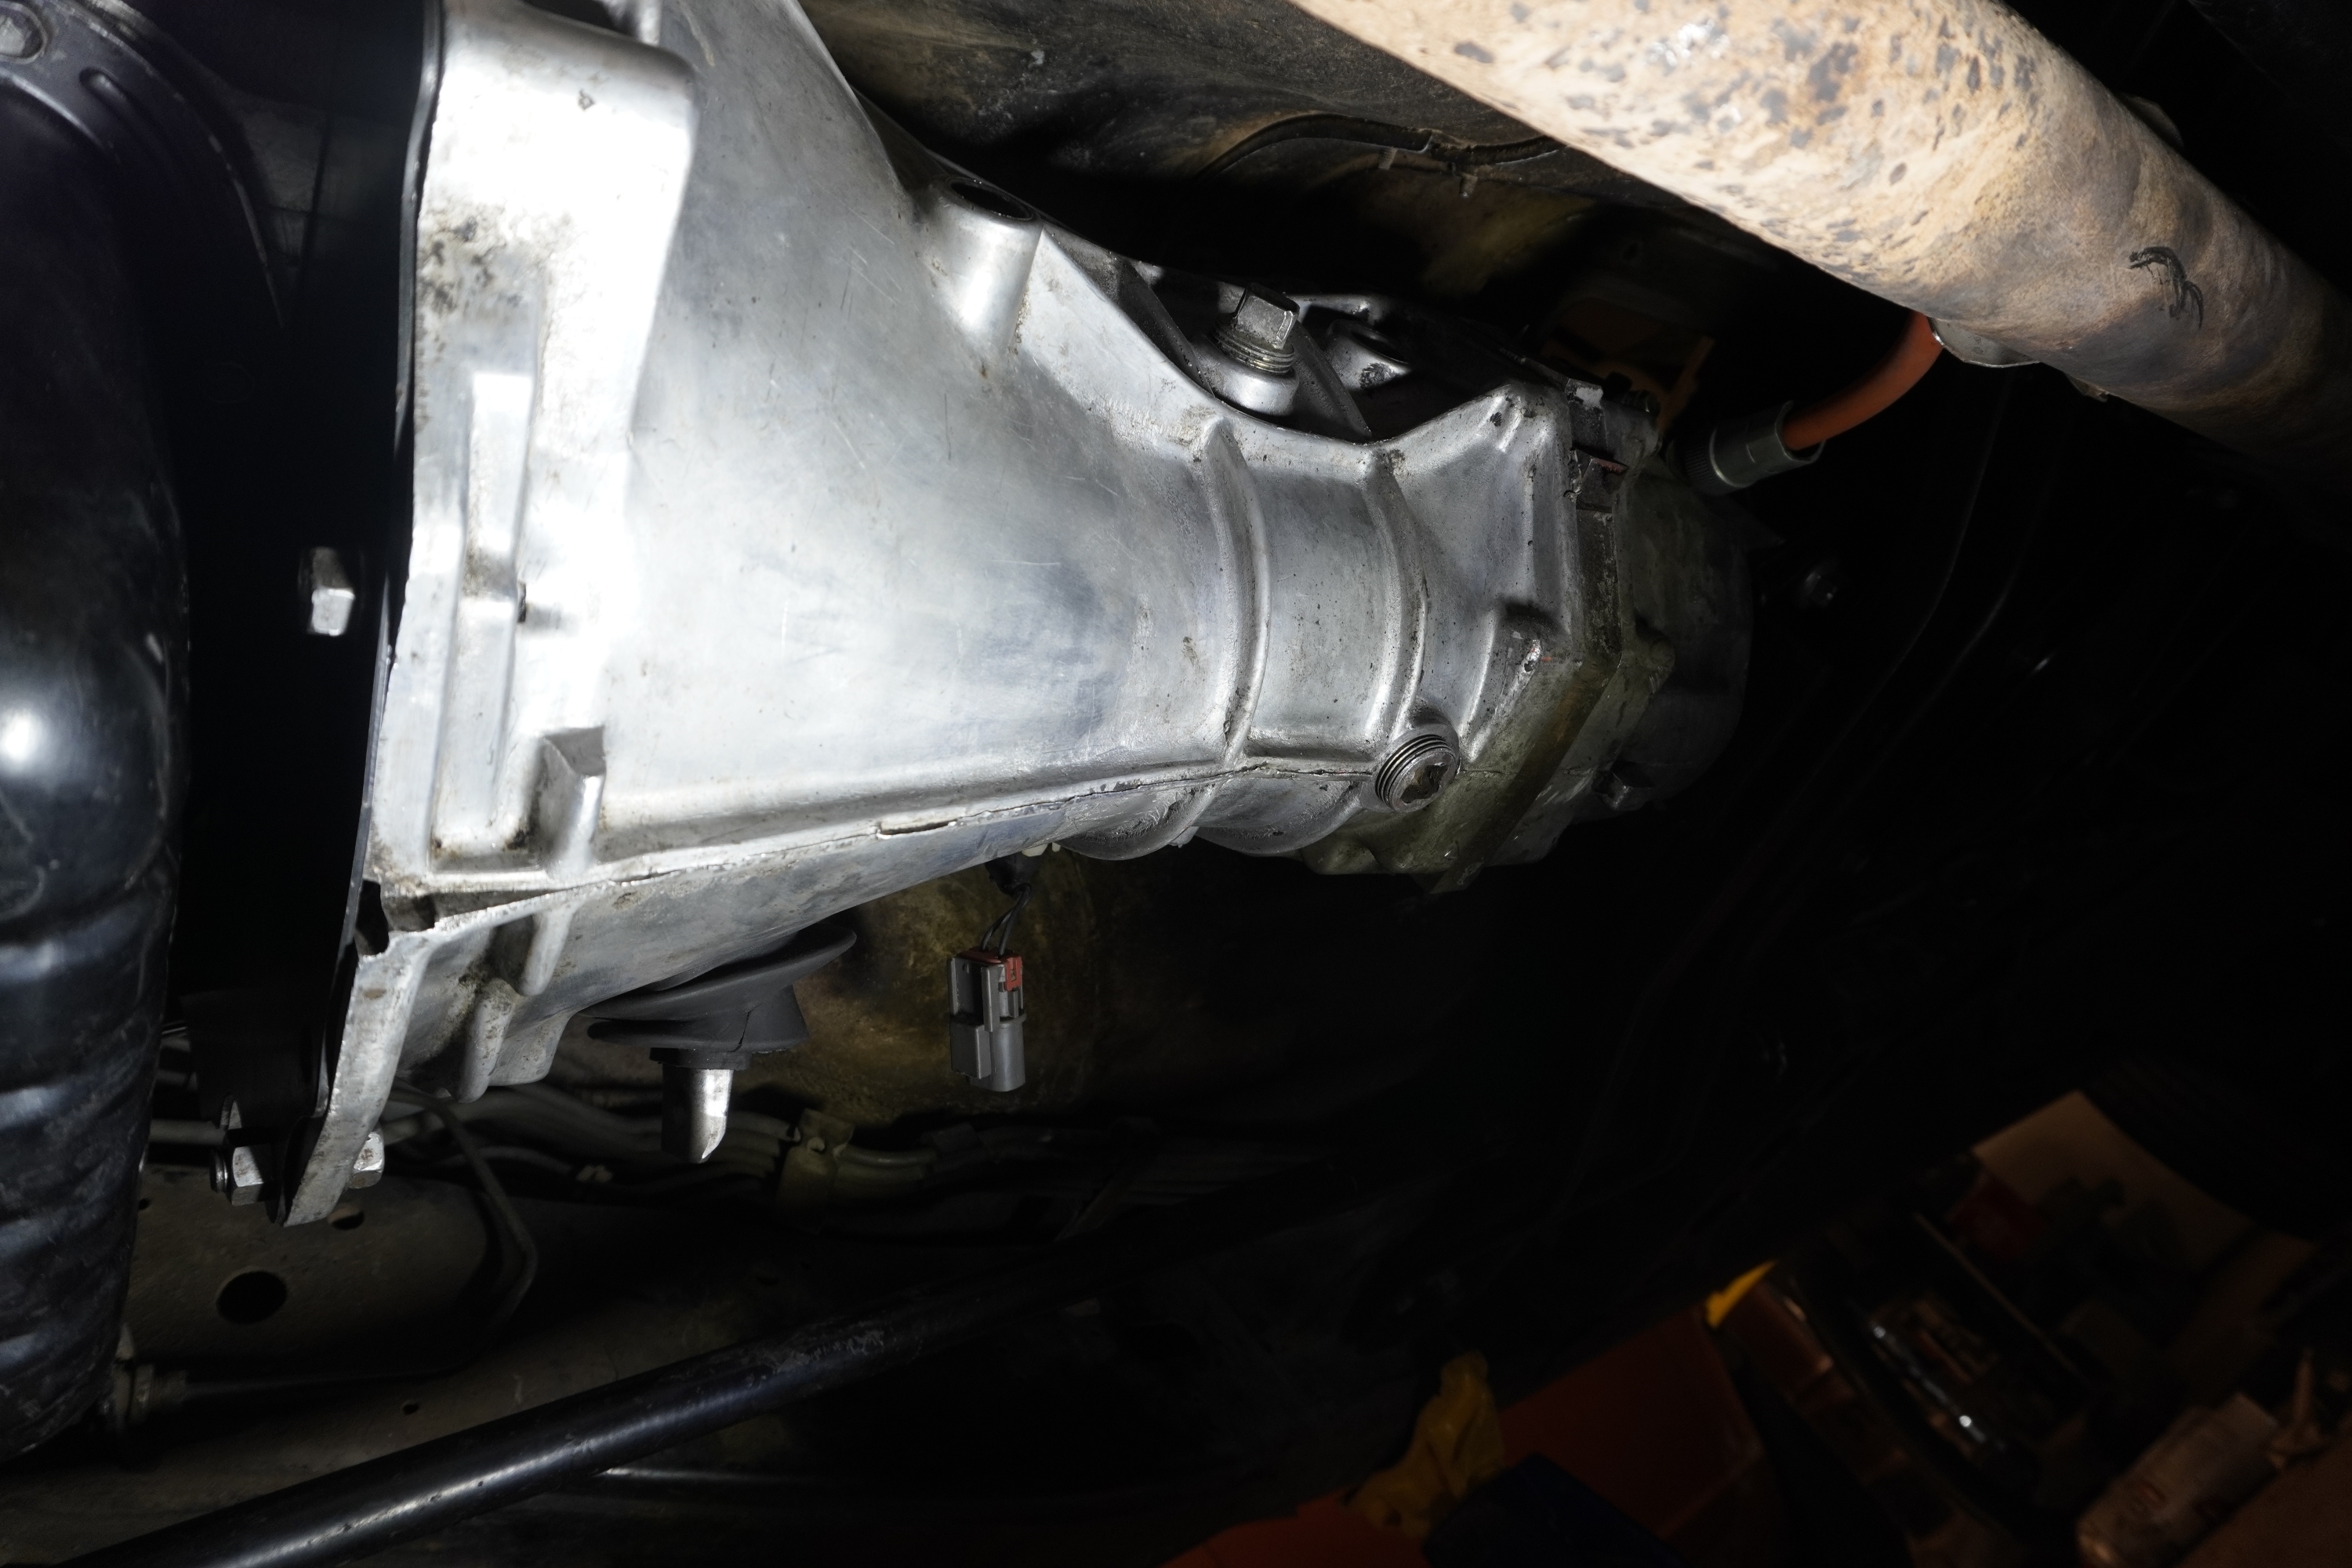
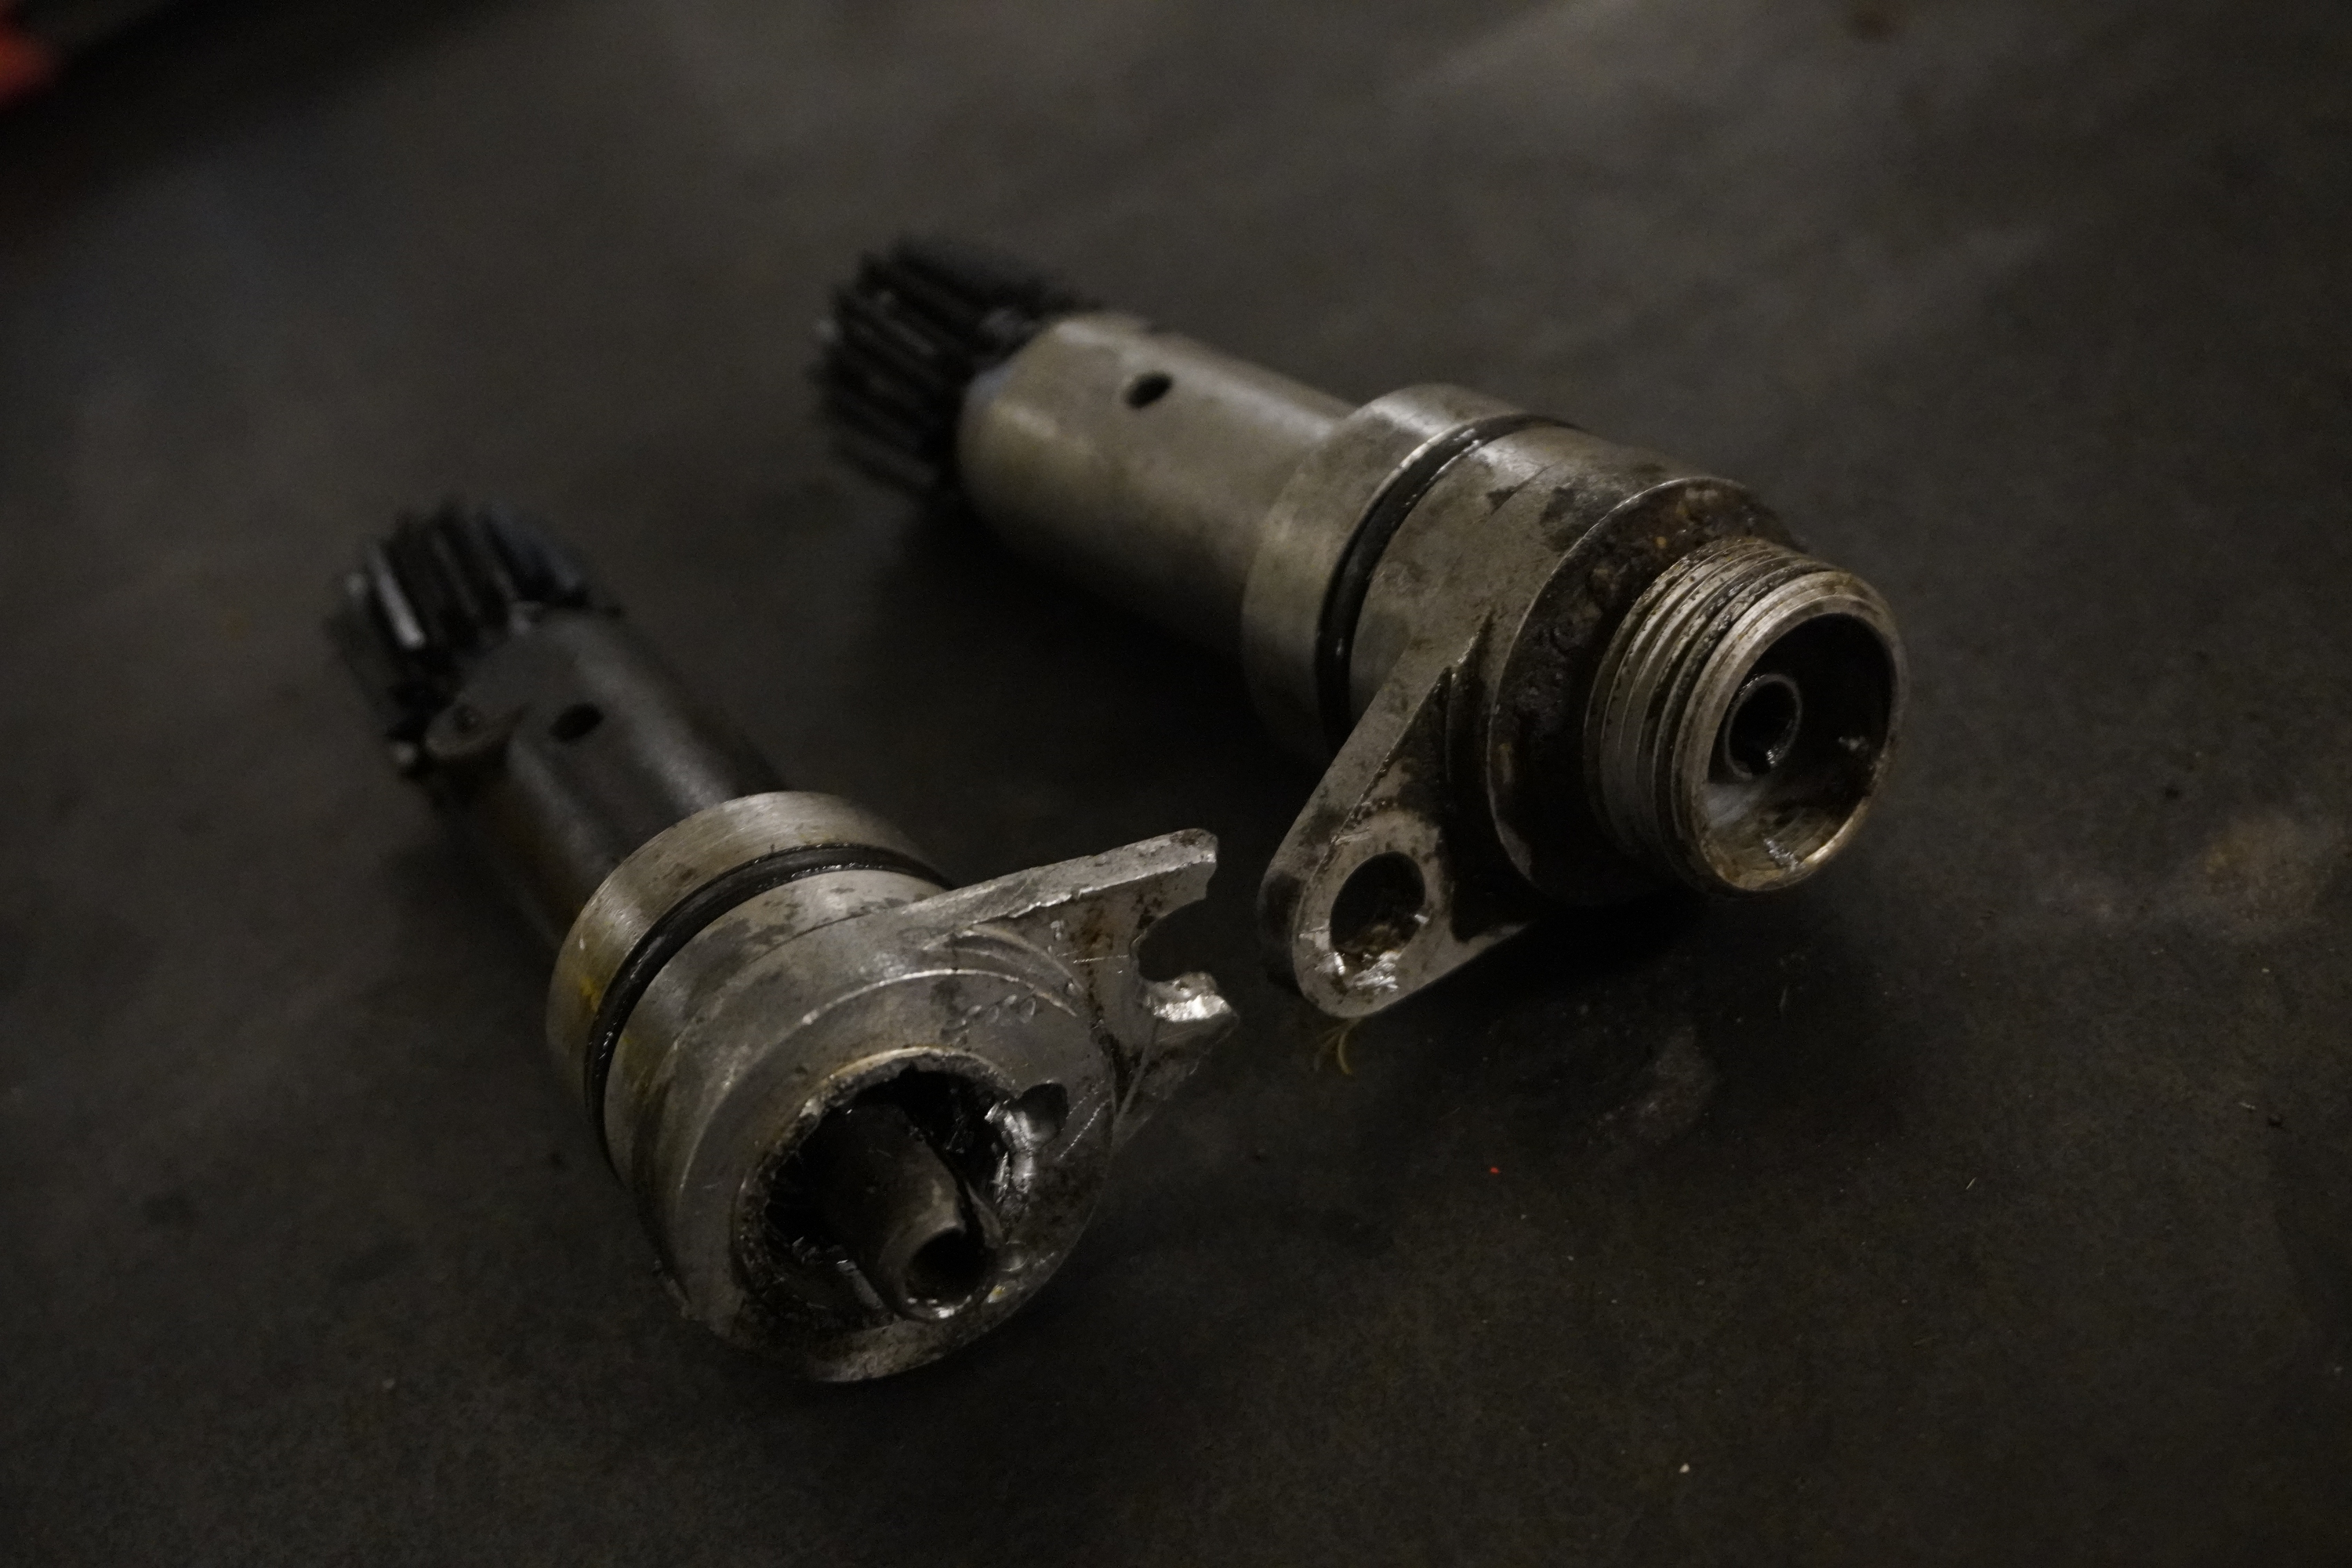
I didn’t realize it until after I got the transmission mounted, but the threads for the speed sensor were broken off. I decided to just use the one from my bad transmission. Getting the broken one off was a real pain. I broke the mounting hole in an attempt to pry it out. I ended up drilling a few holes into the aluminum housing and sprayed some PB Blaster, and it eventually came loose, after over an hour of frustration.
264.jpg


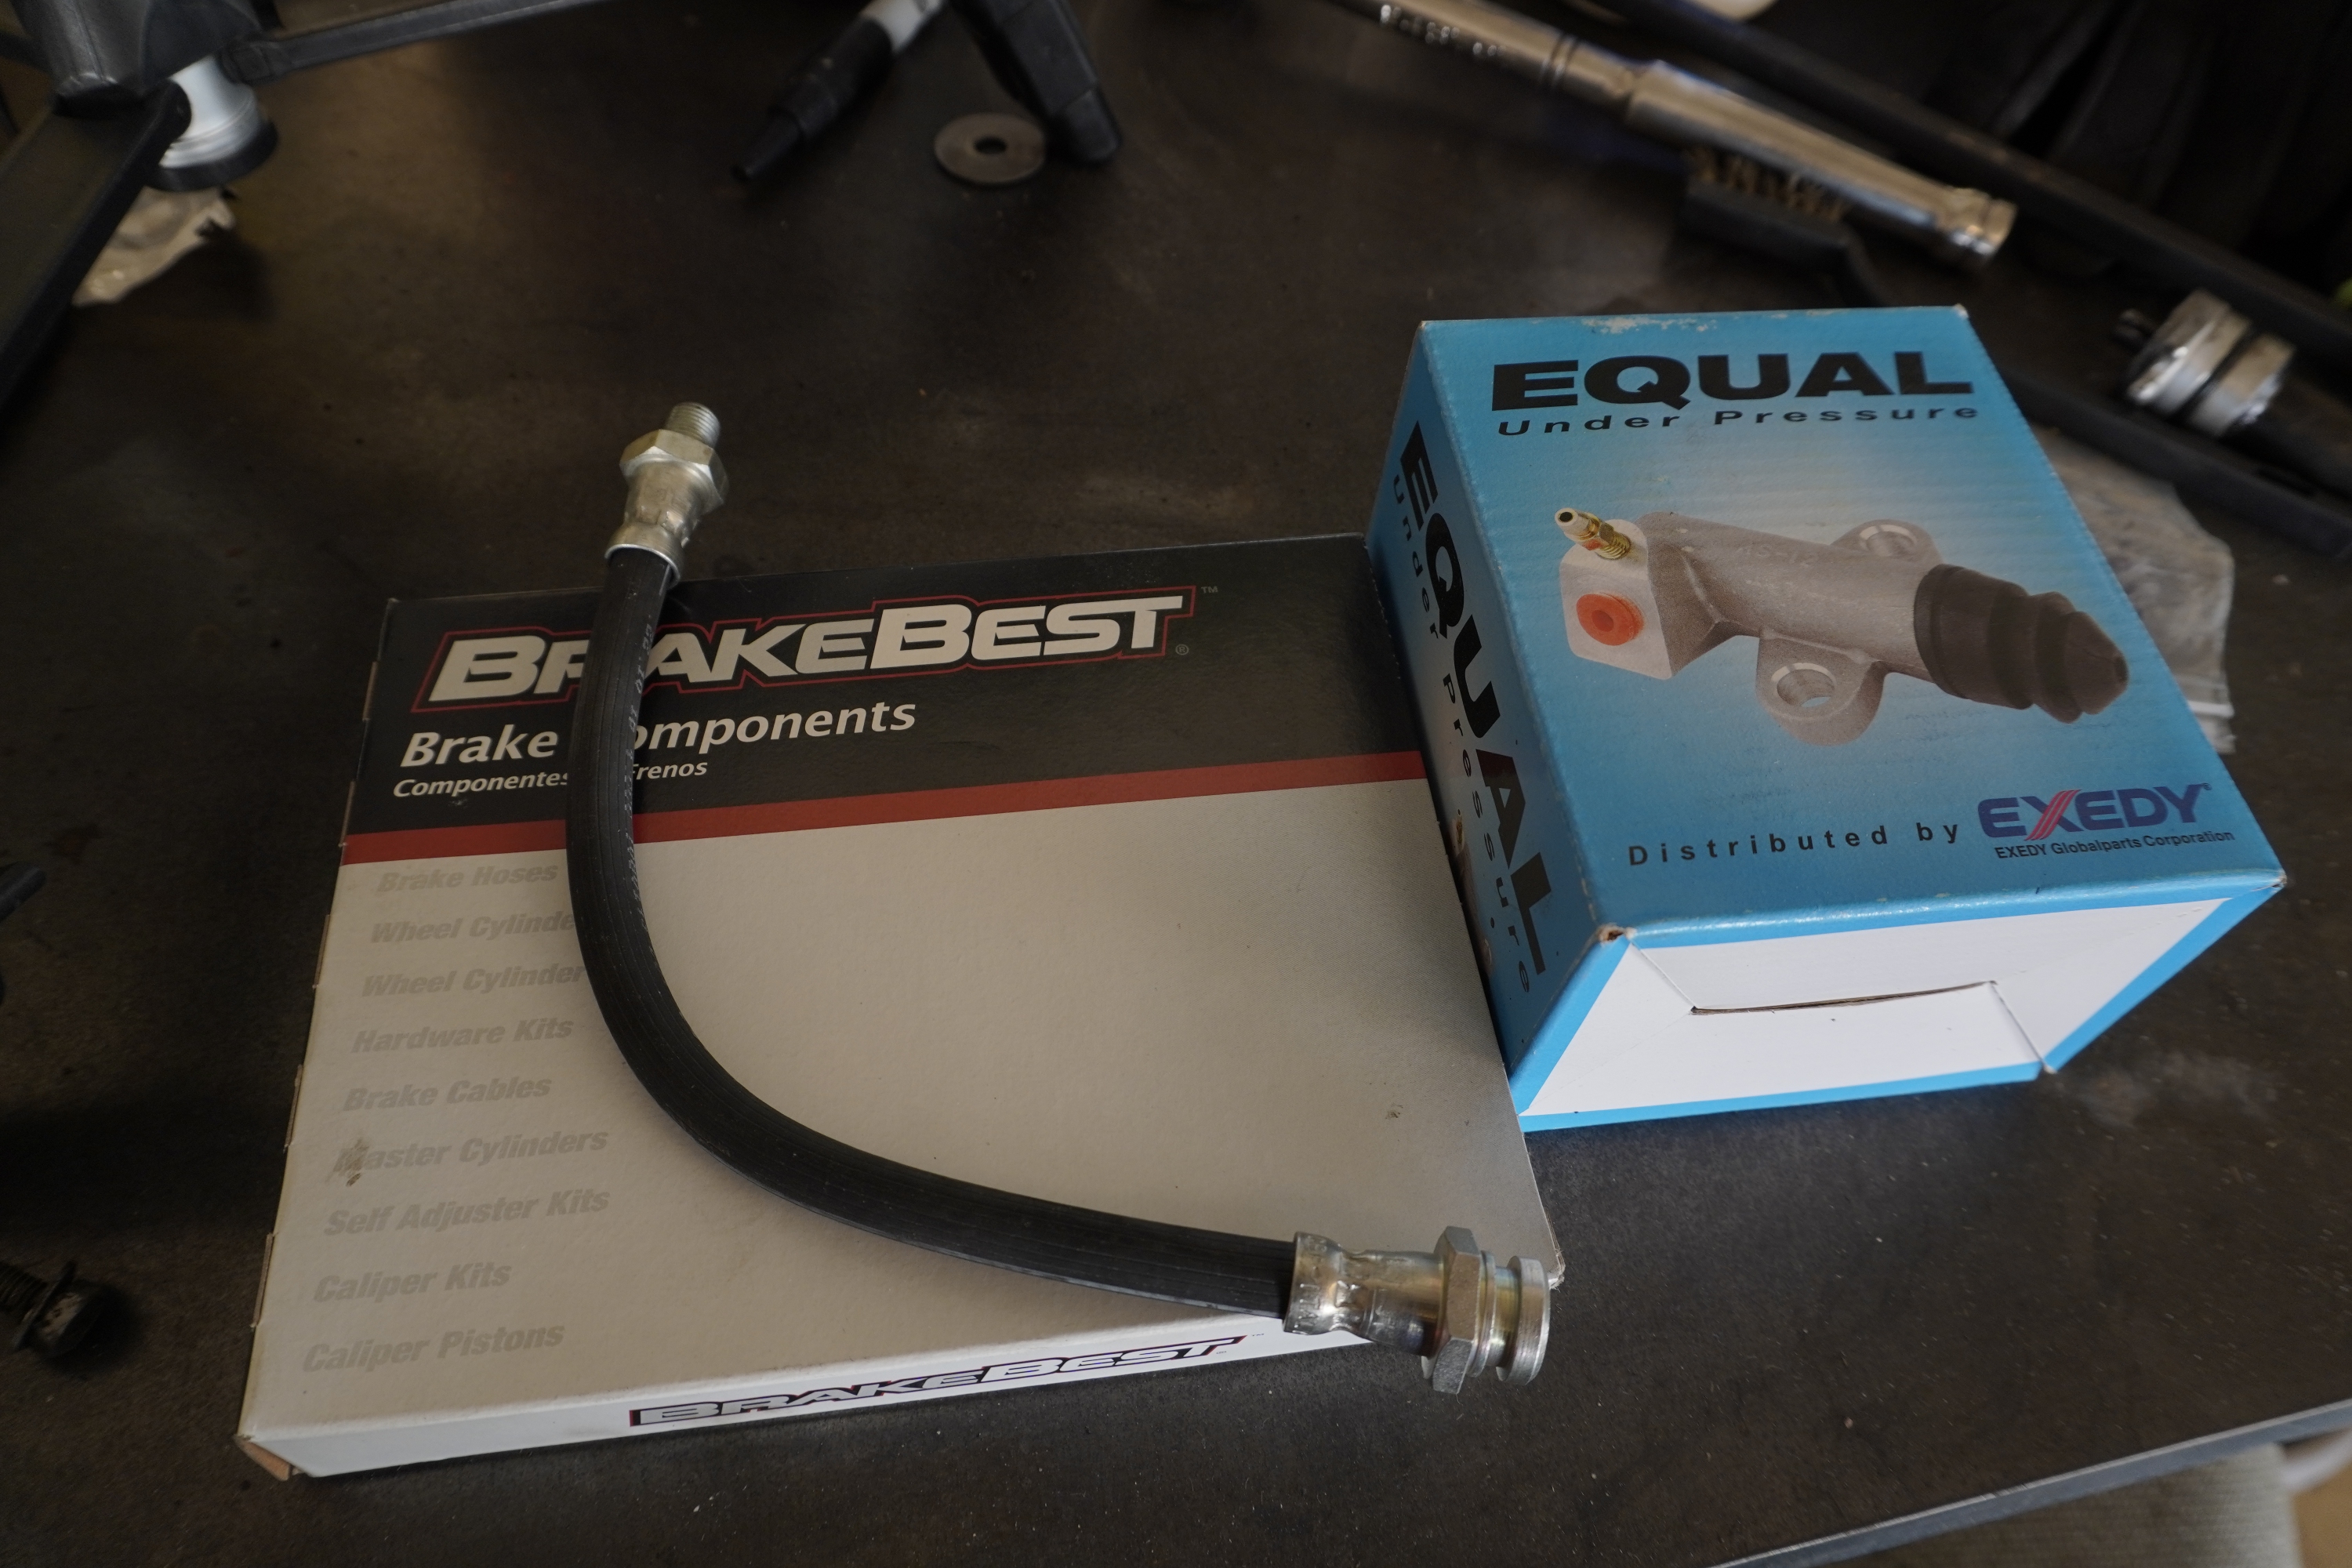
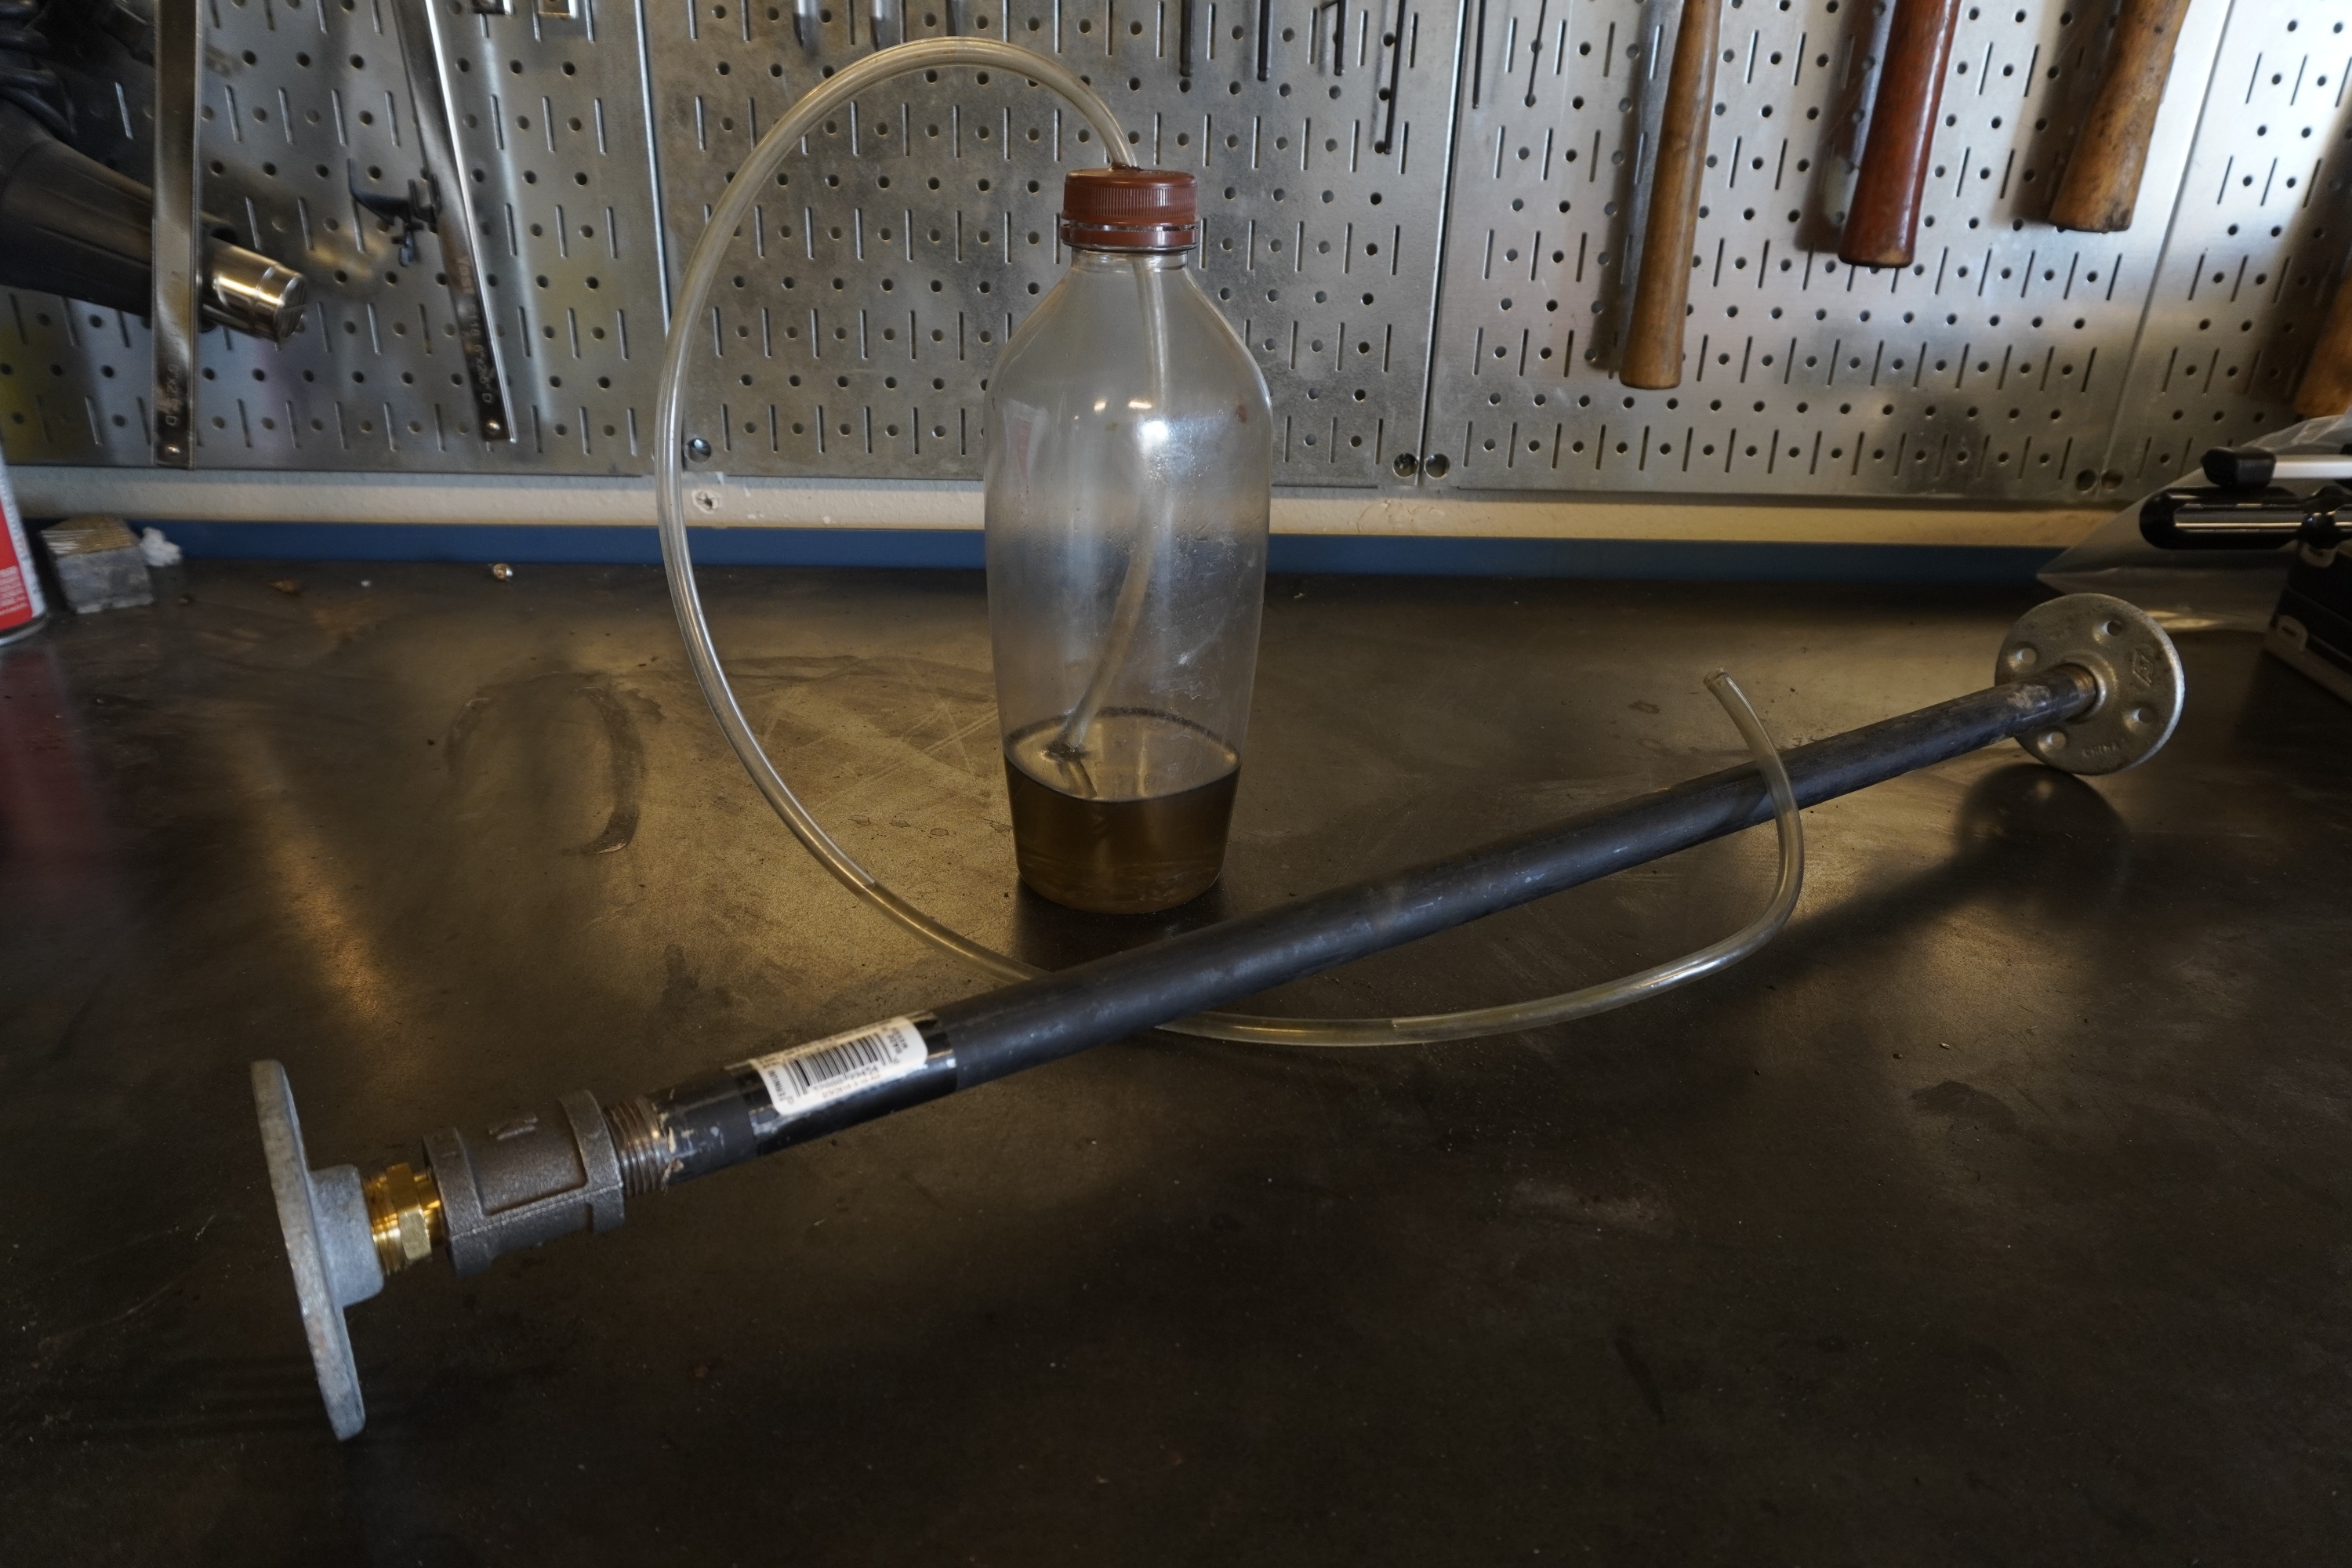
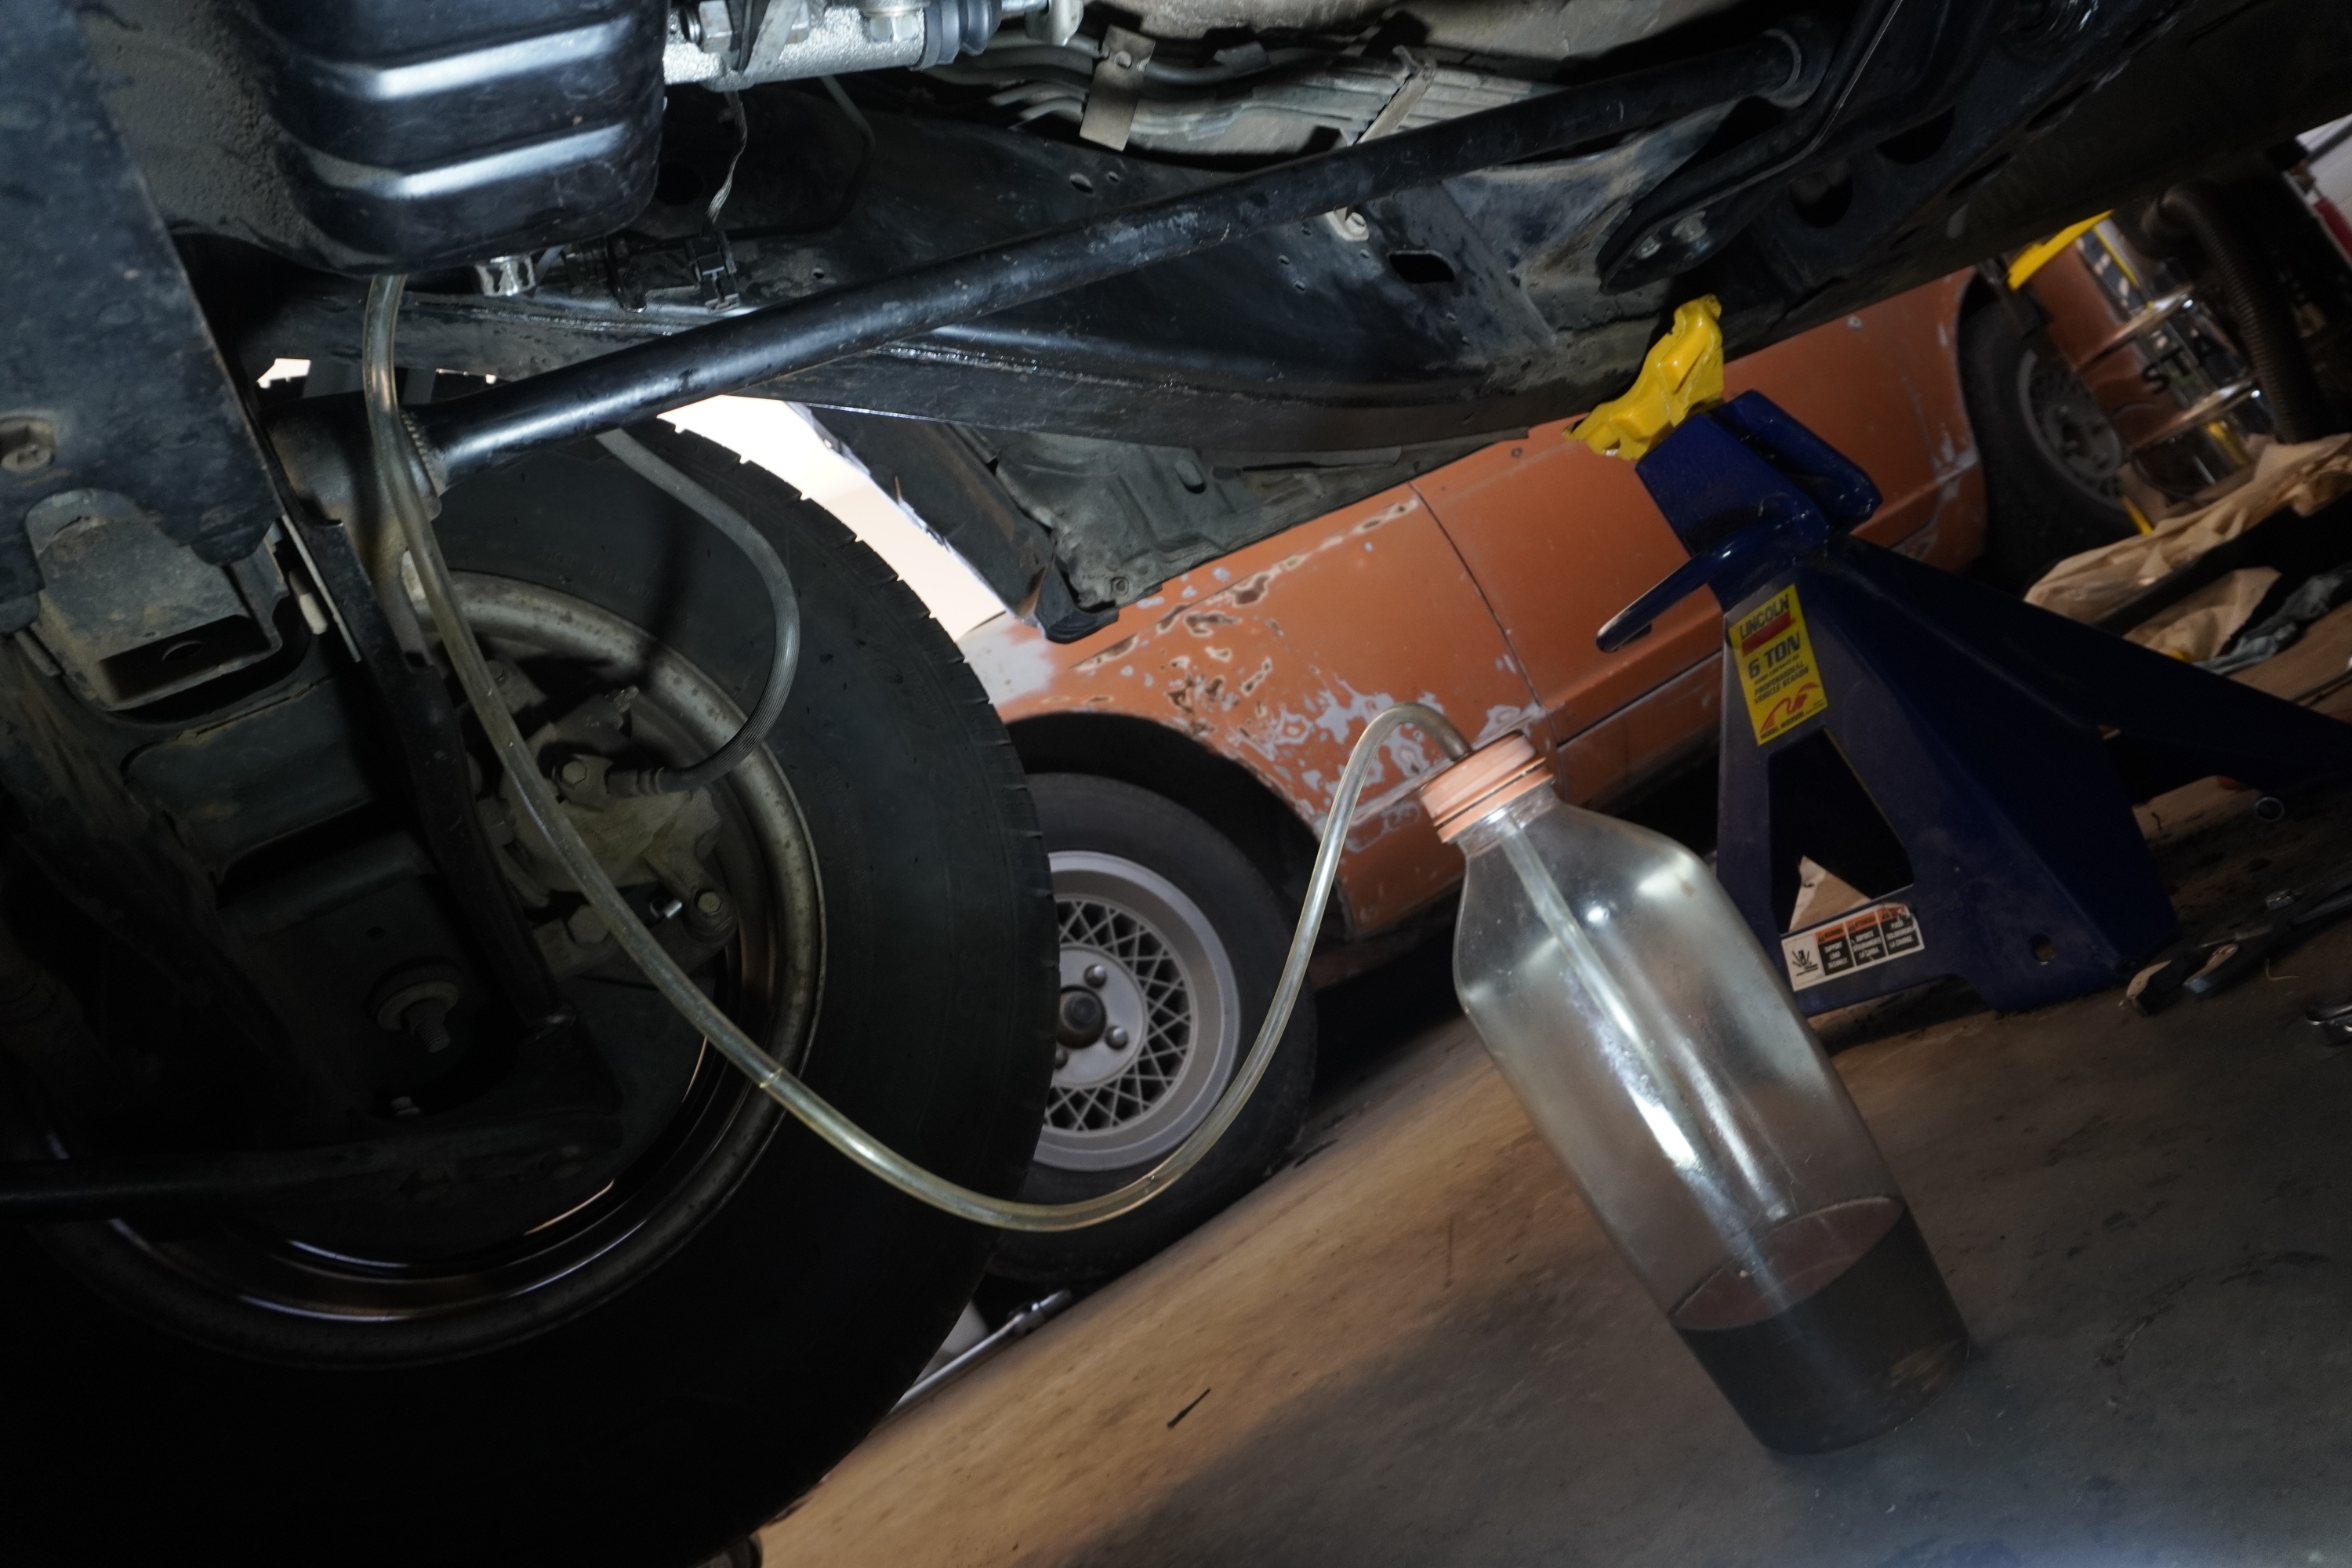
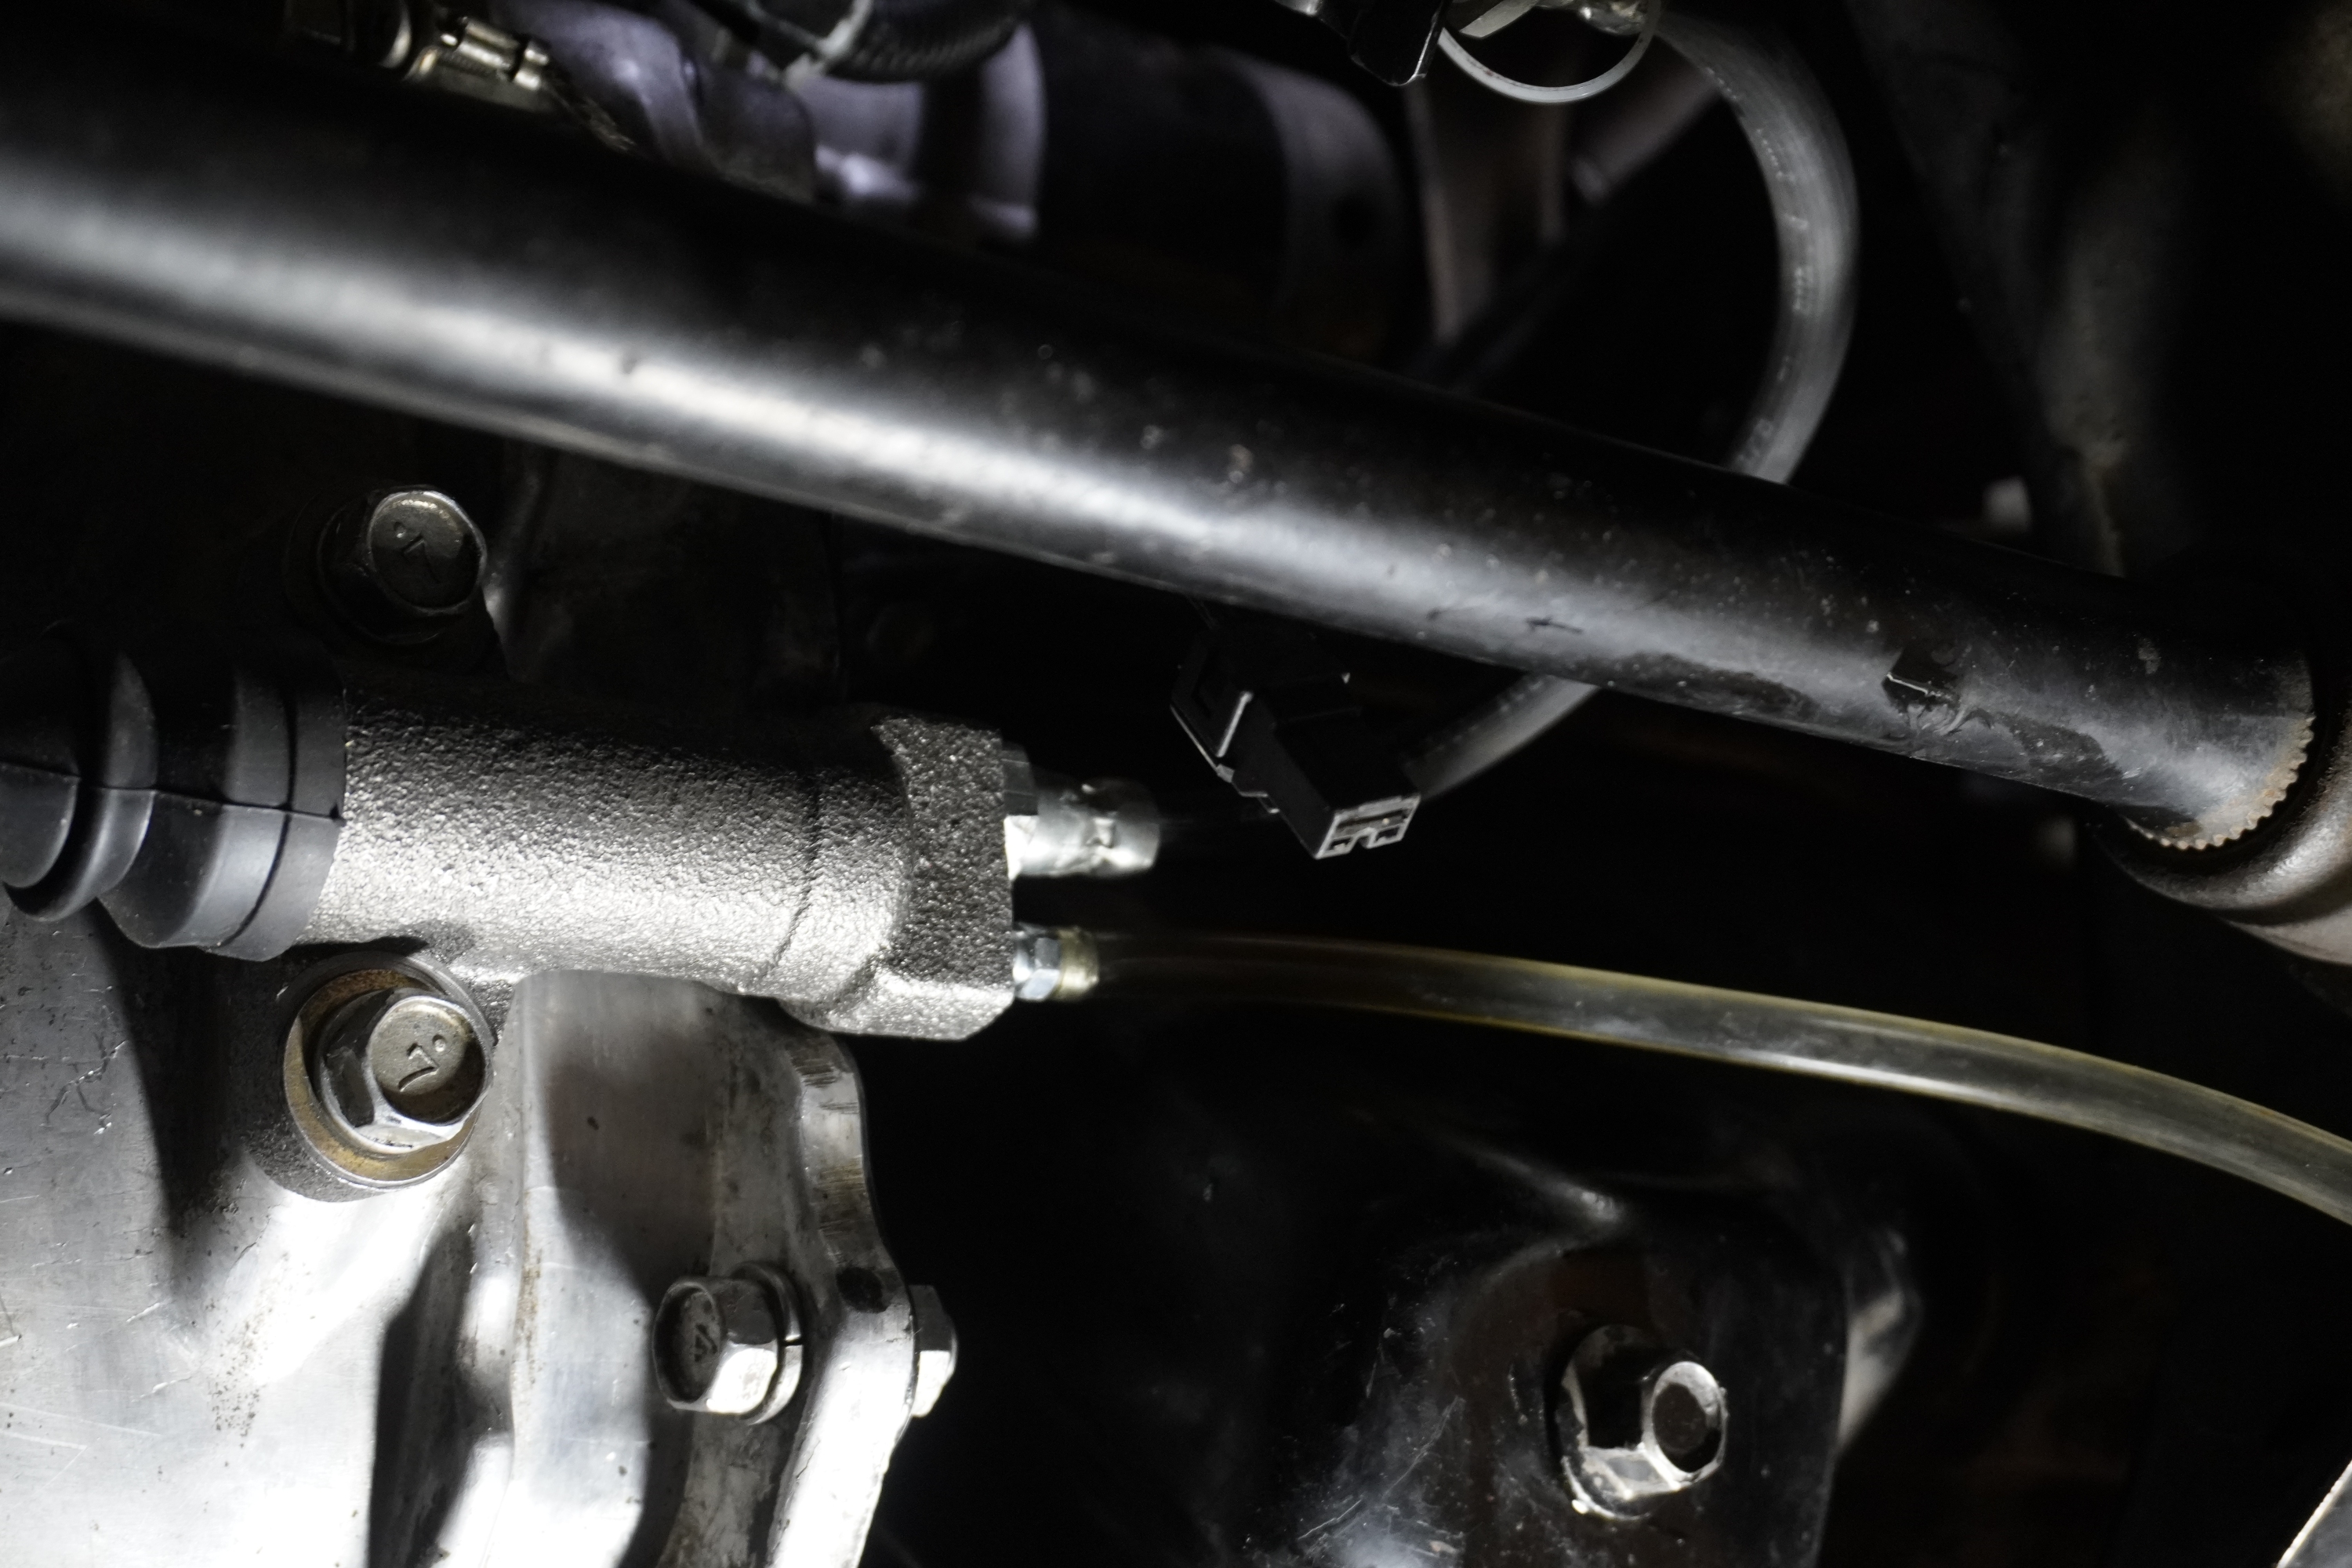
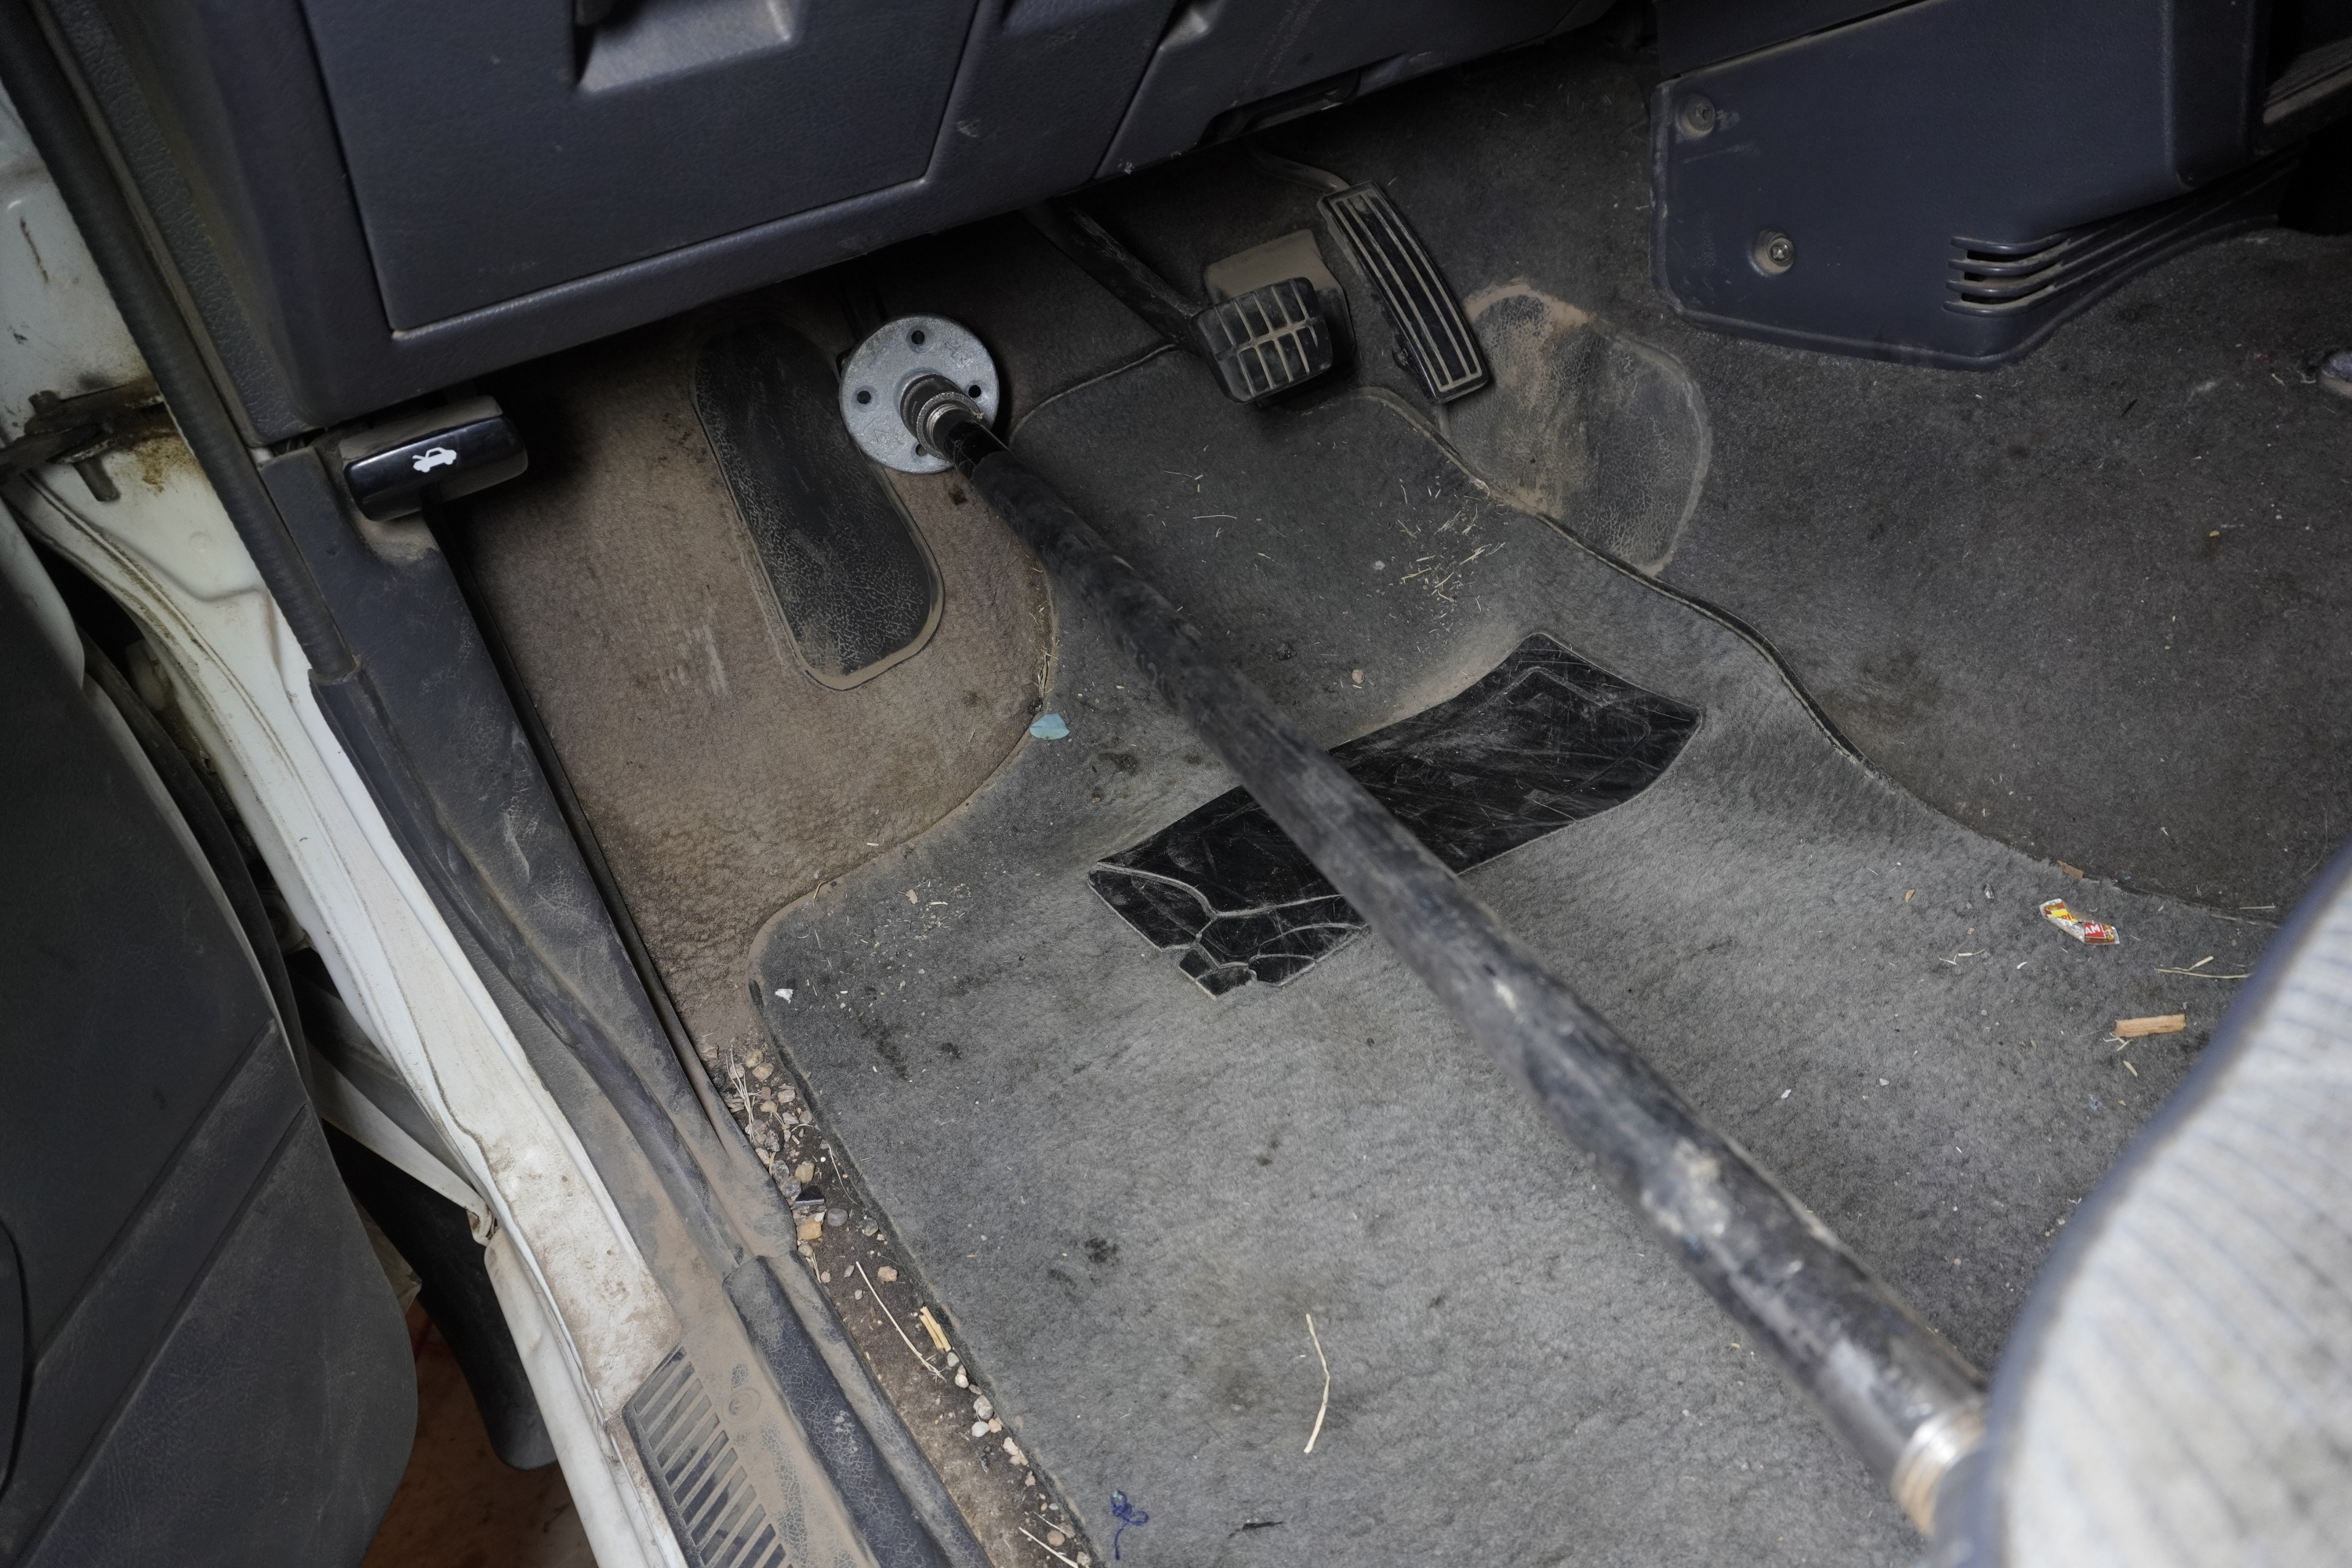
I replaced the clutch slave cylinder and hose since I broke the bleeder valve the last time I bled the old one. My vacuum pump wasn’t working right, so I made the second interaction of my “No Friends, No Problem” clutch and brake bleeding kit. The first version was just a water bottle which tipped over easily, resulting in a mess and the hose wouldn’t stay in place well. This time I used a thicker bottle with a flat bottom, and drilled a hole at the top for a really tight fit. Even if the bottle does tip over, the fluid can’t escape unless it comes out of the hose. The rod is just a ******, three couplings and a couple pipe stands and is used to hold the pedal in place while I operate the bleeder valve. The length can be adjusted by switching out fittings or threading them in and out. It’s not a perfect system, but it’s a viable option if you don’t have any help.
265.jpg


266.jpg


267.jpg


268.jpg


269.jpg
 
To avoid these ads, REGISTER NOW!
OP
J

Jumpman-Z

Well-known member
Joined
Jun 9, 2014
Messages
144
Location
Amarillo
awesome work op ill be following. Your garage looks awesome. Ill check out your youtube channel.

Thanks DeeDubz, it's a work in progress! I just finished the ****** replacement in my recent posts, so everything's a mess right now lol. I spent a good part of the day cleaning and putting away all my tools.
 

gtsgarage

Well-known member
Joined
Oct 31, 2017
Messages
482
Location
California
Awesome garage and awesome work man!! I’m with the other guys I’d love a neighbor like you! I should wander around and find one :)
 

Boosted1

Well-known member
Joined
Nov 25, 2007
Messages
1,681
Location
Georgetown, KY
Nice job on the Clutch service and general cleanup.
I have a similar slide hammer.
Like you said, works like a champ.
Having the right tools makes the job more enjoyable.
 
OP
J

Jumpman-Z

Well-known member
Joined
Jun 9, 2014
Messages
144
Location
Amarillo
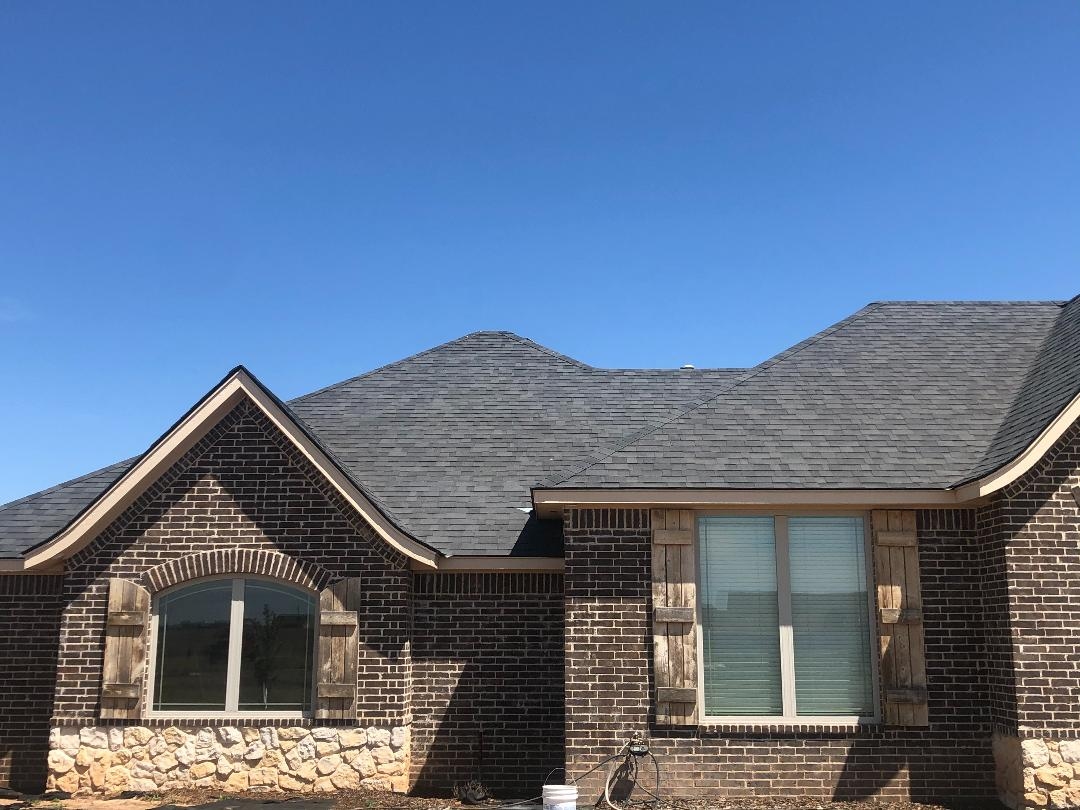
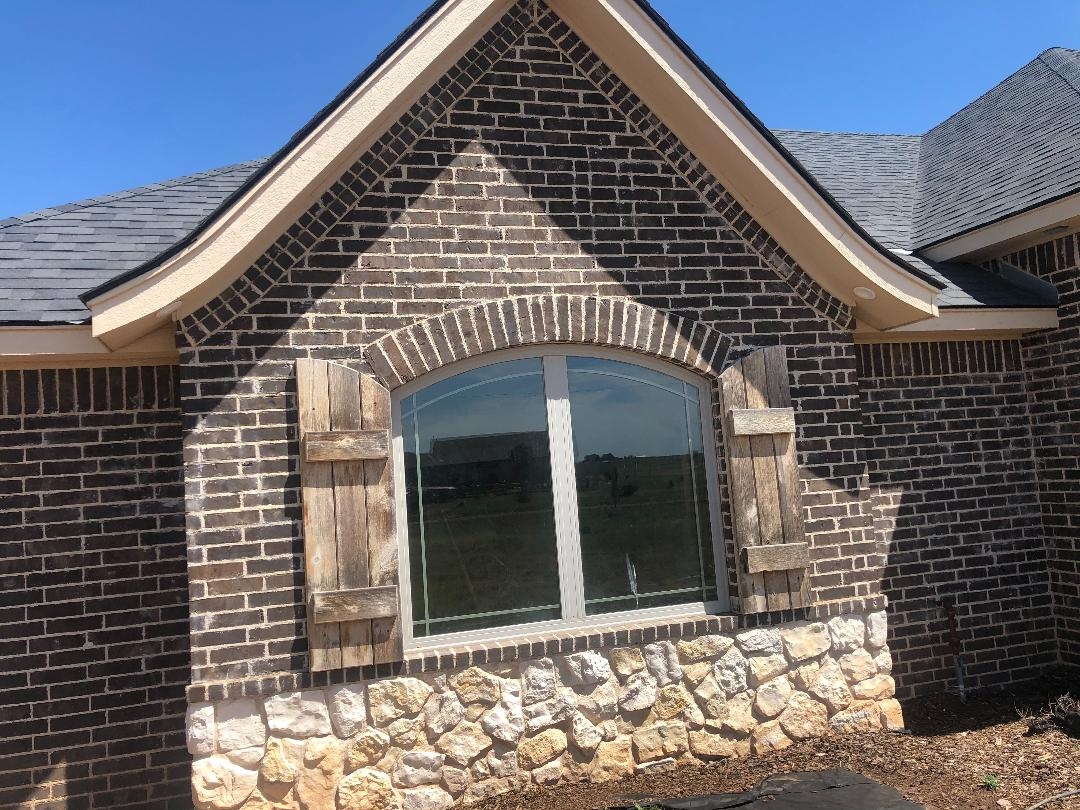
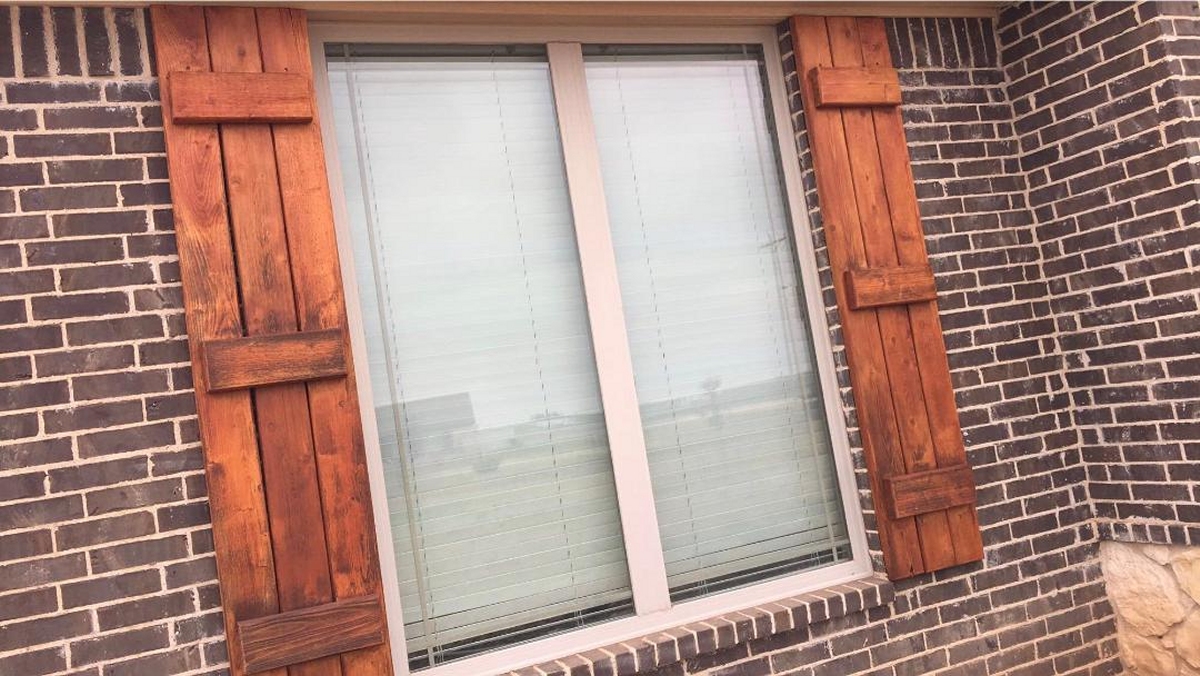
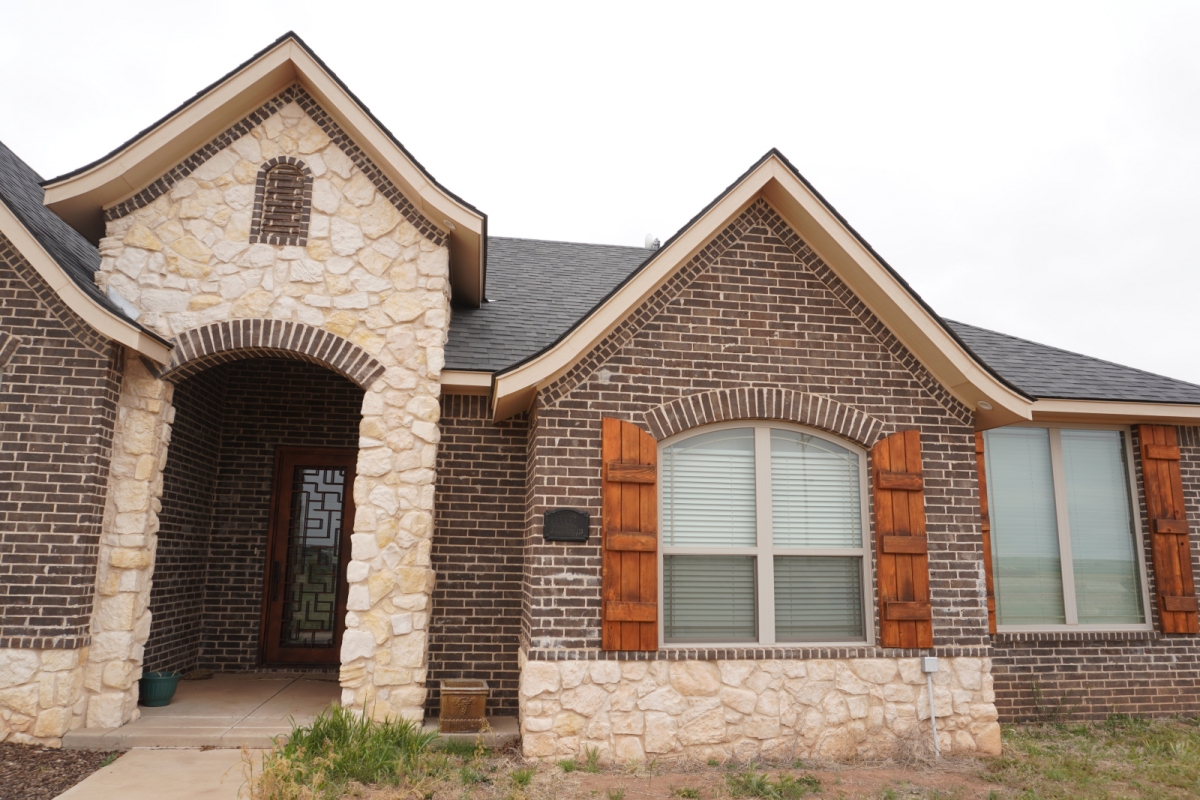
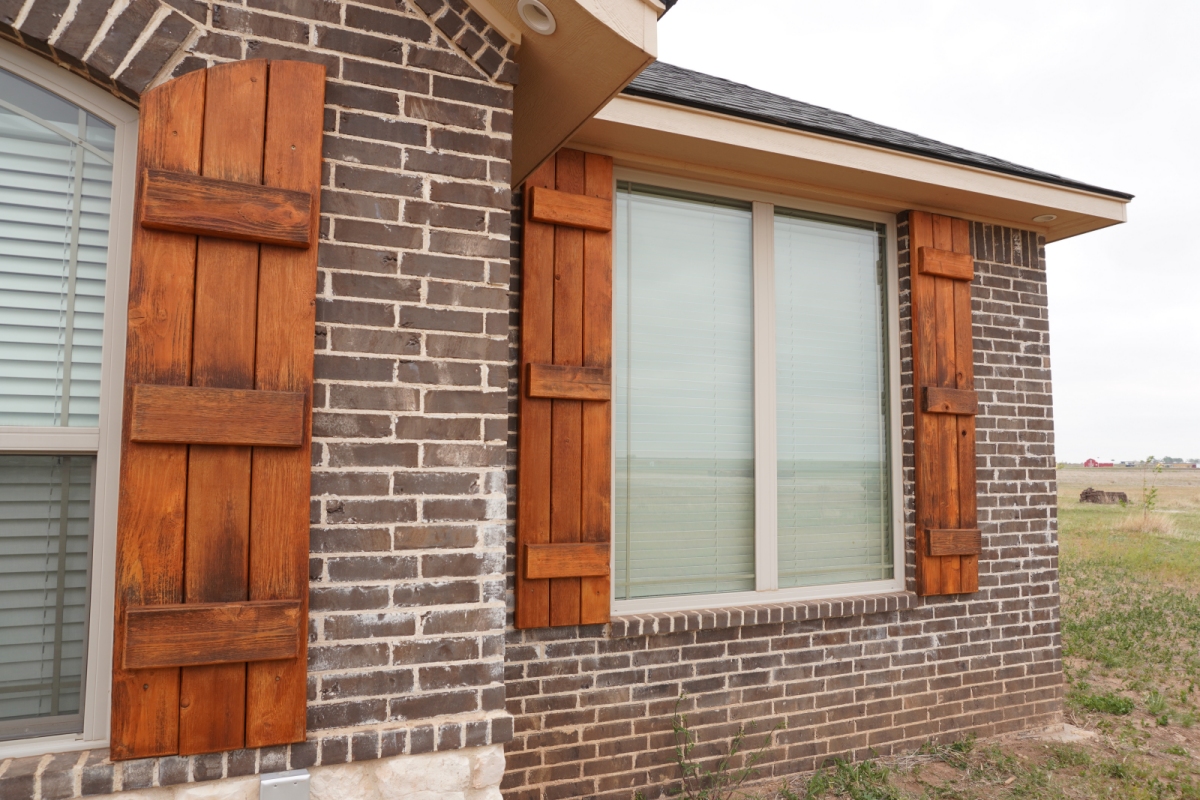
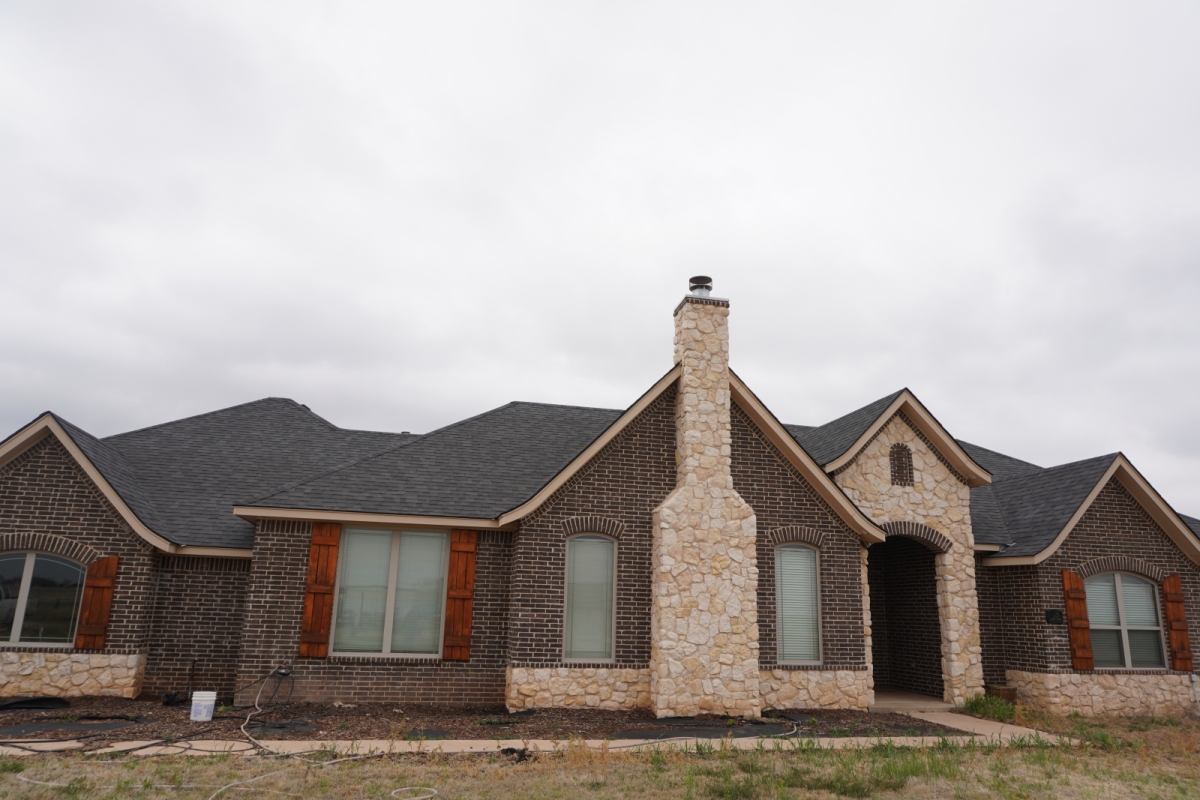
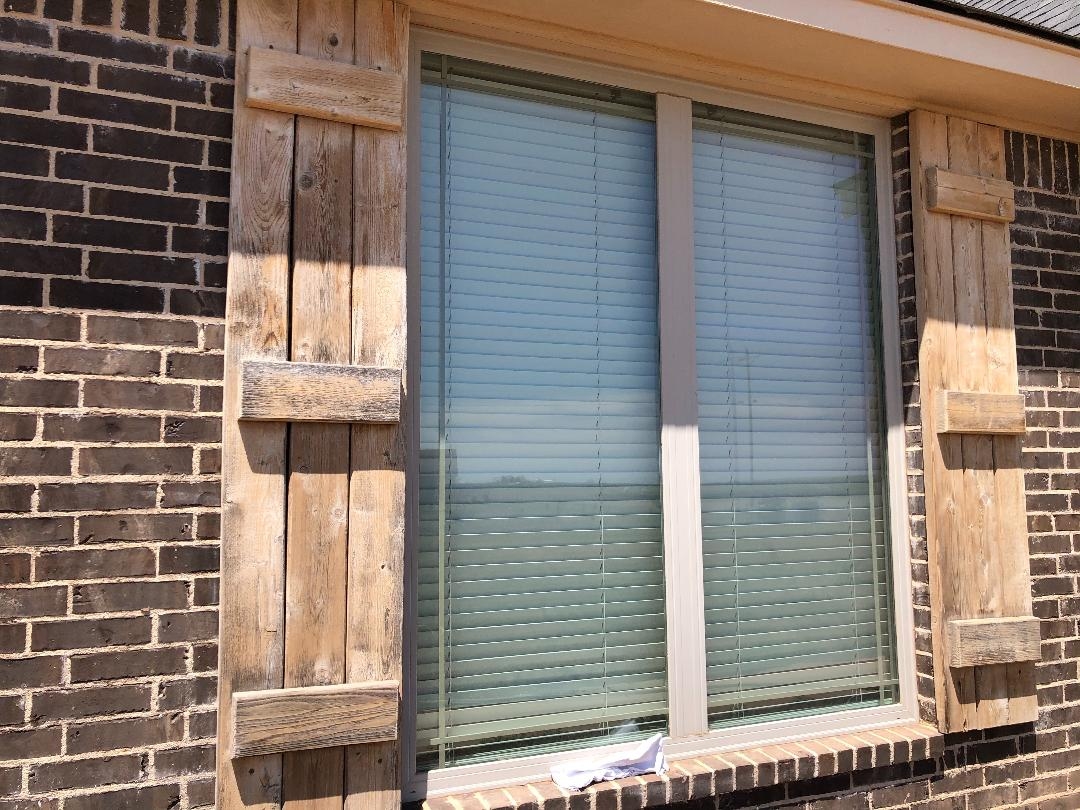
Things have been a little frustrating with some of the vehicles, which I'll get into in a later post, but for now the weather is getting nicer, which means shifting some of my attention to outdoor projects. This is my first real home maintenance project since finishing construction. The sun had really worn my fixed shutters down to the point where I couldn't take it anymore, so I decided it was time to re-stain them.

This is after sanding just about all of the shutters (8 total). My GF did most of the palm sanding, while I did all of the sanding between the boards and the areas that the palm sander couldn't get to. We used 220-grit sandpaper. This took a lot longer than expected.
270.jpg


271.jpg


272.jpg


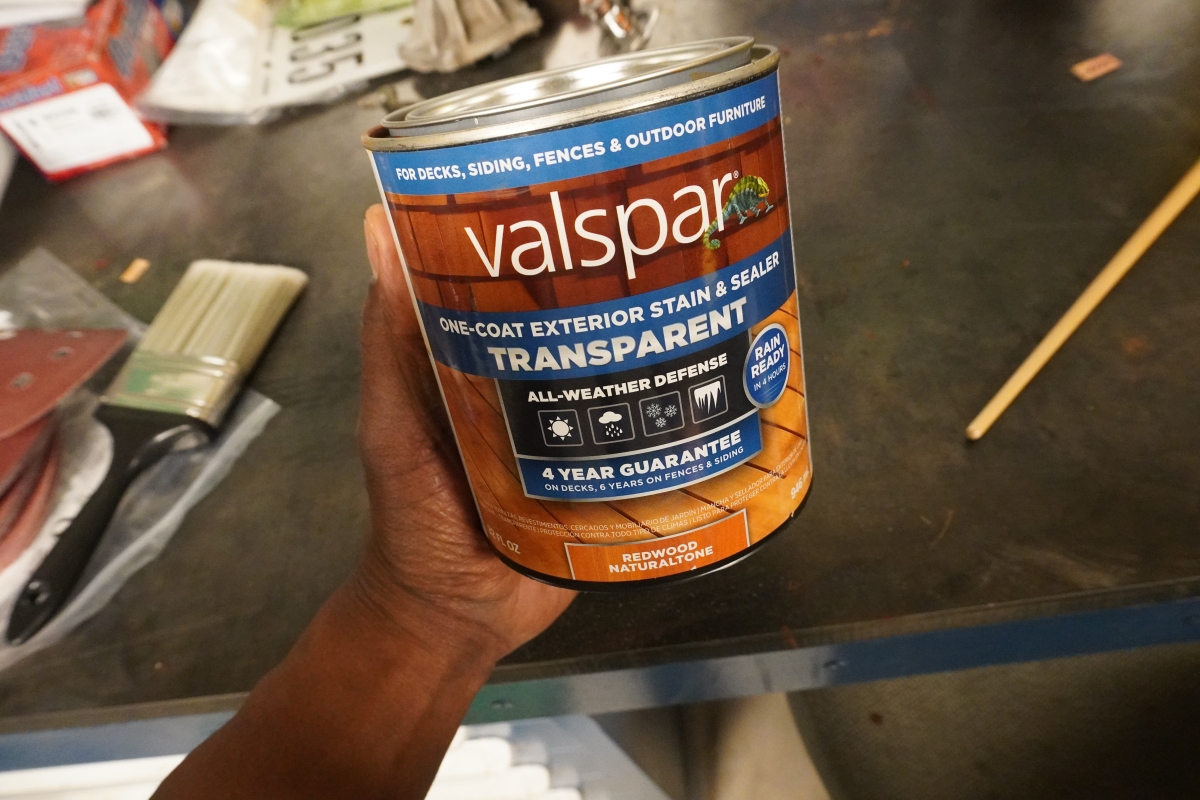
This is what I went with. It didn't have the best review rating, but it was one of the only choices available, reasonably priced at $15/can, and the color options were nice. I needed two cans, as I wasn't very efficient with my applications at first. As I got better with my technique, I used less, and only ended up needing about 1-1/2 cans.

273.jpg


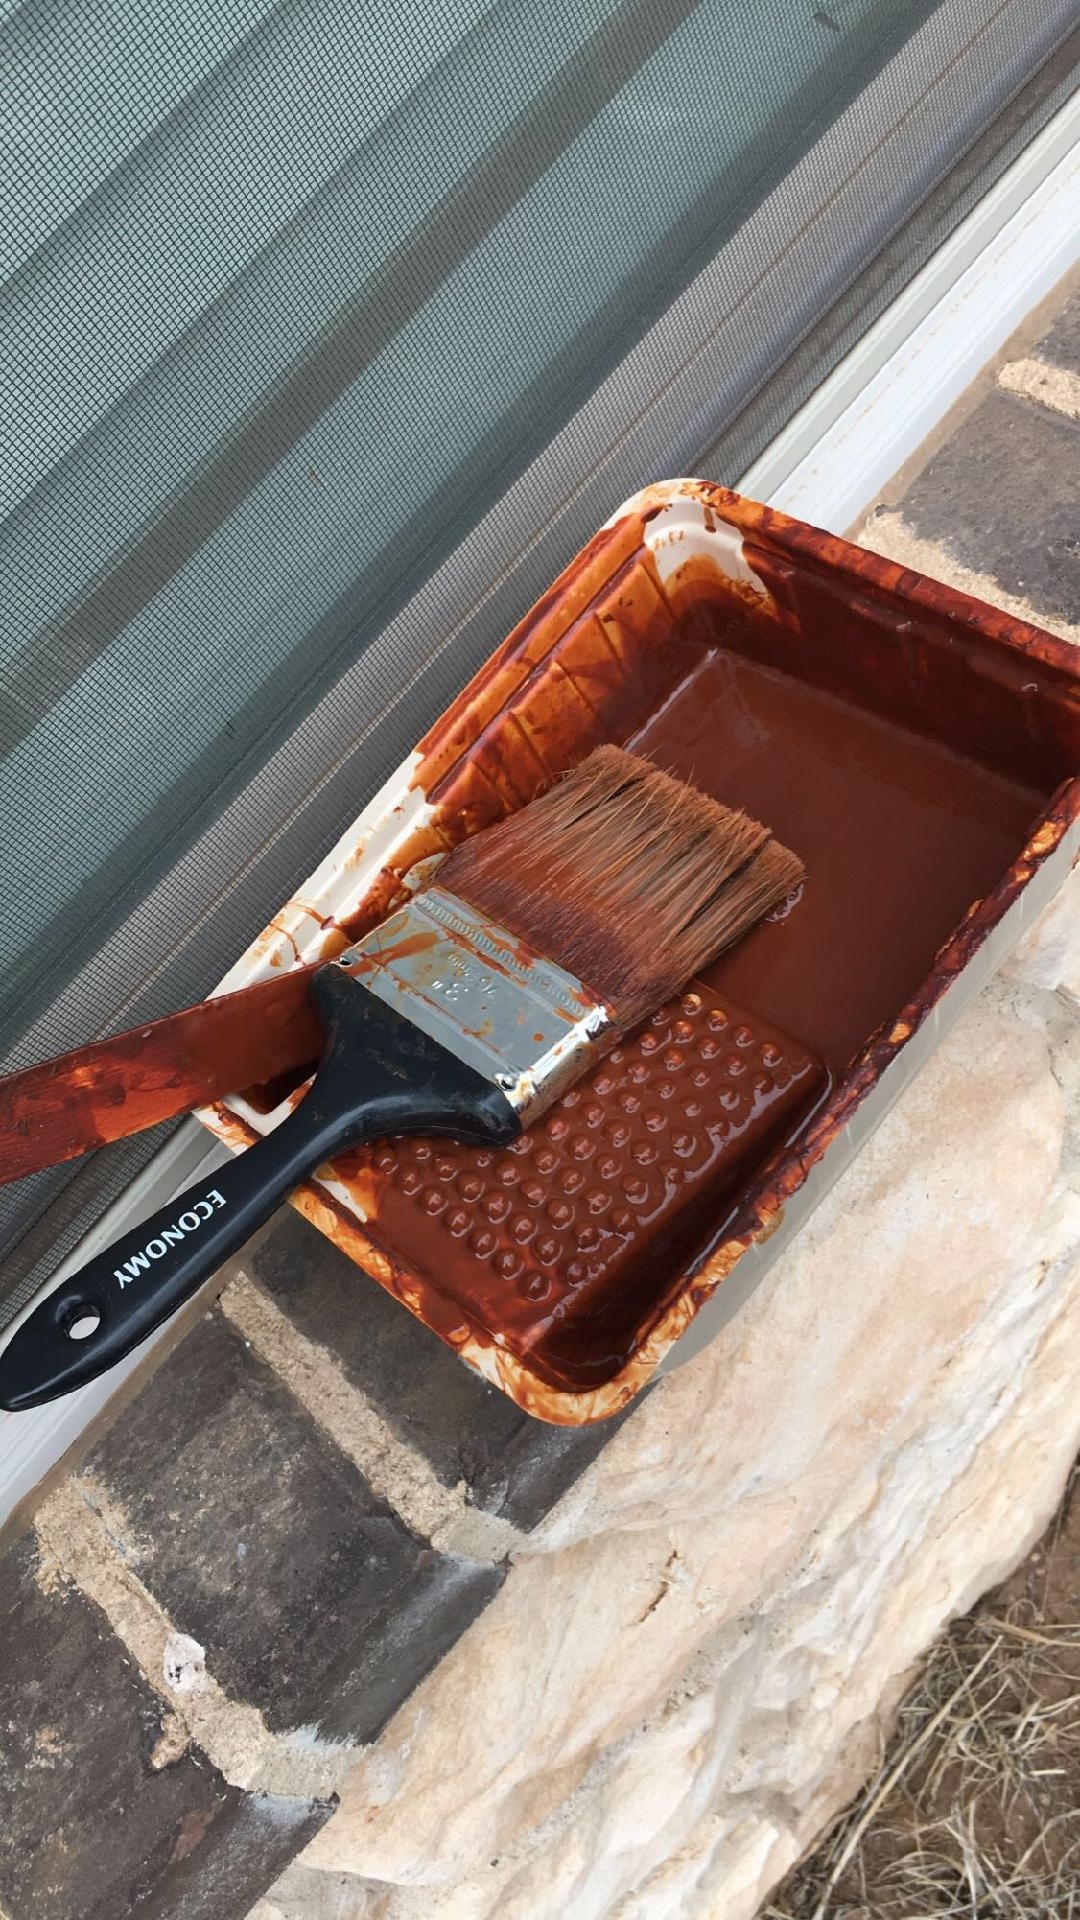
Online, there were a lot of recommendations to get an expensive brush for staining, but I already had this cheapie one that probably came from Harbor Freight, so that's what I decided to use. It worked fine. I bought a second one just in case it didn't last for all 8 shutters, but didn't need it. I used a smaller artist's brush for the small crevices.
274.jpg


The staining process took a long time, about 30-40 minutes per shutter, especially at the beginning since I wasn't totally sure what I was doing. I wasn't very sure about the stain color at first and almost stopped halfway through staining the first shutter because it looked too orange, but decided to keep going. After giving it some time to cure and soak into the wood, I stepped back to inspect my work and felt pretty good about the color.
275.jpg


276.jpg


277.jpg


278.jpg


Next up, I'll be continuing my slow progress on the yard, and fixing up the flower bed (again)
 
OP
J

Jumpman-Z

Well-known member
Joined
Jun 9, 2014
Messages
144
Location
Amarillo
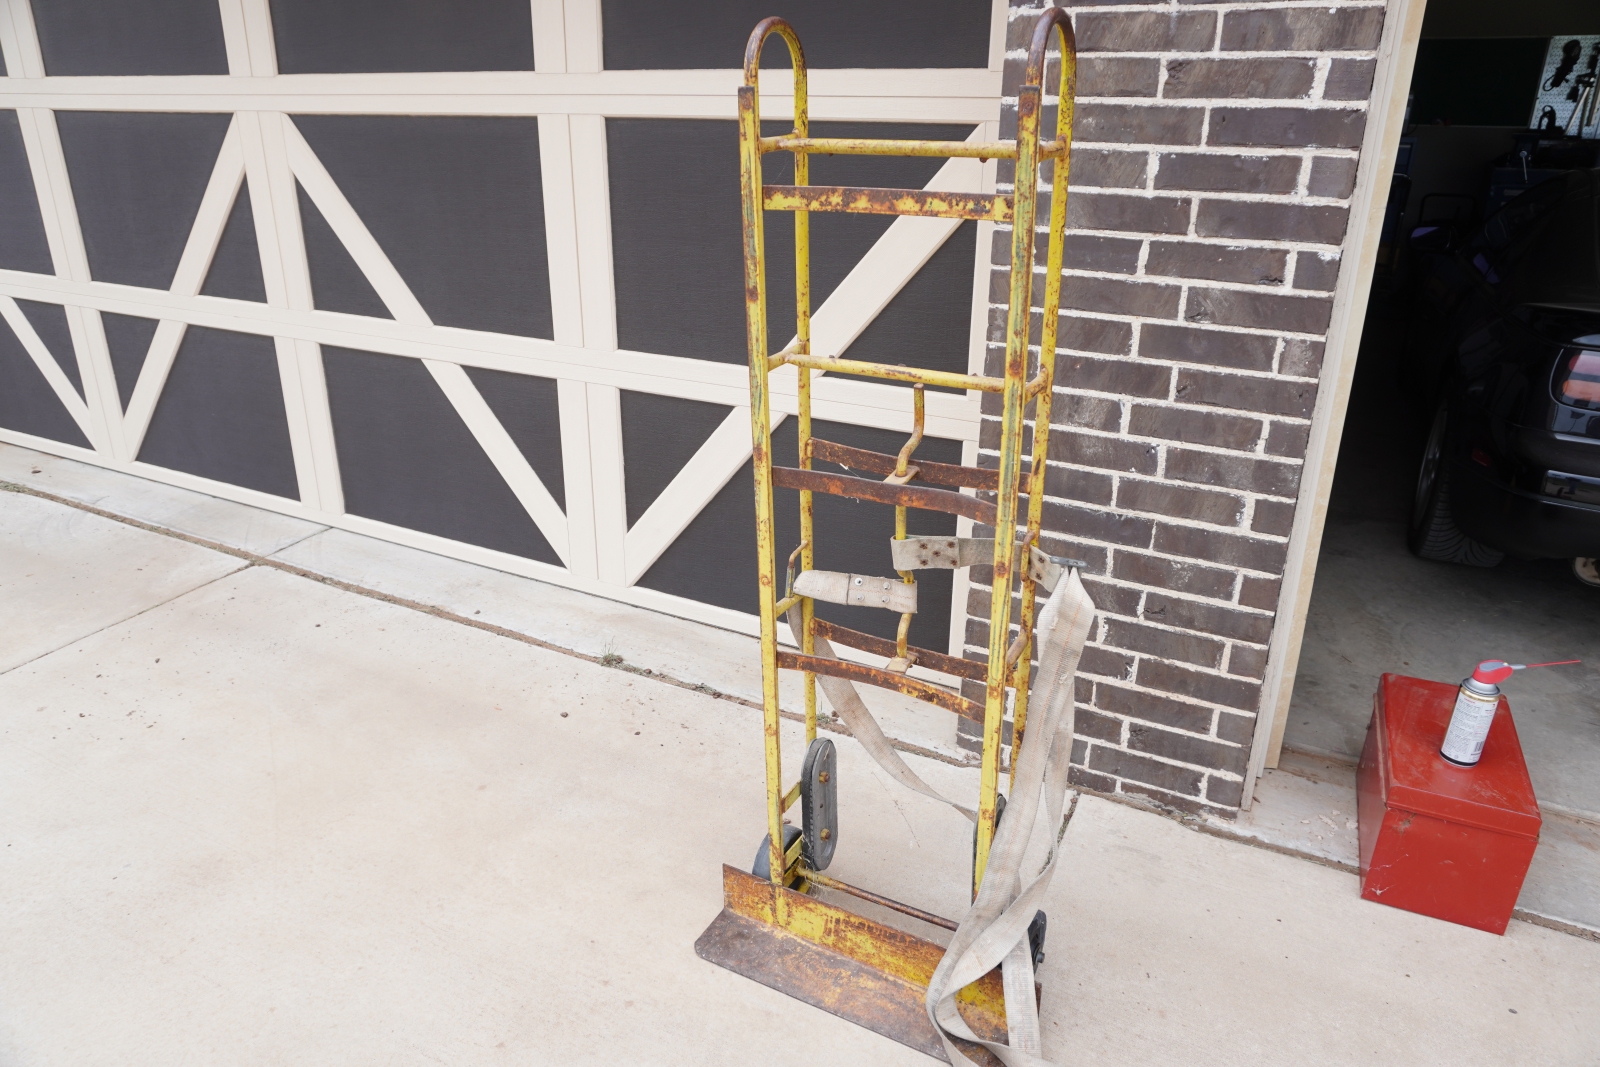
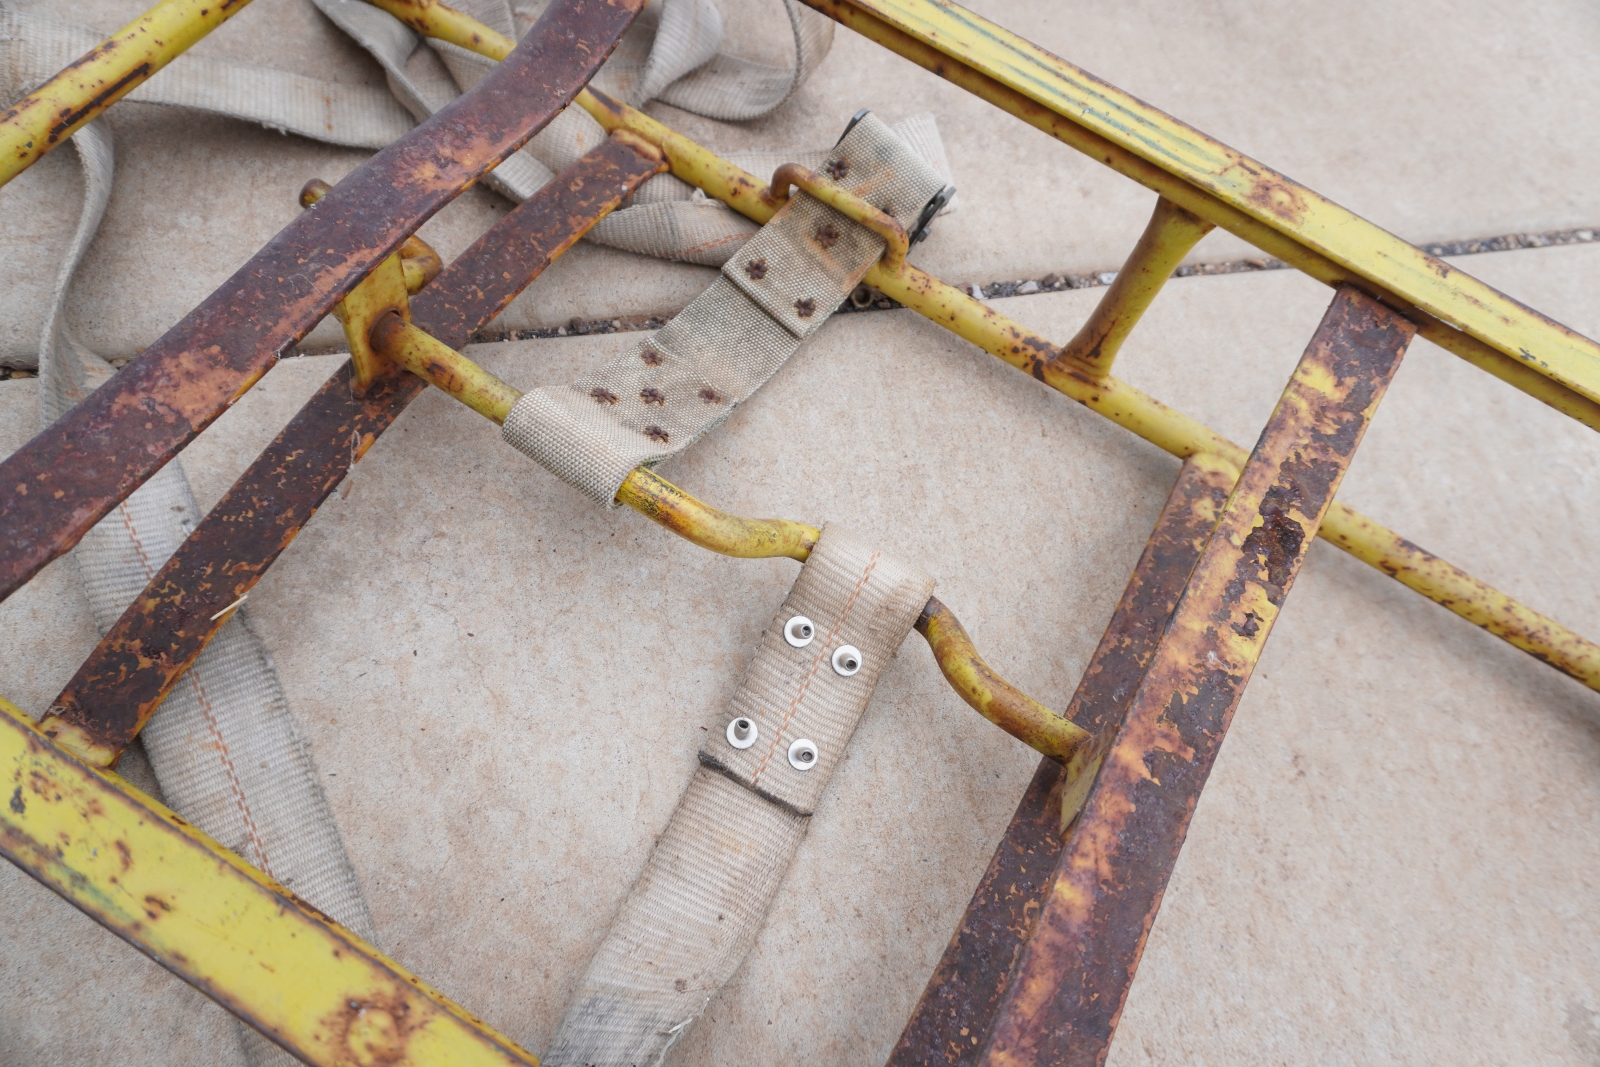
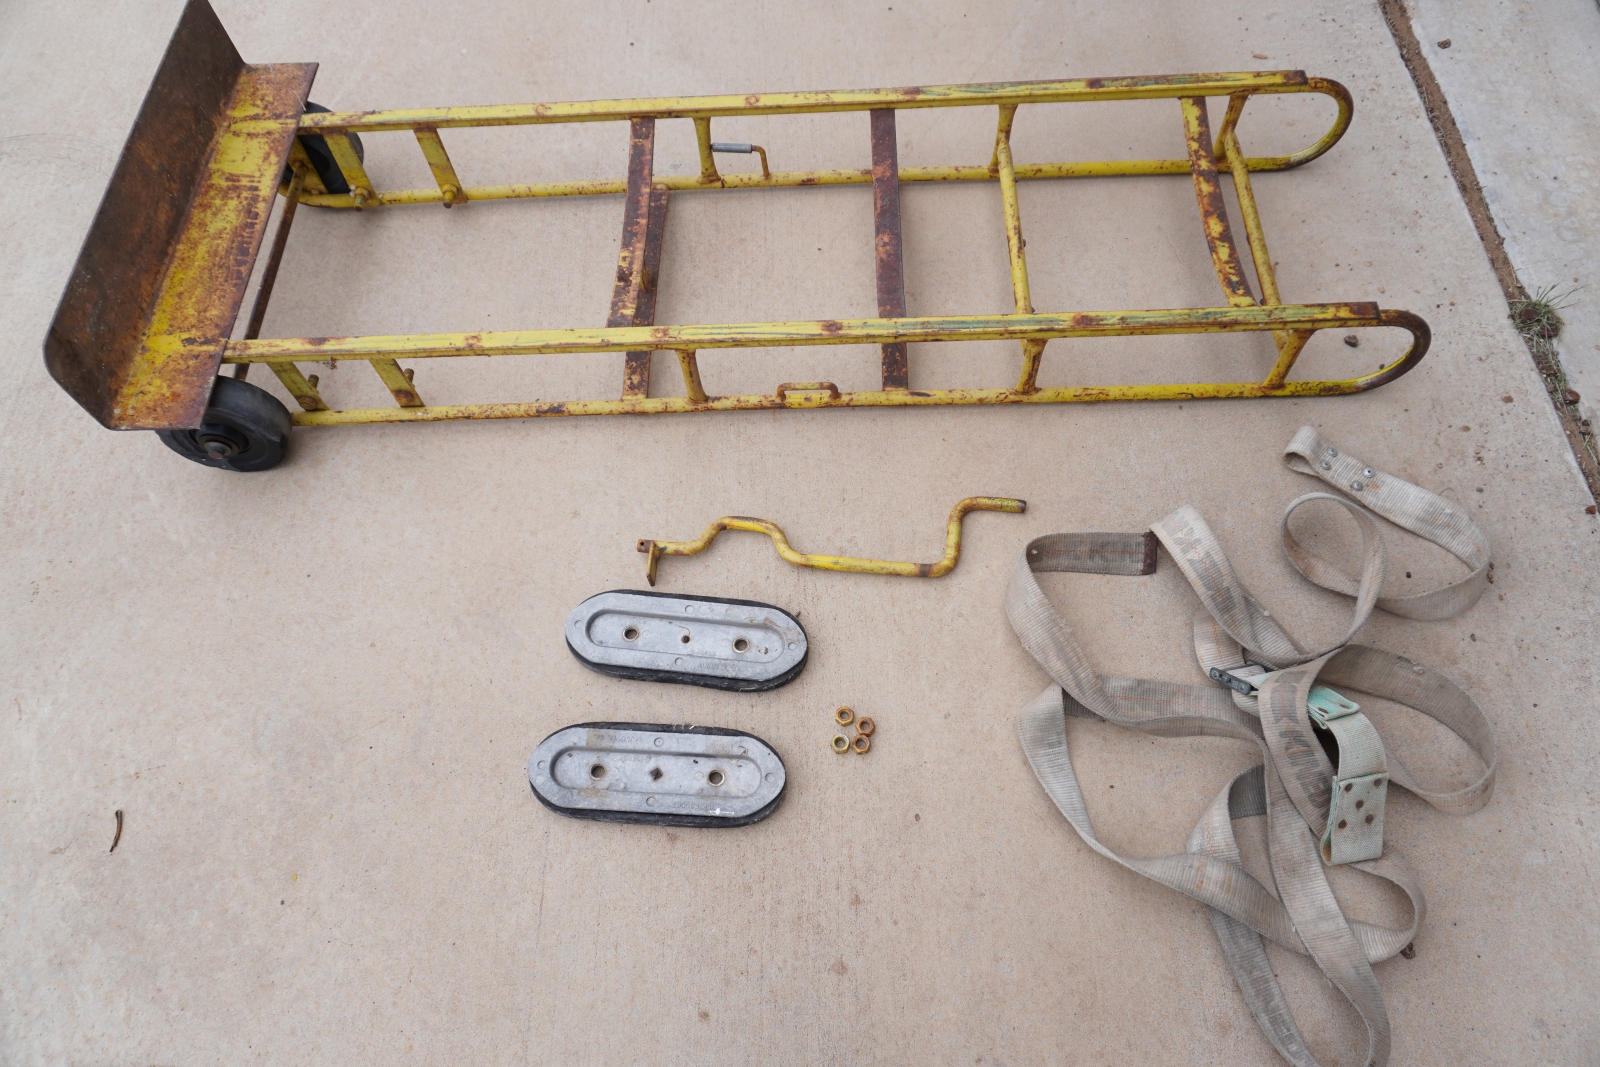
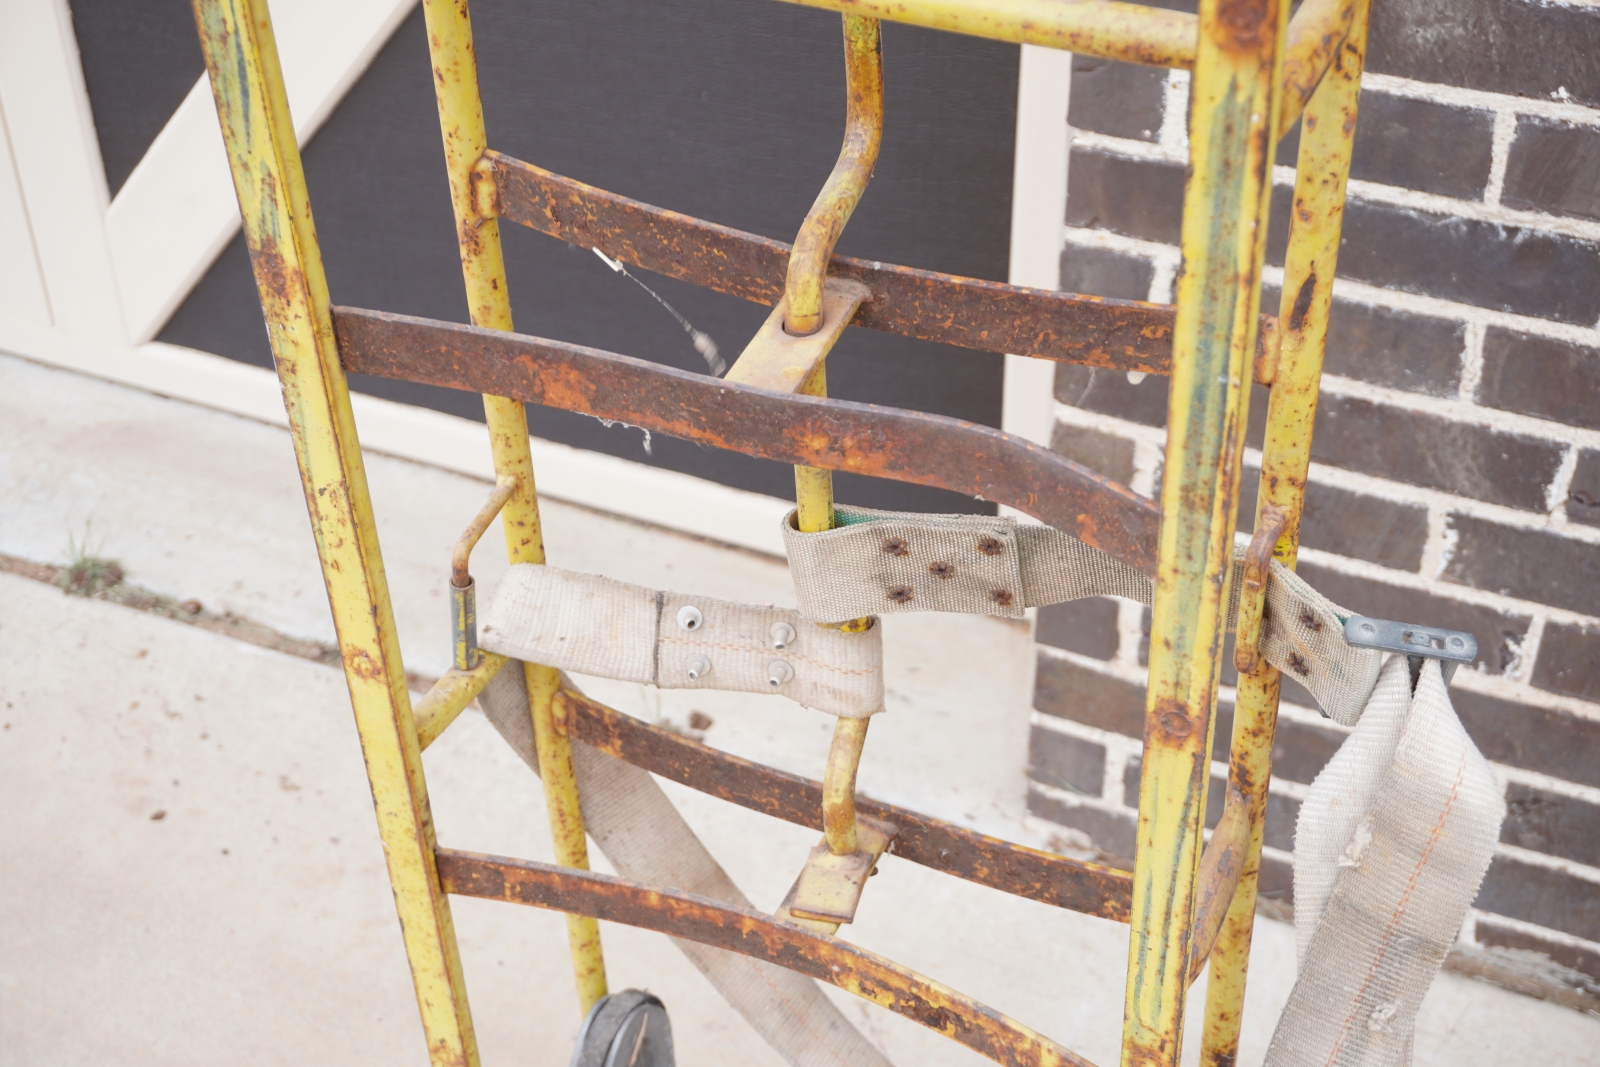
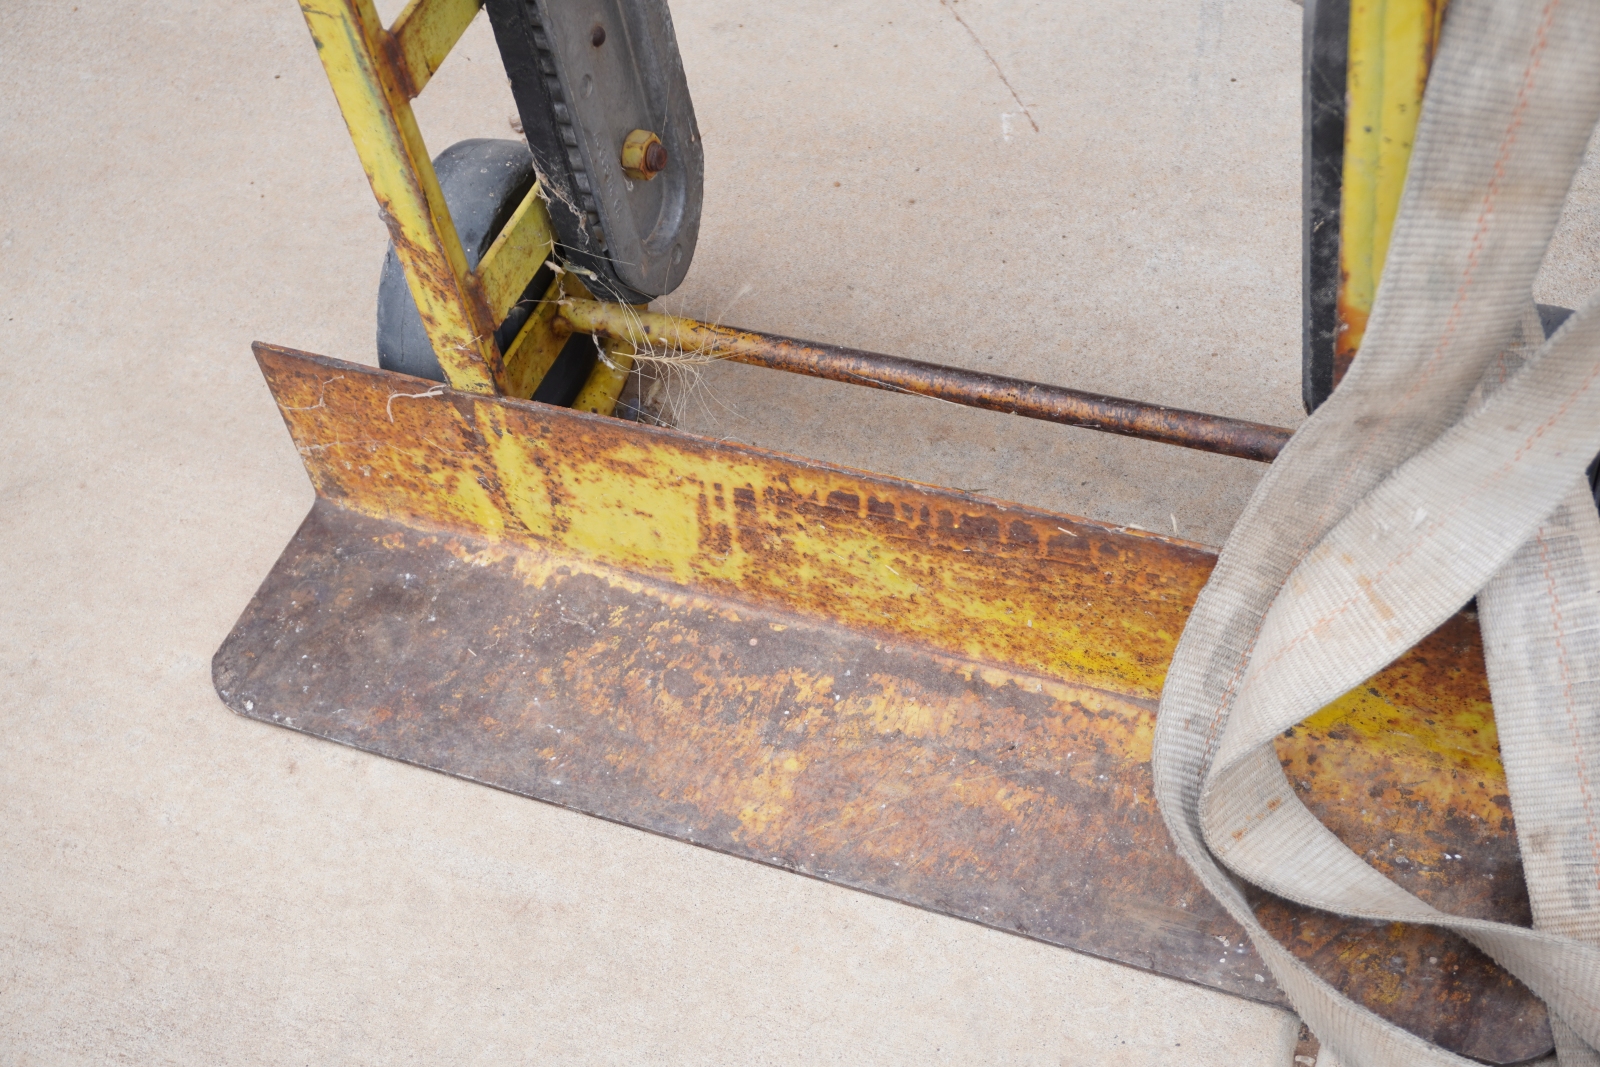
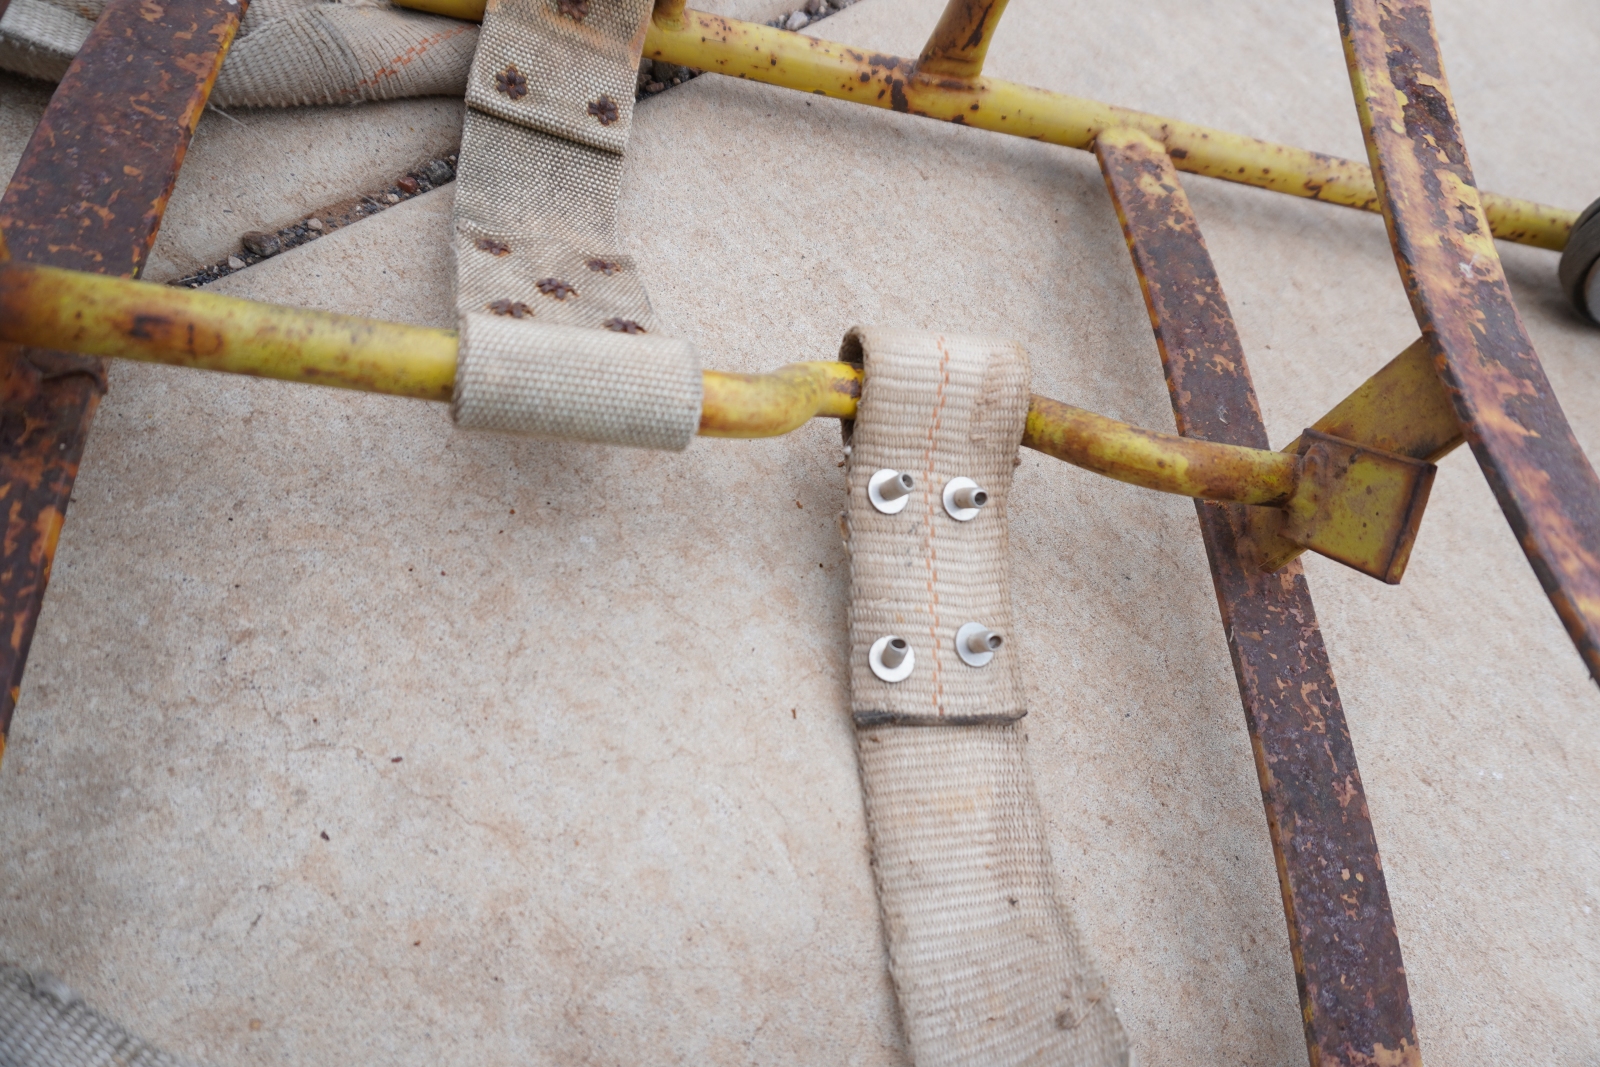
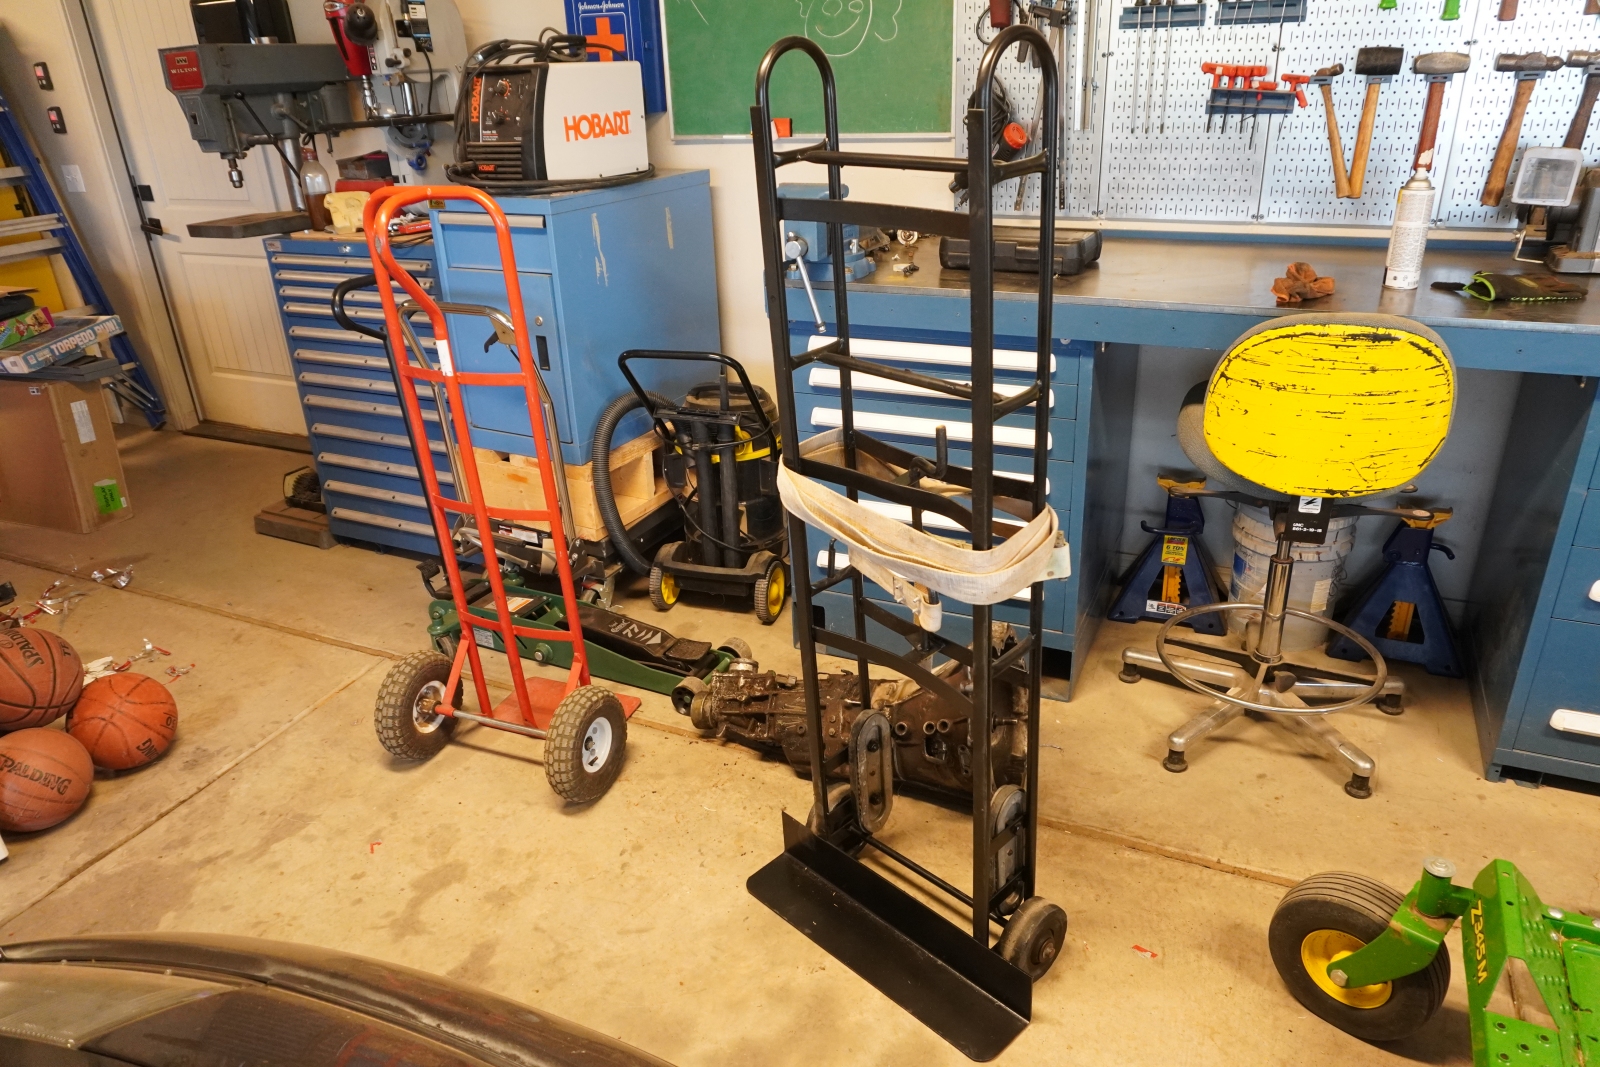
Fixed up this appliance dolly that I don't really need anymore. It was pretty rusty and the wheels had quite a bit of resistance to them as well. A few shots of garage door silicone lube and the wheels were rolling smooth again.
279.jpg


280.jpg


Disassembled everything except for the wheels.
281.jpg


282.jpg


283.jpg


284.jpg

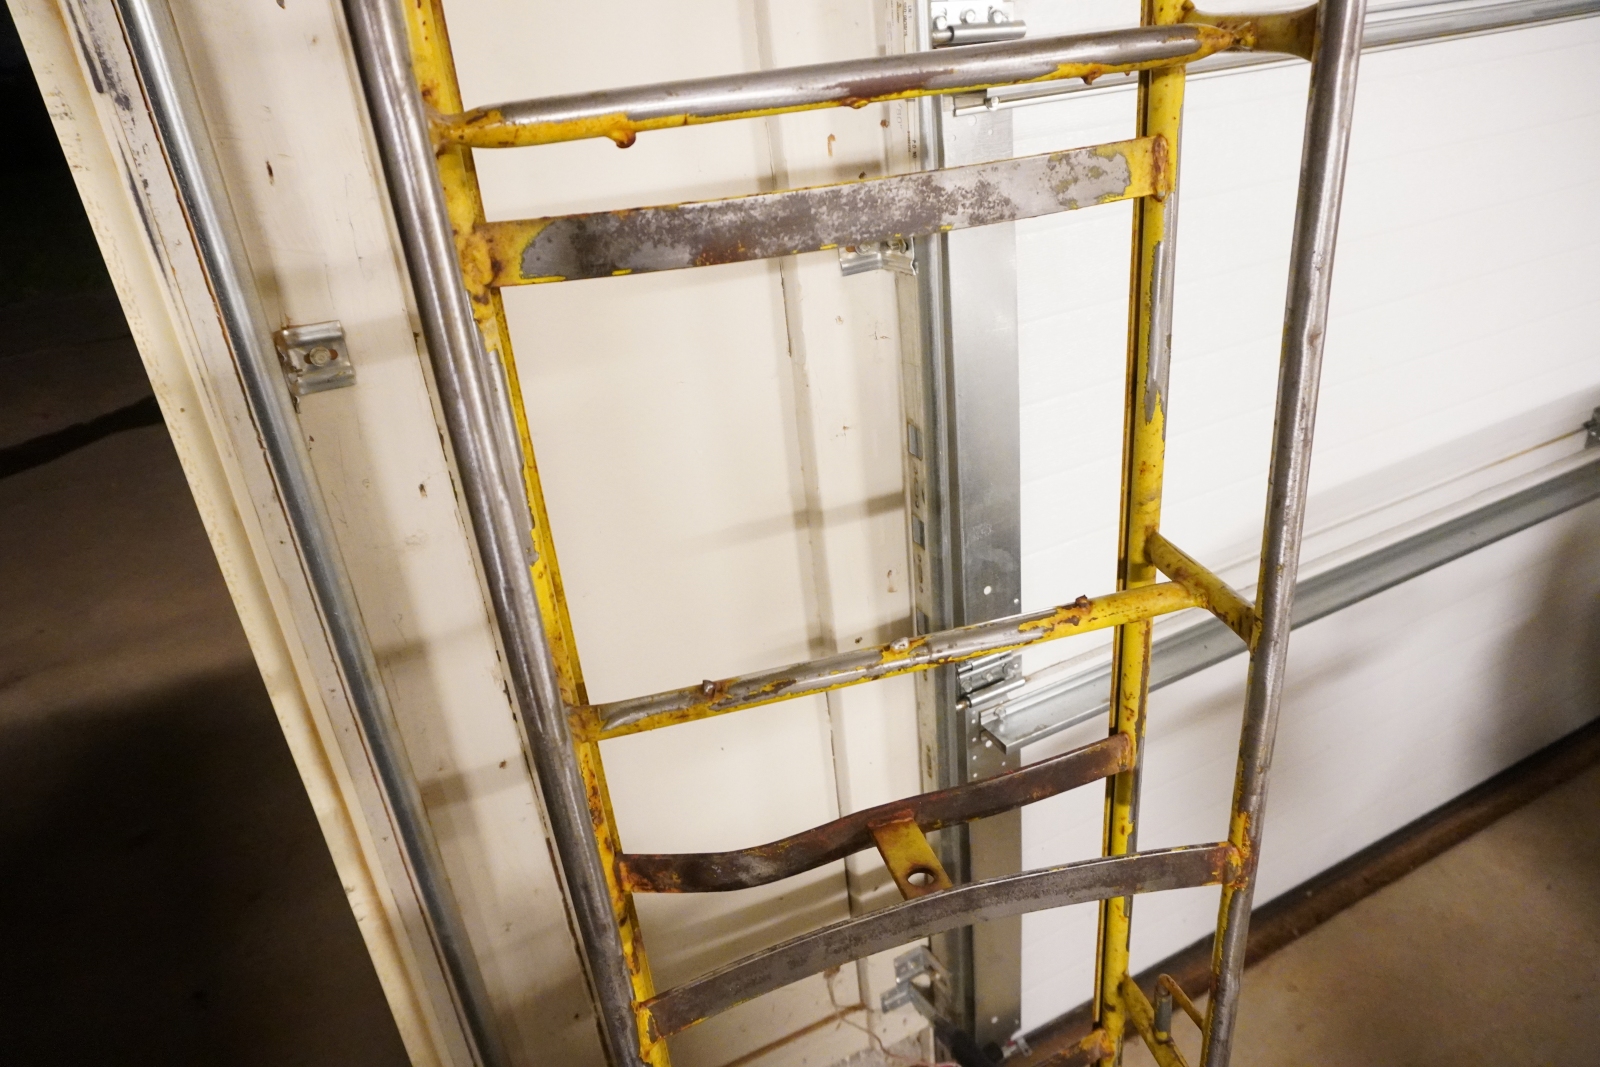
I used a grinder and paint removal wheel to get the excess rust off. I sanded the hard to reach spots with 320-grit sandpaper.

285.jpg

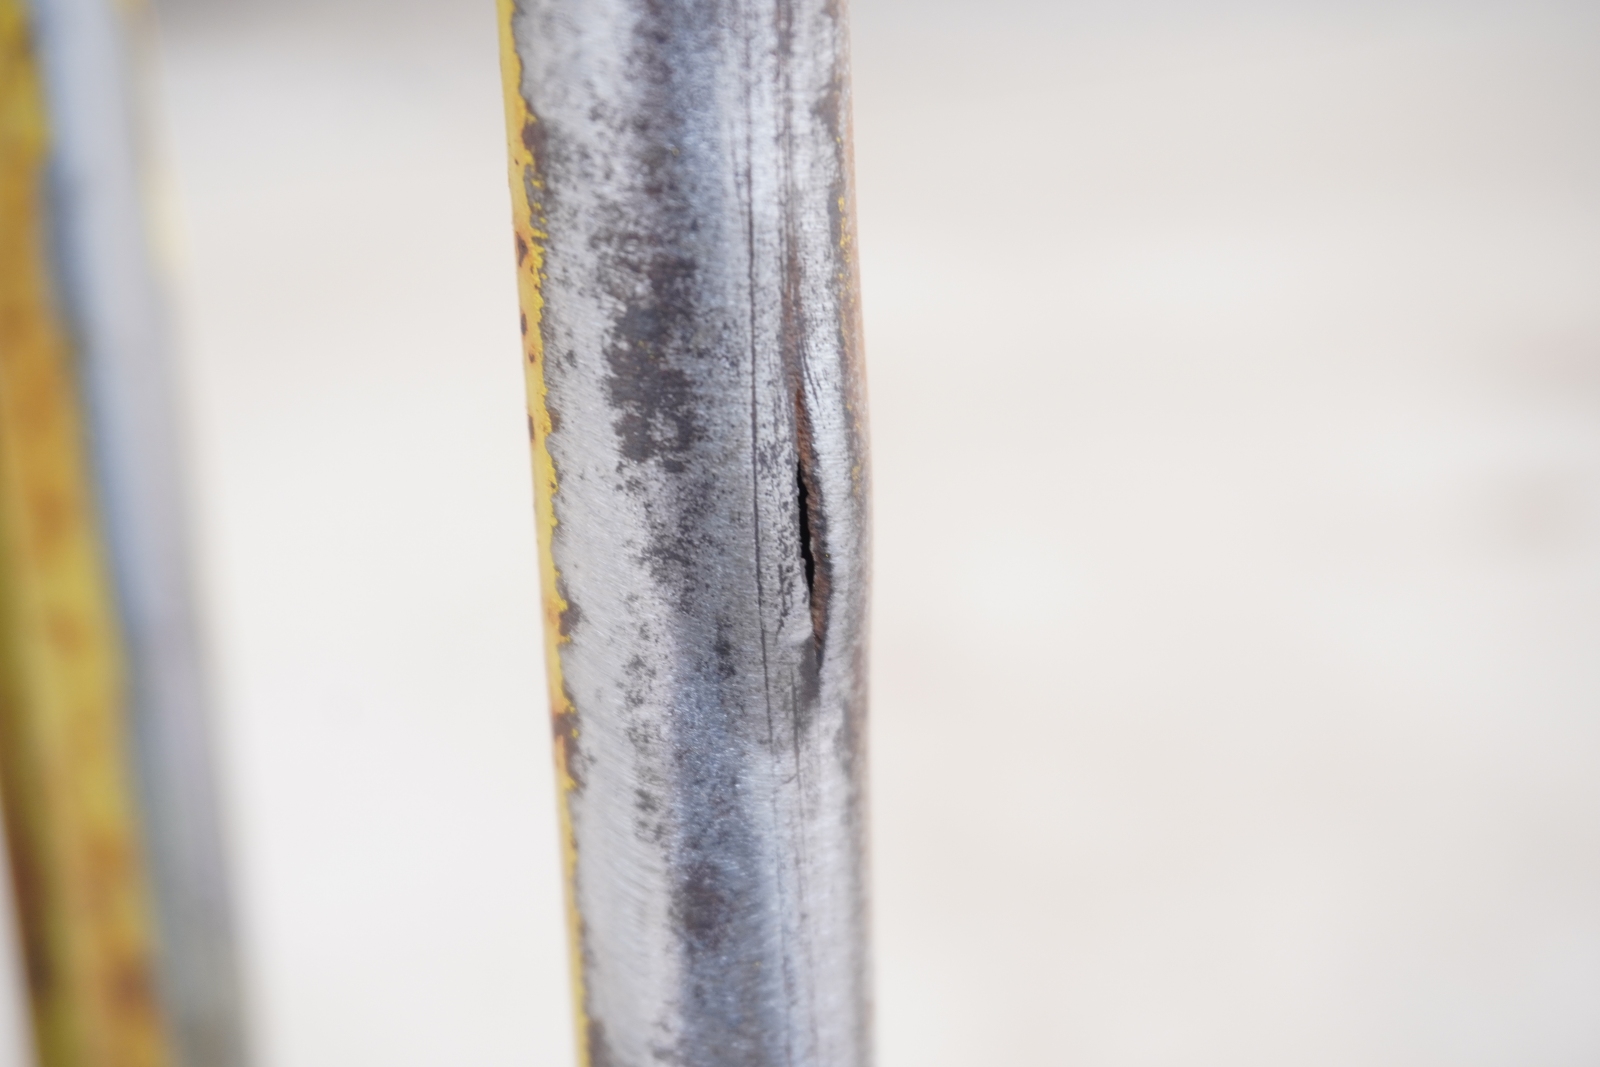
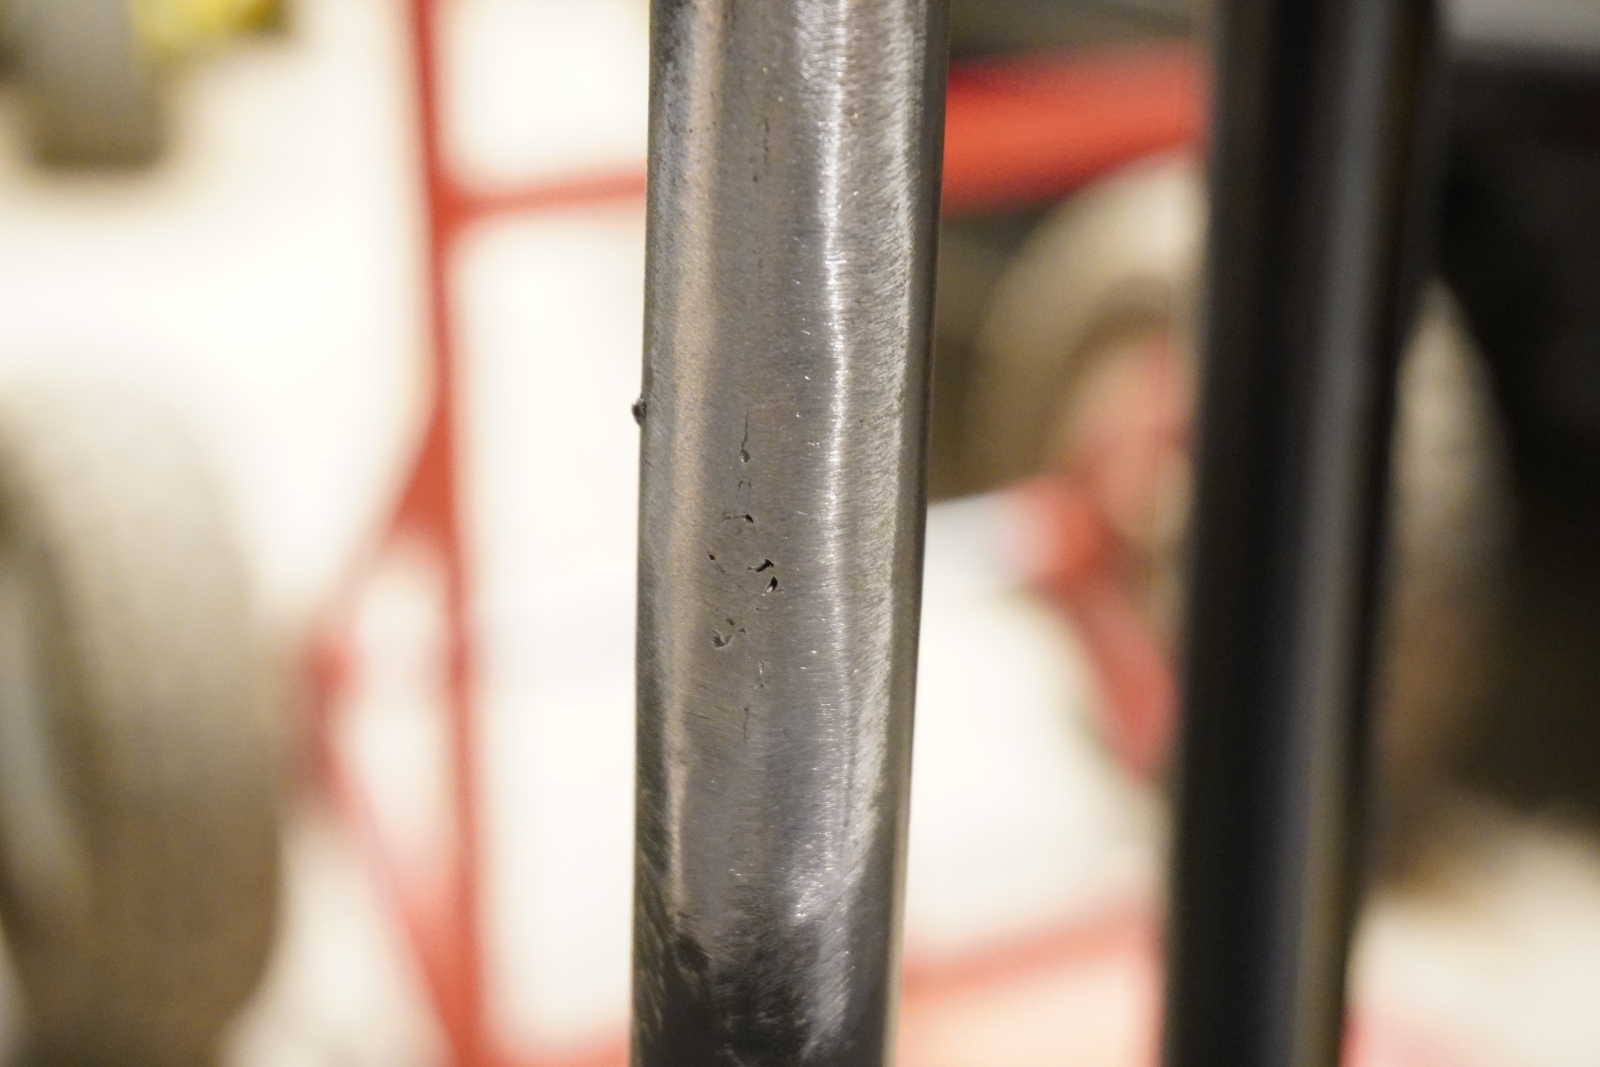
After grinding the paint off, I found this hole.
286.jpg

Repaired it with the welder. There's still a couple of pits, but it's a lot better (and safer) than before.
287.jpg

Repainted everything with gloss black Krylon Rust Protector spray paint.
288.jpg


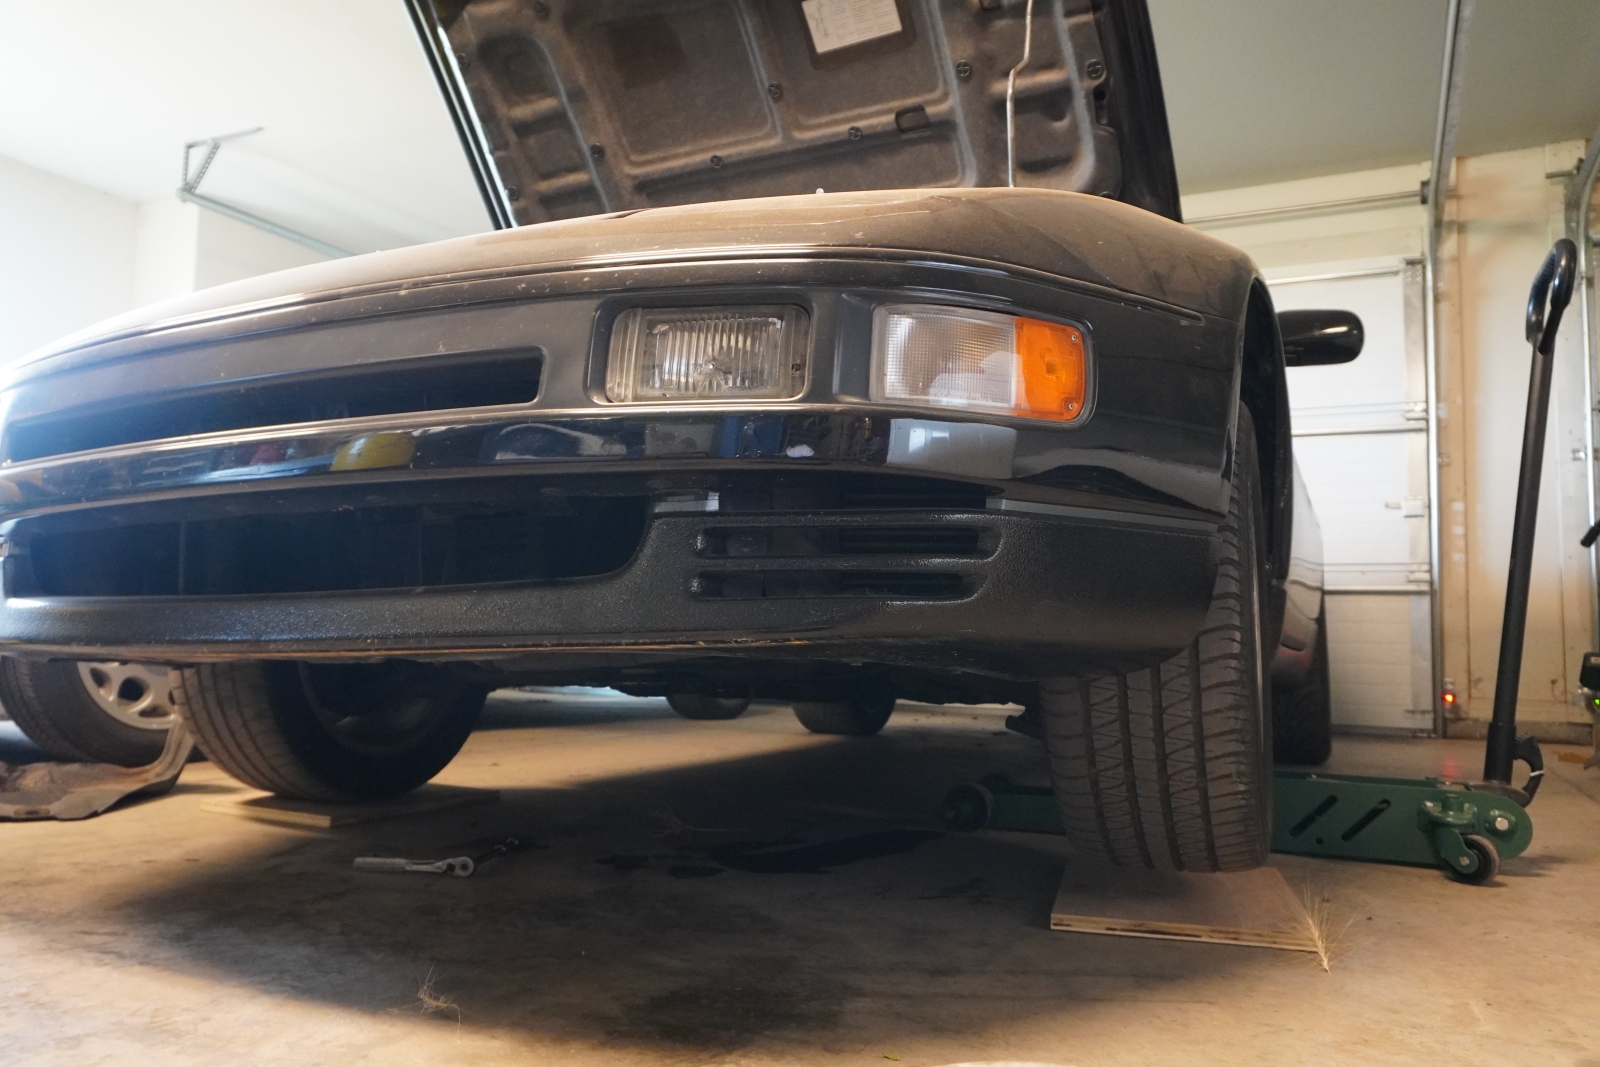
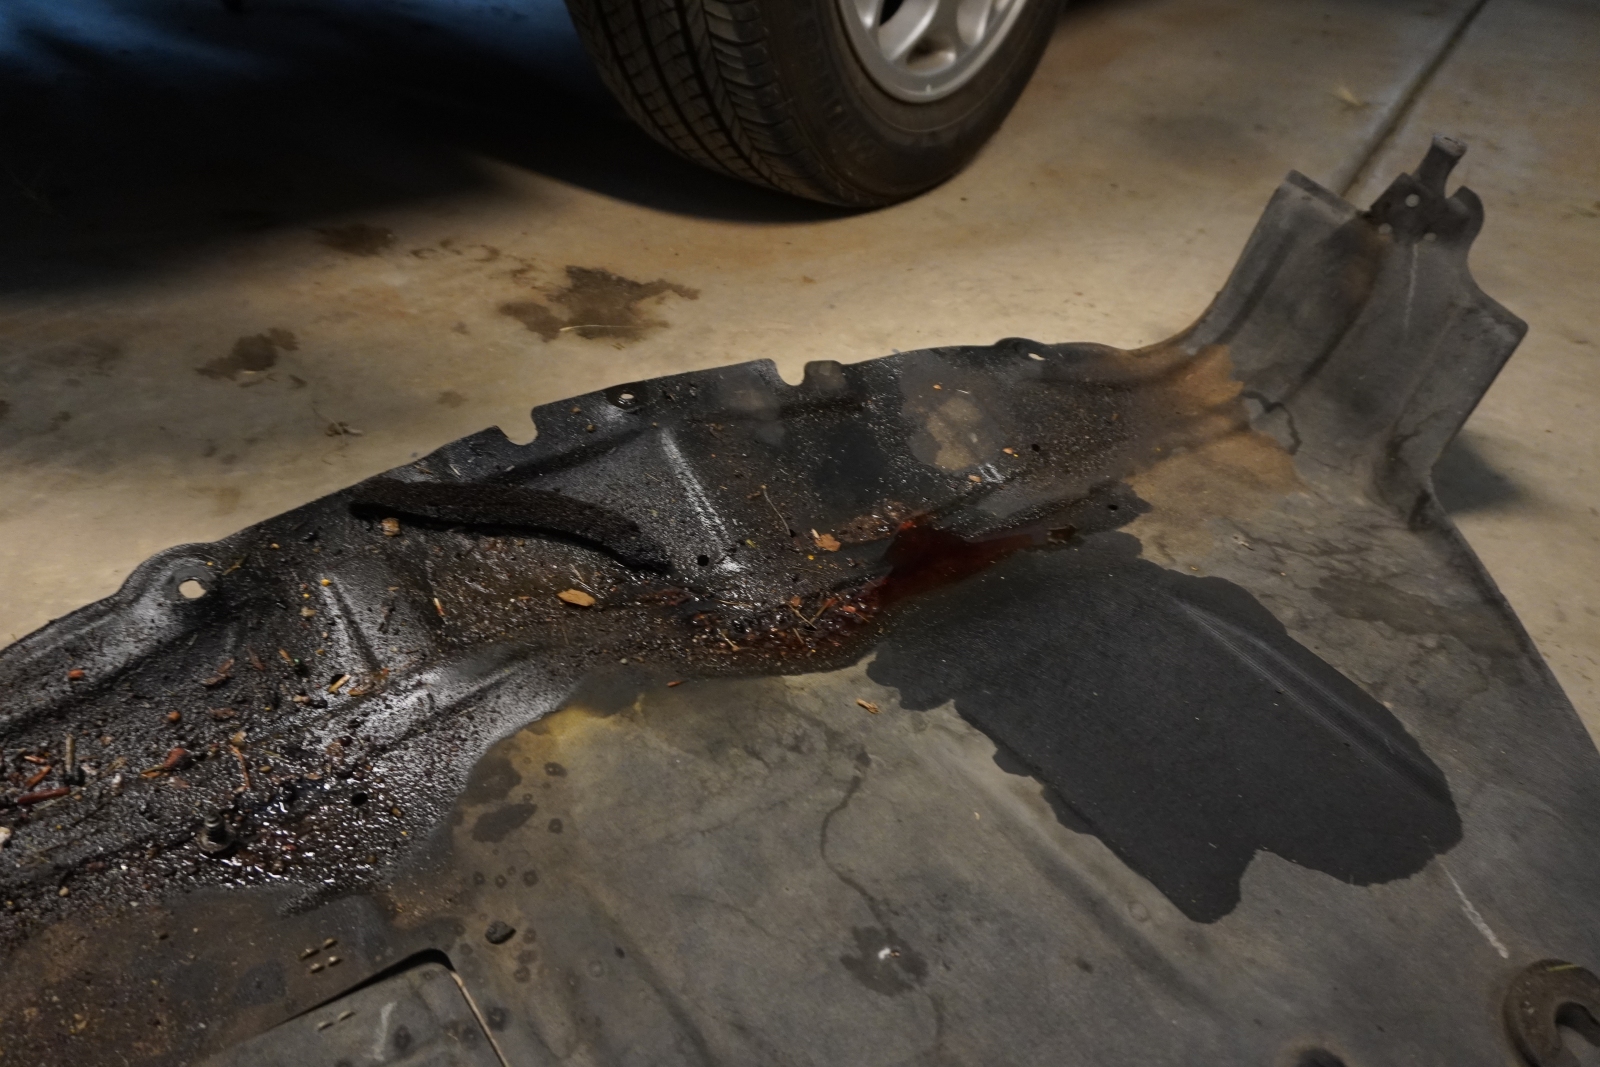
Getting ready for fluid changes on the black 300ZX, and also trying to track down a nasty power steering fluid leak.
289.jpg

There was a nice little puddle PS fluid pouring from the undershroud. It's the most expensive part, but I'm hoping it's just the high pressure hose, and not something that I'll spend forever chasing down. Everything is so difficult to access on this car. :confused:
290.jpg
 
OP
J

Jumpman-Z

Well-known member
Joined
Jun 9, 2014
Messages
144
Location
Amarillo
FInally got around to mounting a custom Nismo Old Logo sign that I had made.
291.jpg

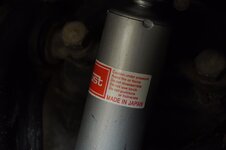
The ride quality on the D21 was starting to get kinda sloppy and the front was dropping lower and lower, so I decided to replace the shocks. I went with KYB Gas-A-Just. Gonna replace the leaf spring and tension rod bushings next. I didn't take photos, but I also sanded any surface rust off the front upper control arms and shock mounts, and painted them with gloss black engine enamel.

292.jpg

293.jpg

294.jpg

I haven't taken it for a drive yet to break the shocks in, but it's already sitting a lot better.
295.jpg
 
OP
J

Jumpman-Z

Well-known member
Joined
Jun 9, 2014
Messages
144
Location
Amarillo
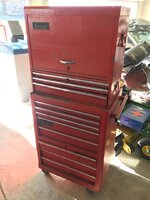
Been doing a little spring cleaning in the house and the garage lately. I cleaned up this 70s Snap on Tool box set I got for cheap 3 years ago, and sold it a week later.
296.jpg
297.jpg
298.jpg

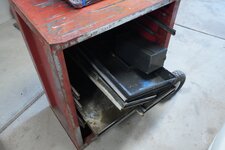
Next up, this Craftsman box set that's been sitting around for a while also. This one has a lot of dirt and grease on it, so it'll get a Rustoleum refinish. I started degreasing and grinded some of the rust off late last night, but I've got a lot more to go before it's ready for primer and paint.
299.jpg
300.jpg
301.jpg
302.jpg
 
OP
J

Jumpman-Z

Well-known member
Joined
Jun 9, 2014
Messages
144
Location
Amarillo
To avoid these ads, REGISTER NOW!
Top Bottom