

Loose Ctrl
Well-known member
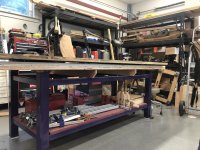
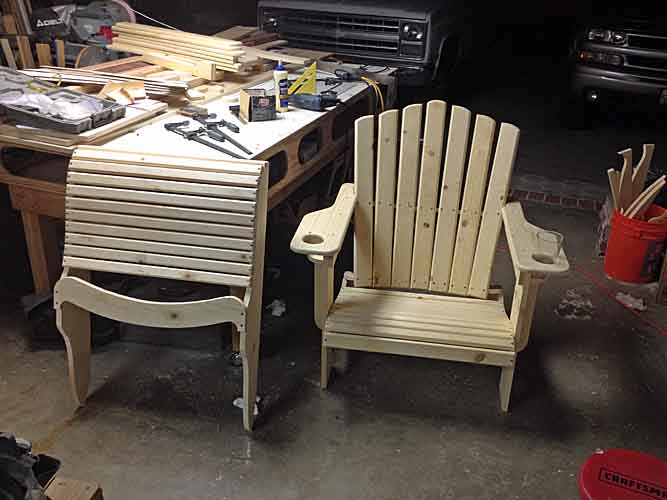
Share your layout and work tables. Mine will be used for layout work, building various assemblies for my boat, upholstery work, and doing wiring loom layout. I'm sure I will find many more uses for it by the time my project is done.
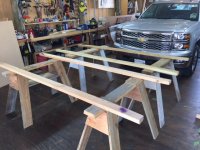
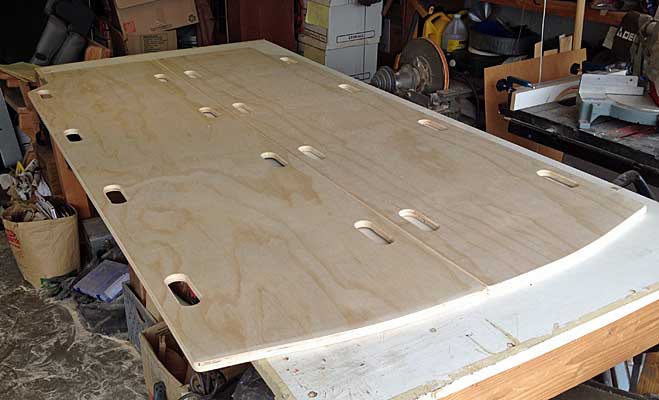
I will be starting a boatbuilding project this fall. I need a large layout table, 5' x 9' x 30". The top needs to be perfectly square and be able to support my weight. My supplier can order 5' x 10' sheets of plywood in most common thicknesses. I didn't think to ask what species of wood they are.
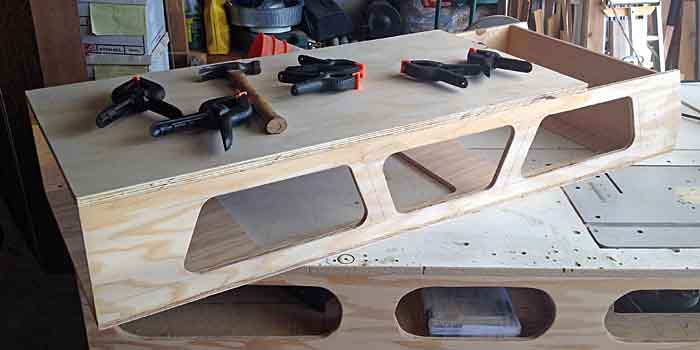
I know how I want to build the table. I don't know how I want to protect the plywood top edges. I need to work off the edges of the table and draw layout lines right up to the edges that's why I need it completely square. This prevents me from wrapping the edges with something like stainless steel angle. The only thing I can think of is banding the top with milled 1/2 inch or 3/4 inch thick oak. What ideas do you guys have to protect the plywood edges from chips?
I will be starting a boatbuilding project this fall. I need a large layout table, 5' x 9' x 30". The top needs to be perfectly square and be able to support my weight. My supplier can order 5' x 10' sheets of plywood in most common thicknesses. I didn't think to ask what species of wood they are.
I know how I want to build the table. I don't know how I want to protect the plywood top edges. I need to work off the edges of the table and draw layout lines right up to the edges that's why I need it completely square. This prevents me from wrapping the edges with something like stainless steel angle. The only thing I can think of is banding the top with milled 1/2 inch or 3/4 inch thick oak. What ideas do you guys have to protect the plywood edges from chips?


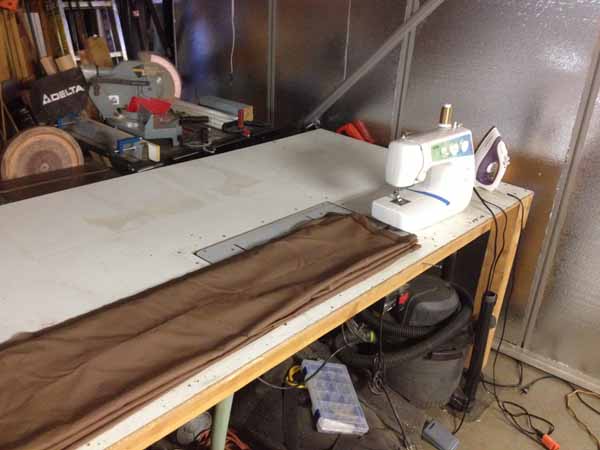


 I owned an upholstery shop for a couple of years. I did auto, boats, and RVs. My table's main area was 30 inches tall 5 foot deep and 10 foot long. The left side wrapped around my sewing machine a nice old Pfaff. The area behind the machine was only about 18 inches. Just enough to keep threads and other small stuff needed while sewing.
