Nostraquedeo
Well-known member
- Joined
- Oct 23, 2009
- Messages
- 501
First....where is damn computer?


Dodge....how do you have your computer monitor fastened to the wall? I have a Flat Panel and I'd like to ket it up off of the bench.
First....where is damn computer?
")
I only used glue (specifically Titebond III) to connect the 2x12's. I'm no woodworker.... Also, if you are going to build this type of worktop, I wouldn't use anything smaller than 2x10 lumber because the larger boards seem to be less prone to twisting and warping. Getting a good joint is extremely difficult if the lumber is twisted or warped.
I don't see anything wrong with using metal fasteners, but they really aren't necessary. I picked up the top and moved it multiple times before mounting it and it is solid and heavy. It feels just like a single slab of wood.

Your top looks nice. But, as a woodworker I have to take issue with your comment about smaller than 10 inch boards. Actually, in gluing up a panel, the wider boards tend to be less stable than narrower boards. Thought being the neighboring boards will help offset any movement an individual board wants to make. There are many cases of wide boards being stable, but they really are the exception.
Good glue is stronger than the wood it is attached to, and it appears you did a good job of prepping your wood. If someone wanted to use pocket hole screws in addition, they would not need to use clamps, as the screw would accomplish that function. Just a thought.
Jim, that is a really nice setup!


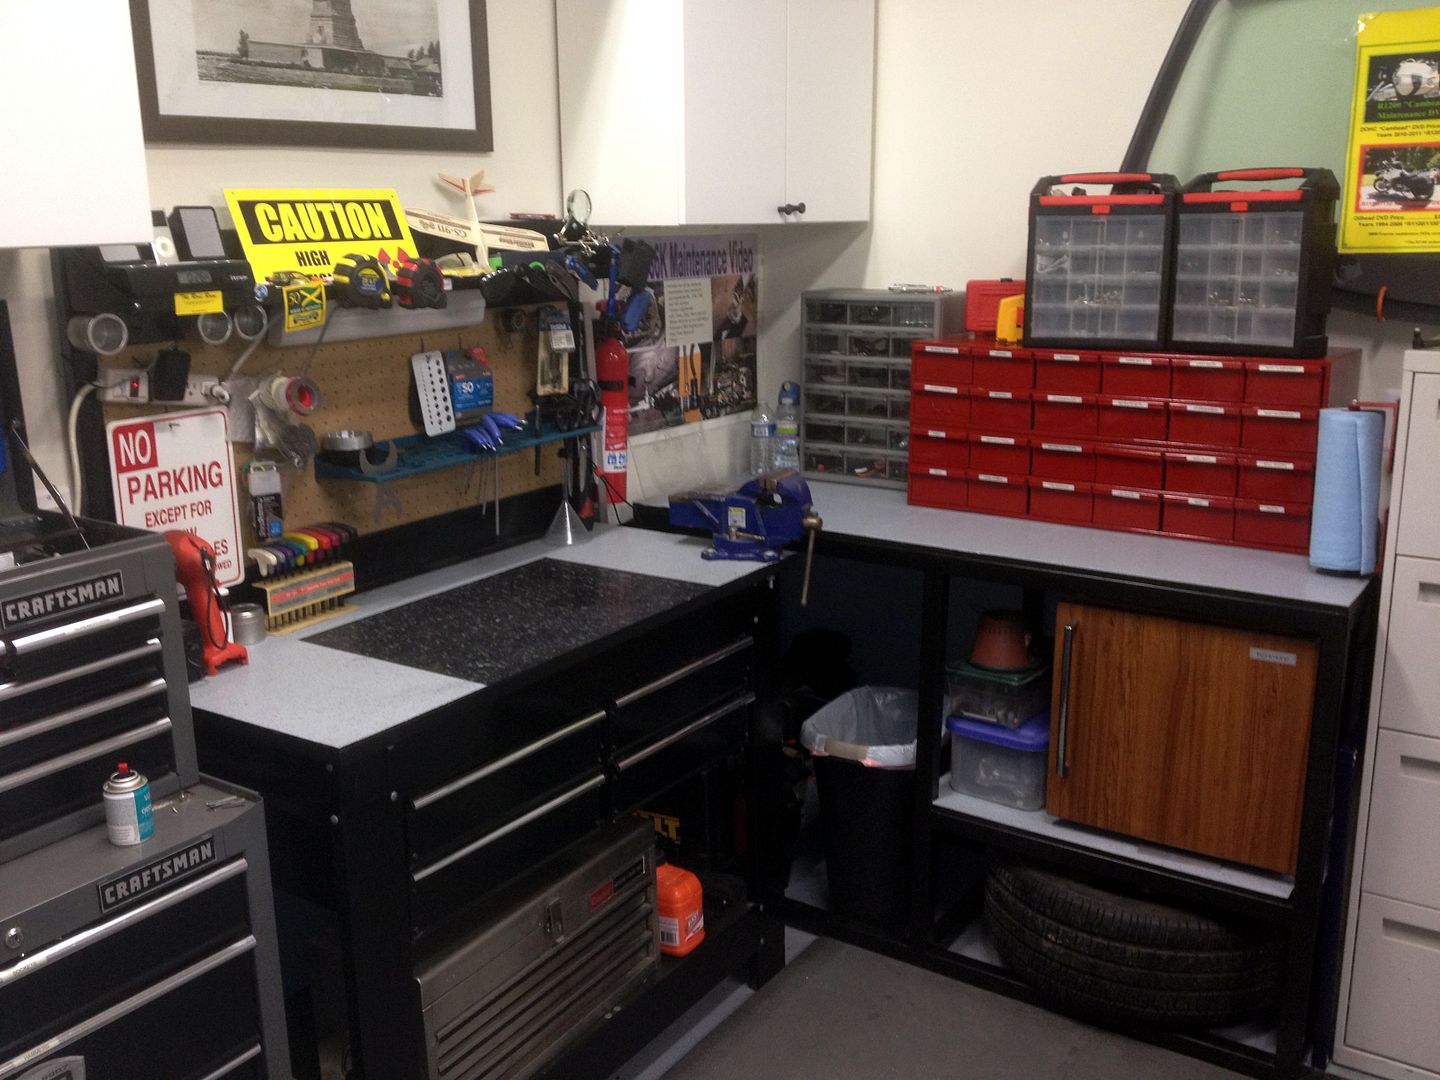
I recognize that Kobalt workbench. How has it been for you?Mine grew a bit.
I recognize that Kobalt workbench. How has it been for you?


Winmon
Talk to me about the floor mats I see in the pics: Size, feel, cost, seller, etc.
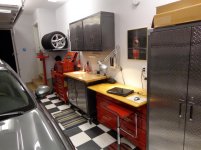
ket-tek. I hate you a little bit. That's rather impressive. S13?

Ket-Tek....I remember when you jumped in on the huge sale that everyone else got in on and i followed along while you were putting them together, but this is just over the top. Fine job, and it looks FANTASTIC!!!
Can you share a pic on how you handled the corner with the gladiator uppers?
Ket-Tek....I remember when you jumped in on the huge sale that everyone else got in on and i followed along while you were putting them together, but this is just over the top. Fine job, and it looks FANTASTIC!!!
Some killer workbenches on here! After 5 failed attempts at getting a Craftsman, I ran out of time and patience and pulled the trigger on an "American Workbench" added a Record wood vise and my restored grand-uncle's Erie #44 vise, and I'm good to go.

I have multiple work surfaces, but this is my main bench/assembly table which I built last year. My apologies how disorganized everything looks in the pictures, just now realizing that I still haven't taken any "after" photos since my workspace has been cleaned up. I'll remedy that soon enough.
Added the top layer which is 3/4" maple melamine and a middle shelf for half the bench
http://sphotos-a.**.fbcdn.net/hphotos-ash4/381080_10151055796085651_808297938_n.jpg
Added pegboard to one side to help keep tools handy
http://sphotos-b.**.fbcdn.net/hphotos-ash4/393590_10151063639500651_1078193854_n.jpg

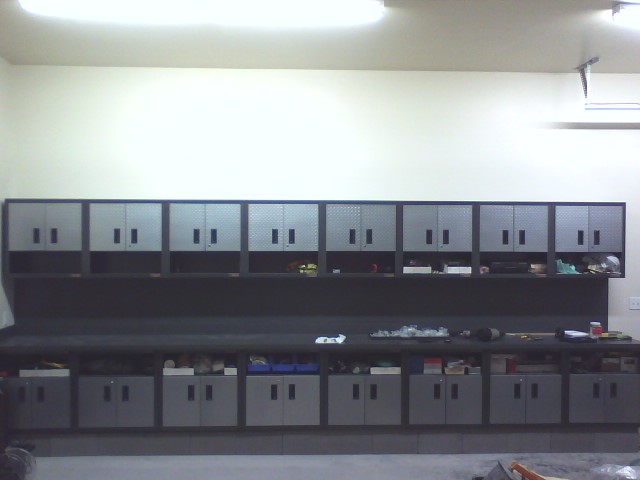
I just recently built this bench. It's 16'x6'.....
The 6' "L" section , is my powder coating space......


I built my woodowrking bench a few years back and it has served me well for woodworking and general whatever is going on in the shop. It has a ton of storage and it's jamb packed with tools and such. It's made from white oak with mortise and tenon constuction for the base. The top is actually 3 layers of 3/4" mdf laminated together with 1 1/2" white oak edge banding and a piece of white oak plywood for the work surface. The top is 42"" x 99". It has the big Jorgenson vise with 3" solid white oak face. All the drawers are all on 100lb slides. The thing weighs nearly 800 lbs. empty so it's a rock solid platform to work on for whatever the project is.
Here's some construction pics....


And here is the finished product......
The front...

Thanks for looking!!!
Terry