Grant Gunderson
Well-known member
Cleaning up a used Bridgeport mill advice needed
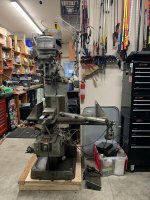
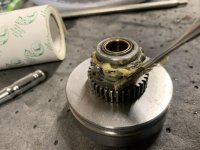
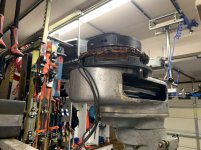
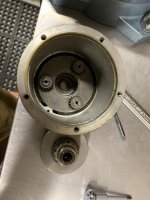
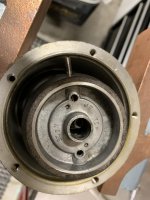
Hey guys I'm looking at picking up a used Bridgeport Mill. Its a J head, has a DRO and a VFD to convert to single phase. I haven't run a mill since college 20 years ago. This is going to be for a home hobby shop and its going to take a while to refresh the mind from the machining courses I had years ago! If it all checks out well, my plan is to rent a drop bed trailer and use a pallet jack to move it into my place.
So my question is, what things would you guys want to inspect / watch out for when buying a used mill? Table backlash, etc? Whats the best method for inspecting those items? I'd love to hear any tips on inspecting / buying / moving /setting up a mill.
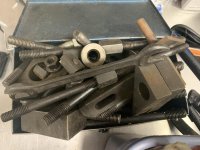
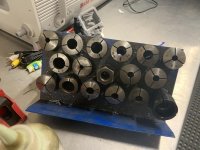
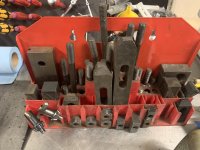
The mill does include some tooling, and a kurt vise. Grizzly industrial is just 5 minutes down the road from me, so I'll probably pickup any new tooling that I need there as I need it. Of course I'll be keeping an eye out for any used tooling / starrett stuff.
Hey guys I'm looking at picking up a used Bridgeport Mill. Its a J head, has a DRO and a VFD to convert to single phase. I haven't run a mill since college 20 years ago. This is going to be for a home hobby shop and its going to take a while to refresh the mind from the machining courses I had years ago! If it all checks out well, my plan is to rent a drop bed trailer and use a pallet jack to move it into my place.
So my question is, what things would you guys want to inspect / watch out for when buying a used mill? Table backlash, etc? Whats the best method for inspecting those items? I'd love to hear any tips on inspecting / buying / moving /setting up a mill.
The mill does include some tooling, and a kurt vise. Grizzly industrial is just 5 minutes down the road from me, so I'll probably pickup any new tooling that I need there as I need it. Of course I'll be keeping an eye out for any used tooling / starrett stuff.
Last edited: