

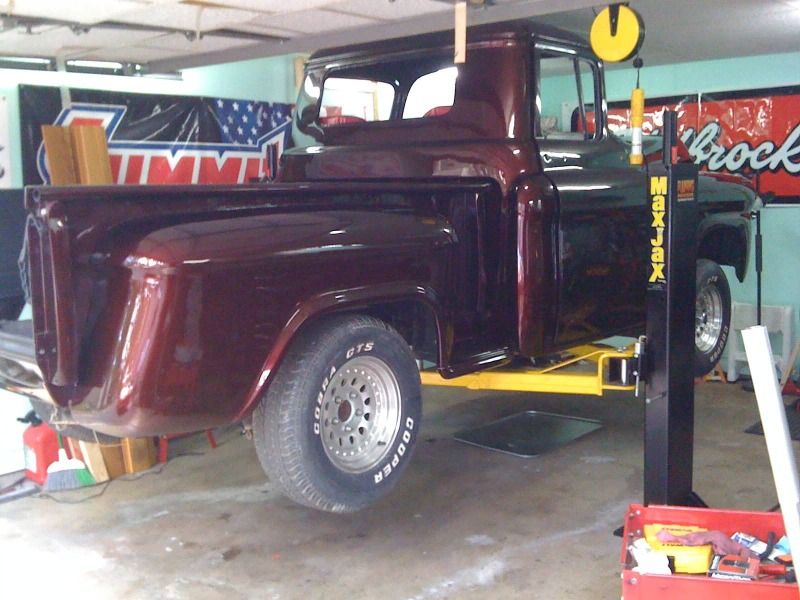
Hey guys, I am new to the board and just purchased a MaxJax. I was wondering if you guys could point me in the right direction...I installed the lift myself and I've loaded a car on it to bleed it. However, the lifting arms on either side have a big mismatch so the car leans to one side. I've tried to bleed the air out and bunch of other things but it really is not working. Also, I've noticed one of the cylinders seems to be leaking at the bleed screw up on top.
When I was trying to troubleshoot the issue, I noticed that sometimes one lifting arm is higher than the other and then at other times, the other lifting arm is higher. I'm talking with the tech support over at Dannmarr but I am really confused. Has anyone encountered this issue?
When I was trying to troubleshoot the issue, I noticed that sometimes one lifting arm is higher than the other and then at other times, the other lifting arm is higher. I'm talking with the tech support over at Dannmarr but I am really confused. Has anyone encountered this issue?

")


 With a 12" thickness, there is just no way to drill all the way through so I'll go down the recommended 5 1/2".