Slava Yorish
Well-known member
- Joined
- Sep 12, 2024
- Messages
- 90


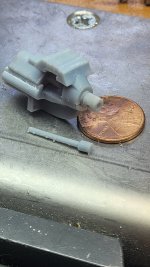
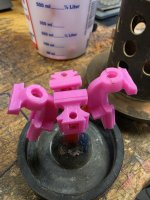
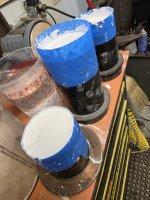
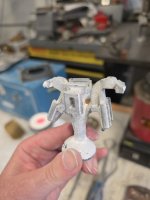
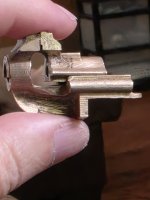
Unlike sand casting here I used investment mix for jewelry. It is a fine powder that turns into solid in a few minutes and requires kiln firing before bein filled with liquid metal. The Technology widely used in jewelry. Therefore good surface finish.That’s impressive how much detail you produced considering how small those parts are. I’m surprised the finish isn’t a lot more grainy.
Guessing this was vacuum casting once the investment was set up/burned out?Unlike sand casting here I used investment mix for jewelry. It is a fine powder that turns into solid in a few minutes and requires kiln firing before bein filled with liquid metal. The Technology widely used in jewelry. Therefore good surface finish.
It was vacuum casting. You guessed right.Guessing this was vacuum casting once the investment was set up/burned out?
Looks great.
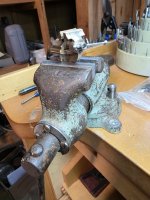
I teach CAD and the basics of injection molding to HS students as part of a class. Looked into investment/vacuum casting for their designs, but the restrictions of managing across school day hours reared its ugly head. So sand-casting it is (for them)...It was vacuum casting. You guessed right.