OP
bolensboneyard
Well-known member
You're welcome. Good to hear from you 1/2 Cup. Hope all is well.


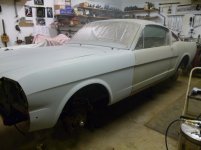
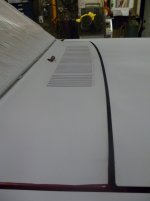
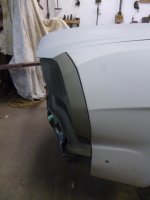
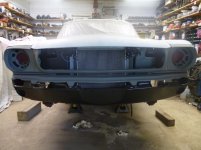
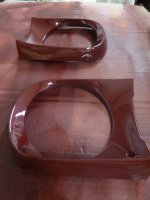
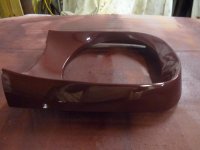
All the front end parts have been primed and half are sanded. I changed the manufacturer of the primer I have been using and the new stuff sets up a lot faster. This would be great if I had known before it plugged up my spray gun! Guess that's what happens when you do not paint for a living. Going to try a slower hardener for the clear coat. Wish me luck!
Thanks Dan. I will let you know if I need to see the video. No runs. I fixed that before the clear coat. Definitely not implying that all guns are equal; just that a cheap gun can shoot a nice finish in the hands of a pro wear as a pro quality gun will not an artist make in the hands of those less skilled!