drivesitfar
Well-known member
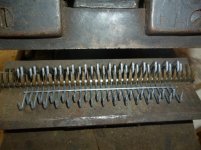
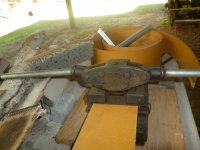
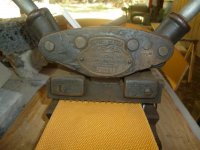
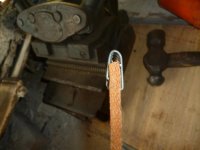
BB: i'm sure i'm not the only one that wants to see and hear how you put that leather belt together and install it so if you can take and post up a few pictures that would be great.
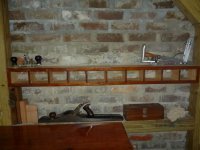
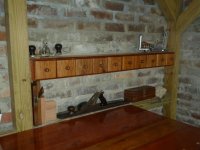
your projects in that great brick shop are coming along nicely too.
I know it's a week early, but wanted to wish you a happy 70th birthday next Saturday cause if a quiet evening at home isn't perfect maybe your kids and or bride will take you someplace to celebrate. CONGRATS and as long as you keep moving I doubt you'll ever feel as old as you are.
cheers