To avoid these ads, REGISTER NOW!

MP&C Shop Projects

zmotorsports

ALLIANCE MEMBER
Joined
Oct 20, 2009
Messages
21,312
Location
Northern Utah
Robert, what do you use as a backer to sand those radii in items like that?

When I was doing street rod chassis and wanting a "molded" look was doing similar by brushing on PPG Epoxy Primer, followed by some glazing putty and then sanding with paper wrapped around 1/4" through 3/8" fuel line or a wooden dowel.

Thanks and keep up the great work.
 
To avoid these ads, REGISTER NOW!
OP
M

MP&C

Well-known member
Joined
Oct 21, 2009
Messages
4,396
Location
Leonardtown, MD
That was a piece of 1/4 stainless rod about 3" long, ends radiused, and wrap with PSA paper..

I have quite the selection of sanding "blocks" at this point. :bounce:


Thanks!
 

zmotorsports

ALLIANCE MEMBER
Joined
Oct 20, 2009
Messages
21,312
Location
Northern Utah
That was a piece of 1/4 stainless rod about 3" long, ends radiused, and wrap with PSA paper..

I have quite the selection of sanding "blocks" at this point. :bounce:


Thanks!

Thanks for the reply Robert.

I had a small toolbox as well filled with various "custom" made sanding blocks. Some from wood, some from purchased sanding blocks just cut down and others from rubber hose. I haven't had to dig that toolbox out of storage in many years now, but I have it if/when I ever do need it. I have a funny feeling I'll be needing it here in a short while.:headscrat
 
OP
M

MP&C

Well-known member
Joined
Oct 21, 2009
Messages
4,396
Location
Leonardtown, MD
The other thing I've done with the rubber hose "sanding blocks" is to add a strip of metal on the inside, gives it some needed rigidity. A bit too wide of a strip and now you have an oval shape sanding block with multiple radius in one.. :thumbup:
 

zmotorsports

ALLIANCE MEMBER
Joined
Oct 20, 2009
Messages
21,312
Location
Northern Utah
The other thing I've done with the rubber hose "sanding blocks" is to add a strip of metal on the inside, gives it some needed rigidity. A bit too wide of a strip and now you have an oval shape sanding block with multiple radius in one.. :thumbup:

Great. I hadn't tried that. Thanks for the tip Robert.:beer:
 
OP
M

MP&C

Well-known member
Joined
Oct 21, 2009
Messages
4,396
Location
Leonardtown, MD
Vince has been getting all the core support parts prepped this past week, so last night was paint night, time for some epoxy primer..


IMG_6645.JPG


IMG_6646.JPG


IMG_6647.JPG


IMG_6648.JPG


After epoxy:


IMG_6649.JPG


IMG_6650.JPG


IMG_6653.JPG


Even got some epoxy on the low-rider wagon's rear axles.


IMG_6655.JPG
 
OP
M

MP&C

Well-known member
Joined
Oct 21, 2009
Messages
4,396
Location
Leonardtown, MD
Today Vince was doing more media blasting of additional interior pieces as well as some hand painting on the parking brake for the wagon. It had some bare steel still so he got most of that covered. The ratchet/gear was left alone as we thought the epoxy would anchor it permanently..


IMG_6702.JPG


IMG_6701.JPG


Mike blocked out the pieces we primed last week, drilled some holes we'll need for the fan shroud, and got pieces hung up for the next round of epoxy primer.


IMG_6703.JPG


IMG_6705.JPG


….and please don't tell anyone you've seen her patio table in the paint booth!


On another note, our resident shop ghost who likes to hide things has done something with the stainless trim door points. So I had put in a call to Mikey at The Stainless Shoppe. He had some original take offs in stock, and even polished them up for us. Now we have our work cut out for us in matching these!!


.
 
OP
M

MP&C

Well-known member
Joined
Oct 21, 2009
Messages
4,396
Location
Leonardtown, MD
Today we did an upgrade on the car trailer.. The last time we used the 4K winch it struggled and just didn't look too promising. I had been looking for used winches and this older new-in-the-box showed up. It was bought for a car trailer and never installed, so when the car trailer was recently sold the winch followed shortly behind.


IMG_6771.jpg


The original mount we used for the smaller winch will remain, but it now needs a twin.


IMG_6770.jpg


We'll cut an opening in the front pipe this time around, and a couple angles to finish it off and bolt the fairlead to.


IMG_6772.jpg


Mocked up....


IMG_6773.jpg


…..and we still have room for the bed latch to release...


IMG_6775.jpg


Some epoxy primer applied to the bare metal, and then all we need is the battery box.


IMG_6776.jpg


IMG_6777.jpg
 
OP
M

MP&C

Well-known member
Joined
Oct 21, 2009
Messages
4,396
Location
Leonardtown, MD
Thanks for the comments guys!

So has anyone had any experience using Optima battery mounted sideways? I'm considering mounting the battery under the tilting bed so the winch cables will see less movement..
 
OP
M

MP&C

Well-known member
Joined
Oct 21, 2009
Messages
4,396
Location
Leonardtown, MD
We got some more epoxy sprayed on the core support parts and hood latch...


IMG_6742.jpg


IMG_6751.jpg


IMG_6752.jpg


IMG_6753.jpg


IMG_6754.jpg


And Brandon sent some pictures of the wagon in final primer..


IMG_6767.jpg


IMG_6769.jpg


IMG_6785.jpg


IMG_6786.jpg


IMG_6789.jpg


A little bit closer....
 
OP
M

MP&C

Well-known member
Joined
Oct 21, 2009
Messages
4,396
Location
Leonardtown, MD
Found a shelf casualty on the new winch, appears the box was dropped at some point or this controller connector is just garbage.


IMG_6779.jpg


Being a Sunday with little open to fix this, lets see what we can do.. Measurements....


IMG_6790.jpg


IMG_6792.jpg


Trying out some plastic fusion welding using a soldering iron... we better hide that...


IMG_6795.jpg


Used socket as a dowel pin, hammer form plates cut out of 10 gauge steel scraps.. Our cover will be made out of polished stainless for resistance to the elements.


IMG_6796.jpg


Just resting here for the picture, but one "tab" was clamped in the vise, vise grips clamped the open side, and the flange hammered over. Pulled out, rotate, repeat. About 5 minutes later and we are done.


IMG_6794.jpg


IMG_6798.jpg


IMG_6801.jpg


Installed...


IMG_6804.jpg


IMG_6805.jpg


That should hold us..


.
 

stinkity stoink

Well-known member
Joined
Apr 8, 2007
Messages
729
Location
New Jersey
That right there is unbelievable!! Something nobody will pay attention to you will now draw attention to it. I’m betting it wasn’t a 5 minute job either.
 
OP
M

MP&C

Well-known member
Joined
Oct 21, 2009
Messages
4,396
Location
Leonardtown, MD
Cutting and finishing the hammer form plates was the most time consuming. Hammer forming the Stainless was about 5 minutes. Disassembly to re-assembly was about an hour.
 

HOTFR8

Banned
Joined
Mar 2, 2007
Messages
24,498
Location
Castlemaine, Victoria. The Hot Rod Centre of Austr
Thanks for the comments guys!

So has anyone had any experience using Optima battery mounted sideways? I'm considering mounting the battery under the tilting bed so the winch cables will see less movement..

Not sure about an Optima but some of the other brands I have seen mounted like that in glove box type spaces so it should be possible.
 

shortykorte

Well-known member
Joined
Sep 1, 2014
Messages
8,034
Location
Tallahassee, Fl
Looking forward to some color on the body and the assembly process. What a great solution to making the connector look presentable. Another useful tips & tricks.
 

larry4406

Well-known member
Joined
Jan 27, 2006
Messages
18,951
Location
Northern Virginia
Robert - that connector repair was pretty clever! I always learn something every time I read this thread.

My first thought was plastic fusion weld also but never would have thought about the stainless cover.
 
To avoid these ads, REGISTER NOW!

Pressingonward

Well-known member
Joined
Mar 9, 2016
Messages
522
Location
SW WA
That stainless cover is next level! Nice work.

Finally watched the tinsnips video you've shared a few times - learned a lot! Now I gotta buy some more tinsnips...:bounce:
 
Last edited:
OP
M

MP&C

Well-known member
Joined
Oct 21, 2009
Messages
4,396
Location
Leonardtown, MD
Thanks for following along with our projects guys!


Today I was block sanding some core support parts for one more spray. Making black powder out of black epoxy primer. Not all that exciting, so I didn't take any pictures.. But wait... it gets better! Brandon and Richard have been sanding as well, only they put some color on the roof today:


IMG_6862.JPG


IMG_6864.JPG


IMG_6866.JPG


IMG_6867.JPG


IMG_6868.JPG


Clear:


IMG_6869.JPG


IMG_6870.JPG


Can't wait for the green and some sunlight....


.
 

BUGTHUG

Well-known member
Joined
Nov 12, 2010
Messages
2,960
Location
Kansas
roof looks impeccable. Not easy getting that much real estate look that nice.
I have a VW bus that could use some of that love.
 

Offcenter12

Well-known member
Joined
Feb 3, 2018
Messages
151
Location
Seattle
Hi Robert,
Is that clear from SPI? Understand it's mostly the skill of the painter, but that roof is amazing!

John
 
OP
M

MP&C

Well-known member
Joined
Oct 21, 2009
Messages
4,396
Location
Leonardtown, MD
Thanks guys!

SPI epoxy, H/K basecoat, SPI Universal Clear. And it likely is the painter... Brandon and Richard Glymph at Absolute Rod and Custom Paint in Annapolis. Richard has been doing custom paint since late 60's.
 
Last edited:

joeswamp

Well-known member
Joined
Jul 25, 2007
Messages
2,418
Location
Massachusetts
Amazing to see paint finally go on this project, looks incredible.

Basic question from a non-painter: Is there a reason they started with the top? I always thought you started with the interior or the door jambs.
 

jackson1701

Well-known member
Joined
Jan 13, 2015
Messages
157
Location
Jarrettsville, MD
this thread is how I got started in the garage journal. I'm glad to see this phase, its been a long time coming. You do amazing work, nice to see how amazing all the attention to detail is paying off.
 

TimeWarpF100

Well-known member
Joined
Aug 21, 2010
Messages
6,784
Location
not here
This thread, while it may show quite a bit of work on vehicles that come in the shop, is primarily going to focus on providing metalworking/metal shaping tutorials, where ever possible using simple hand tools, in hopes that it may inspire others to learn the craft. While I am no expert, in many cases learning as I go, feedback and suggestions from others is more than welcome. Where I strive to improve methods with each lessons learned, outside suggestion is often the source to provoke such thought and vision. Many times this "re-thinking the process" comes via someone questioning that process shown, so feel free to ask away!


I've been travelling quite a bit for the day job all this past fall, which has put a cramp in time available in the shop, but that has subsided a bit so now is as good a time as any to start a shop thread..

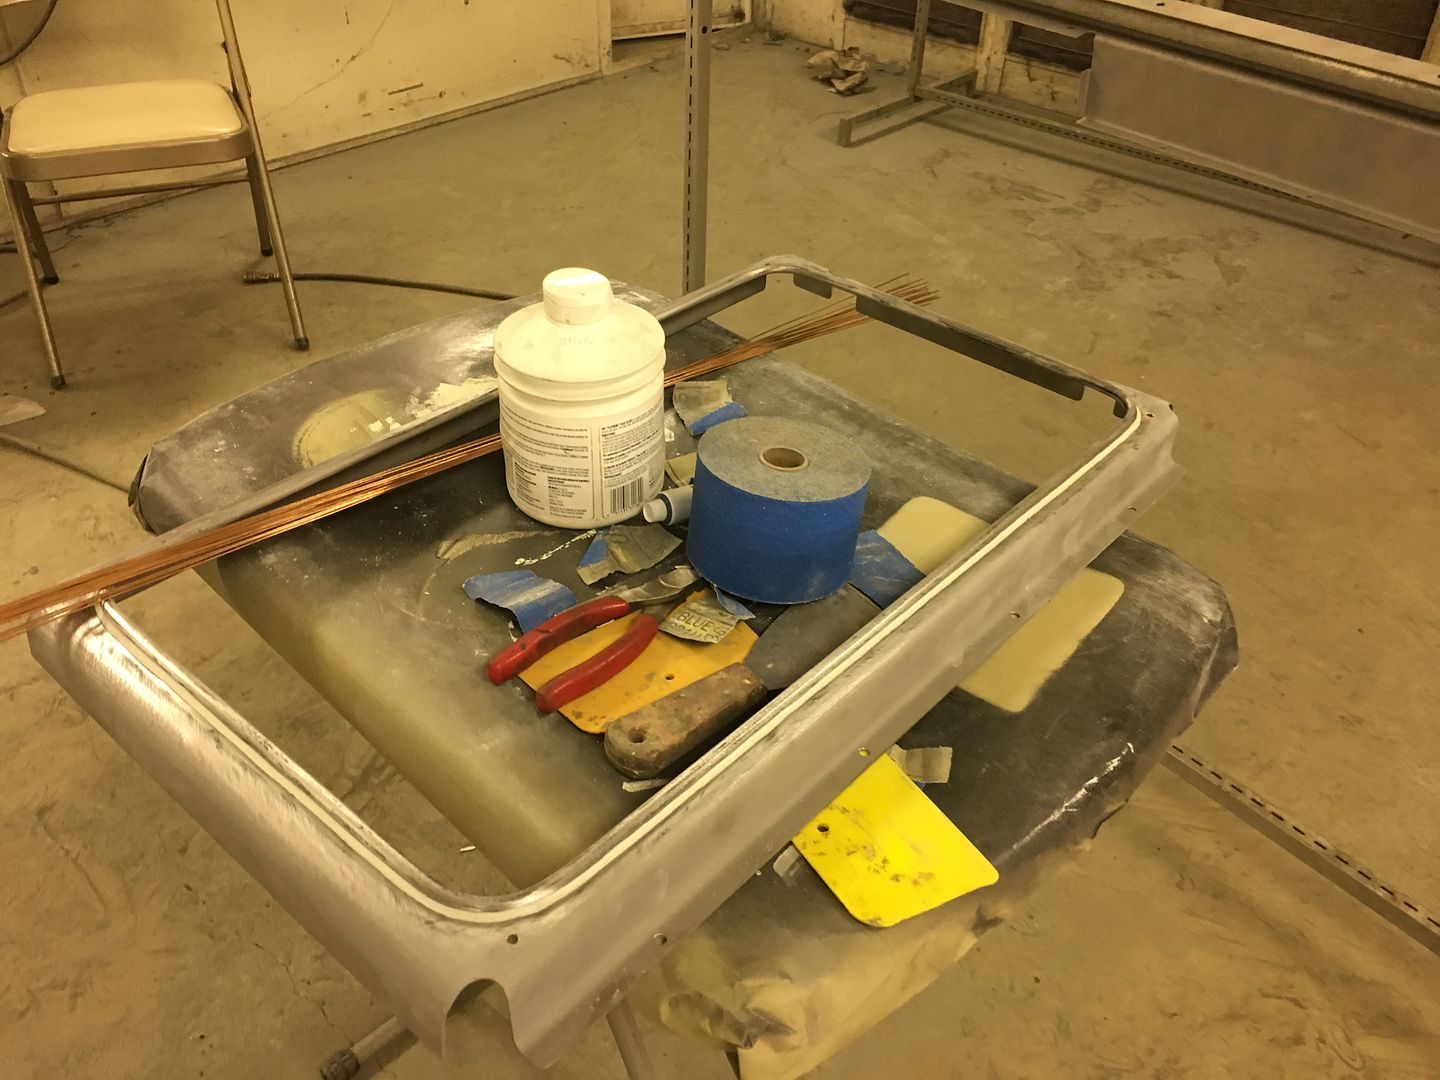
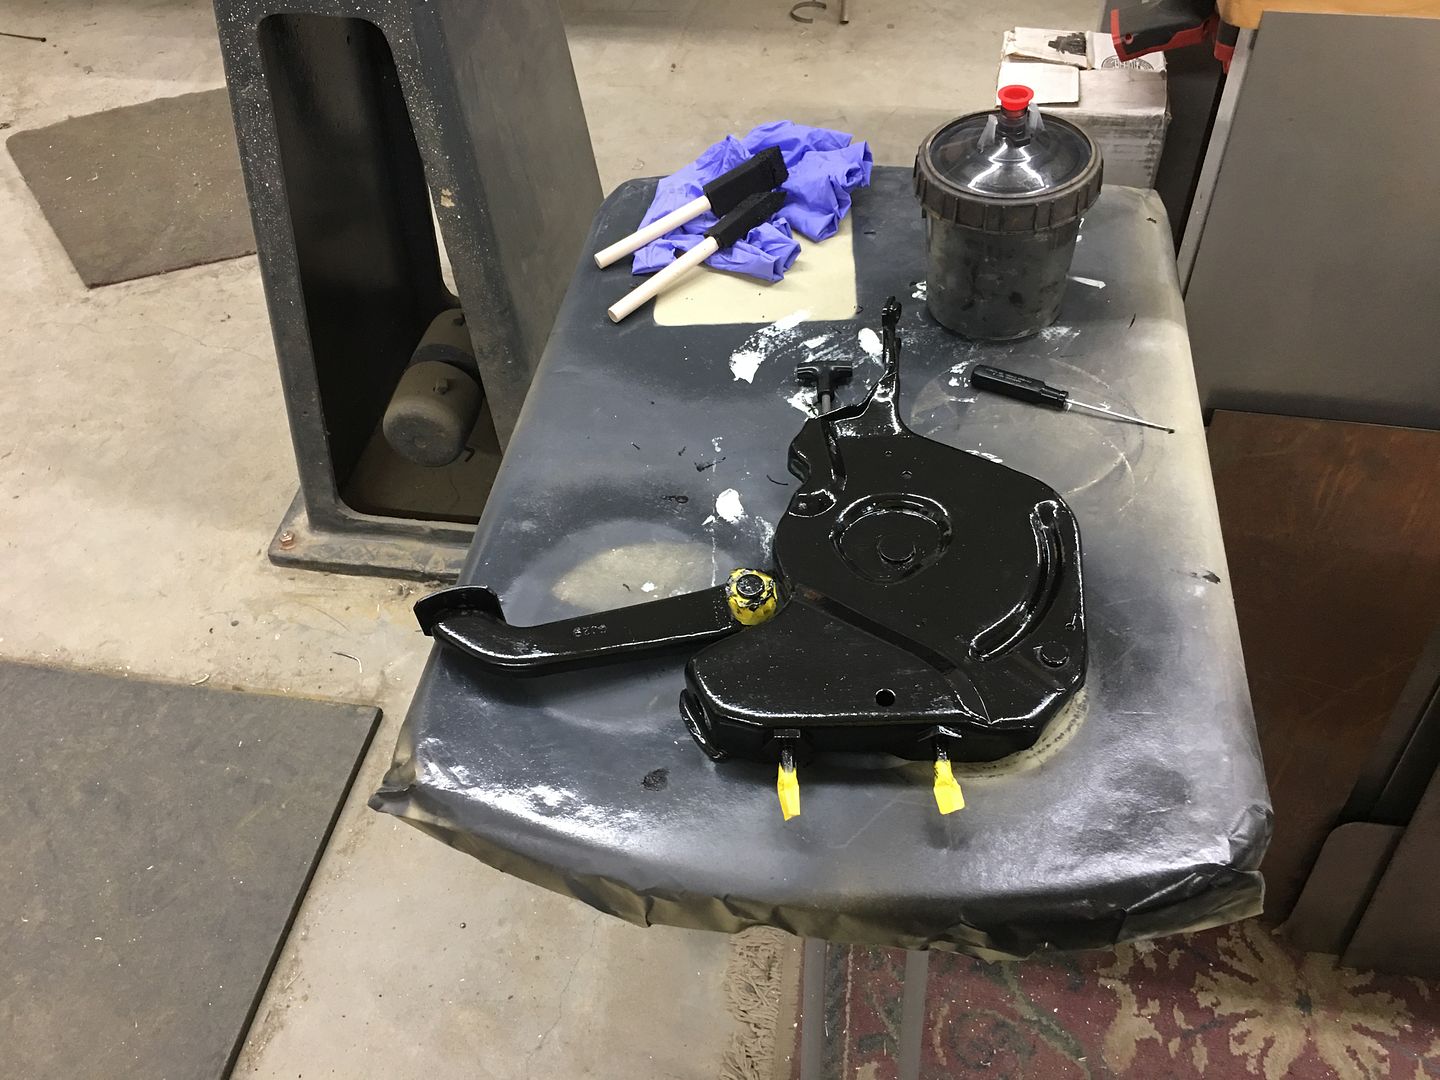
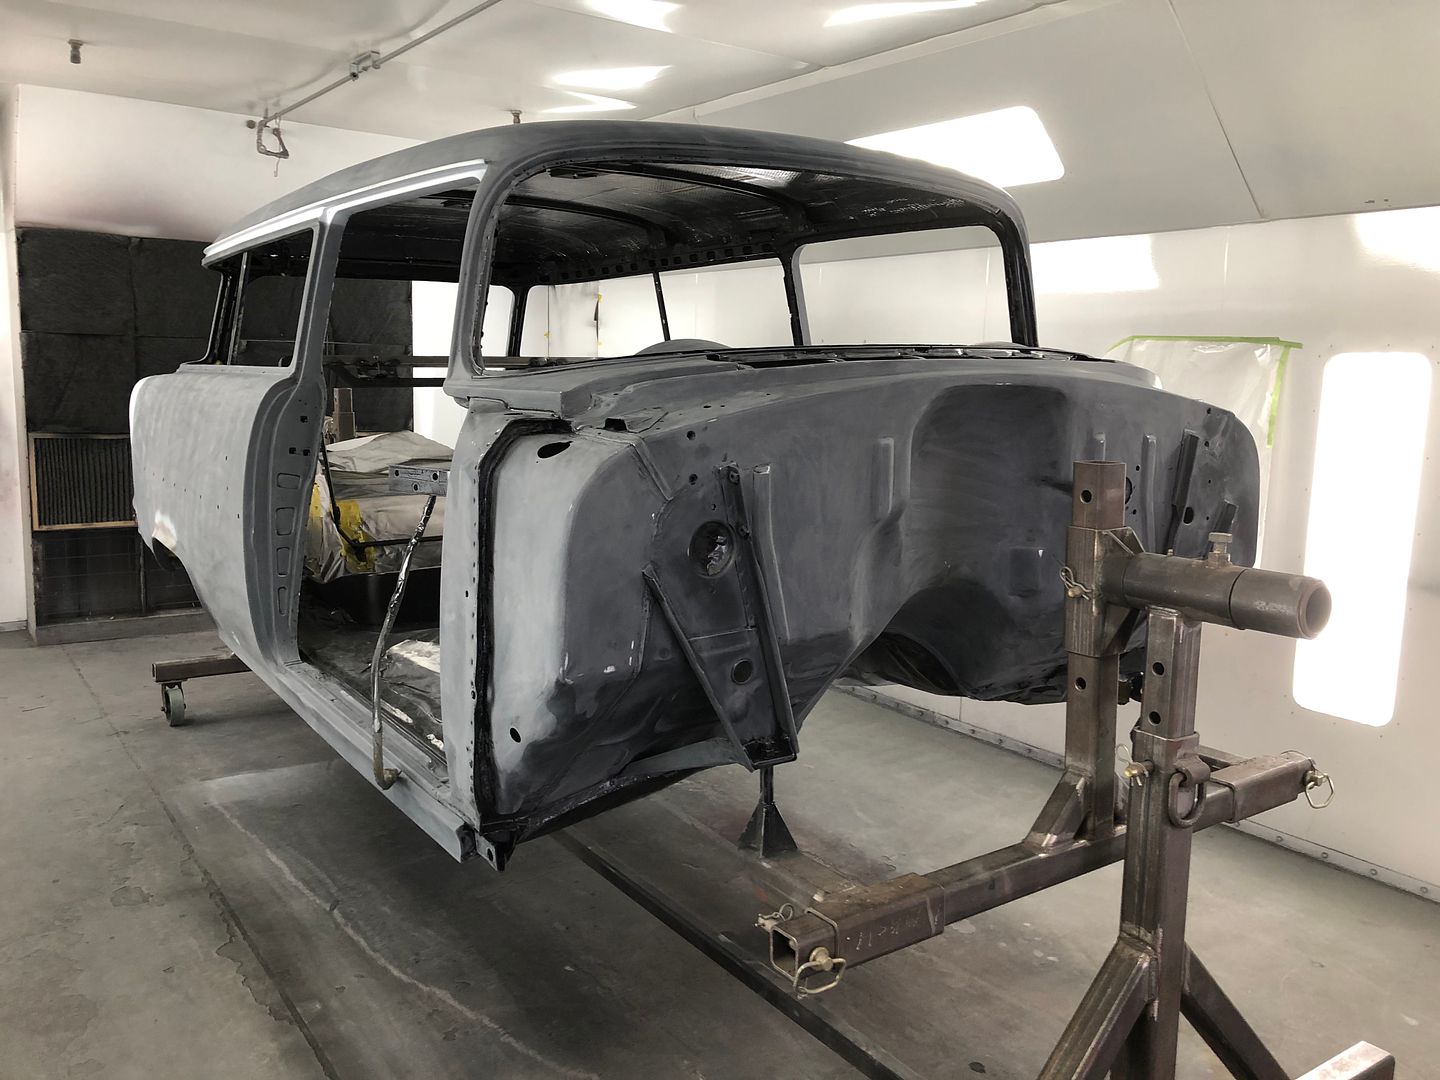
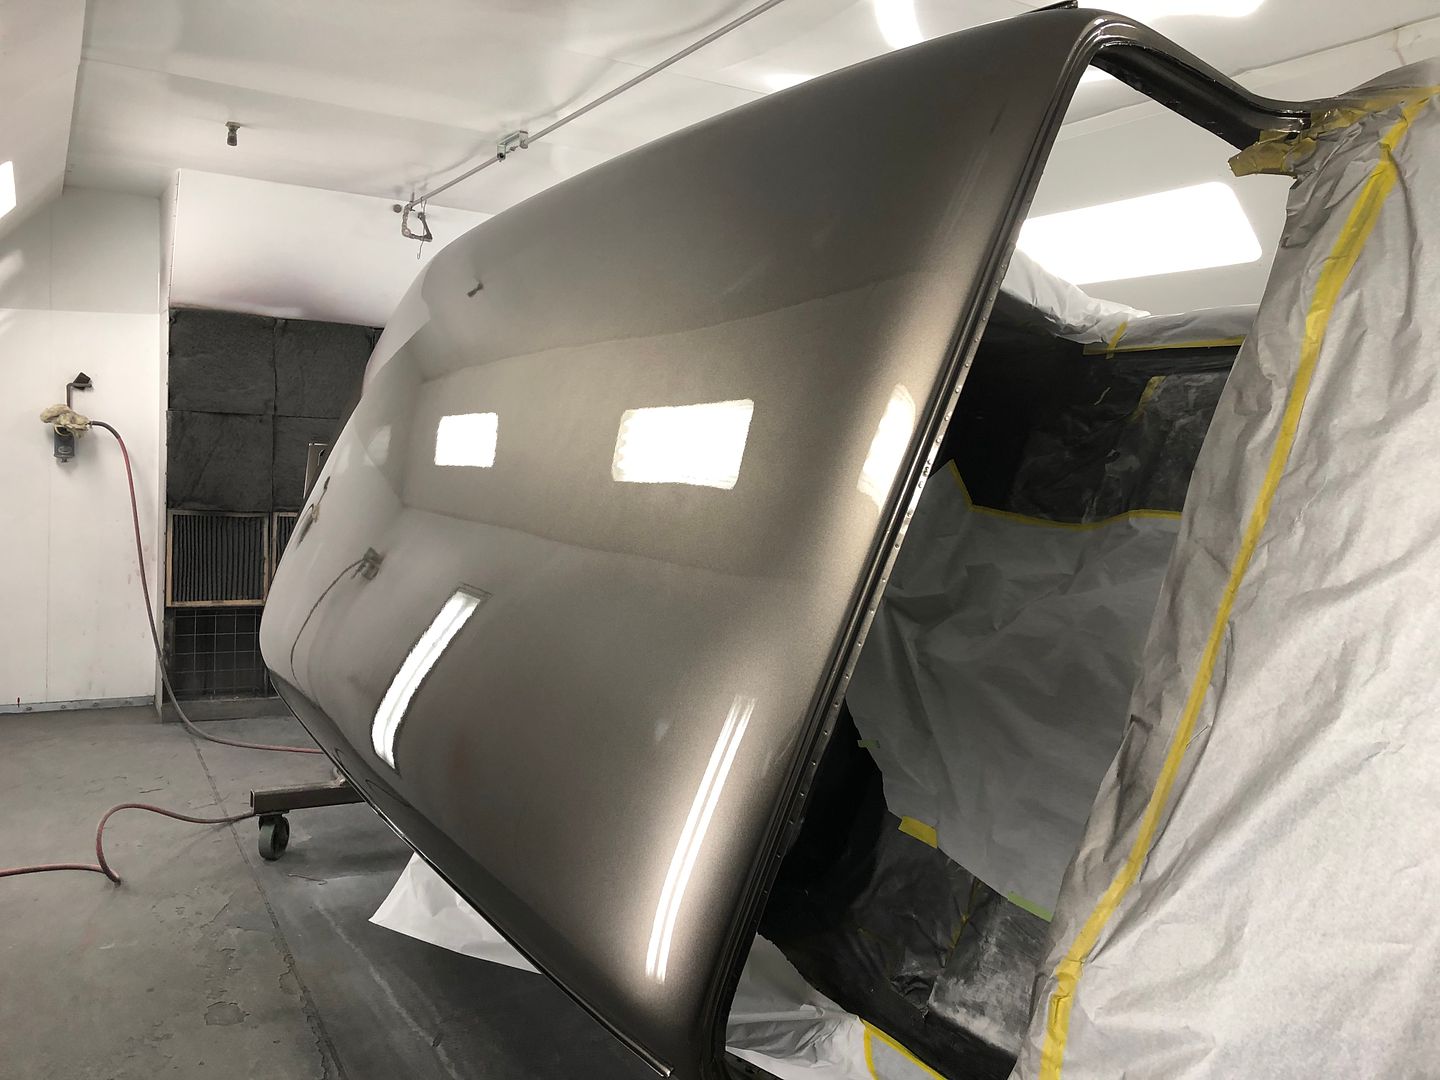
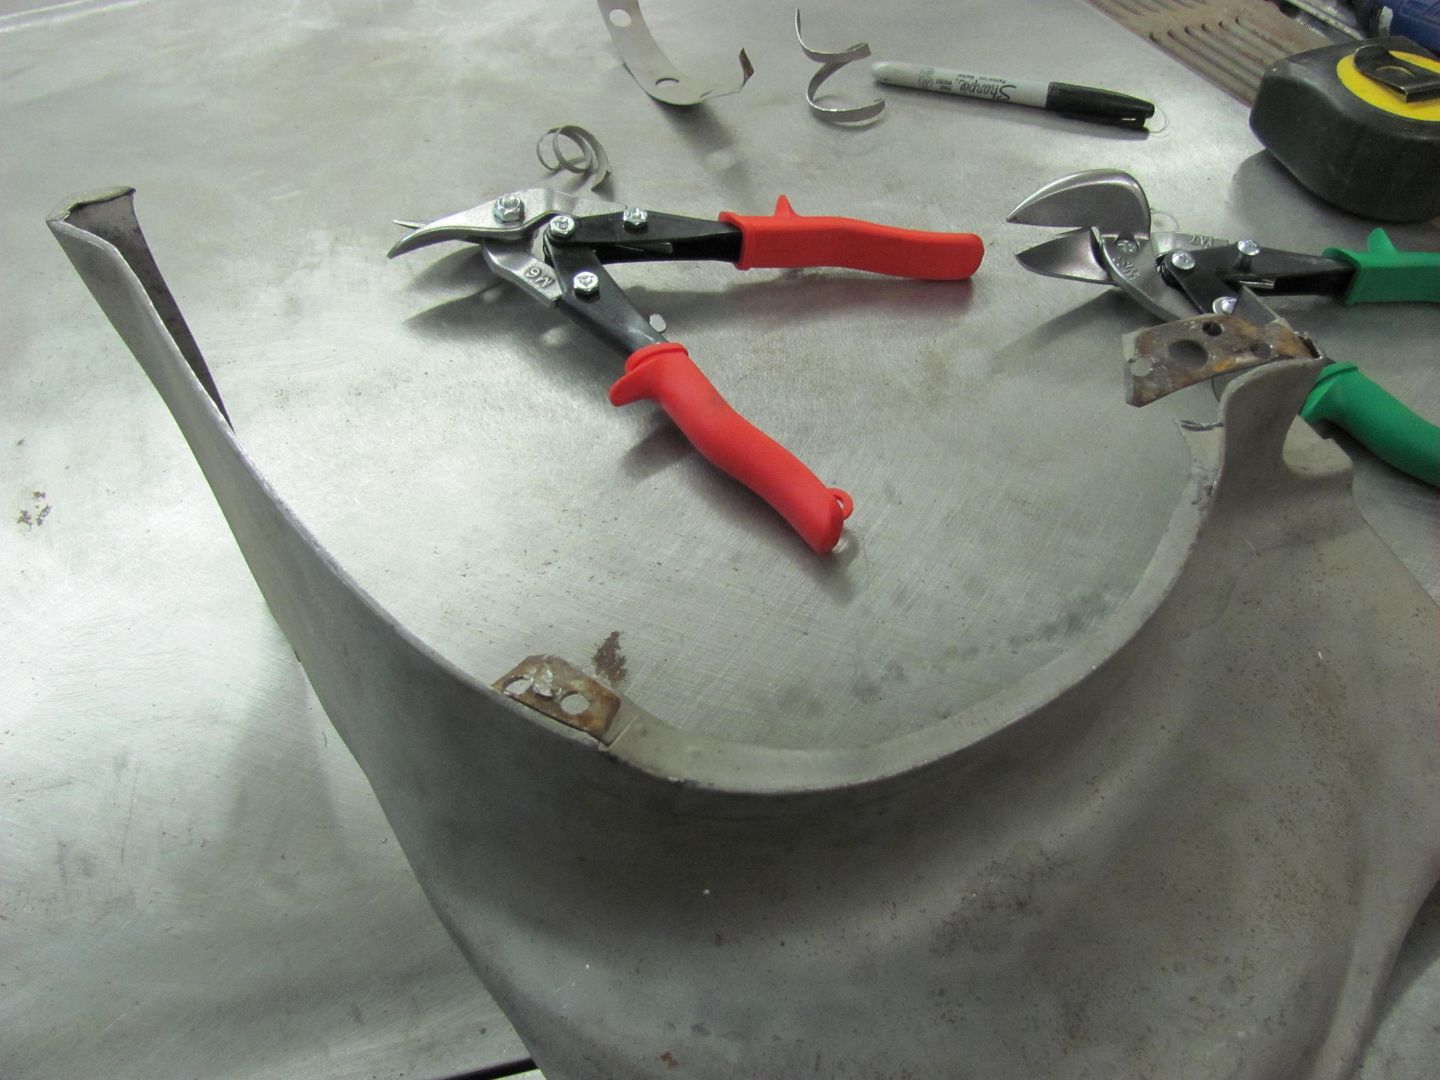
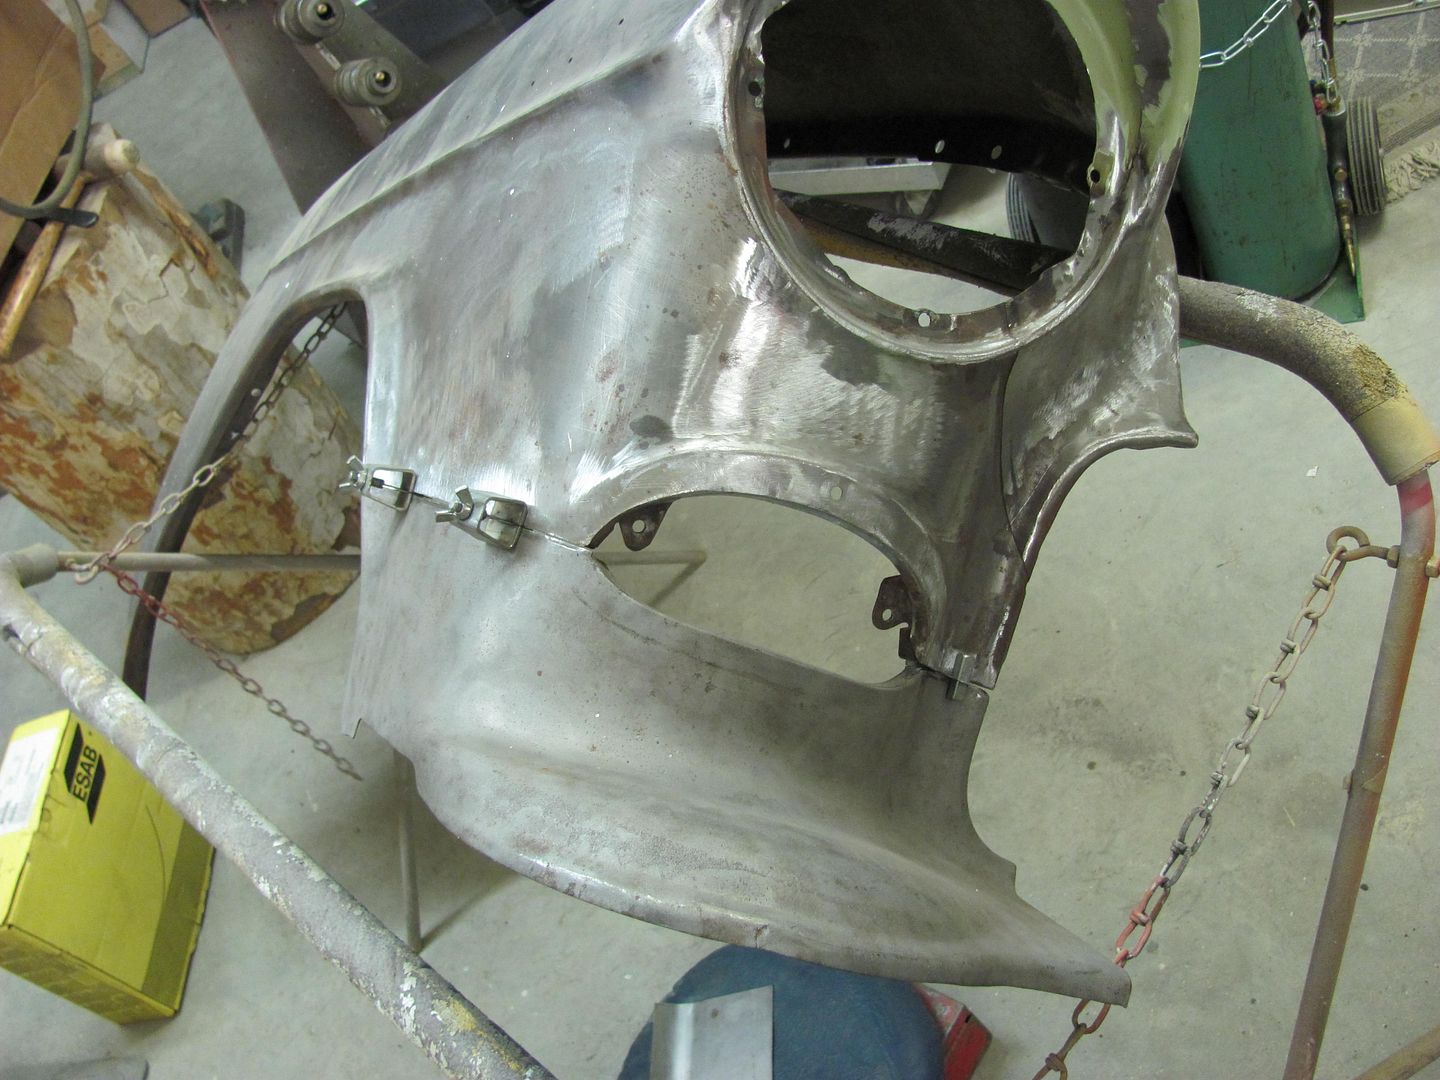
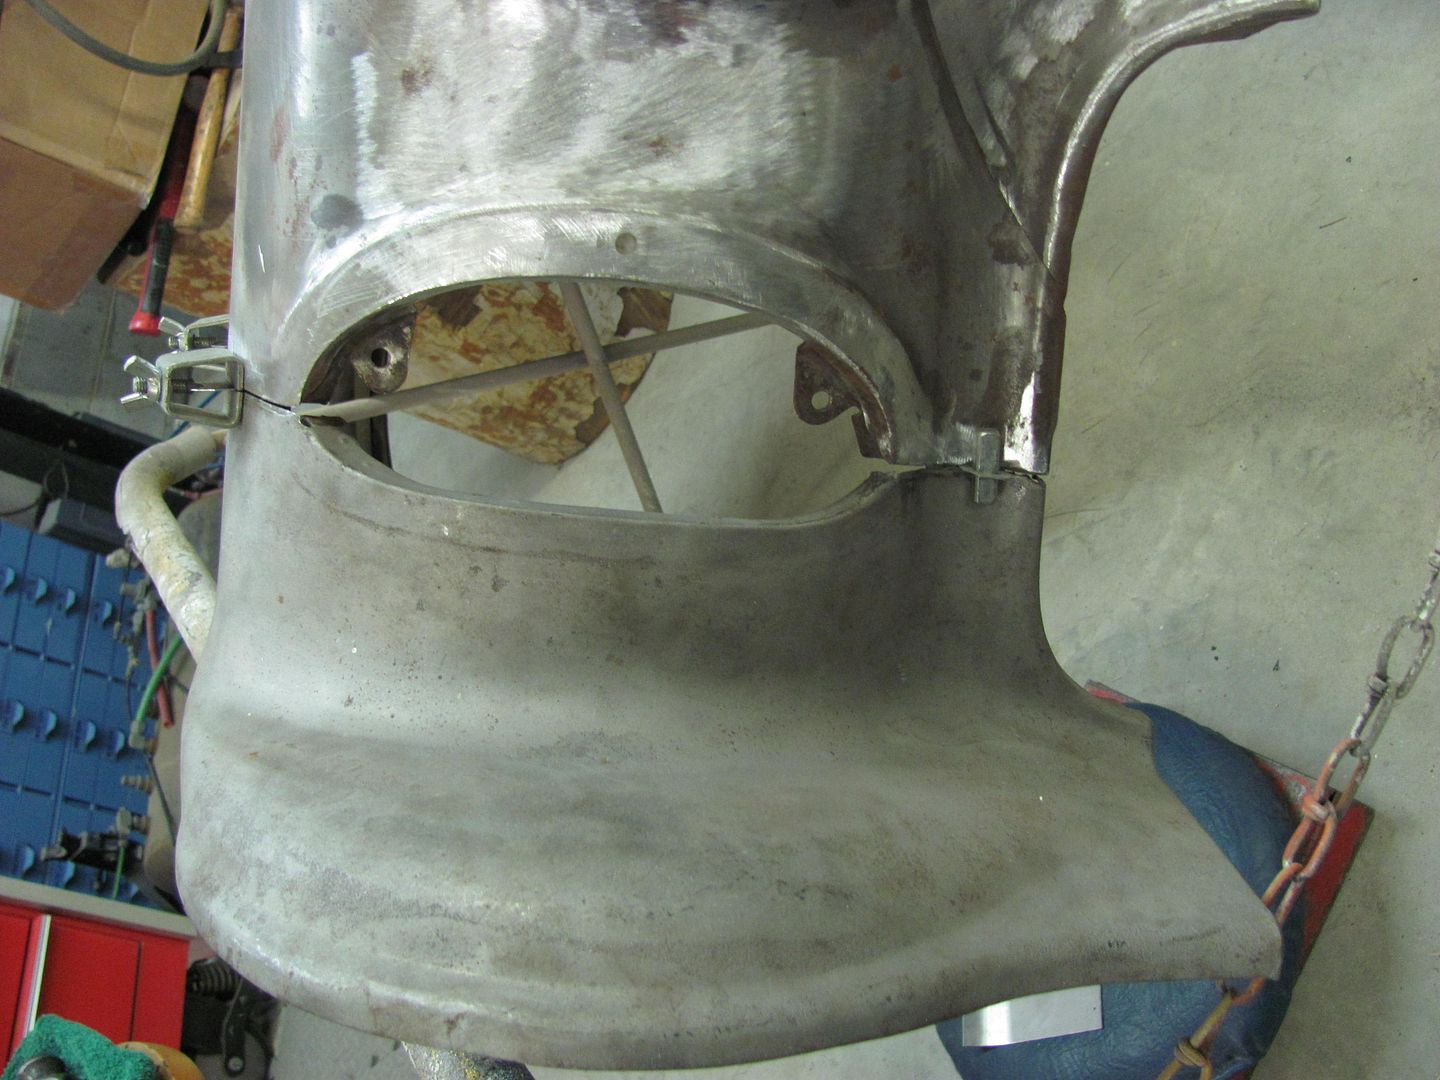
This is a customer car, the owner and I discussed shaving the fender seams quite a while back, and she asked about it again last week, so I guess we're on the hook..


Picture038-1.jpg


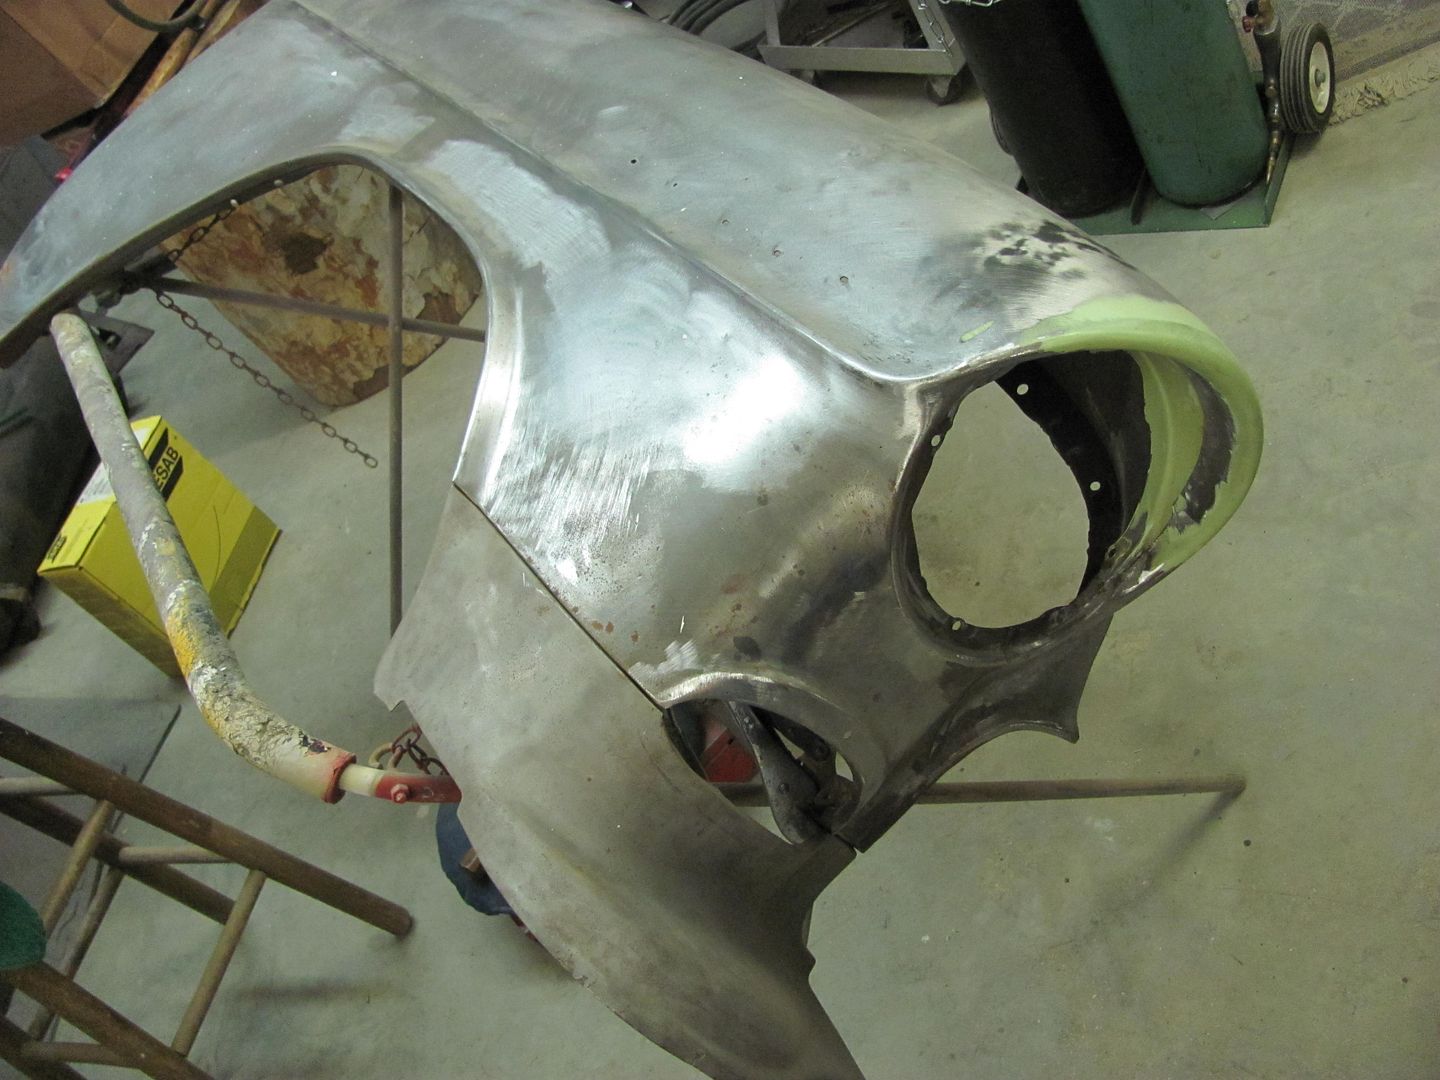
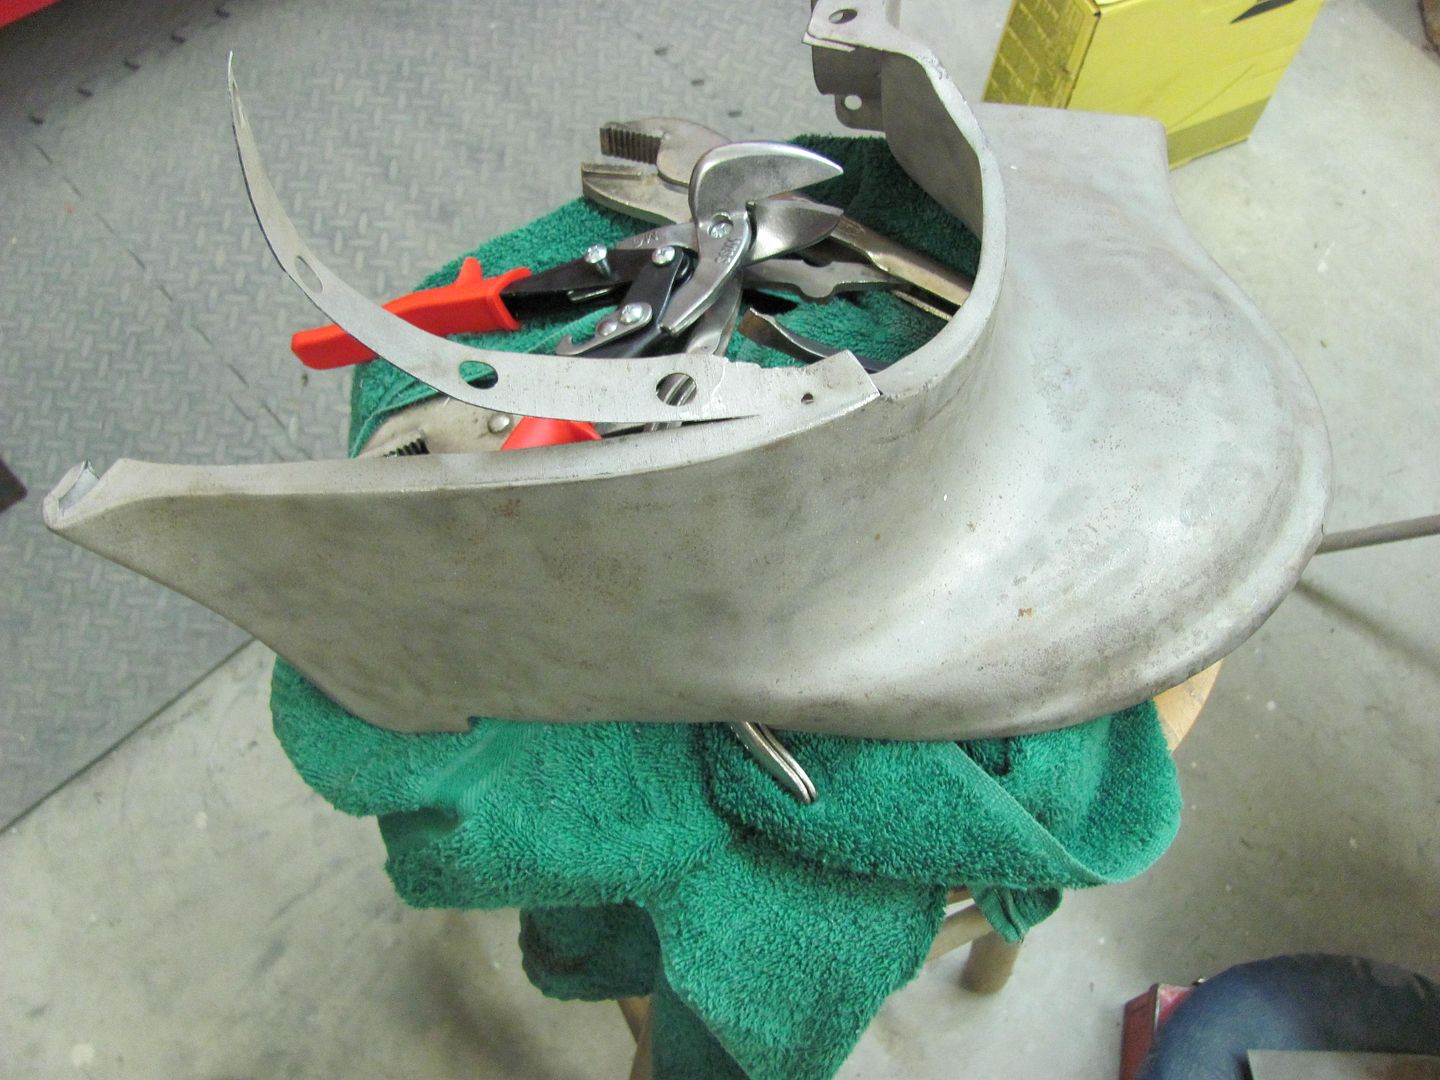
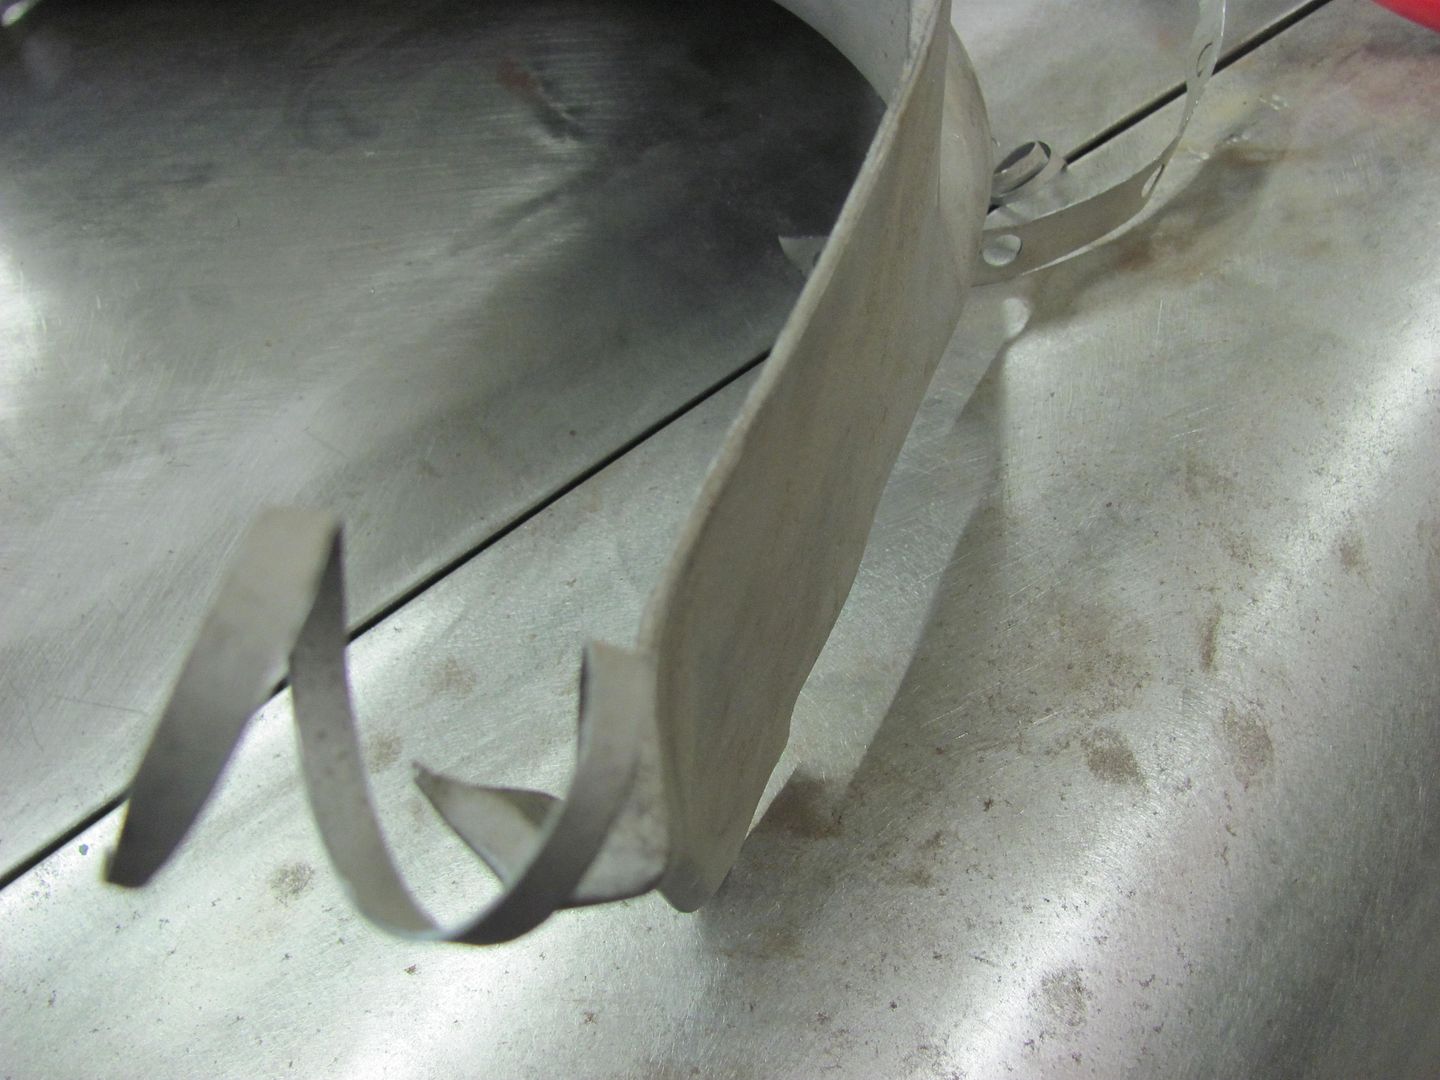
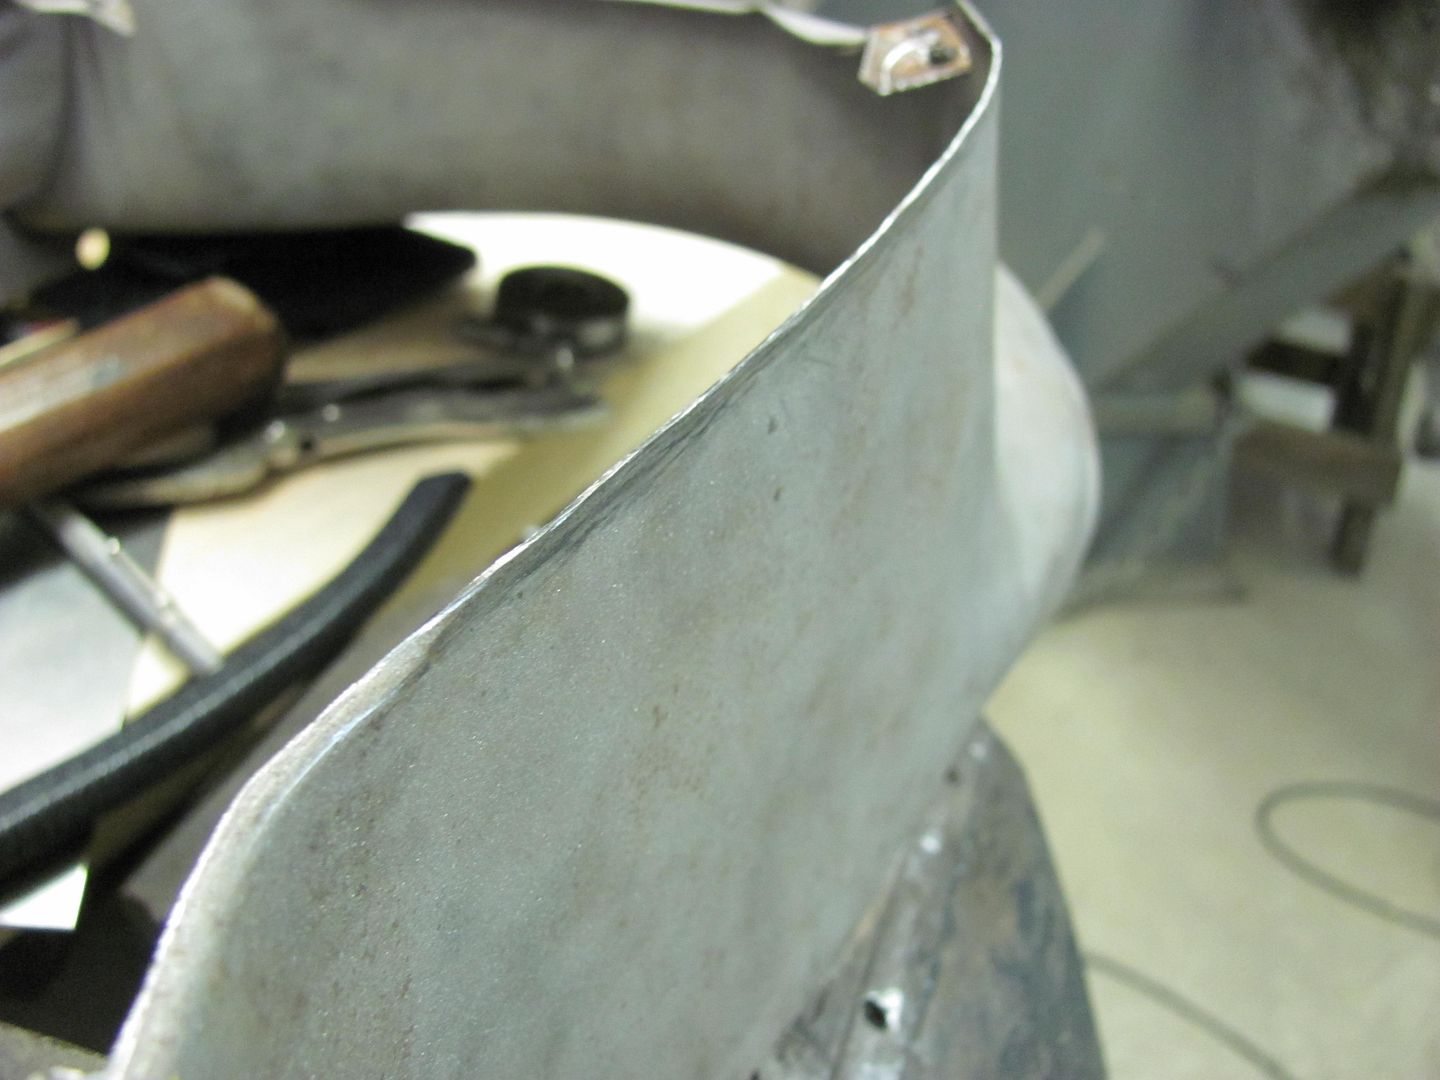
The bolting plates are cut out of the way, and the folded flange is trimmed, leaving a bit of extra to allow for fine tuning the weld joint.


Picture039-1.jpg


Picture040-1.jpg


Picture044-1.jpg


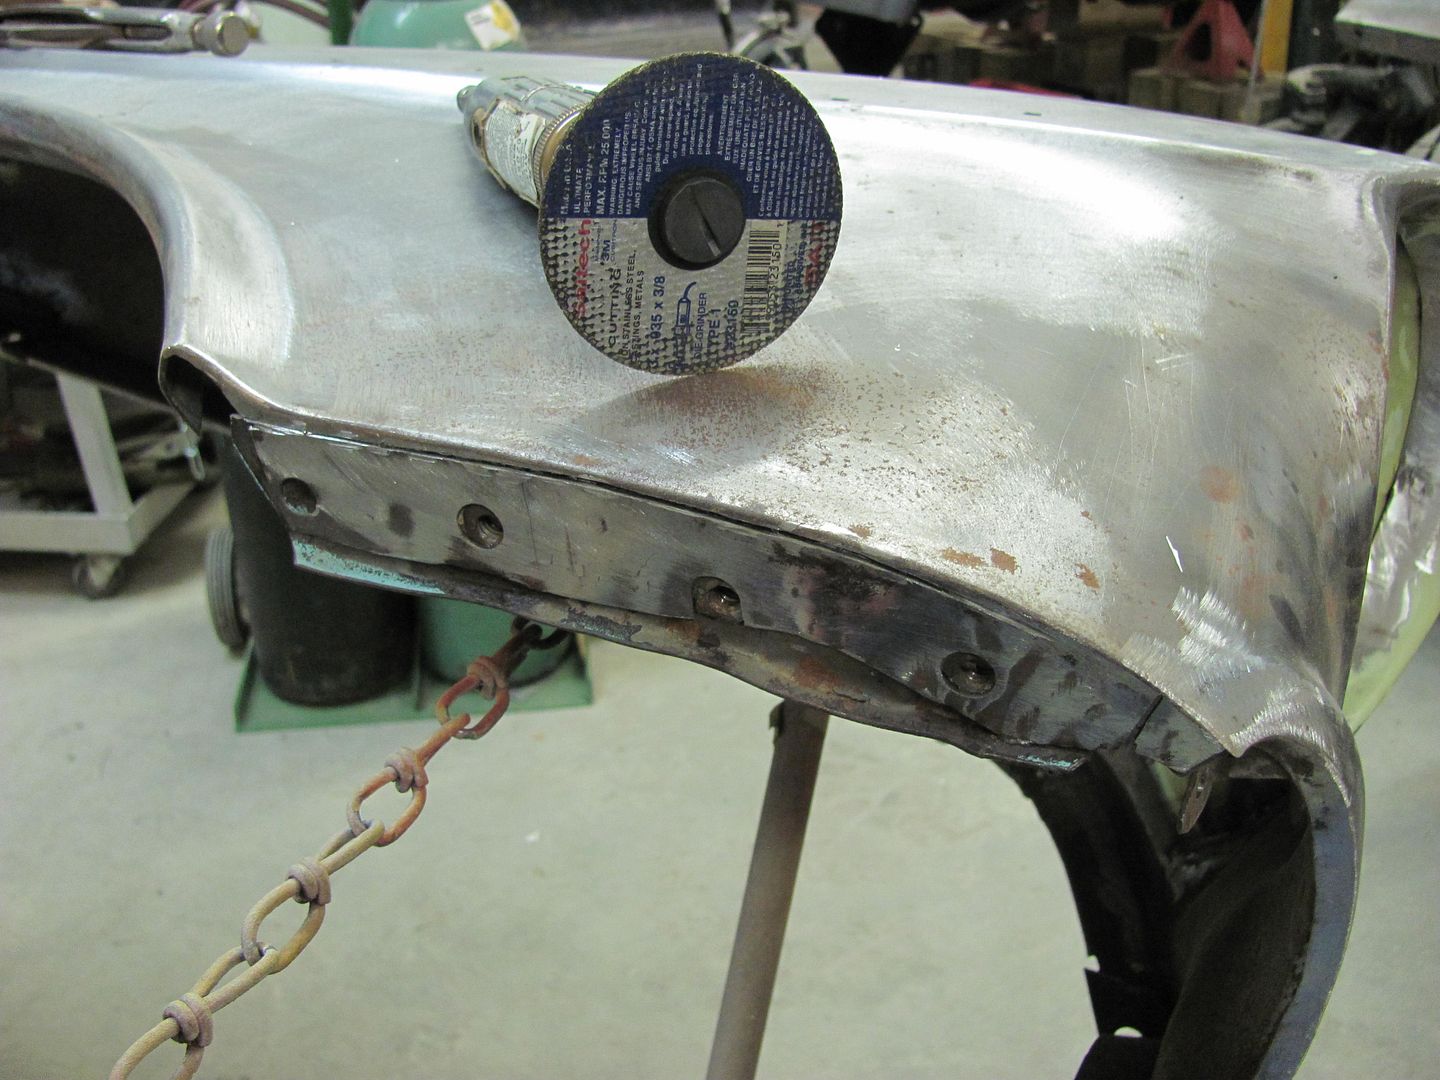
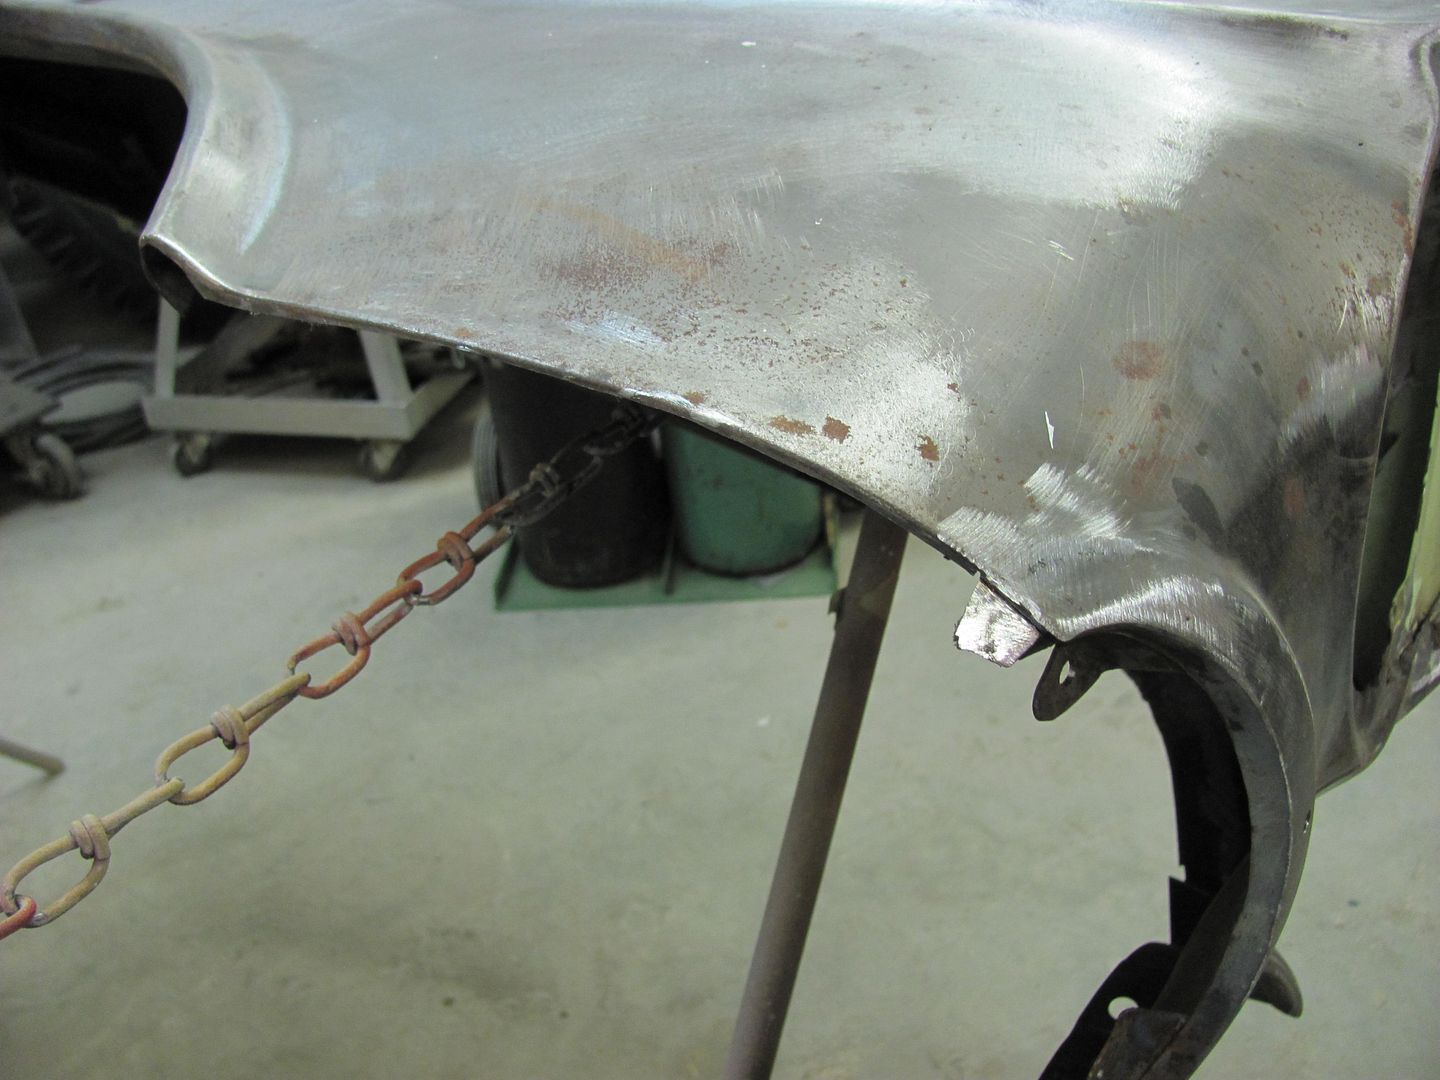
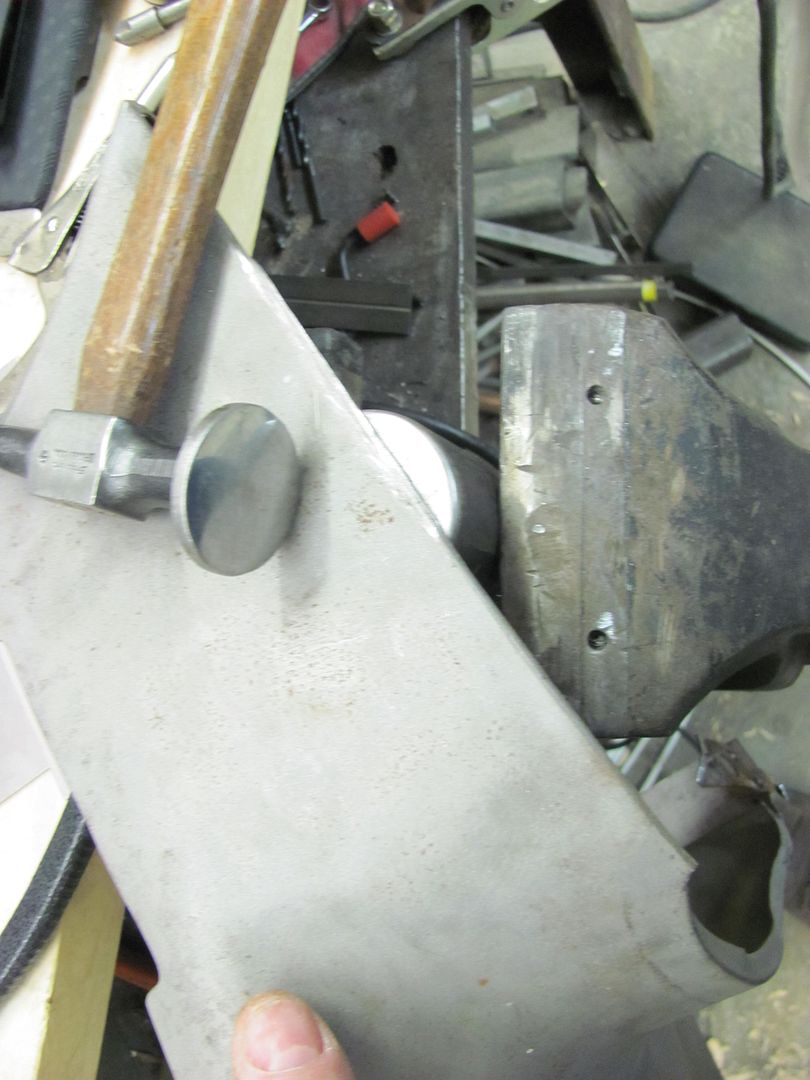
Bottom of the fender is cut loose from the bolting plate using the cutoff wheel. Then sanding the face of the fender leaves a contrast at the bend of the flange for a good guide for trimming with snips....


Picture045-1.jpg


Picture046-1.jpg


Picture049-1.jpg


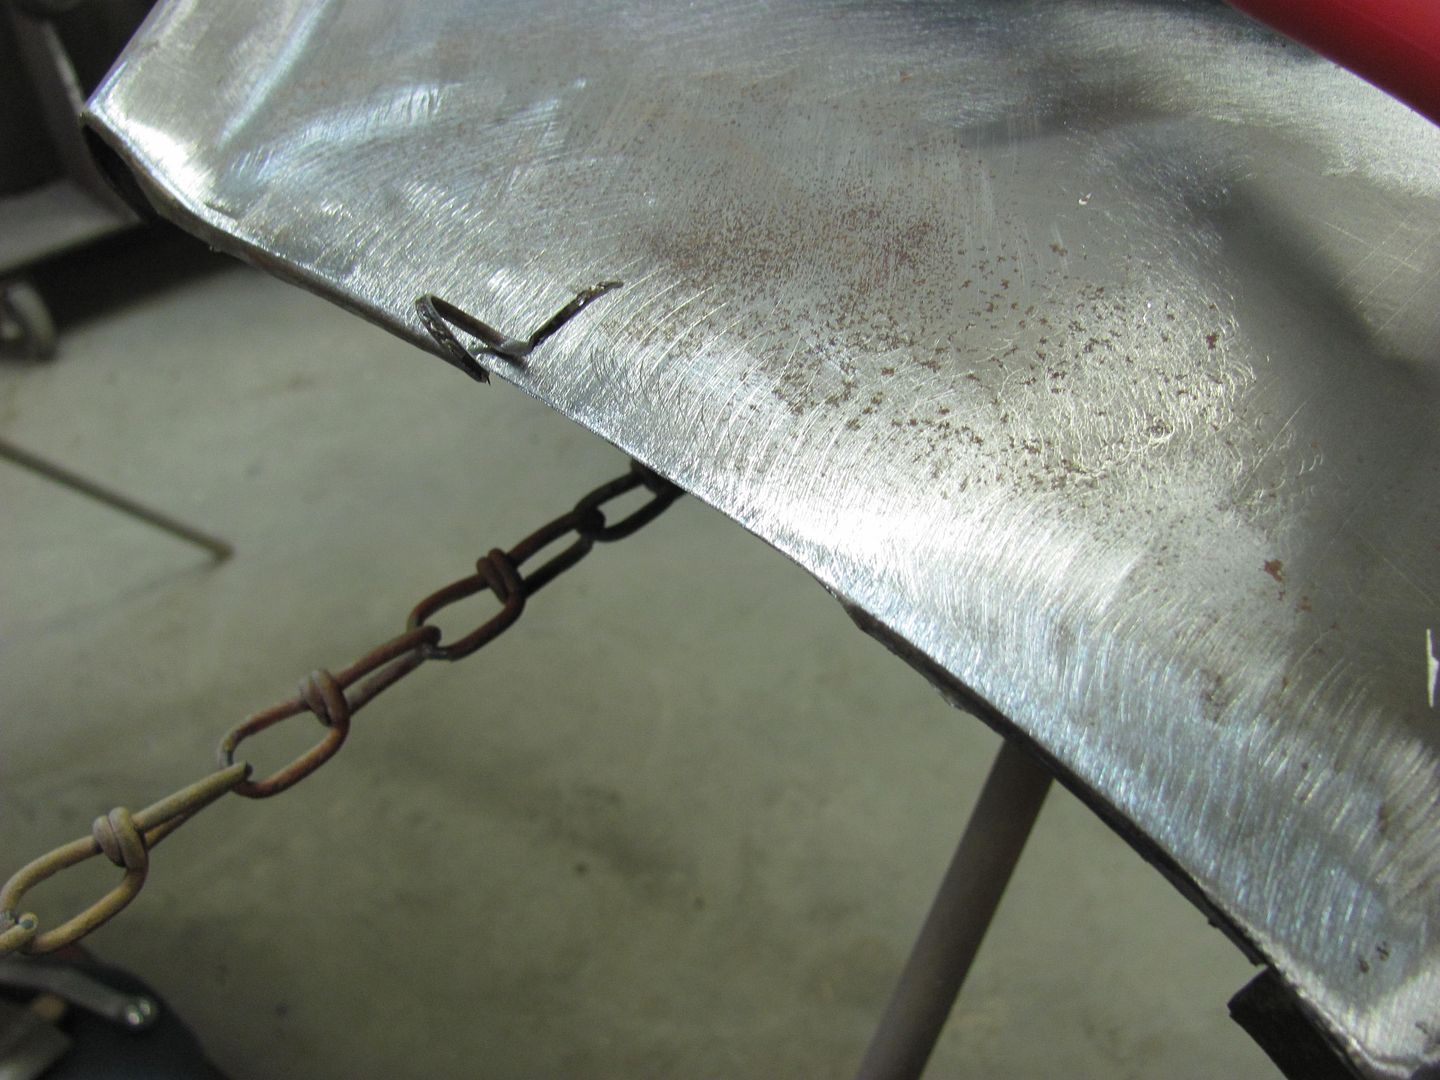
Planishing out the fold to fill the gap....


Picture050-1.jpg


Picture051-1.jpg


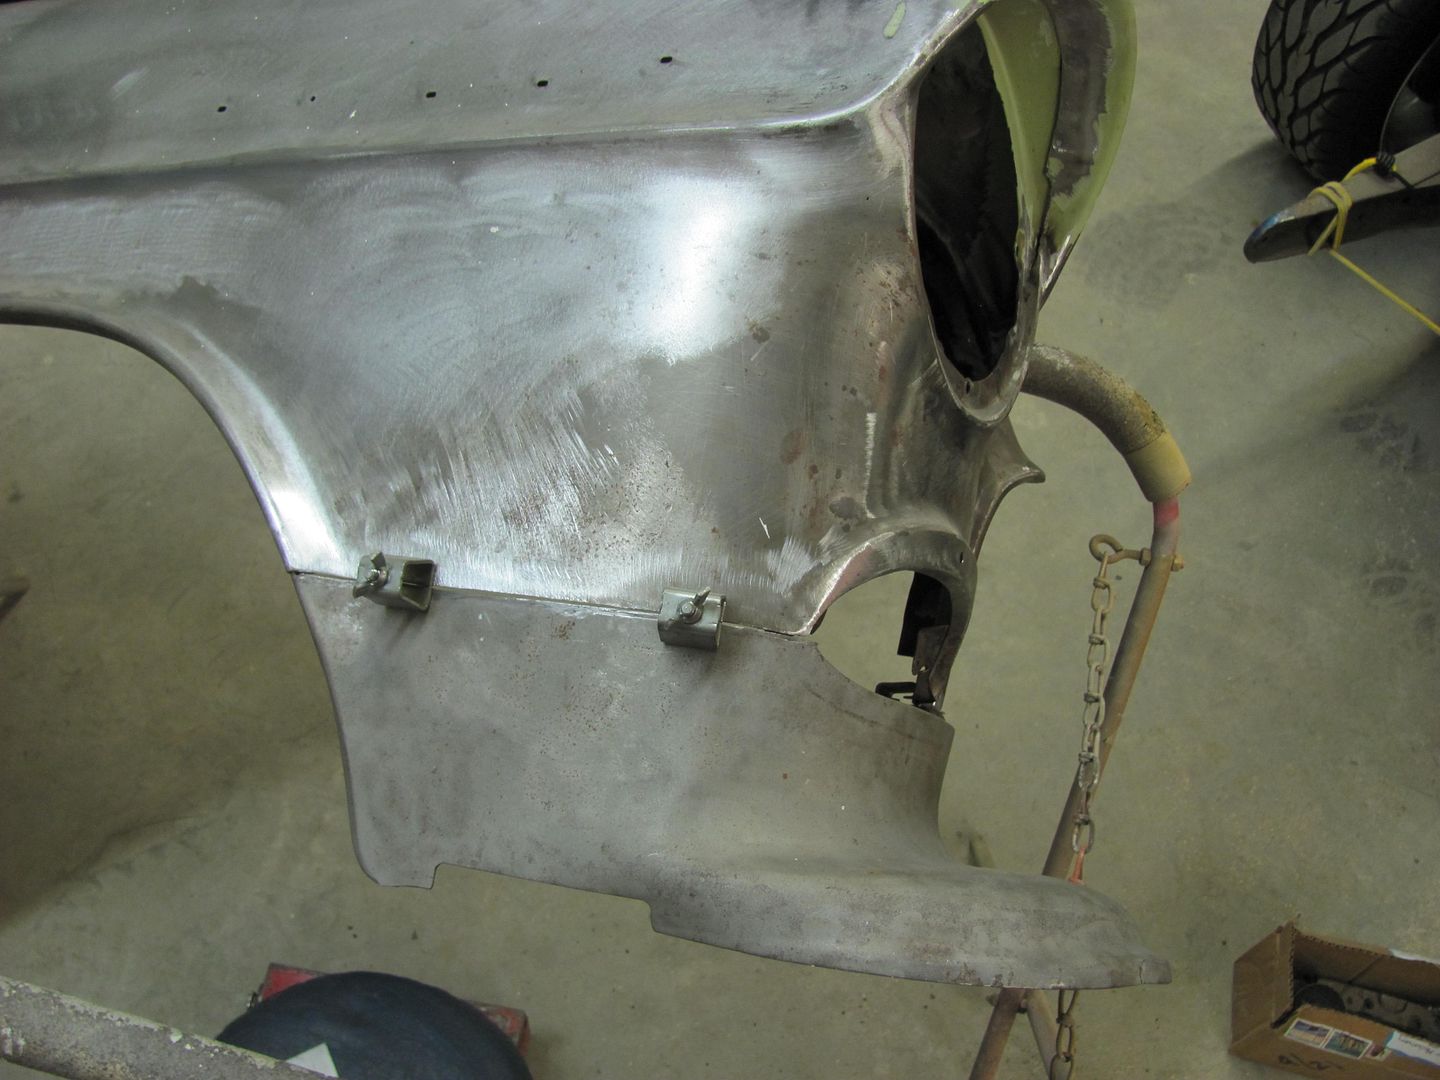
Clamps used to test fit. Still needs some fine tuning for zero gaps, but we'll finish that another day..


Picture052-1.jpg


Picture053-1.jpg


Picture054-1.jpg

I have been following in awe since the first post. It's now over 7yrs of reading every post, looking forward to the next one!

Really looking forward to see it in final paint then watching assembly until its done.

Thanks much for all the knowledge you have shared in such detail!
 

iajonesy

Well-known member
Joined
Feb 8, 2009
Messages
2,467
Location
Iowa
Wow, Robert, this car has turned out great. I've followed this thread from the beginning and have enjoyed all the great photos and metal working tips. I can't wait to see what comes next. Thanks for all you have taught me and others along the way. I hope we can meet some day and I can shake your hand.

Mike
 

Offcenter12

Well-known member
Joined
Feb 3, 2018
Messages
151
Location
Seattle
Hi Robert,
I seem to have a knack for fixating on the odd details so was wondering what arbor/mandrels you use for the cut off wheels in the photo above. That retaining screw looks a lot bigger than what I've found. May not make any difference, but just seems like the more support the better. Stellar work as always!

Thanks, John
 
To avoid these ads, REGISTER NOW!
Top Bottom