Kevin54
MEMBER EMERITUS
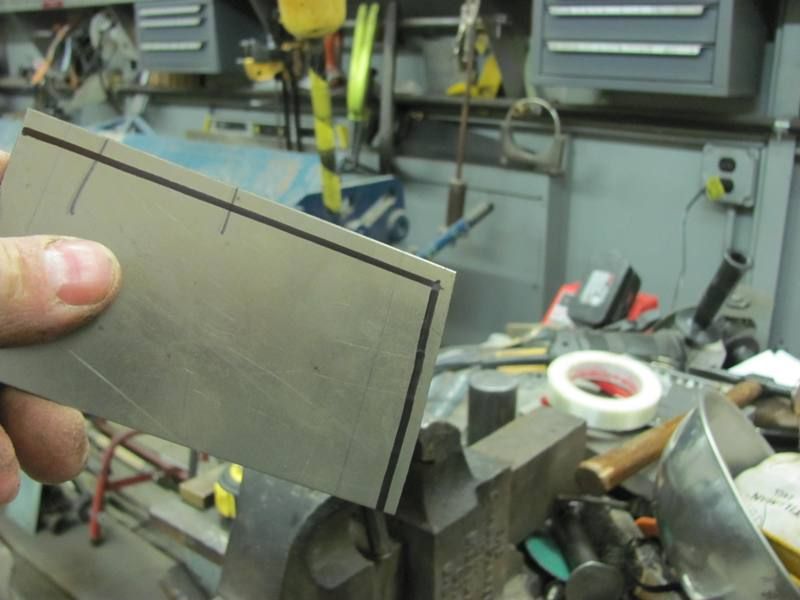
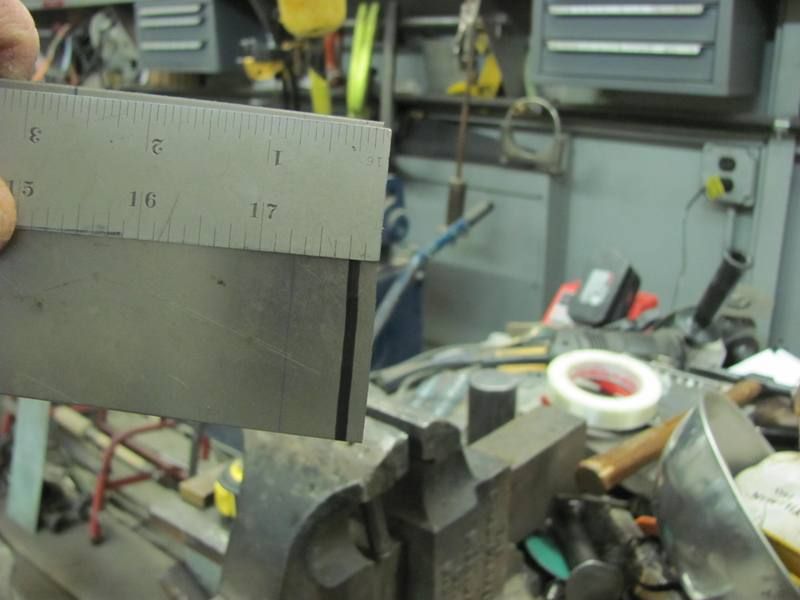
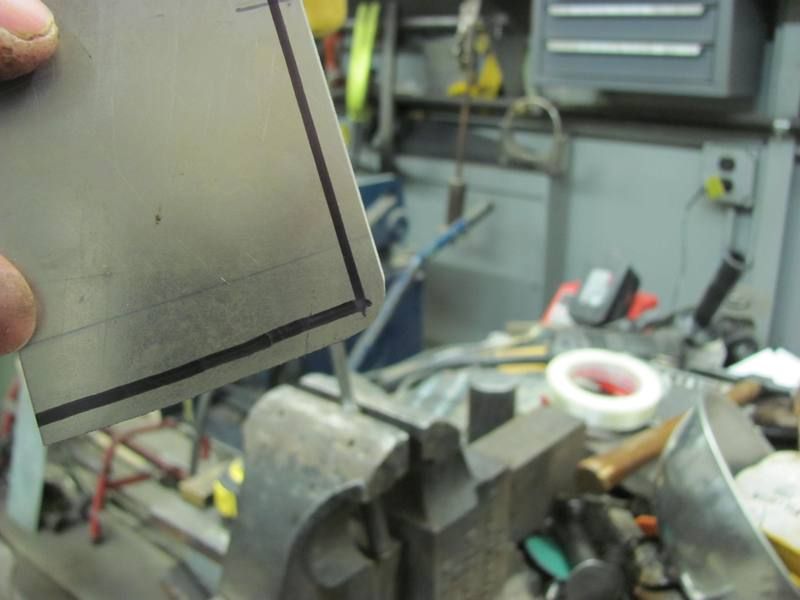
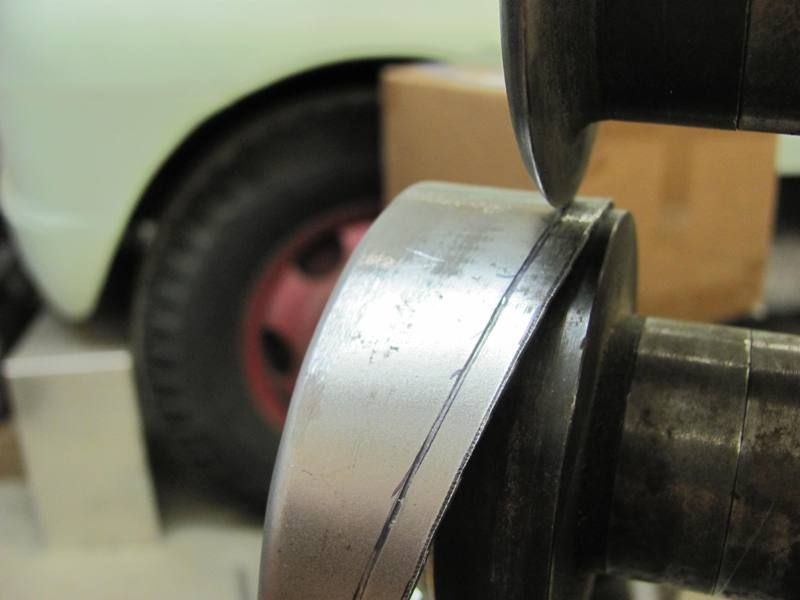
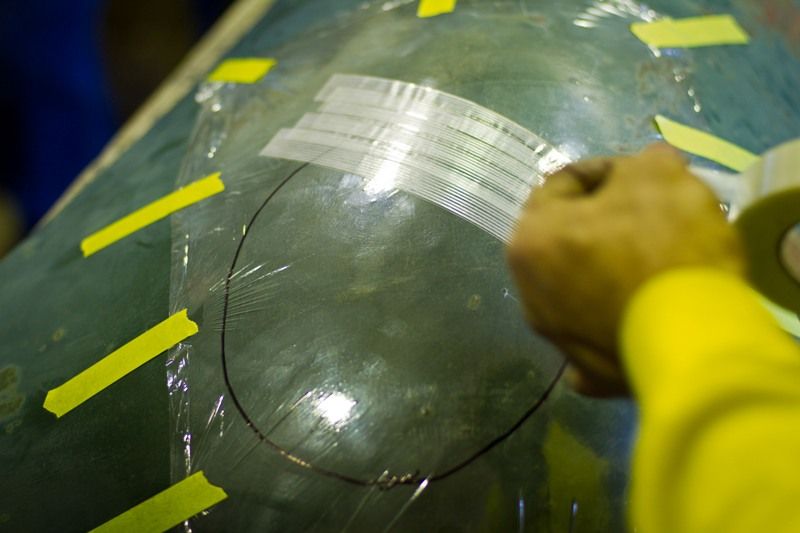
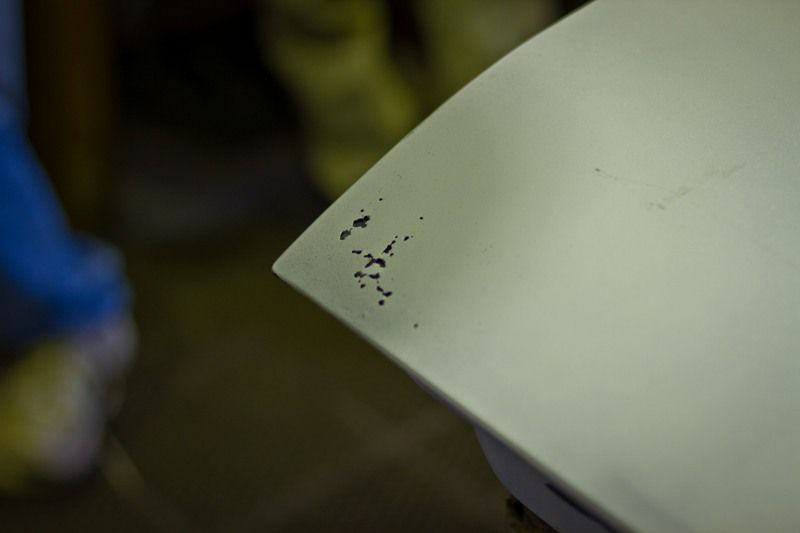
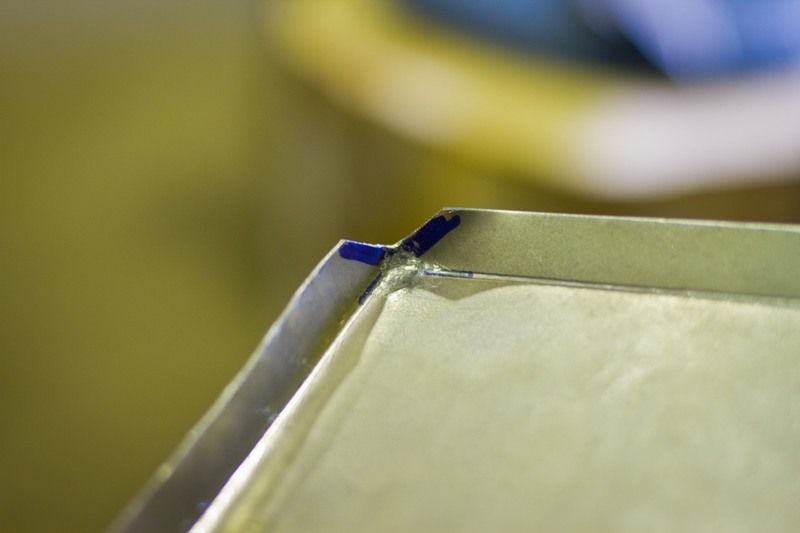
I understand what you are doing now. I was thinking that you were going to mark the line, then run a slight bead on the line to sort of cover the minute gap.

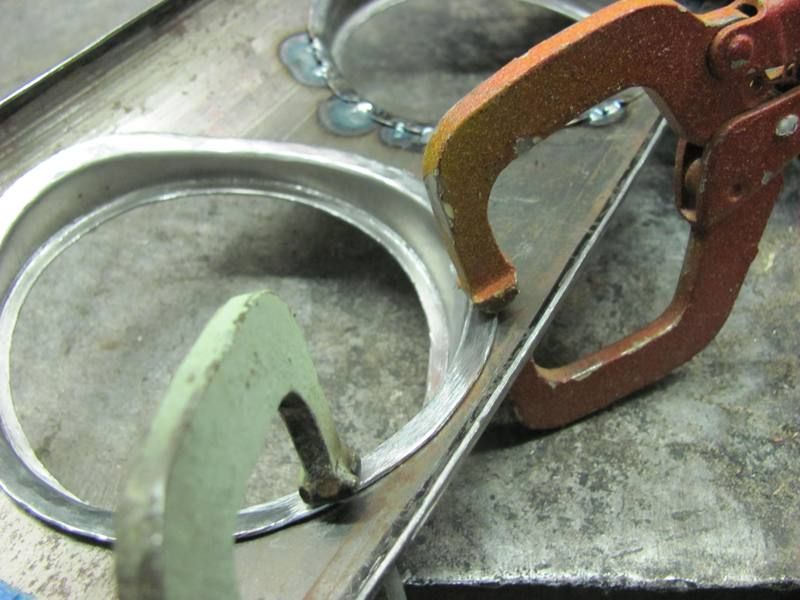
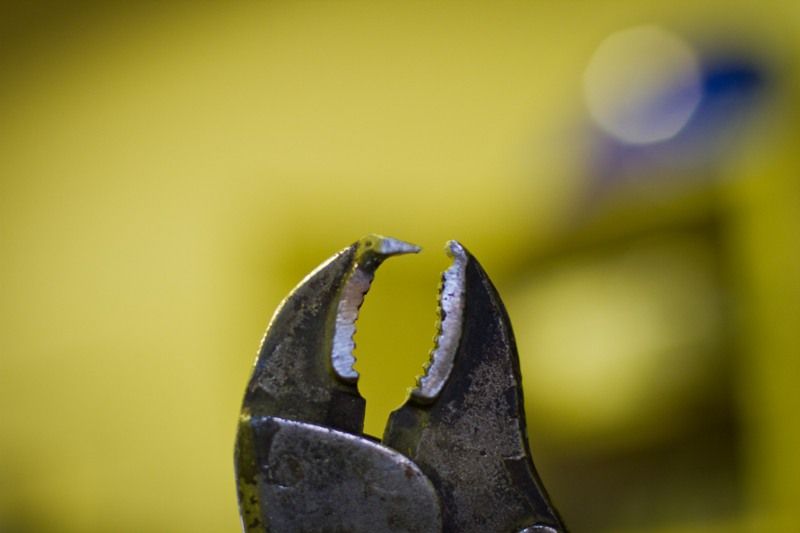
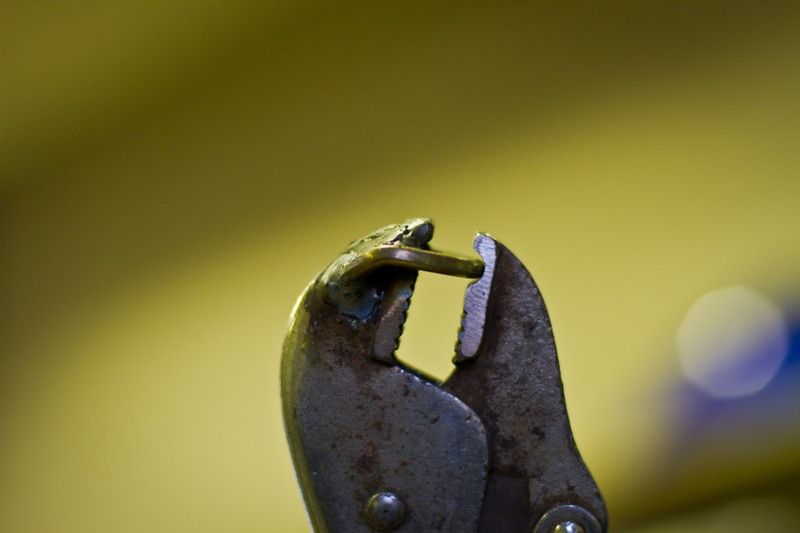
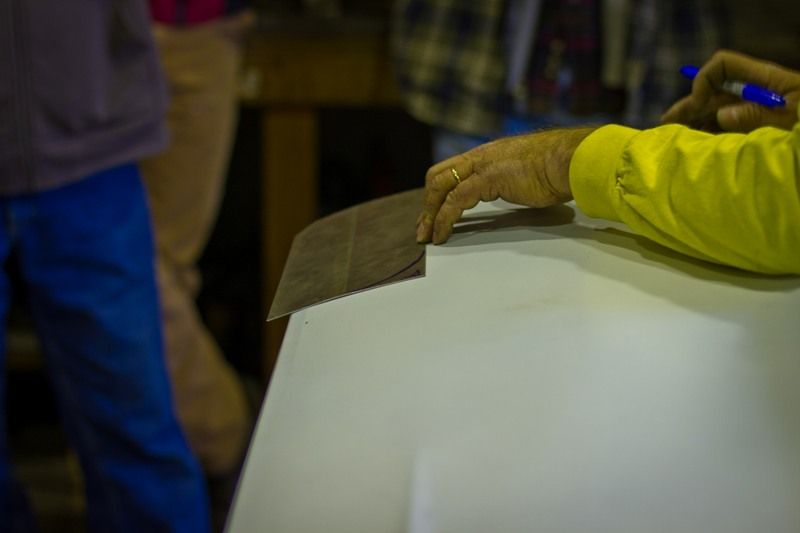
You can get those clamps at www.eastwood.comSo, I'm not a body guy ... can you provide a close-up pic of those clamps you are using?


I admire pro's like you who are willing to share their methods to help DIY guys like me who are not quite brave enough to dive right into a serious project with no prior training/experience.


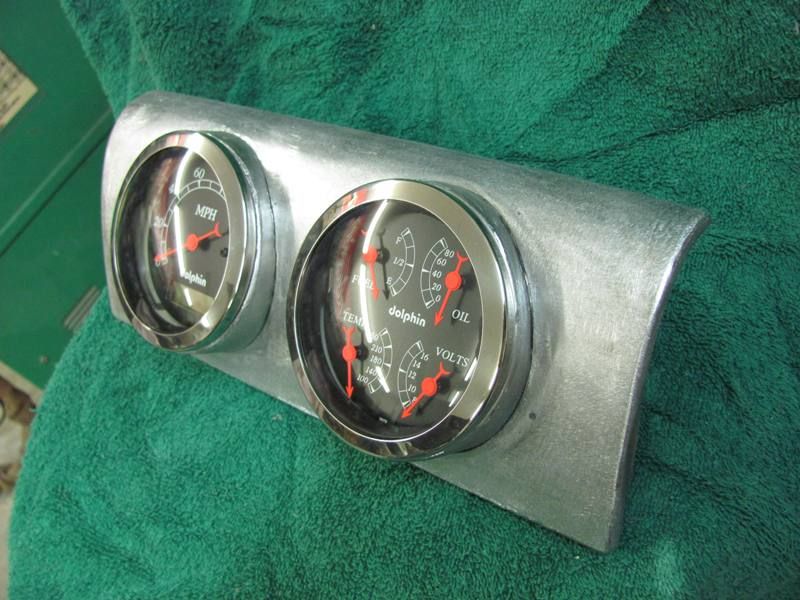
Are you painting it? Will we see pics of it finished? maybe a couple more steps? Looks great so far!
Awesome work, can't wait to see more, hope you are able to help on that Camaro question I PM'd you.
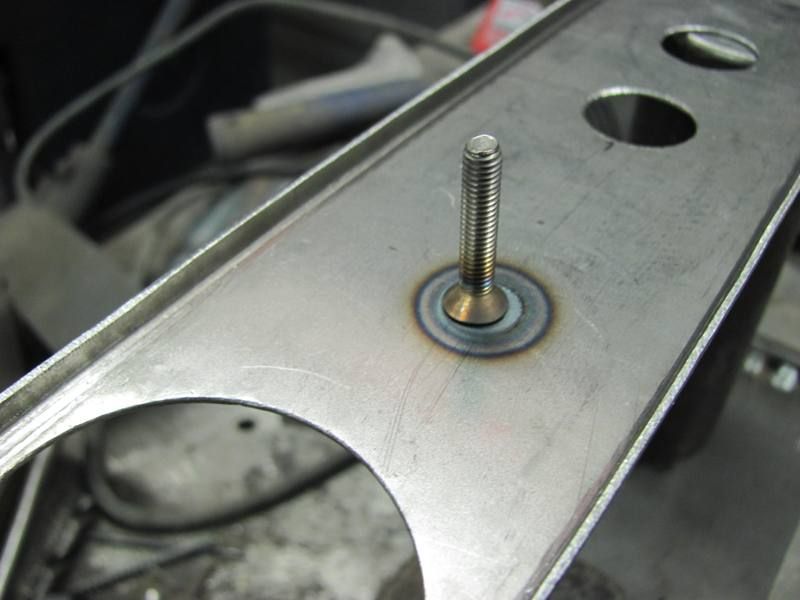
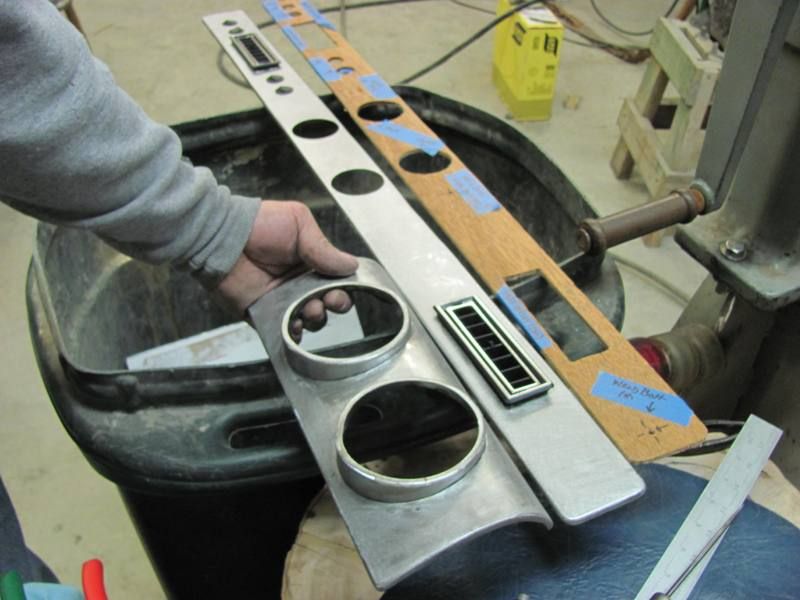
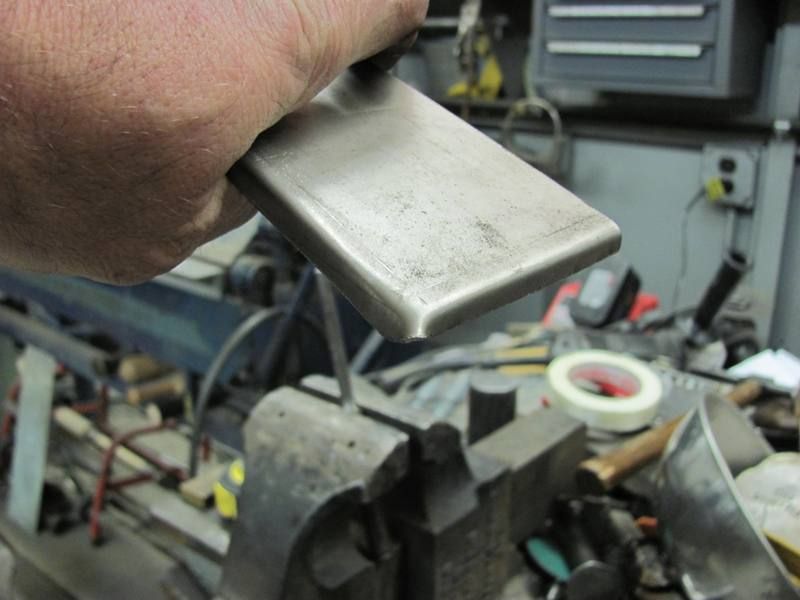
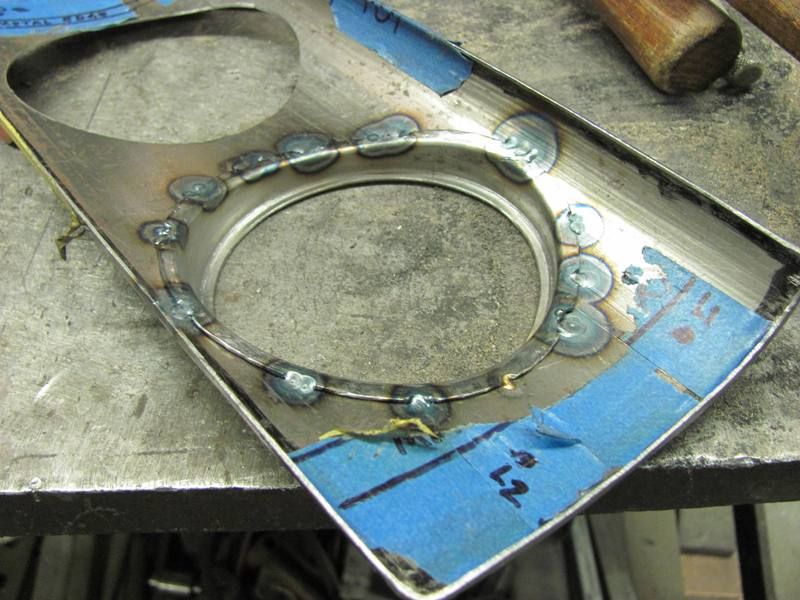
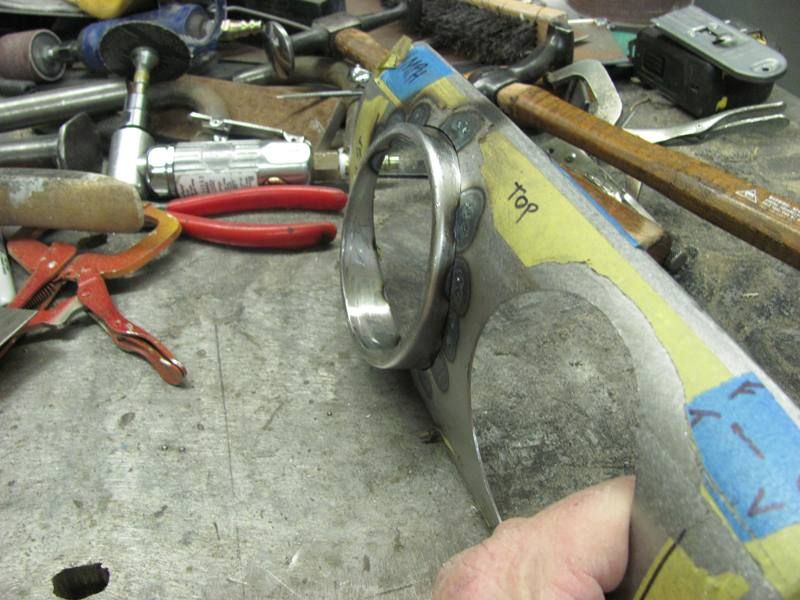
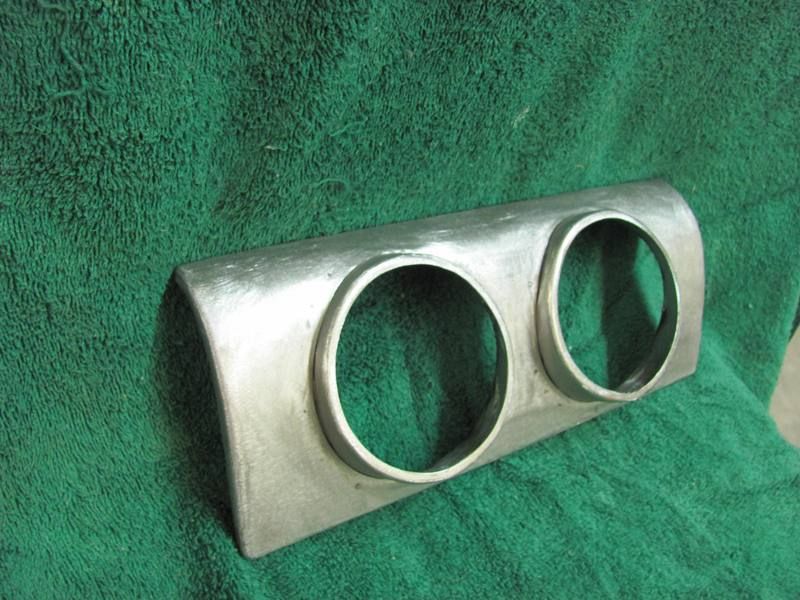
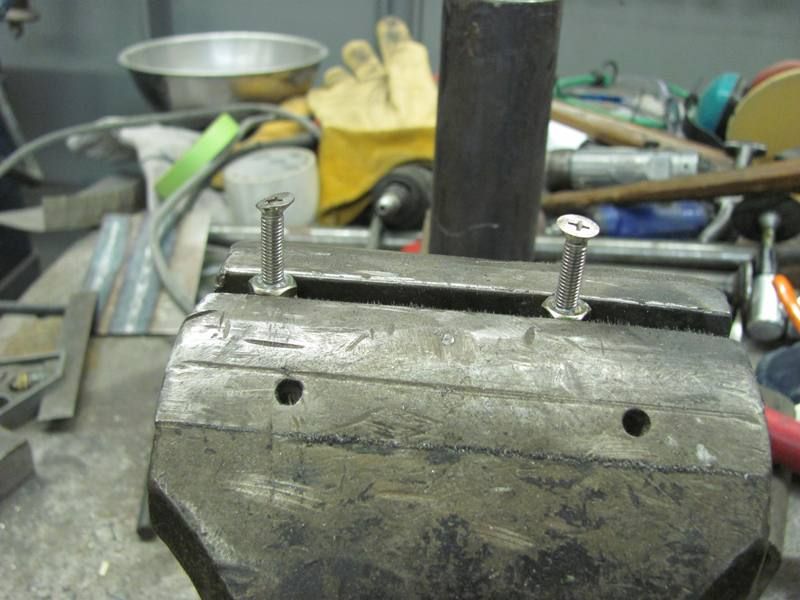
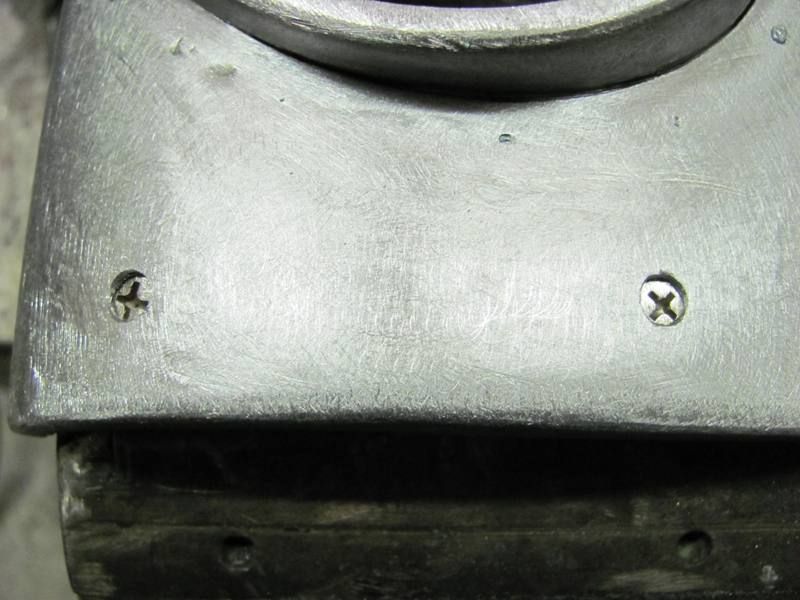
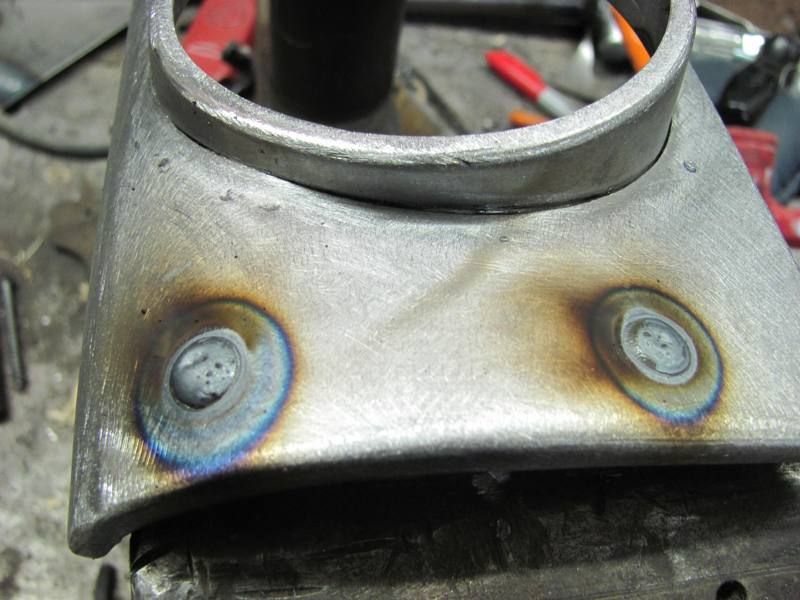
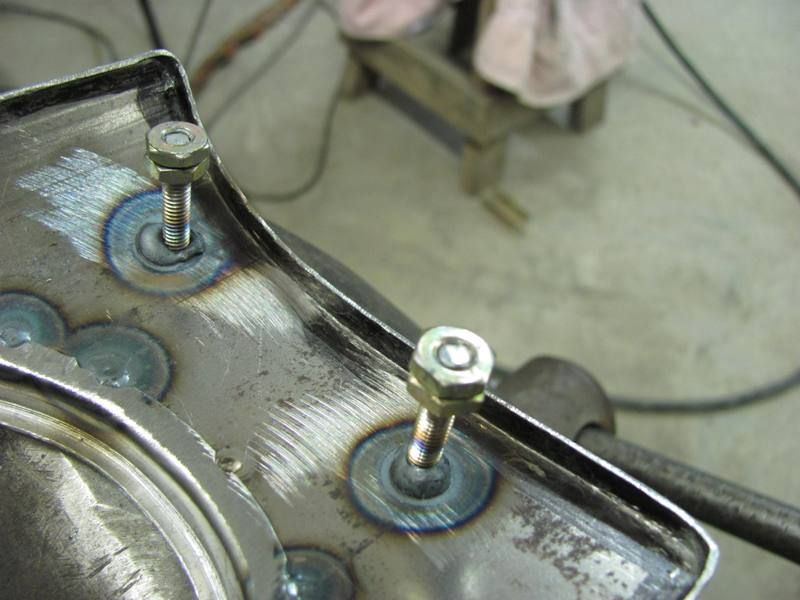
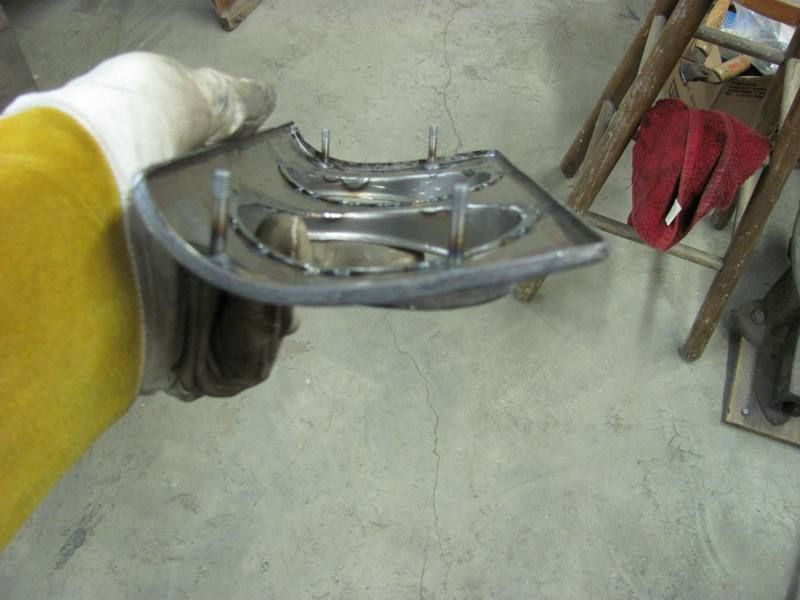
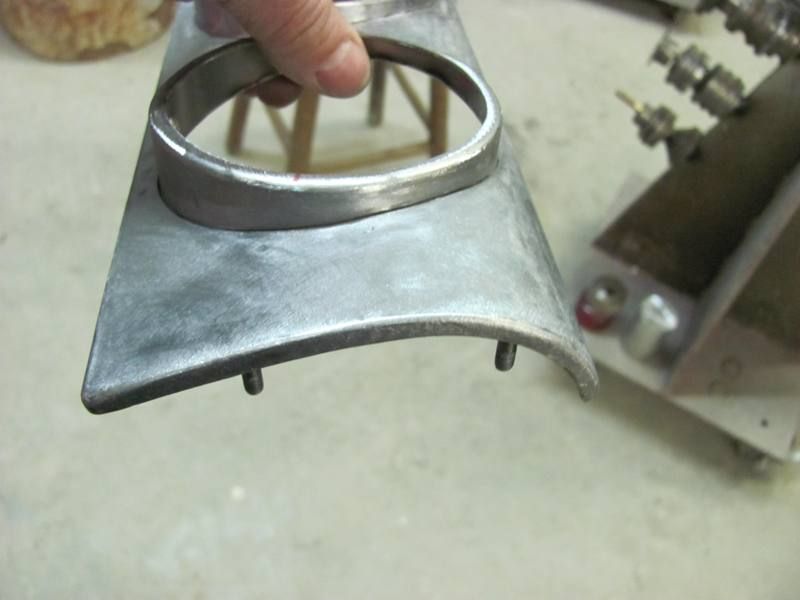
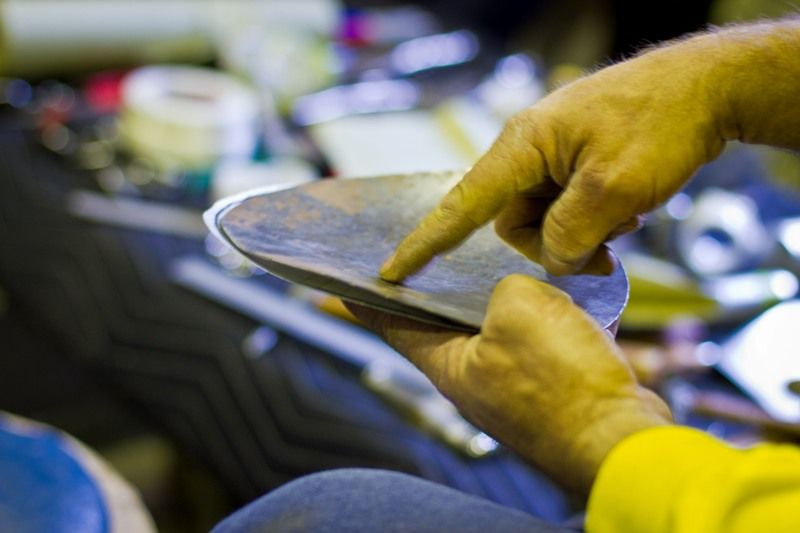
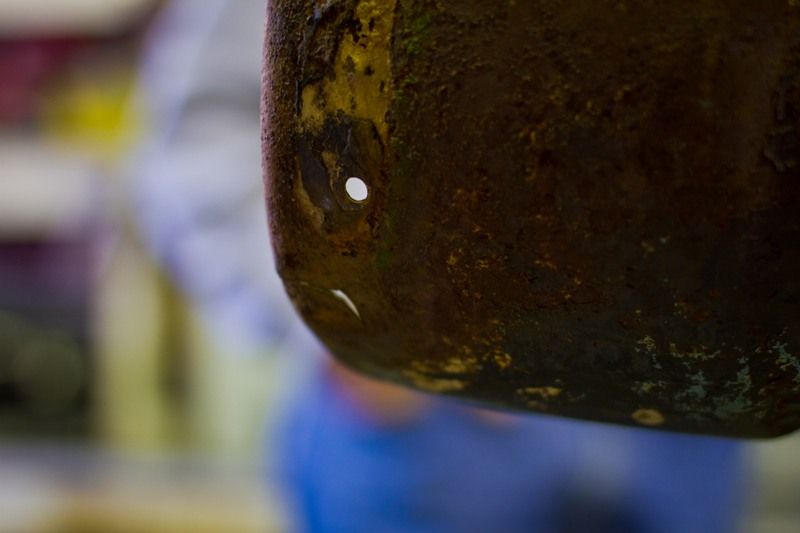
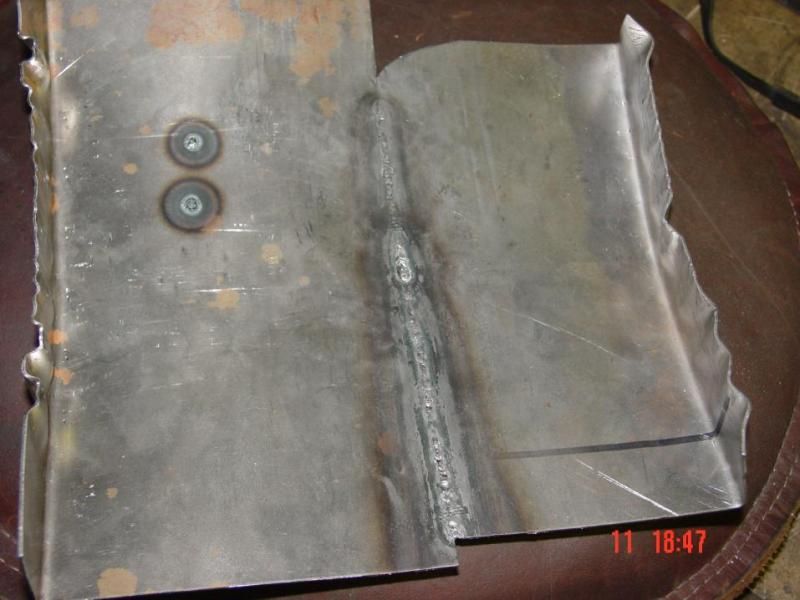
I'm just in this one for the metalwork, But I should get some pictures after he gets it installed. I still need to weld the mounting studs on the rear... and then to the next panel
Sent some ideas, hope it works for you. Do you have a project thread started here on this car...hint-hint
 Newbie stuff though and I'm an Aries so I start other projects before I'm done, so might be an odd type thread going from restoring the Camaro to building a welding cart, to building a welding table, back to the car, then fixing some welders, then doing some fiberglass. But might not be a bad idea since that is what a lot of guys on here do anyways but just don't post it. Short description to the full on projects within the post???
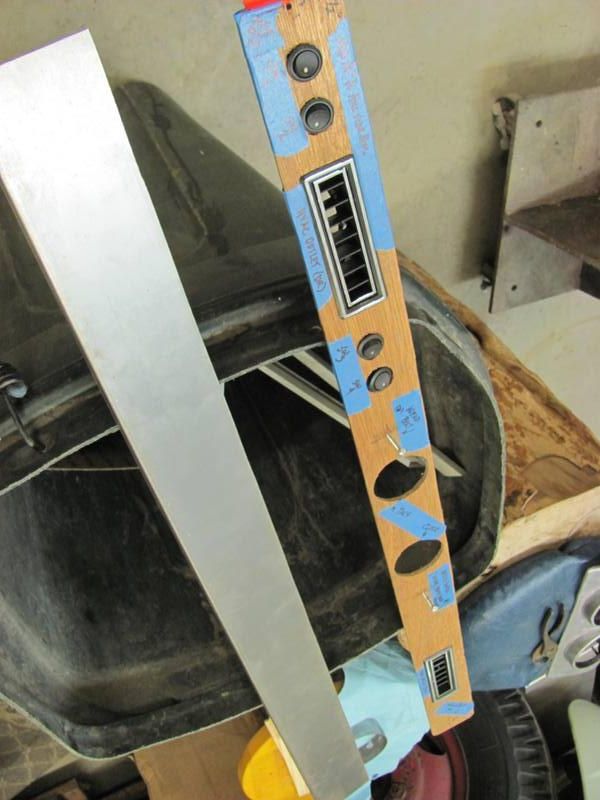
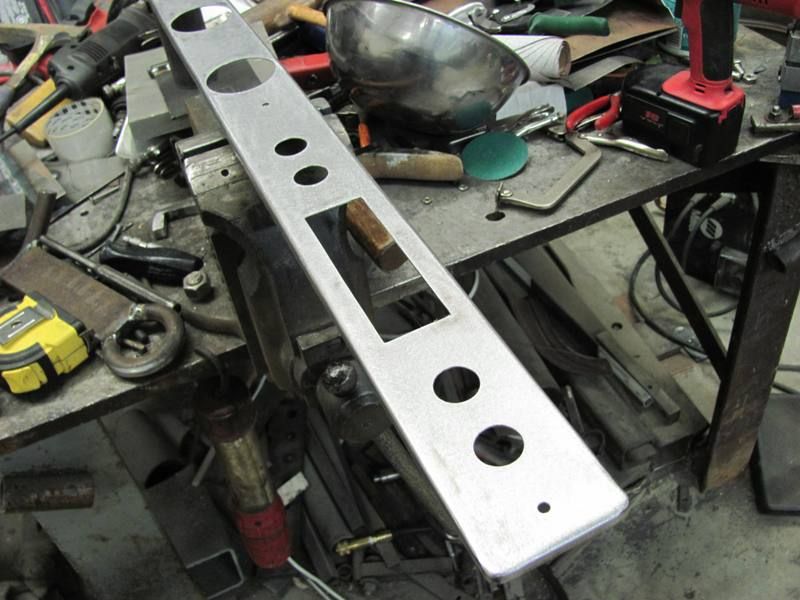
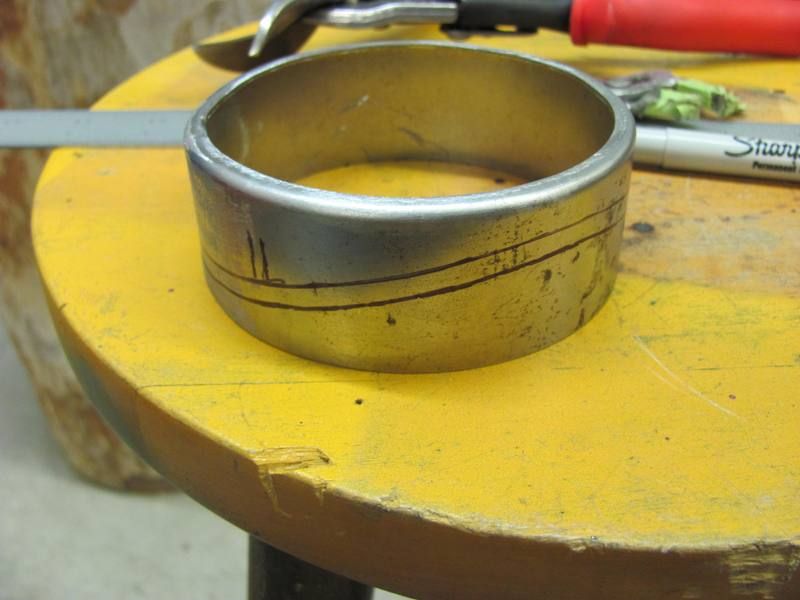
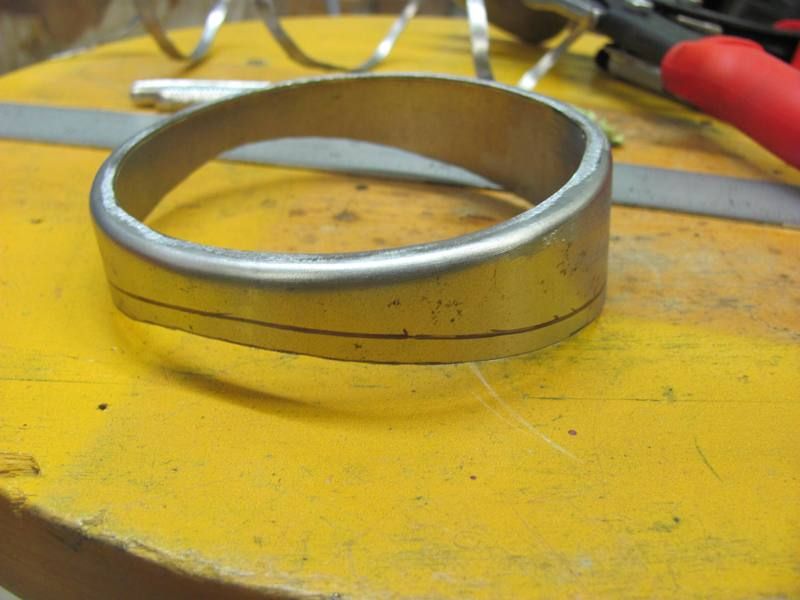
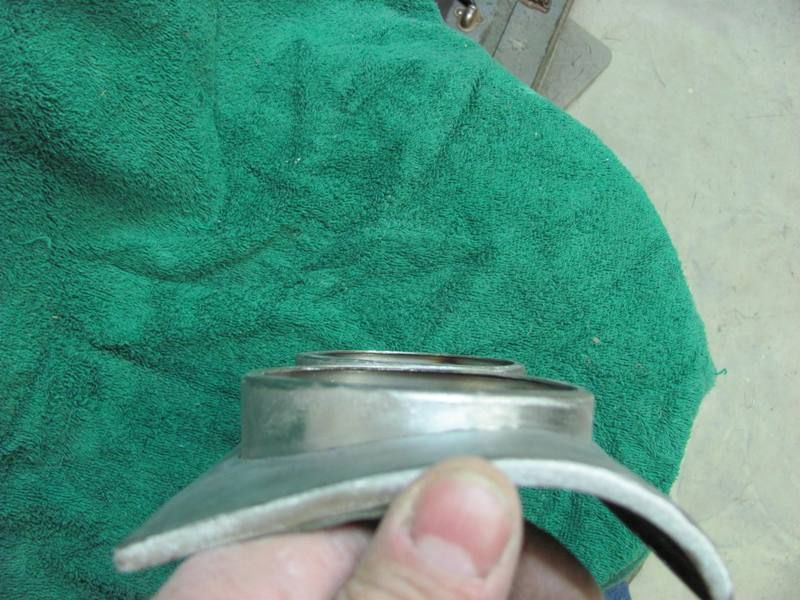
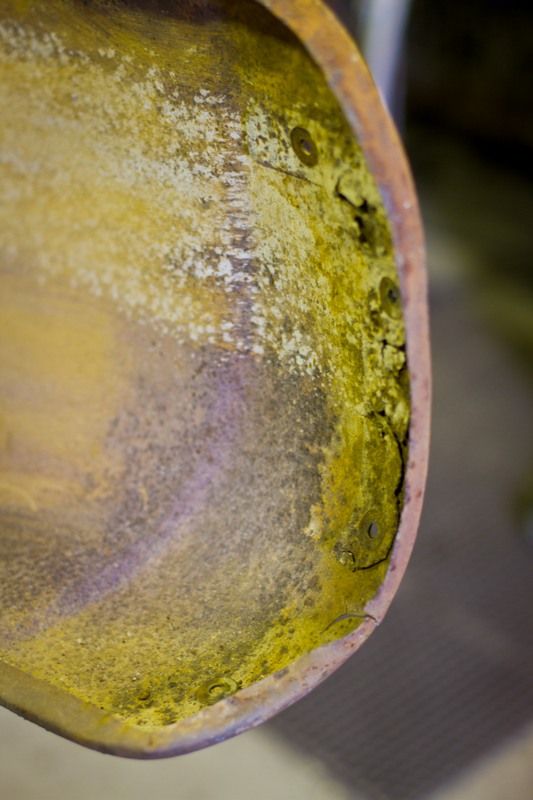
Looks like a window track? Is that the original? I think that has a zinc (or) plating of some sort, and as nice as it is I'd leave it alone. Should be fine for another 40 years.
Thanks for the comments guys. Terry, glad it worked out for you. You'll have to do a build thread............Should have the air handler closet done and ready for the HVAC guys after this weekend.
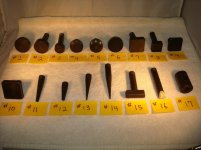
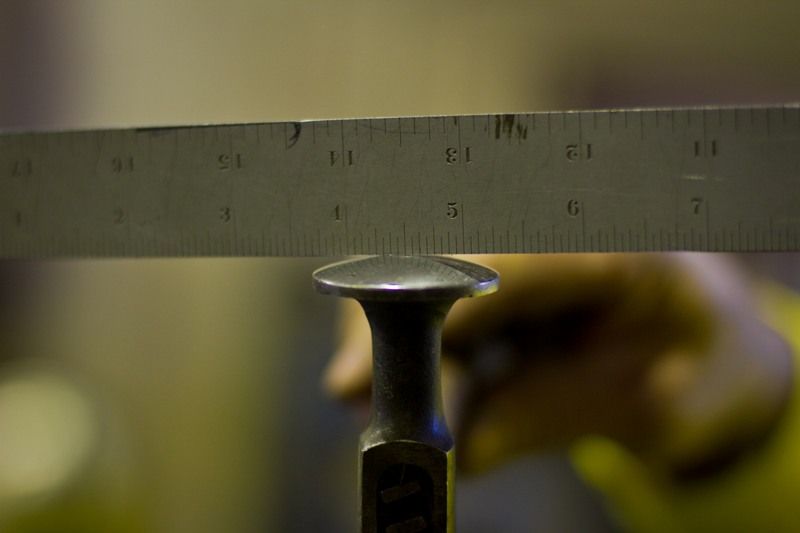
And back to more important stuff, a care package showed up today. To say it was packaged well is an understatement..


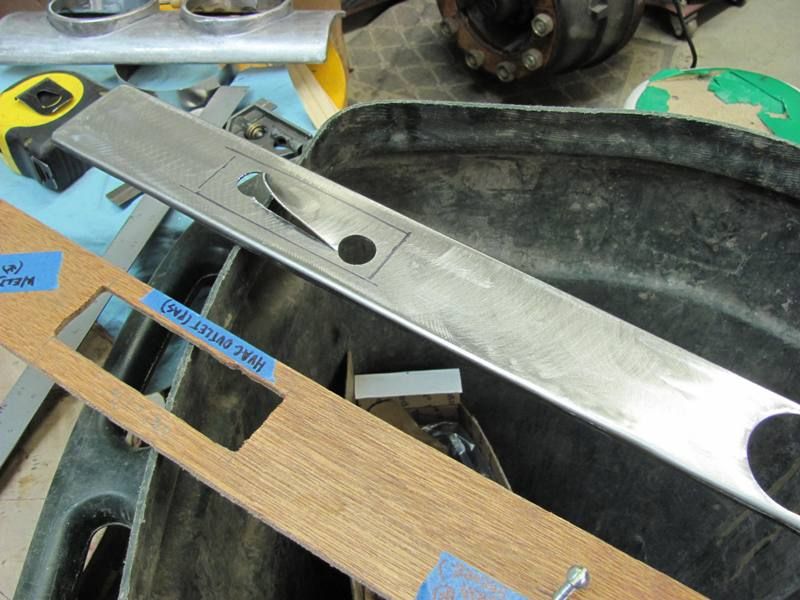
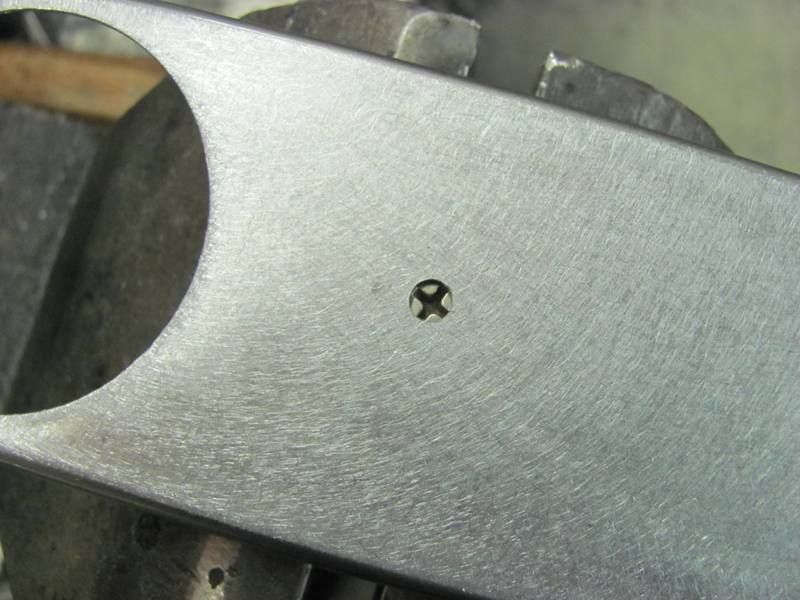
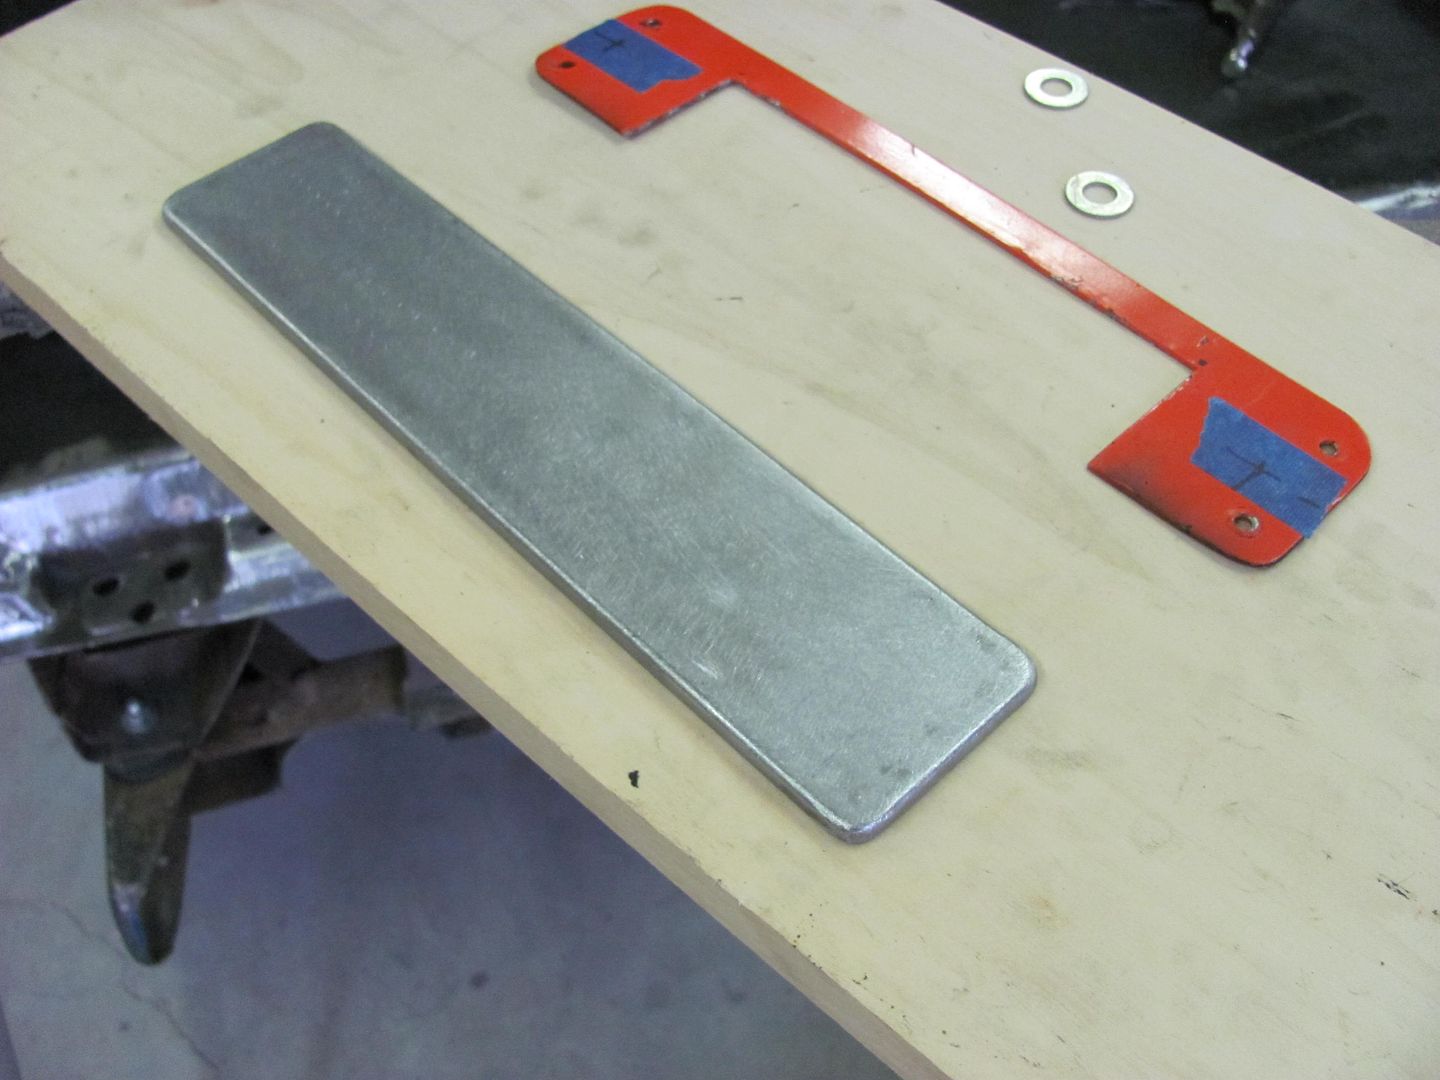
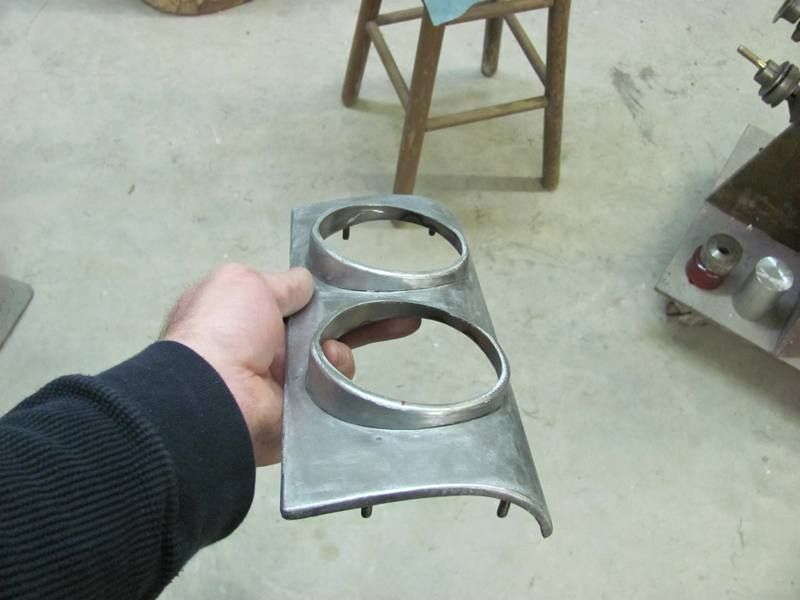
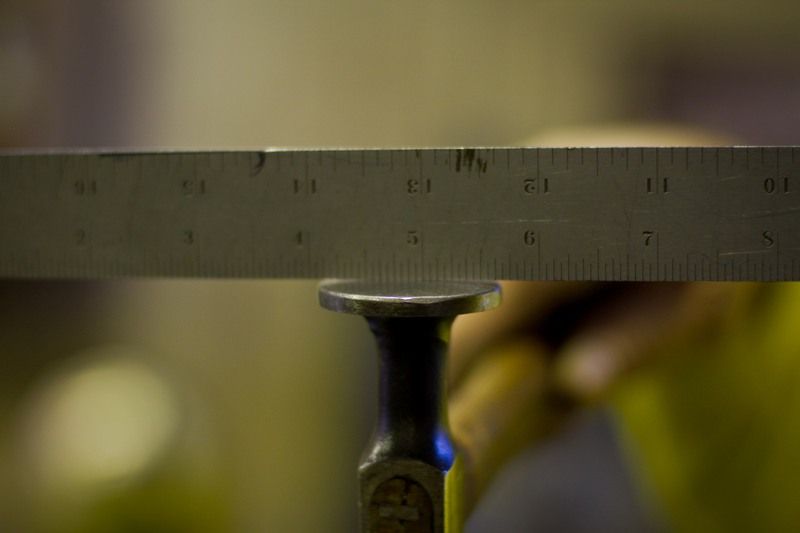
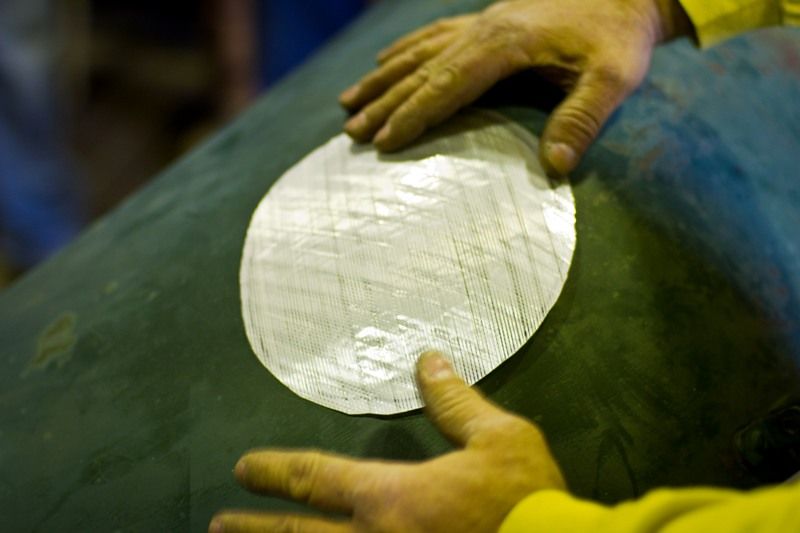
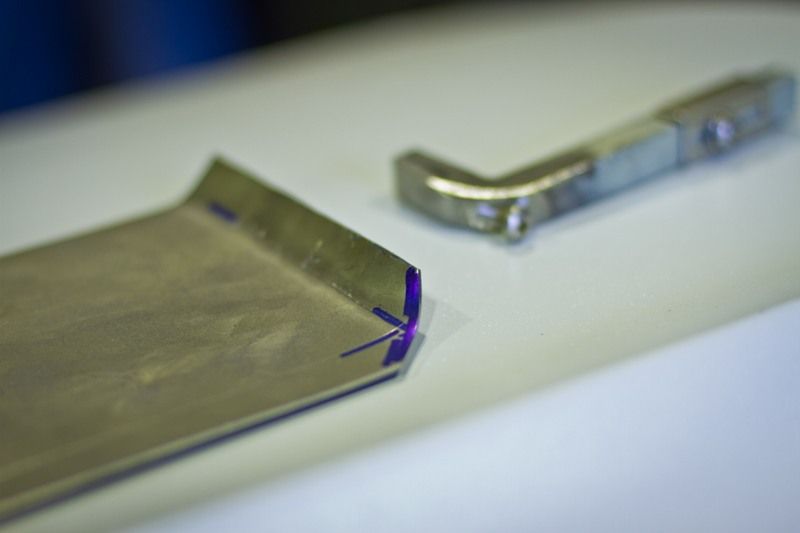
Love the 'flush mounted' studs! I just did something similar on the 40 dash I'm working on. What grit are you using on the DA to get that final finish?
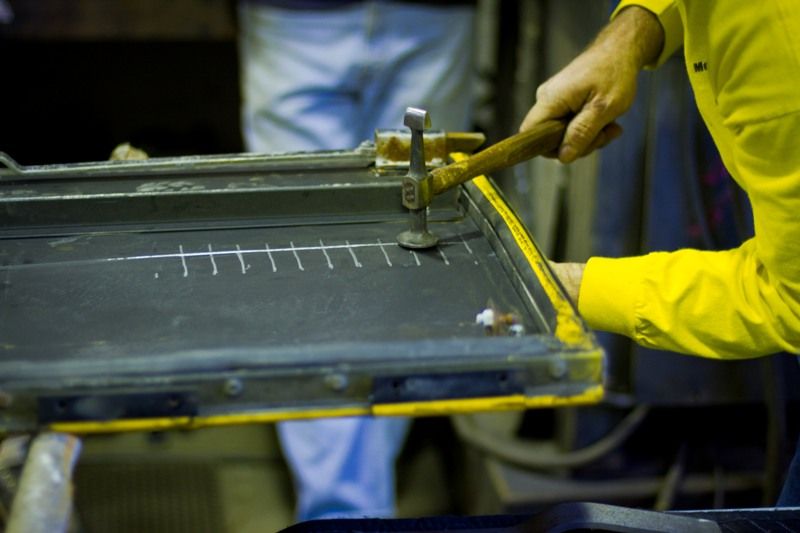
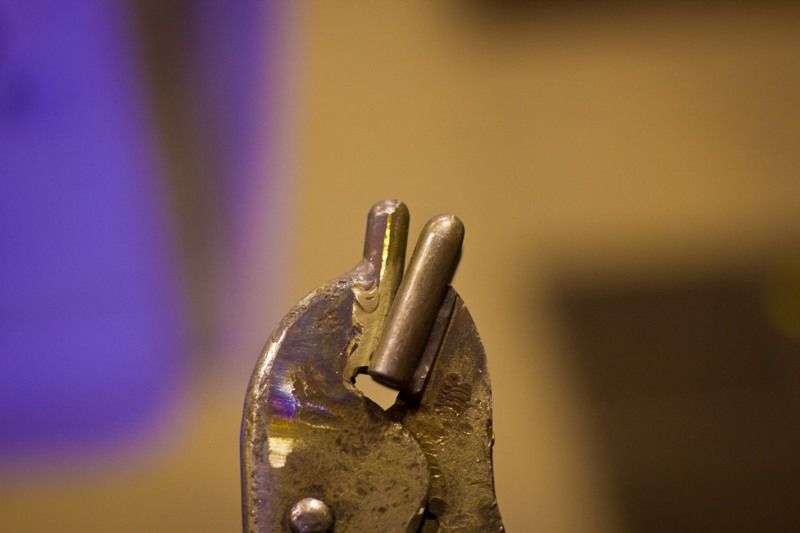
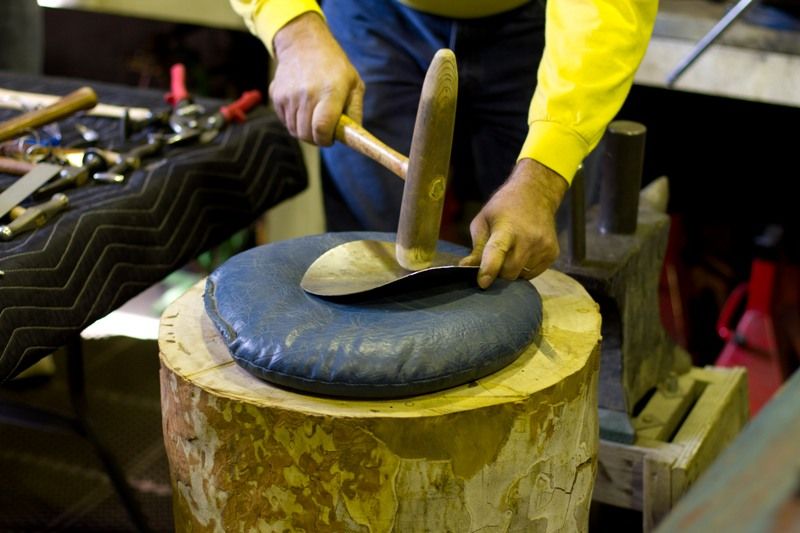
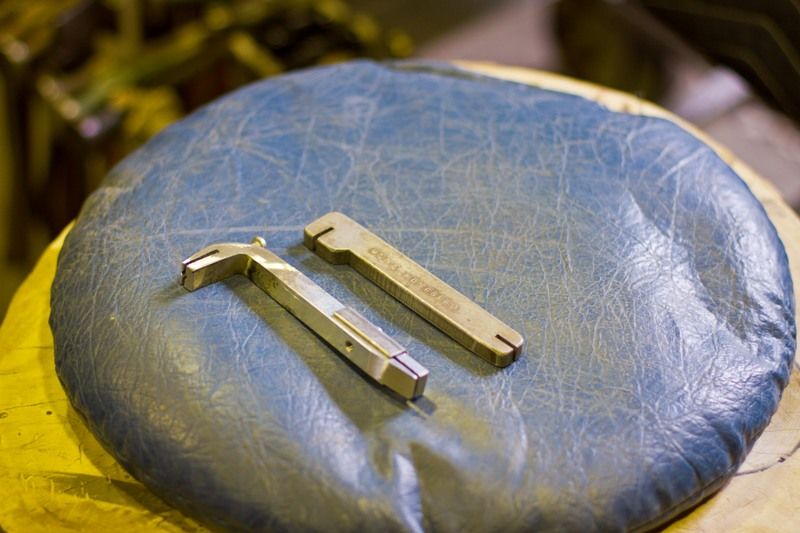
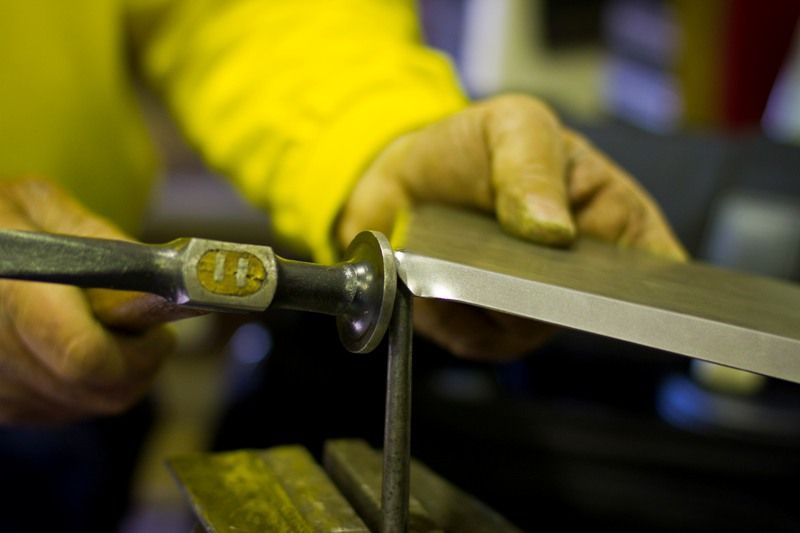
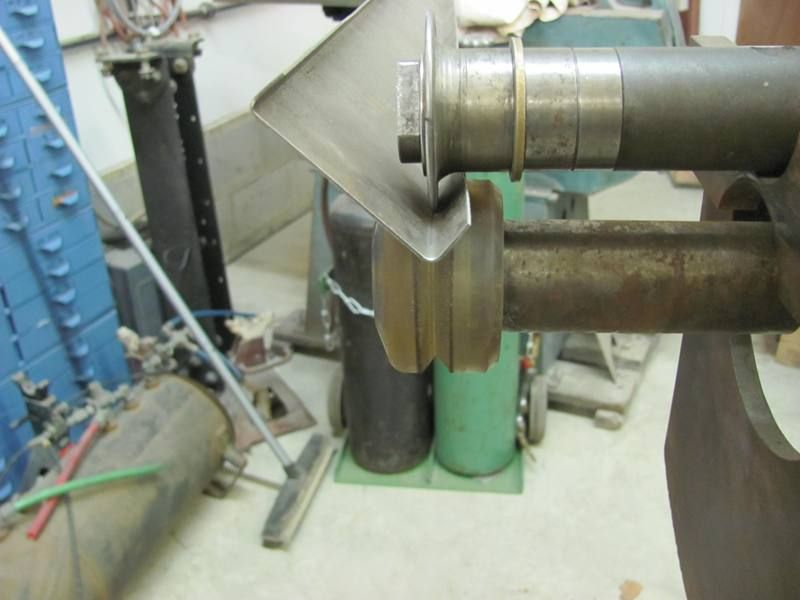
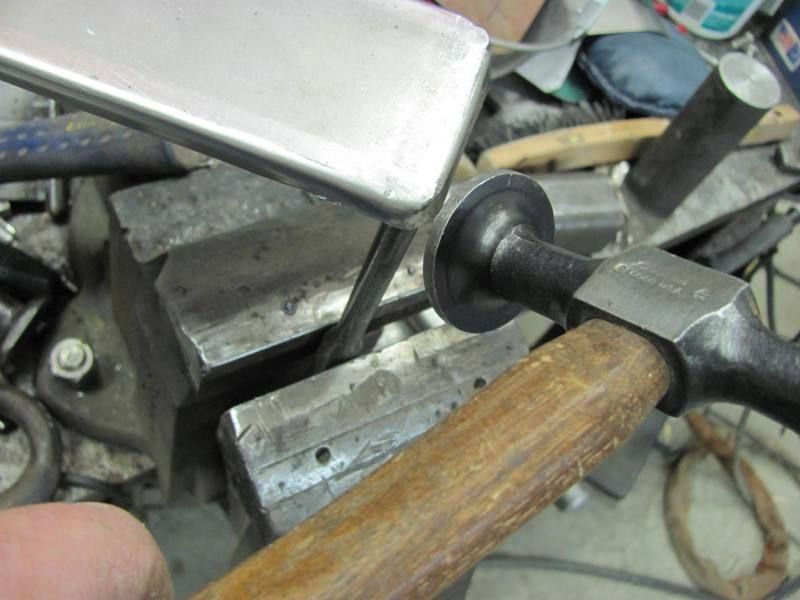
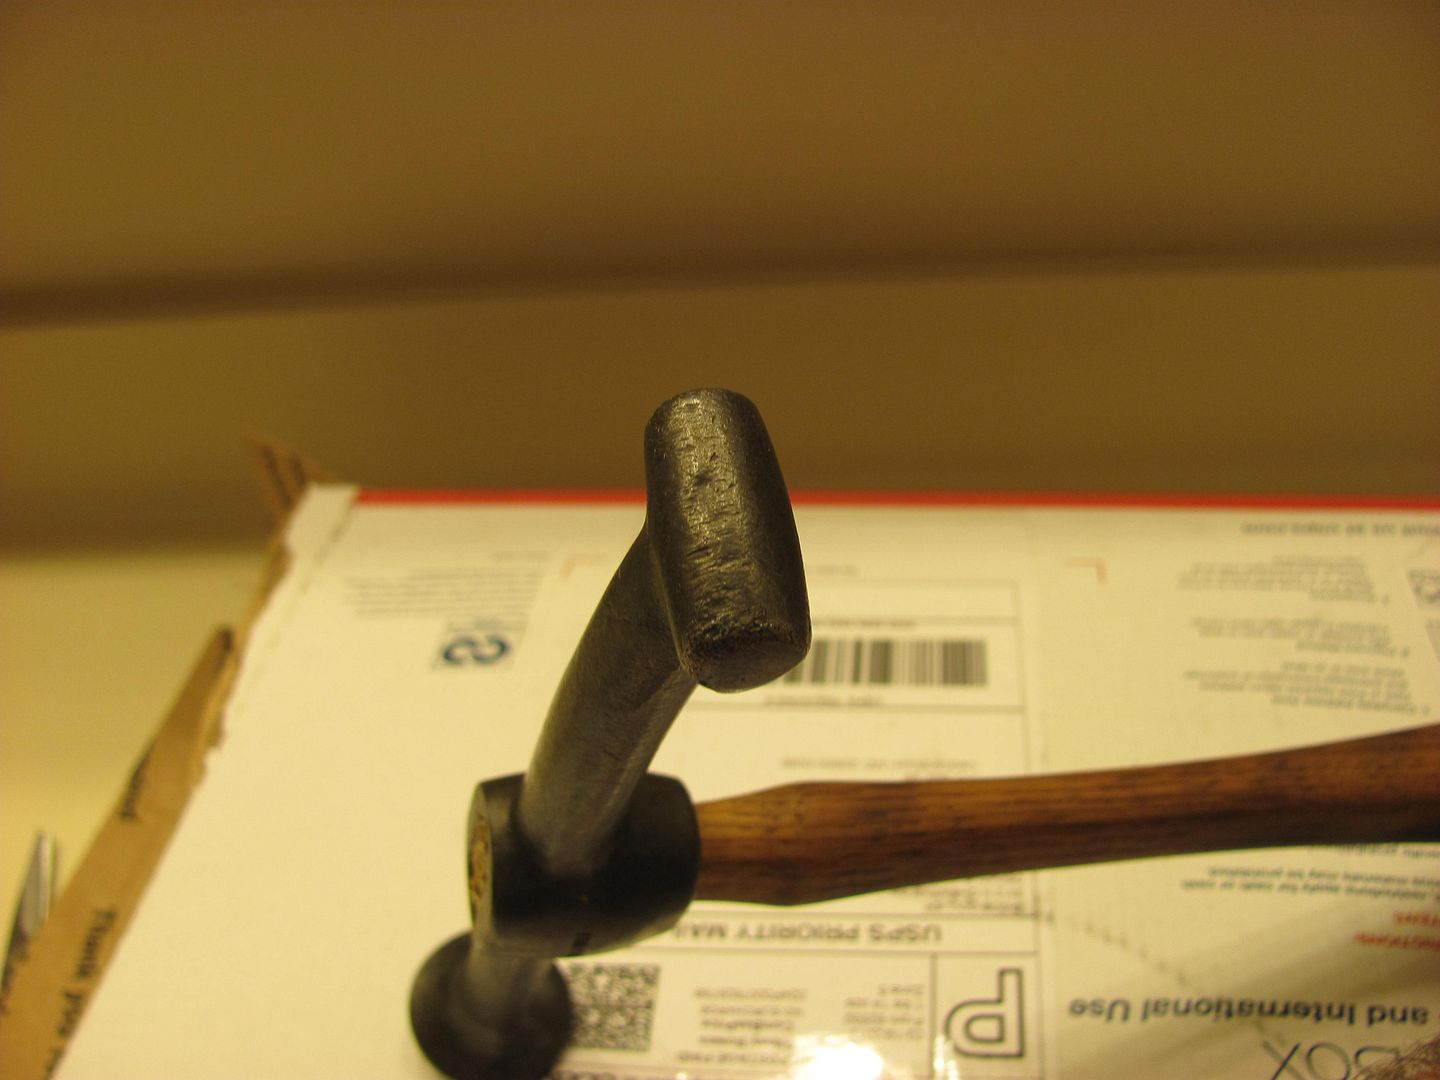
Are those for a hand held hammer or for a planishing hammer?
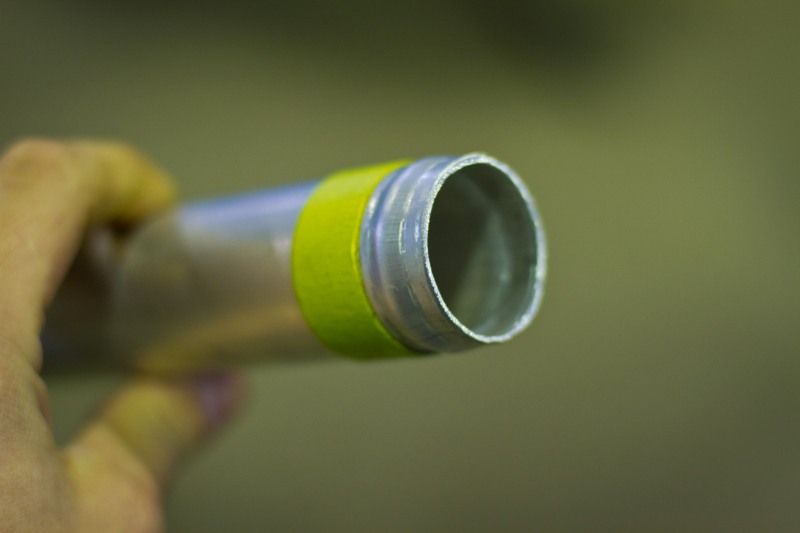
A hand held hammer. The last piece is the barrel that each piece commects to and that barrell piece goes ona wooden handle.
MP&C, thanks for posting the pics, captions and the video link!
I need to find out if there is ever an 'old school' workshop out here in the Pacific Northwest to get some hands-on training. The videos are very informative, but attending a get-together like that really gets the restoration juices flowing.
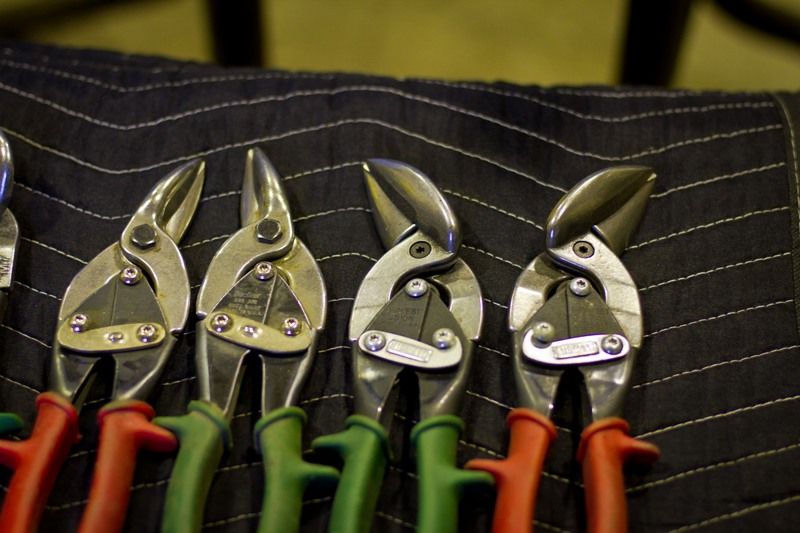
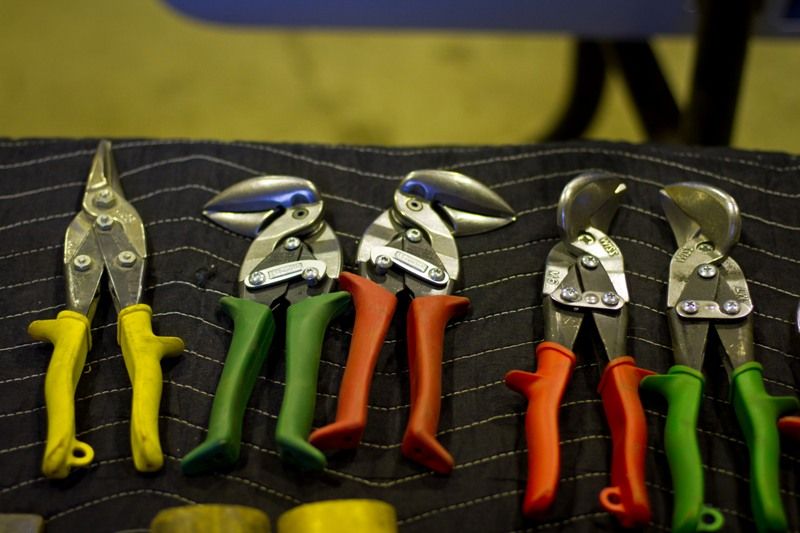
I've got a few basic cheapo body bumping tools; looks like I need to start getting a 'shopping list' together for the various hand tools used in shaping sheet metal. I'm wondering if most sheet metal forming techniques can be done with hand tools, and perhaps a OA and MIG rig?
Maybe sometime you could lay out the tools you consider 'necessary', 'nice-to-have', and 'used-once-in-a-blue-moon' for your work?
Is there a good sheet metal work forum out there specifically targeting the DIY crowd?
Thanks again for the great documentation!
I attended the meeting at Clarke County Speed and thoroughly enjoyed the demonstrations. The ability to see, touch, and discuss at length helps to remove some of the mystery of the process. Thanks again Robert, OJ, and James for donating your time to help others to learn.