nonhog
Well-known member
Shame, but on the other hand I hope he has you fix all that so we can watch!


Thanks Robert. Do you top coat the green primer with anything before an area is welded closed for good?
Sid, I used this on the inside of the wagons tailgate, priming the inner and door skin separately before installing the door skin. The only thing else I'll do is to pour some more inside and run back and forth at the seam to seal it up. Other than that, no top coat unless it's visible. The car will be going on a rotisserie for painting, top, bottom, and insides..
 and doesn't know what they are doing.. But I do know that epoxy primers are designed to be used as a substrate to practically any other automotive paint product out there. POR, not so much. Likely the largest single cost associated with any restoration will be the paint finish. So why risk paint adhesion issues with these short cut products? In my case, that would involve rework that comes out of my pocket. So I tend to lean towards using products designed for the topcoat I put on it, epoxy primer.


I think the stretching caused by sandblasting is unique, and not like that caused by using a hammer and dolly. The metal isn't affected all the way through the panel, only one side. So if you could shrink that one side somehow, I can see how shrinking would work. But IMO you need to get the entire area of the panel stress-free or uniformly stressed and ready to shrink.

How about sandblasting it on the outside to stretch the metal evenly on both sides? It will probably oilcan and need shrinking after that, but at least it wouldn't be stretched on only one side and you could use the shrinking disc to bring it back down. I still think a hammer and dolly would work too...that's what I would try anyhow.
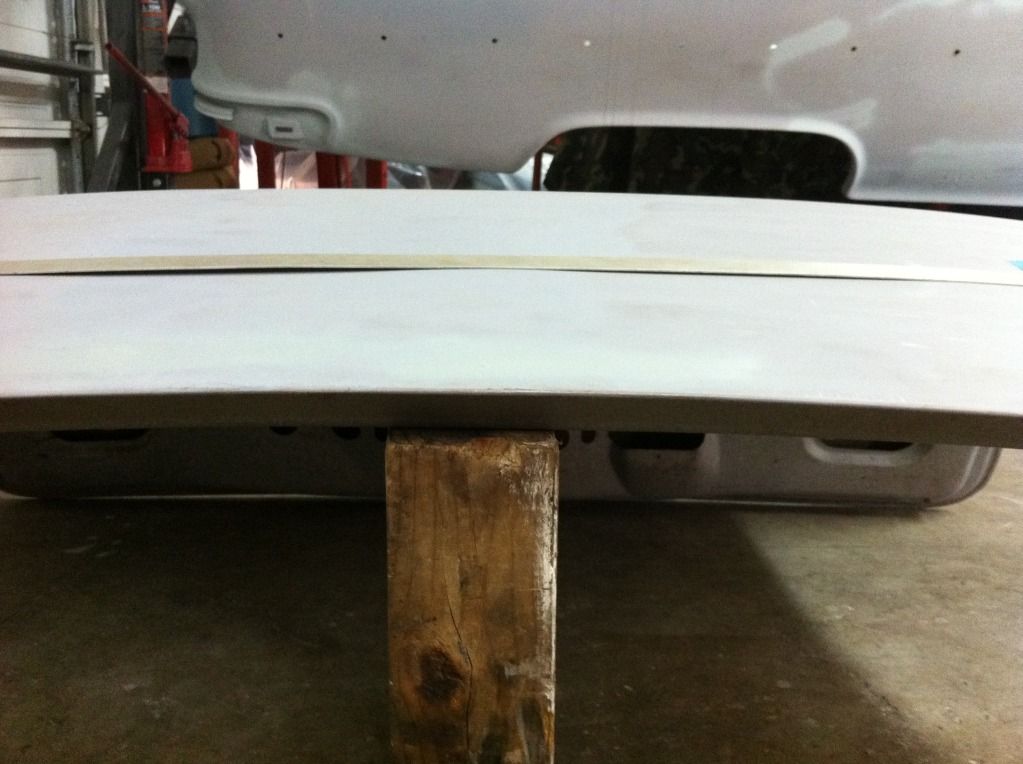
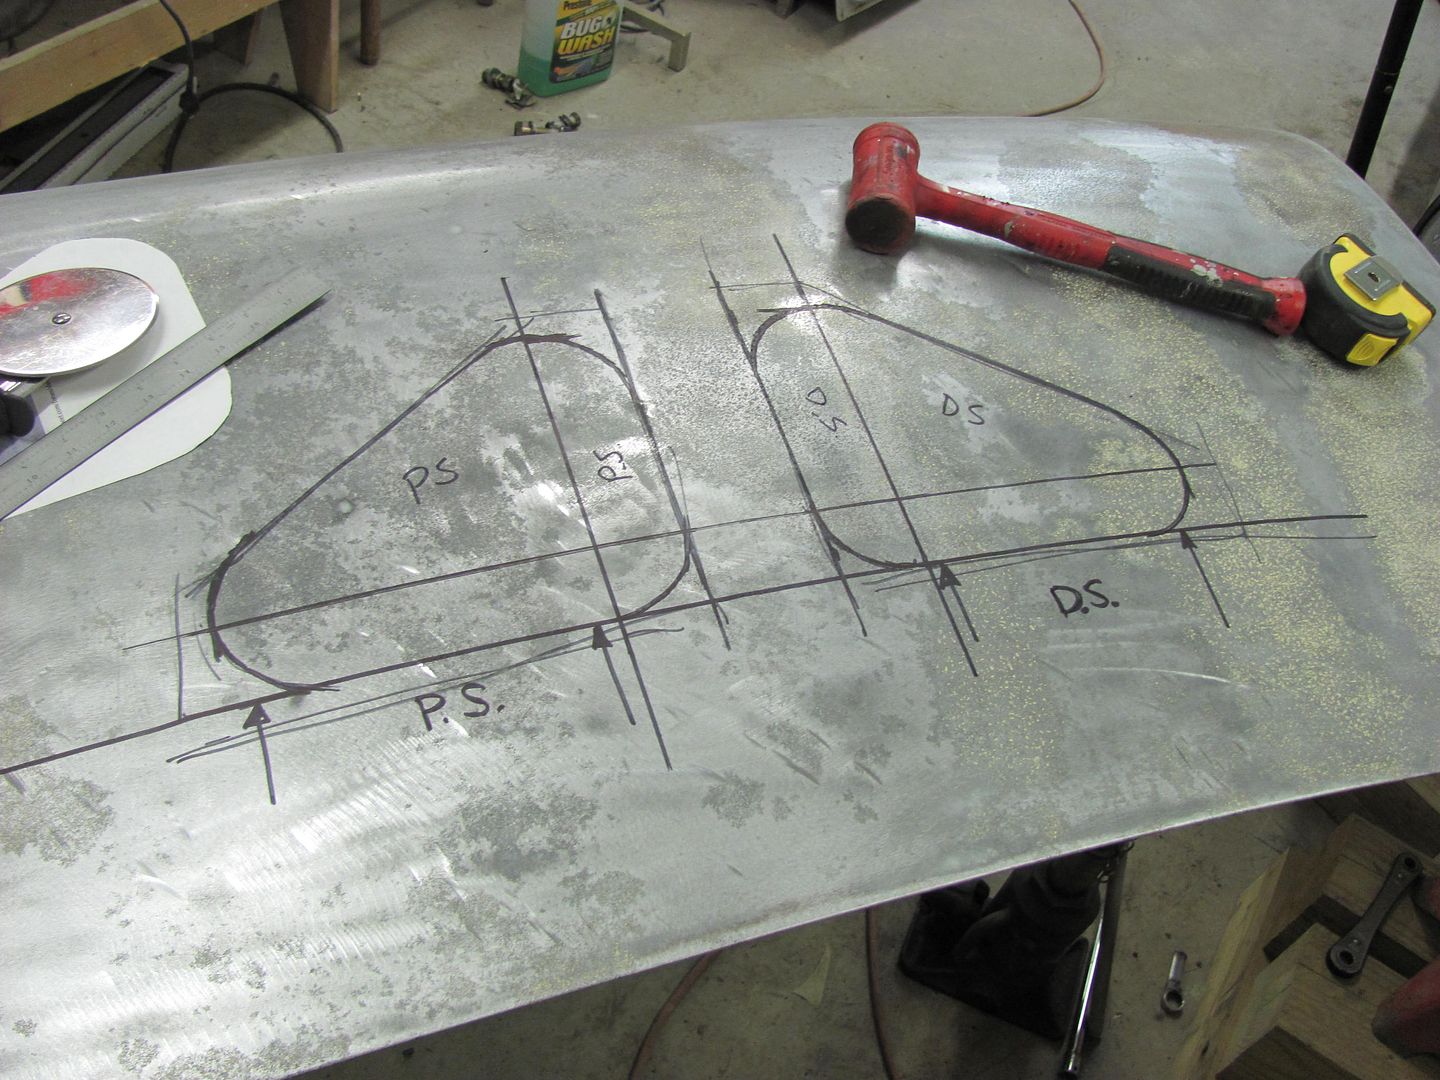
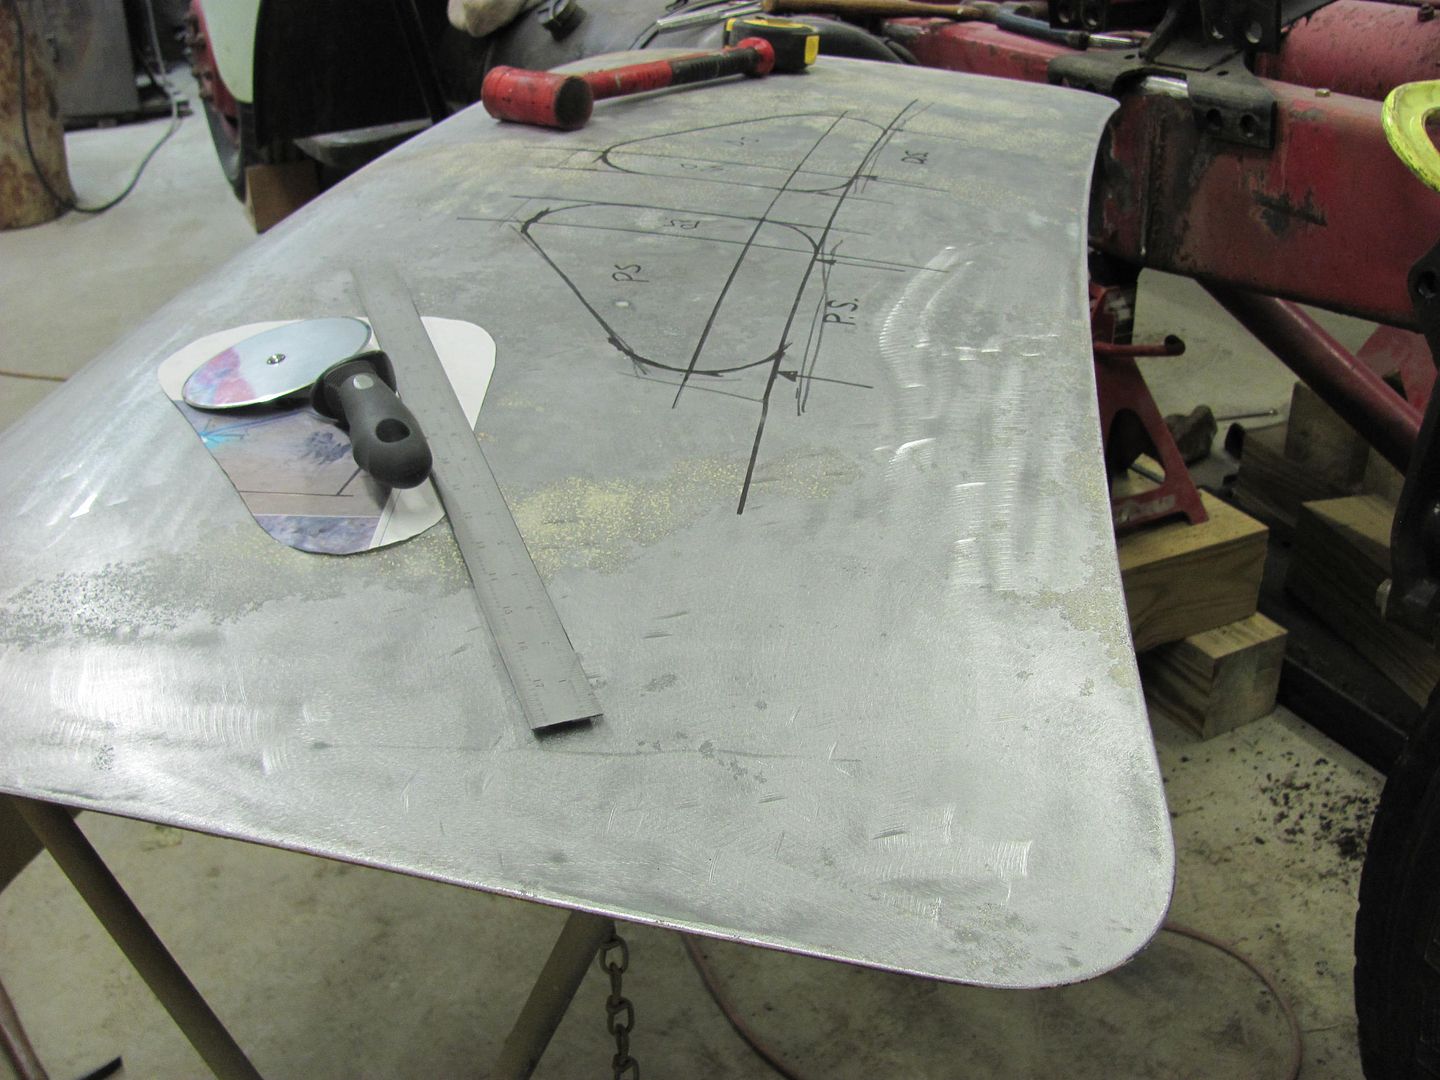
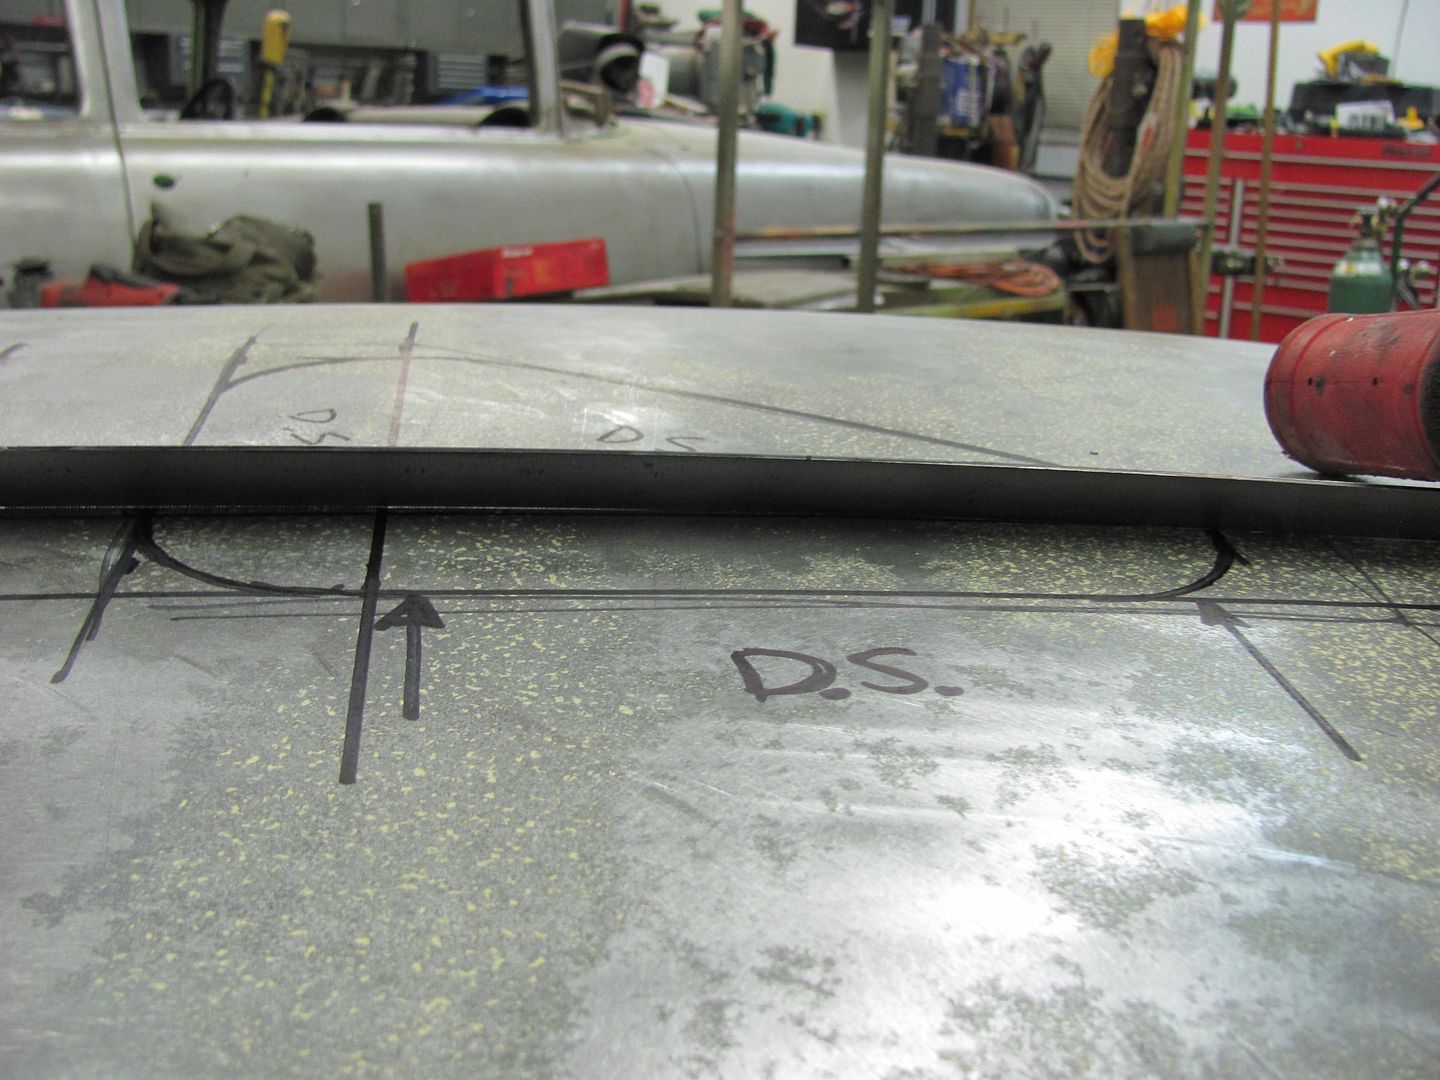
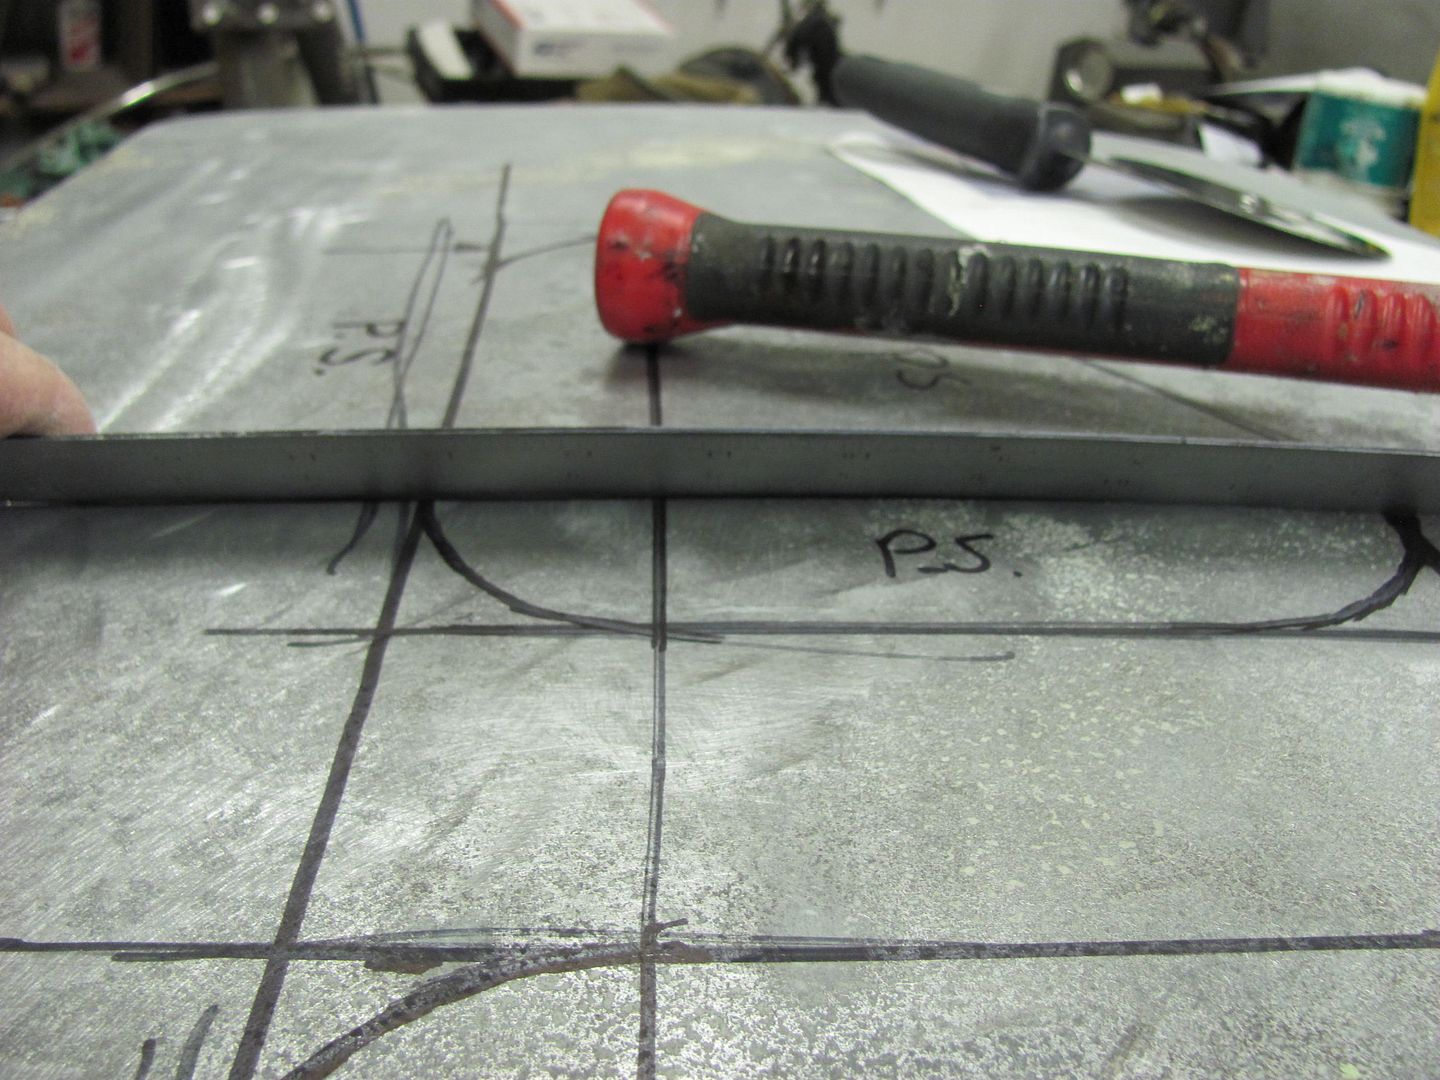
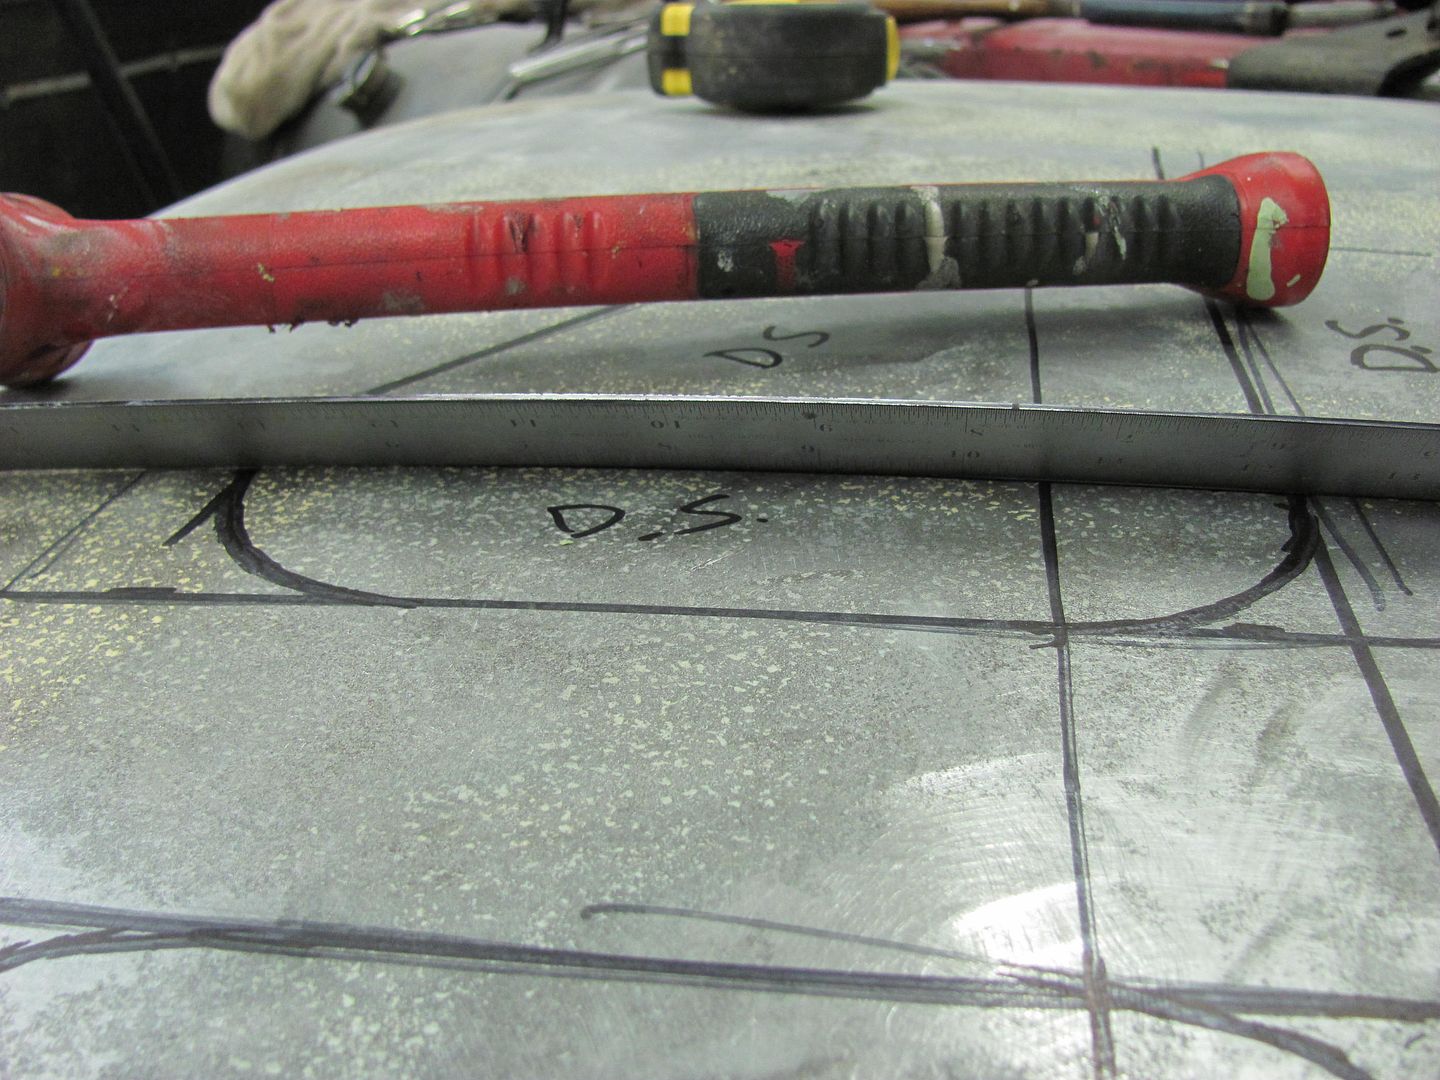
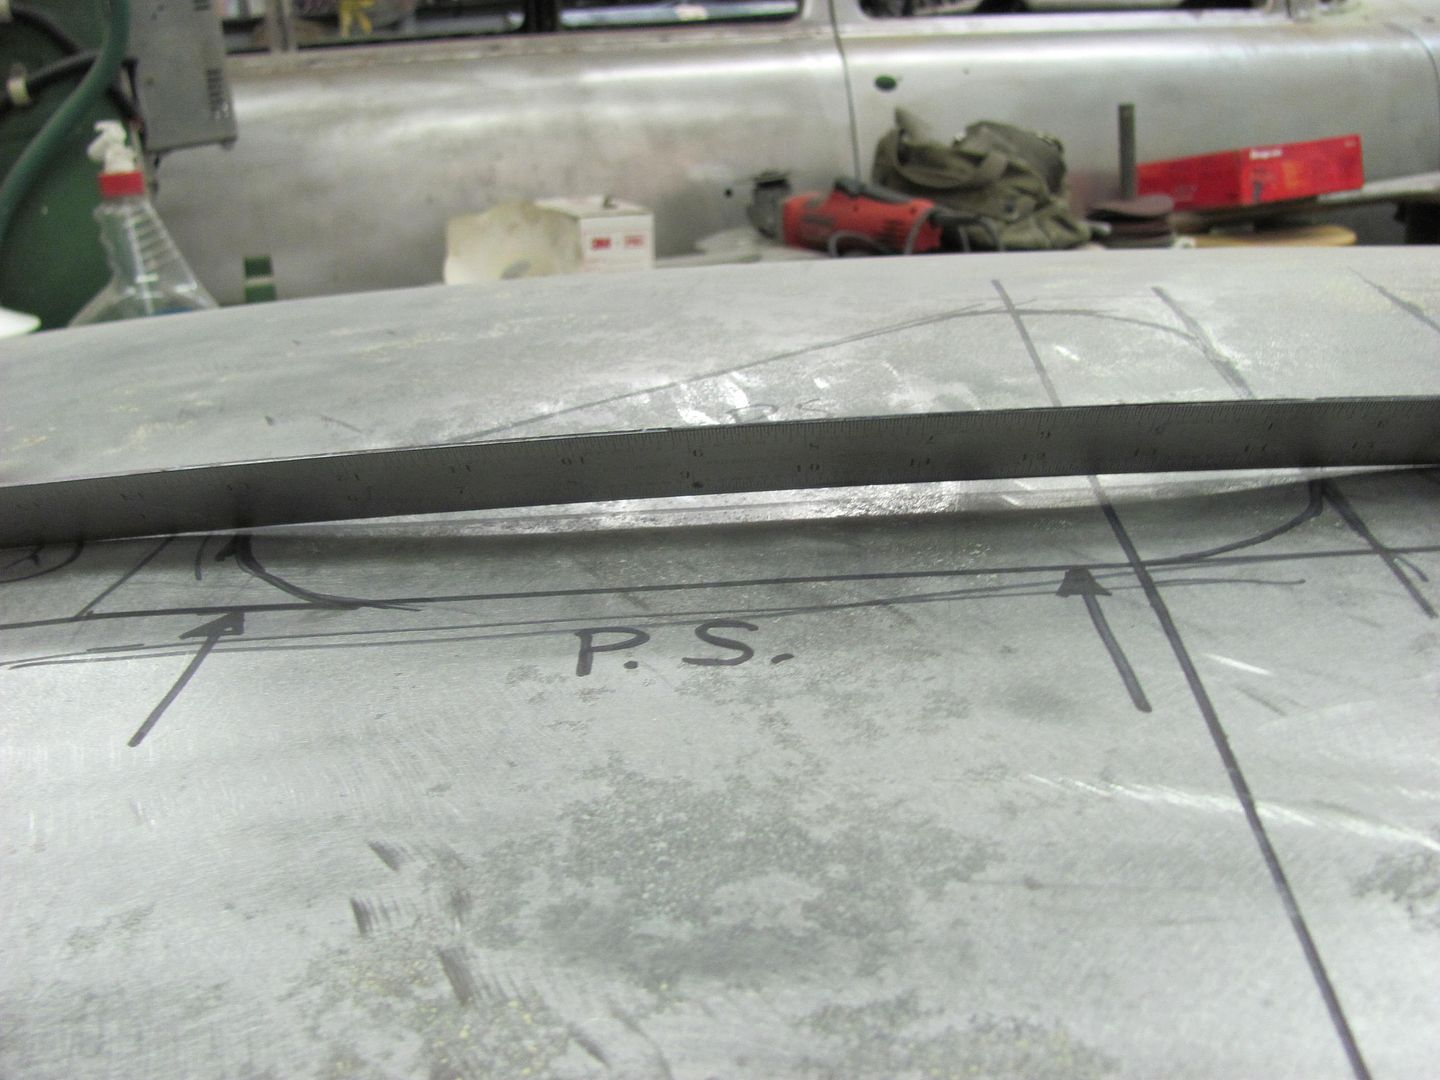
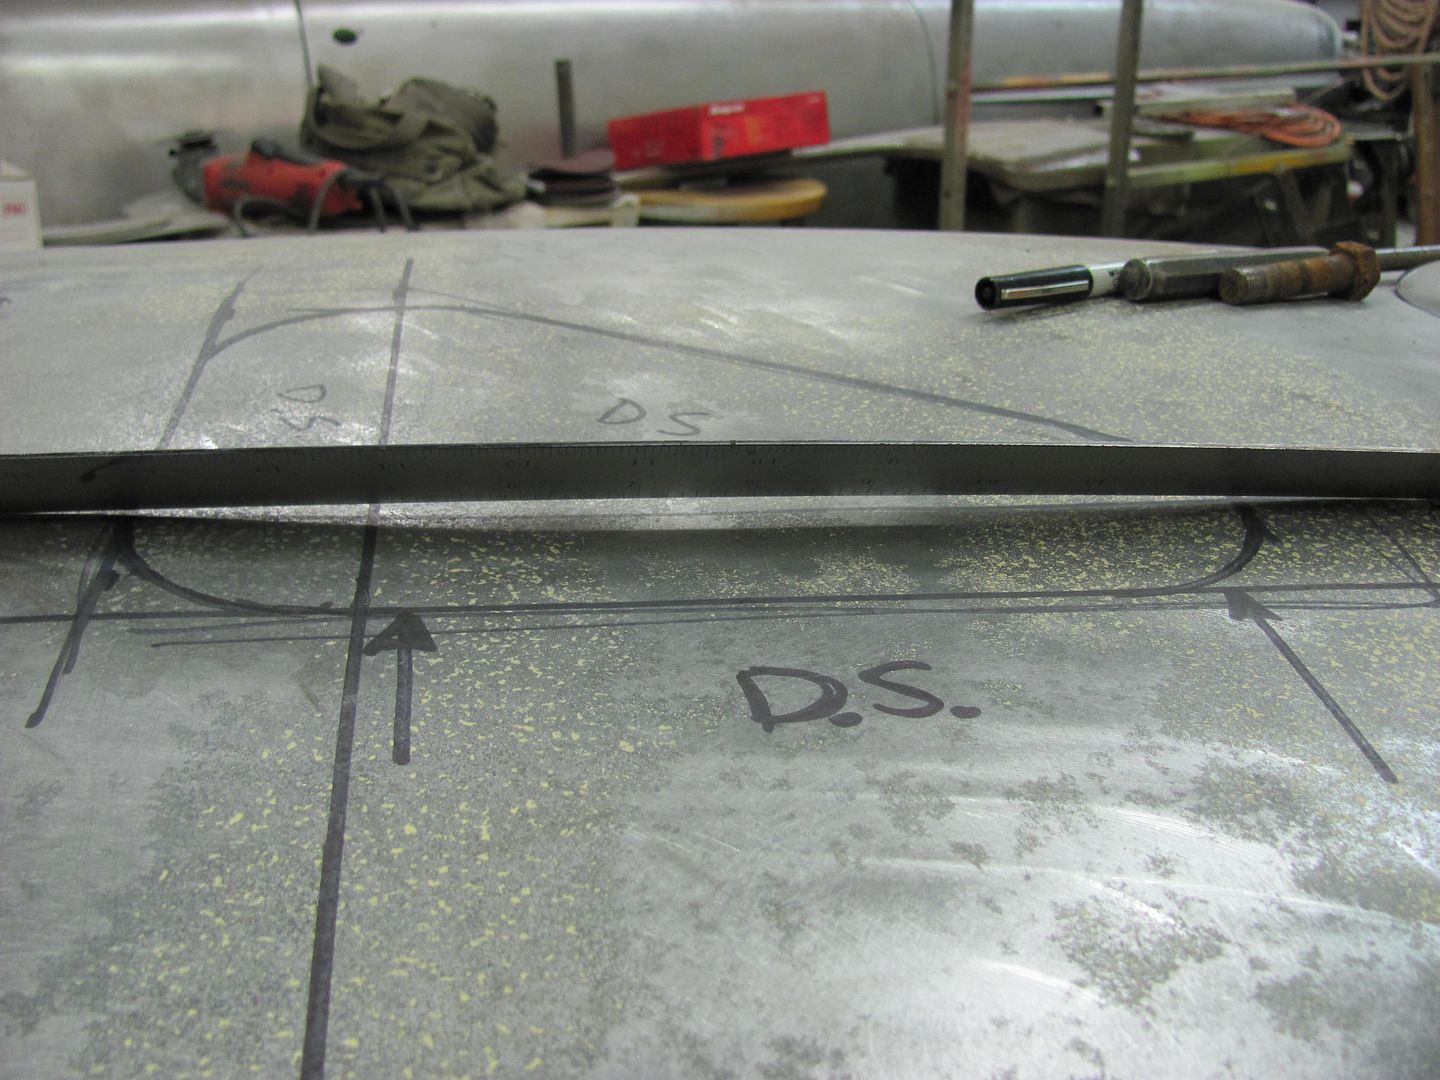
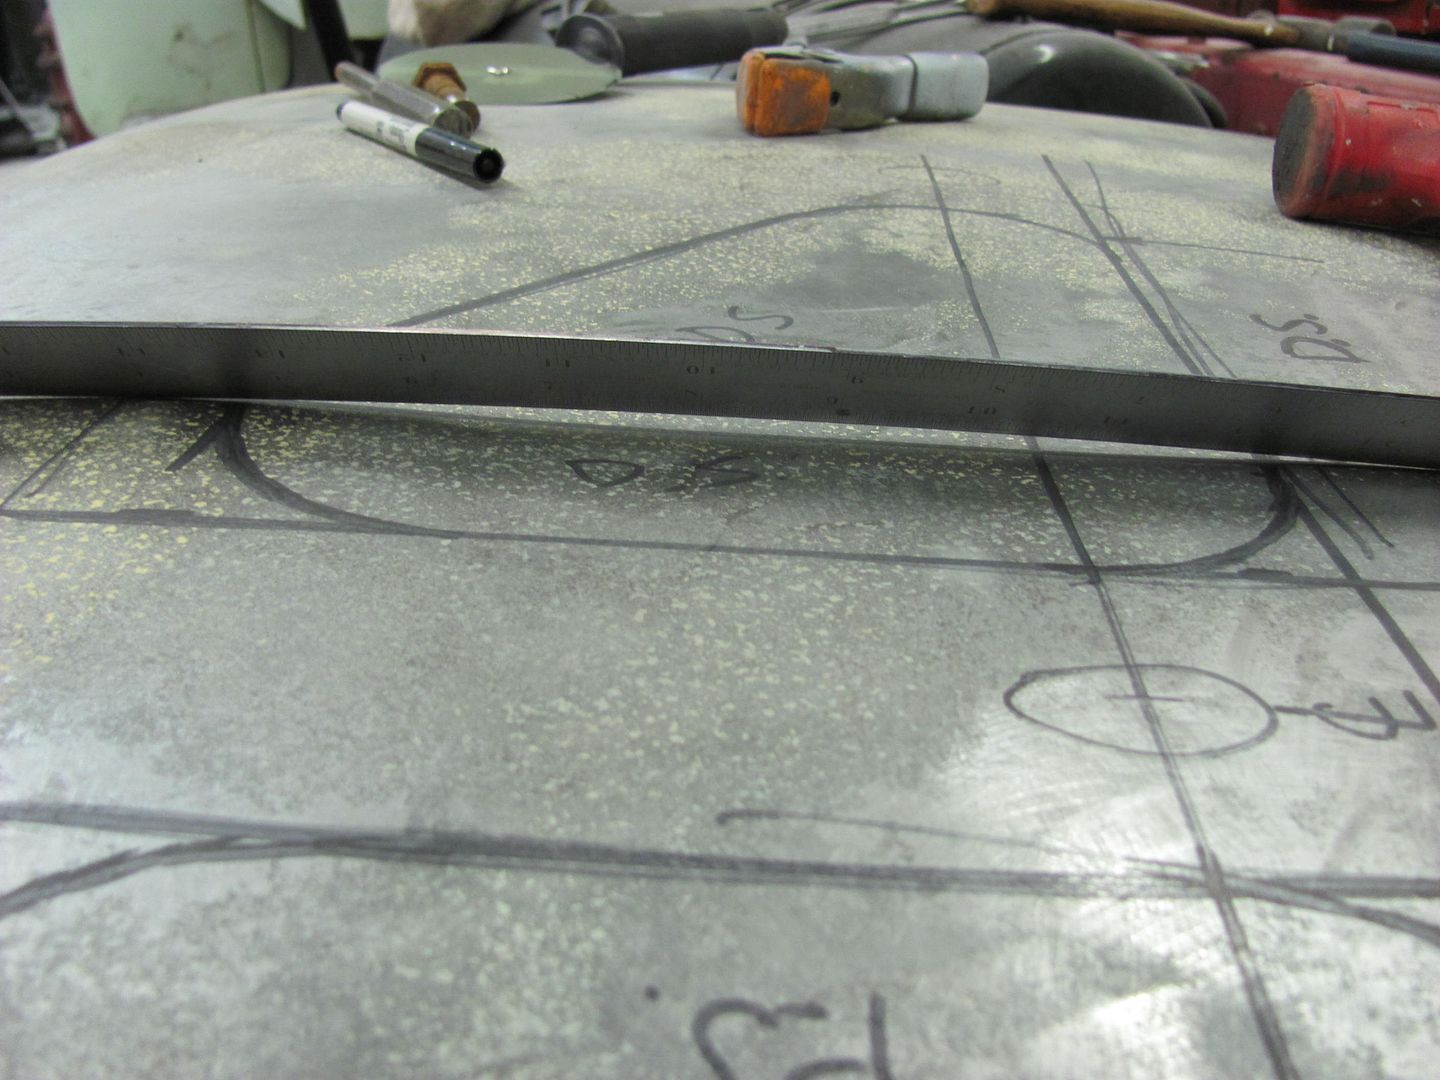
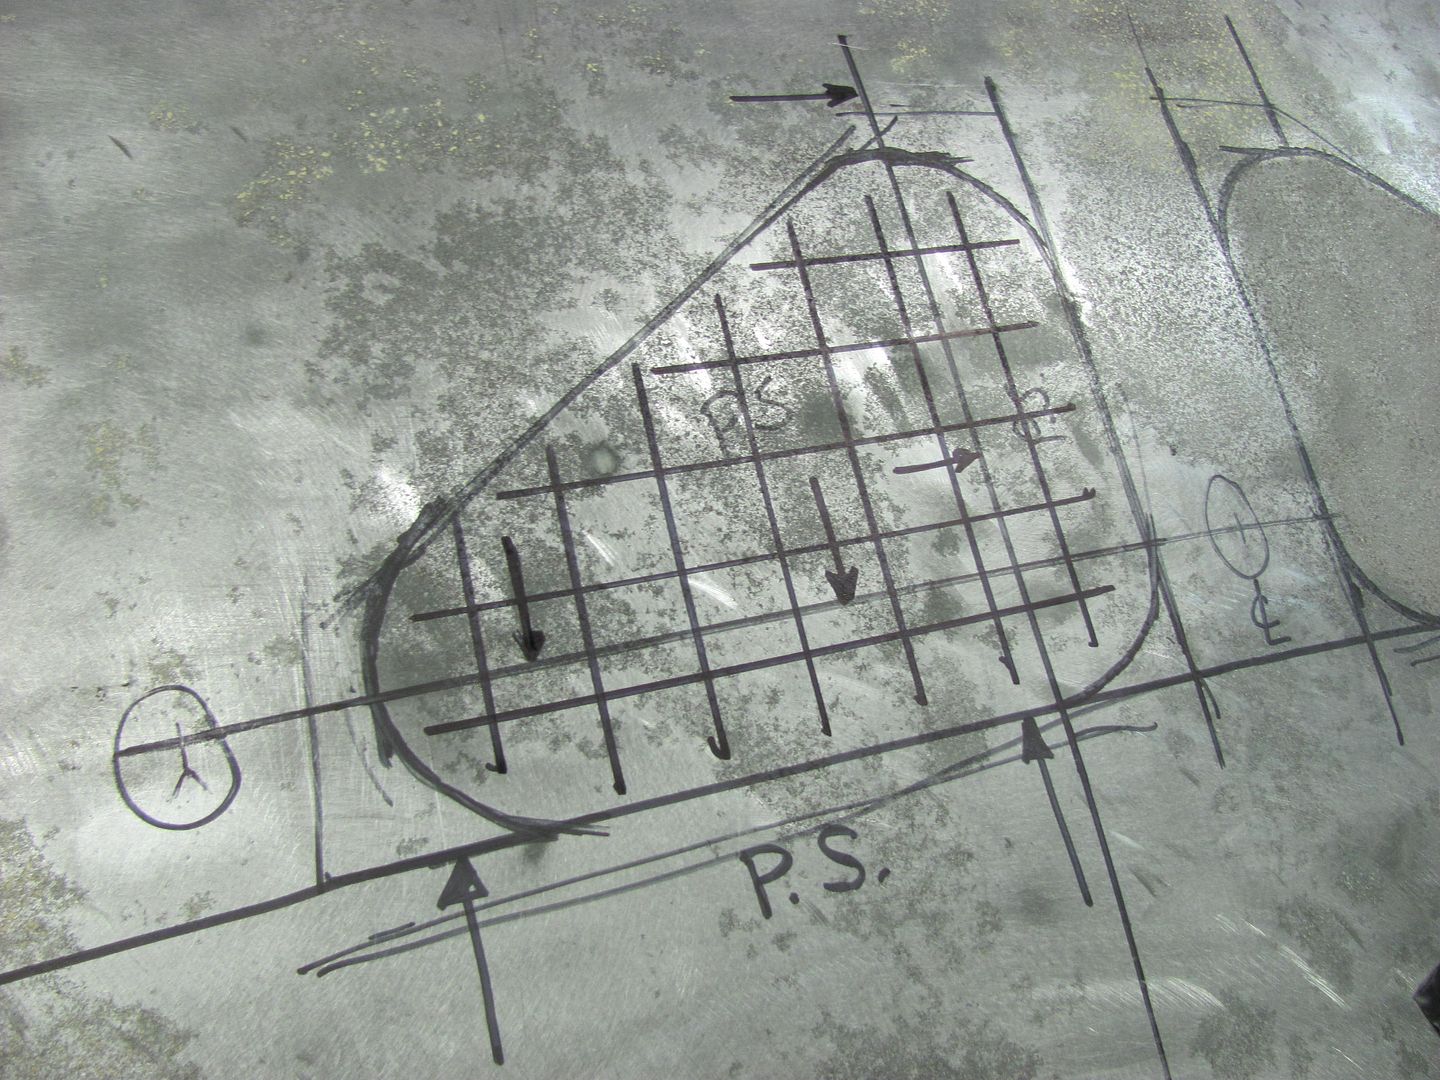
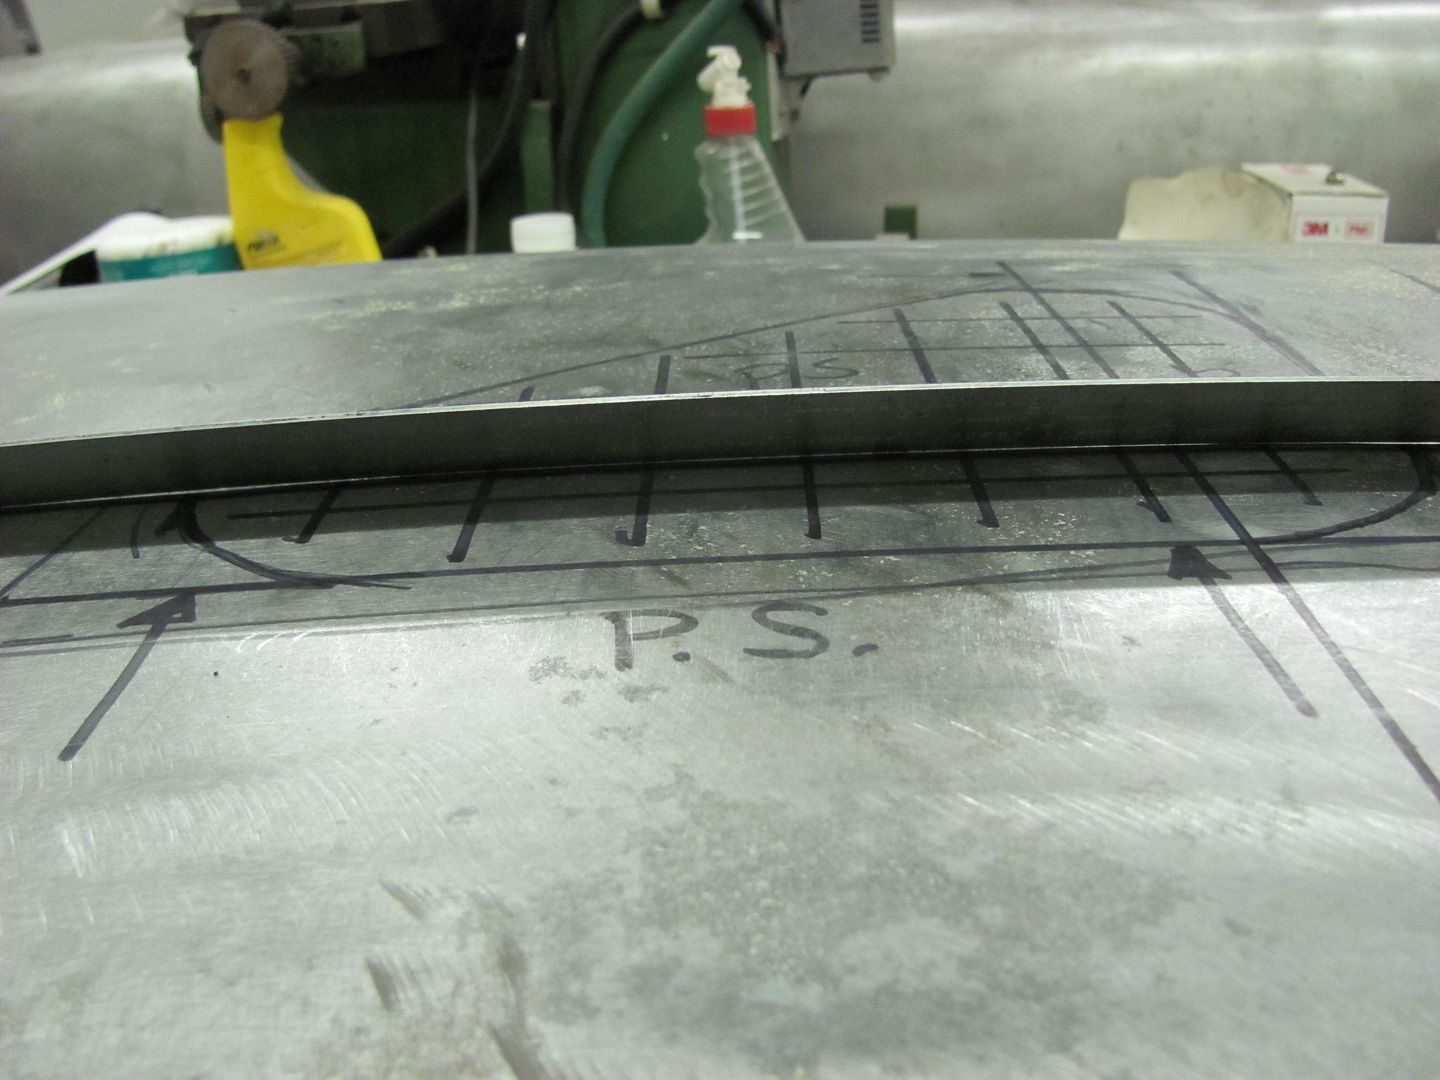
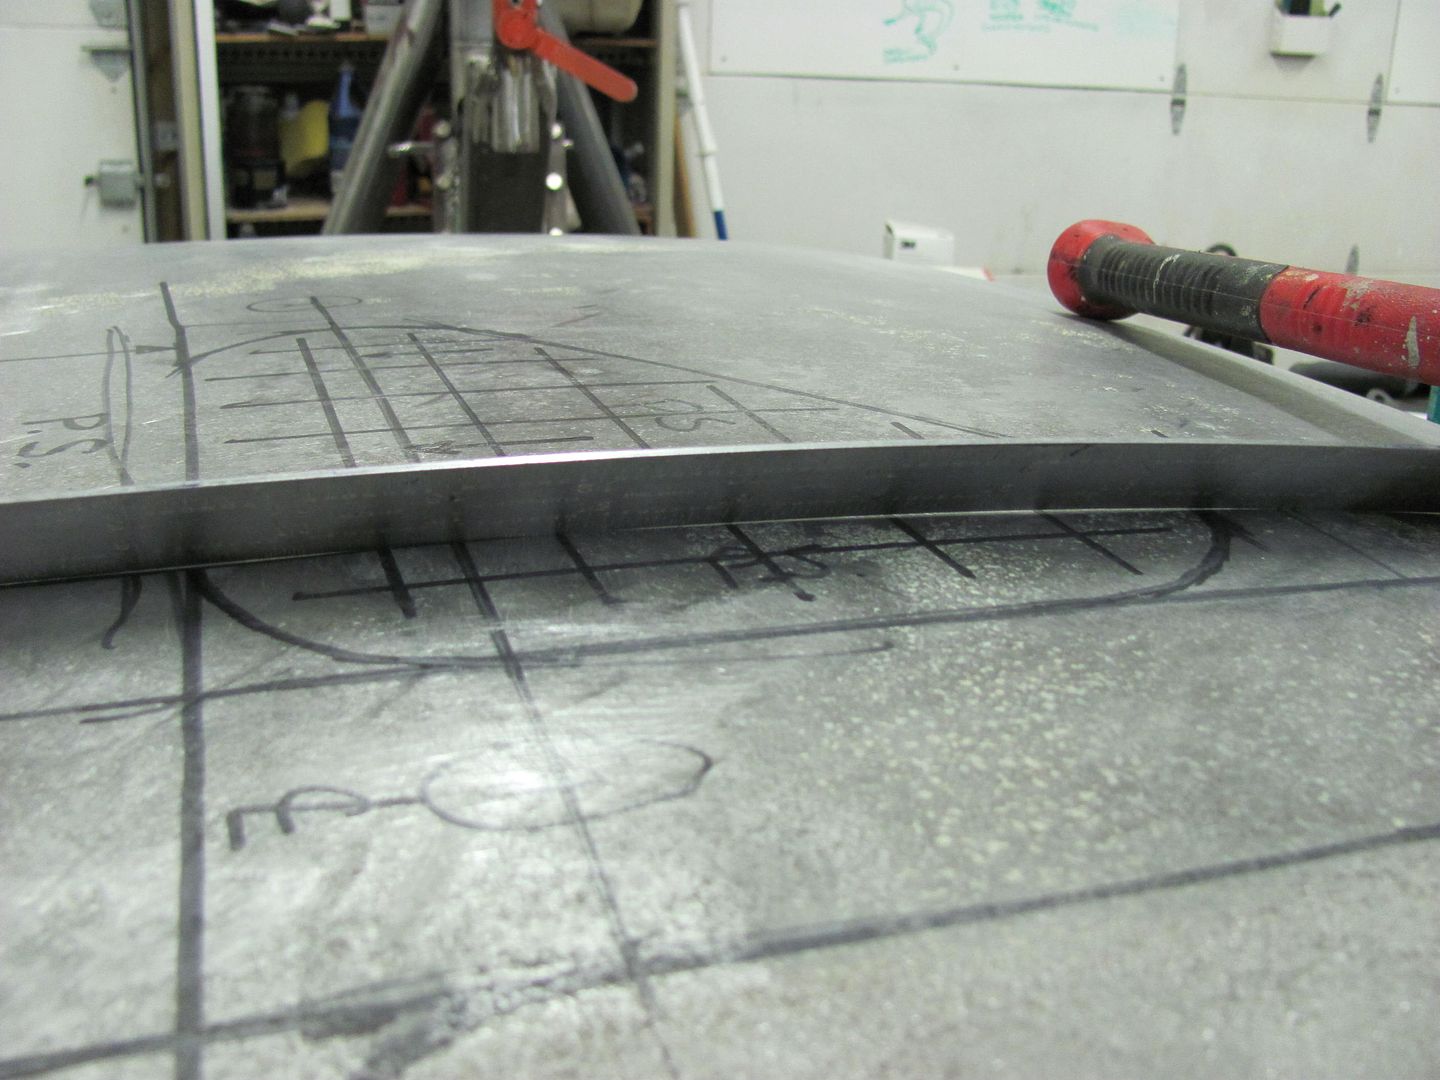
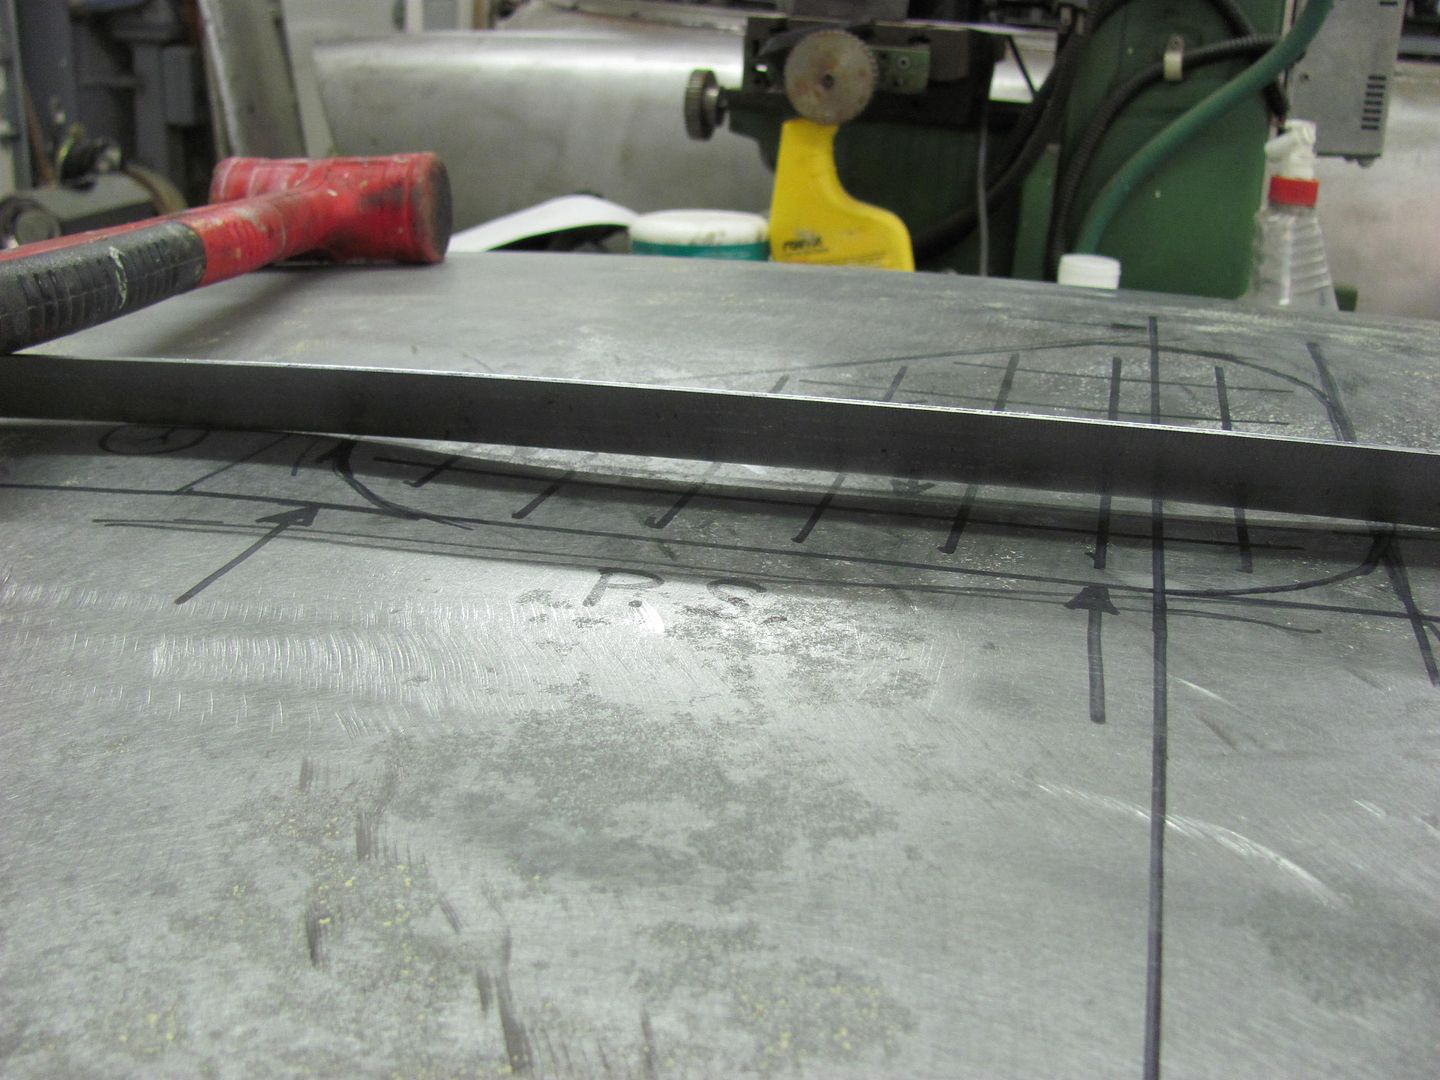
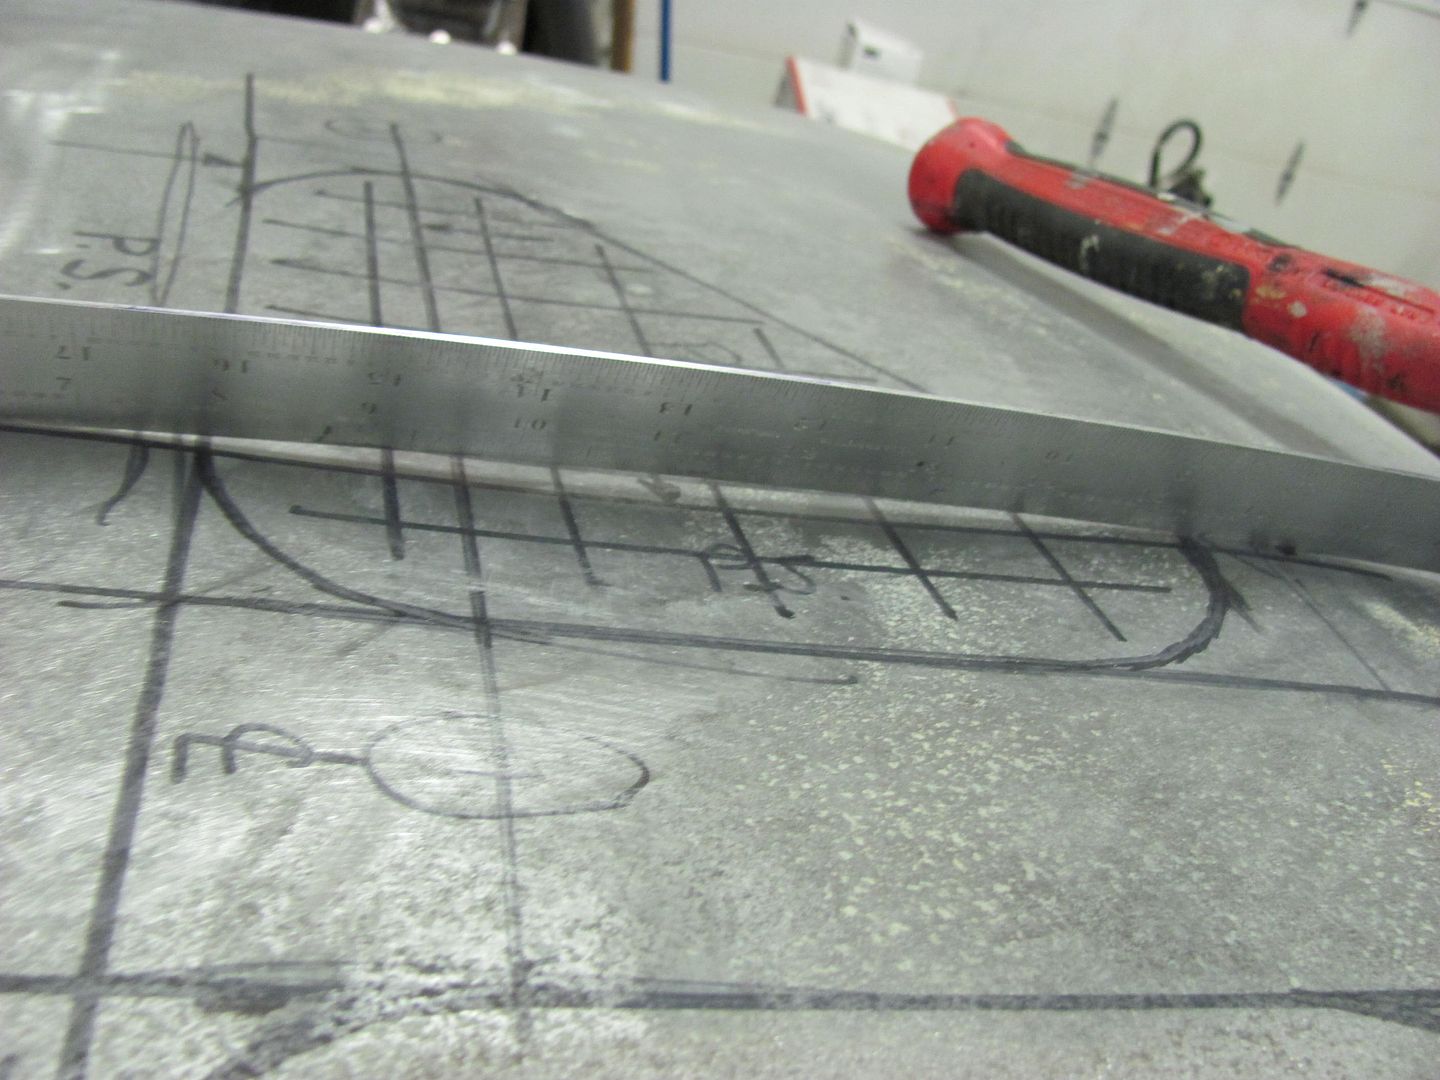
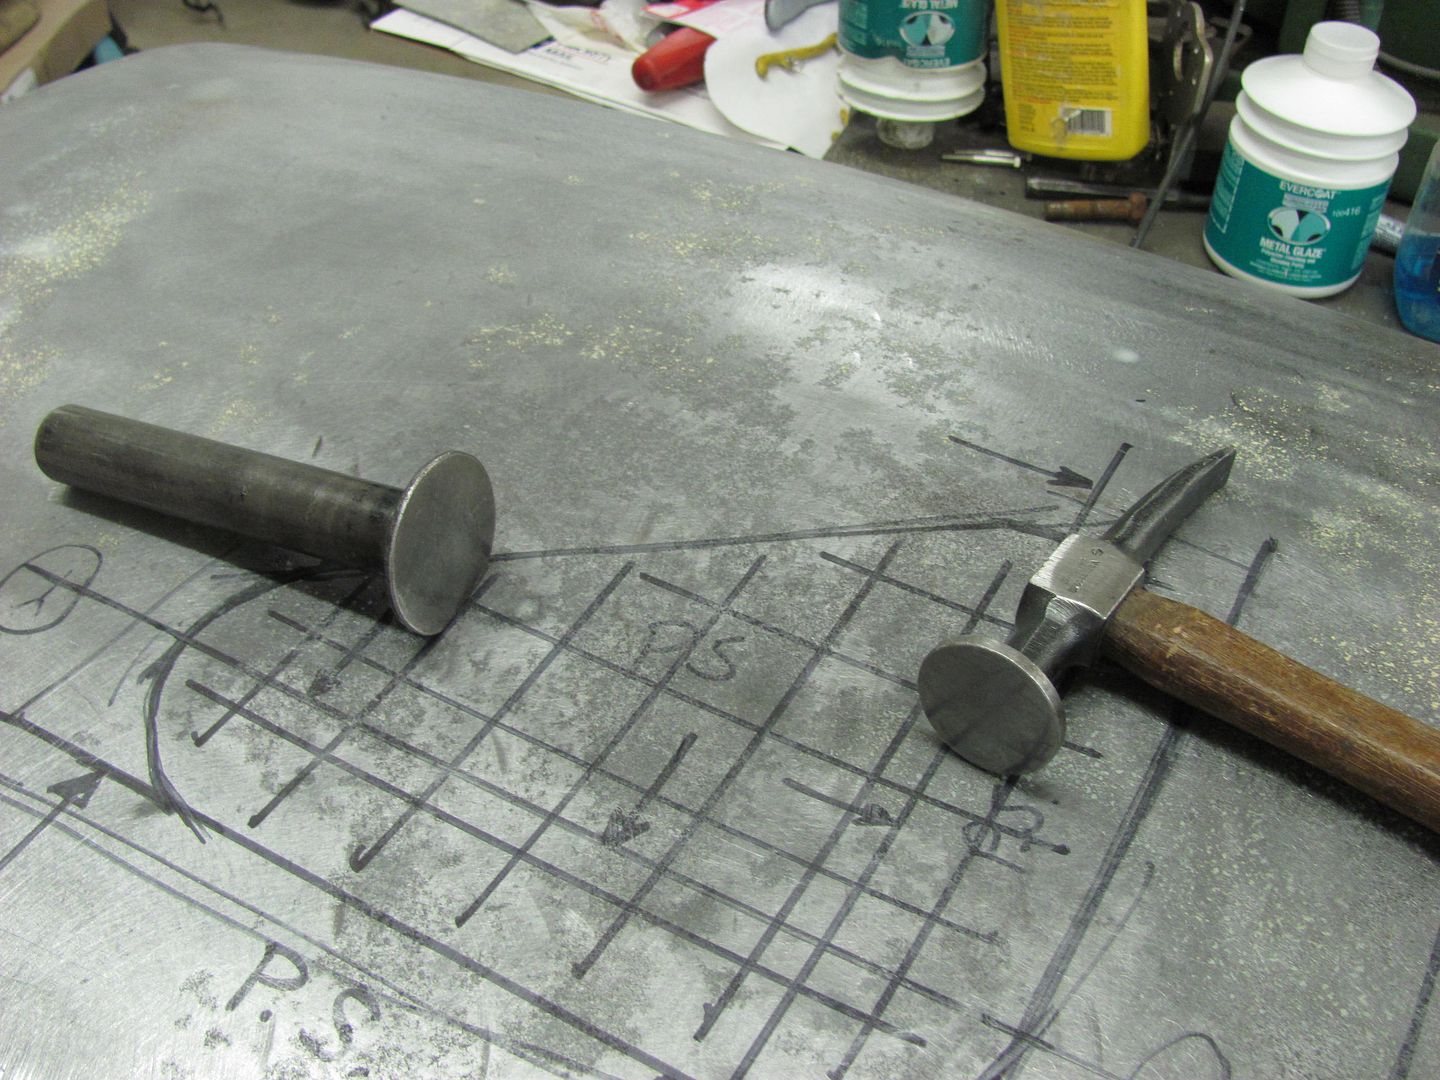
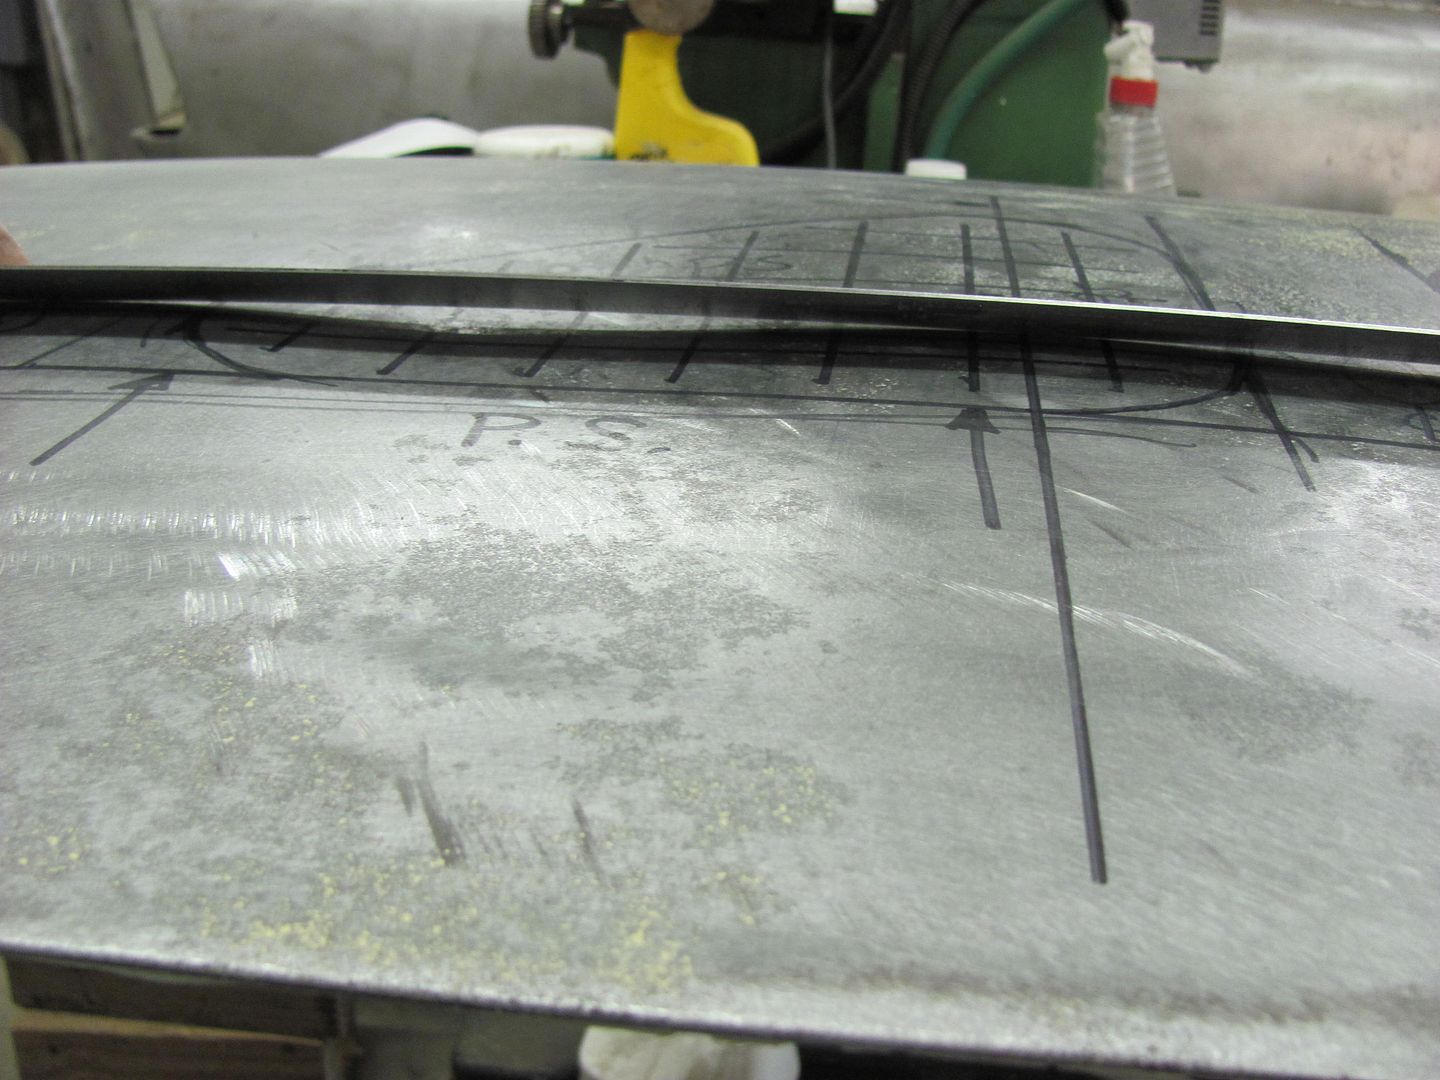
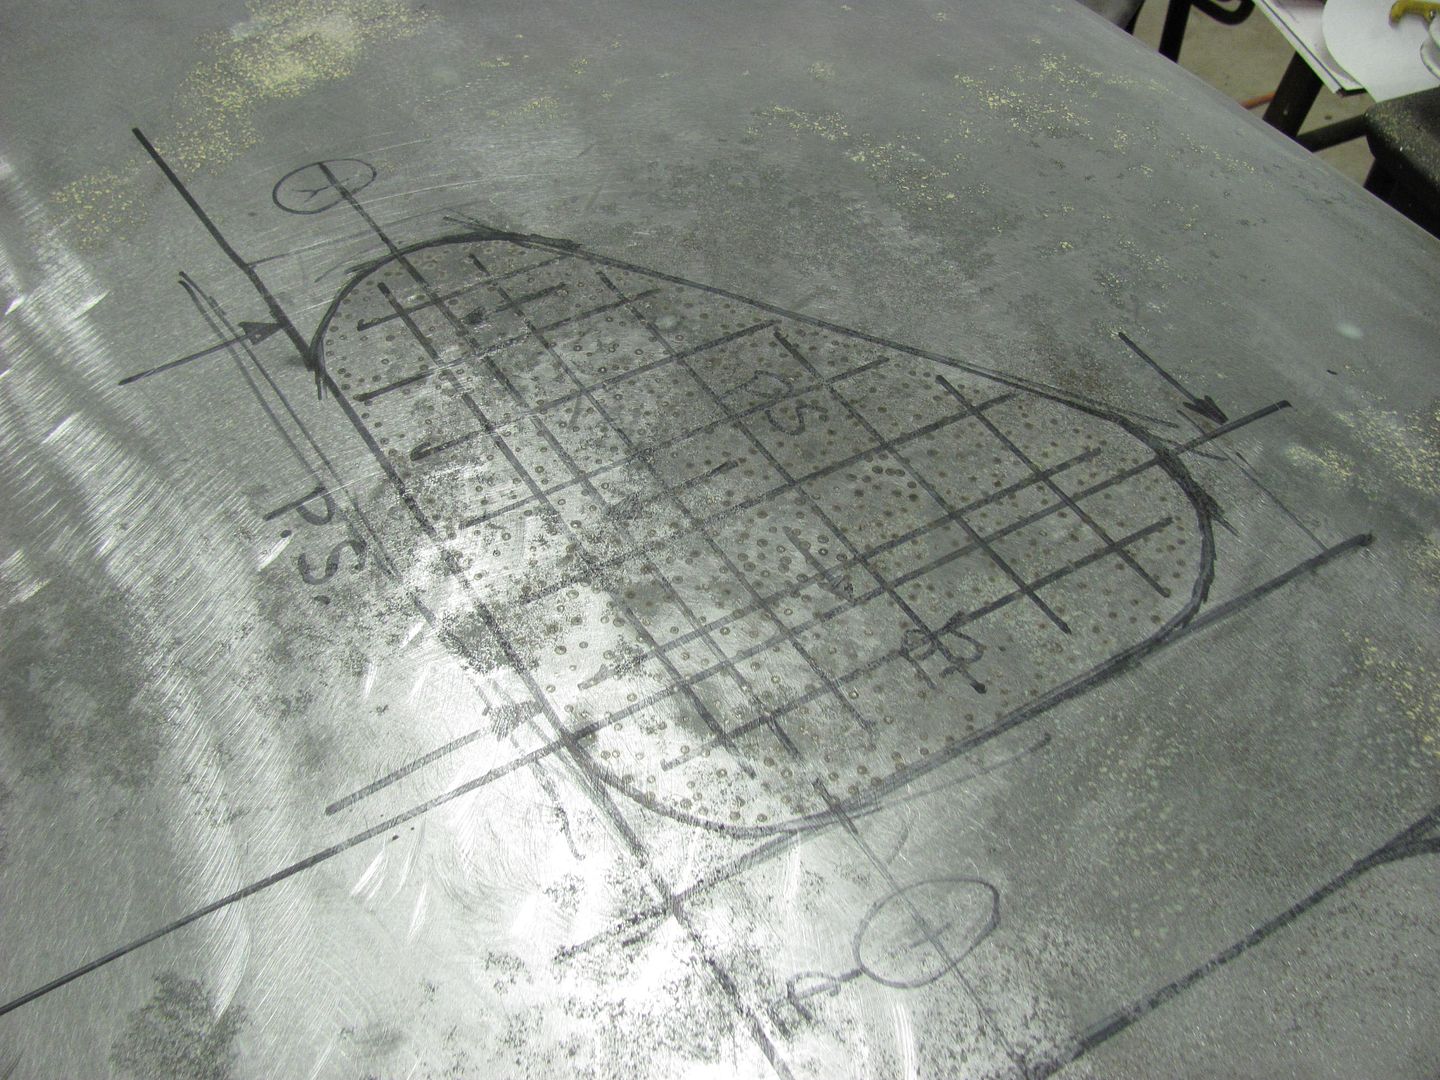
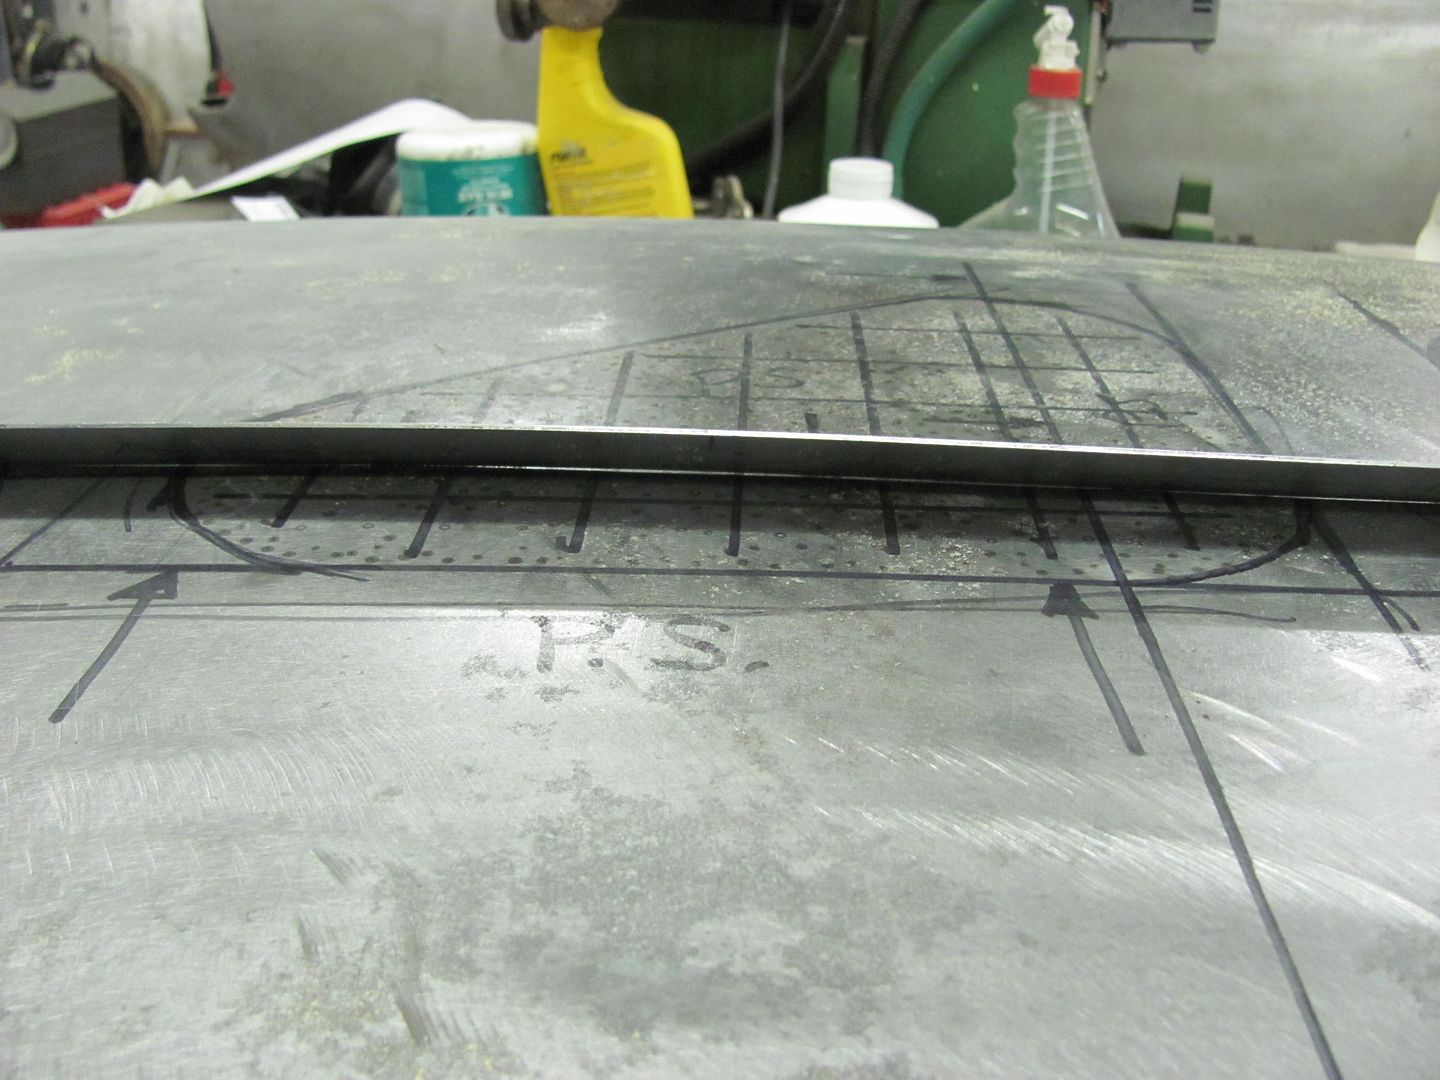
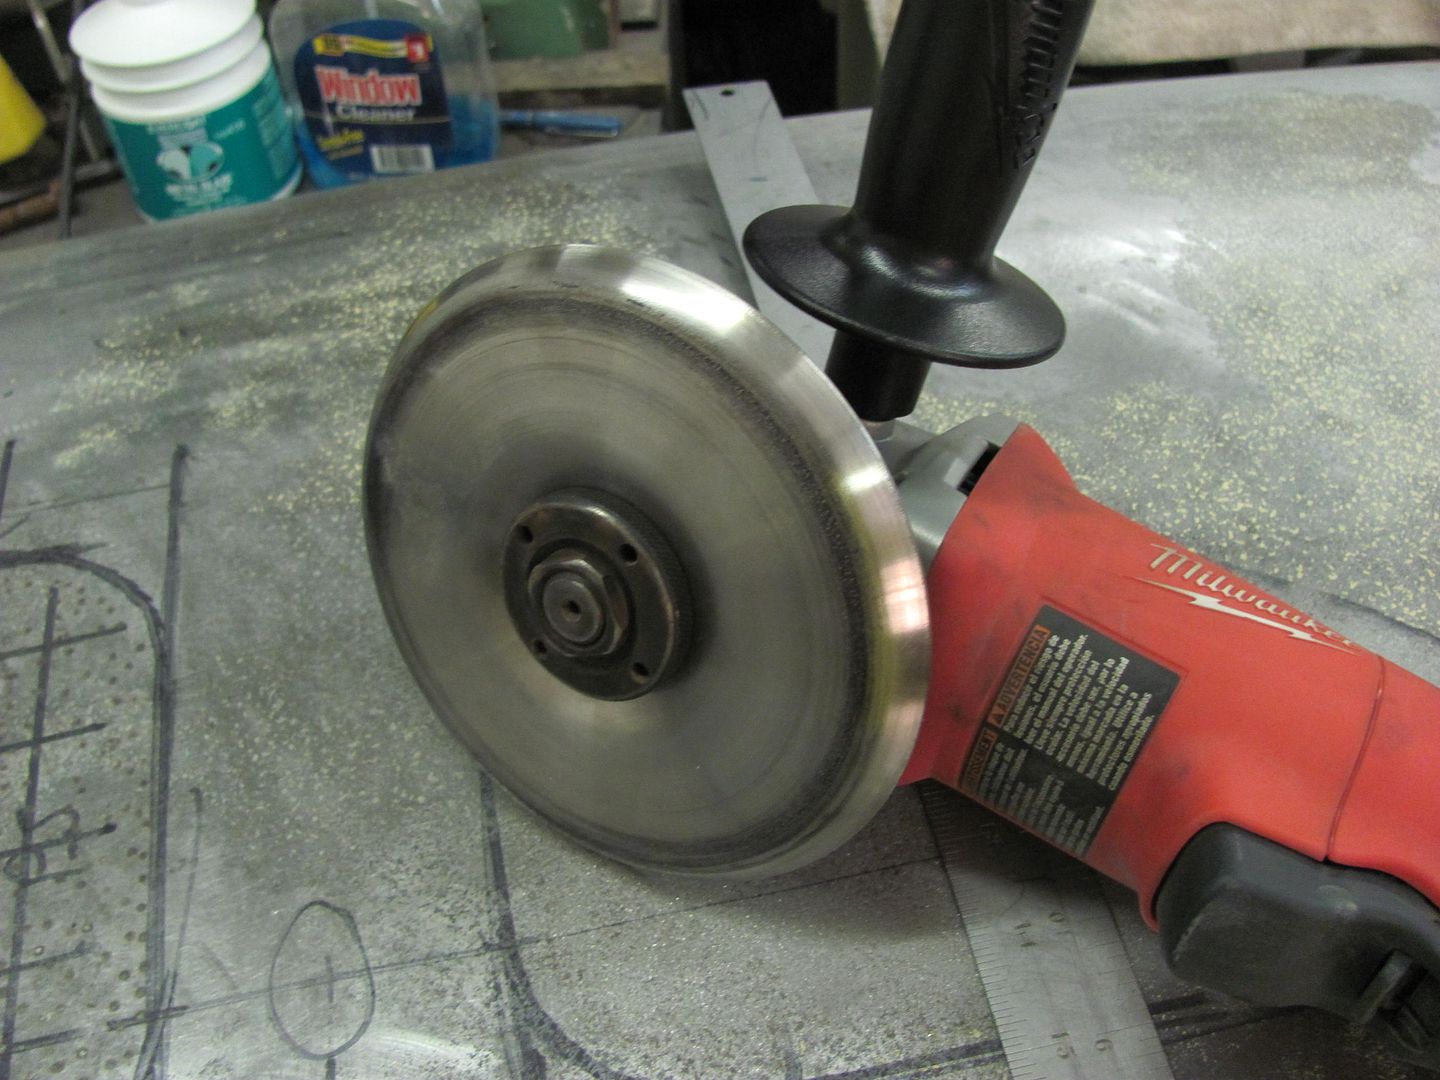
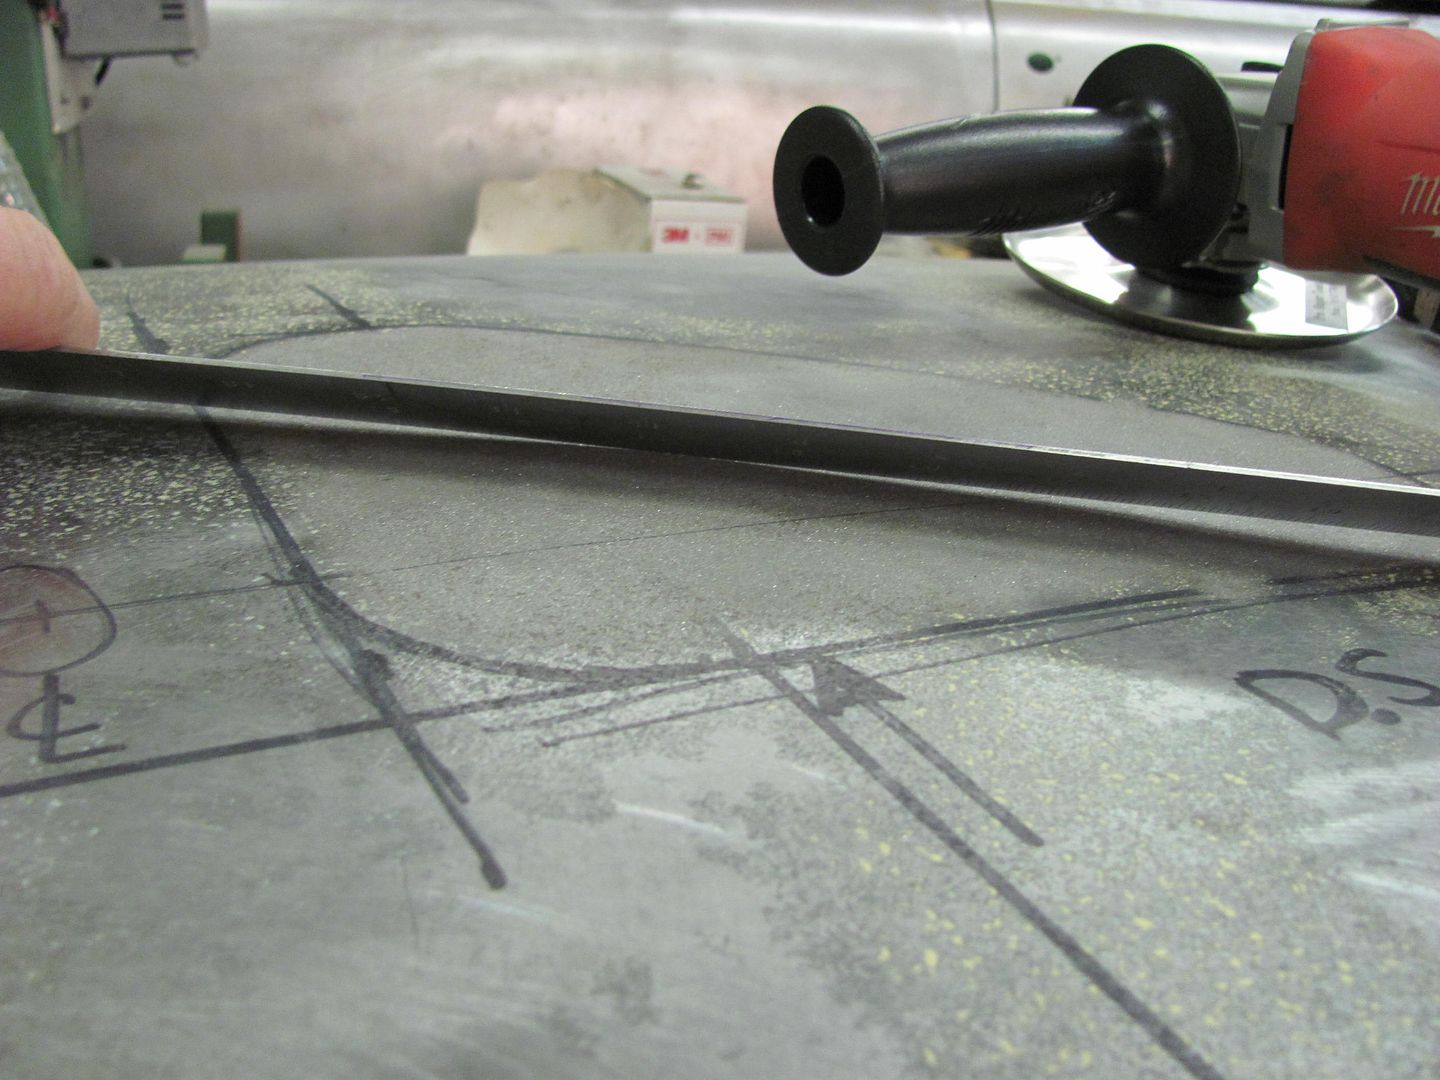
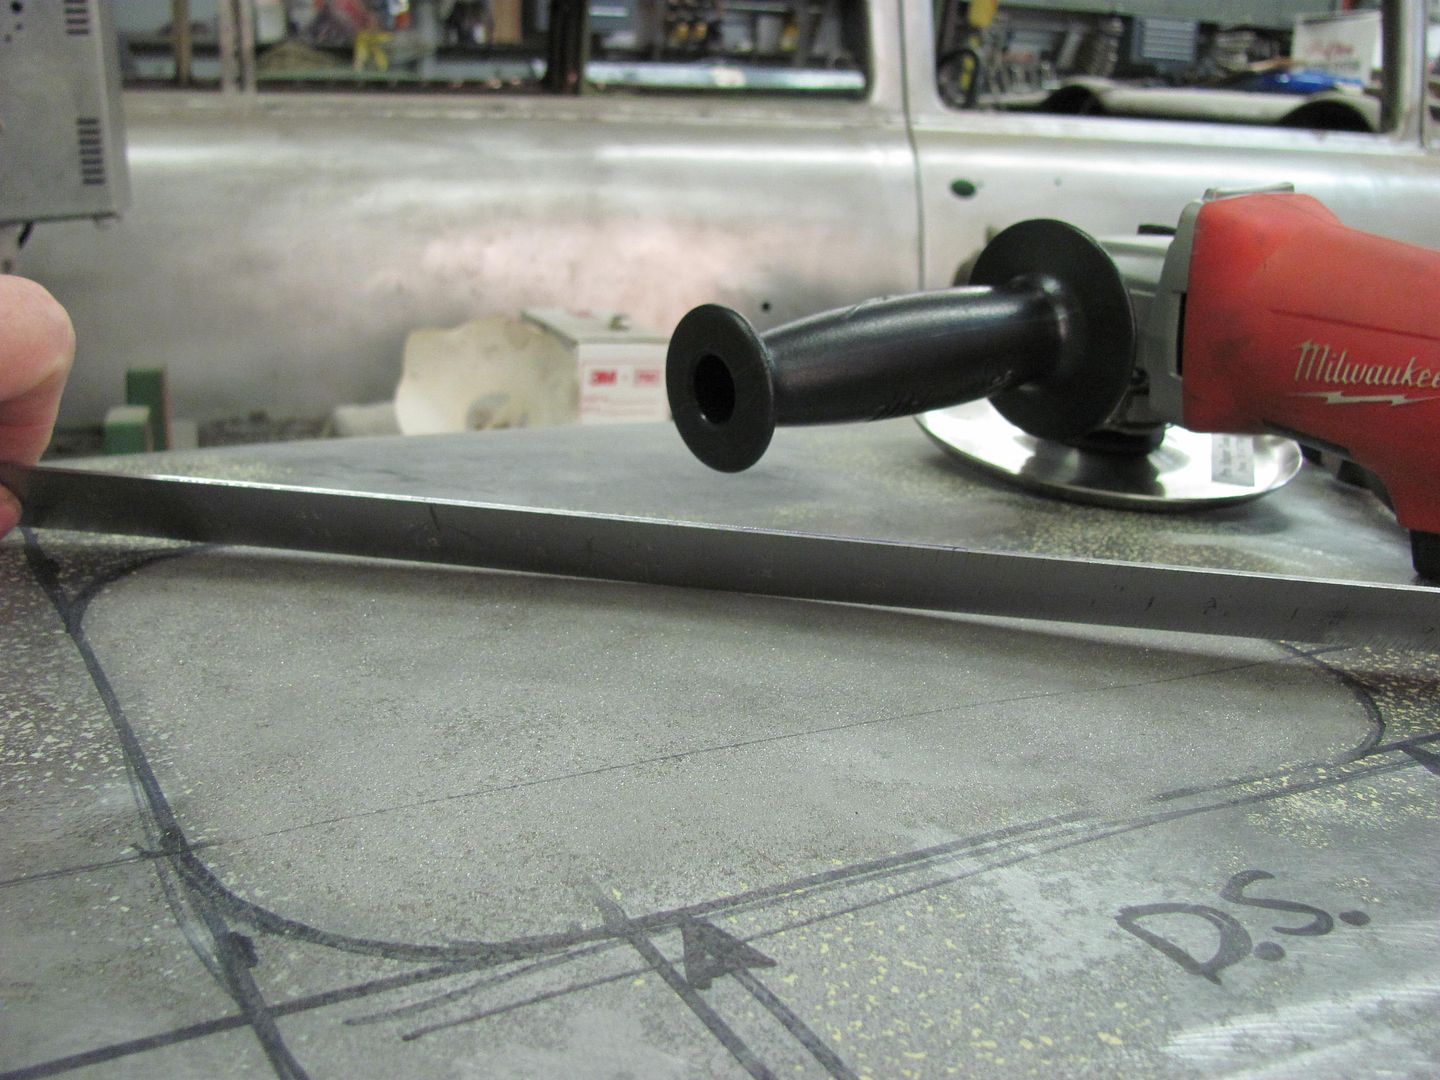
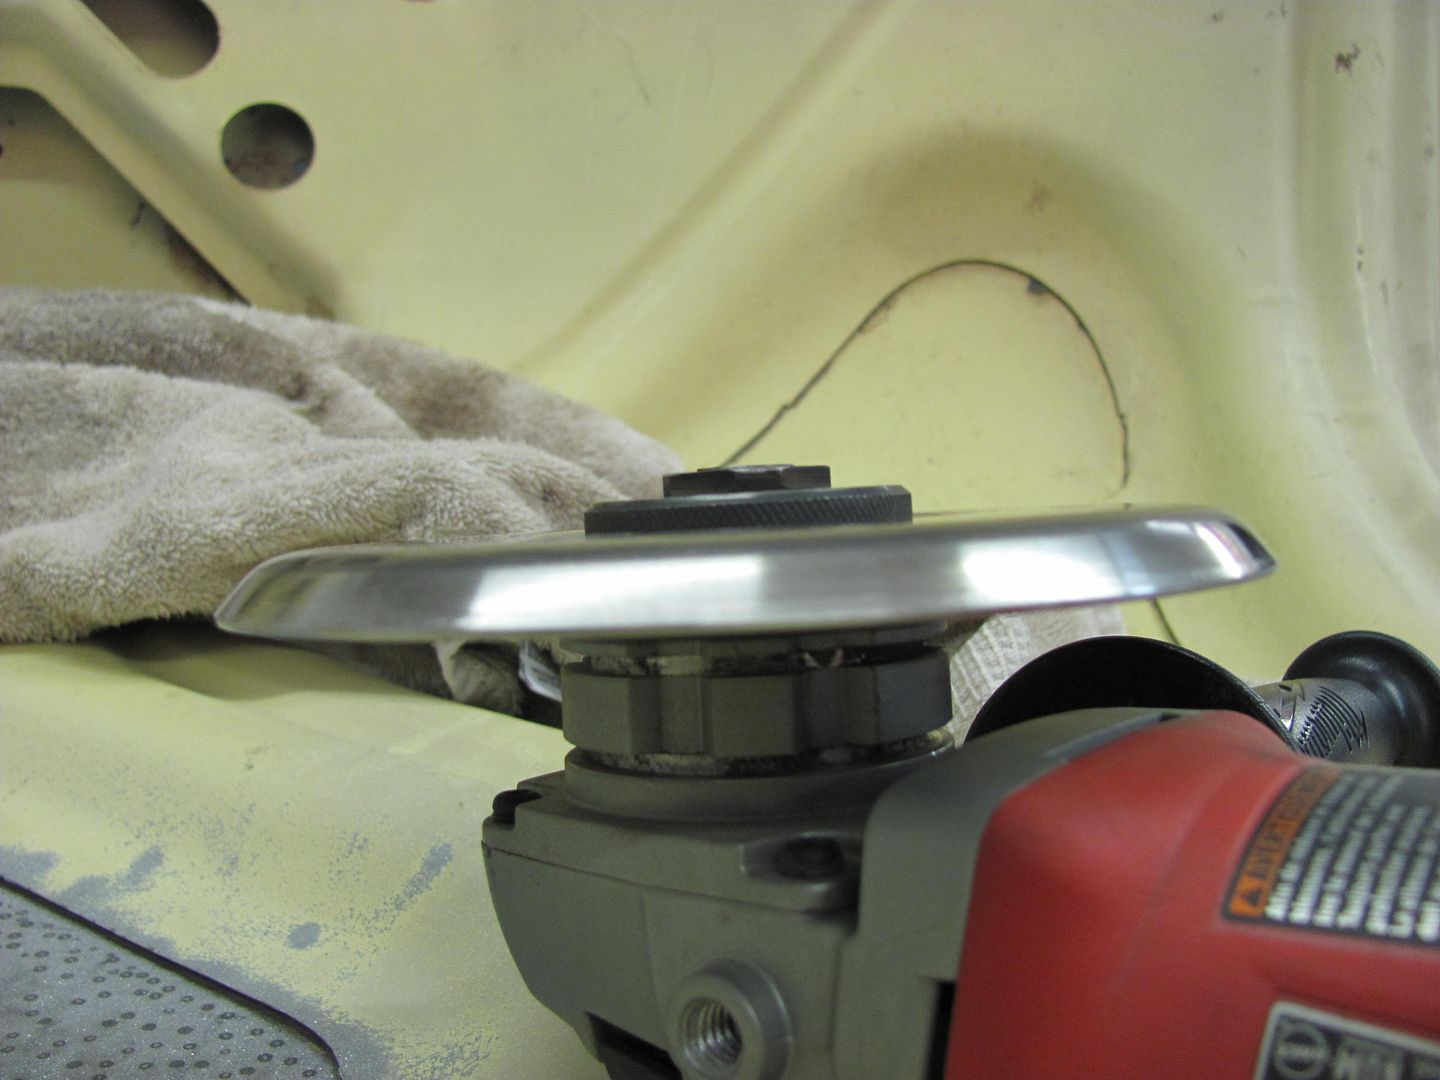
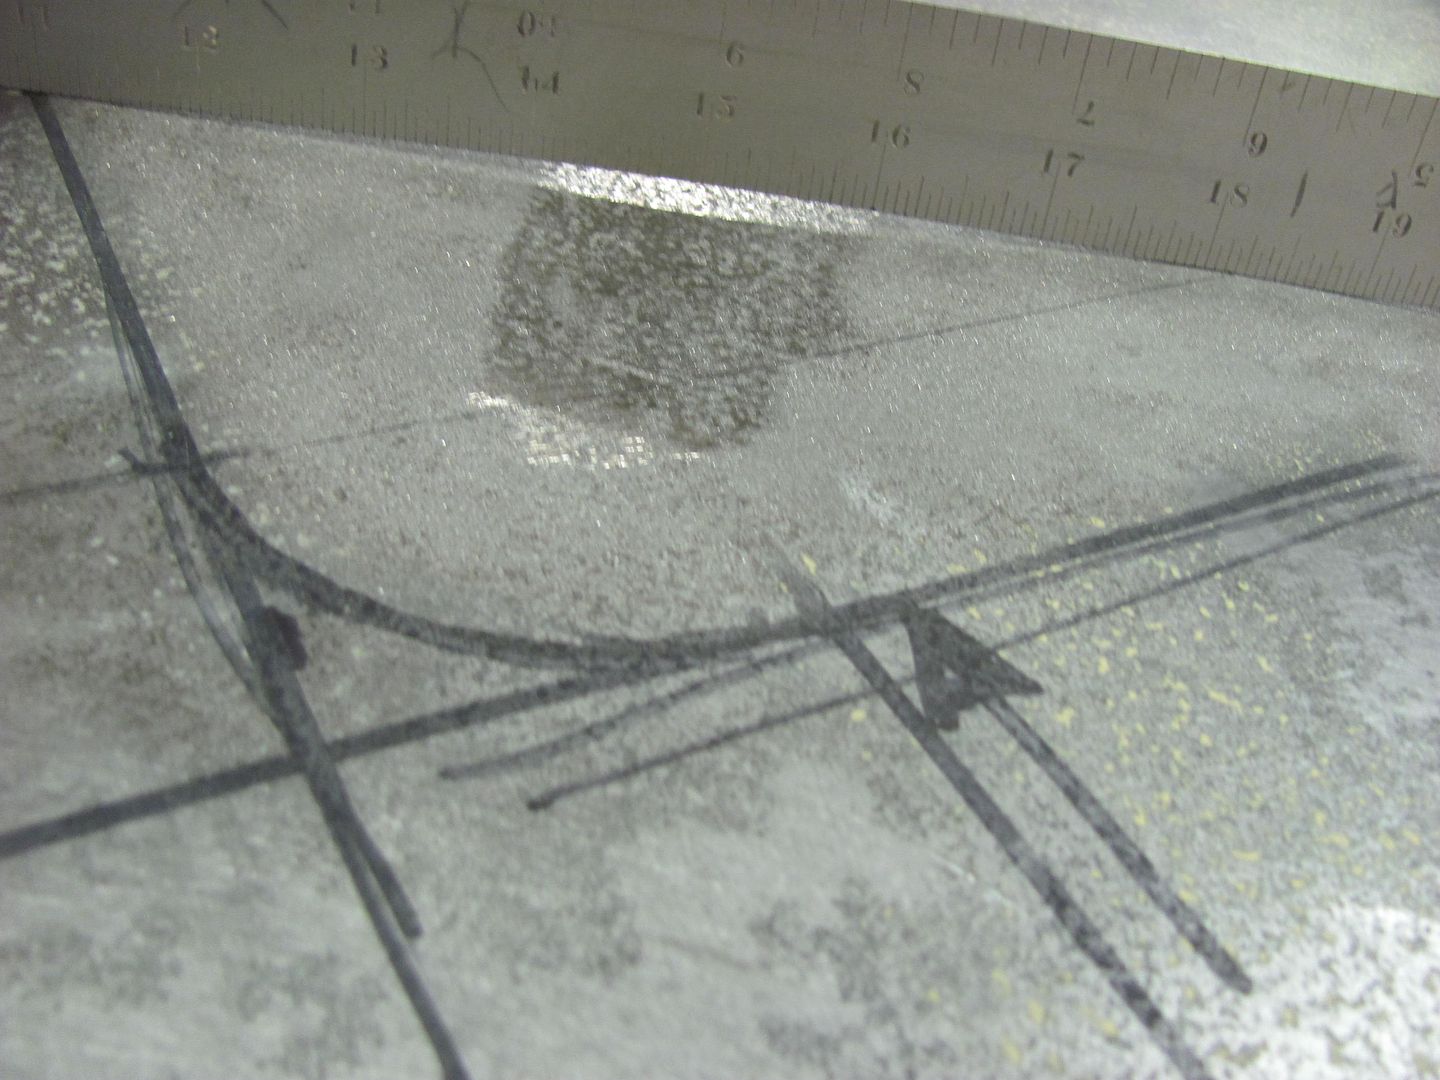
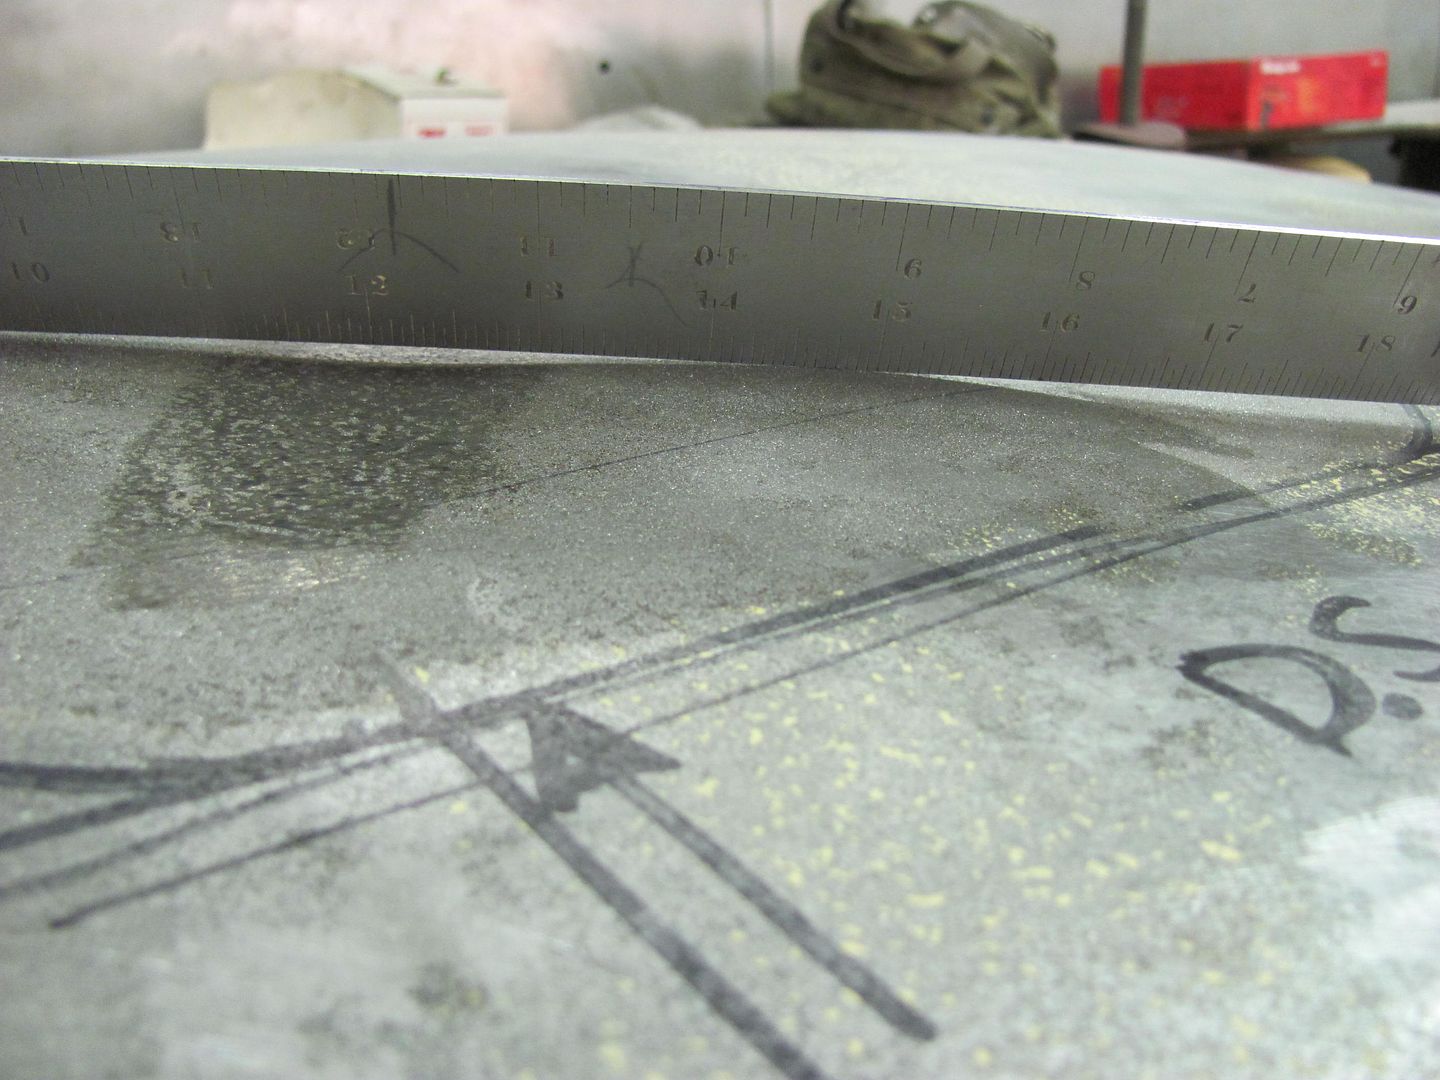
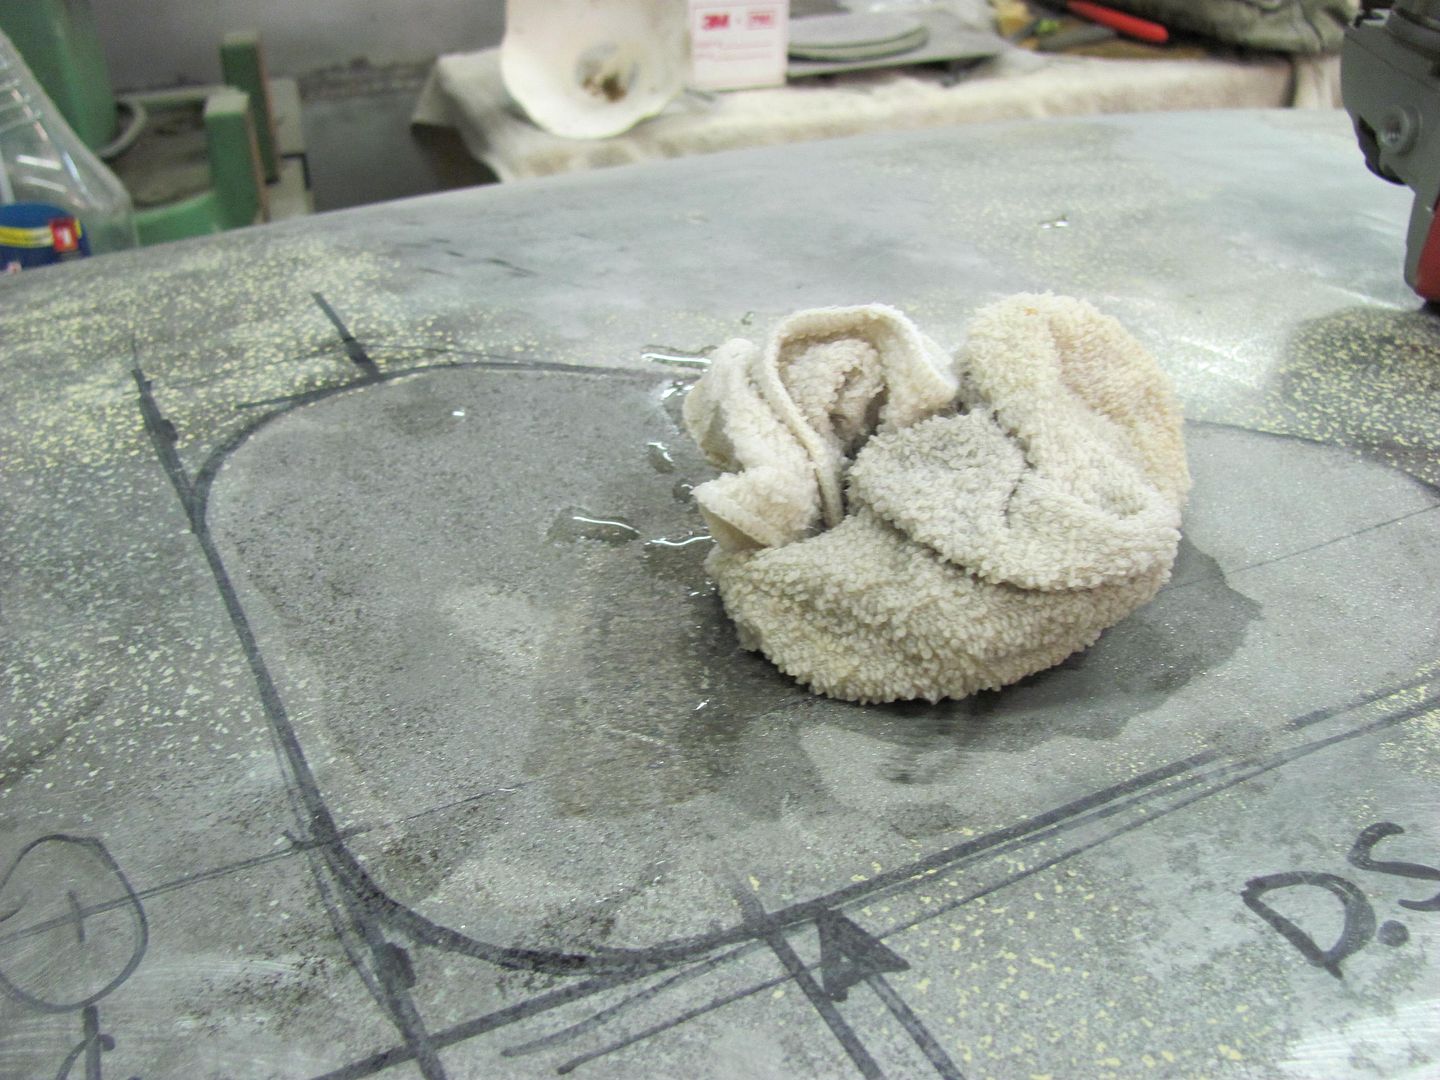
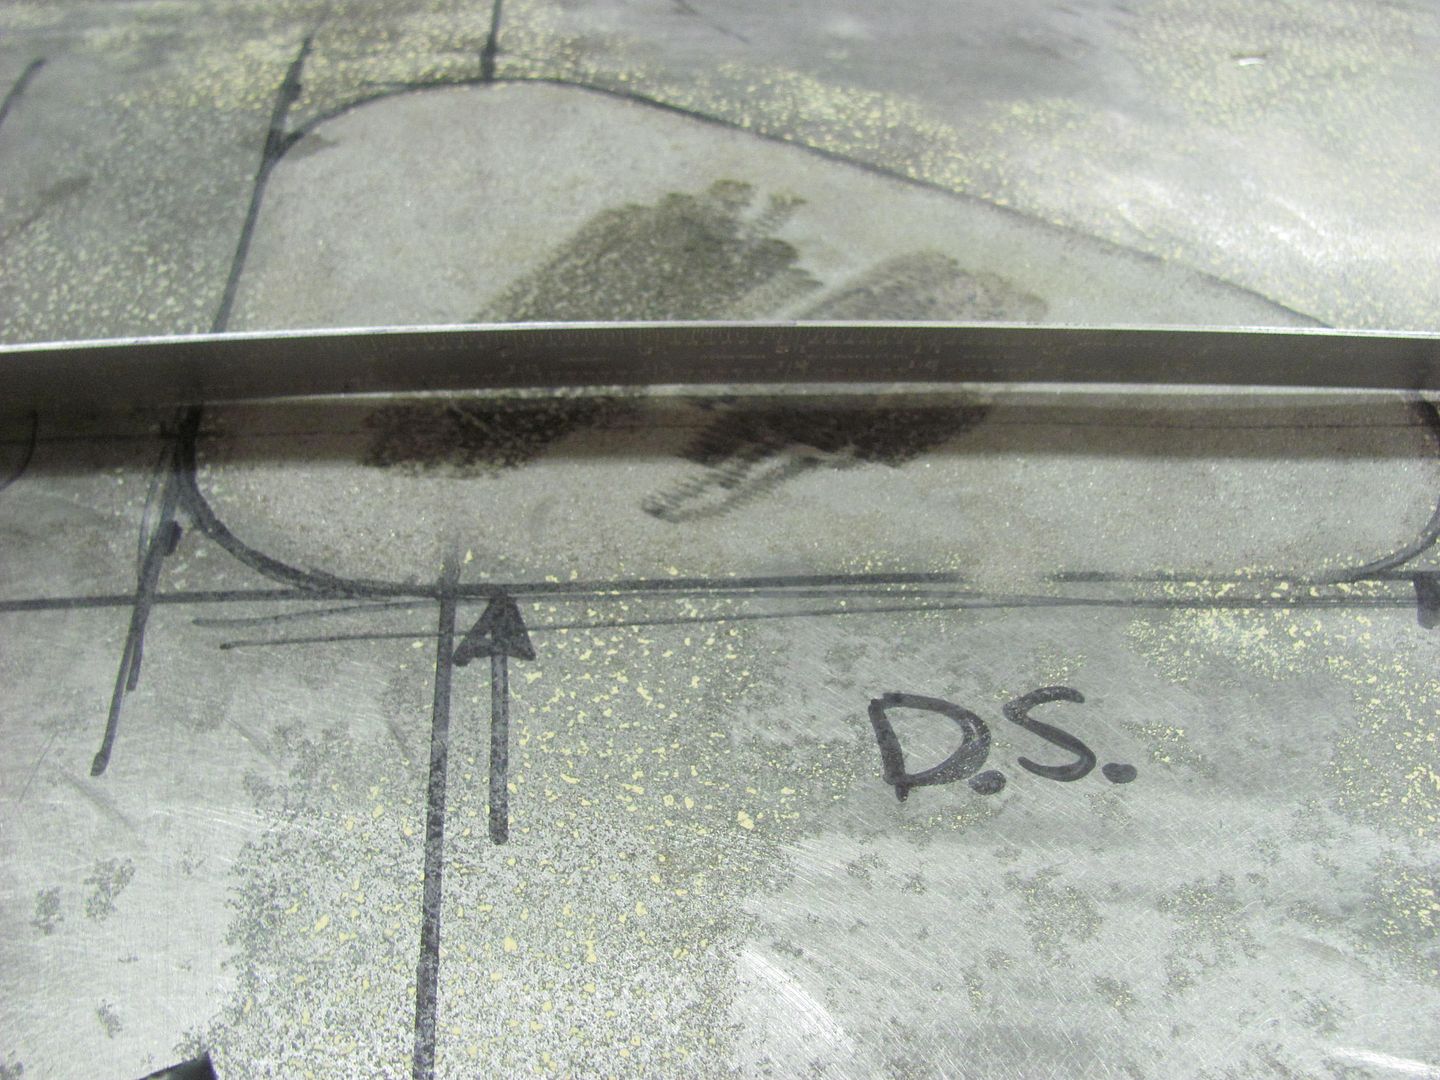
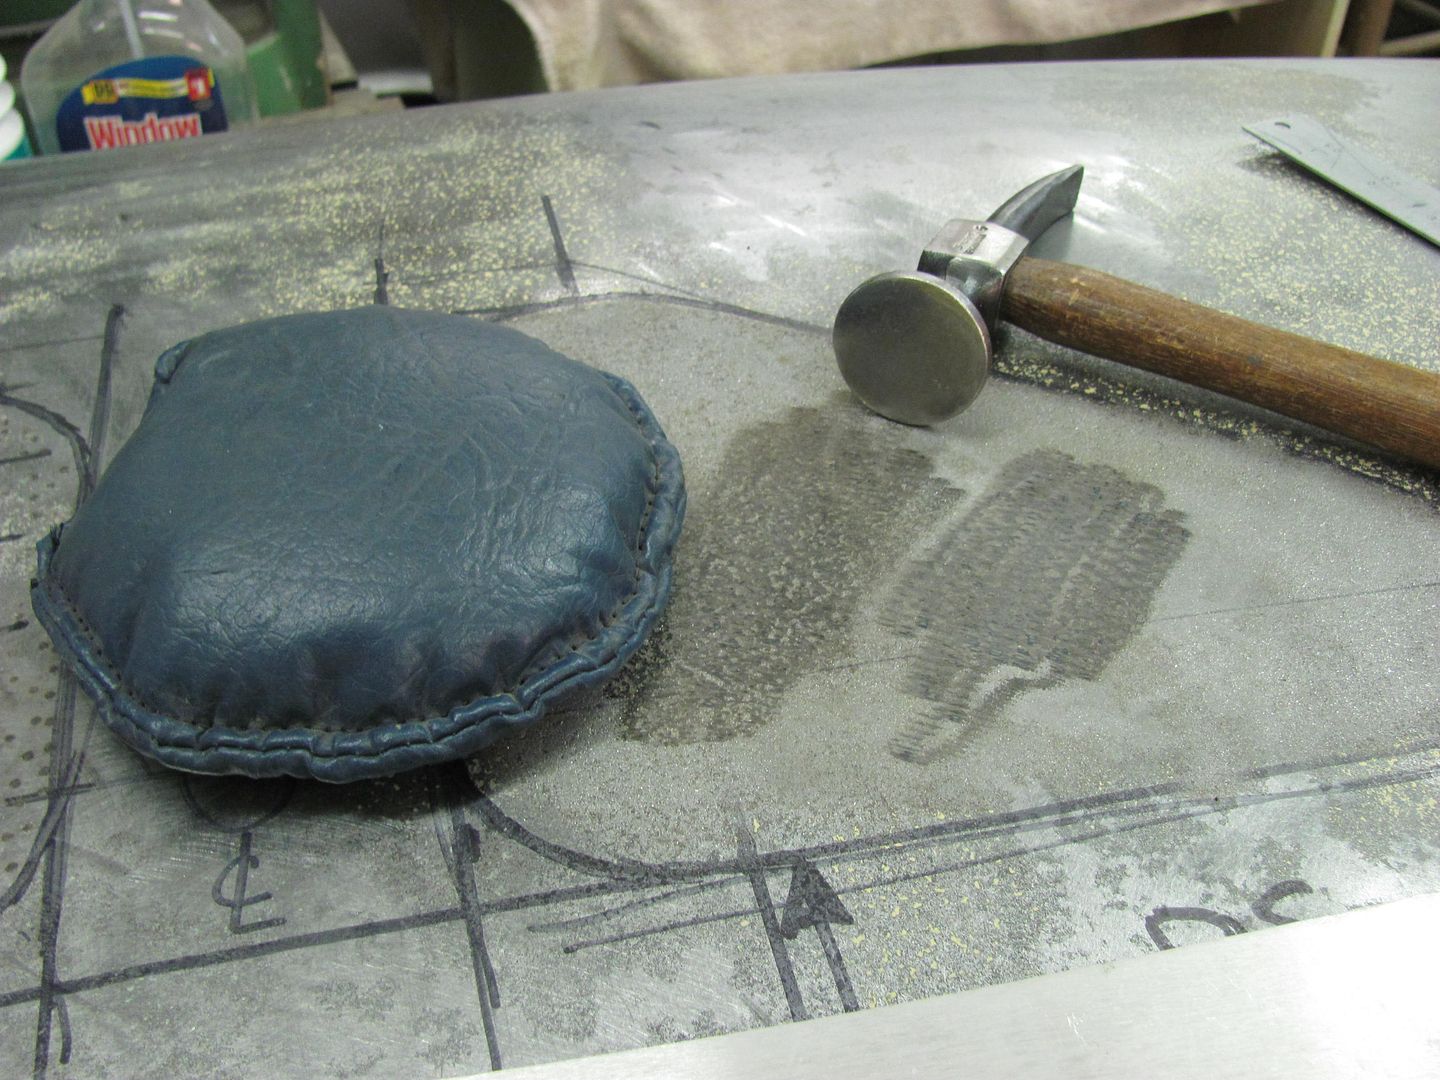
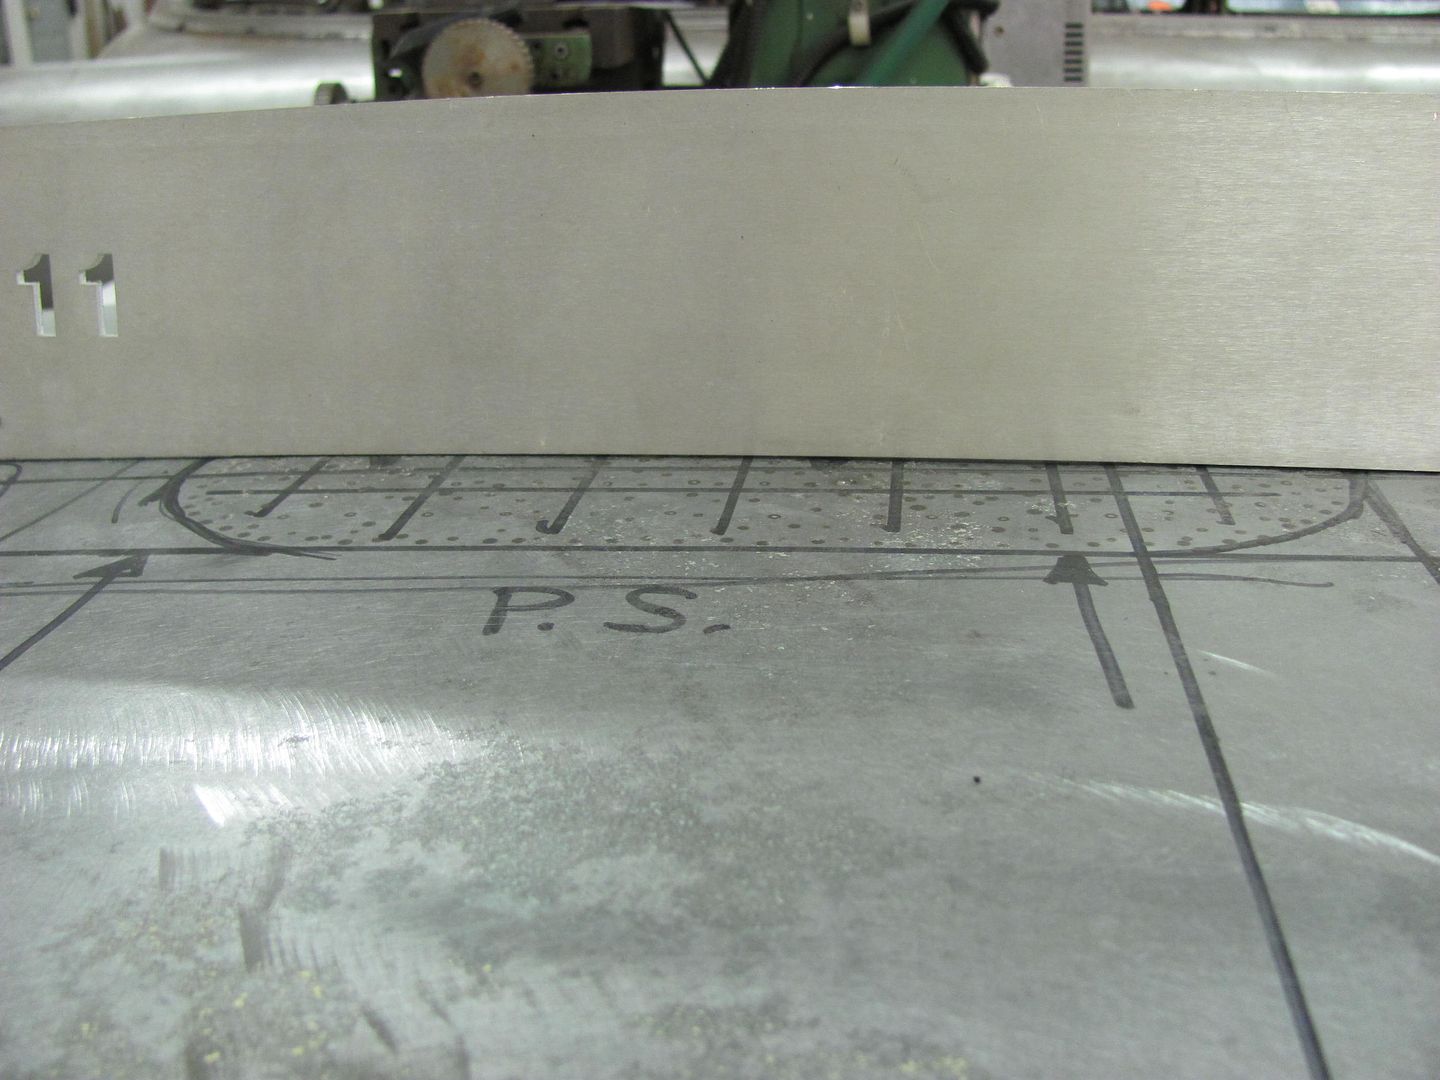
Where the driver's side test area does still show a stretch in the sinusoid wave, I don't think the stretch in this type of surface feature can be effectively removed using the shrinking disc, as the highs (in reference to the side the disc is working) that the disc is looking for alternate from one side to the other, where the inner structure may get in the way of effective work from that side. Perhaps that side could be pushed and held somehow toward the outside of the trunk lid to promote better access for the disc. As I've had limited exposure to this tool, I'll defer those thoughts to someone else with more experience to answer....Keep in mind that the shrinking disc works best when you lay the disc on the center of a high spot. I have not found it to be very useful when using the edge on a low spot.
How about sandblasting it on the outside to stretch the metal evenly on both sides? It will probably oilcan and need shrinking after that, but at least it wouldn't be stretched on only one side and you could use the shrinking disc to bring it back down. I still think a hammer and dolly would work too...that's what I would try anyhow..............I believe the right thing to do is to stretch the outside of the sheet while pushing up on the dolly, which is held on the inside. I think that action will tend to compress the inside (or stretch it less) and stretch the outside, resulting in a more evenly stretched area. Then you can shrink the whole area back to where it belongs with a shrinking disc. That's my thinking anyhow.........
Not long at all, very short, you can see the metal move. Too little is better than too much.if I hold the panel and use the propane torch method how long should I apply heat? Also should I heat just the center or the complete warped area?
I moved the torch around in a circular pattern over the area for just a few seconds.
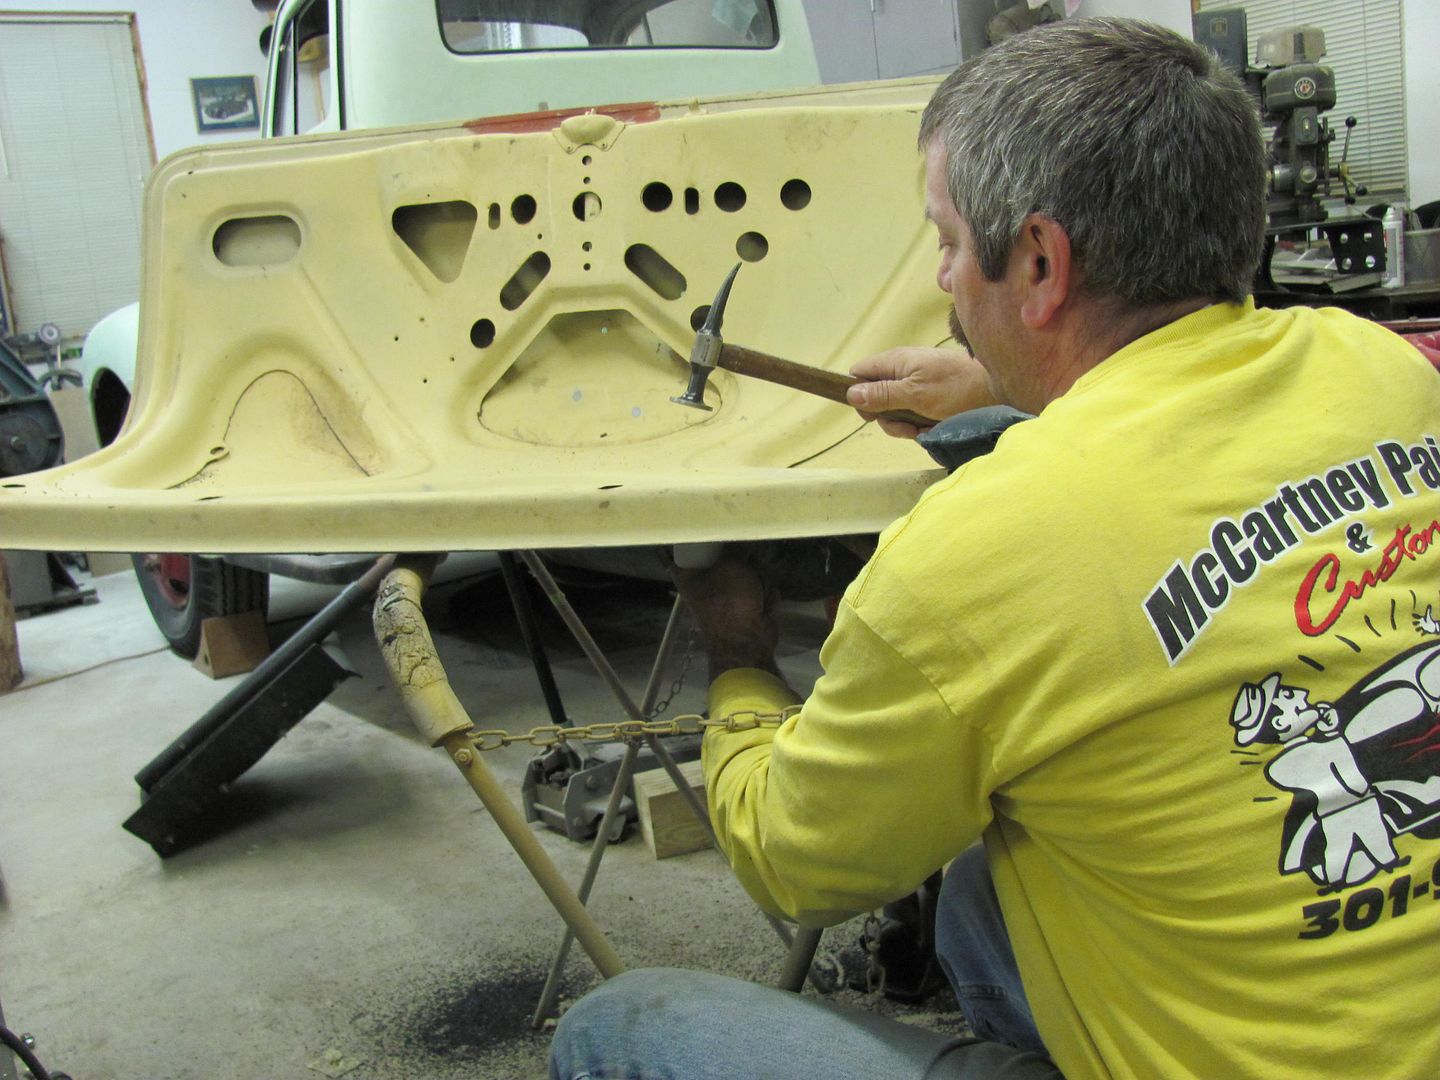
I did enough just so the panel would stay in the out position on it's own. Then I used the shrinking disc from there. Used the ******* and dolly if I got too much shrinkage.
You can get lucky on a few small pieces but when a large panel is damaged that bad you can chase an oil can all day.
Having absolutely no knowledge in body work probably tints my comments, but here goes.... Wouldn't it be cheaper to buy another trunk lid? Seems like a lot of man hours into R&D to save a trunk lid that can't cost more than $500 to replace.
I am not a proponent of using POR type products except in the case of inaccessibility in void areas where you can't get to for proper media blasting or abrading for using epoxy primer. So this would limit their use to areas that are not exposed or areas that will not get top coated. Even then there is no guarantee for success as these type products promote shortcuts.
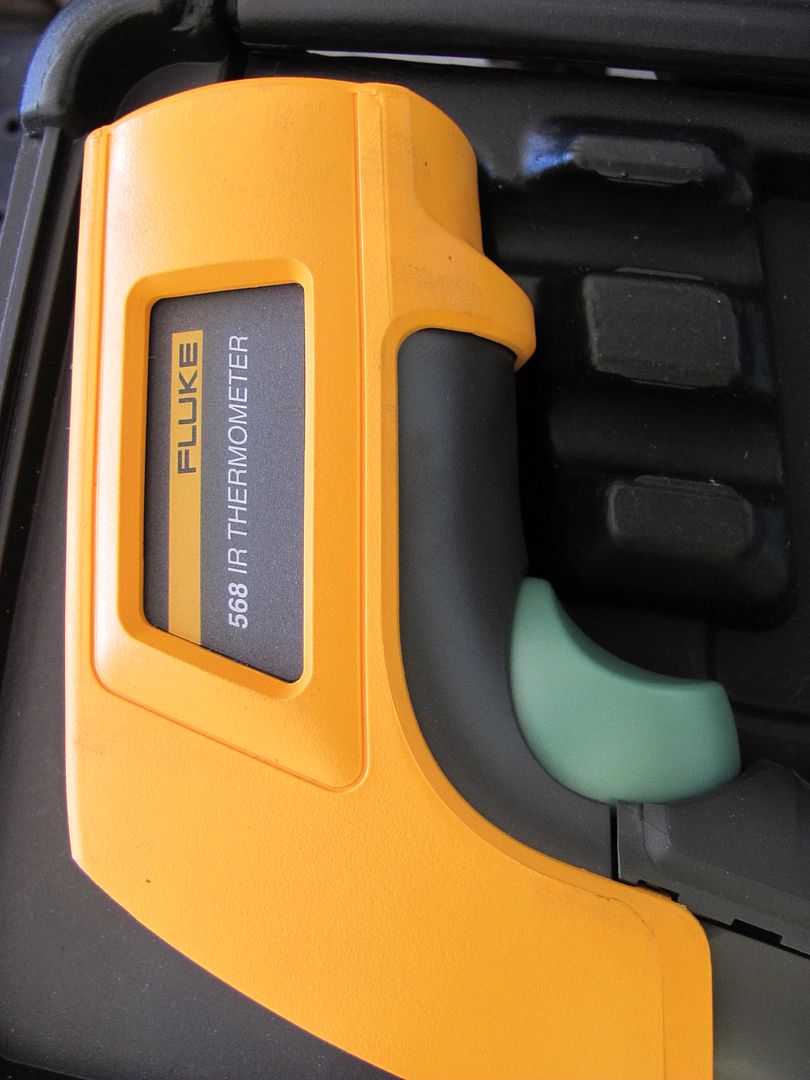
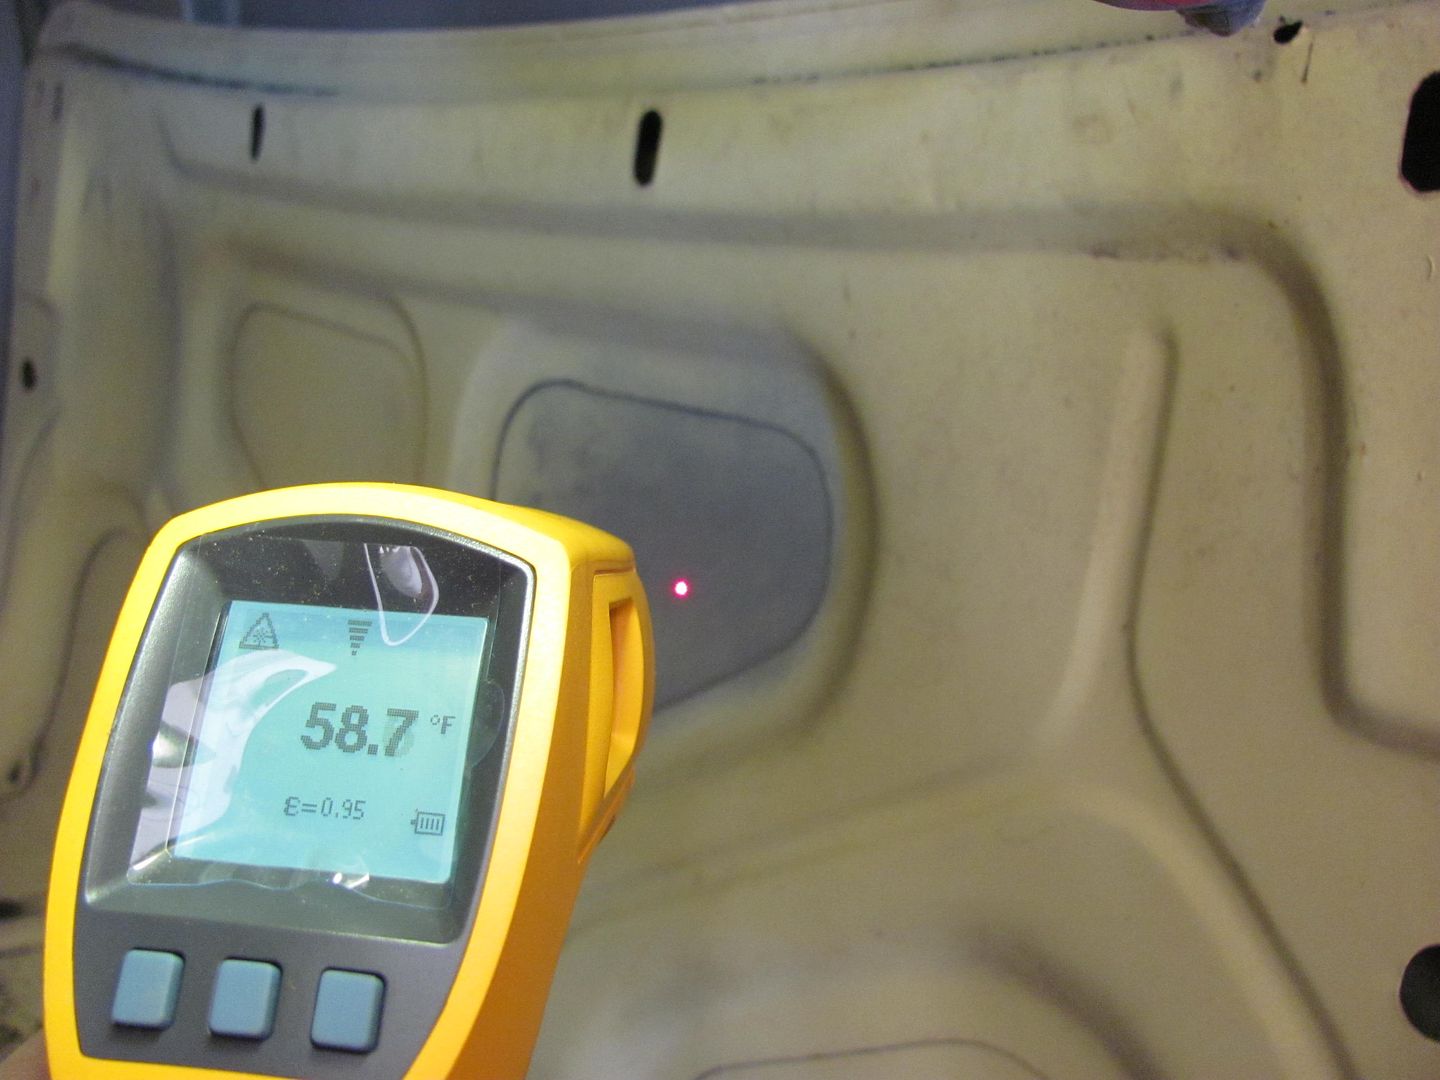
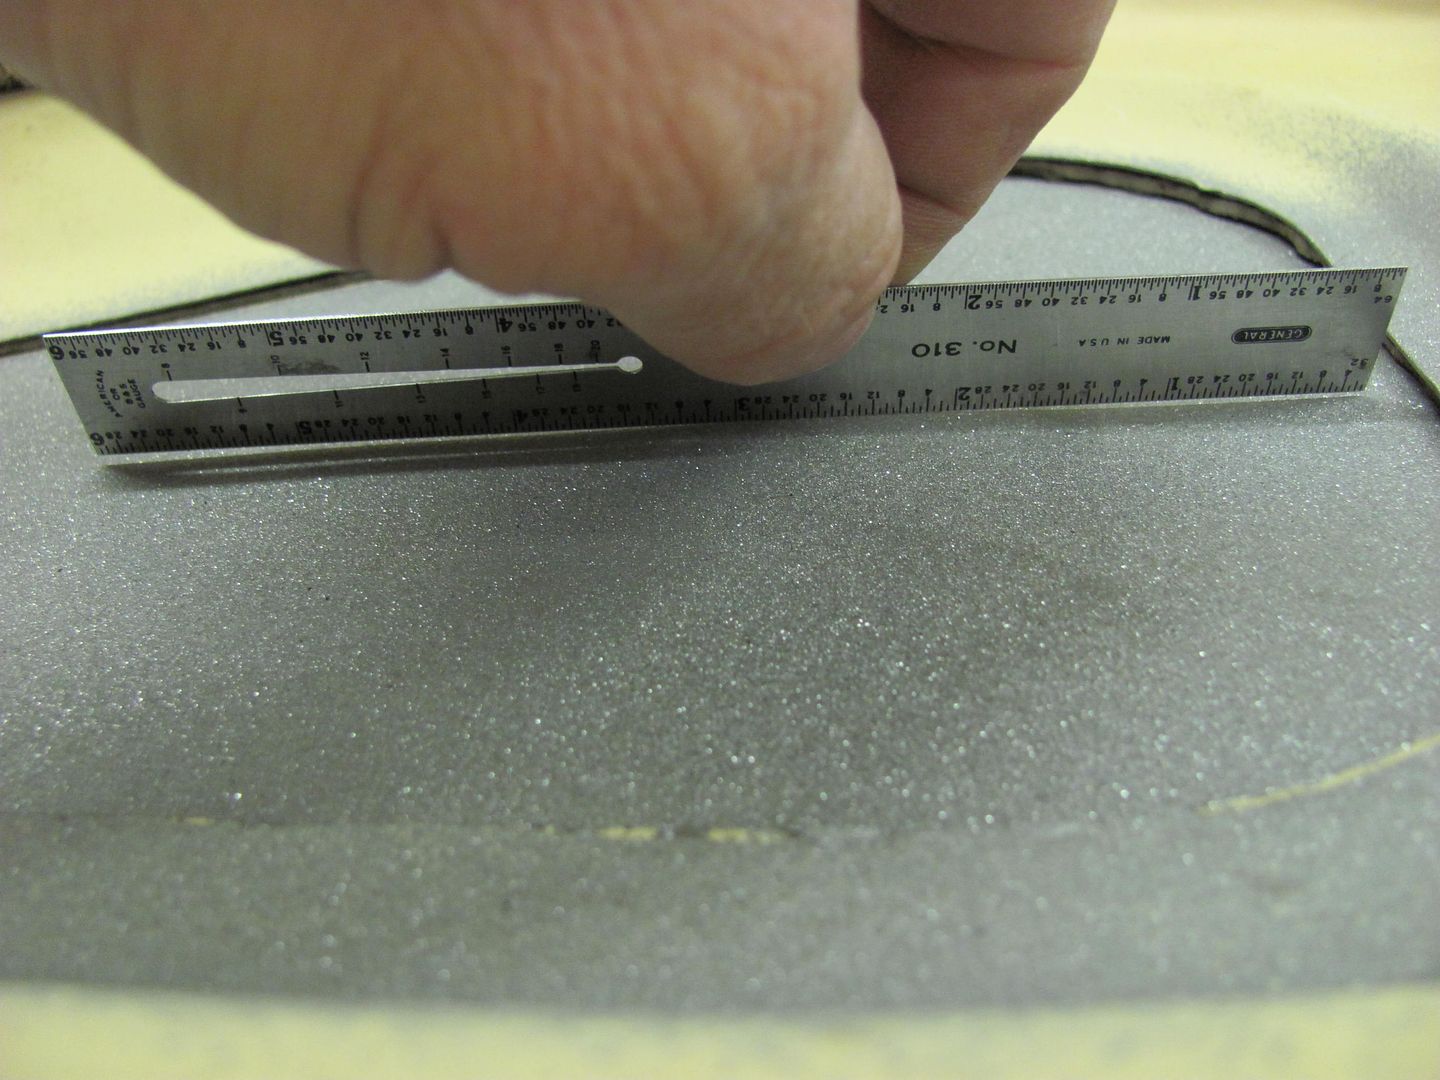
Here is the thermometer we'll be using today....
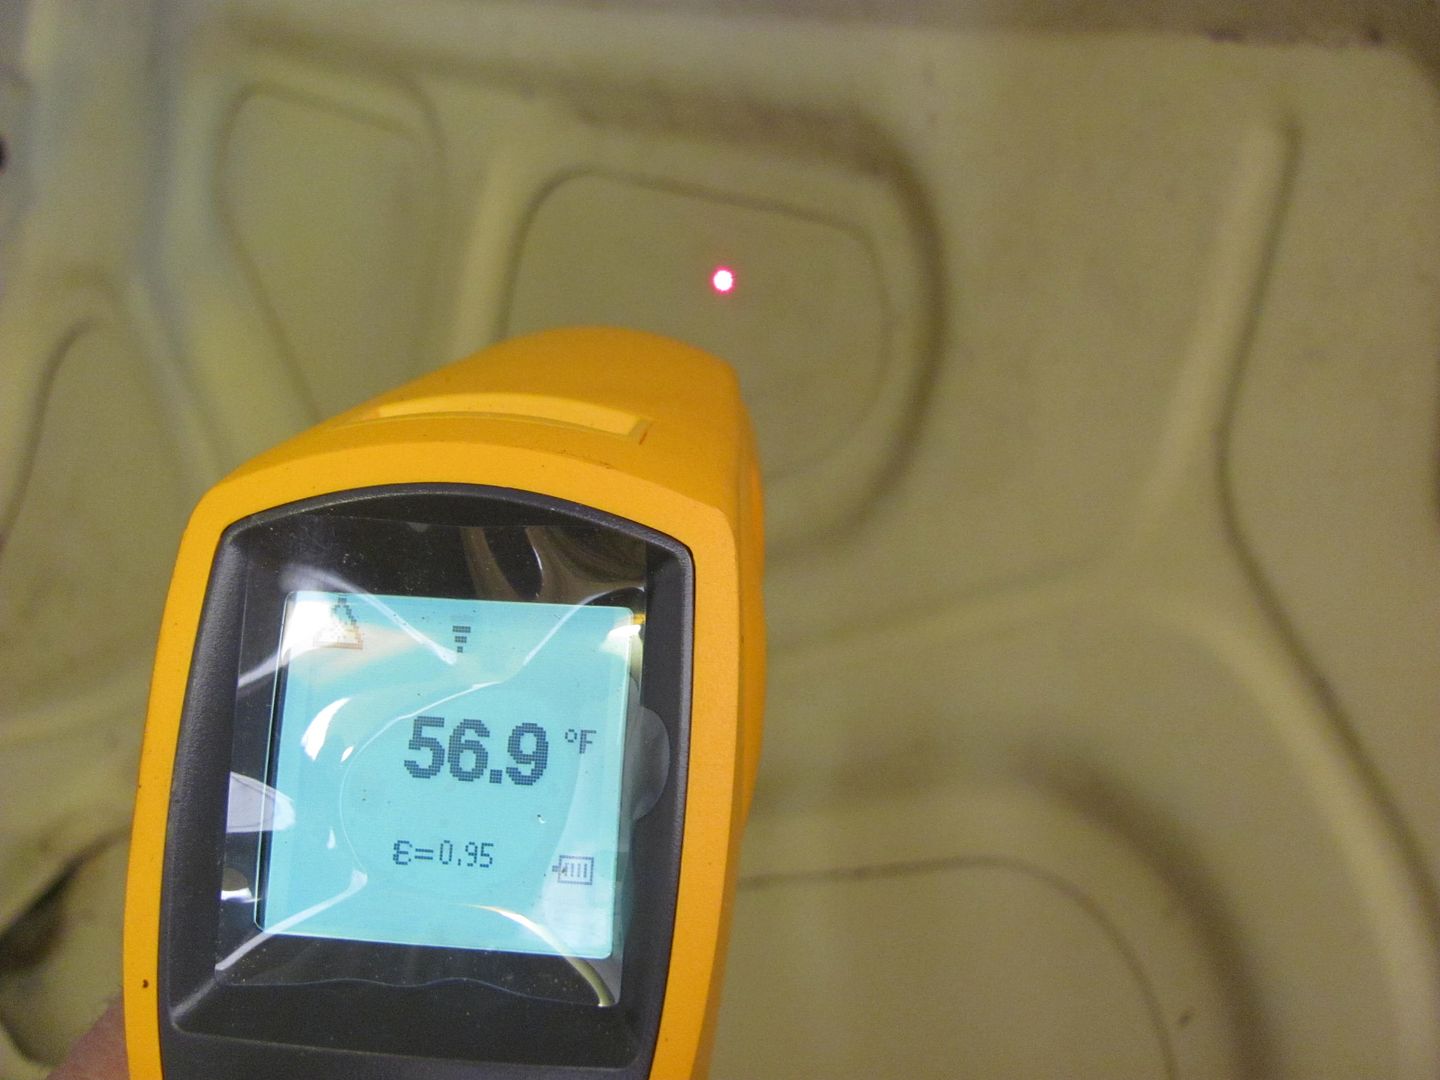
And here is the baseline temp.....
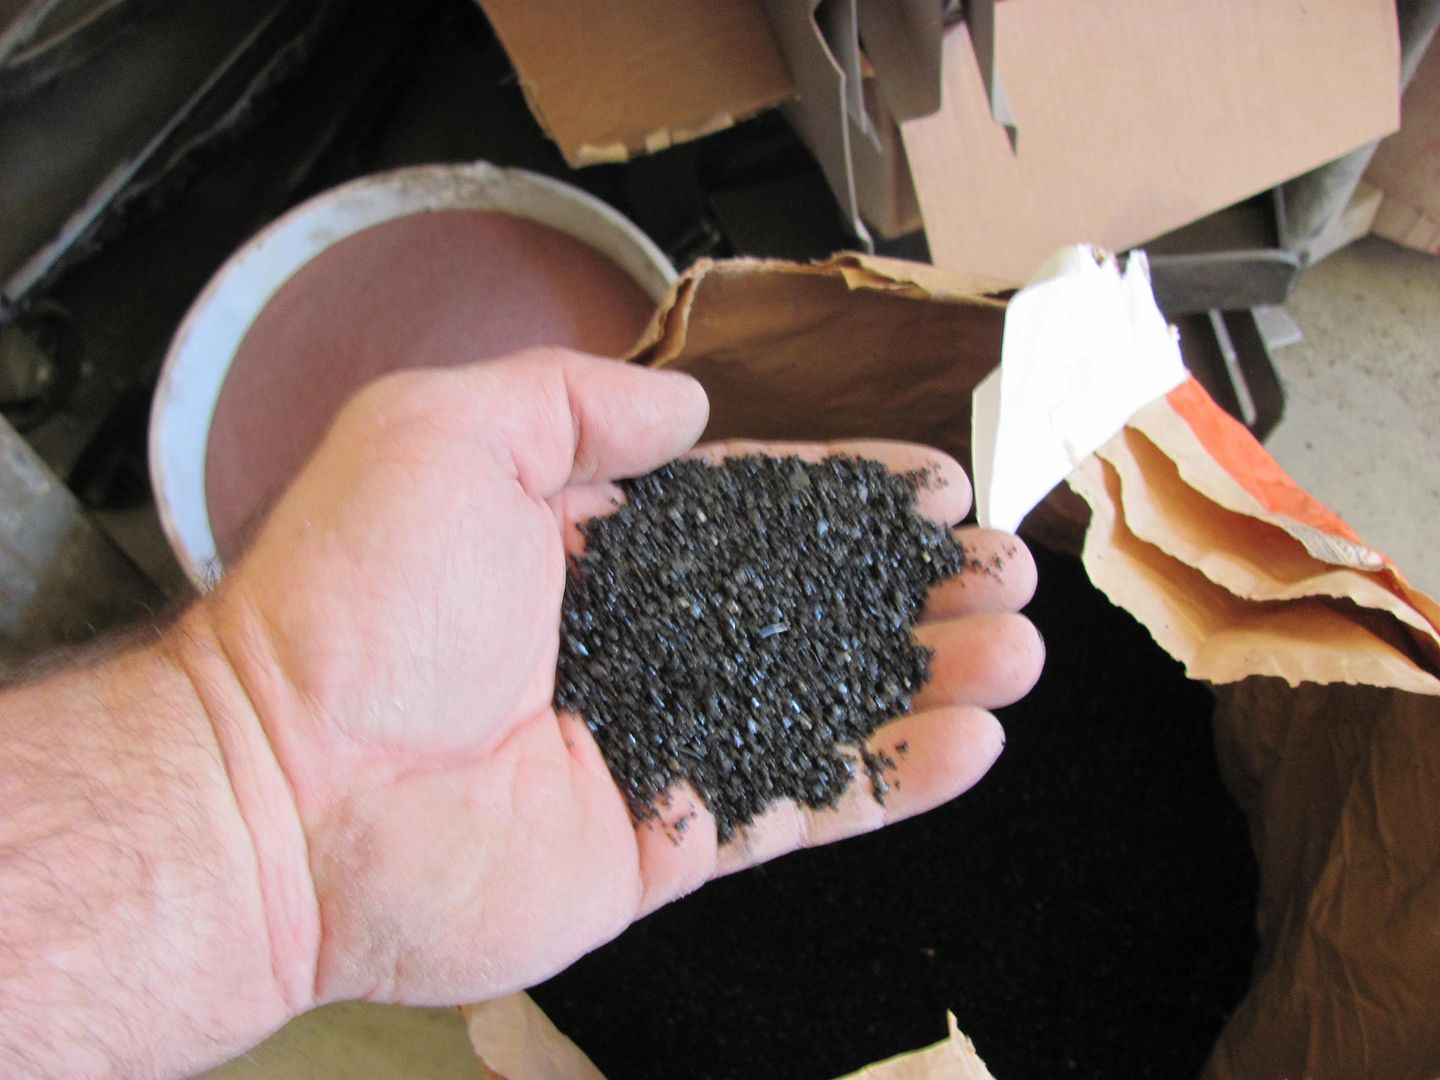
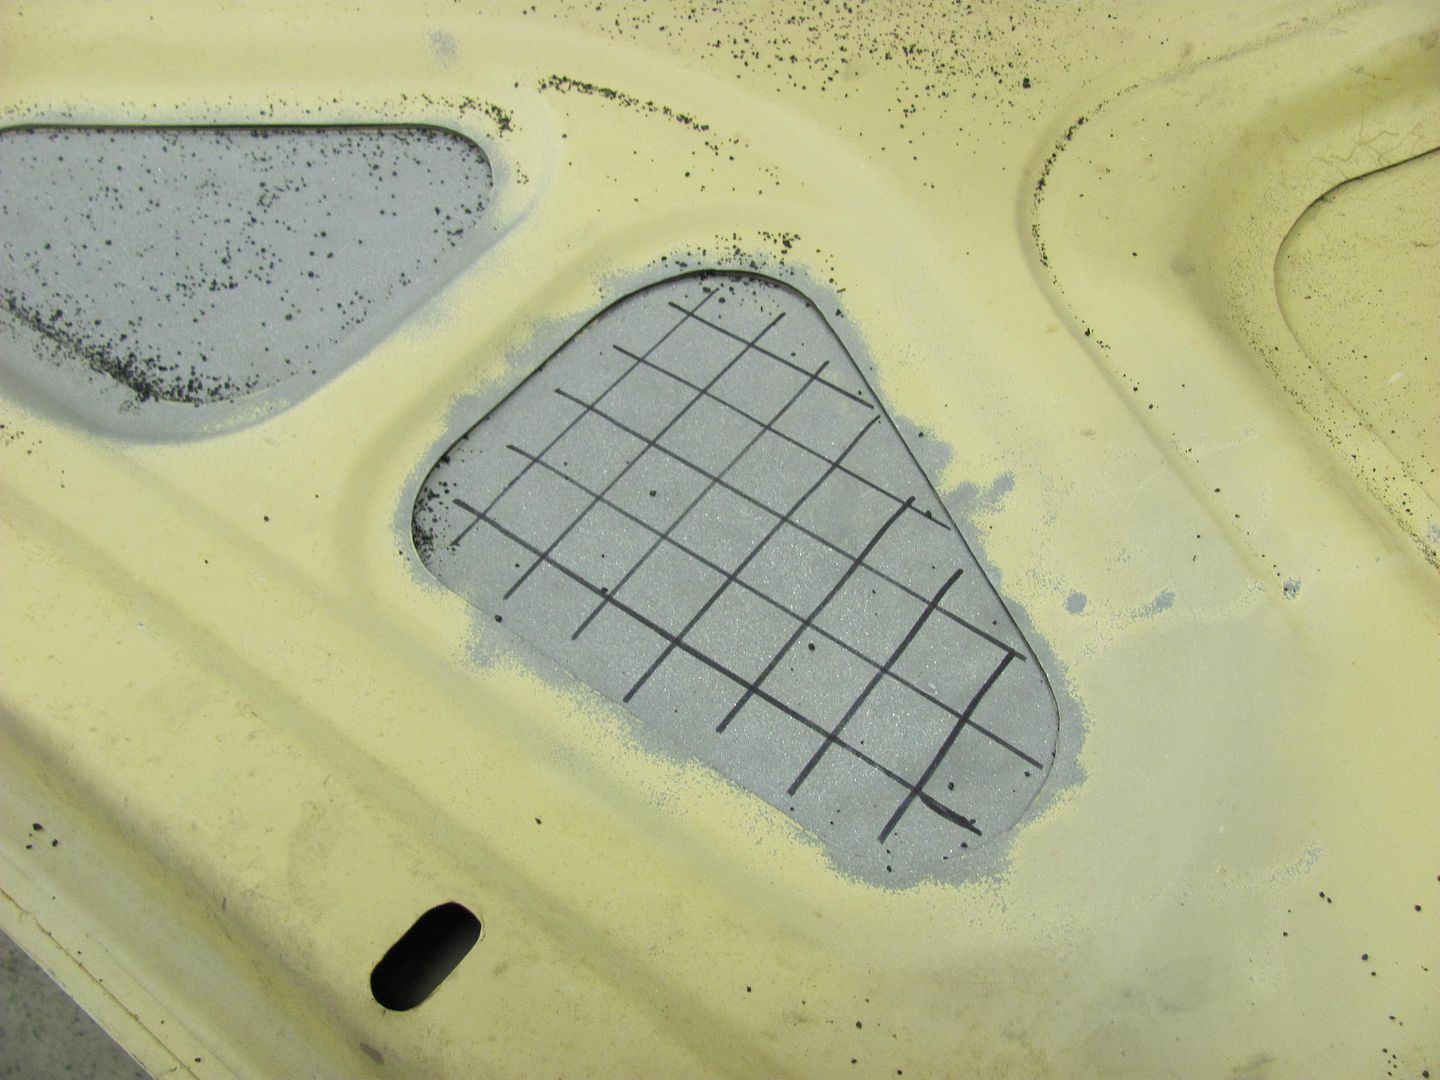
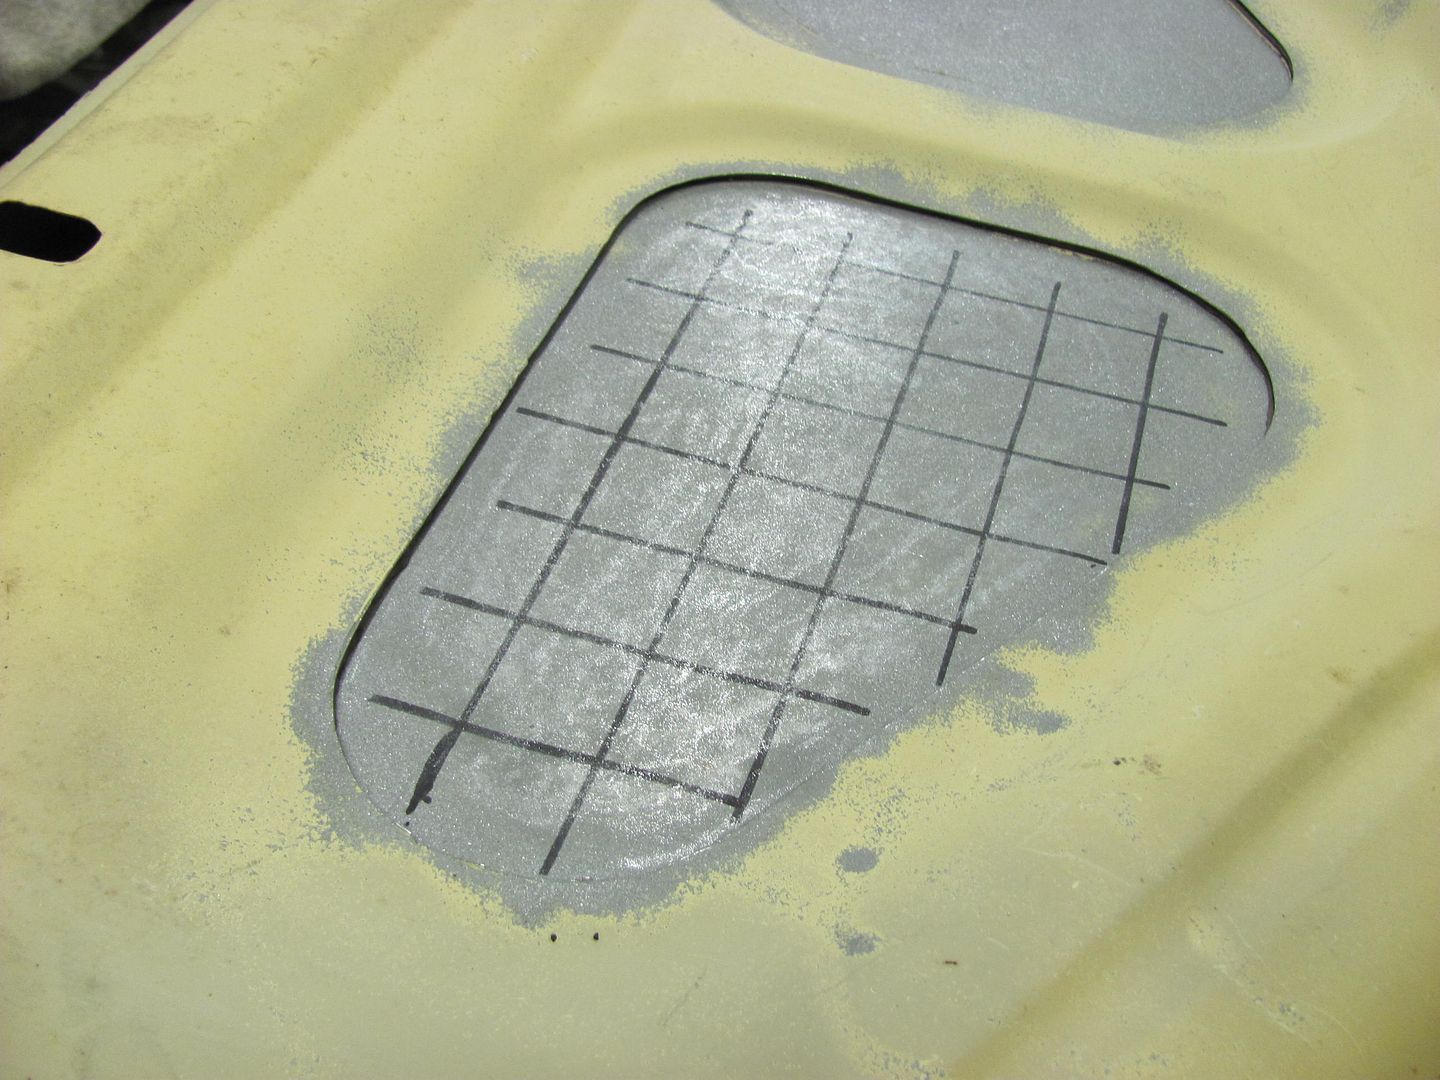
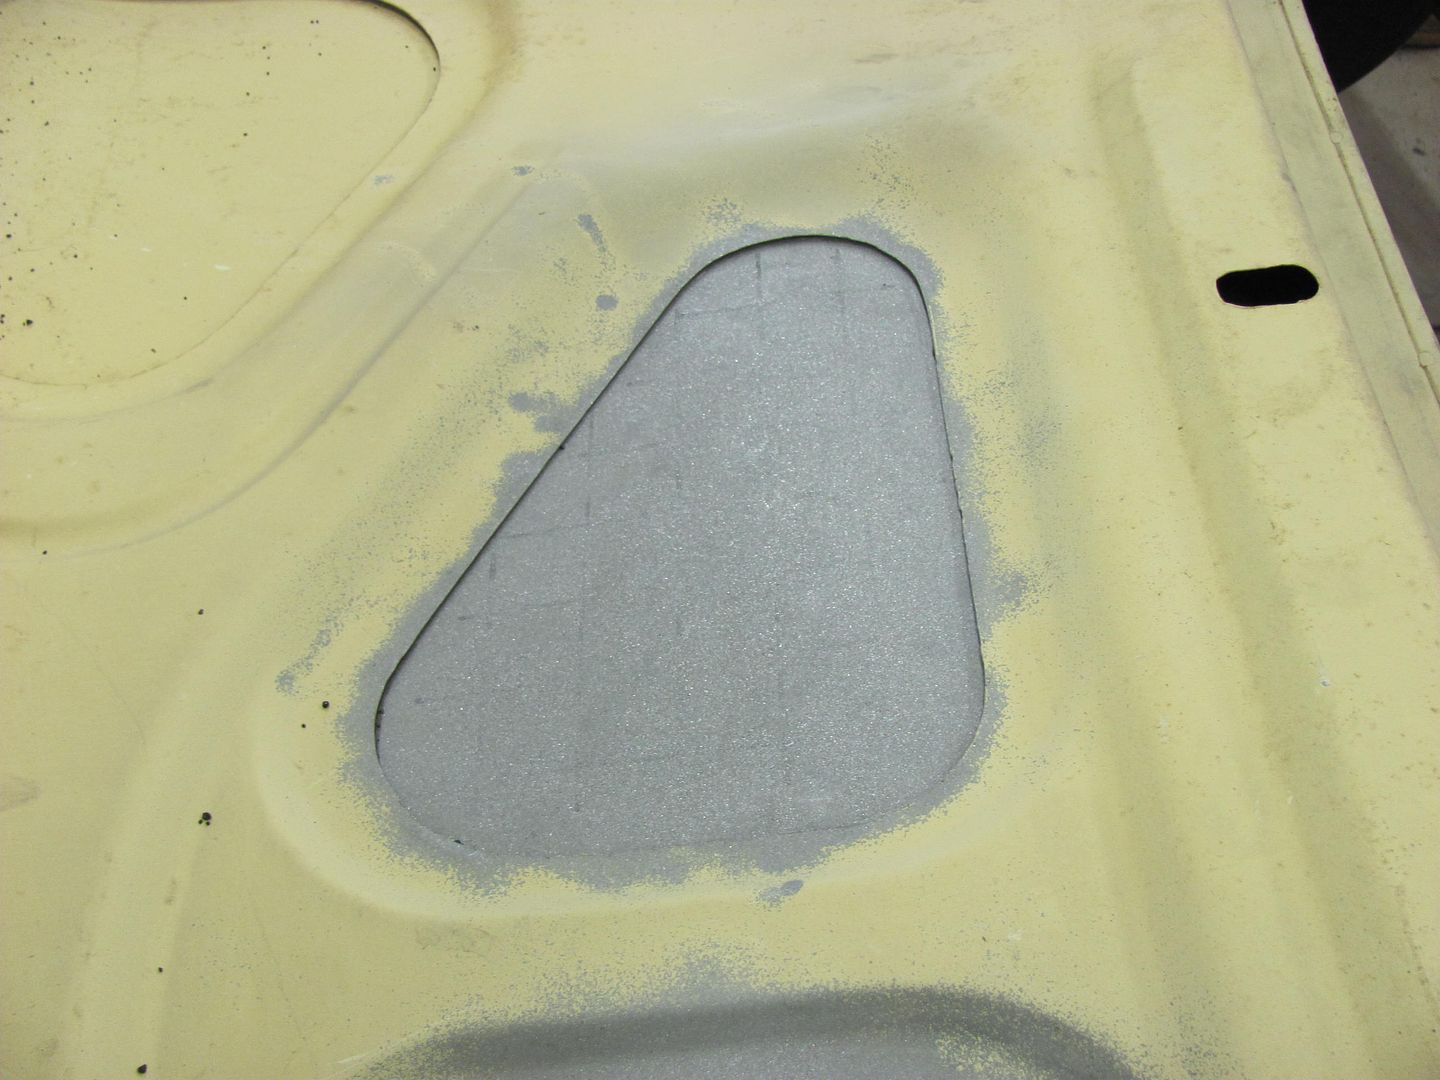
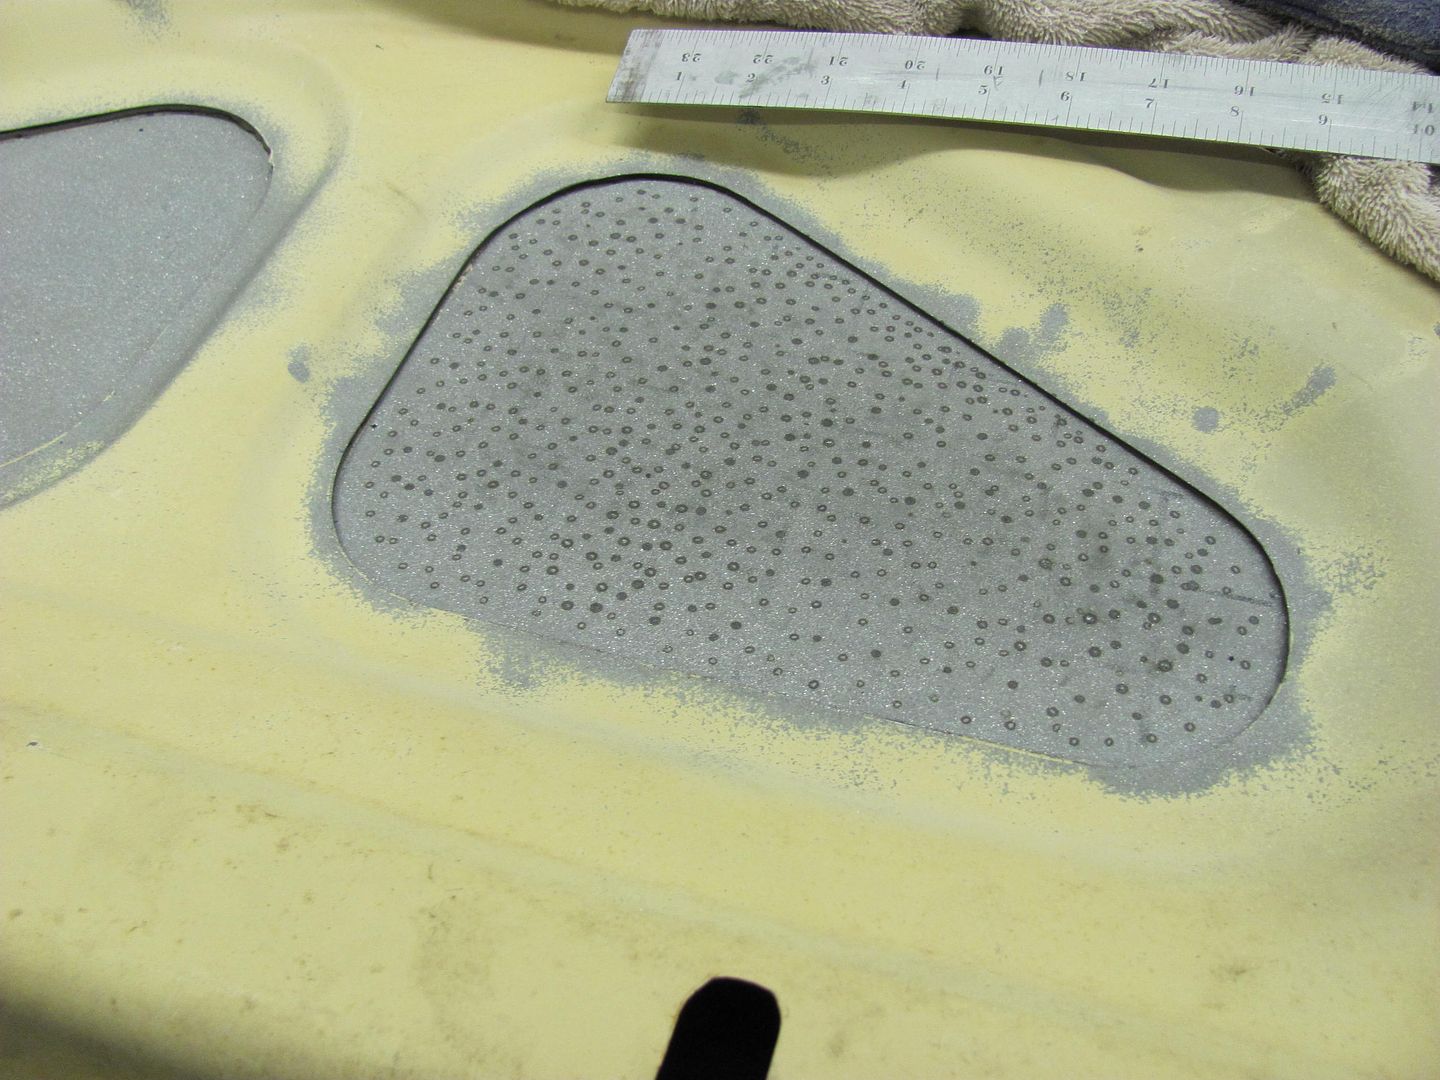
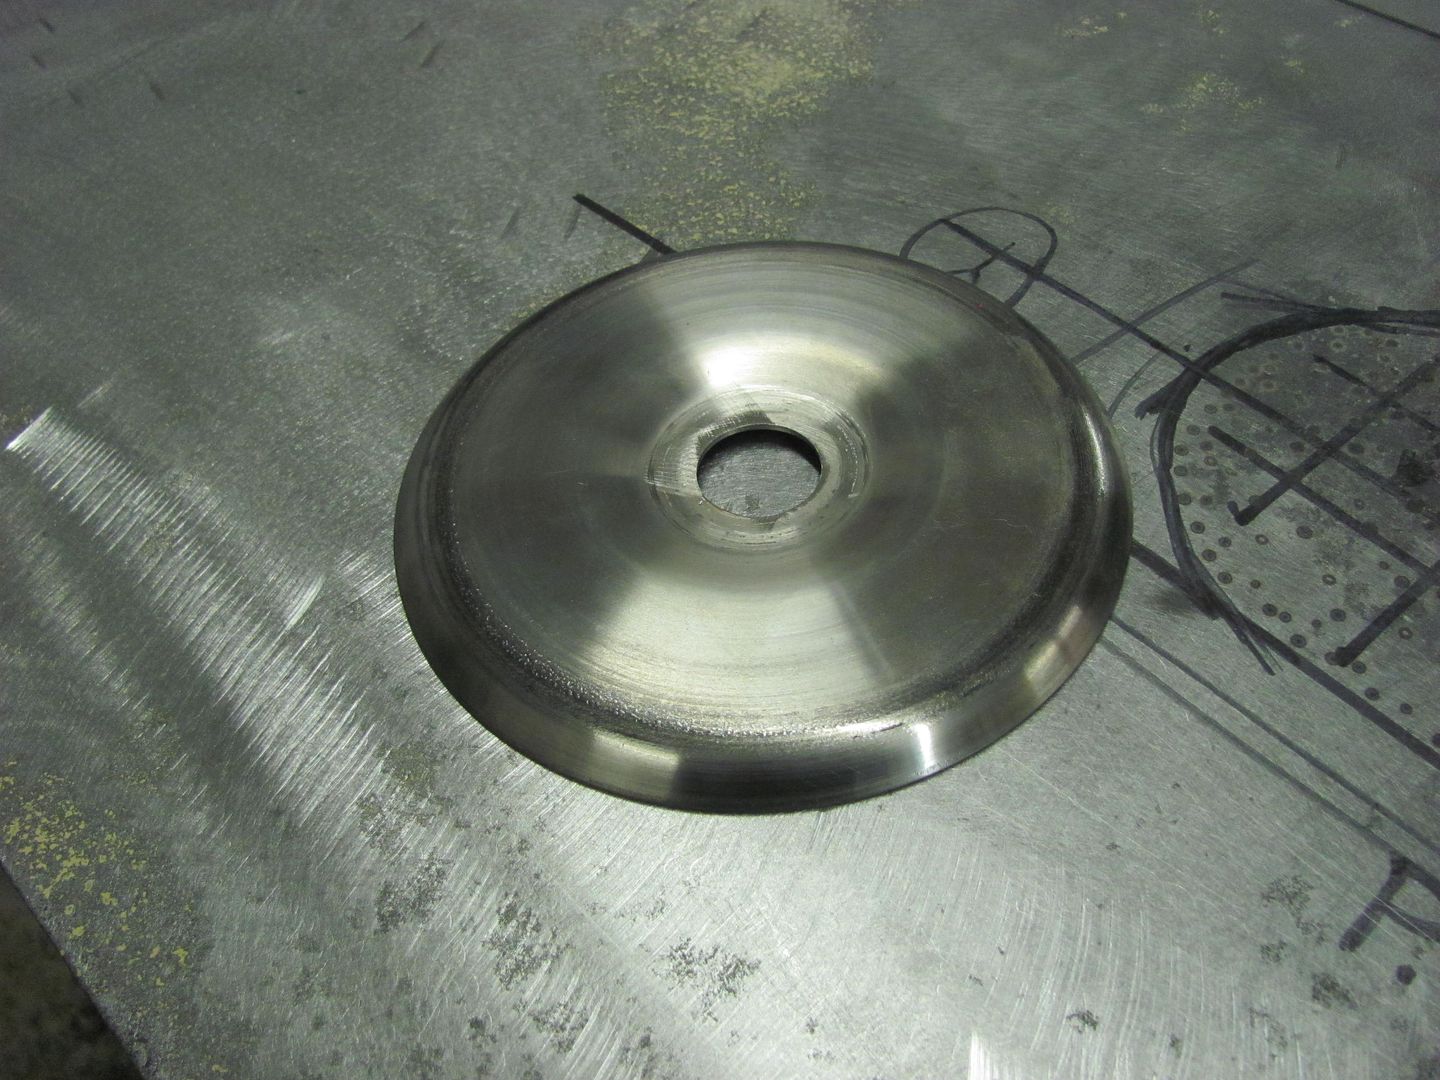
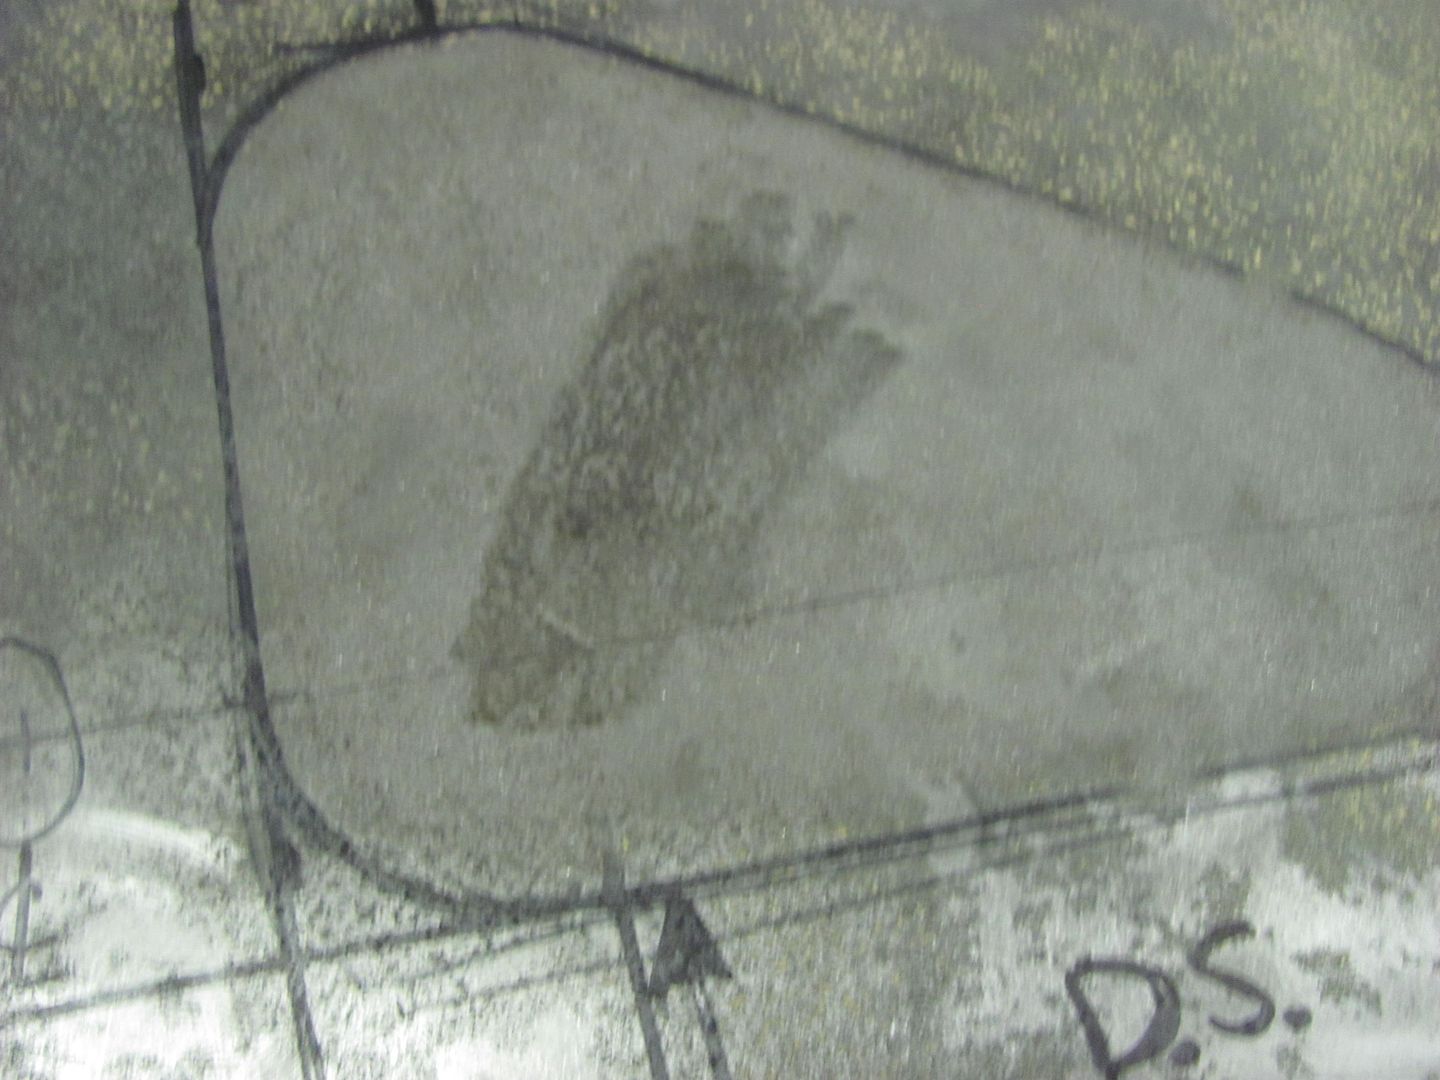
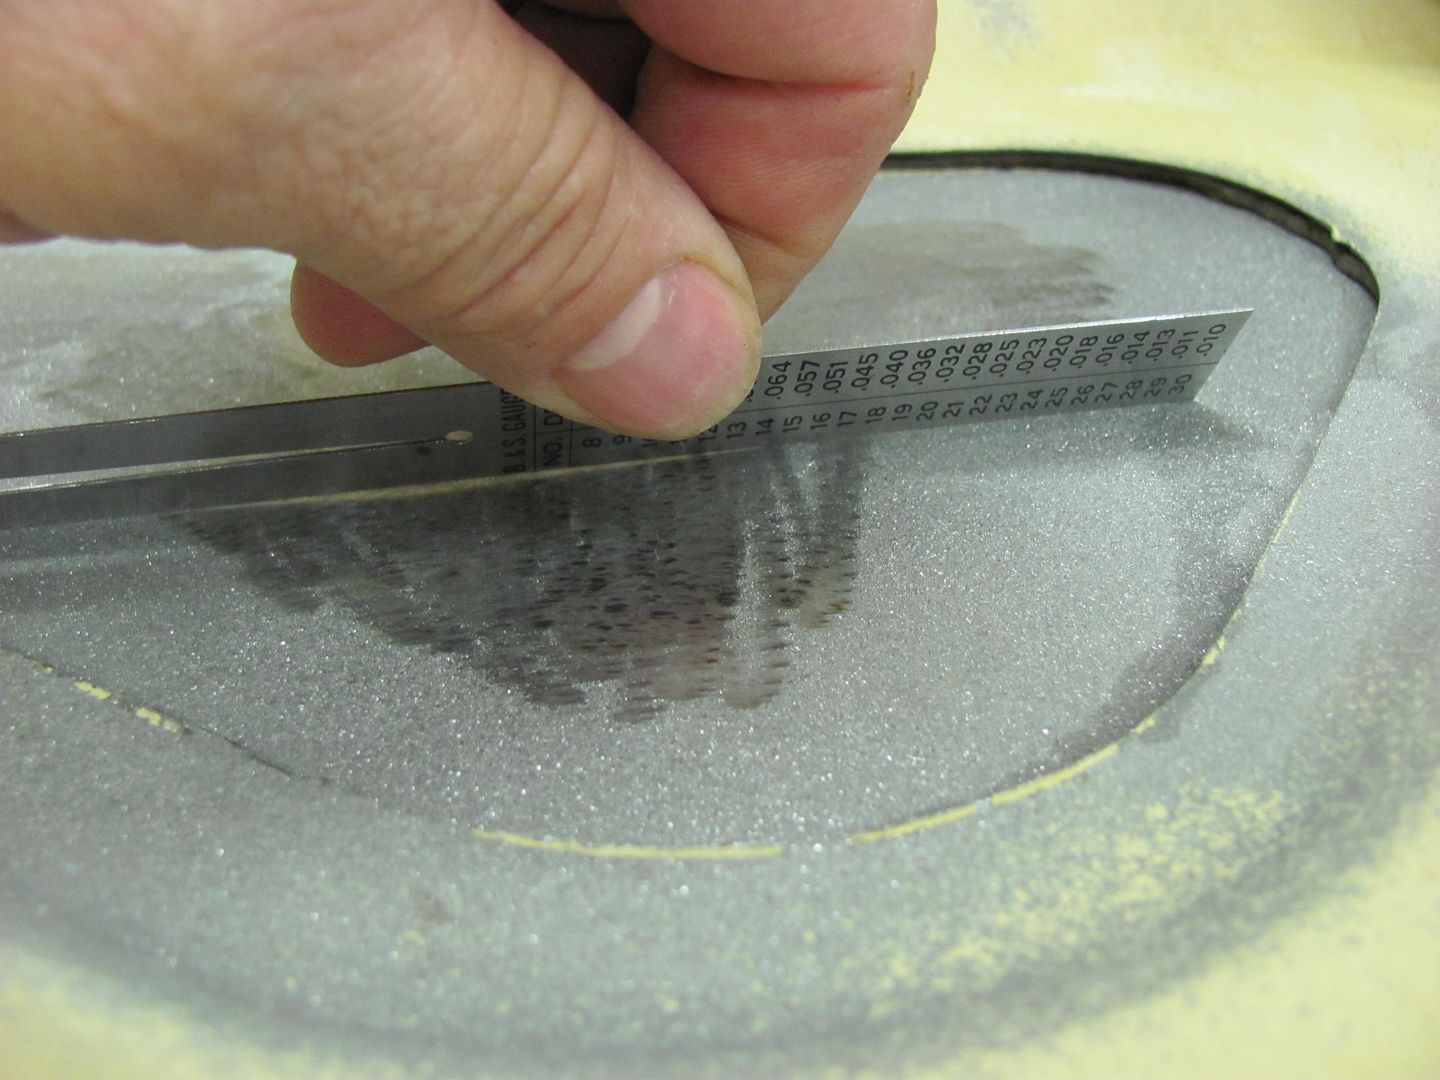
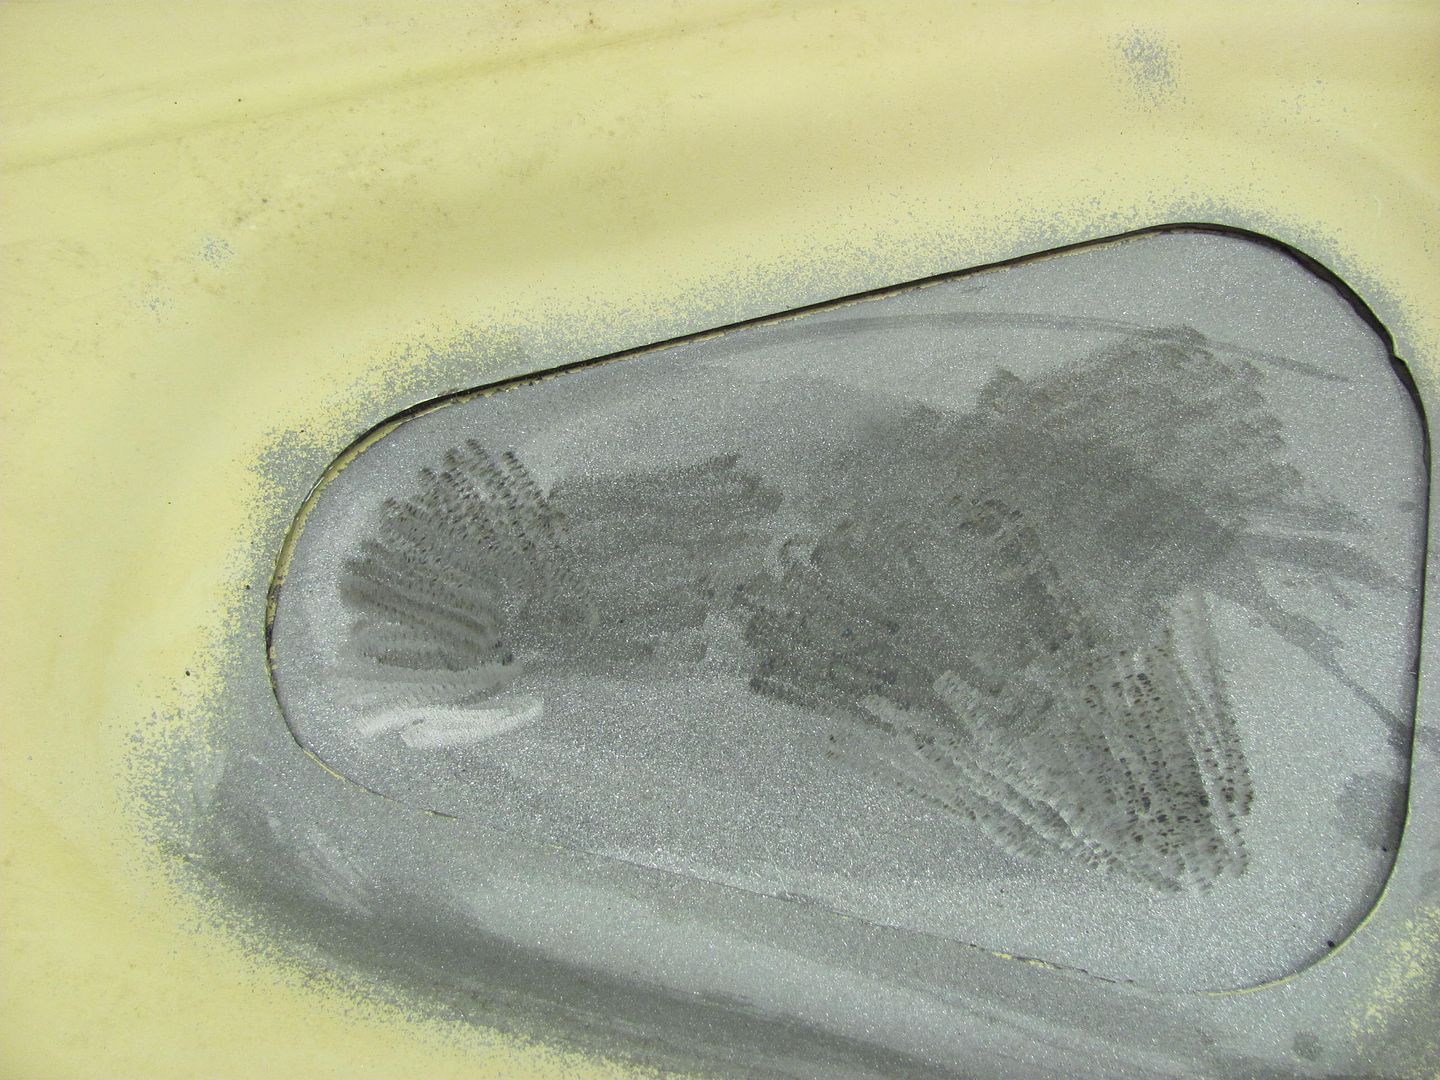
This is the media we'll be using today, Black Beauty medium grit. A bit coarse for sheet metal, but we're trying to duplicate the damage seen on Joe's trunk lid, so we'll give it a go.....
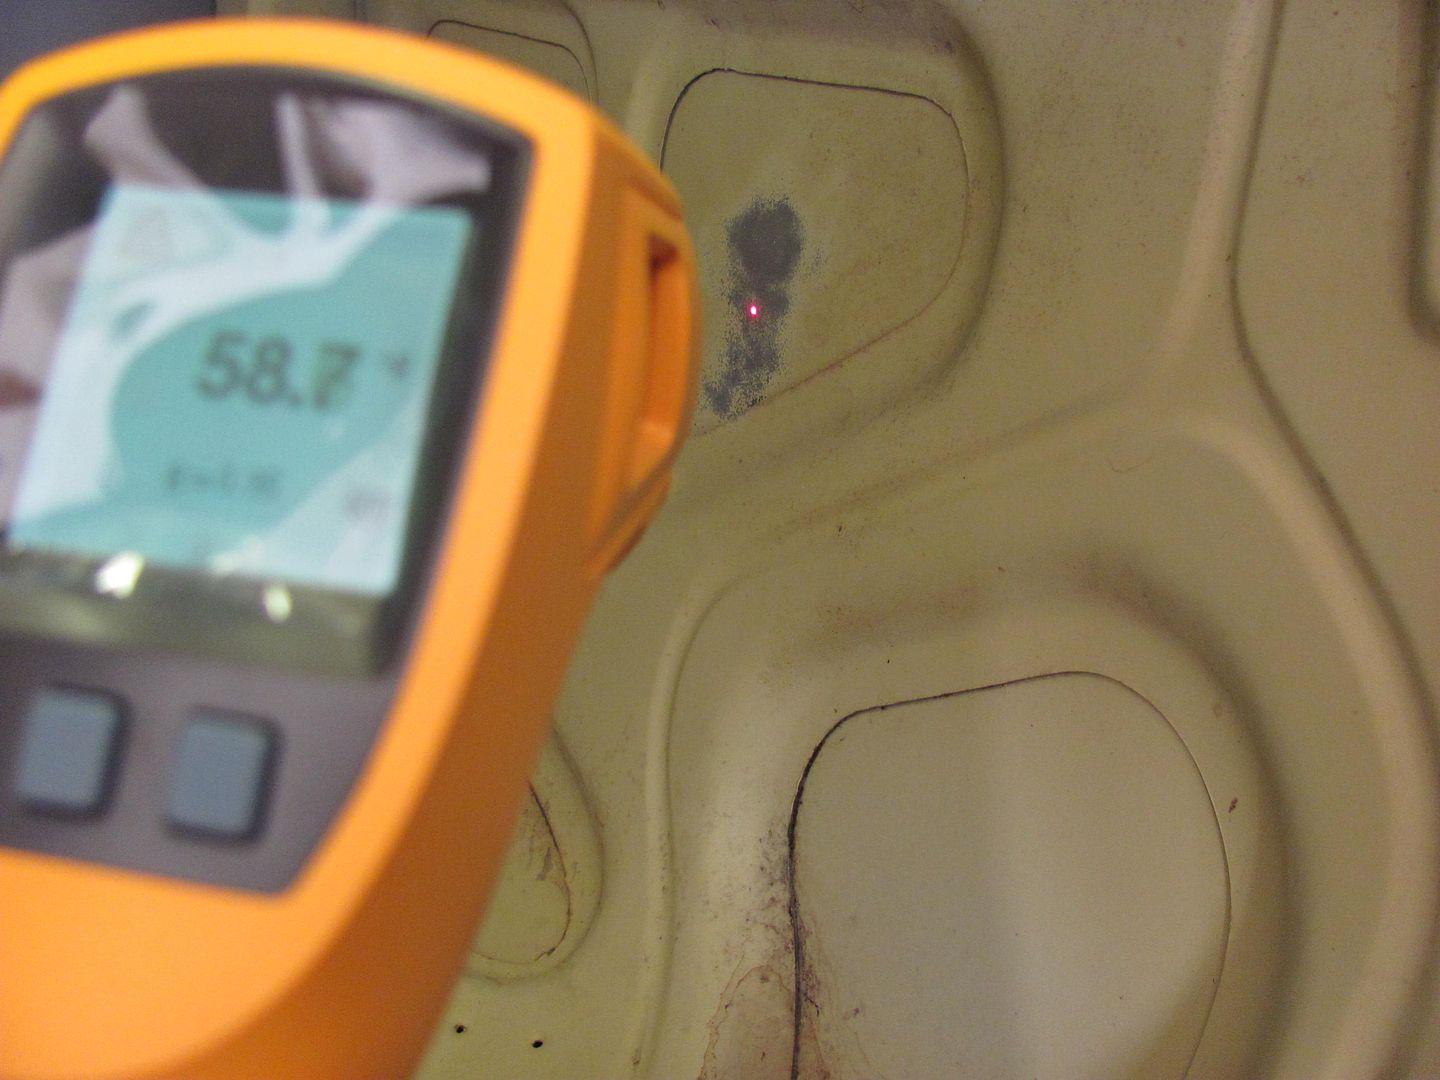
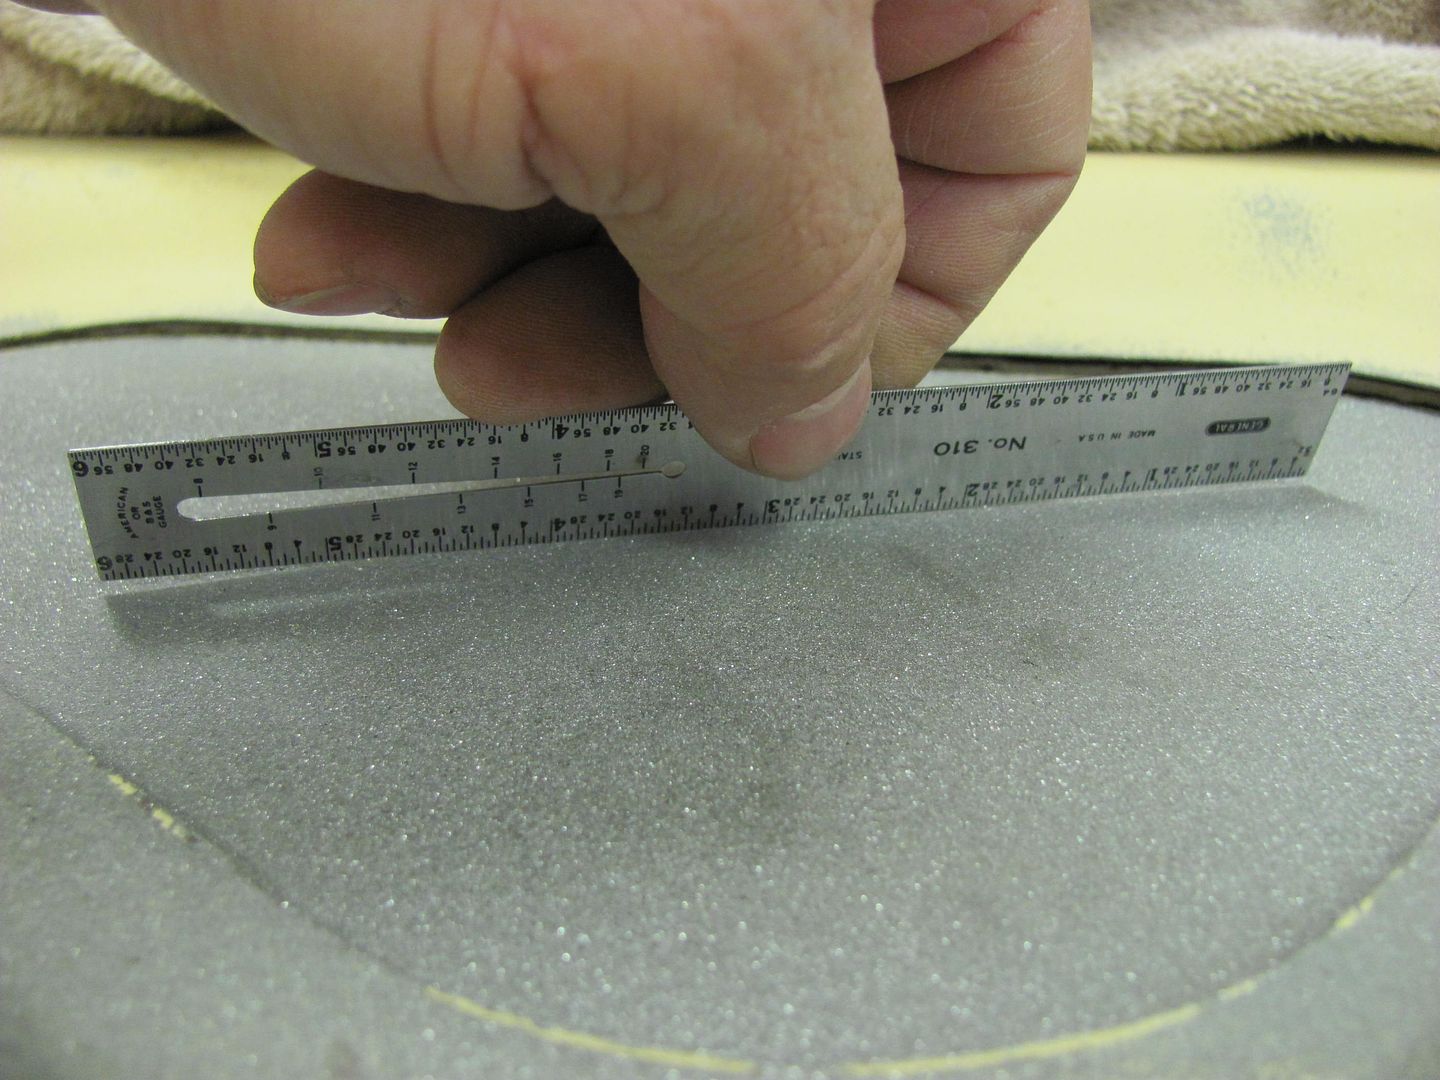
Then I changed out the media in the cabinet, and started blasting. As I had opened the garage door and it's rather warm out, and I was rather slow in getting the media changed out, I thought I should check the temp again.
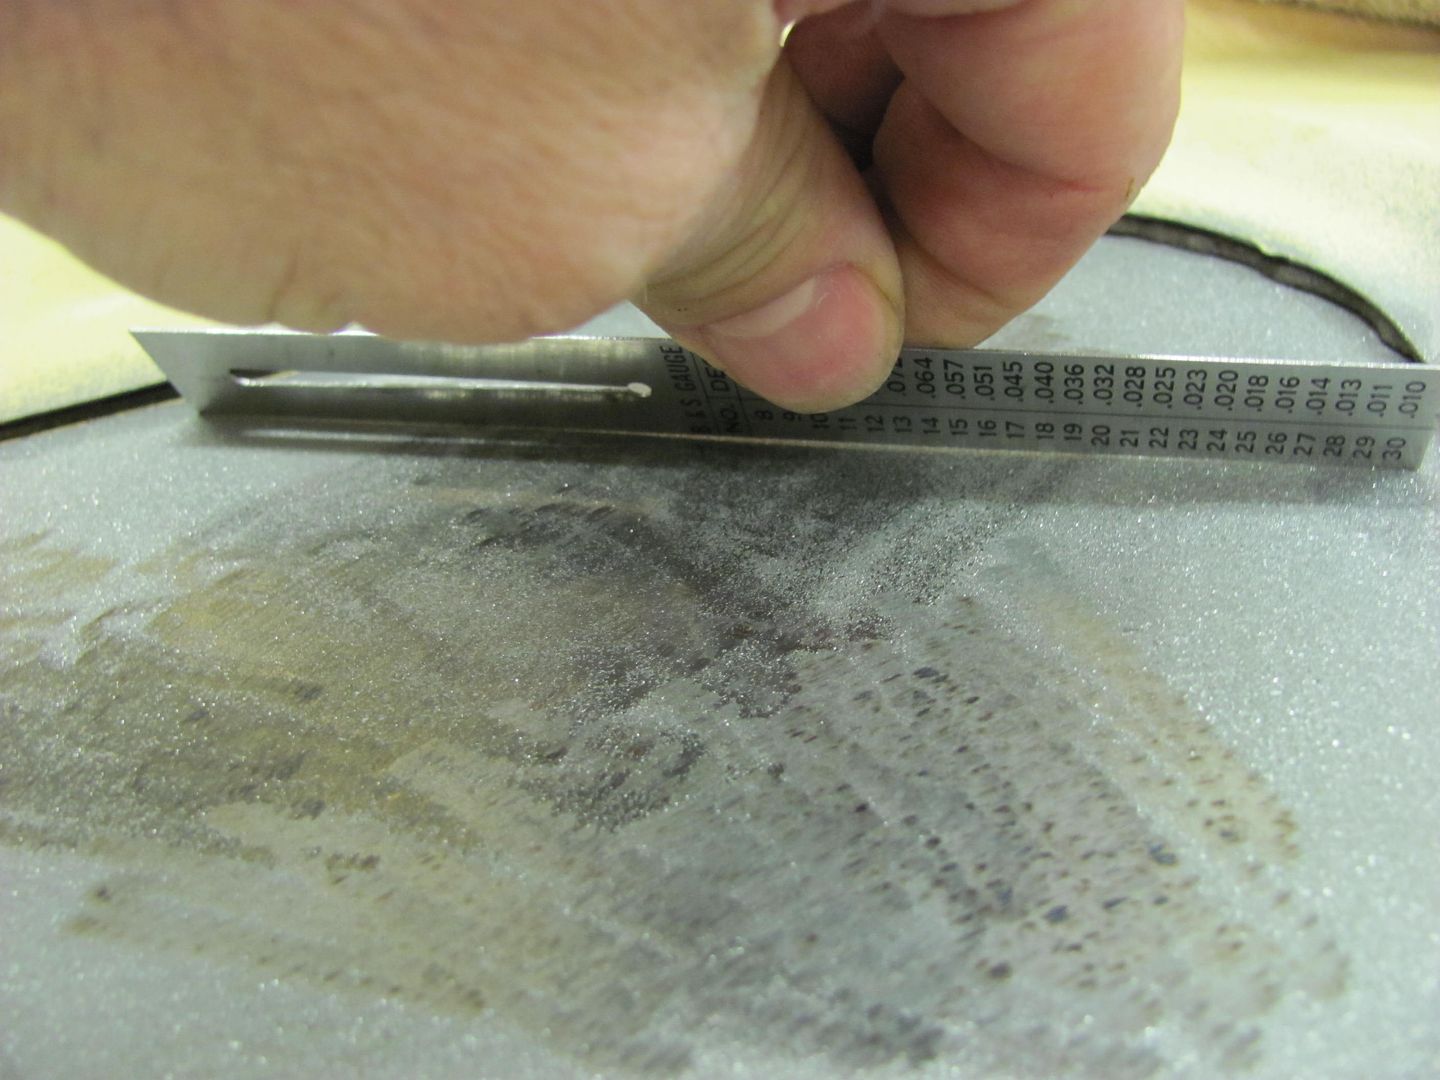
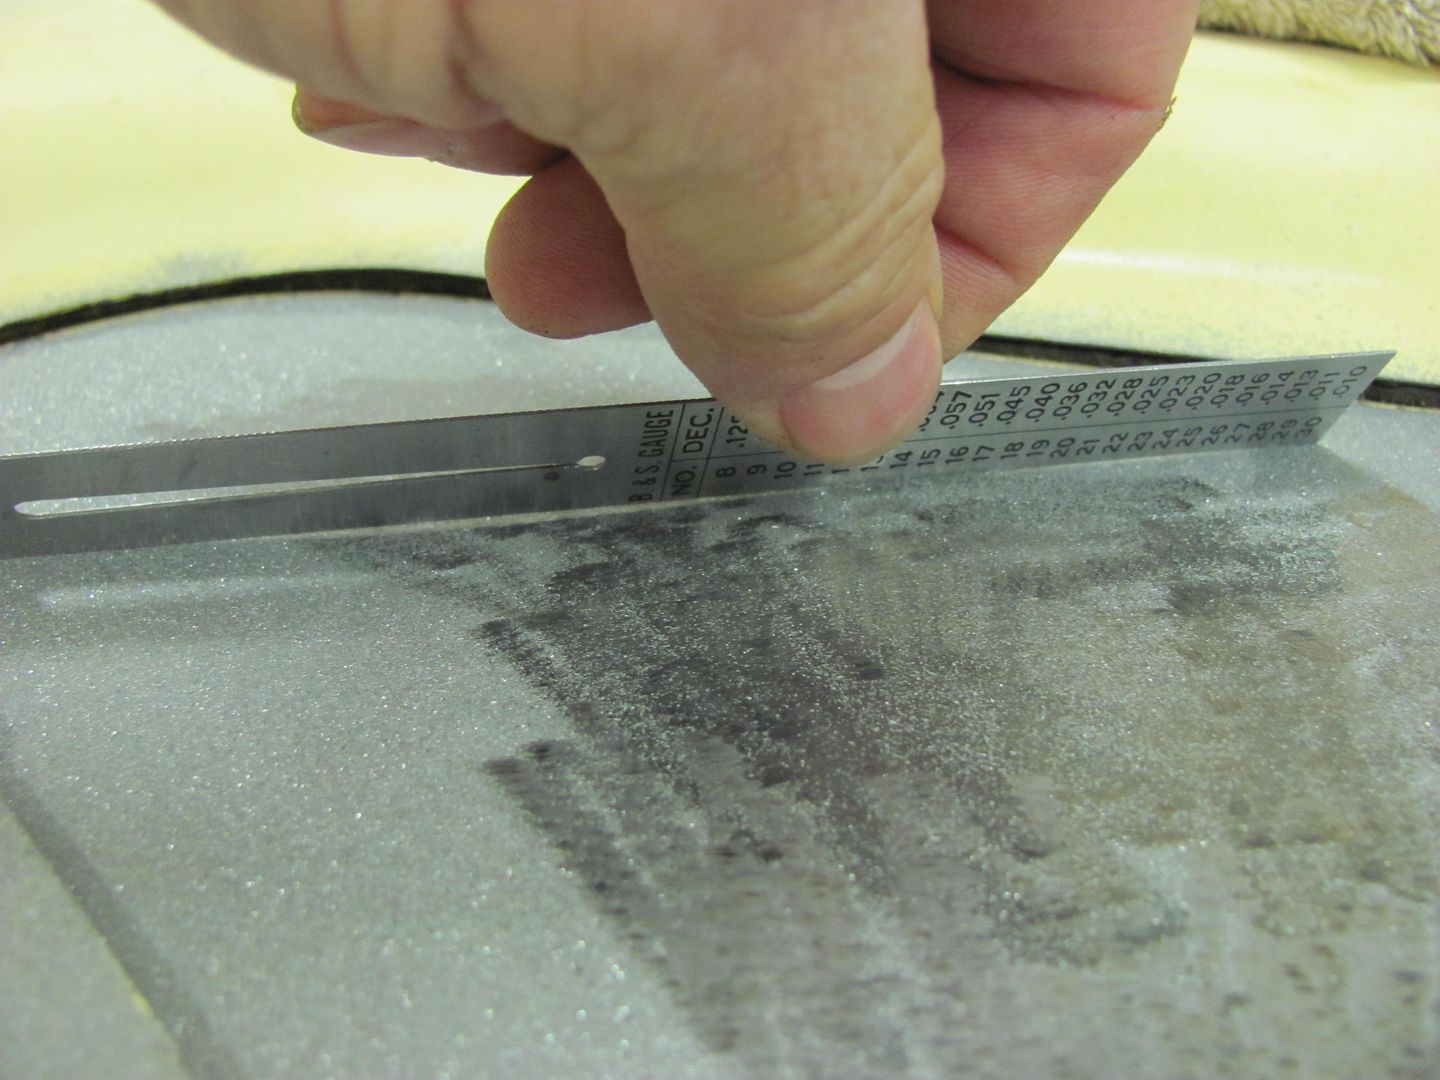
After clearing off the one hole, we had noticeable panel distortion from the outside. In checking the temp again, it had not moved since the last check.
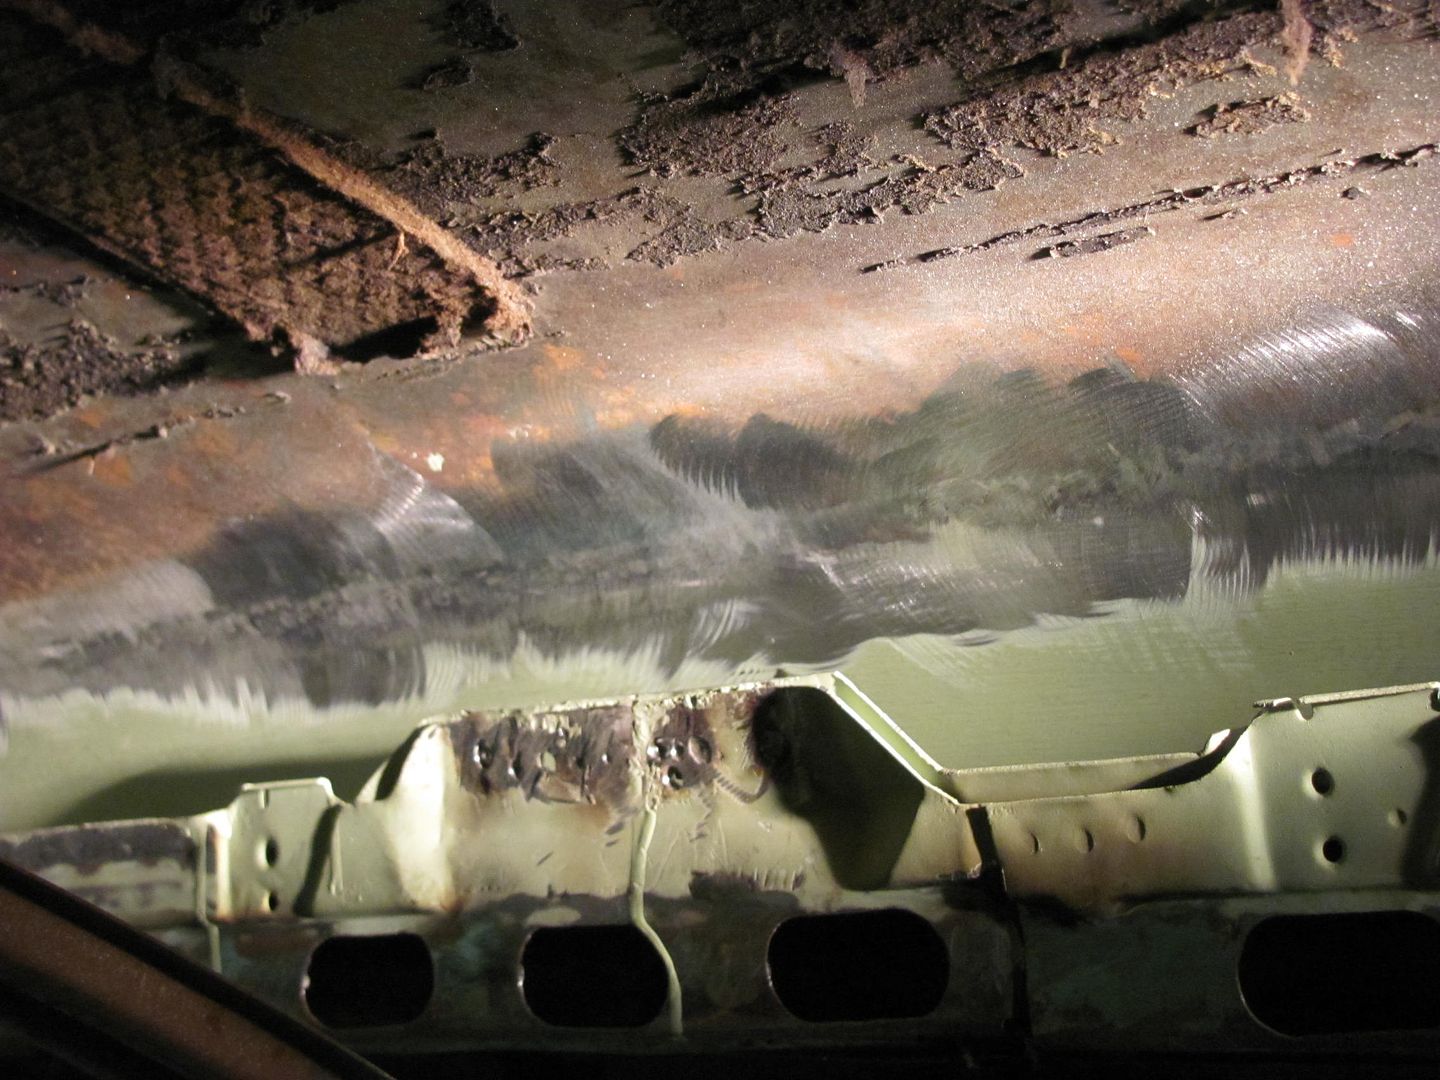
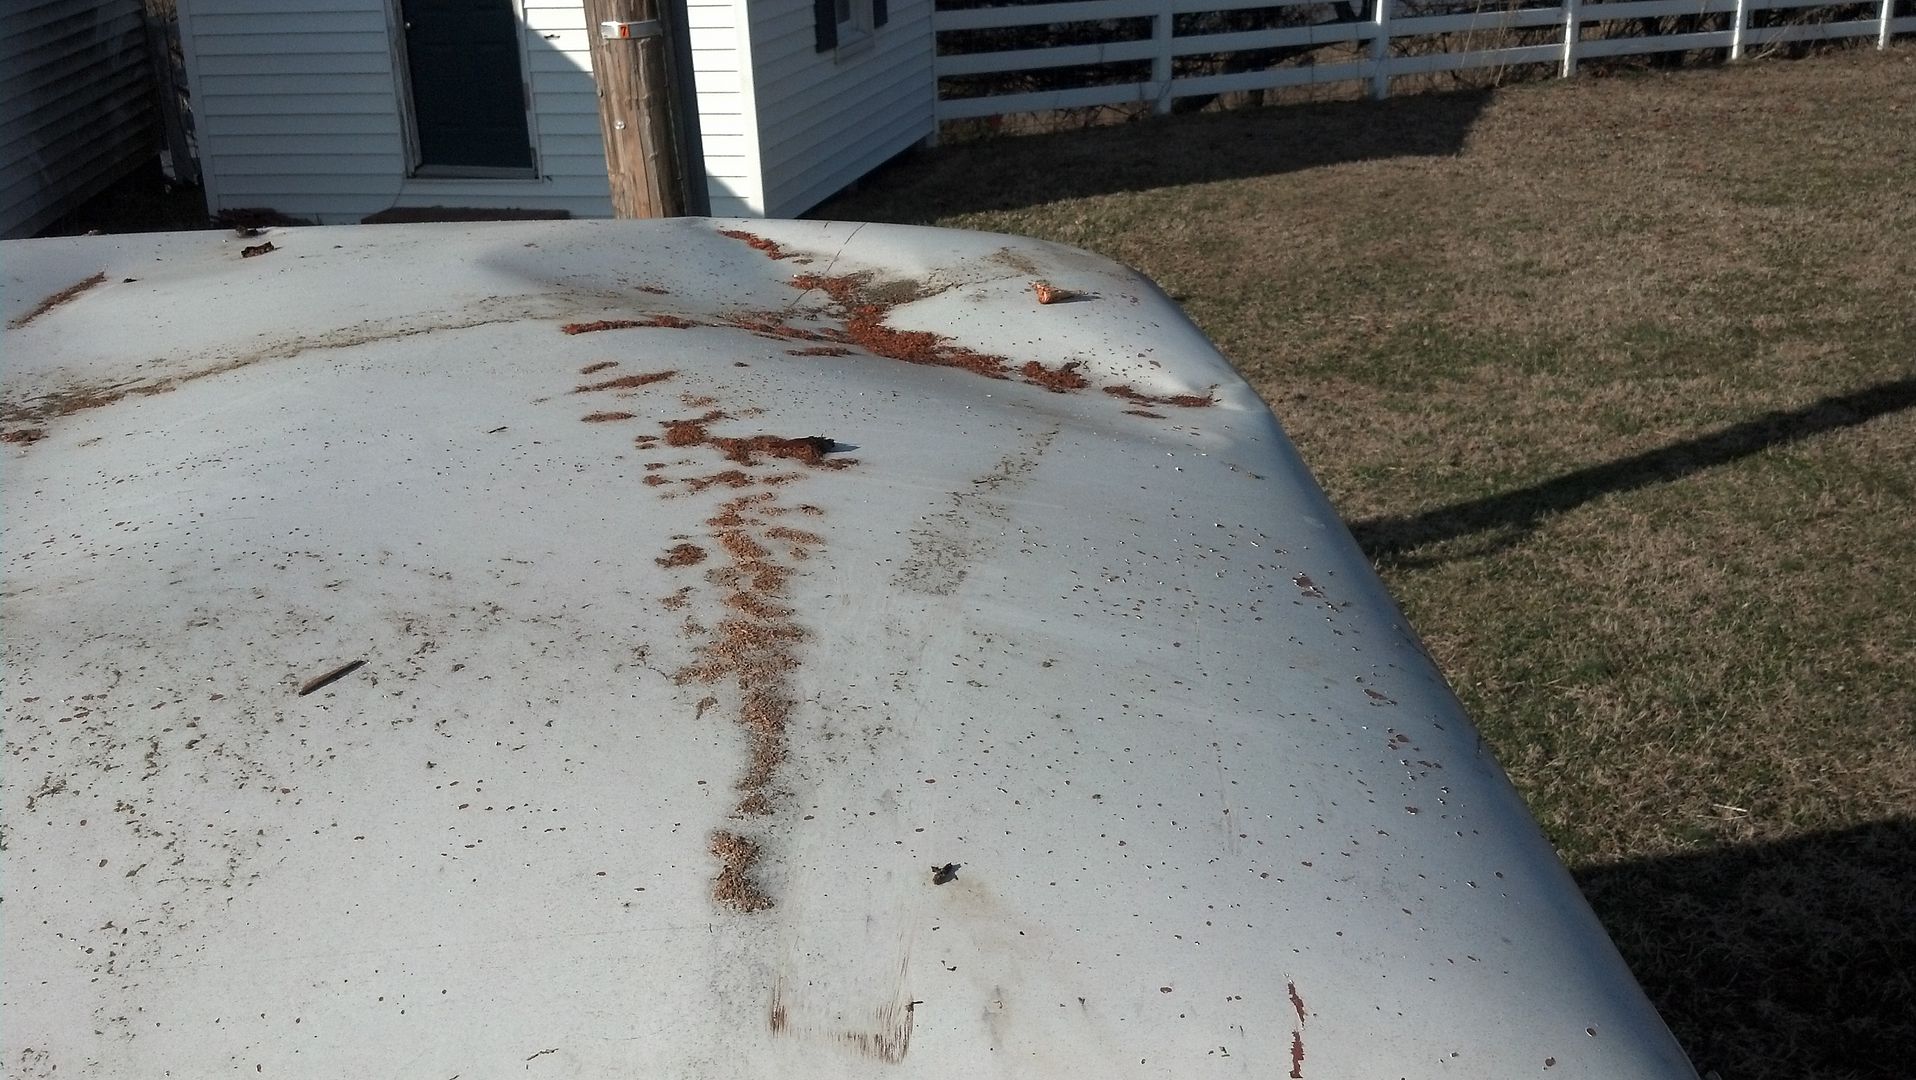
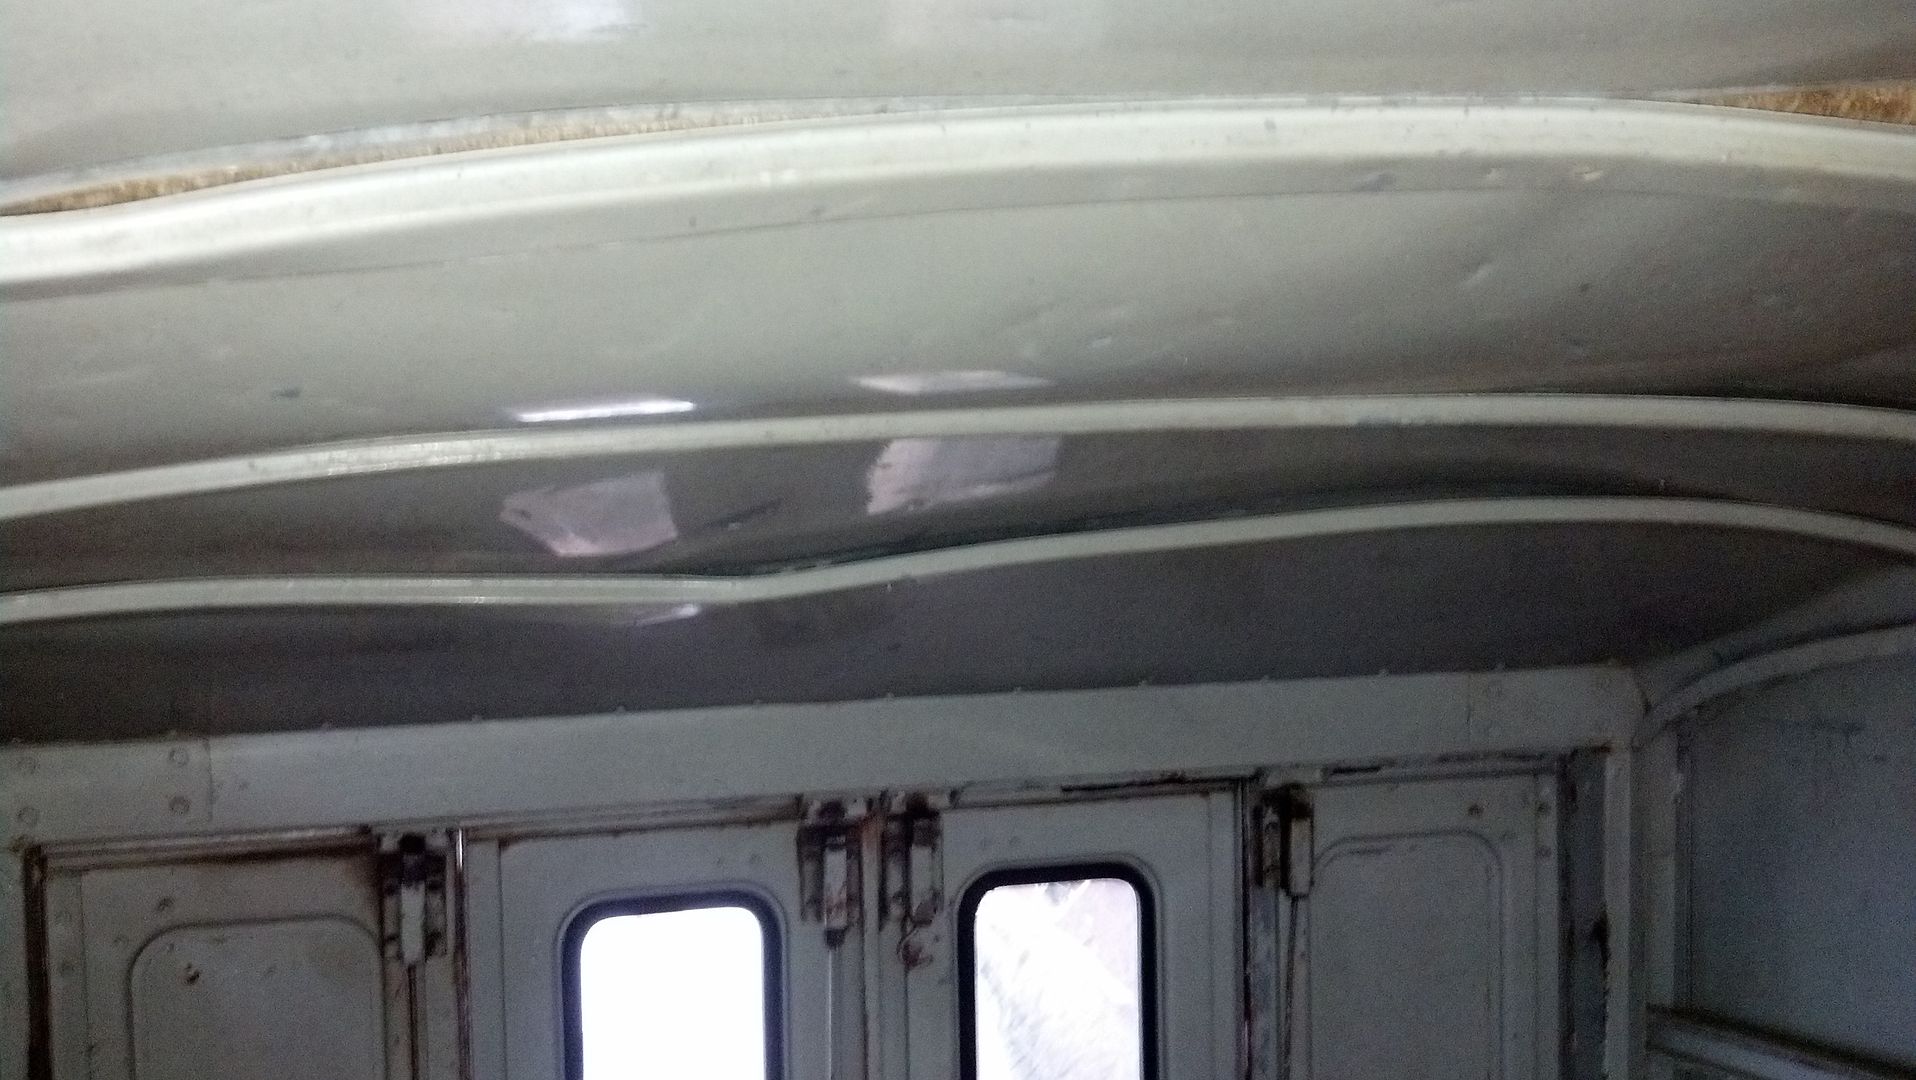
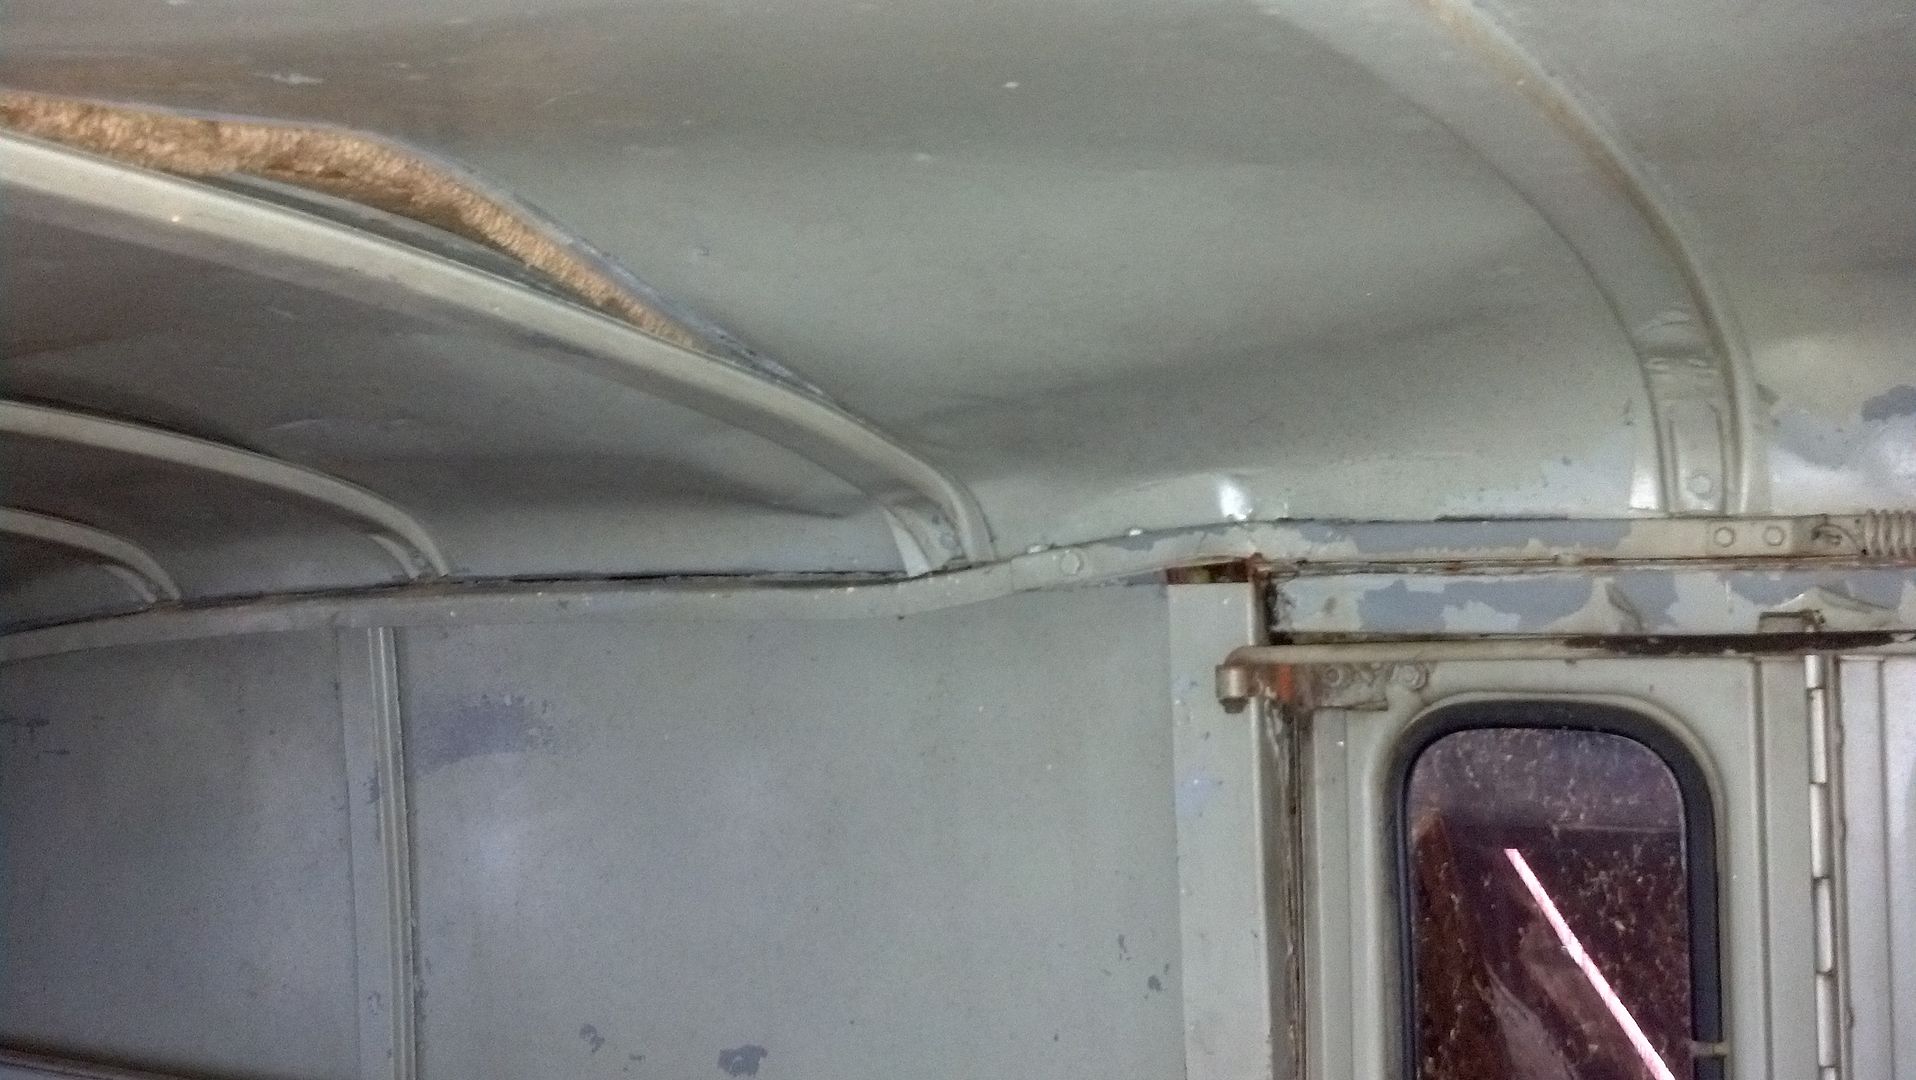

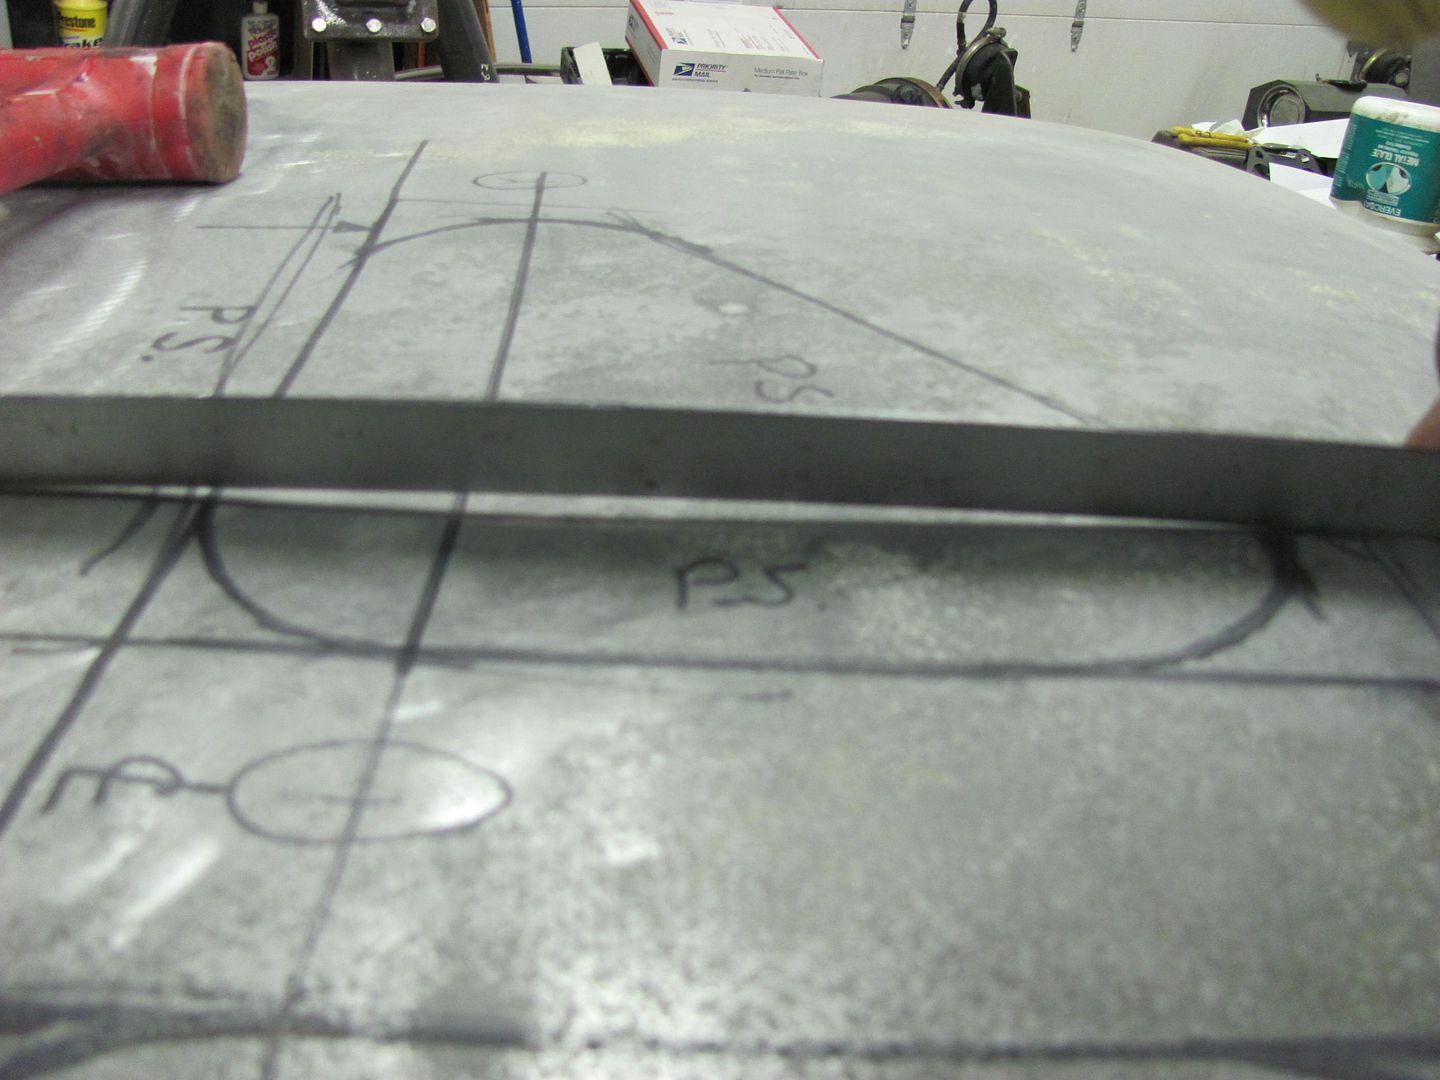
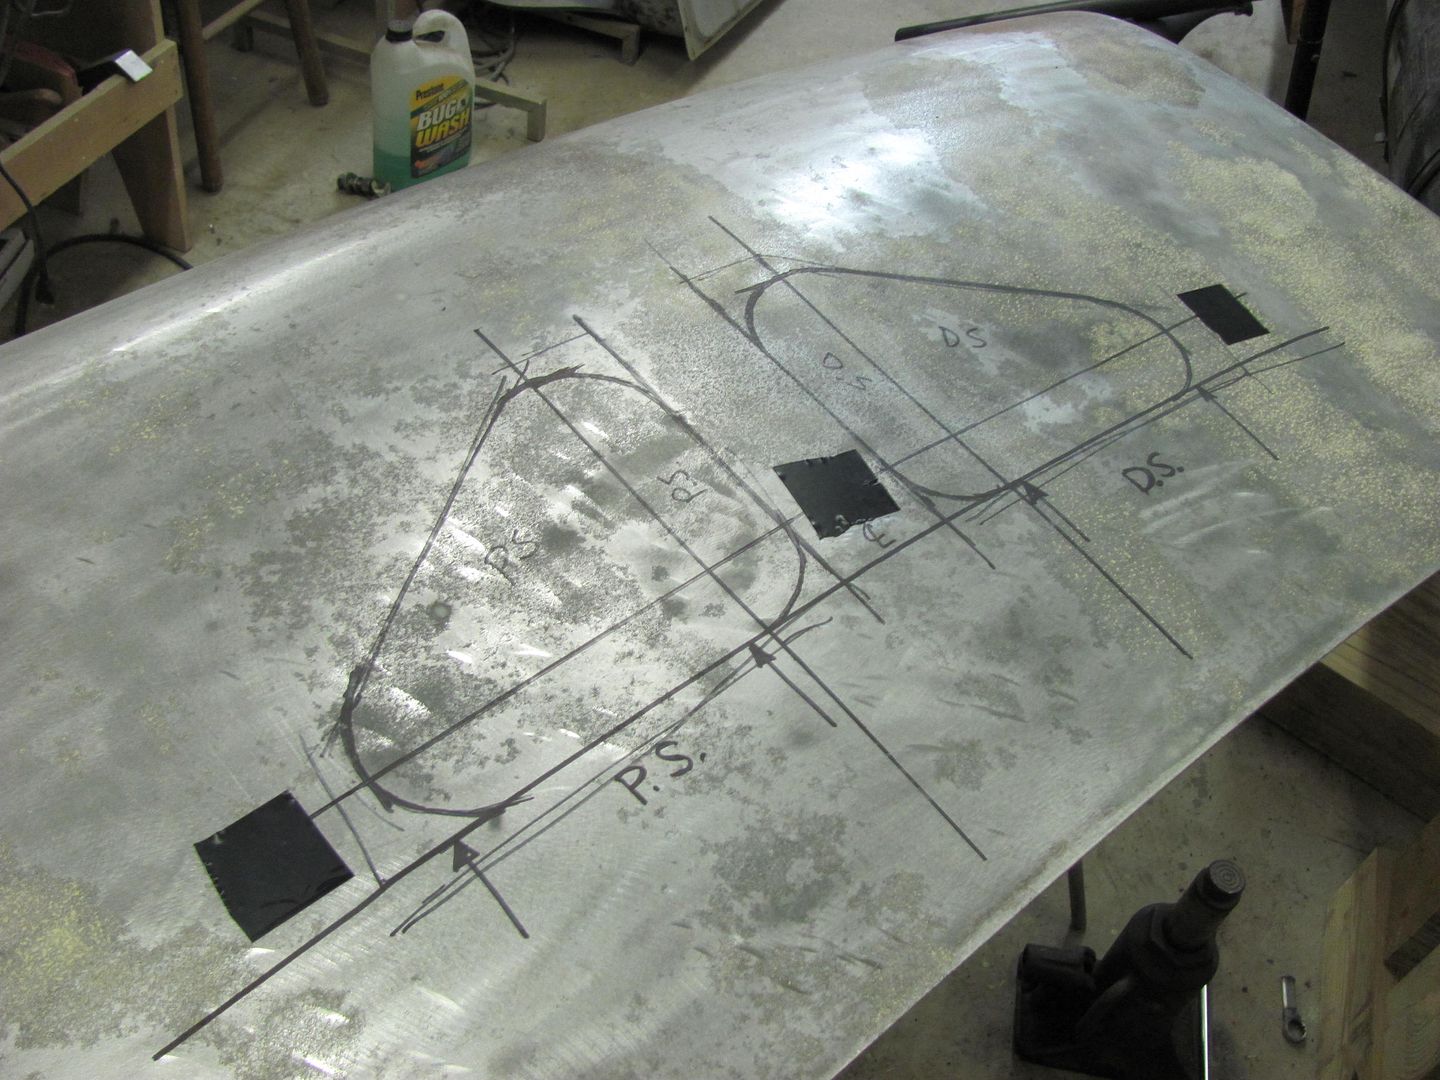
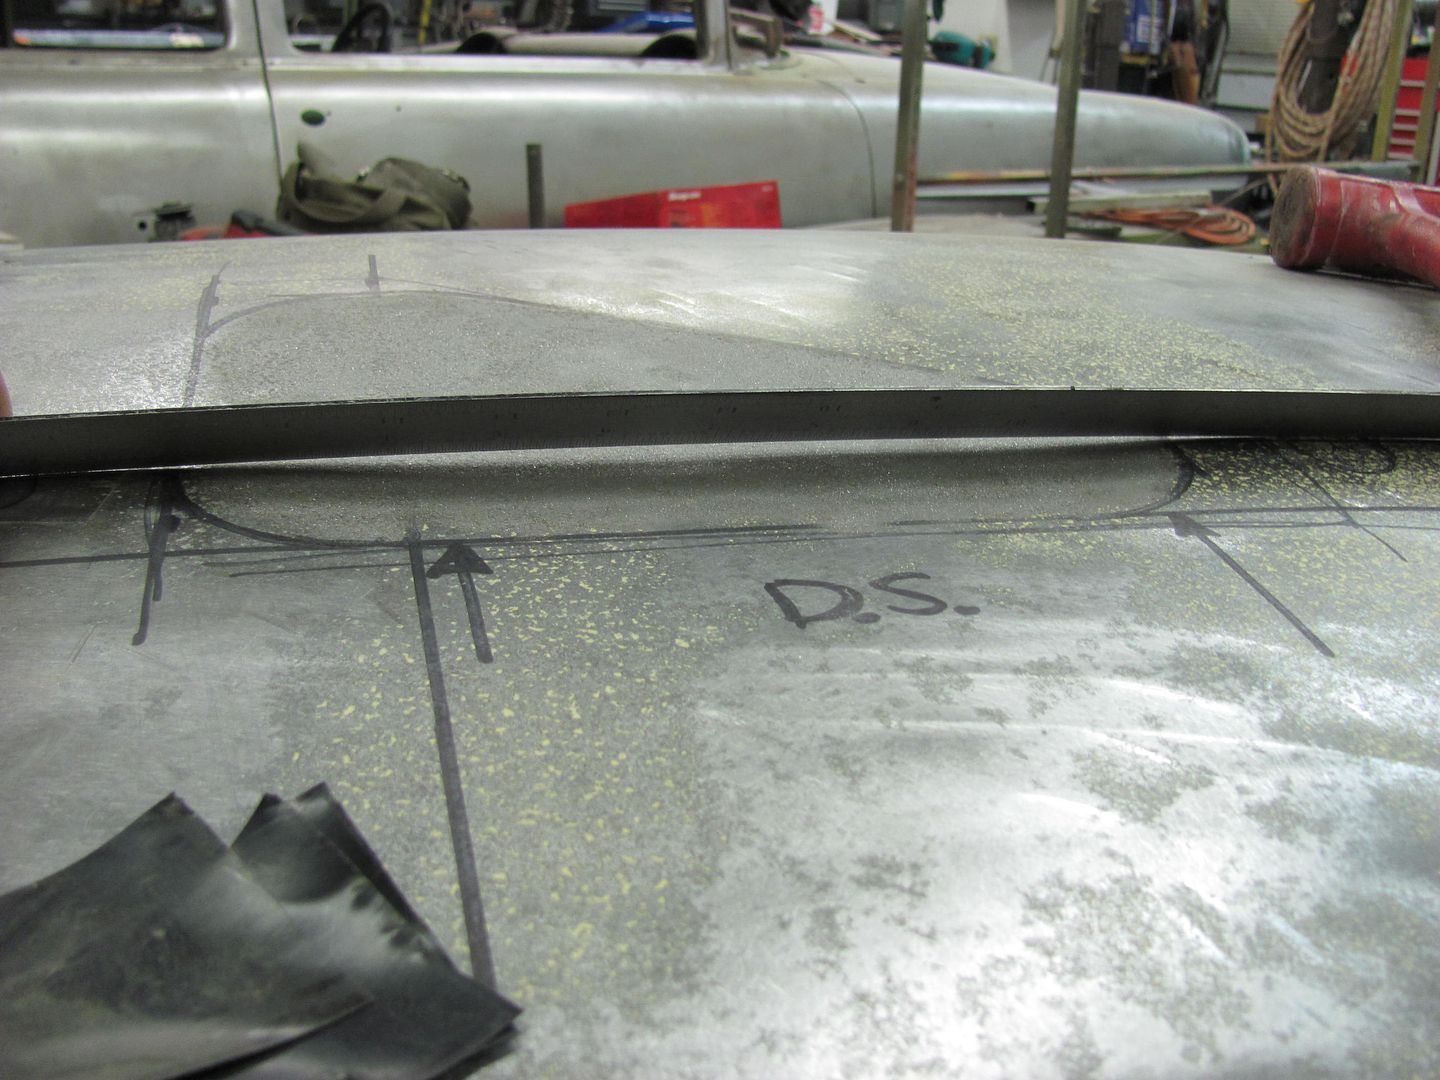
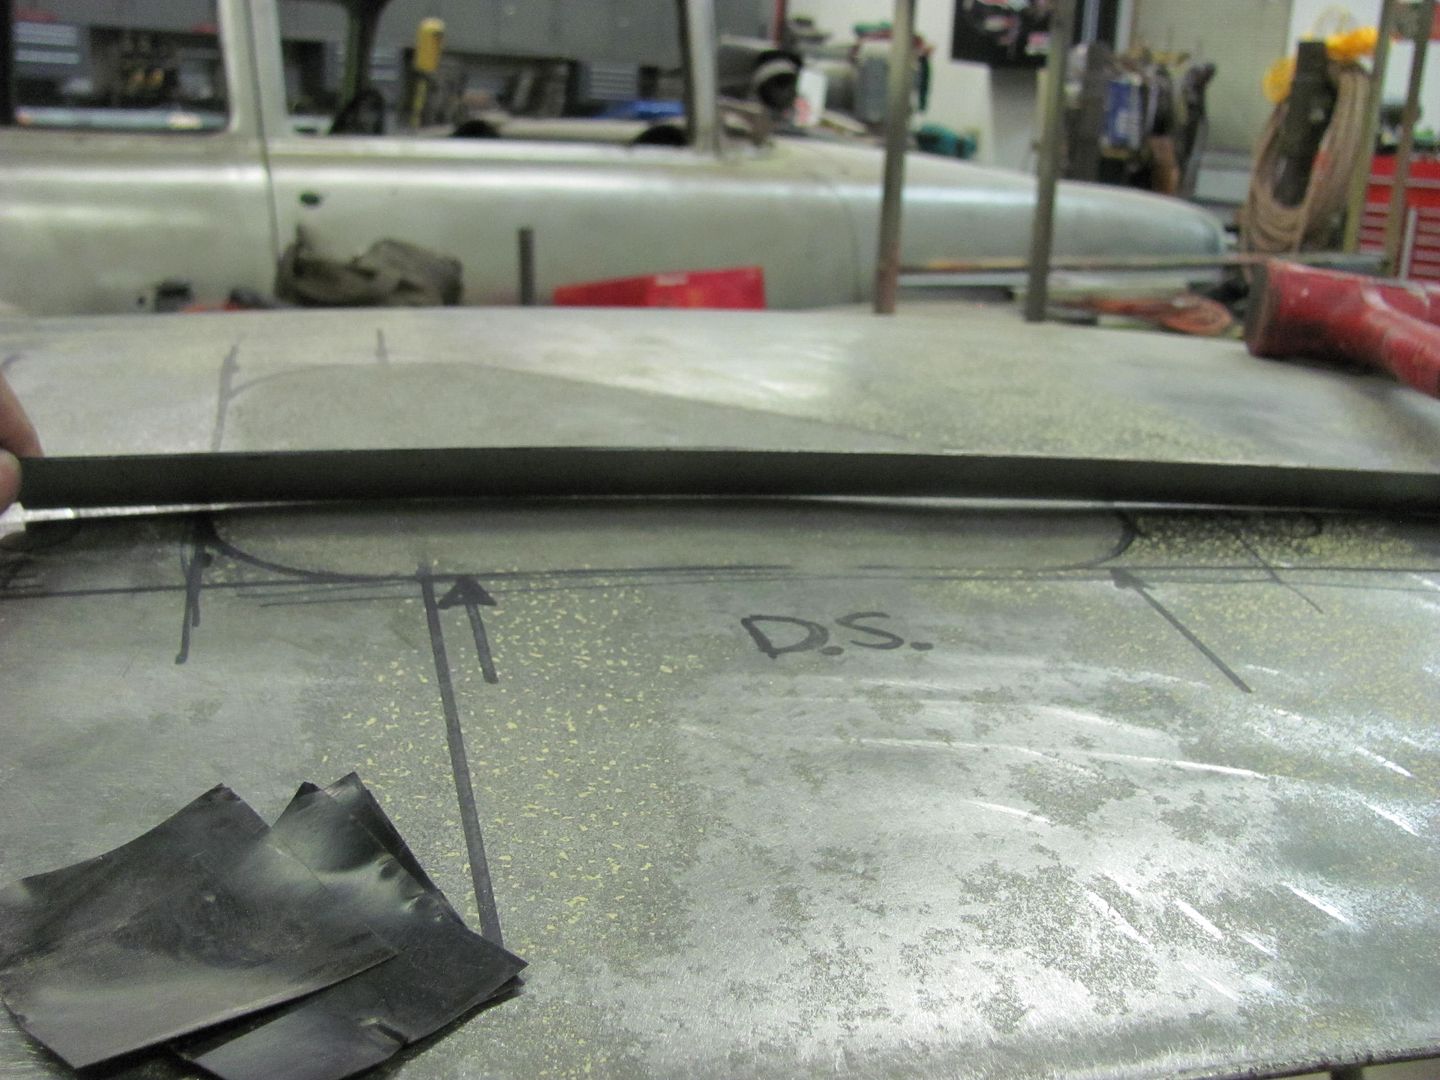
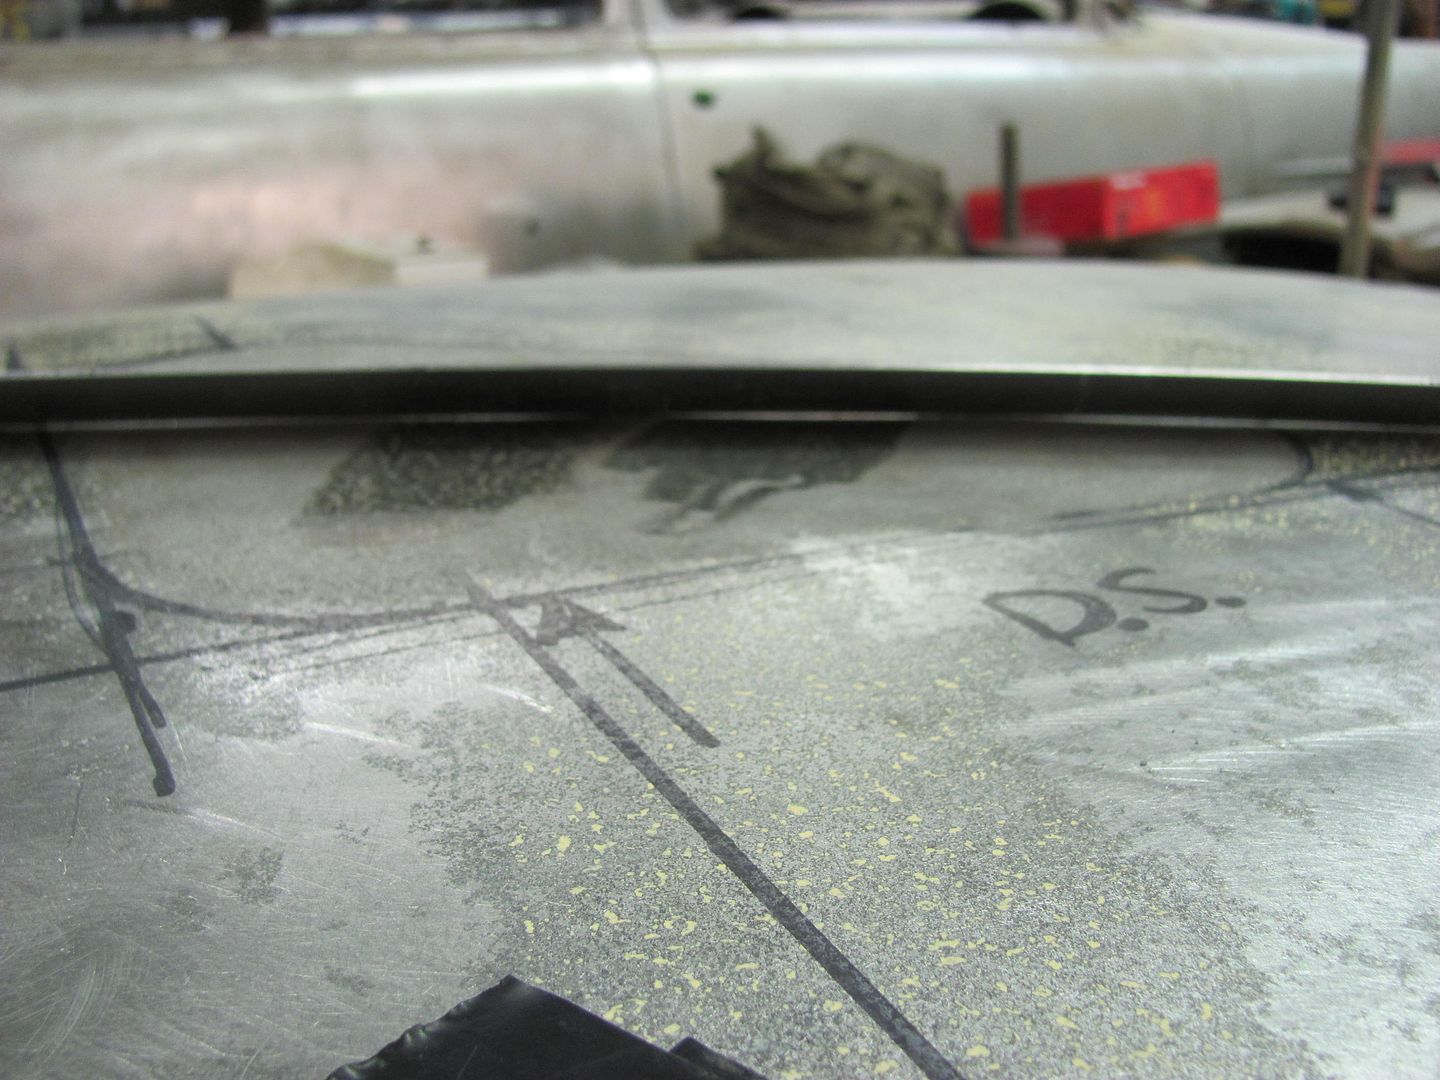
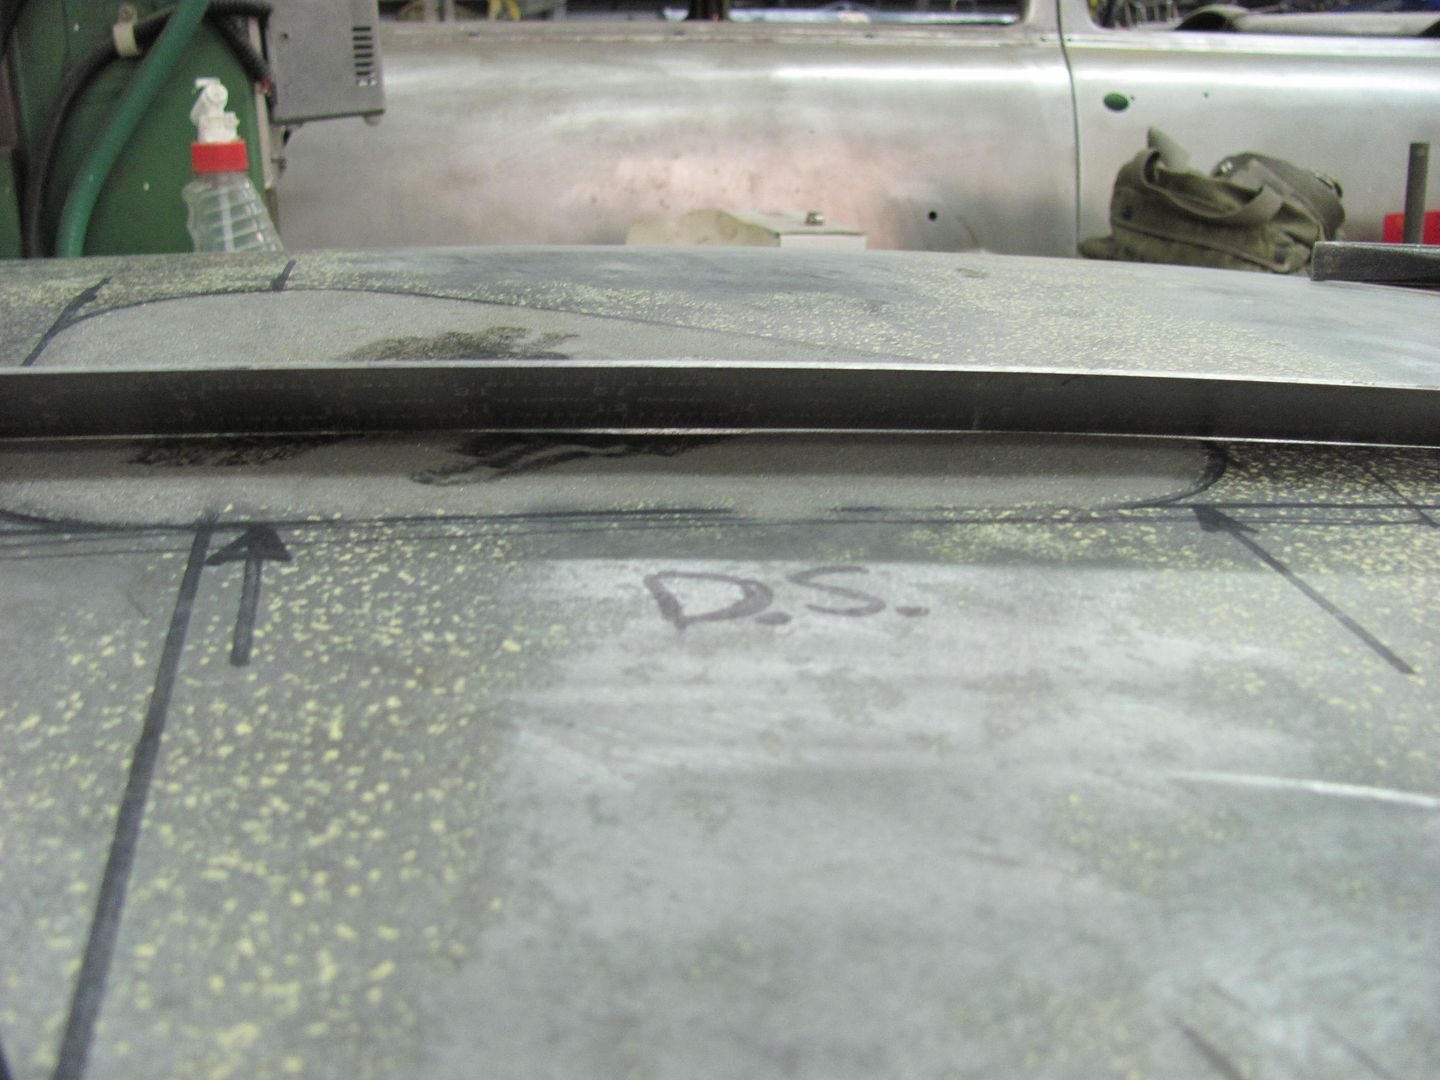
Some more cleanup work on the roof weld, didn't get much for in process pictures, but then this part gets pretty boring anyhow...
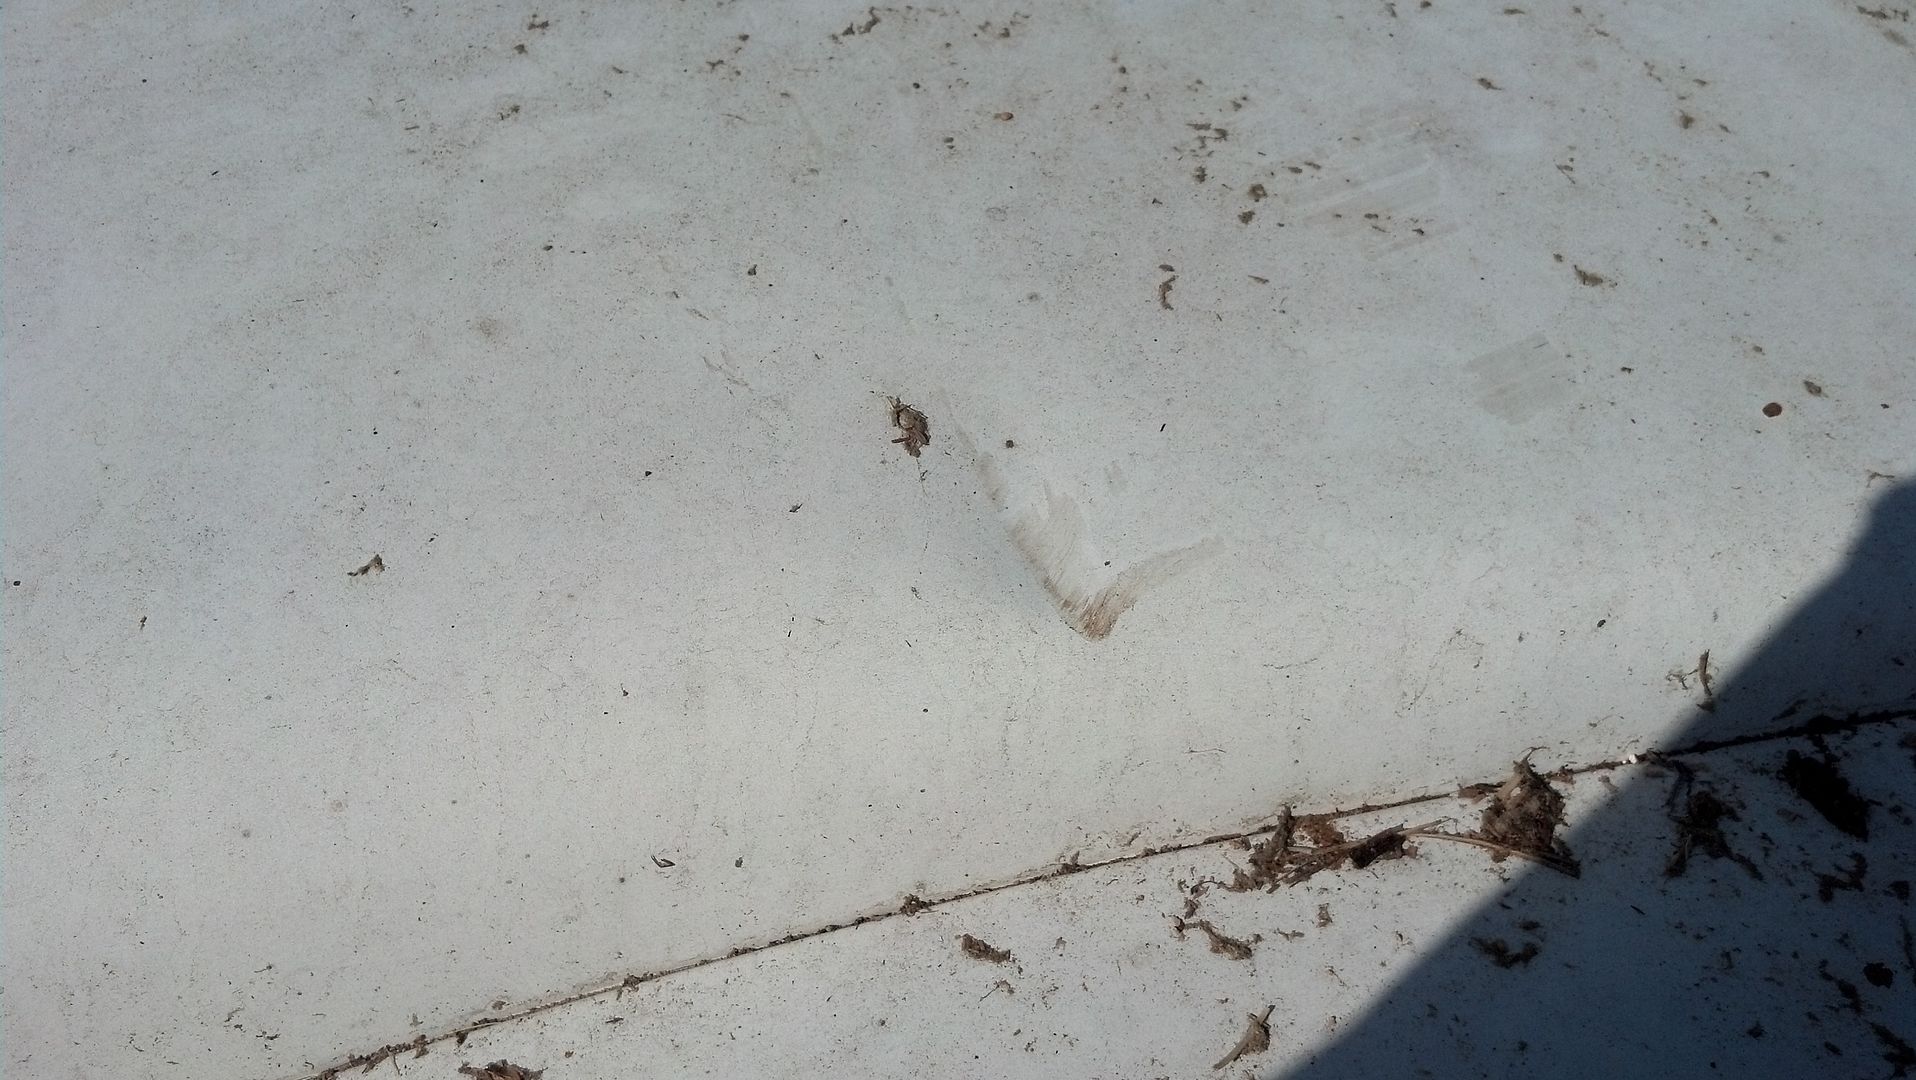
I'm pretty pleased with how it turned out this time. Still has some metal bumping needed to address some highs and lows, which we'll work on next time in the shop, as well as welding in the last pieces of the lift gate..
At least try to talk him into some chrome wheels and some wider skins.I even did some arm twisting and the owner will be here tomorrow to help with some of the grunt work. She said she wanted a green metallic with charcoal metallic on the roof.
 That is unless it's Jessi Combs
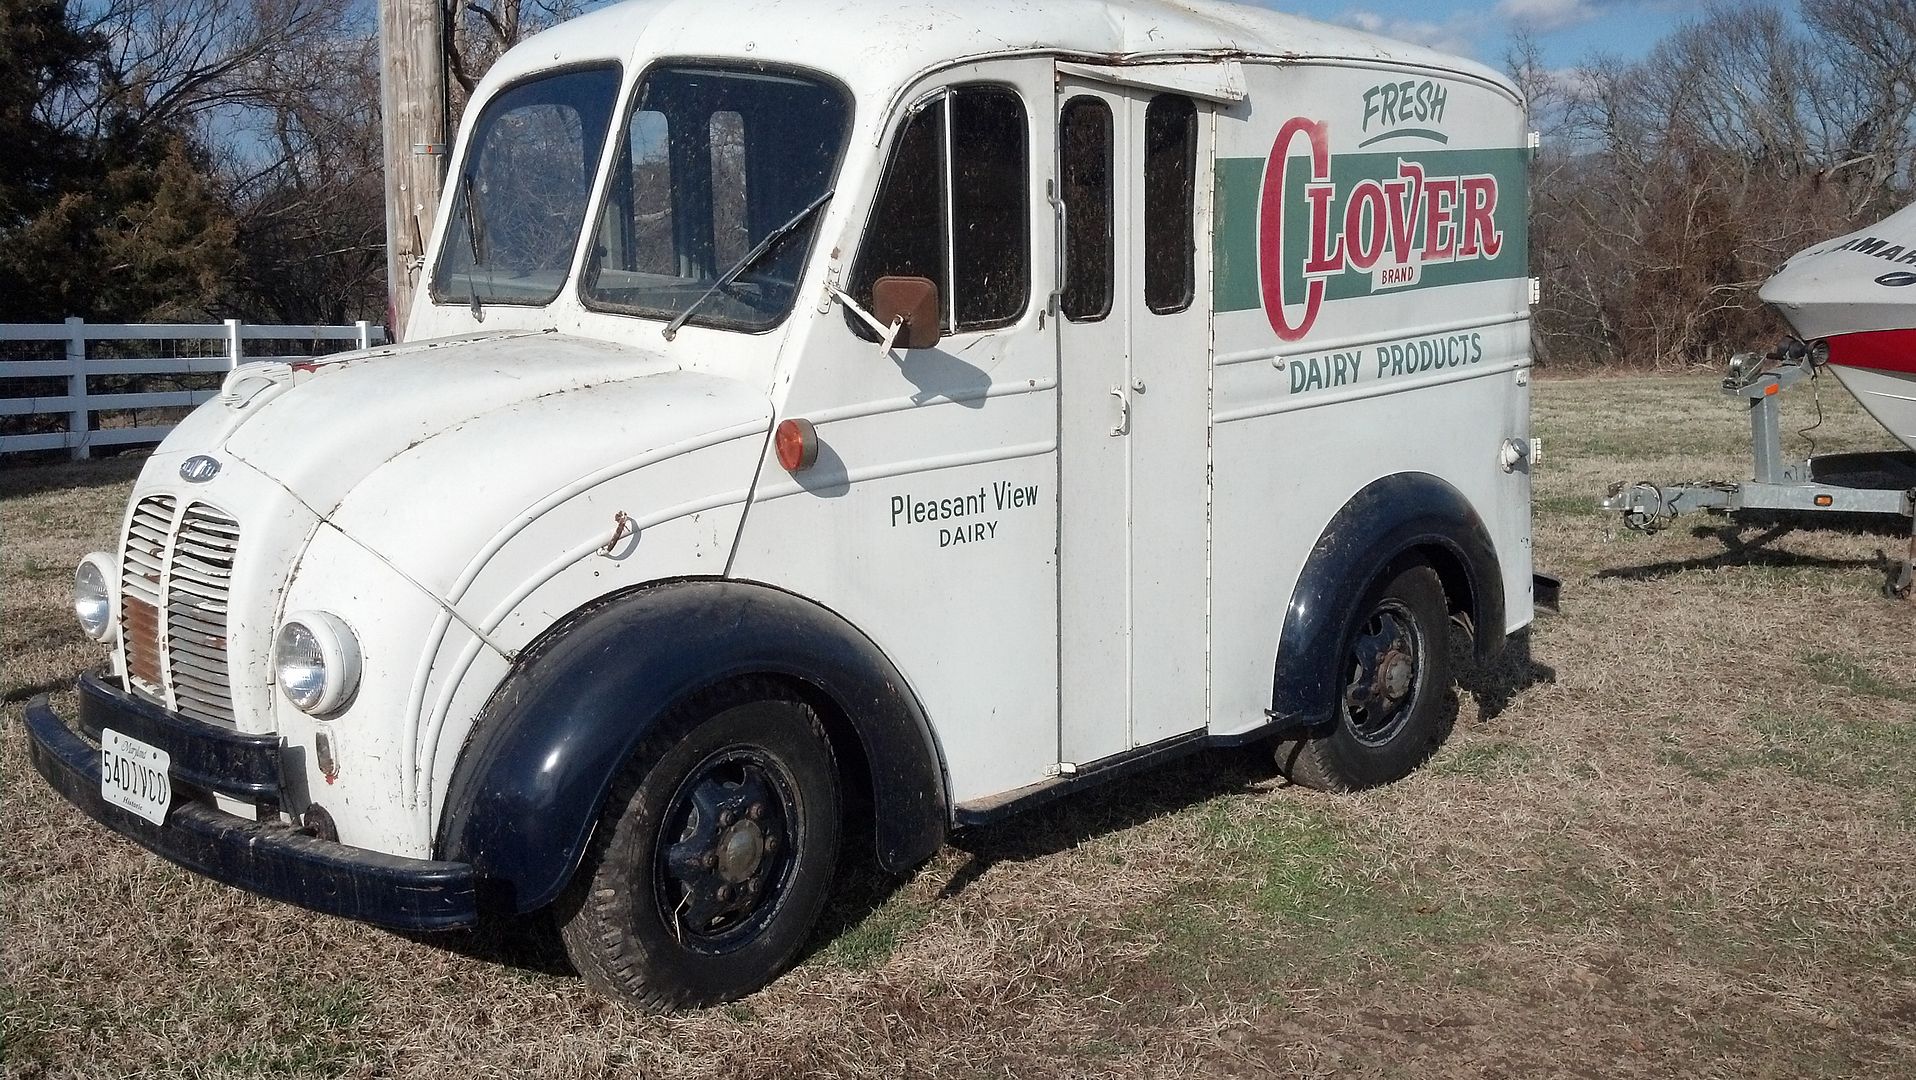
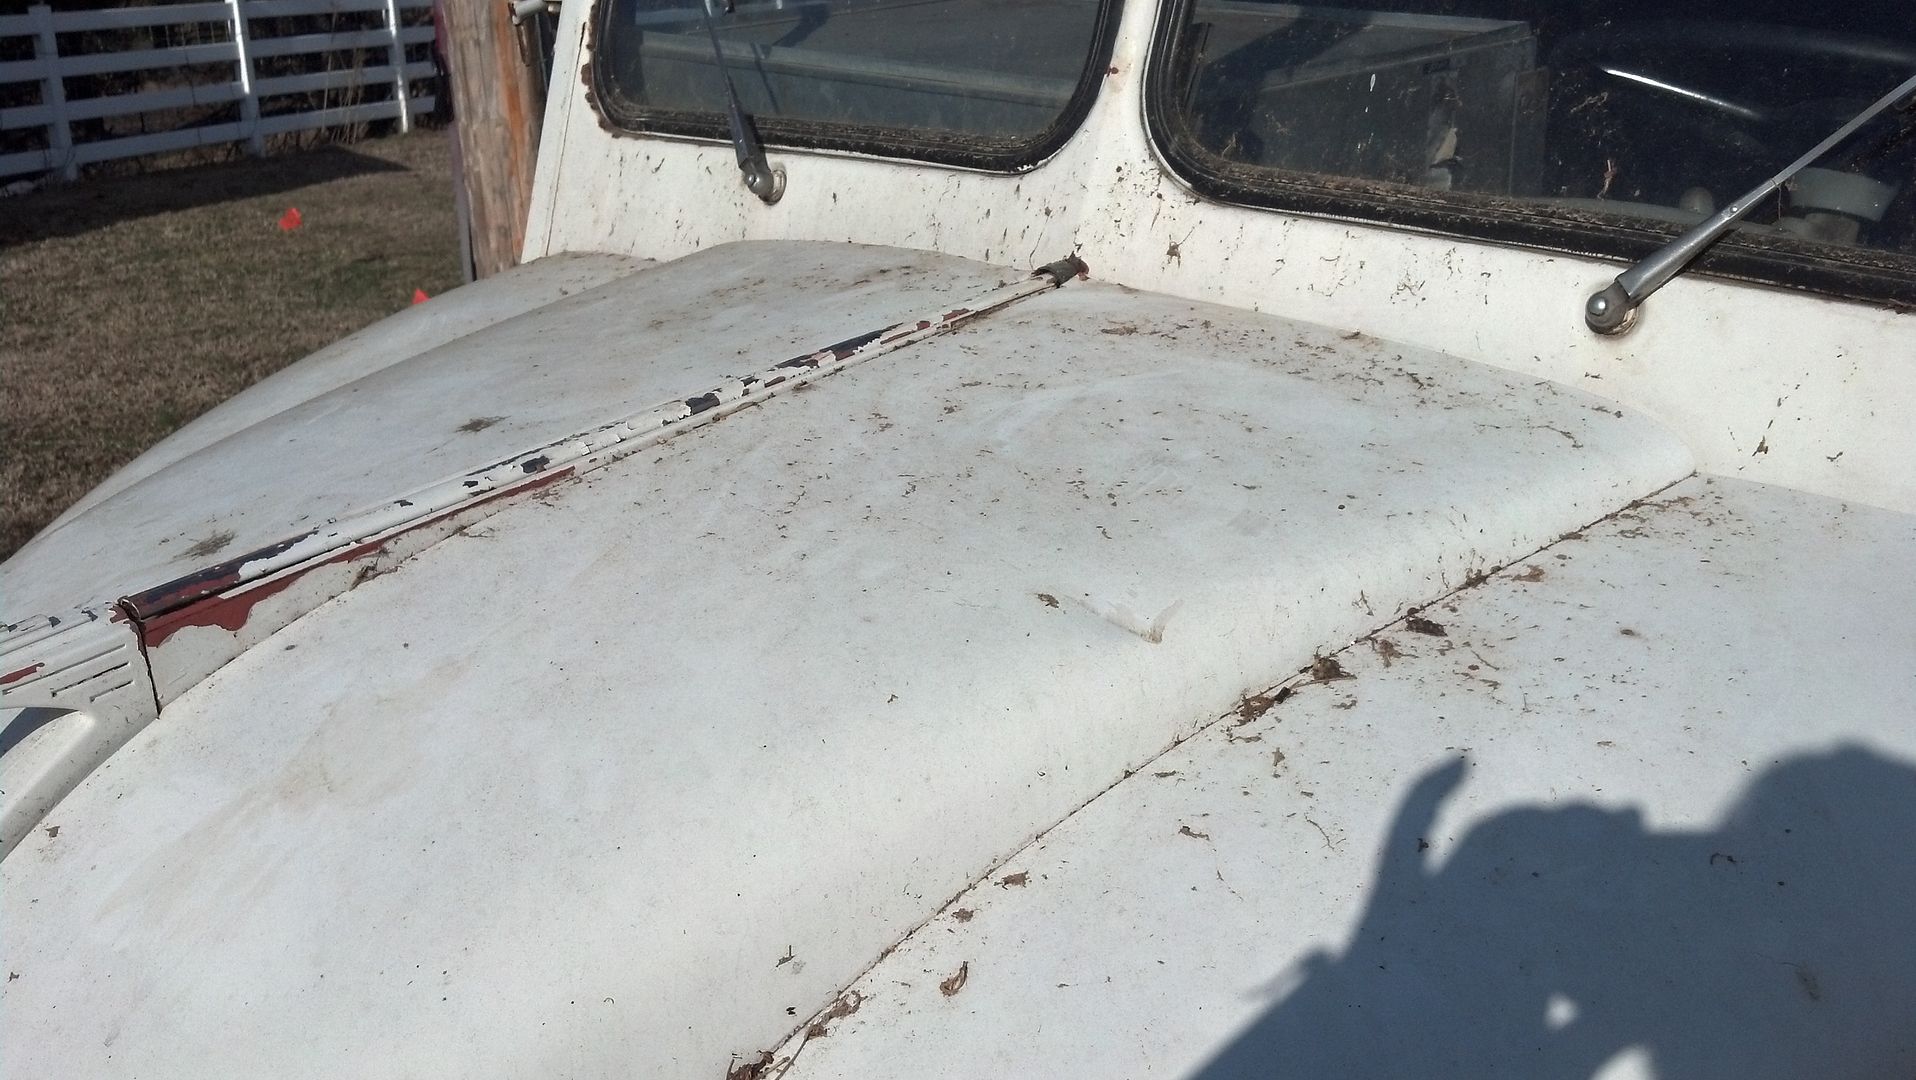
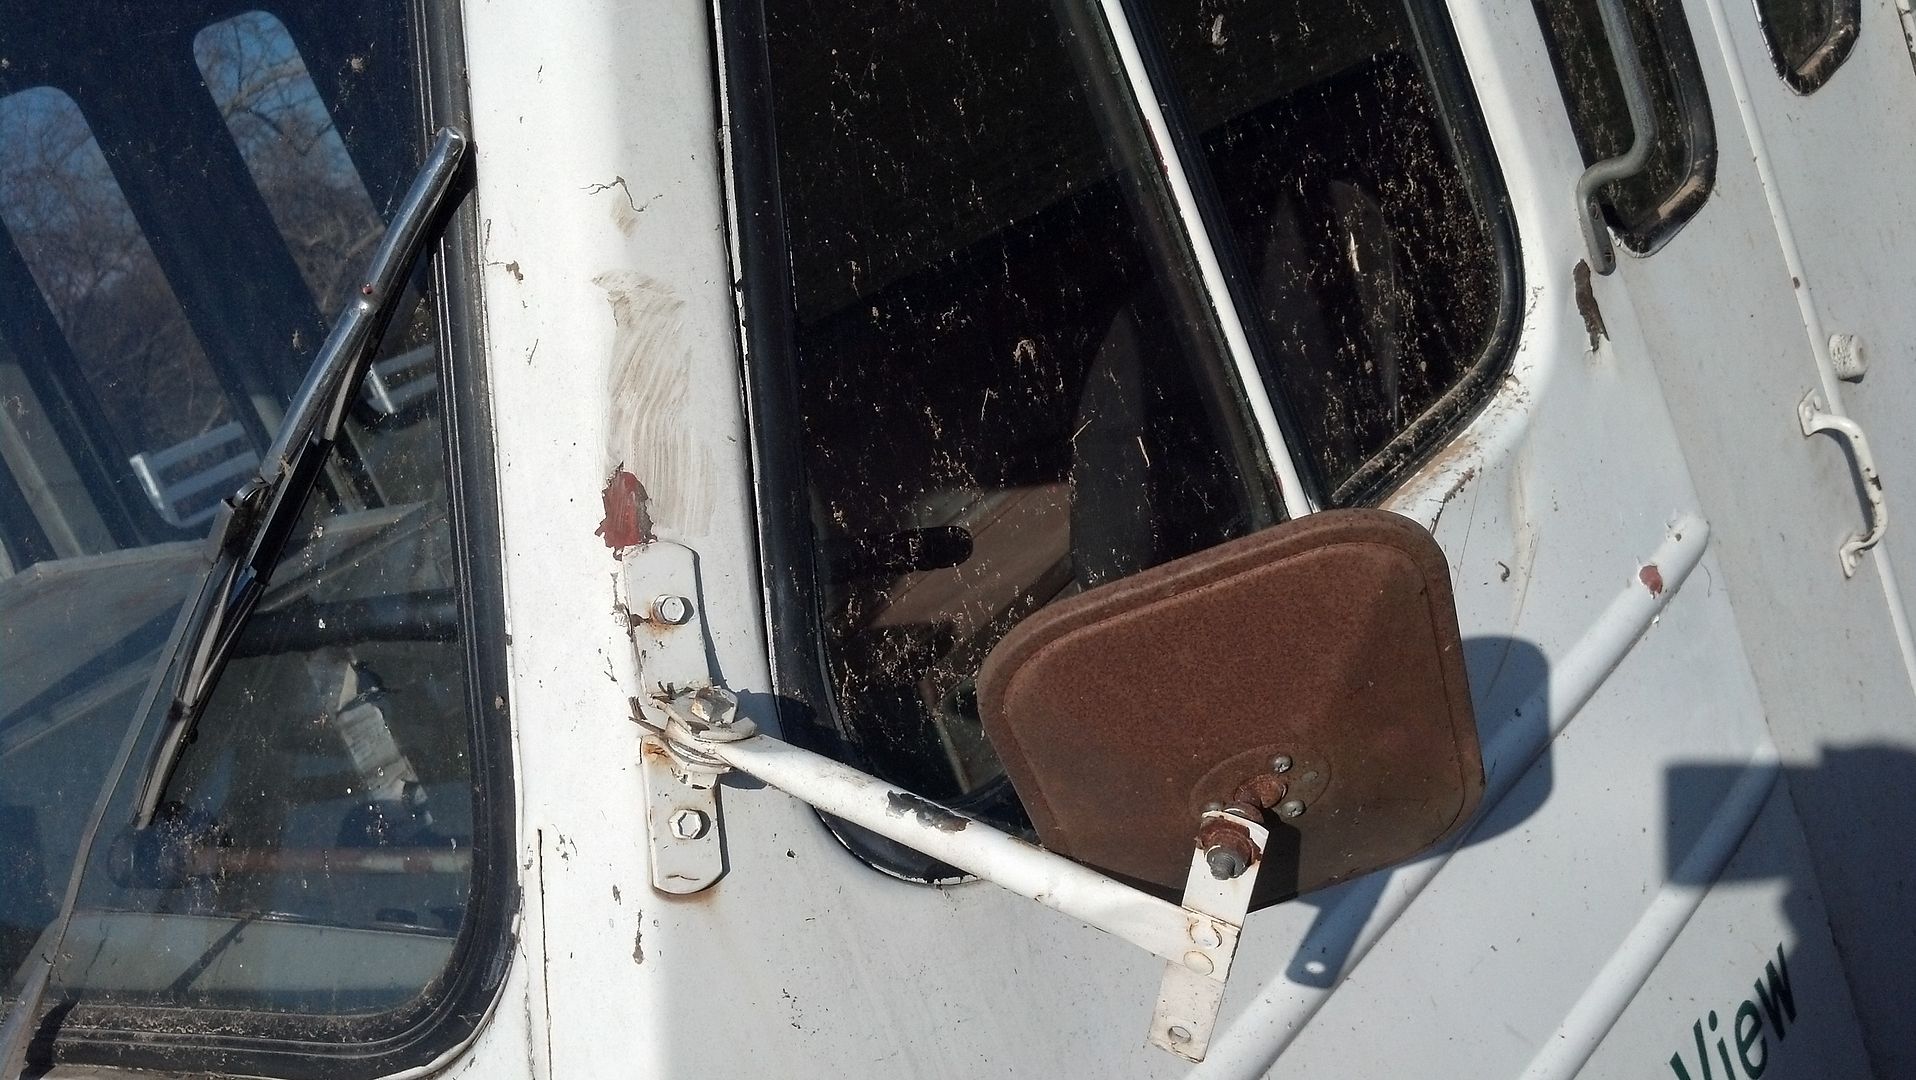
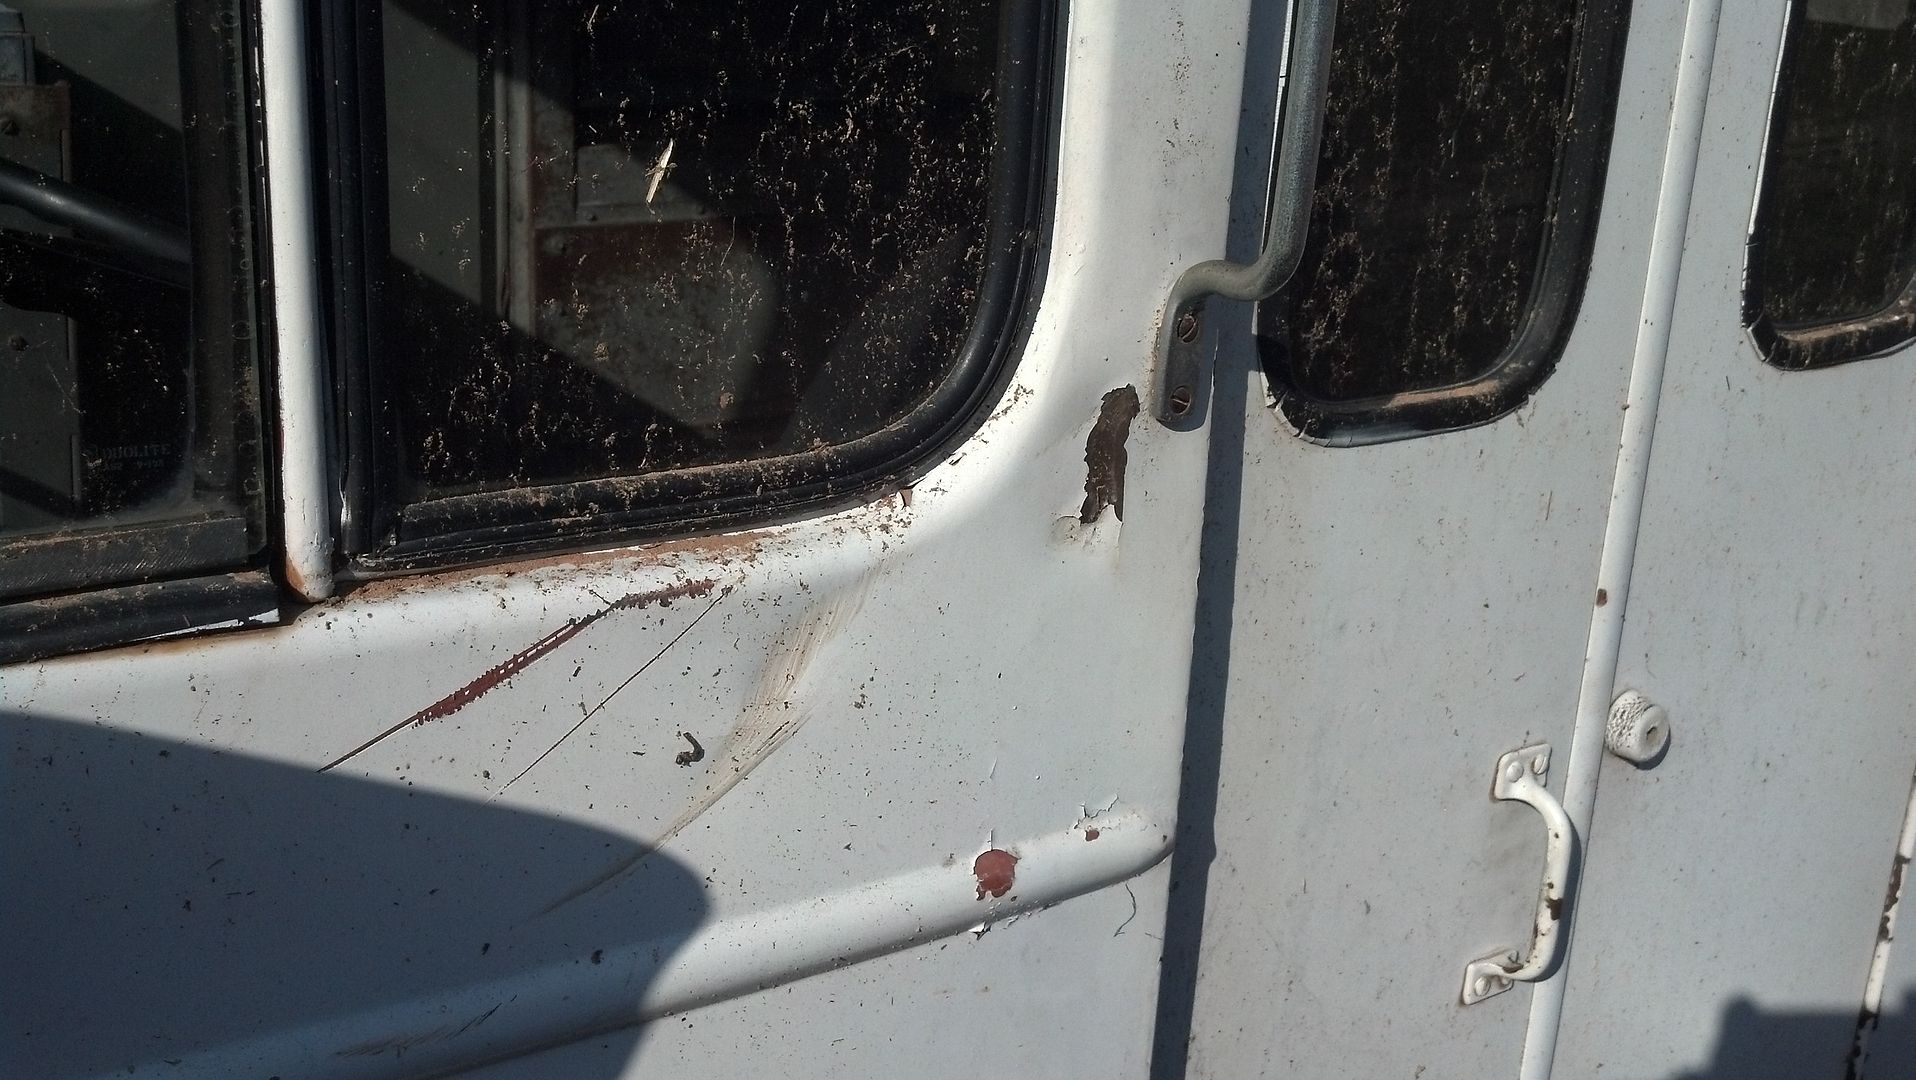
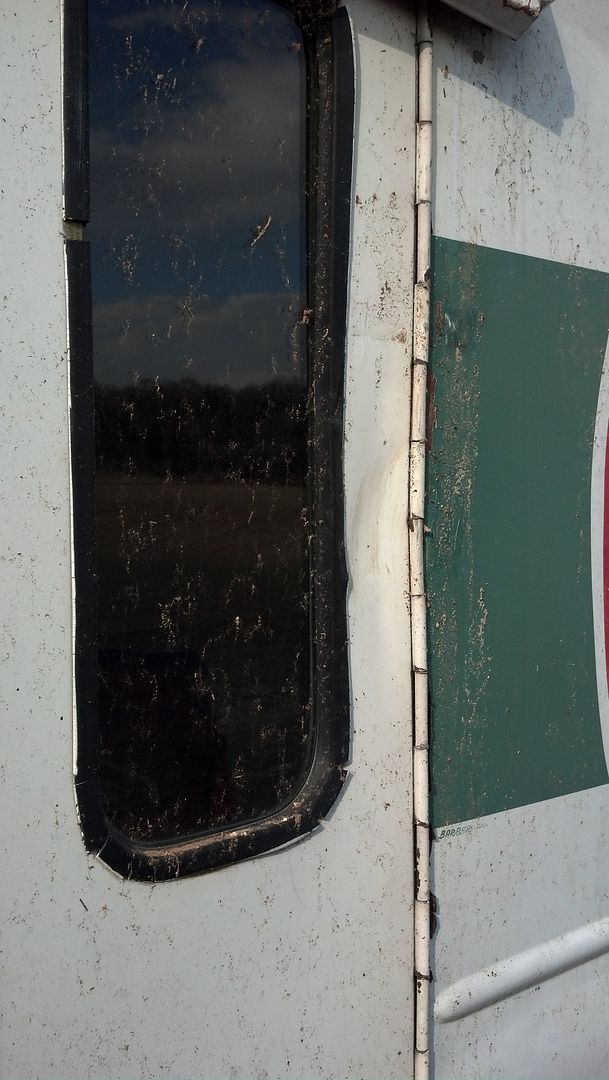
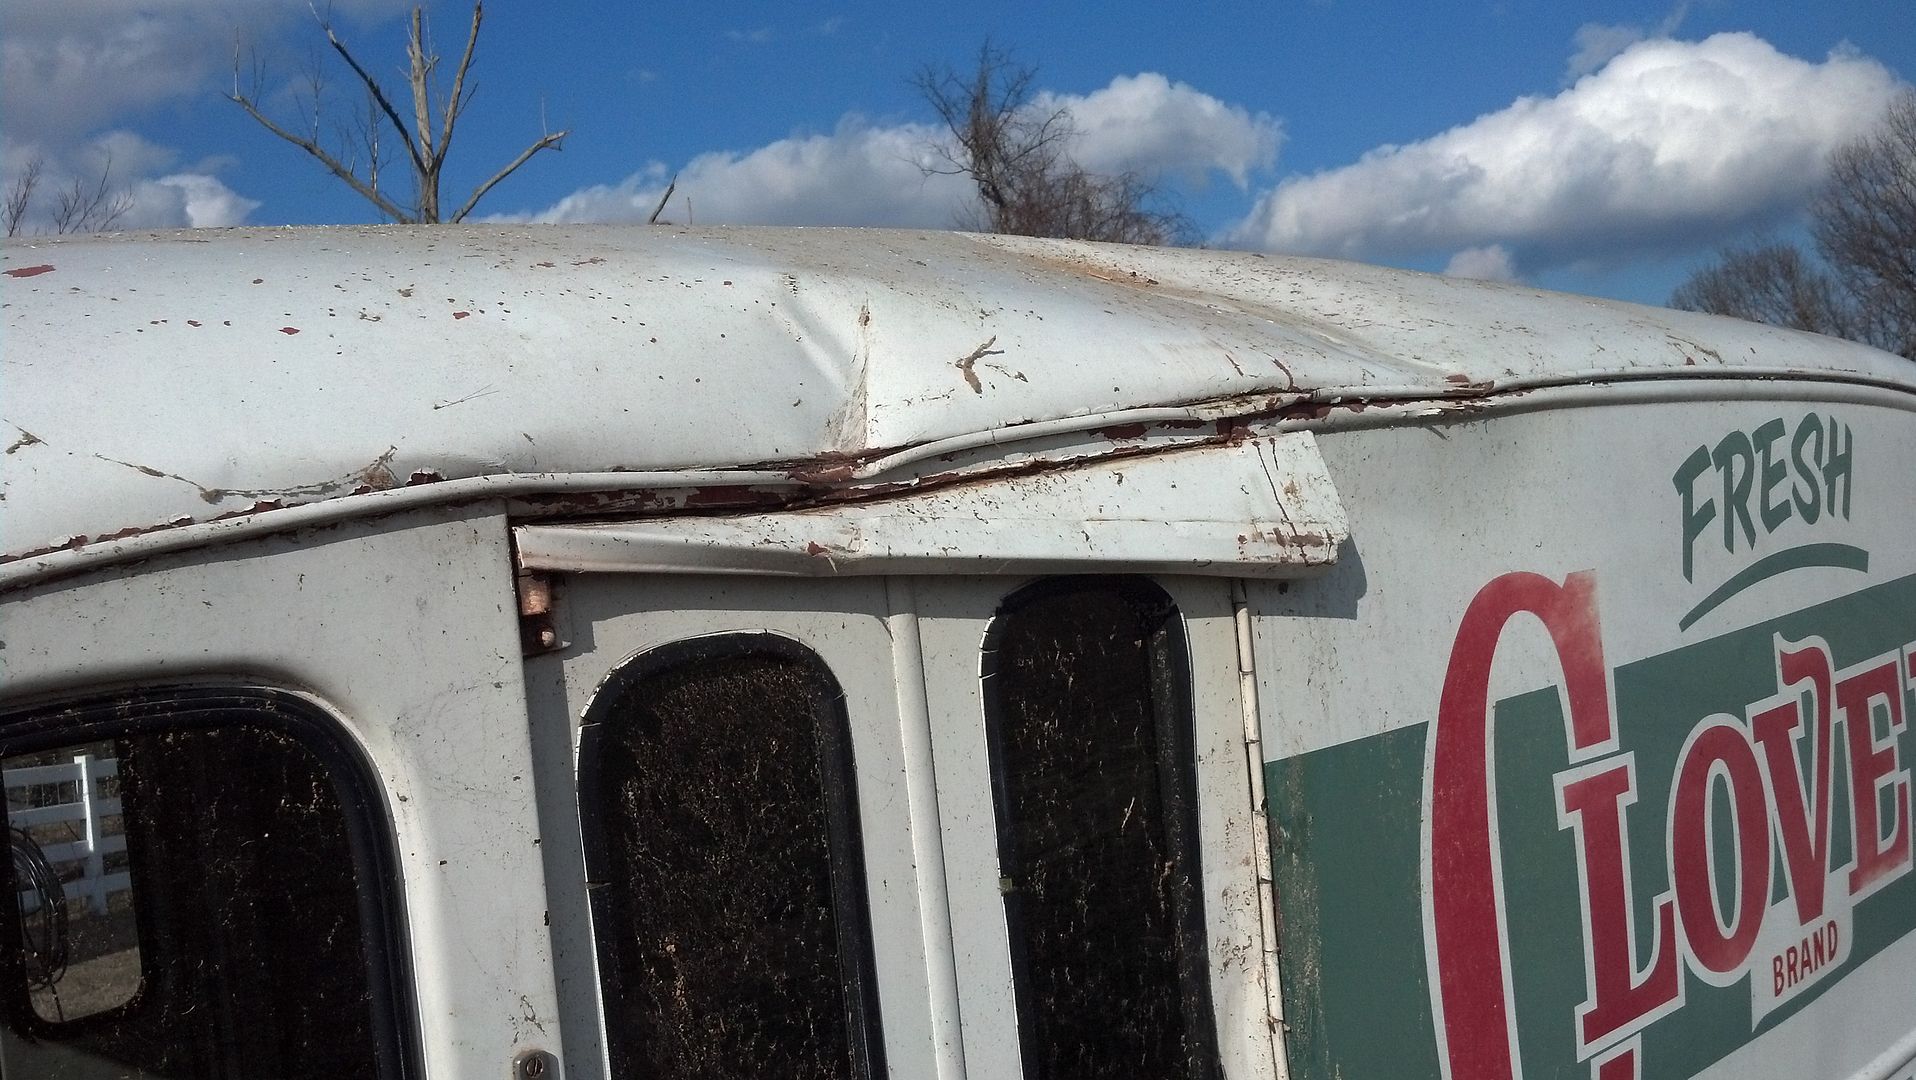
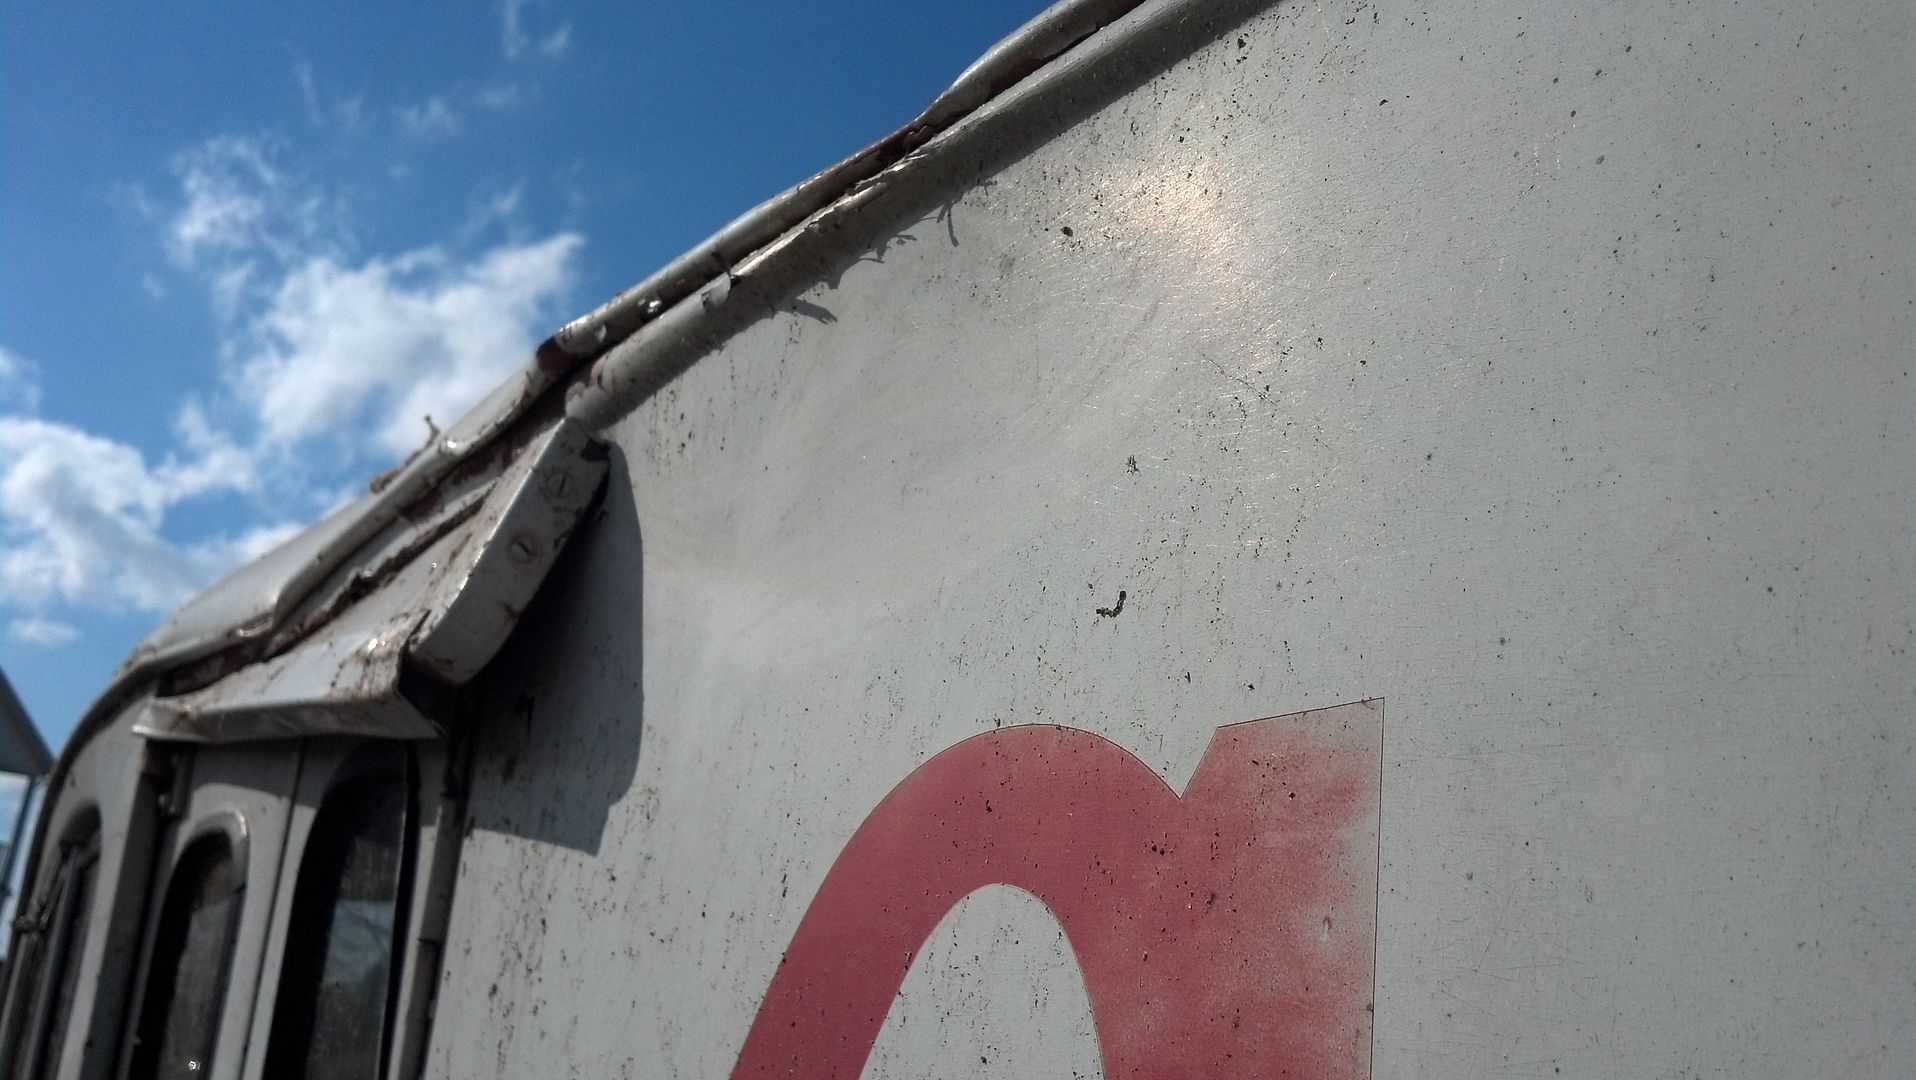
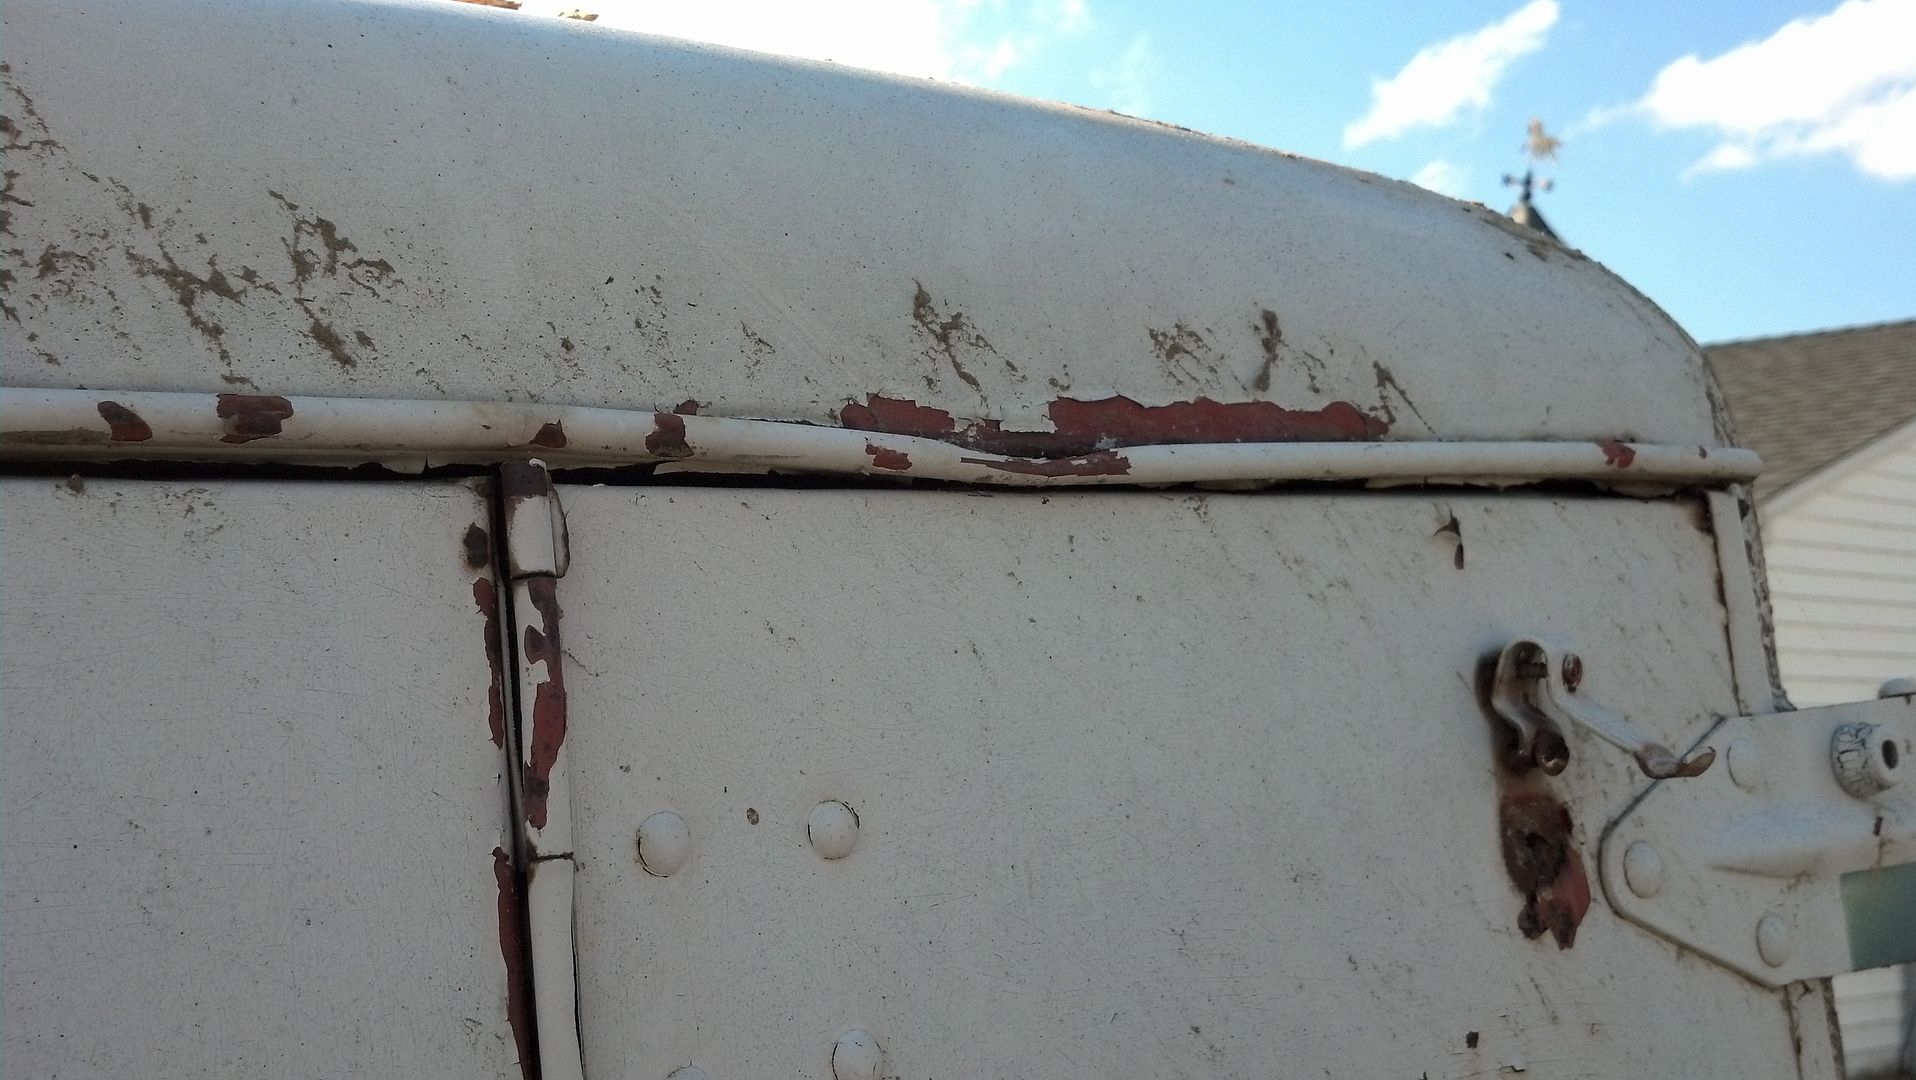
Robert....question....on the Divco, how are you going to go about repairing the roof? Are you going to try pushing it back out and maybe go over it with a shrinking disk, or will you be cutting panels out and repairing them that way? You need a couple GoPro Cameras set up in your shop to record a lot of this or put video clips up. I'm looking forward to the Divco job though. Even though it's going to be stock
Also, does that have seats in it already, or do you have to put seats in it? I know some of the early Divco's were stand up drivers or had a little tiny seat for the driver only.
Pics.....we will need pics of the owner cleaning things up and turning some wrenches. Not too many times a woman makes it into the garage other than to *****, or bring a sammie out, or getting back from the grocery with some more beer
I just thought of one more thing too.....when blasting a panel, I know that everyone says the heat from blasting will warp a panel. A number of years back, I took some sheet metal to a guy to have blasted. He had a large outdoor facility with a diesel powered compressor (Ingersoll) that you see when they are blasting bridges and such. He was explaining the finer aspects of blasting and he was telling me that to properly blast a panel, you want to attack it sideways instead of straight on. He was telling me that by hitting it straight on, although it does generate heat, it's the constant pressure of the media pounding against the metal that is actually denting it. By going at it sideways, you don't have the direct hit into the metal. Does that make sense?
He was pretty handy to have as a go to guy for sandblasting and was very reasonable, but he's doing 25 in the big house for banging his 14 year old daughter on a continual basis. I guess he had been doing it since she was 9 or 10. The stuff you find out about people. They arrested him the same day I was there but after I had left.
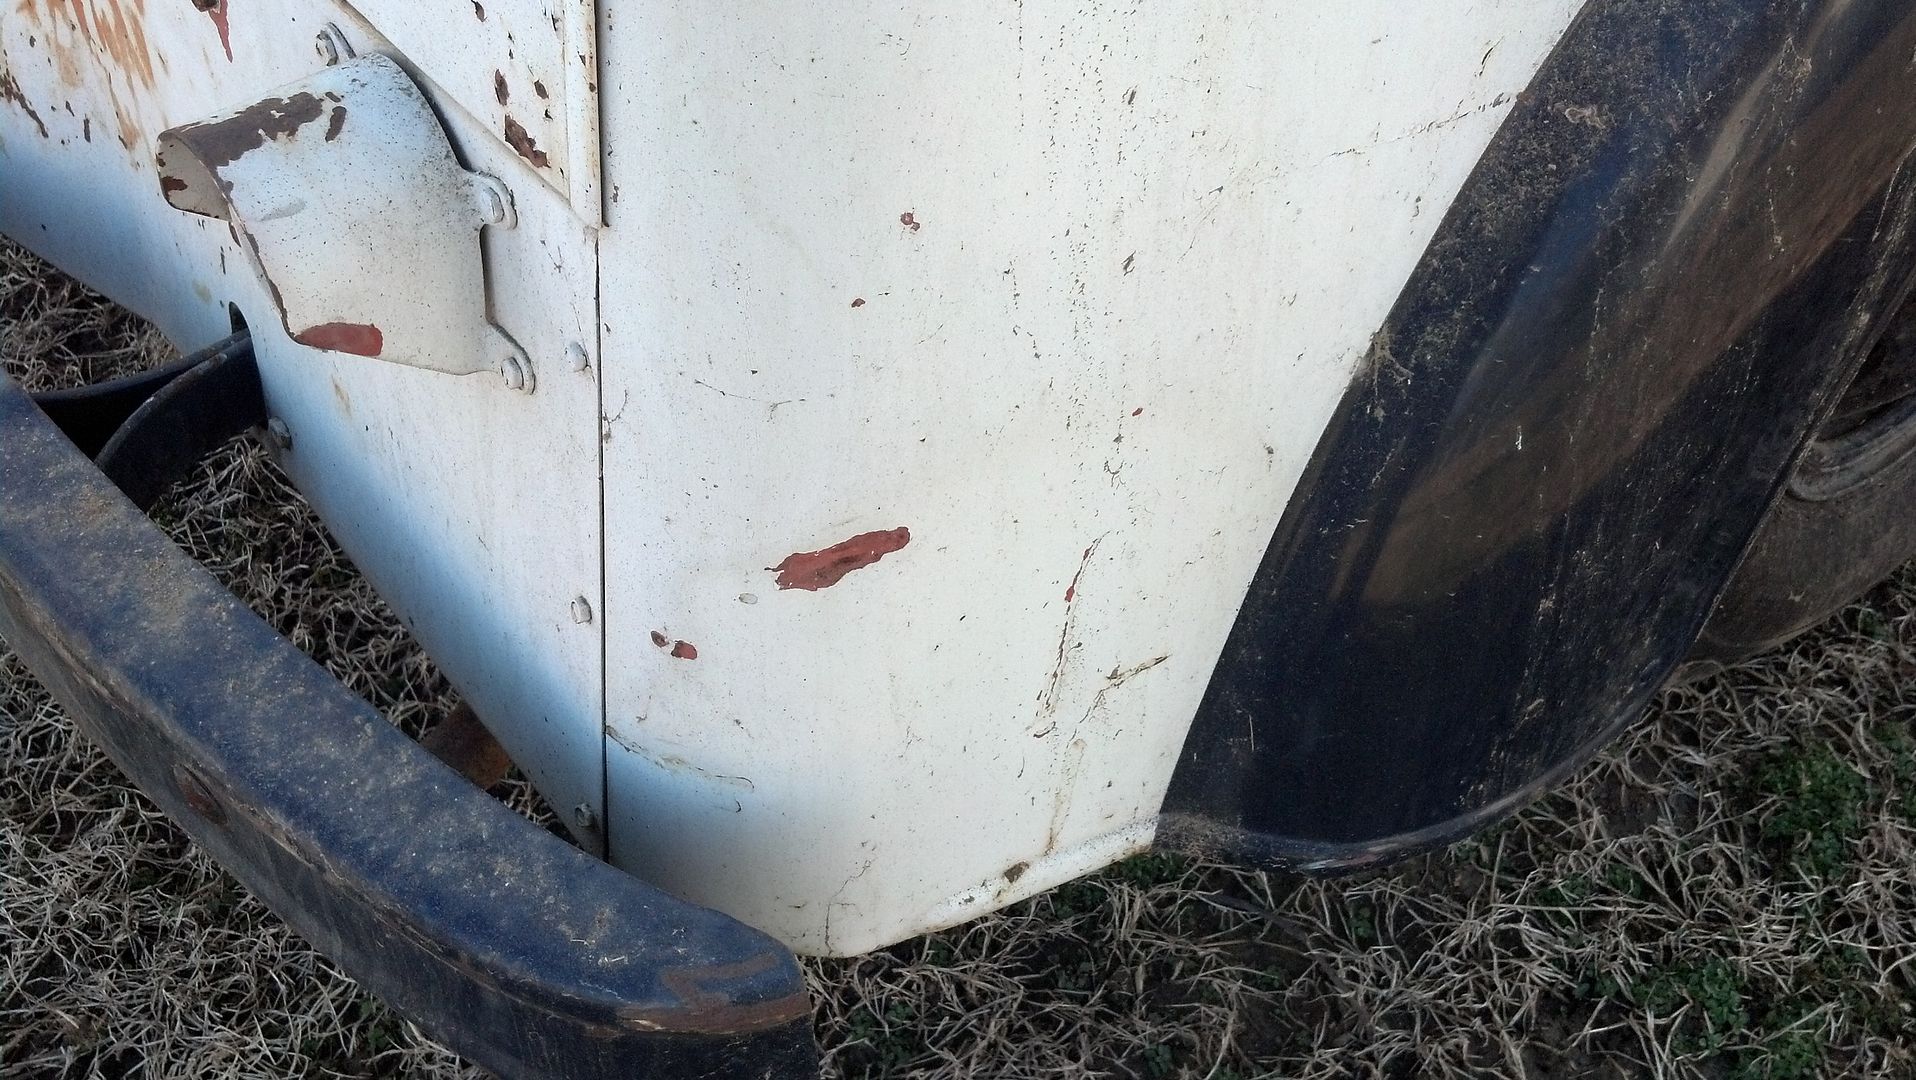
Roof repair will be a play it by ear. I've got my hunches but we'll see how it plays out... That's what this one has, the small seat for driver only.
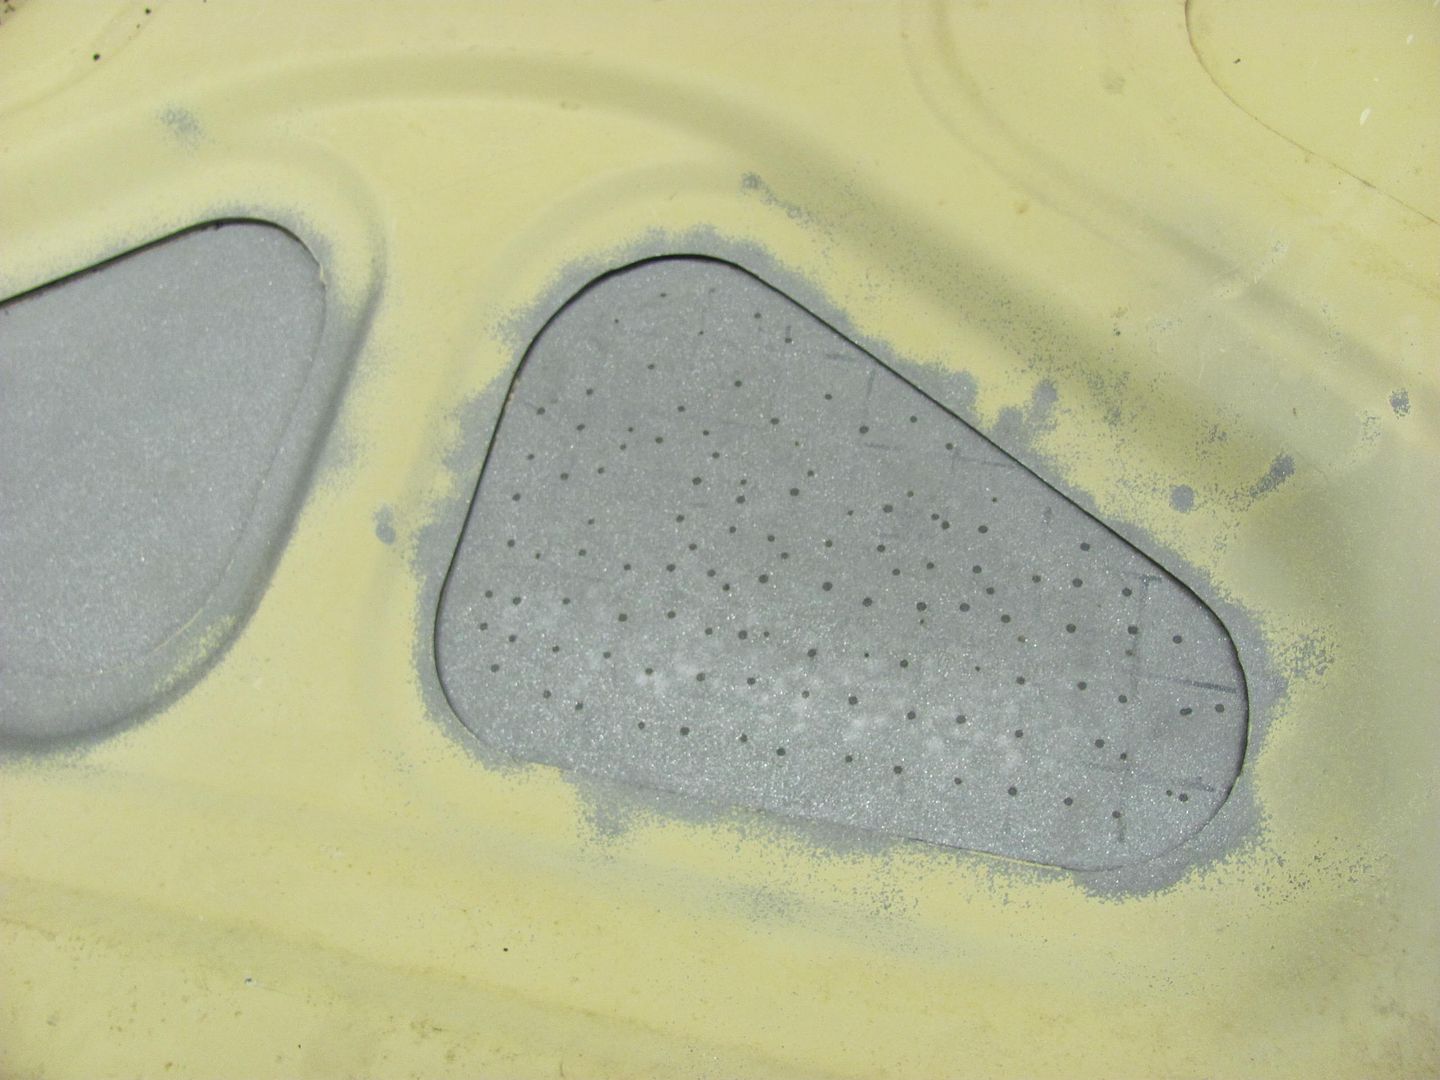
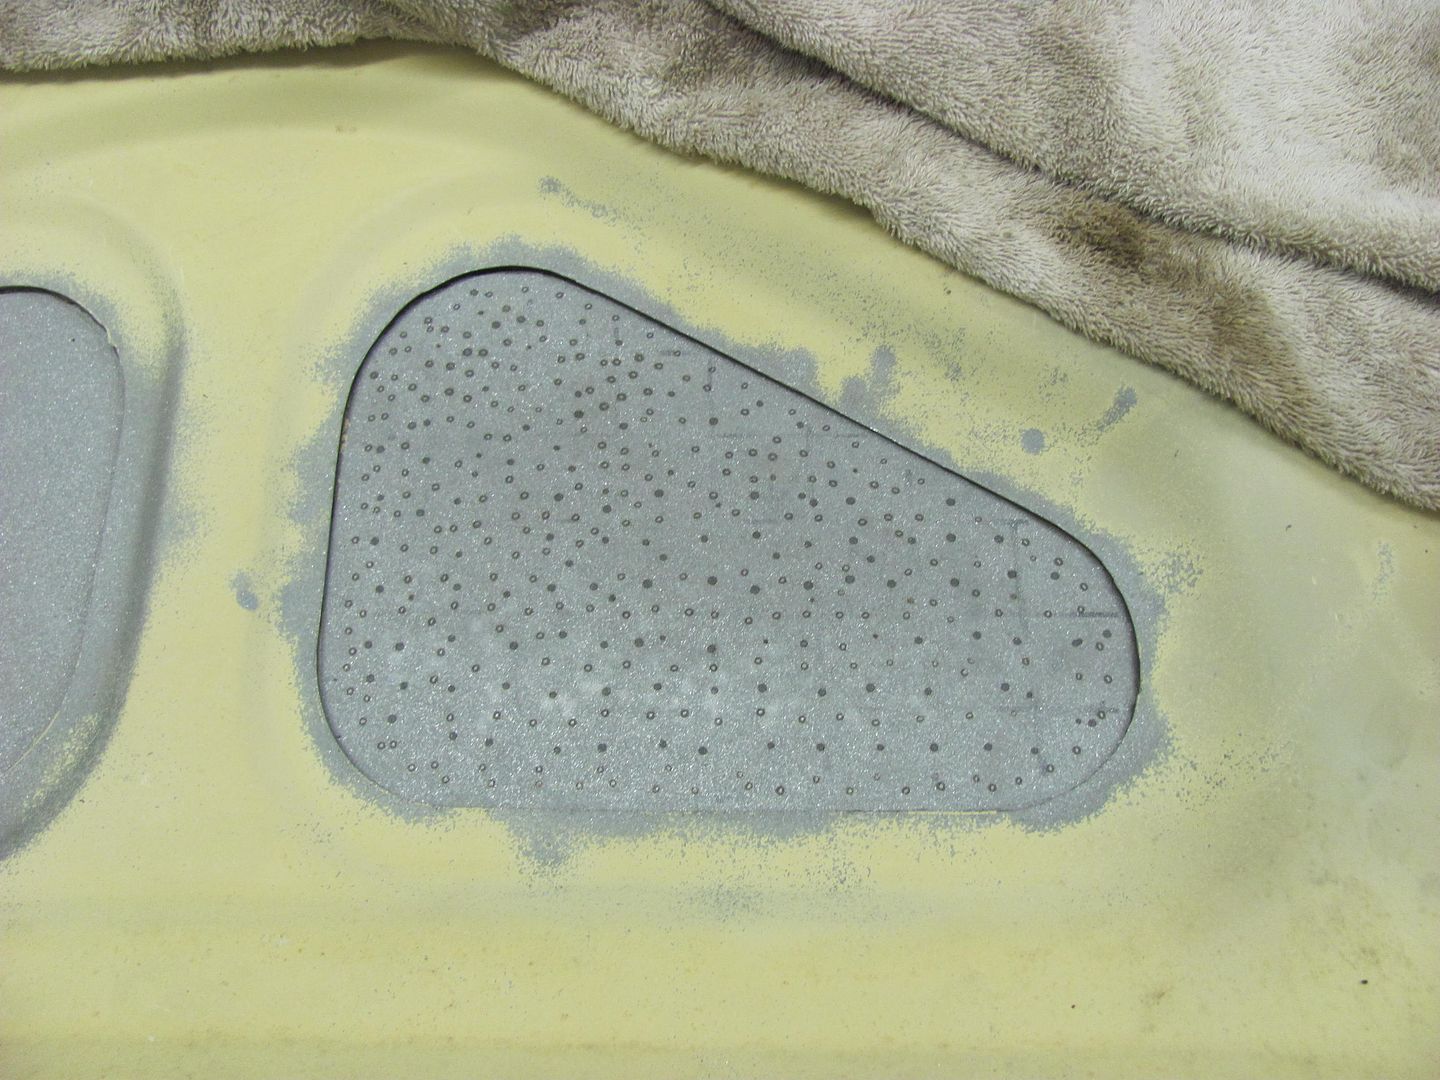
I've got pictures of her sandblasting the inside of a door....
The damage is caused by the peening effect of too large a media and too much force pushing said media into the panel. PERIOD. Any heat is a by product of this peening action and stretching has already occurred before the heat shows up. You eliminate the stretch possibility by keeping air pressure reduced to about 35psi or less, using finer media, and like your guy said, blasting at an angle to reduce the direct force.
 http://www.ebay.com/itm/1955-Chevro...reet-Rod-/390786393446?_trksid=p2054897.l4275
With the example that you were showing, along with your drawing, when you blast from one side, you get warpage. What happens when you blast it from the other side afterwards? Have you ever tried that to see the results? I wonder if it would peen it back or if hitting it with media from the other side would then have the metal stretched really bad by hitting it from both sides?
That Divco is a way cool project. Really looking forward to seeing progress reports!
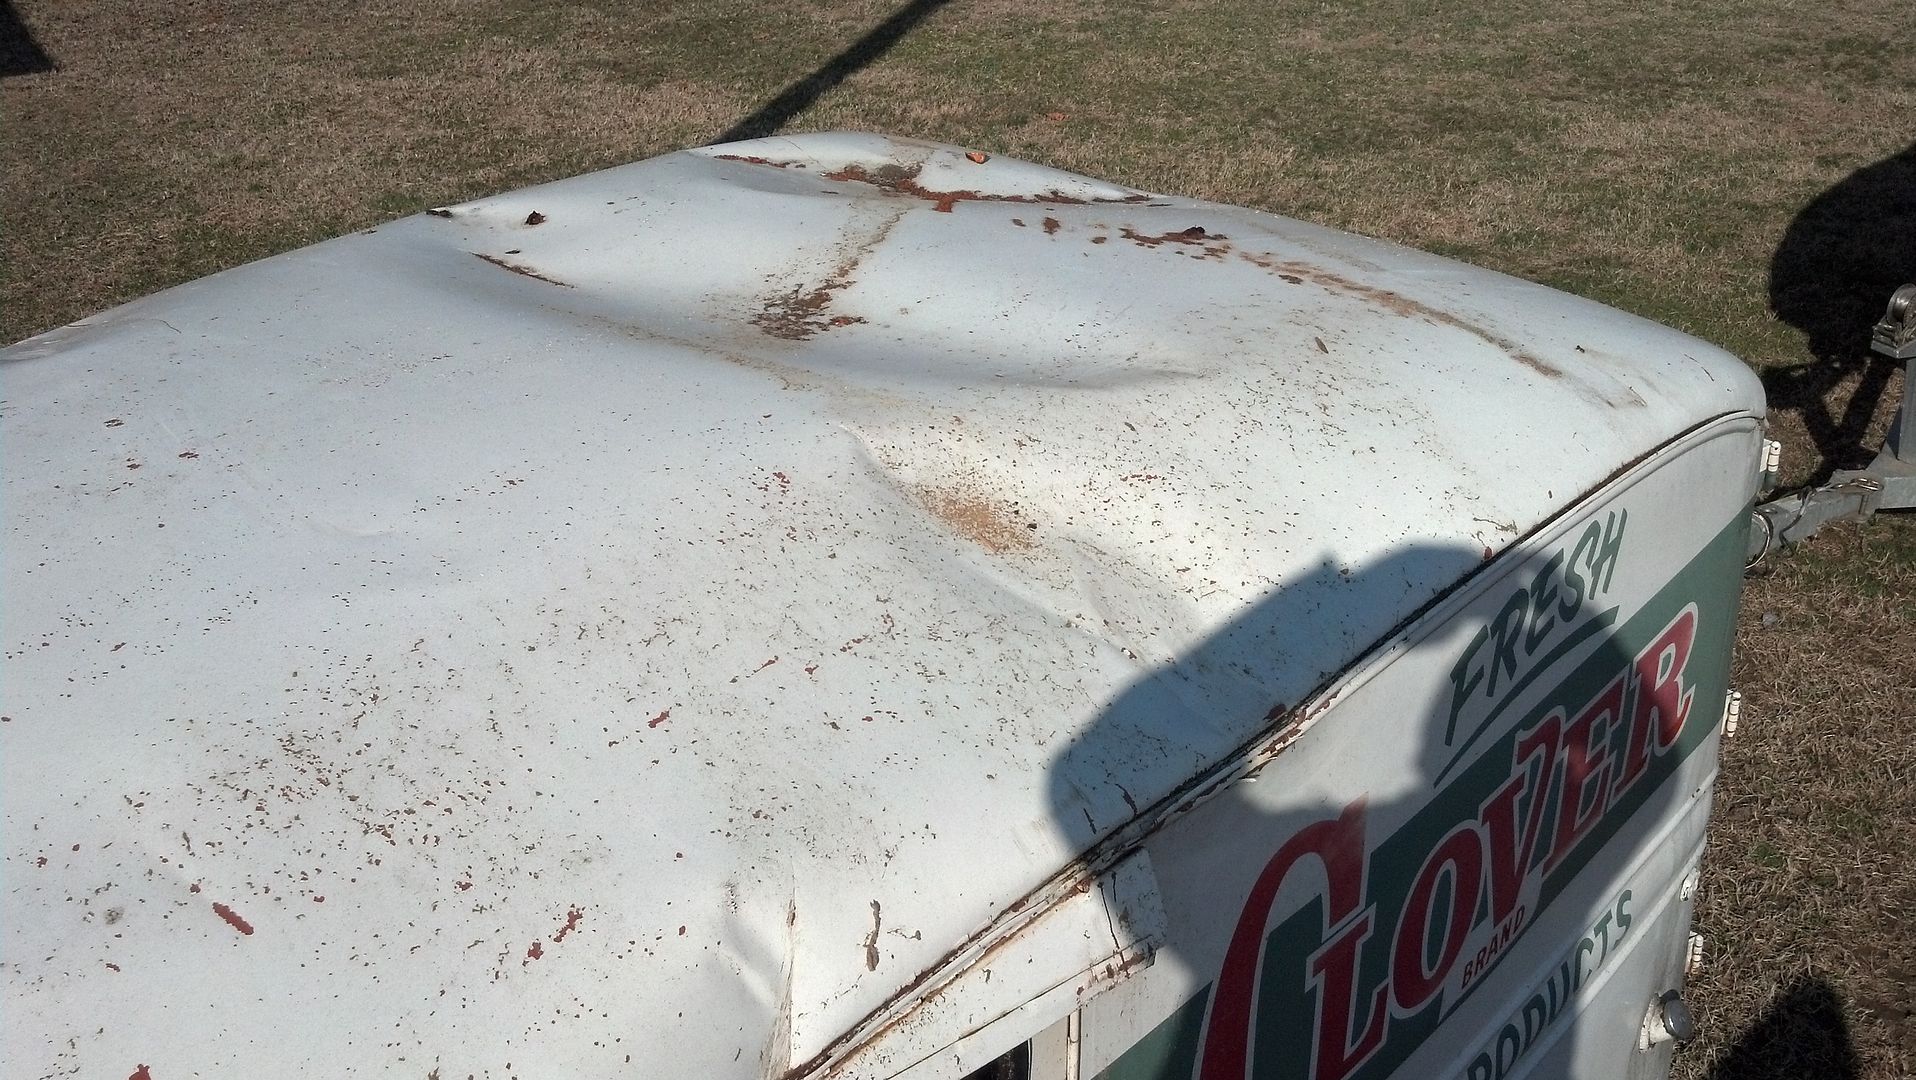
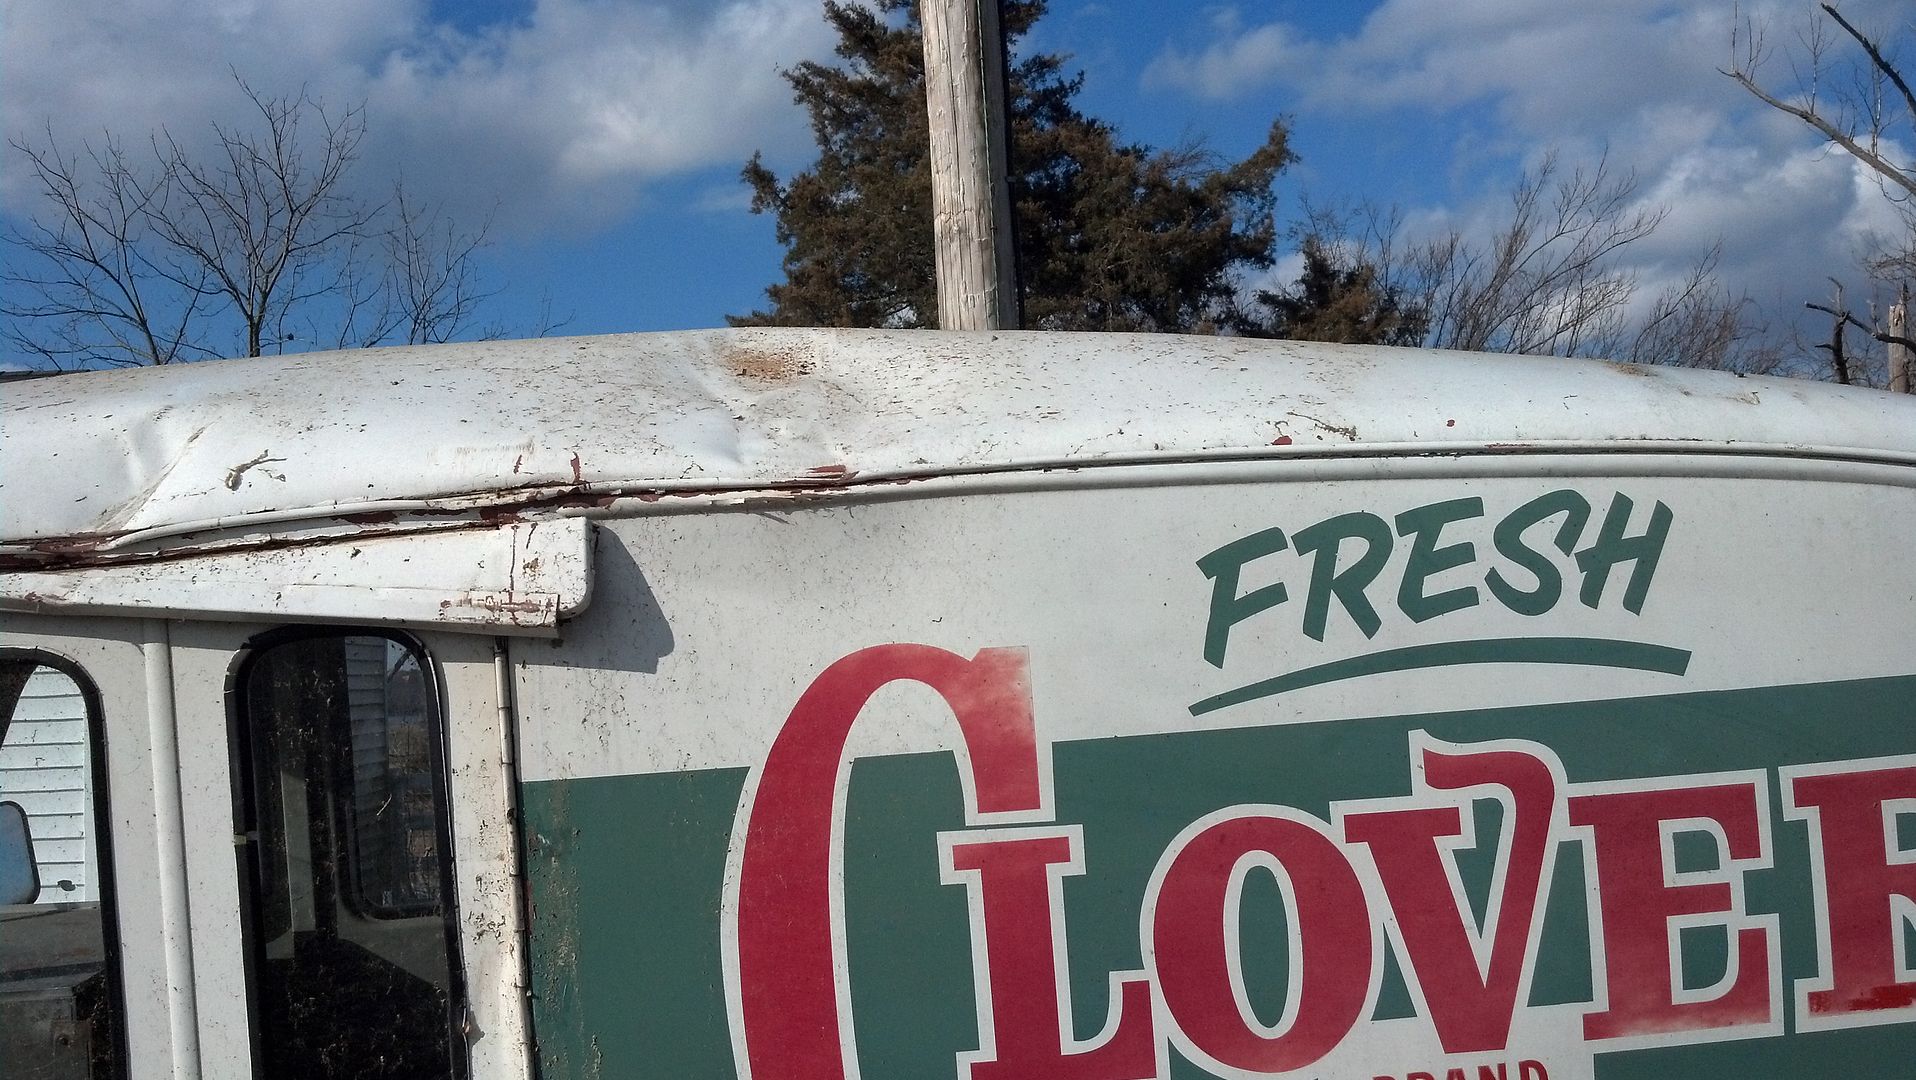
My wifes Uncle delivered Milk in one for years. Probably a few of them still sitting on farm. He just passed away recently (he was in his 70's) Only job he ever had.