
You are using an out of date browser. It may not display this or other websites correctly.
You should upgrade or use an alternative browser.
You should upgrade or use an alternative browser.
MP&C Shop Projects
- Thread starter MP&C
- Start date
Bob Heine
ALLIANCE MEMBER
I save those SPI boxes. I think they're stronger than the plastic bins I pay money for.
Care package showed up from GA, 4 gallons should be a good start...


No more HOK?
Kevin54
MEMBER EMERITUS
We have some spots like inside the quarter panels that the HOK would be a bit "loud". We hadn't planned on any topcoat there so the black epoxy will work out better. I've been meaning to try the SPI so this was a good time to do so.
 Are you talking about inside of the car, and not outside between the trim as a two tone?
 And are you going to tell us what color the car is going to be, or do we have to wait for that?
427FAB
Well-known member
We have some spots like inside the quarter panels that the HOK would be a bit "loud". We hadn't planned on any topcoat there so the black epoxy will work out better. I've been meaning to try the SPI so this was a good time to do so.
I was a big fan of PPG and I still use it but I have been very happy with SPI.Barry is an absolute gentleman and will help you out anytime of the day.You will be happy with it.I like the Universal clear and the 2K primer as well.
As always your work is very impressive and you are a true craftsman !
Have been swamped at the day job and a couple of rentals in need of repairs, so not much time in the shop. I did have some kitchen issues to resolve and thought that it was the perfect place for some metal shaping. 
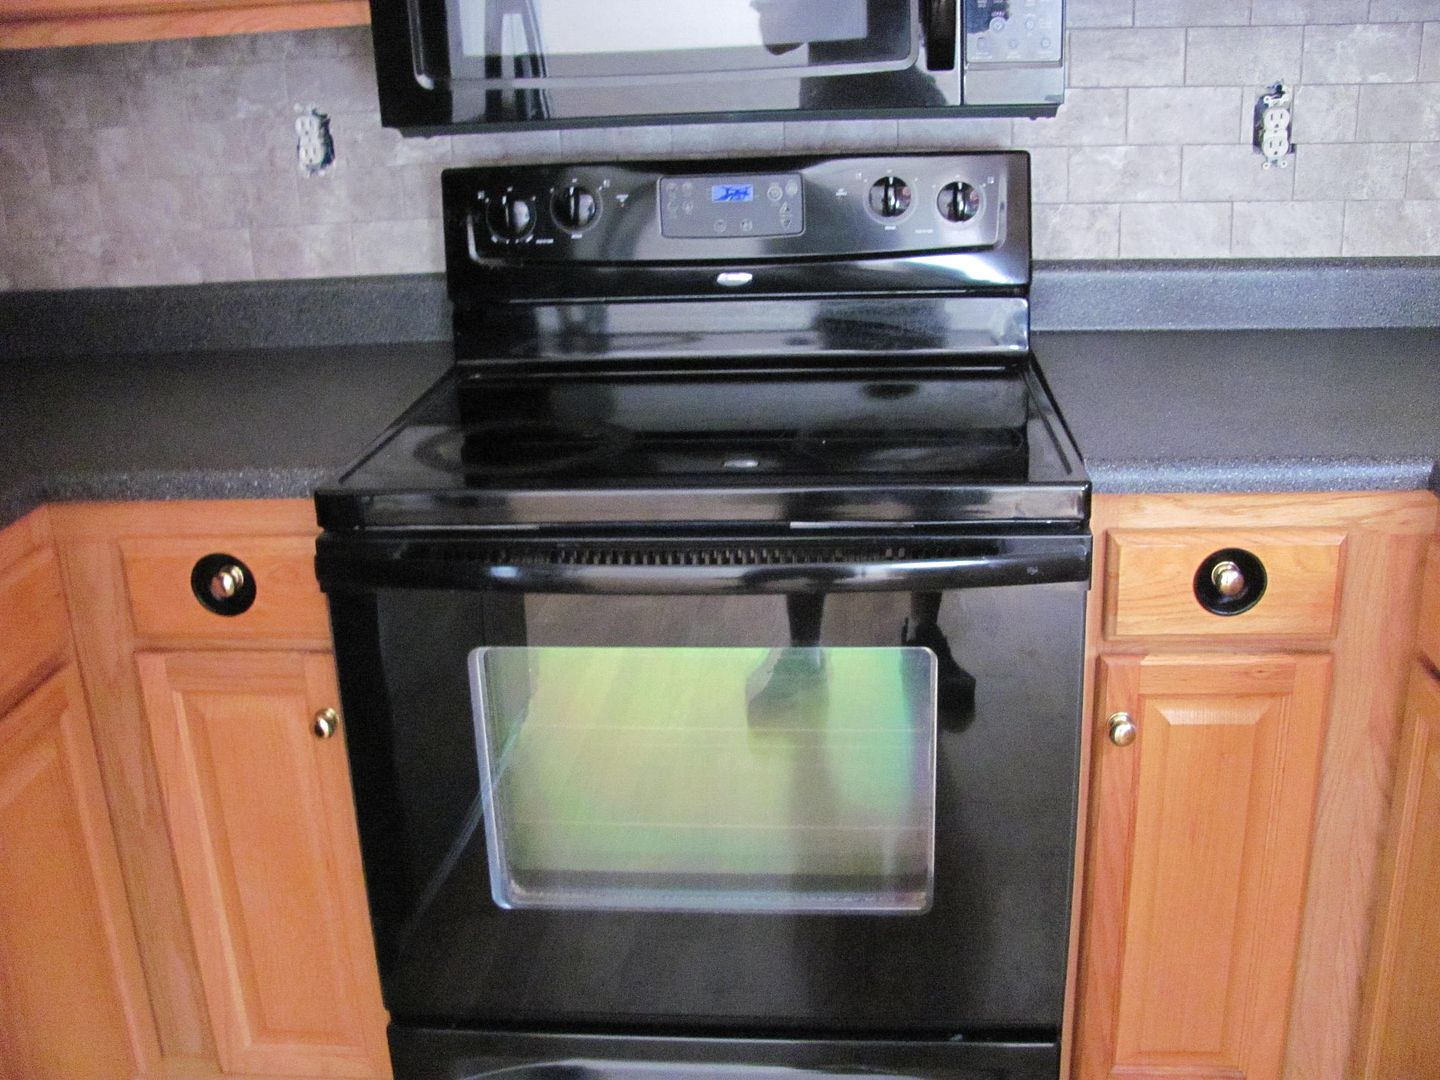
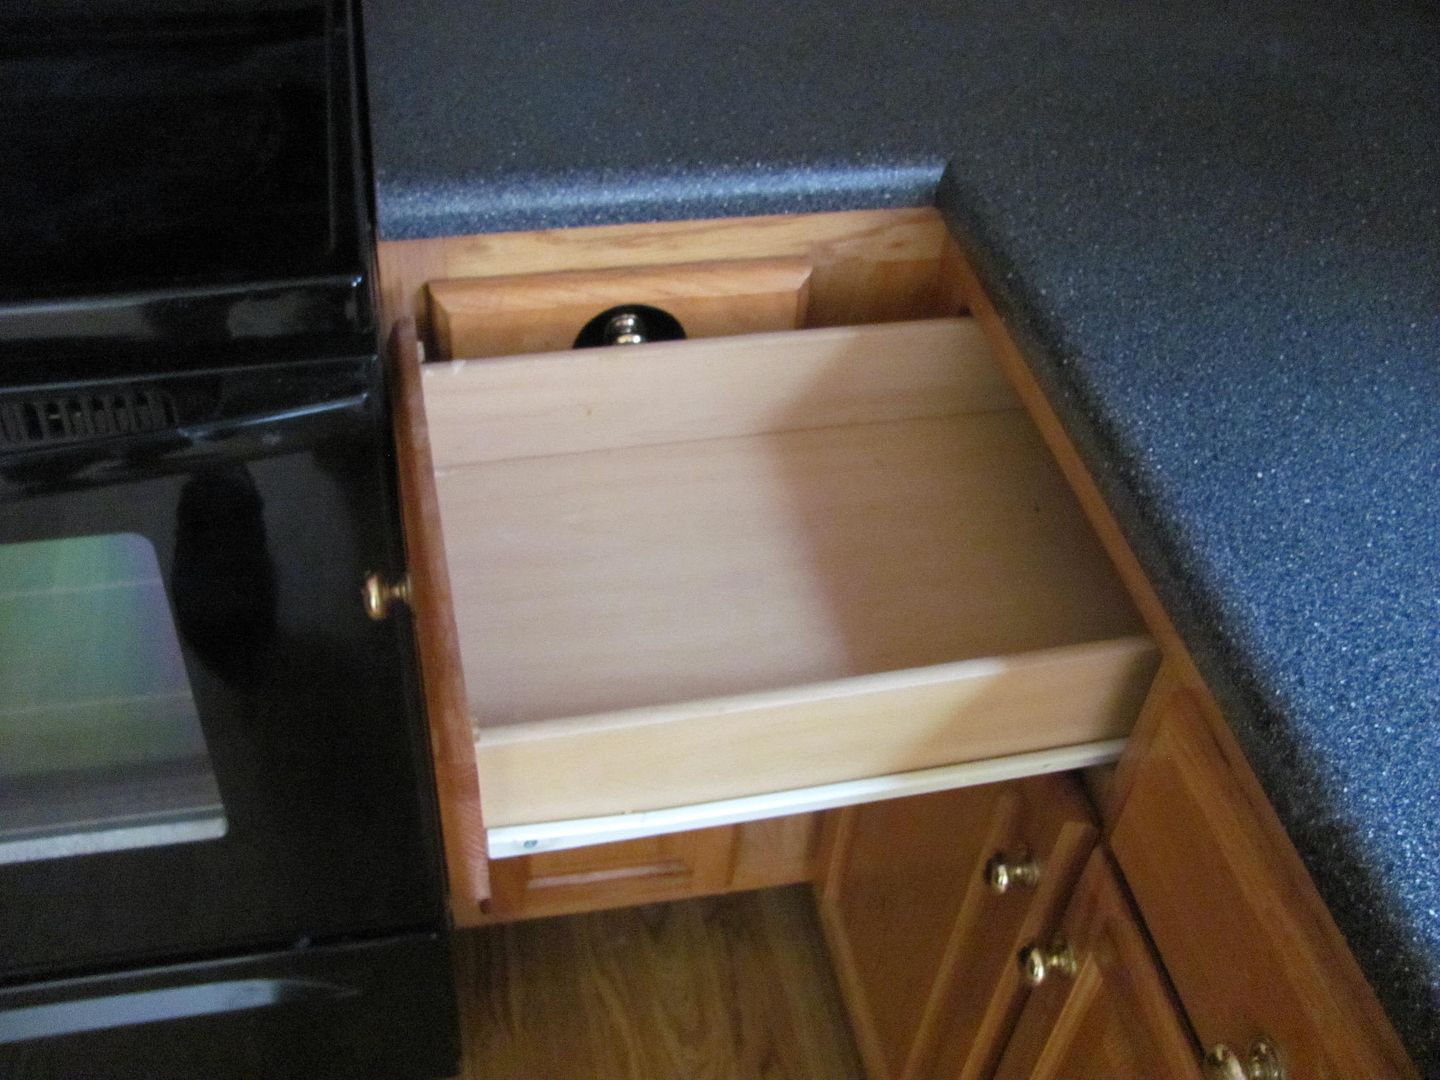
Here's the background, kitchen layout was less than ideal, I guess they were fine until the knobs were installed....


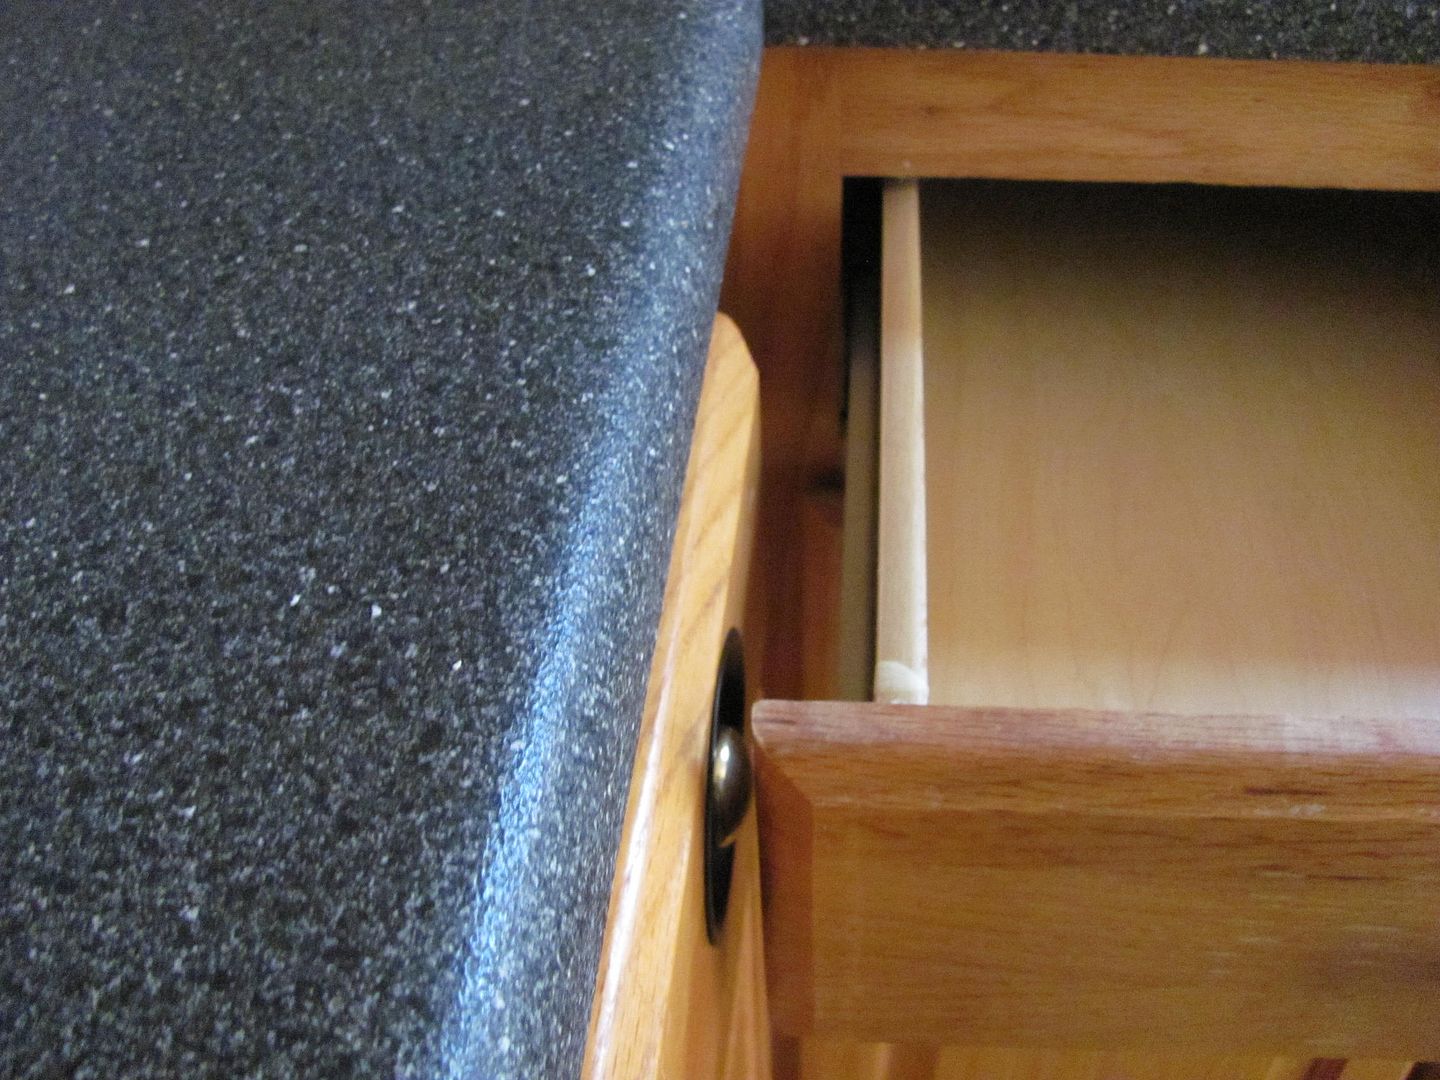
Removing the knob, we have much more access to the adjacent drawer. I had looked for similar knobs in recessed form, and could not find much available, or that would match and use existing hole. Placing the knob on top of the drawer face, it looks like a recessed offset would resolve the issue..


Cut out some blanks and used a sharpie and the lathe to mark a good circle for trimming.


The snips work much better with less distortion when the trimmed amount is limited to 1/4 width, so a couple trims and then we can trim to the line..


Reinstalled onto the lathe-sharpie tool, the outer diameter is marked on both sides. This diameter provides a good flat for the knob.

I haven't had much time in the shop to make new tools, and one of Captain Kirk's version of tucking forks is on the list. So I resorted to the vise grip tucking pliers. These tend to be more effective using heat on the tucks, so off I go..


Repeated shrinking effort and checked knob offset...


Measured off about half the distance and added another bend line to bring the diameter in a bit...


Finished and media blasted...

Drawer face hole opened considerably and as the recessed "cup" protrudes through the back side, a stepped washer was made for the inside of the drawer.


This looks like it will work!
Here's the background, kitchen layout was less than ideal, I guess they were fine until the knobs were installed....
Removing the knob, we have much more access to the adjacent drawer. I had looked for similar knobs in recessed form, and could not find much available, or that would match and use existing hole. Placing the knob on top of the drawer face, it looks like a recessed offset would resolve the issue..
Cut out some blanks and used a sharpie and the lathe to mark a good circle for trimming.
The snips work much better with less distortion when the trimmed amount is limited to 1/4 width, so a couple trims and then we can trim to the line..
Reinstalled onto the lathe-sharpie tool, the outer diameter is marked on both sides. This diameter provides a good flat for the knob.
I haven't had much time in the shop to make new tools, and one of Captain Kirk's version of tucking forks is on the list. So I resorted to the vise grip tucking pliers. These tend to be more effective using heat on the tucks, so off I go..
Repeated shrinking effort and checked knob offset...
Measured off about half the distance and added another bend line to bring the diameter in a bit...
Finished and media blasted...
Drawer face hole opened considerably and as the recessed "cup" protrudes through the back side, a stepped washer was made for the inside of the drawer.
This looks like it will work!
Racquetballguy
Member
- Joined
- May 16, 2014
- Messages
- 7
Robert - thanks for all your posts.
Are you heating the metal up enough to get color changes? Do you anneal the metal afterwards? I have seen several different opinions on how much heat to use when heat shrinking and was wondering what you do.
As always, your work is fantastic.
Ivan
Are you heating the metal up enough to get color changes? Do you anneal the metal afterwards? I have seen several different opinions on how much heat to use when heat shrinking and was wondering what you do.
As always, your work is fantastic.
Ivan
Ivan, the vise grip tucking tool does not form the tucks as well as tucking forks, so I use heat to help out. Basically the tuck is heated to a soft red, and then hammer it flat. Without heat the tuck has a tendency to spread back open with little shrinking effect. By heating the tuck, it more effectively flattens without spreading back out. So the heat is used more to get the tuck ductile than to provide the shrinking effect via heat. I do no heating or annealing afterward, IMO not needed on steel.
aggierailroad
Well-known member
I bet you were just burning to make this repair!! Love it when a true craftsman fixes other people's mistakes.
Great repair, Robert.
Great repair, Robert.
E12-535iTurbo
Well-known member
Thanks for sharing. It looks so simple. Yet I can't imagine making something like that.
Another great example of applying a shop full of machinery to fix a simple screw up... I spent an hour yesterday on the lathe punching out the i.d.'s on some pvc tee fittings so I could assemble a lawn game that was missing some of the pieces. Just seemed like an easier solution than driving all the way to the store to exchange it...
Kevin54
MEMBER EMERITUS
Now that's just pretty damn ingenious 
....thought a little about trying metal spin forming on the lathe.
I considered that for a second, but didn't know what I had in the shop handy that I could use on the lathe to form the steel..
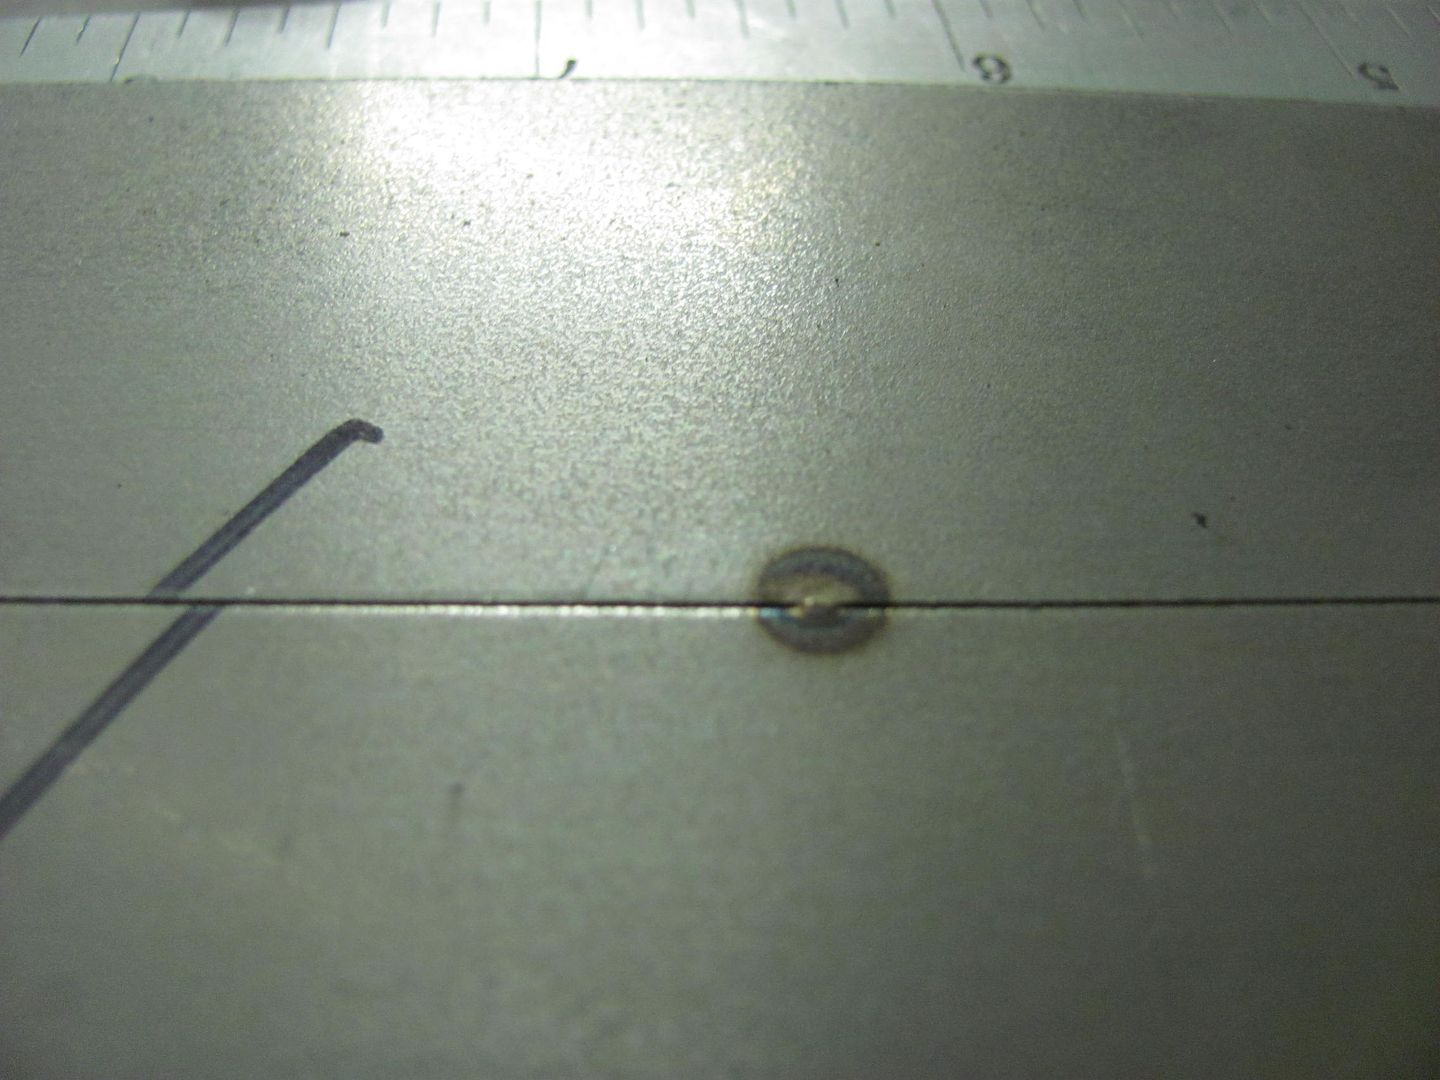
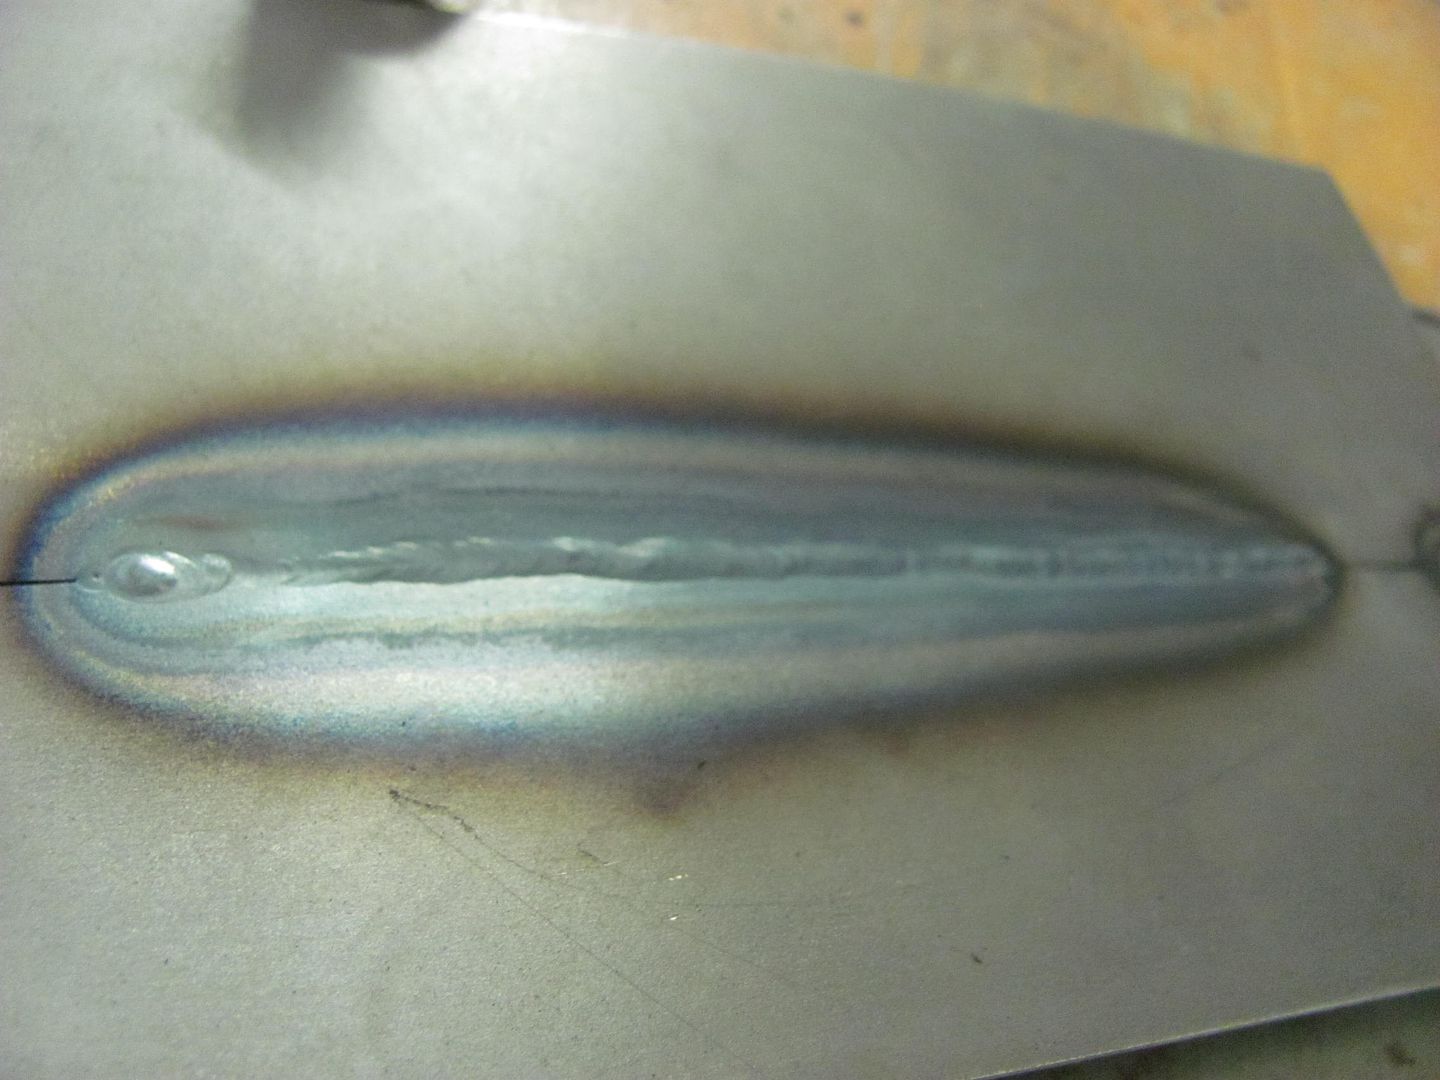
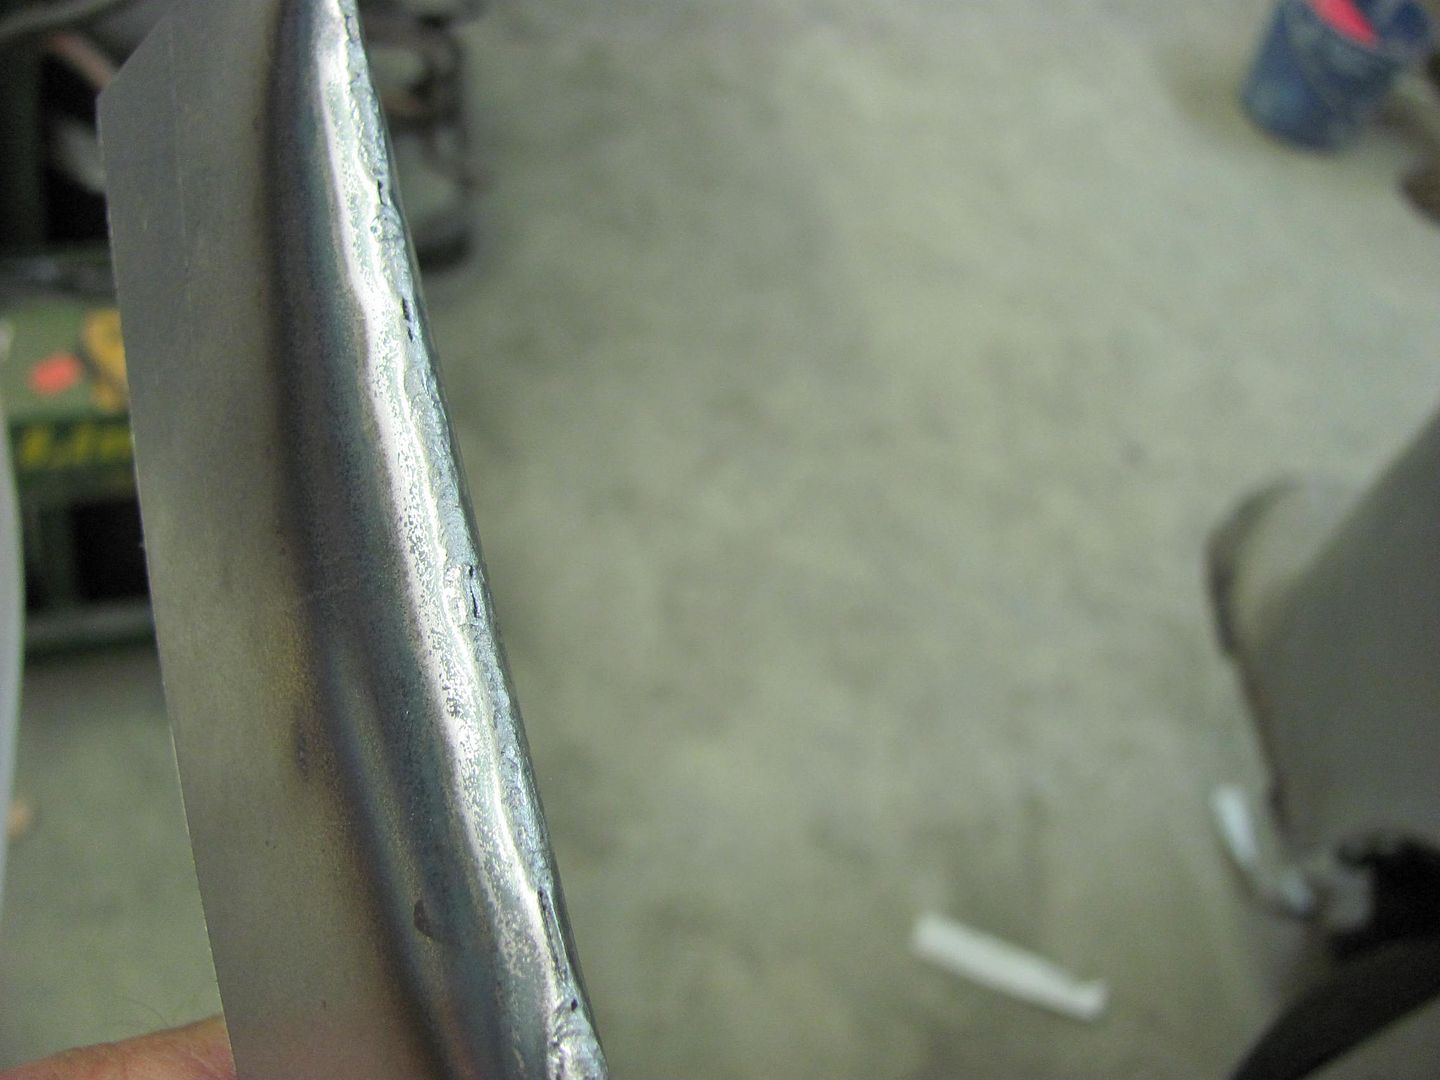
This evening I tried some more Fusion welding using the Tig.. To review my previous attempt:
Some practice at fusion welding using the Tig, here's the front showing some slight undercutting..
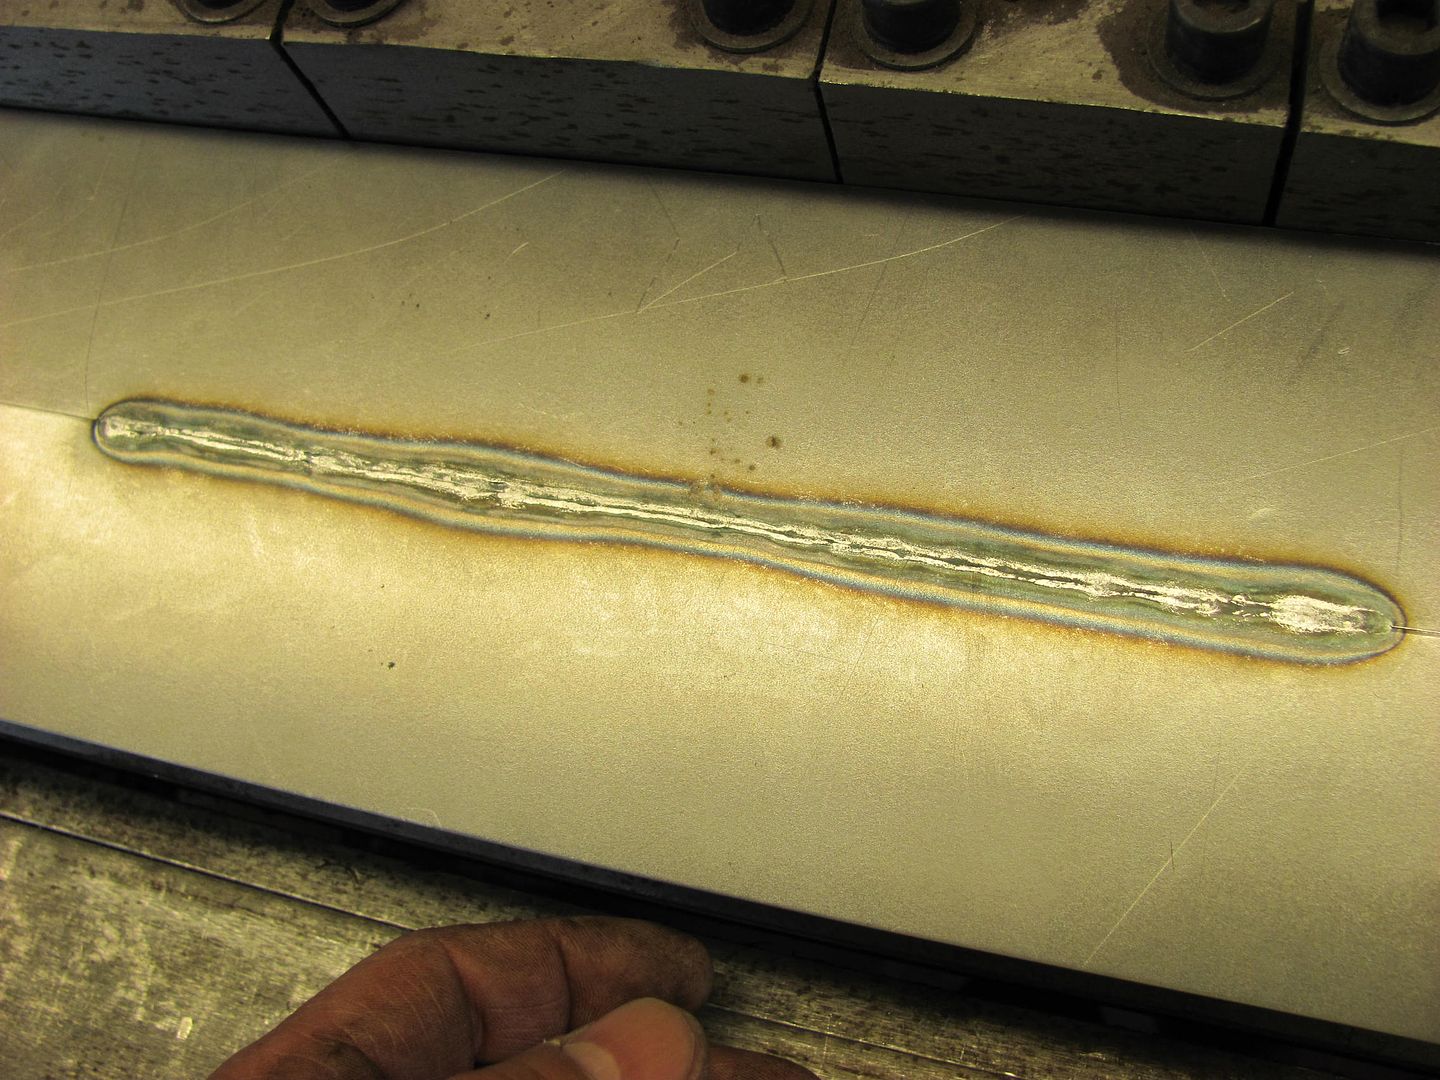
The rear side shows some good weld penetration in some areas and needs more practice in others..
Just to show that slight undercutting on fusion welding was not an issue in the joint's strength, the seam was clamped in the apron brake and bent to 135 degrees, with no detriment to the weld..
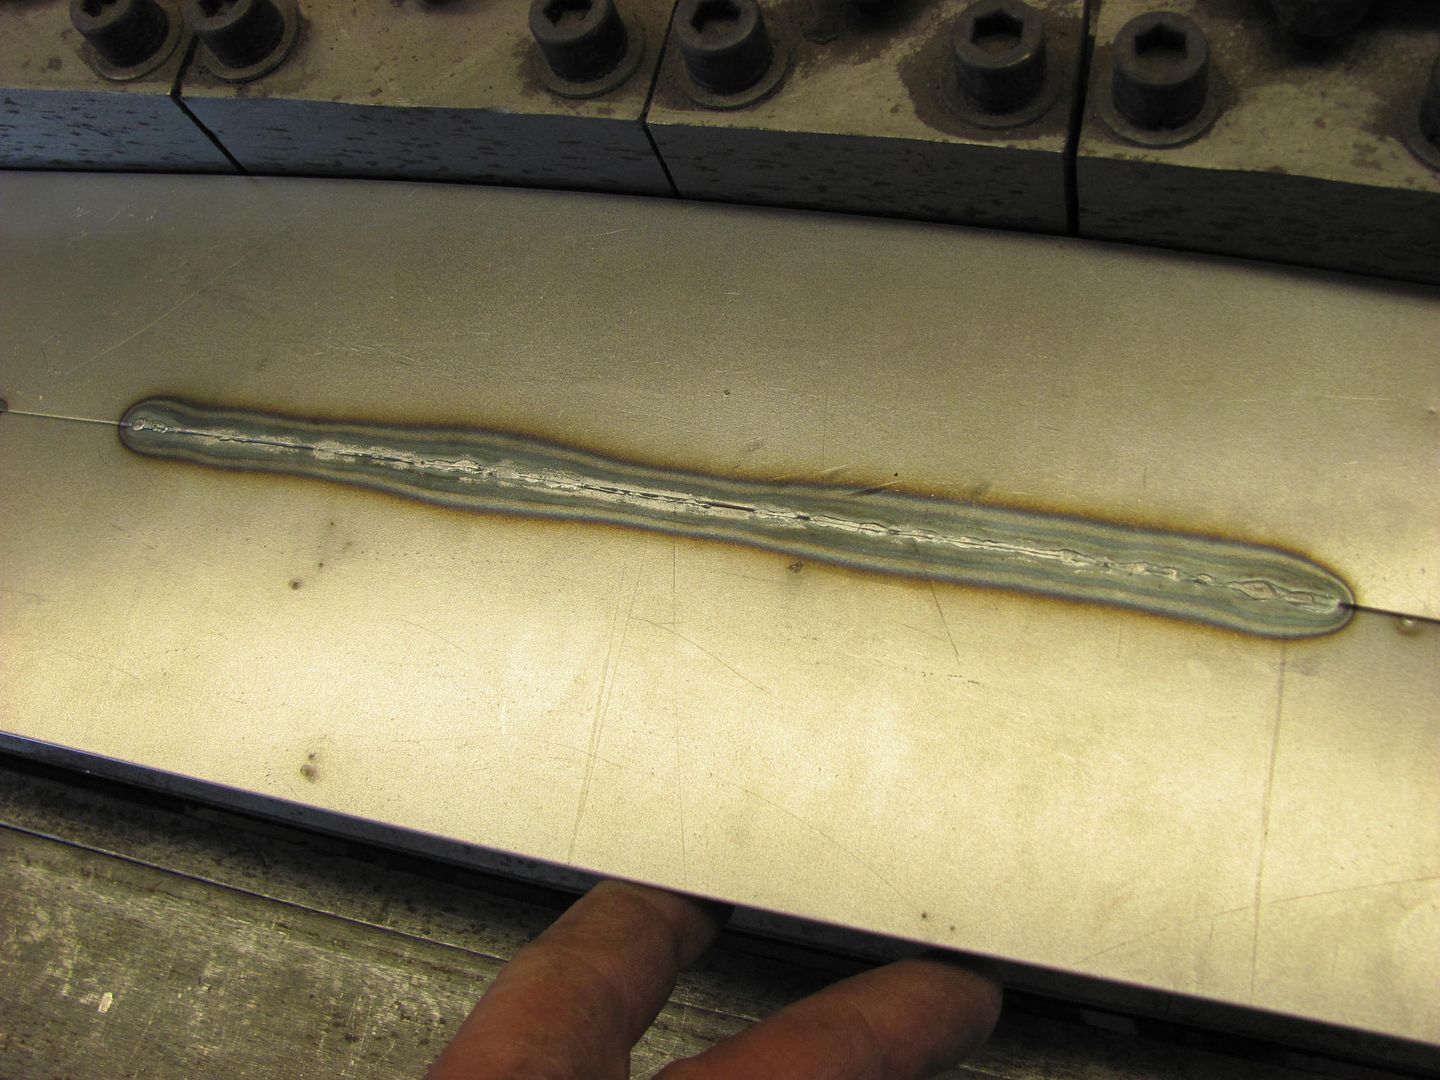
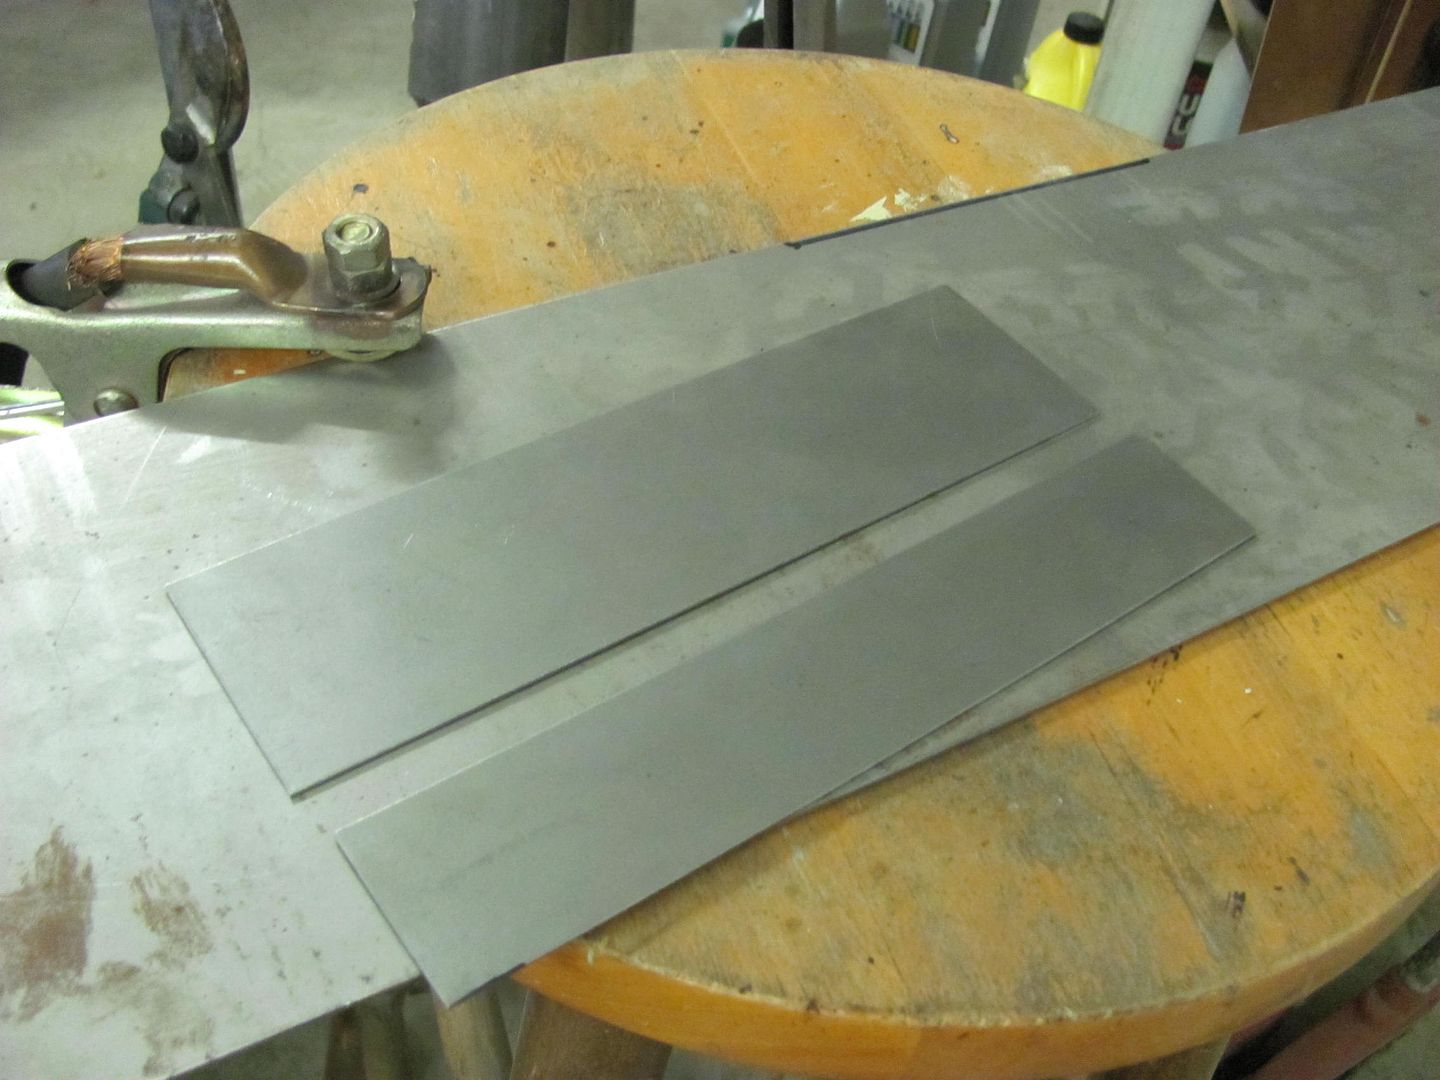
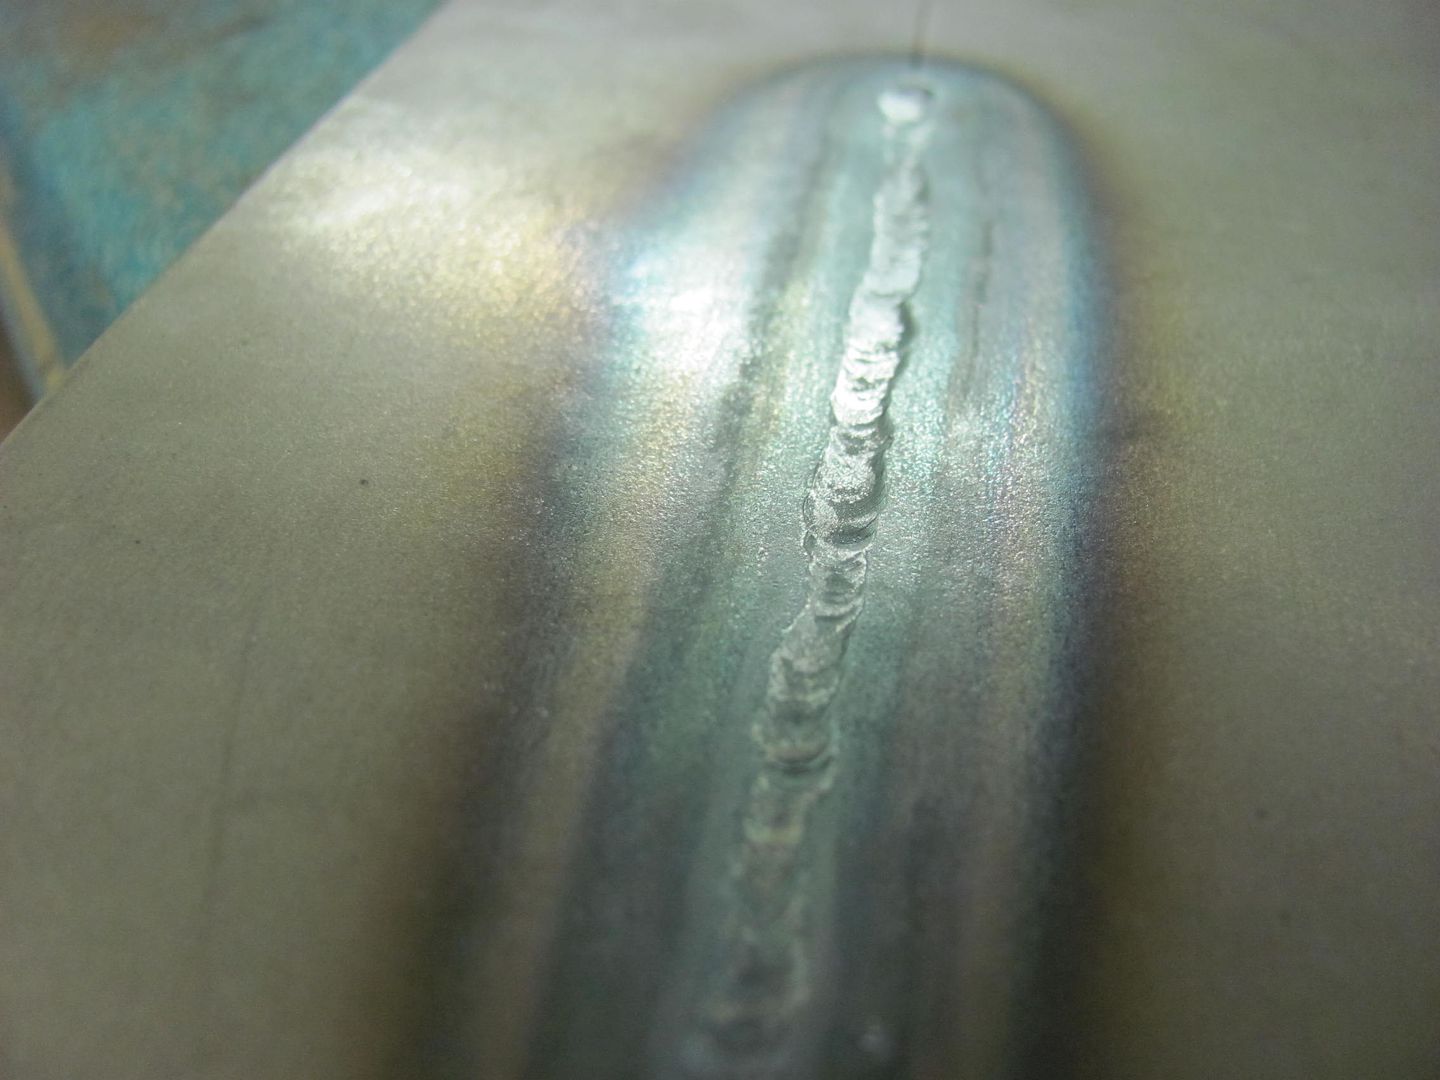
When using the Tig torch on that pass, I had set the amperage, mashed the pedal, and used the speed of the pass to control the heat. The slight undercut in the center is likely due to the fact that I made a straight run from one end to the other. I wanted to try this again, giving the torch a circular motion to see if it helped. Here's our sample pieces..
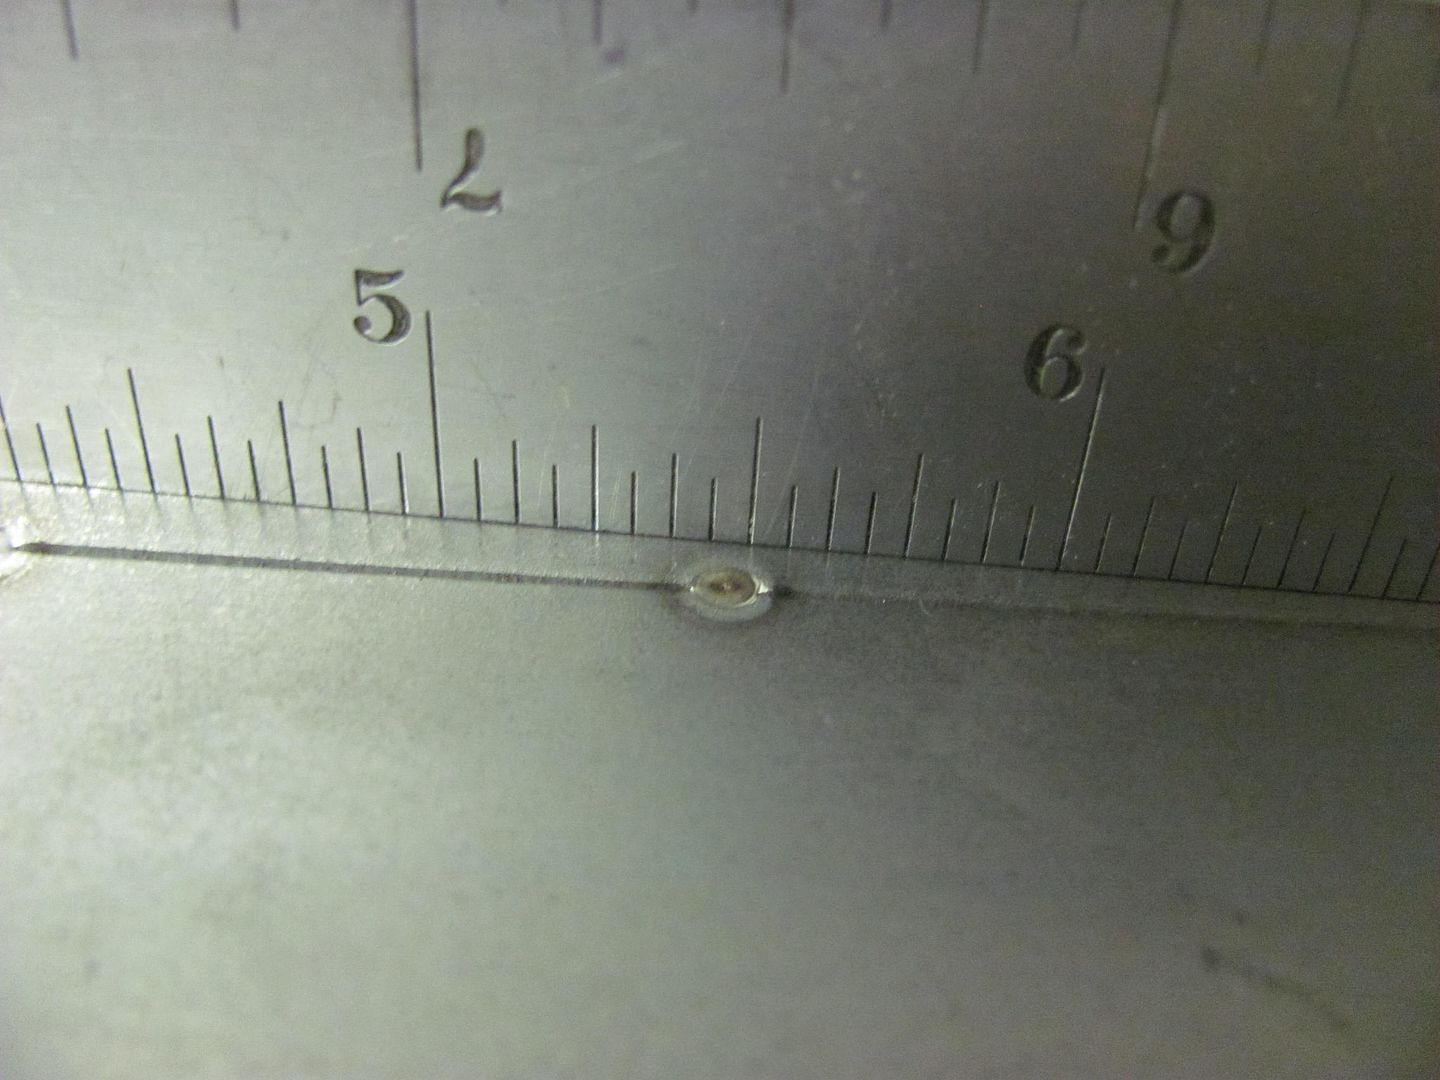
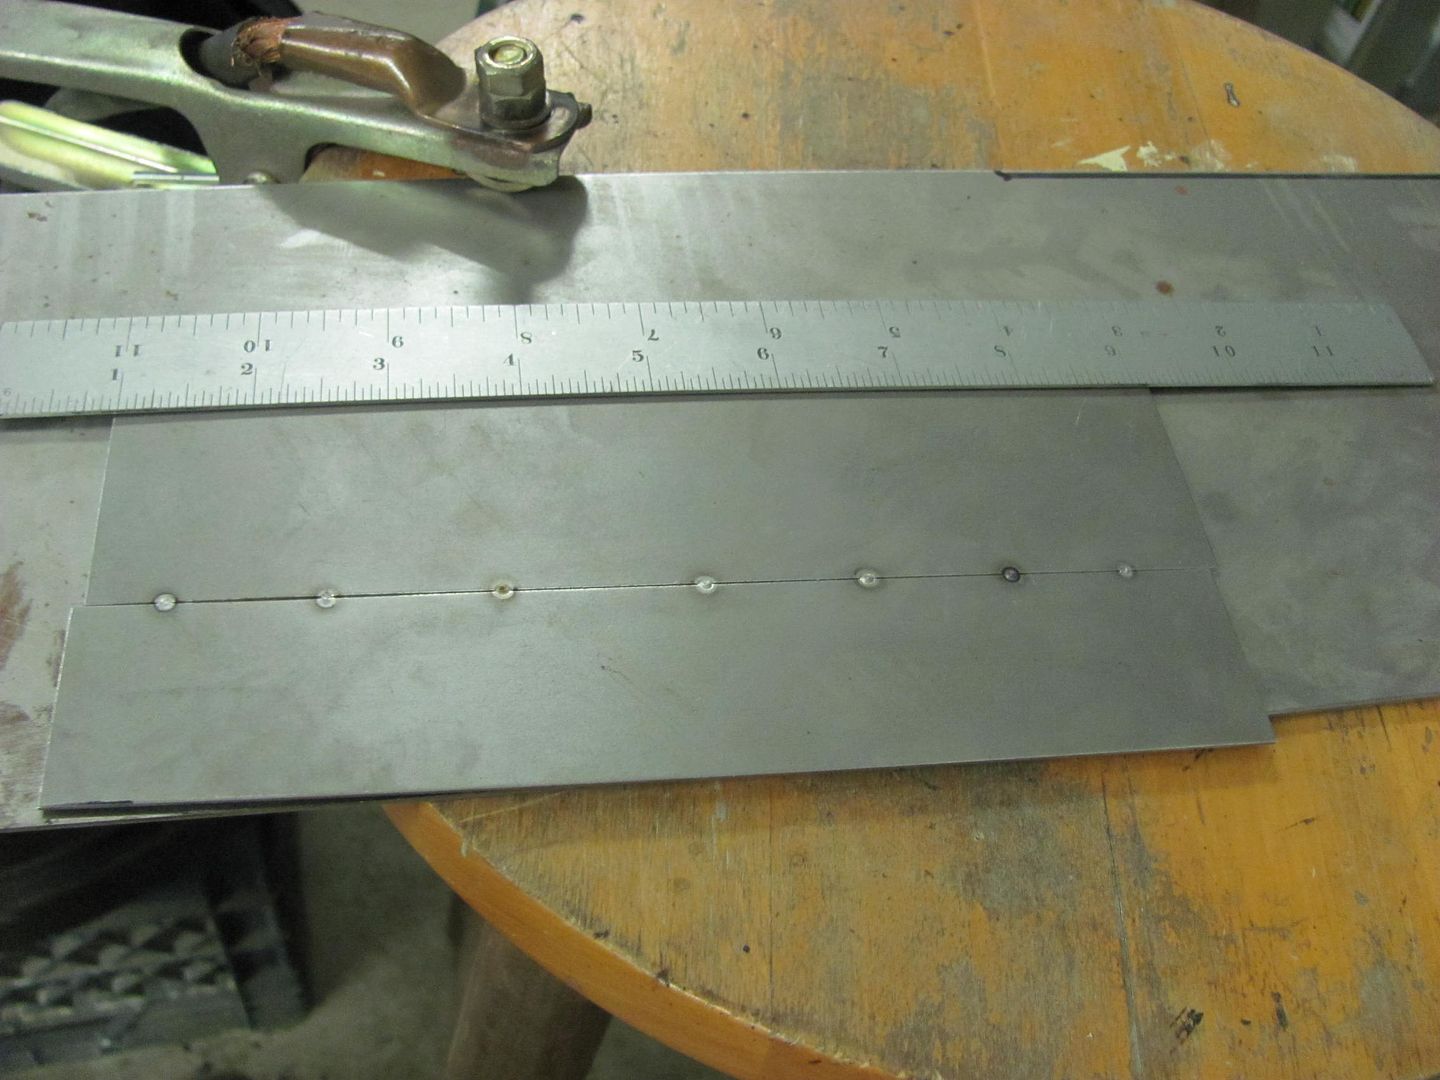
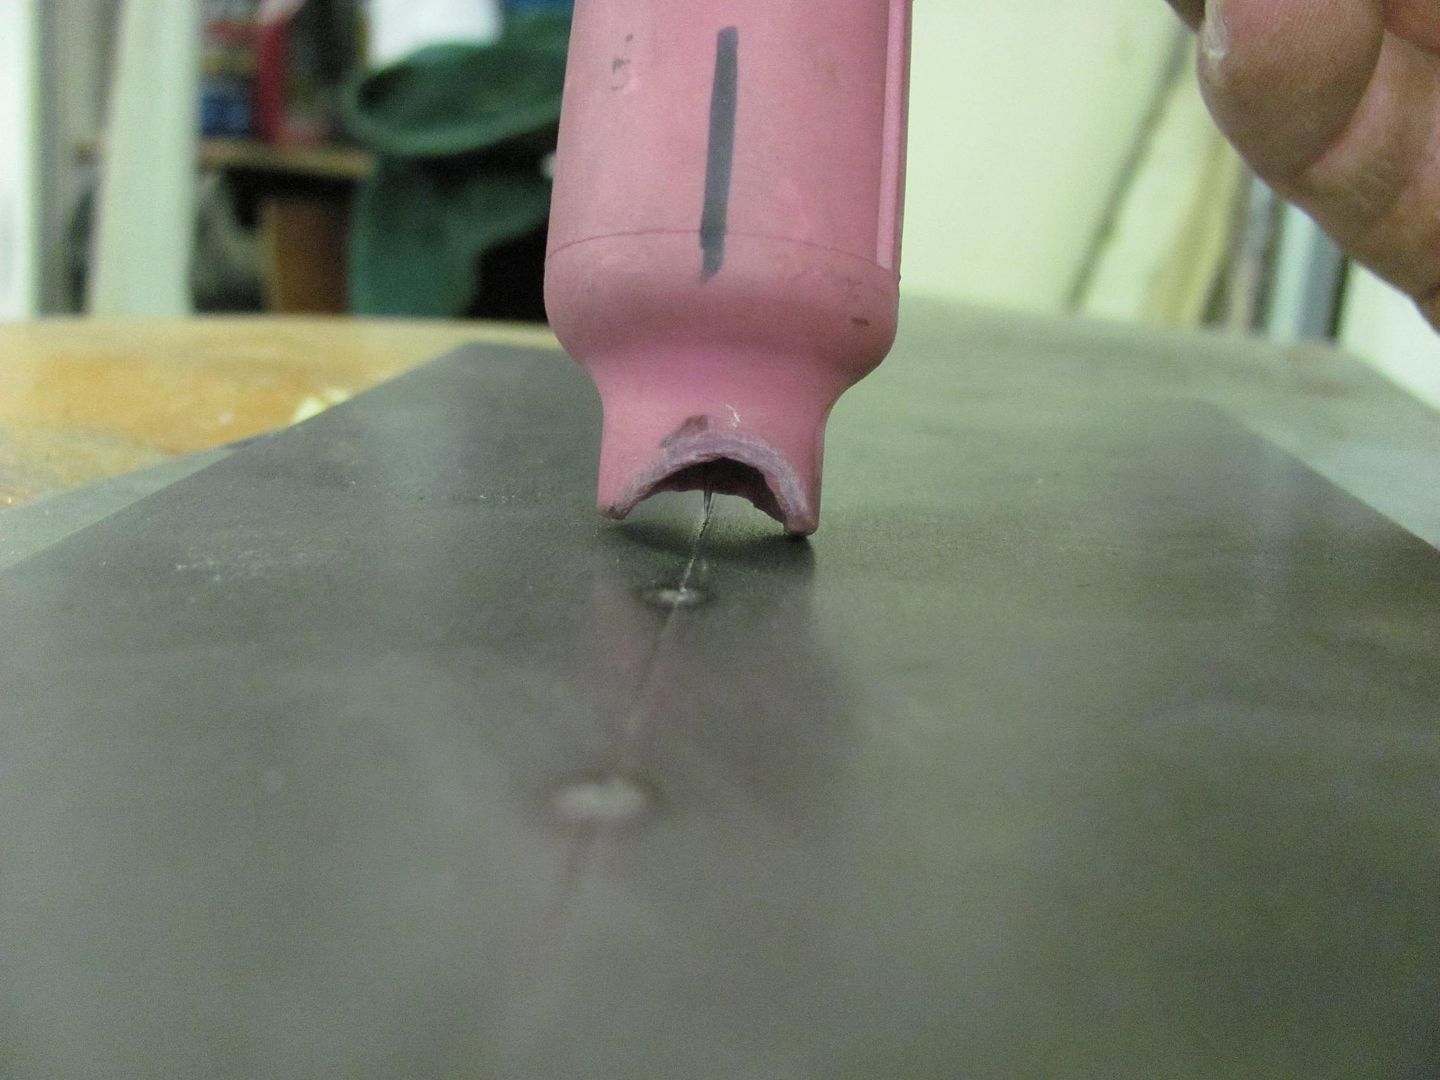
For tacking purposes, I set the electrode depth so it was just sticking out past the cup. The electrode is fairly easy to position using this method, drag it side to side and it will find the exact joint between the two pieces. Then rotate the torch backwards just enough for the cup to pick up the electrode off the metal, and give the pedal a quick push. These "tacks" were about 1/2 second in duration, amps set at 82. This shows the front:
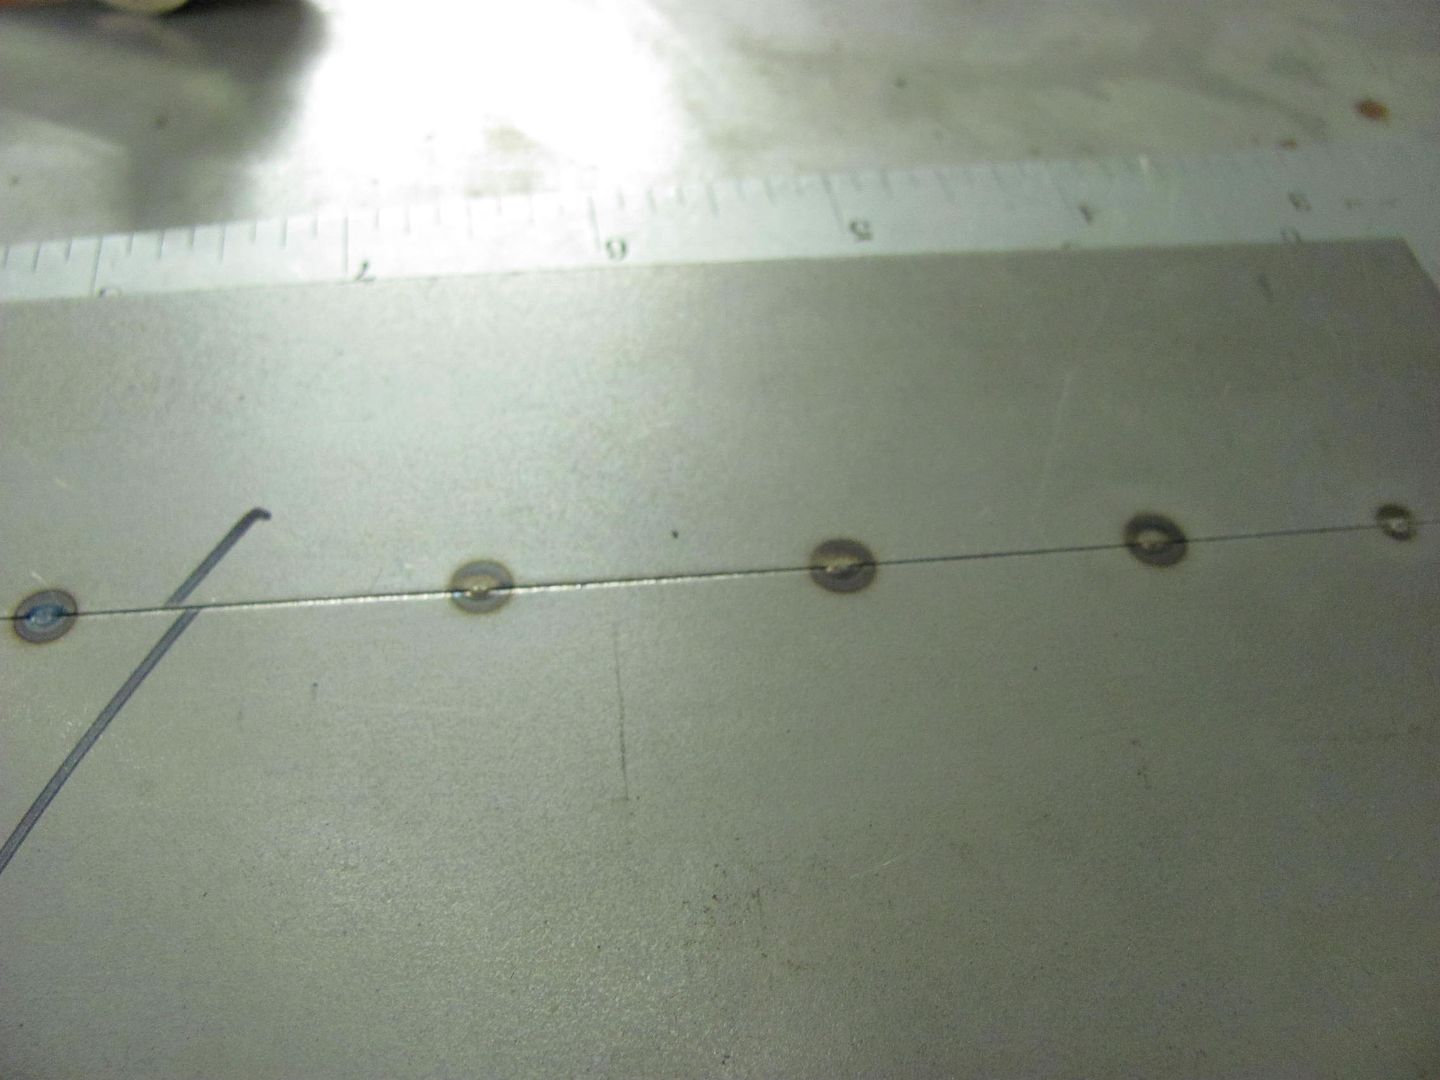
And the rear side weld penetration:
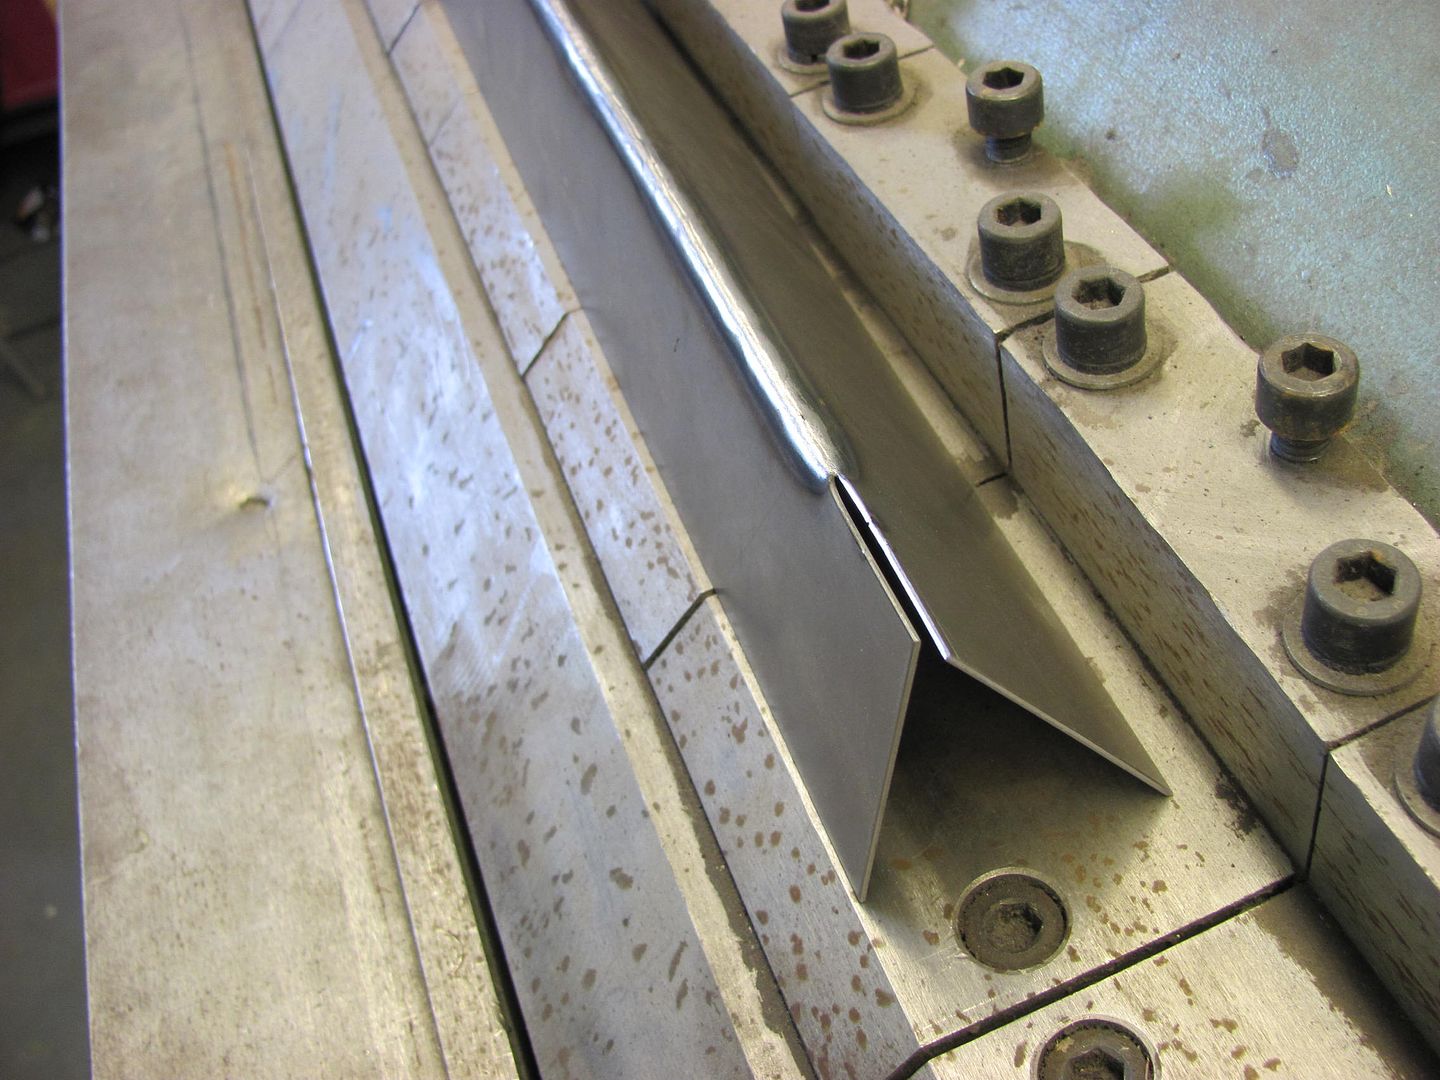
For the weld pass, the sample is raised above the "table" to simulate welding the panels on a car in free air...
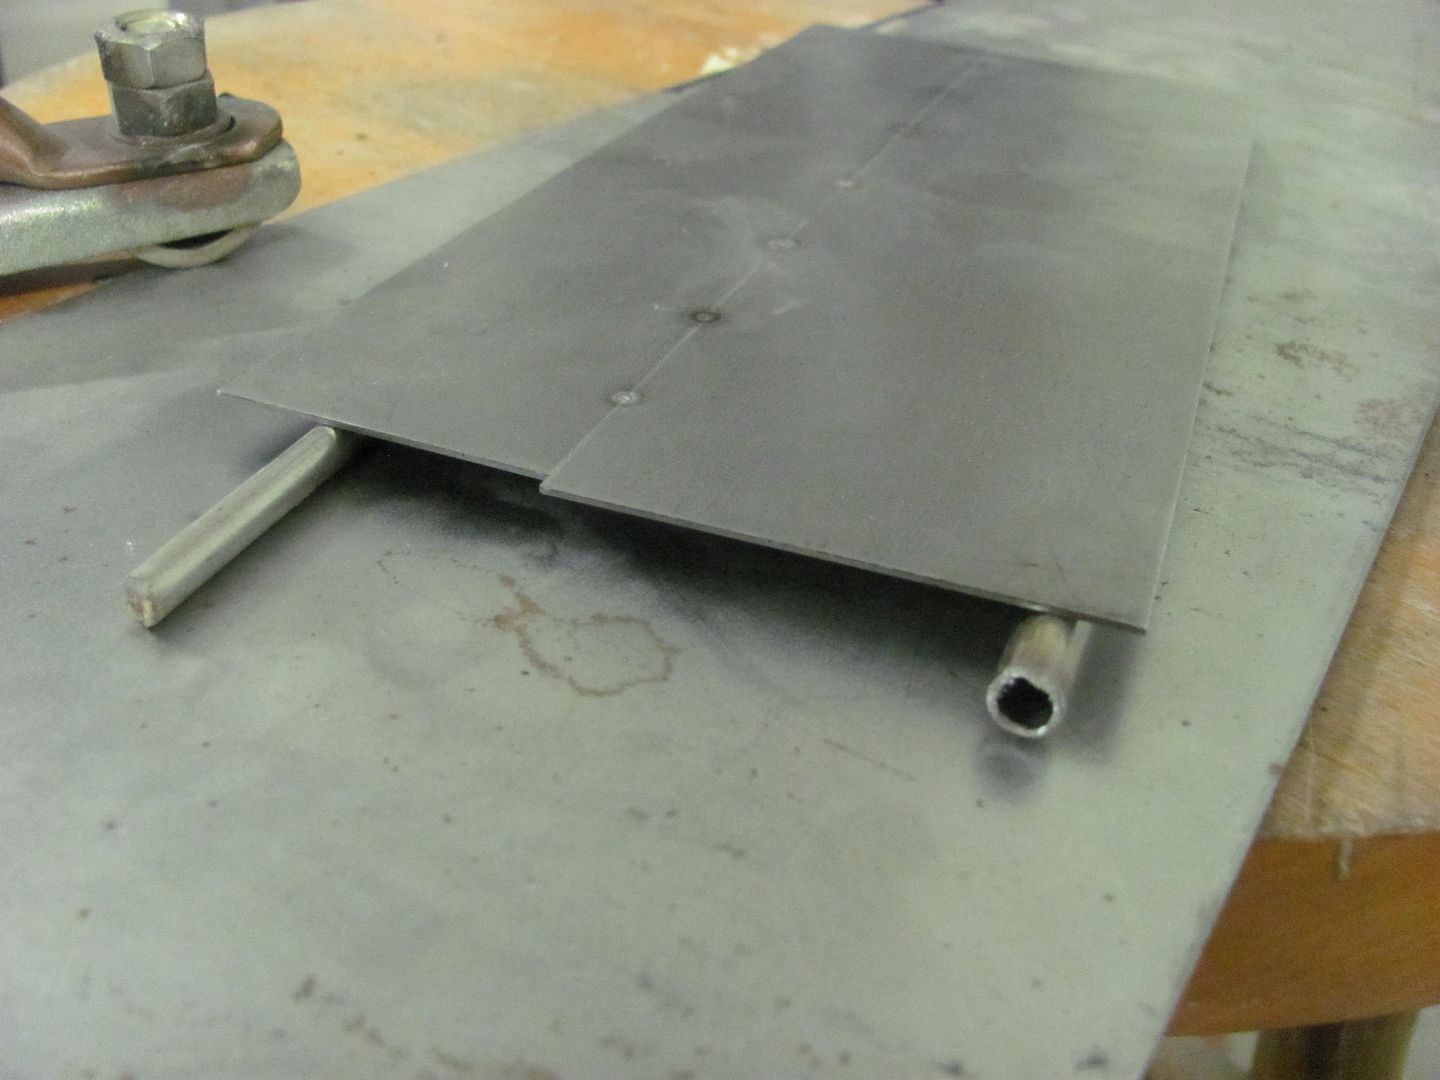
In order to maintain consistency for the test, the cup is modified so as to use it as a "glide" (think plasma cutter guide) and the electrode is now moved just inside the low point on the cup. This should hold our electrode height exactly the same, to limit one of the walking, talking, chewing gum factors.
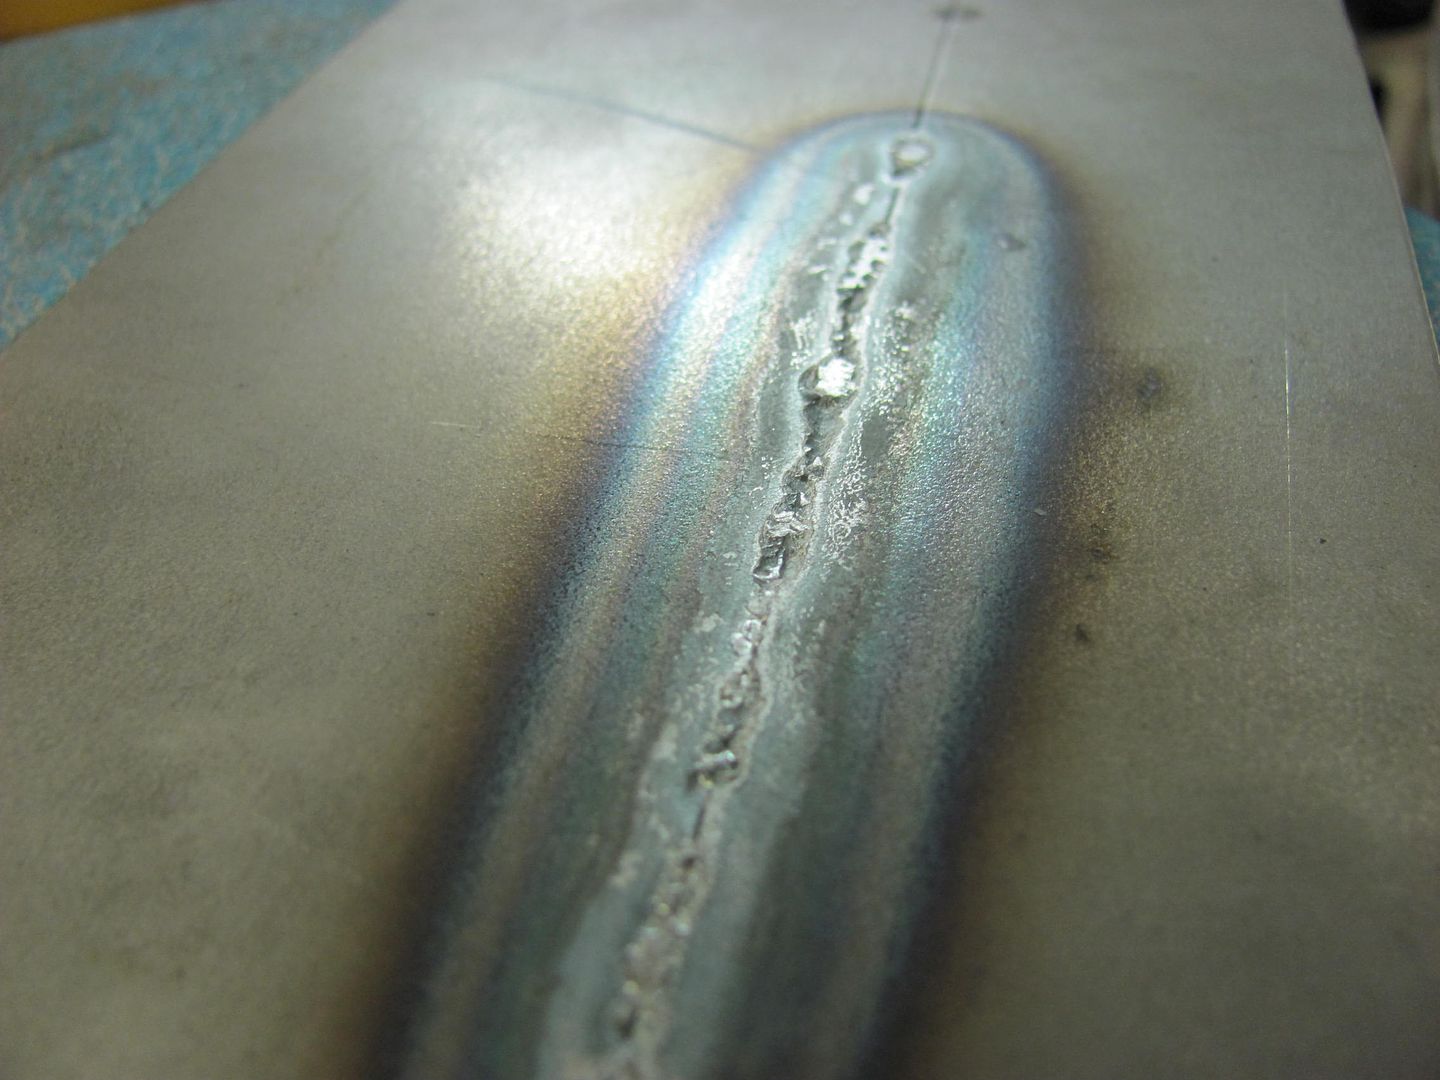
This was welded using a circular motion with the torch while making the pass:
Rear shows some undercutting

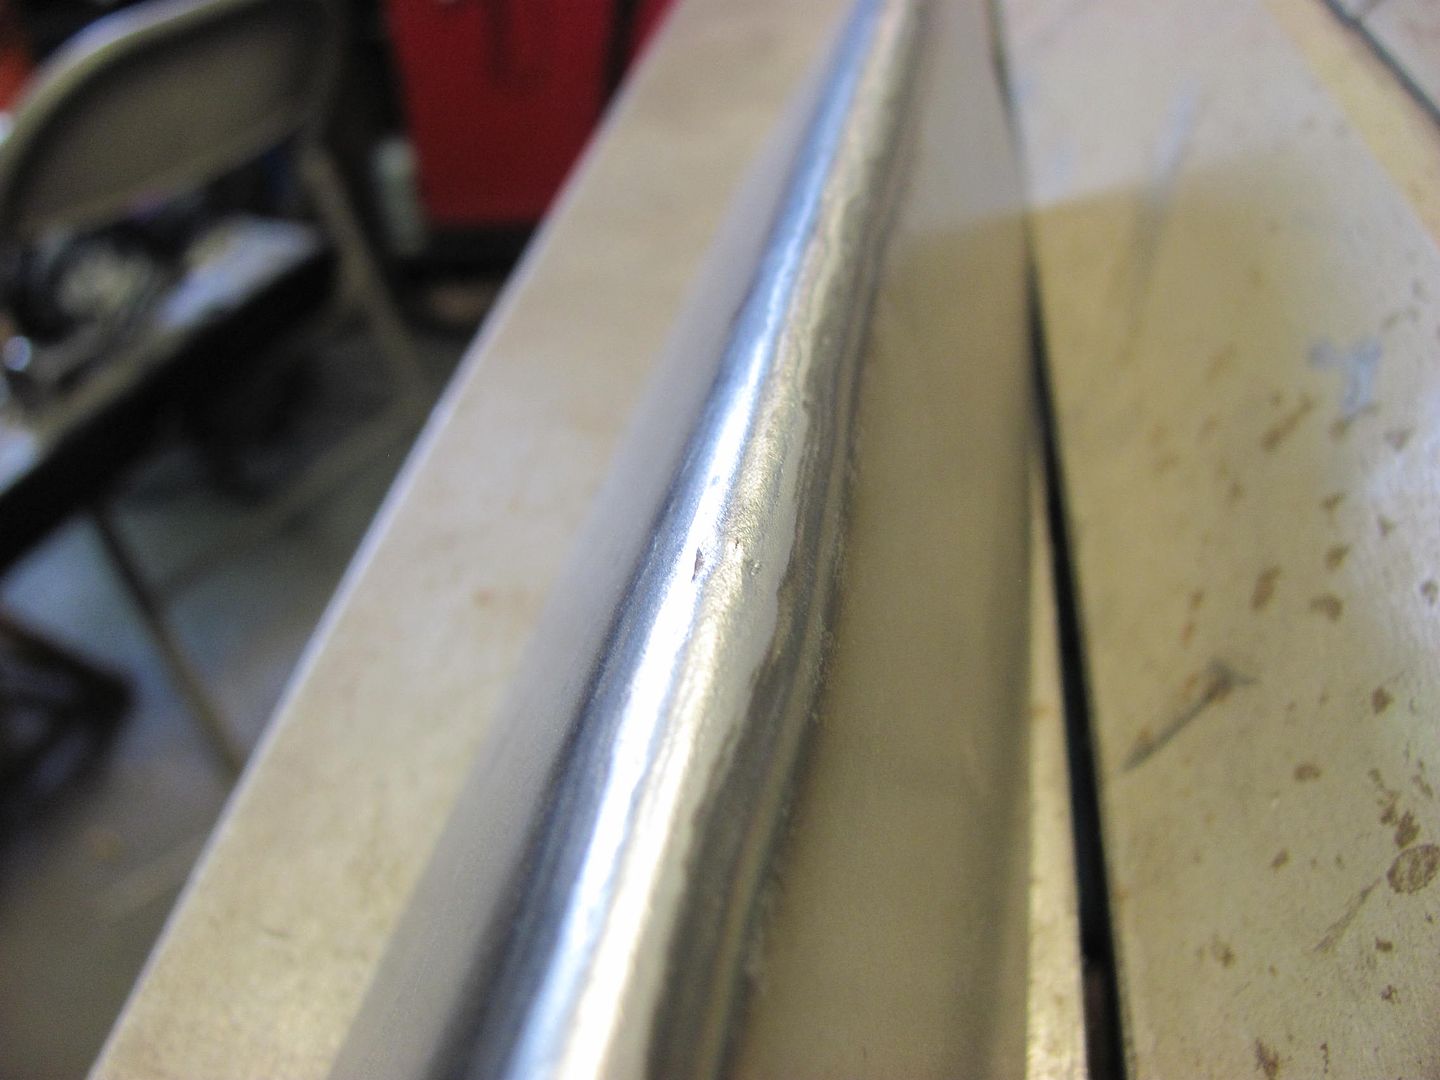
Planishing to bring the weld proud down flush with the front surface
Front:
Rear:
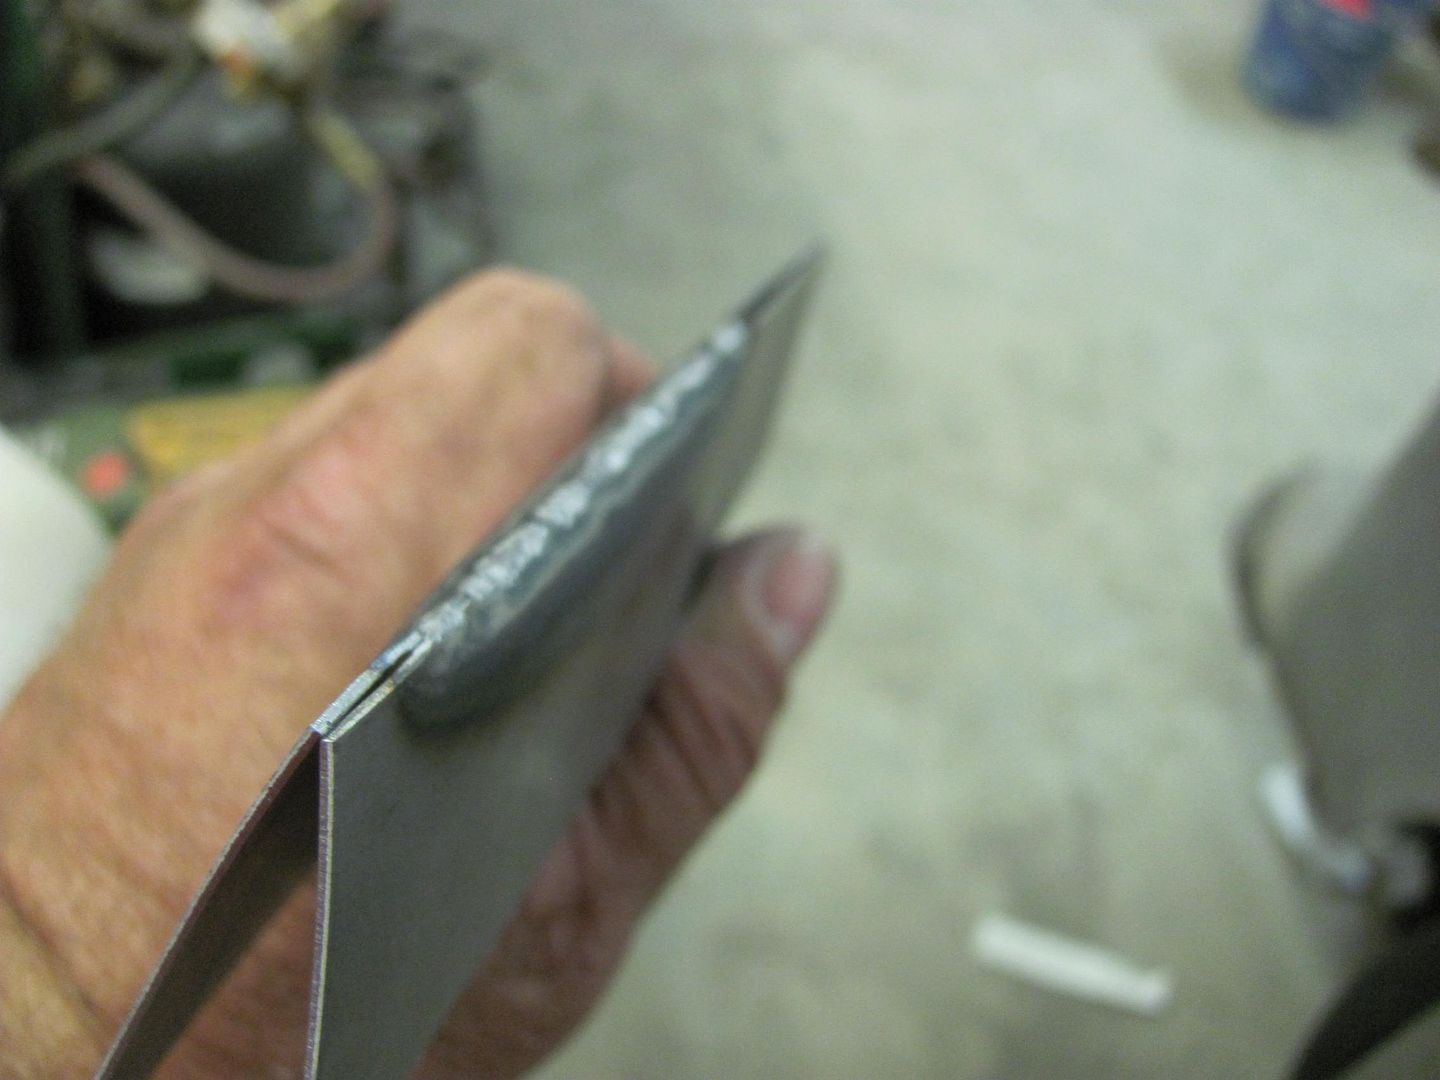
Now to test the weld to see how structurally sound it is with the undercut....
Here's the front side with the weld pass...
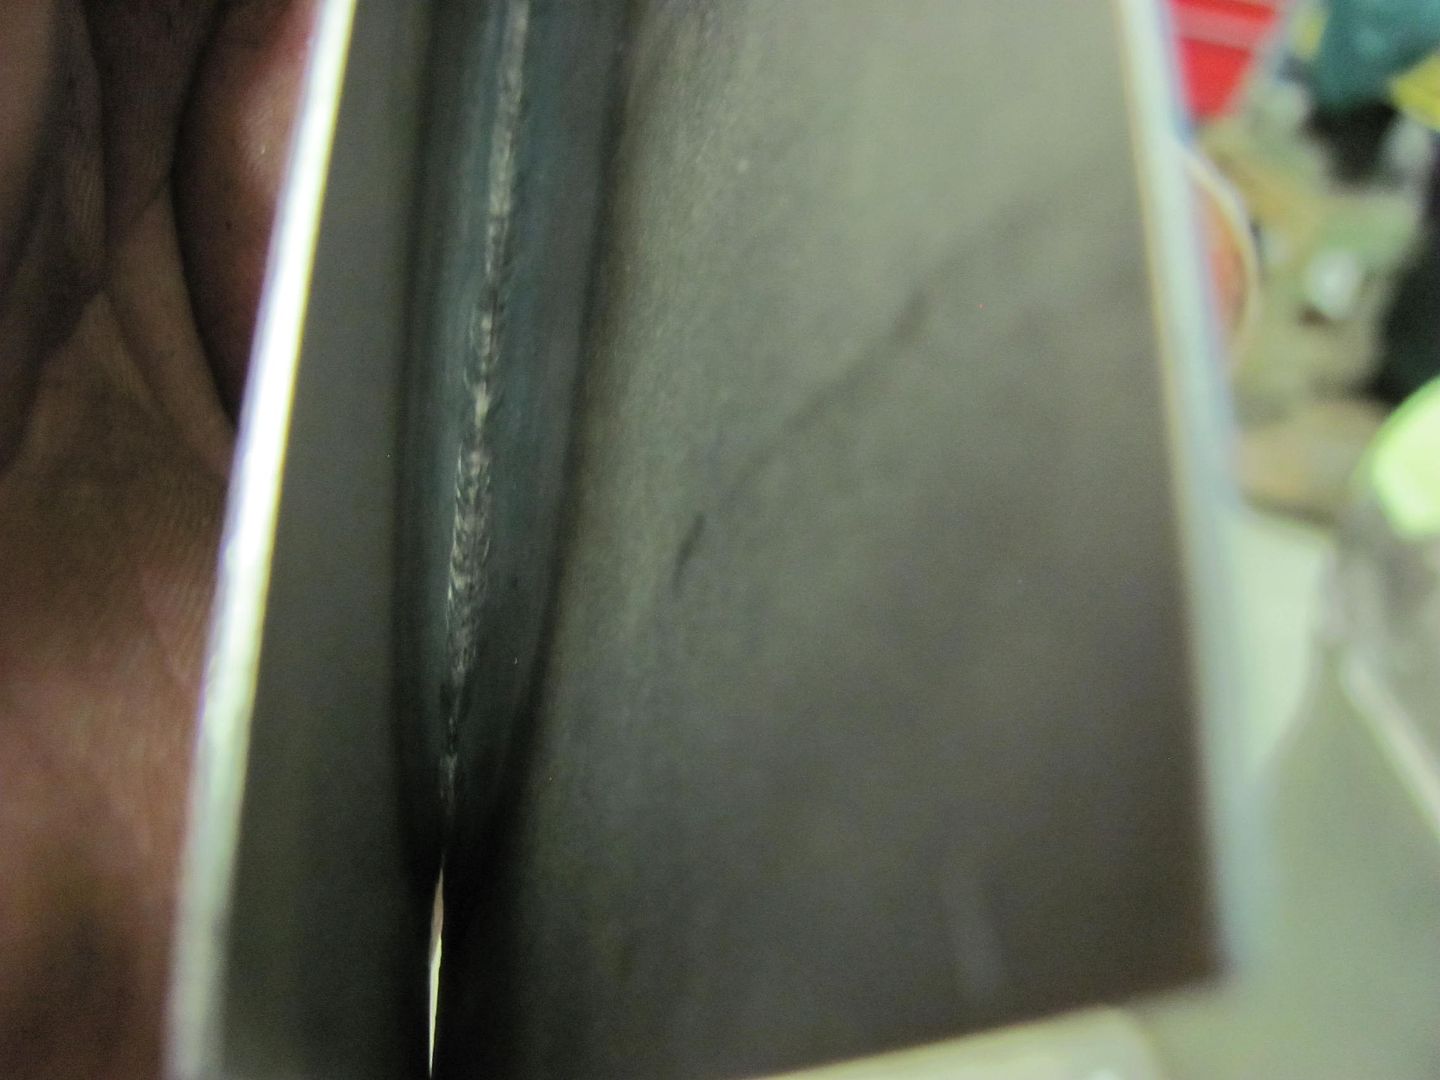
This is the rear side with the undercut..
This was bent approx. 150 to 160 degrees and the weld held..
I definitely need more practice to build up my "comfort level" with using this process, but sure beats all that grinding!
Kevin54
MEMBER EMERITUS
Amazing.I really need to give that a try. Also thought a little about trying metal spin forming on the lathe.
For very small parts it is doable on a decent lathe but not really recommended due to the forces on the compound and saddle. A normal spinning lathe has a saddle built for the pressures exerted against it. When I first started in the business, the old guy that was my mentor taught me some spinning. It's a dirty and tough job. If you don't have the metal soaped up correctly, your mandrel will dig into the metal, plus it takes quite a bit of pressure to for some metals
i've been using my Tig recently to remelt some of my plug welds made with the MIG to make them flush again so i don't have to grind them and it worked out well. however it is significantly more difficult to do on sheetmetal with no backing
i tend to find it more suseptable to burns holes in sheetmetal with the TIG torch
i tend to find it more suseptable to burns holes in sheetmetal with the TIG torch
e-tek
Well-known member
I'm guessing the owner of that wagon sure will be happy to finally see some primer on it!! ")

Well shop time has been a bit sparse lately, a couple trips to FL for the day job and we have two townhouses vacant right now and some repairs in order. One of them needed a new front door, and rather than add brush strokes to a new steel door, I put it in the paint booth and sprayed it..


The inside and edges were sprayed with Nason epoxy primer, then two coats of H/K White b/c, then two coats of a white b/c and UFC35 clear coat mix.
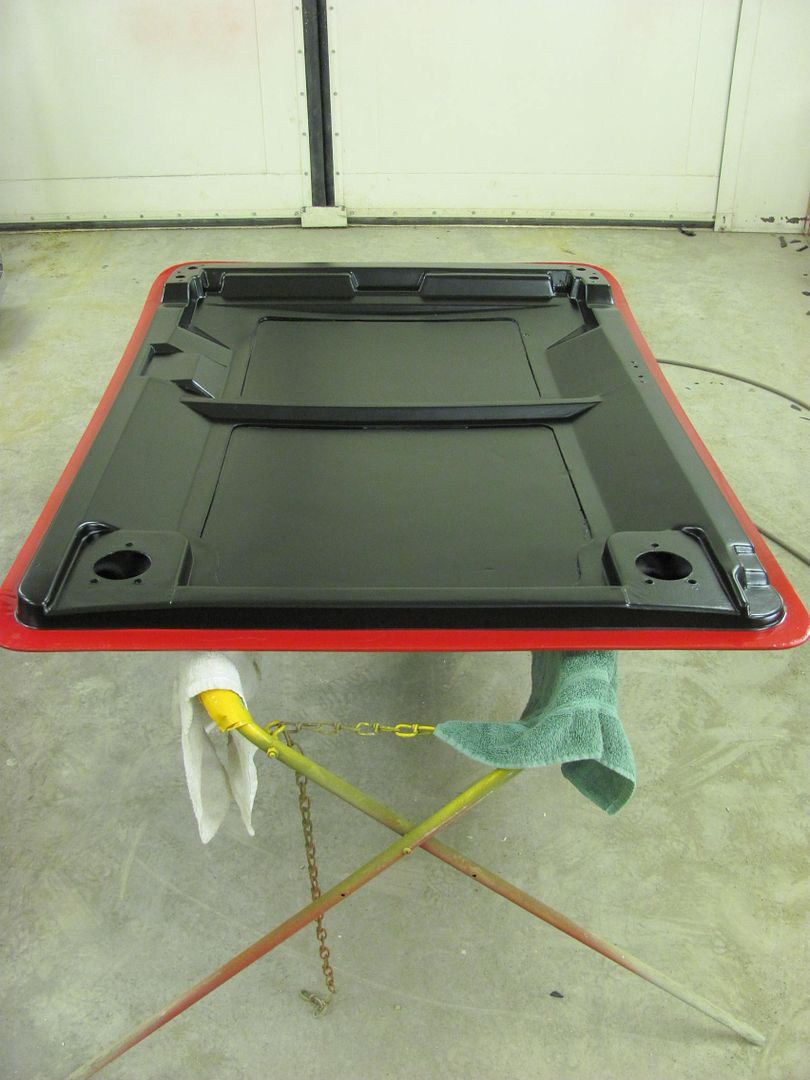
On the outside I didn't want as much shine, so the epoxy was topped with SEM Hot Rod black. All ready to install on Sunday....
The inside and edges were sprayed with Nason epoxy primer, then two coats of H/K White b/c, then two coats of a white b/c and UFC35 clear coat mix.
On the outside I didn't want as much shine, so the epoxy was topped with SEM Hot Rod black. All ready to install on Sunday....
1969
Well-known member
Horrible job on the door, just horrible. Shame, shame.........
aggierailroad
Well-known member
Now I know where to send my cabinet doors...


Just to catch up on all the rental repairs, here are the drawers re-installed. Even though the black paint matches the appliances, it does attract your attention like a nose wart. Oh well, the drawer is able to open about twice as much as before now that it doesn't hit the knob.
On the other townhouse, got the new door and jamb installed....
Inside...

Outside....

And while all the Hot Rod Black was being sprayed, Dan was doing some mechanical work on a 59(?) Vette that needed some under hood help..
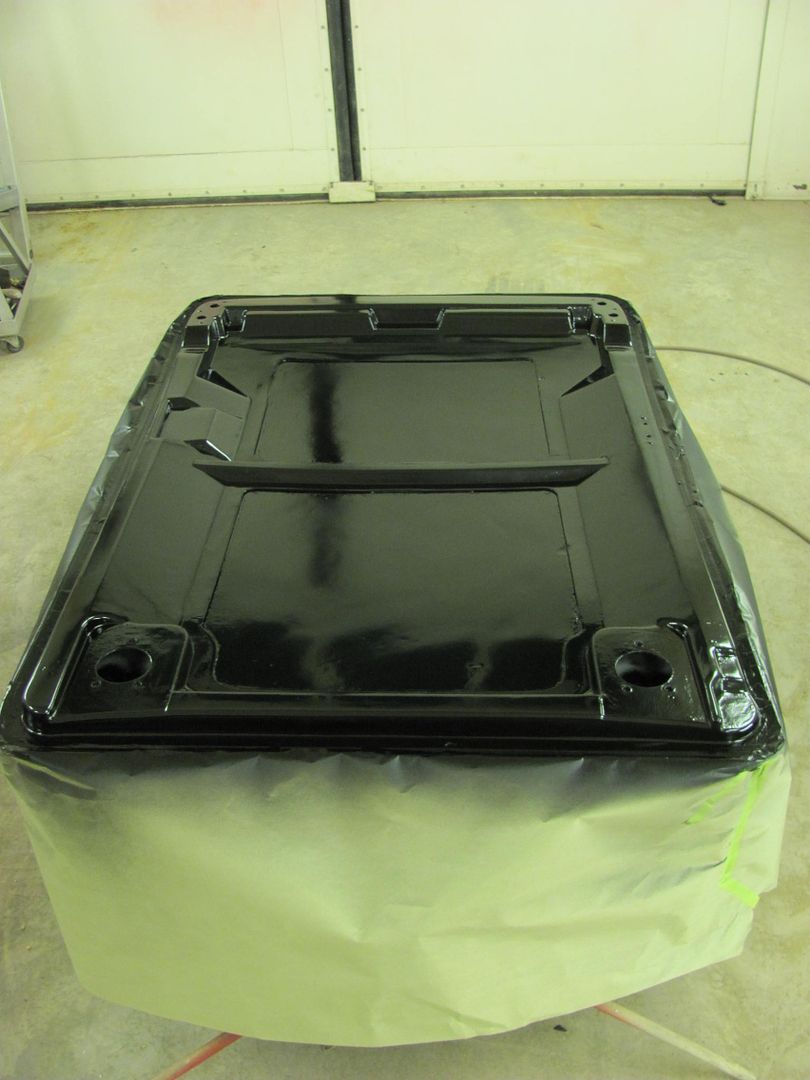
Epoxy....

Hot Rod black....
On the other townhouse, got the new door and jamb installed....
Inside...
Outside....
And while all the Hot Rod Black was being sprayed, Dan was doing some mechanical work on a 59(?) Vette that needed some under hood help..
Epoxy....
Hot Rod black....
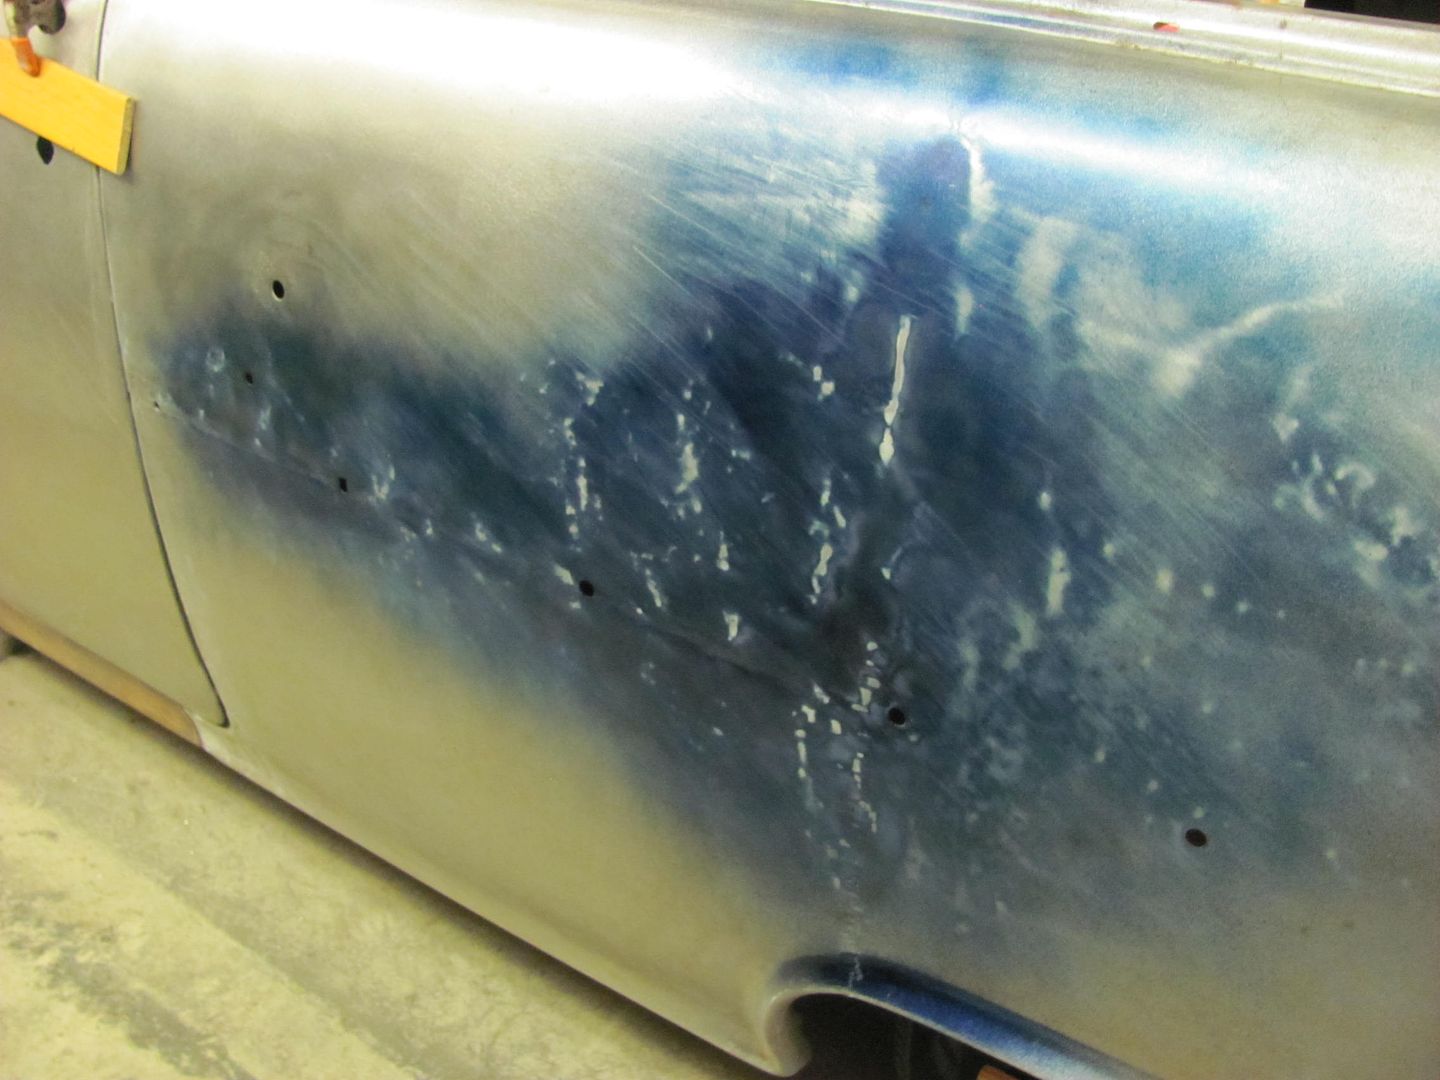
Got some more done on the wagon tonight. I had picked up a few cans of Dykem real cheap at the local Habitat store, so I thought I'd give that a try for guide coating. It seemed to work well, and the translucent properties of the Dykem showed up darker in the low areas after sanding/highlighting (especially after more than one coat) to better show the lows.
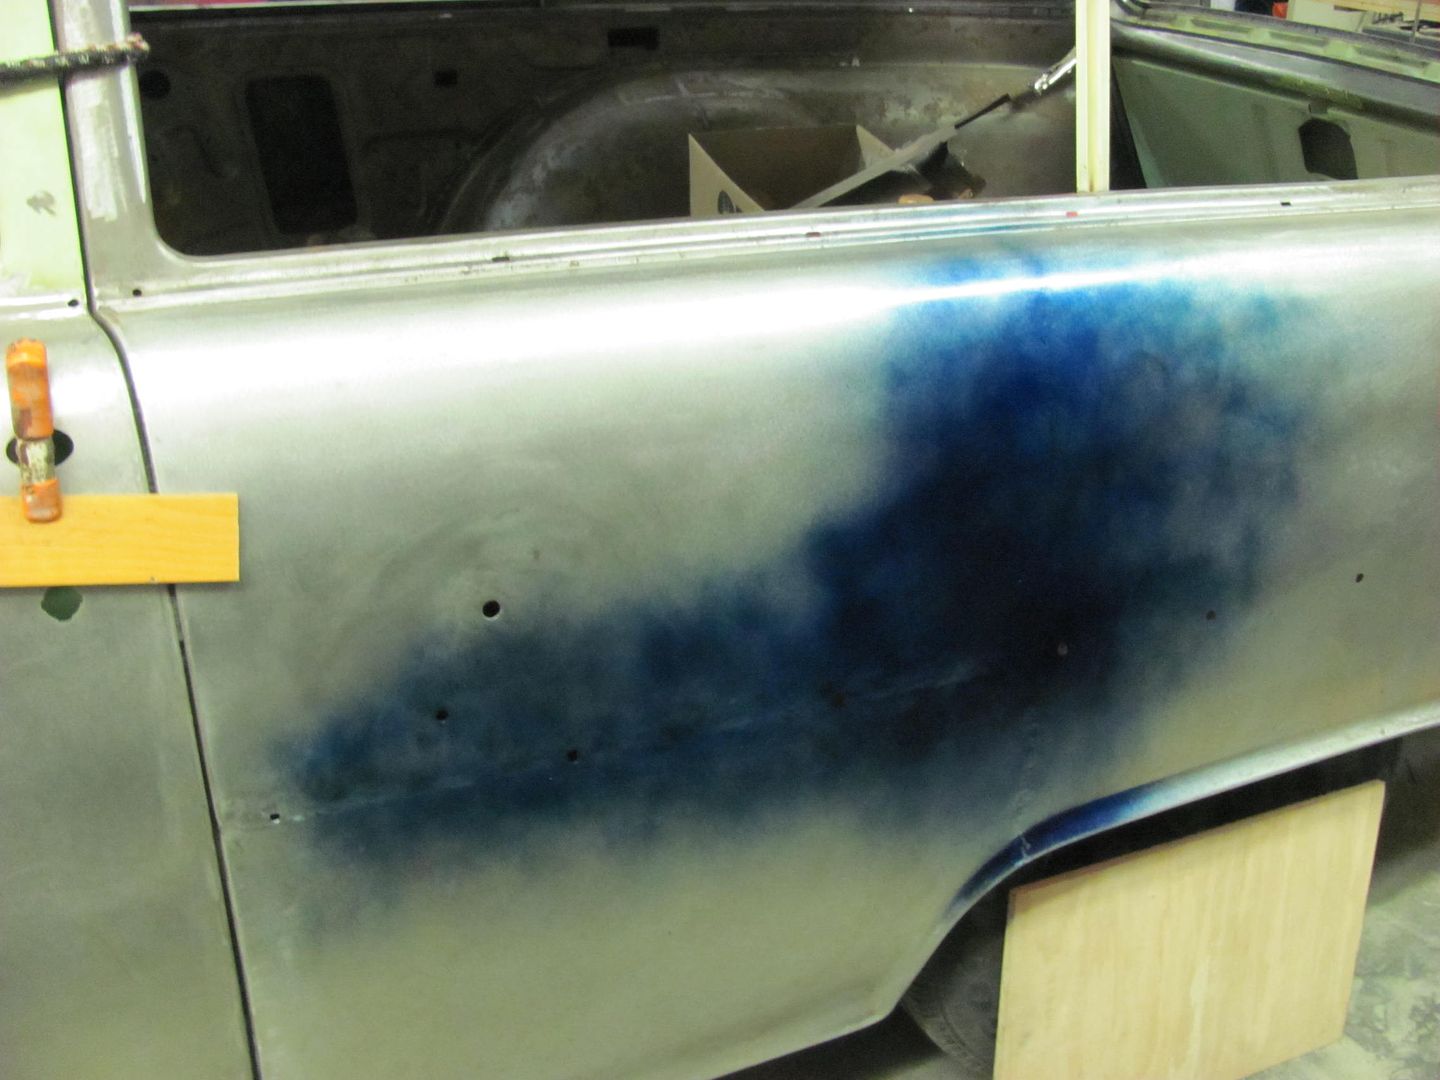
Used the AFS sander and some 400 grit to highlight the defects...
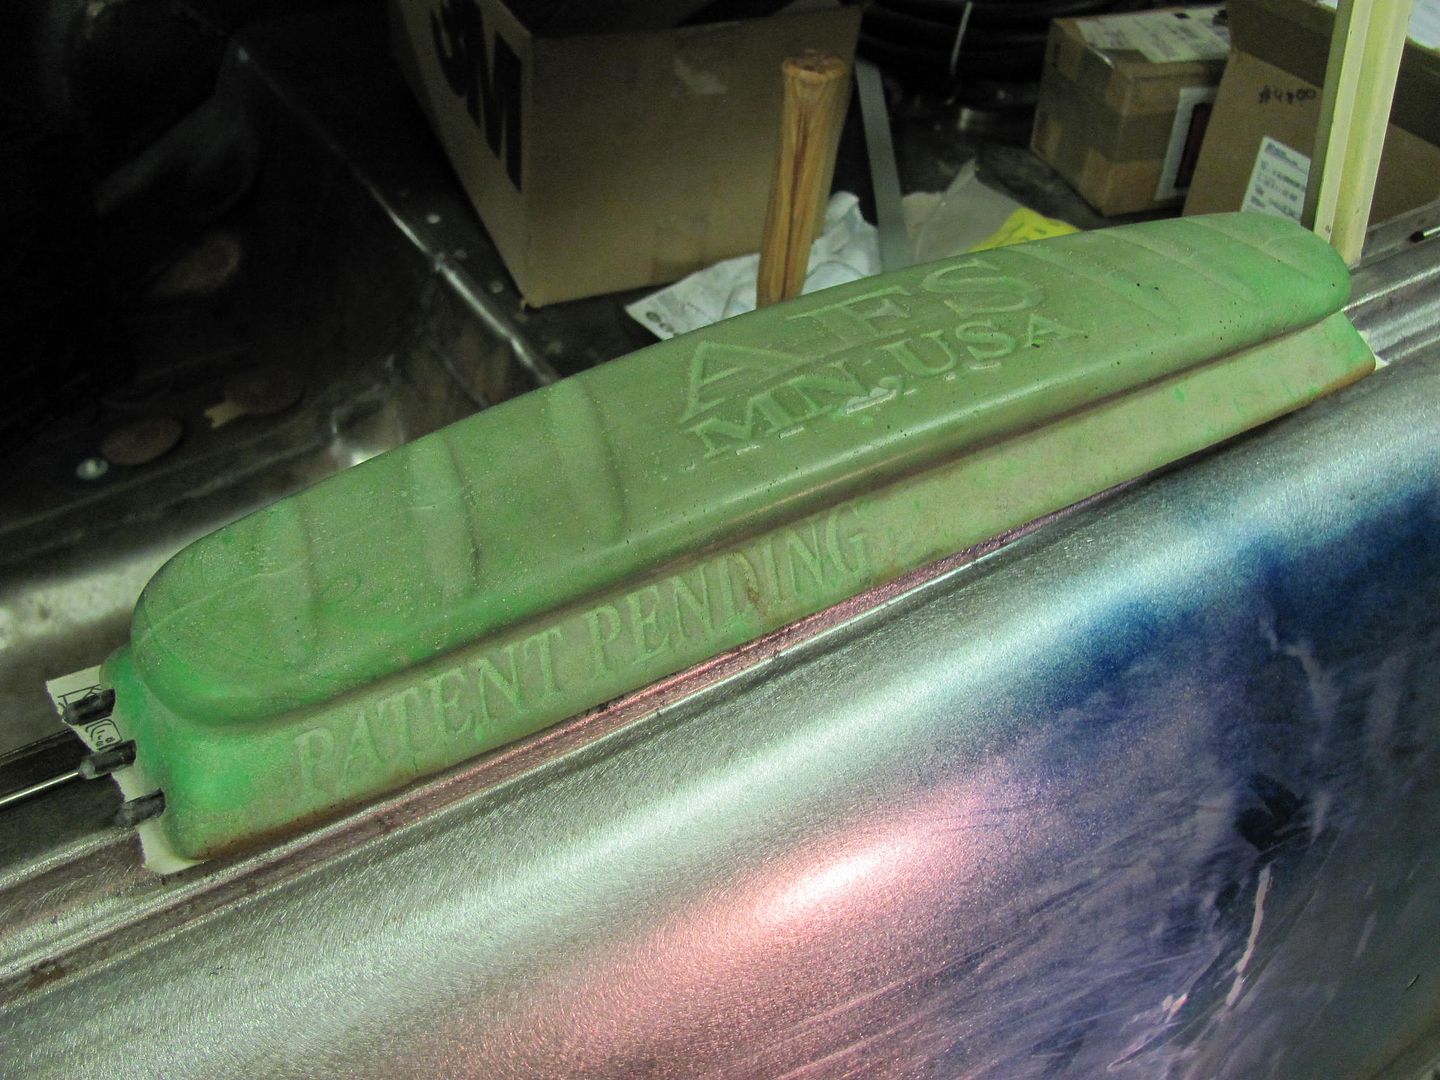
High's and lows
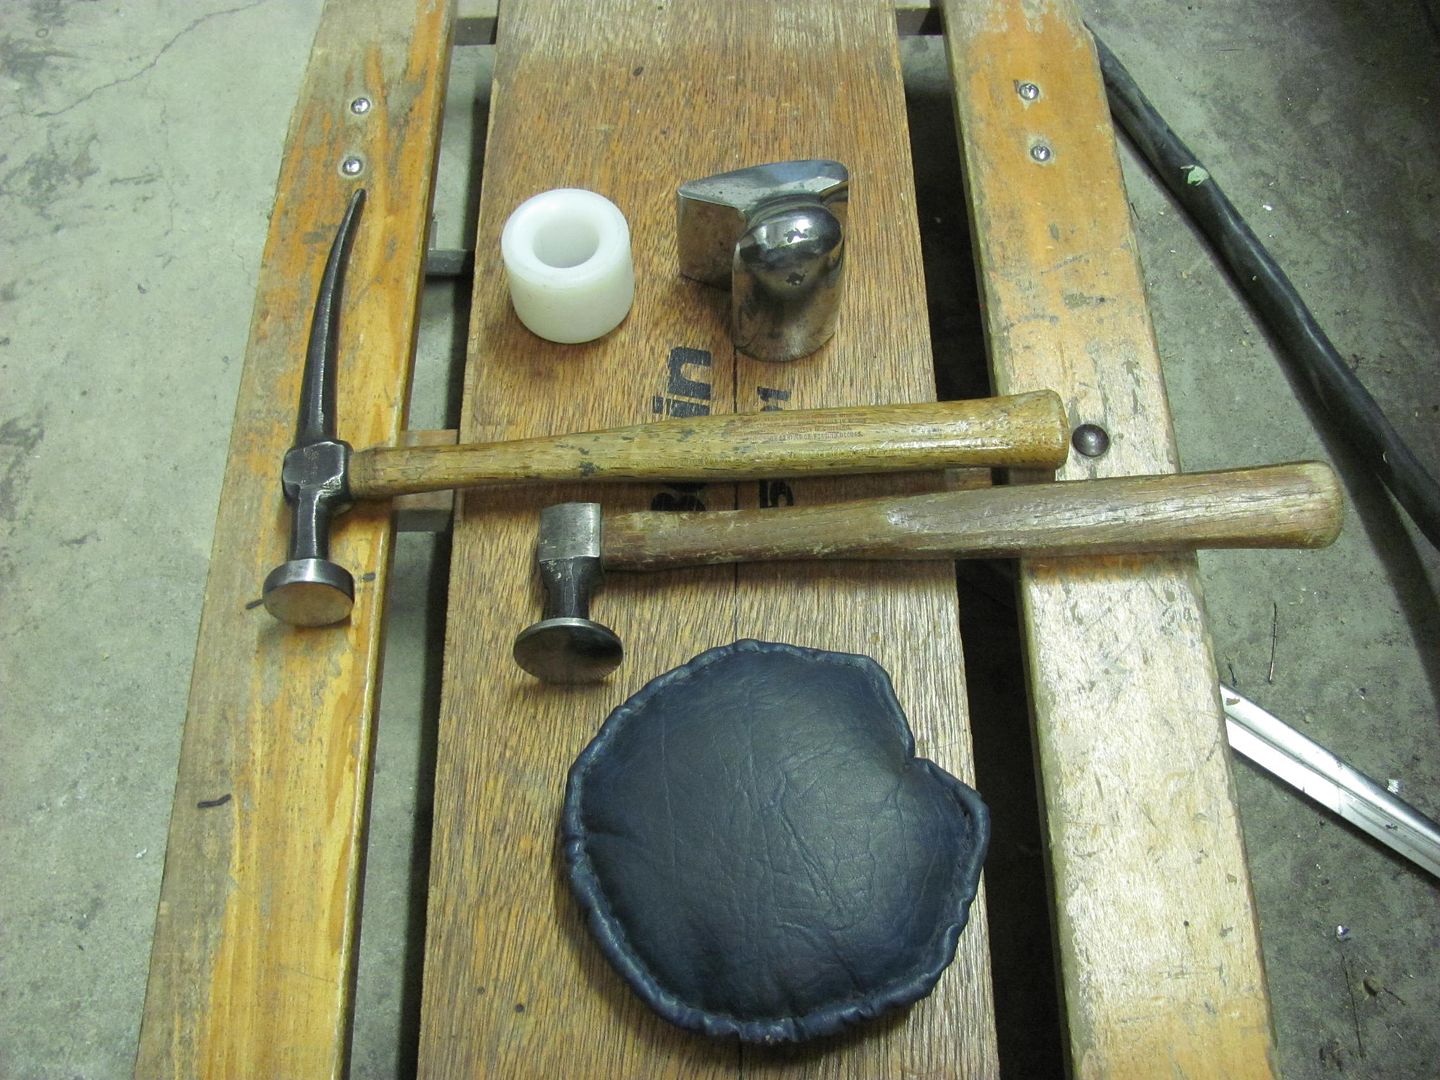
Here's the tools used this evening, including the creeper
Got a couple hours of metal bumping left to do, will post results next time around...
Used the AFS sander and some 400 grit to highlight the defects...
High's and lows
Here's the tools used this evening, including the creeper
Got a couple hours of metal bumping left to do, will post results next time around...
Last edited:
raskal
Well-known member
Here's the tools used this evening, including the creeper
the shot bag looks homemade, what do you have in it? And where did you get them?
thx
A buddy of mine has a fleet of school buses and what you see there is made from Kevlar material out of a bus seat. It is filled with #8 lead shot, available at any gun store. It started about 6" diameter before sewing, so it's about 5" diameter as shown. I packed it fairly tight, and it makes a good "soft" dolly, have even used it for installing door skins.
I also have another that normally stays on top of the shop stump, about 16" in diameter with lead shot as well, not quite so tight. It's about all you want to do to lift it up!
Hindsight, the Kevlar stands up fairly well to school kids, but not so much to heat. So if you see yourself doing some torch shrinking, a leather bag would do better. Check out used purses at yard sales or thrift stores, about $2 should buy one large enough to do the job.
raskal
Well-known member
Thanks Robert !
Was looking at the bead rolling tubing thread and thought I'd make a die for my bead roller. I have dies for beading, just not small enough to fit inside your typical radiator tube. Started with some 1.5 diameter aluminum, faced it and bored the .938 for the bead roller shaft.

Then I didn't take pictures for a while, but here is the part machined to 1.2 diameter, except for the bead was left at 1.5 diameter.

About the only tubing I had was an old radiator neck from a 36 GMC pickup. This had a slight bead at the very end (easier to see location inside) but I left it there and just rolled in farther..


This does look a bit better than the vise grip tool, but I guess once it gets covered with the hose it won't matter much which was used..

Then I didn't take pictures for a while, but here is the part machined to 1.2 diameter, except for the bead was left at 1.5 diameter.
About the only tubing I had was an old radiator neck from a 36 GMC pickup. This had a slight bead at the very end (easier to see location inside) but I left it there and just rolled in farther..
This does look a bit better than the vise grip tool, but I guess once it gets covered with the hose it won't matter much which was used..
EdT
Well-known member
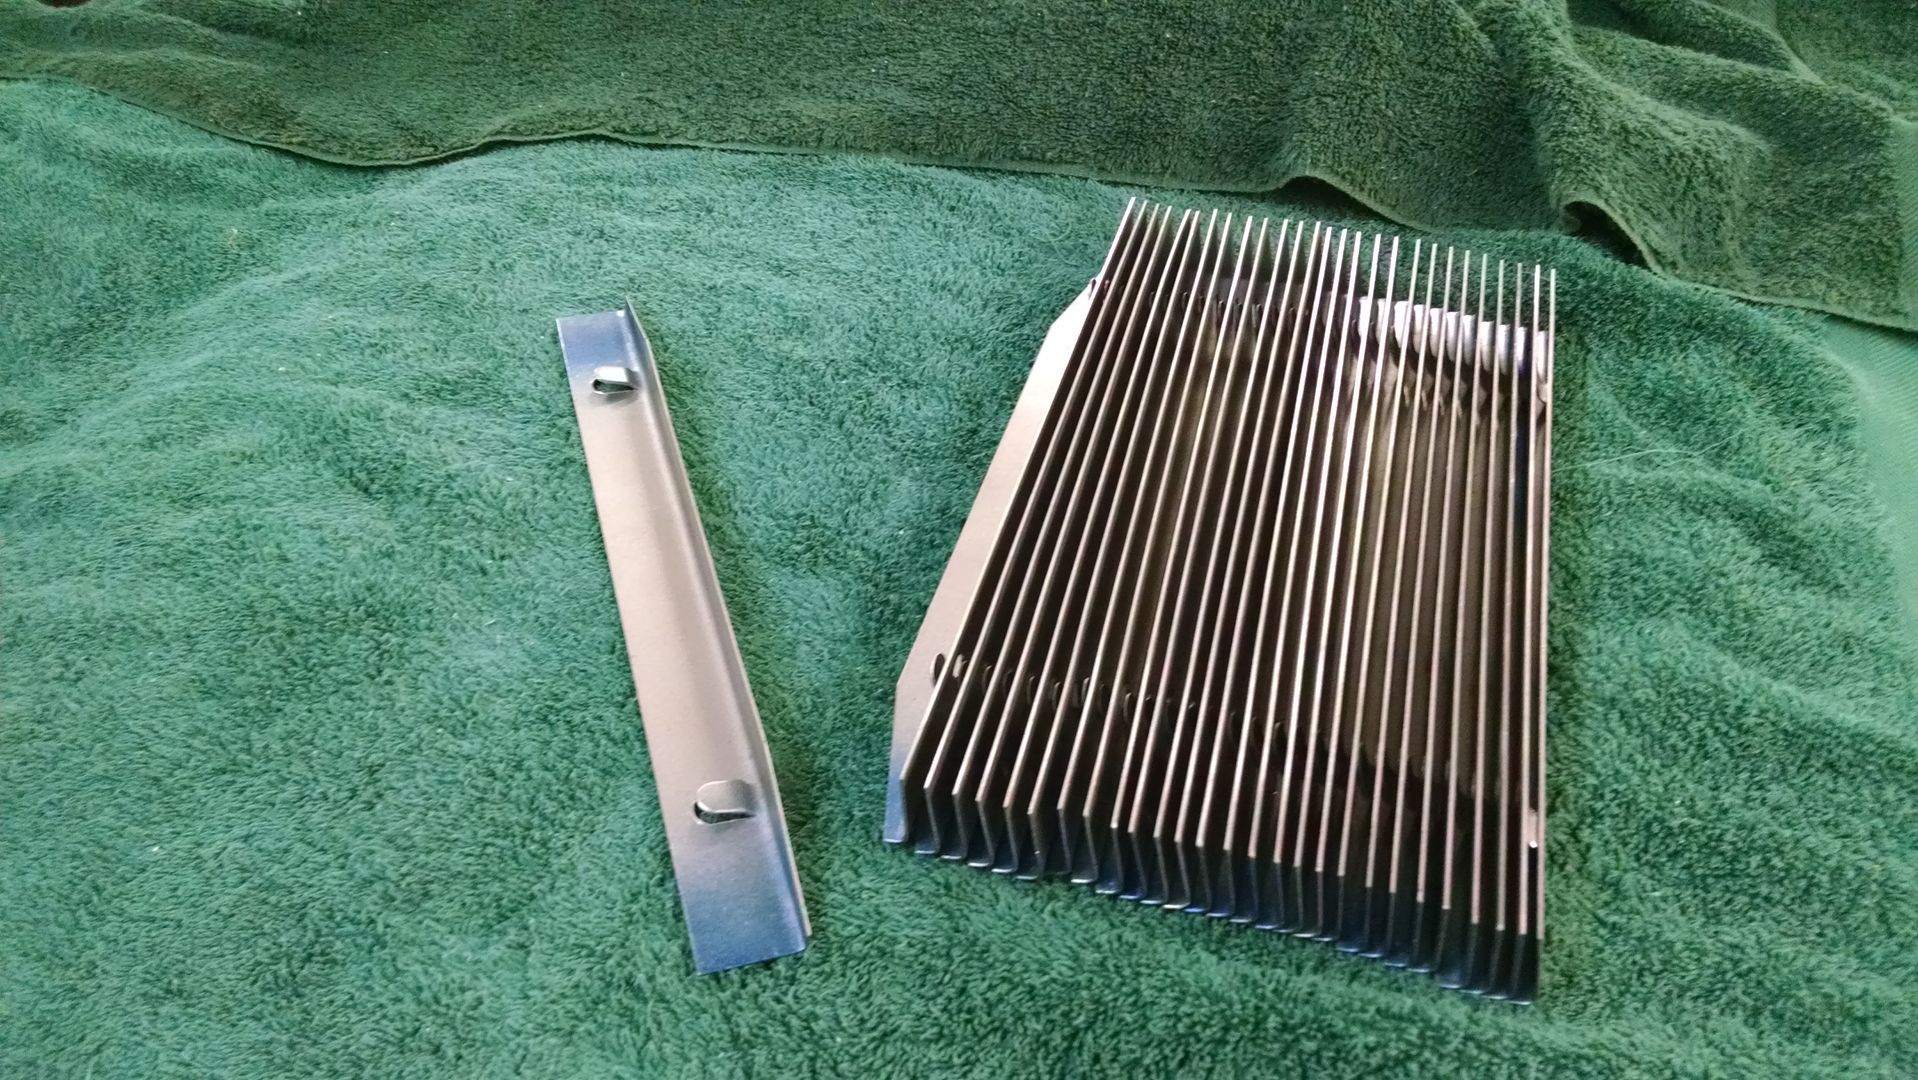
Those retainers look great!! How did you cut/bend the little tab? Did you make a die set or get laser cut blanks? Some other way?


EdT
Well-known member
Nice looking machine!! The die looks like just some CRS or even HRAP and, from the look of it, the punch is hardened. Any more details on the process for developing the tooling?
NASTYZEN
Well-known member
Good on you to take on an apprentice. I hope it works out well for you Robert.
I just lost both of mine. They have to go back to school...
Now I'll have to do all my own dirty work.
I just lost both of mine. They have to go back to school...
Now I'll have to do all my own dirty work.