8man
Well-known member
Very nice.

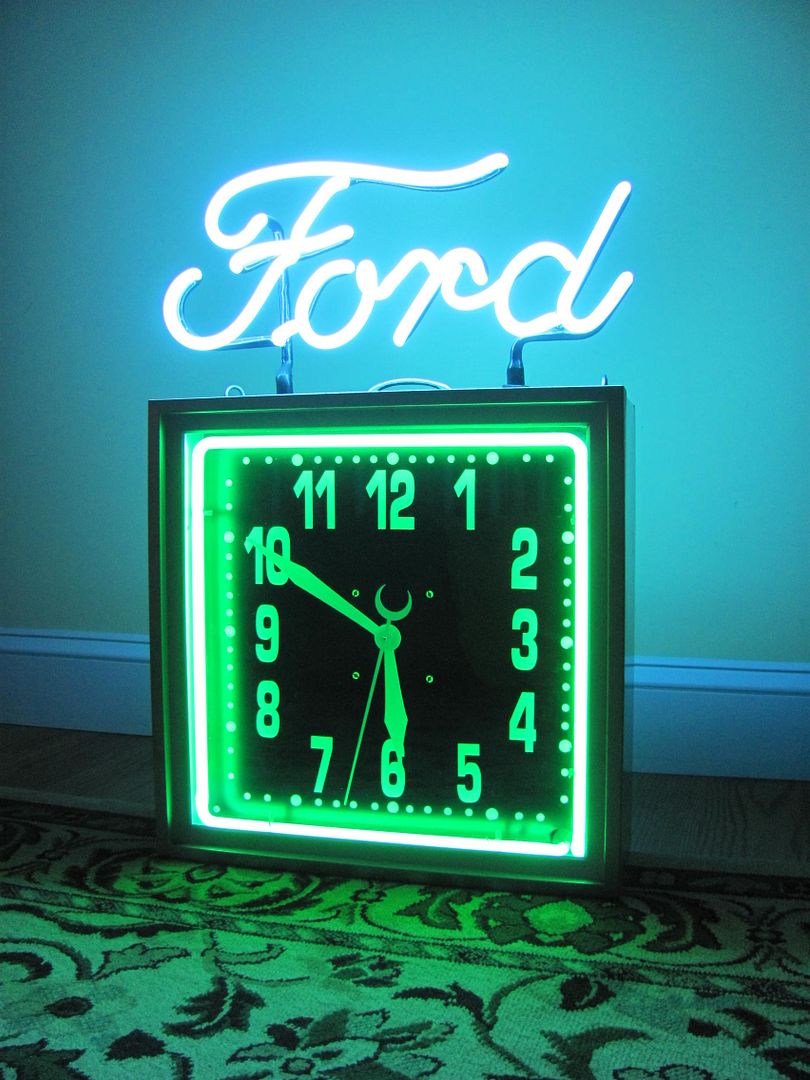
Picked up a new shop clock at the auction today.. This is a vintage neon Ford clock, looks to be a dealer only item as near as I can tell..

Thanks guys.
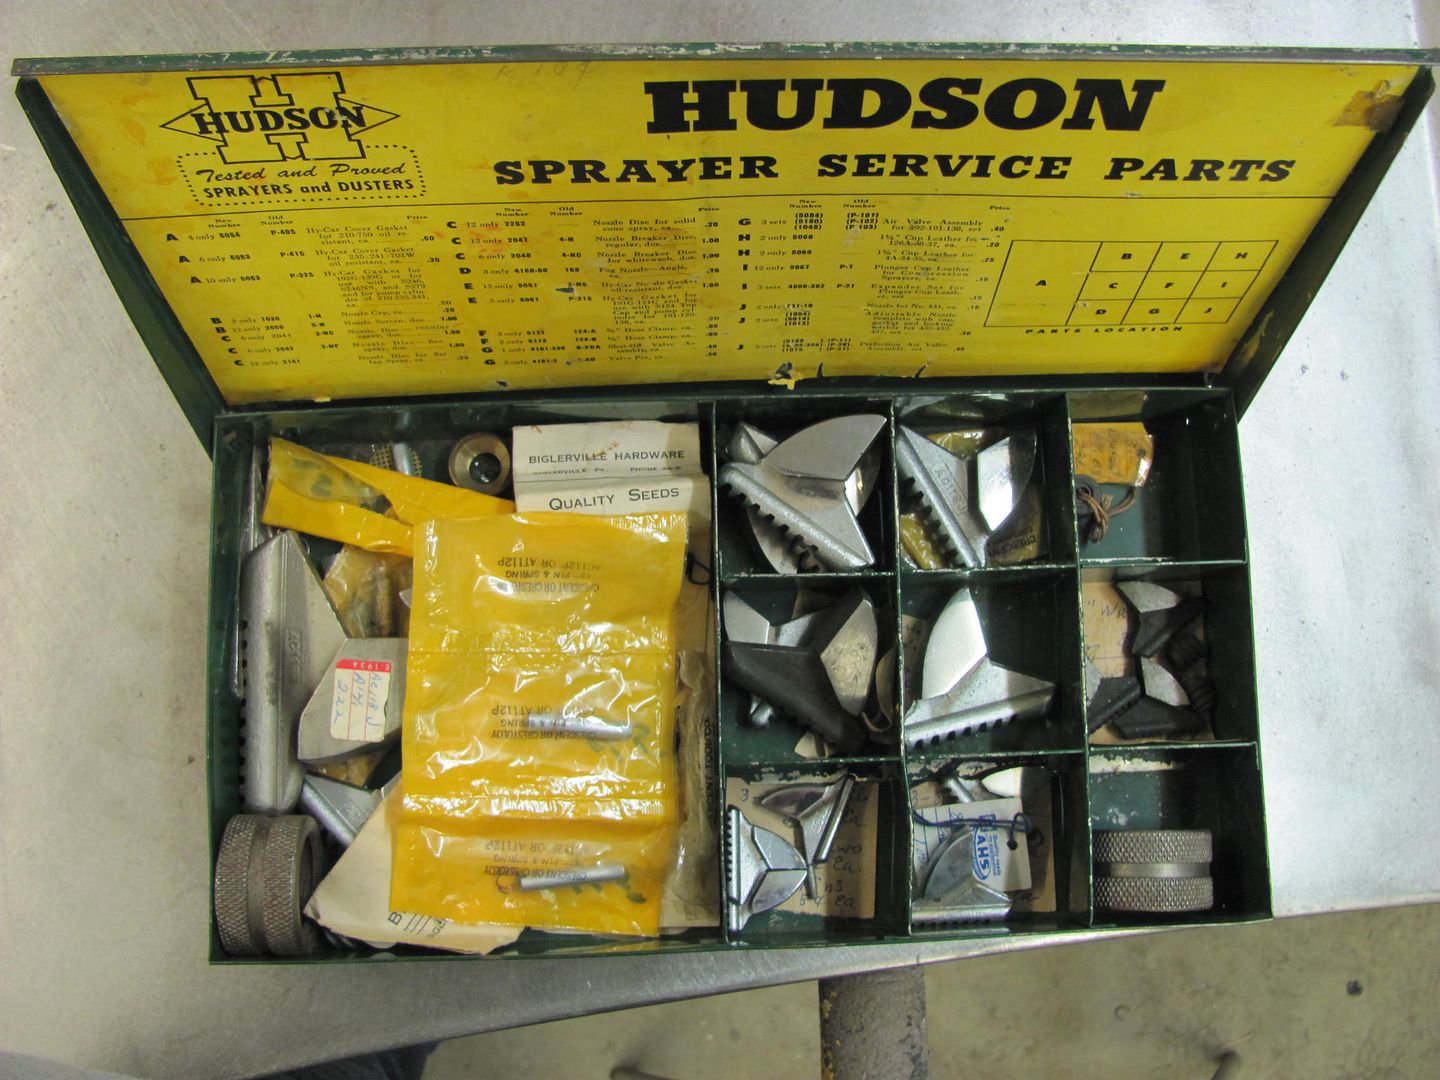
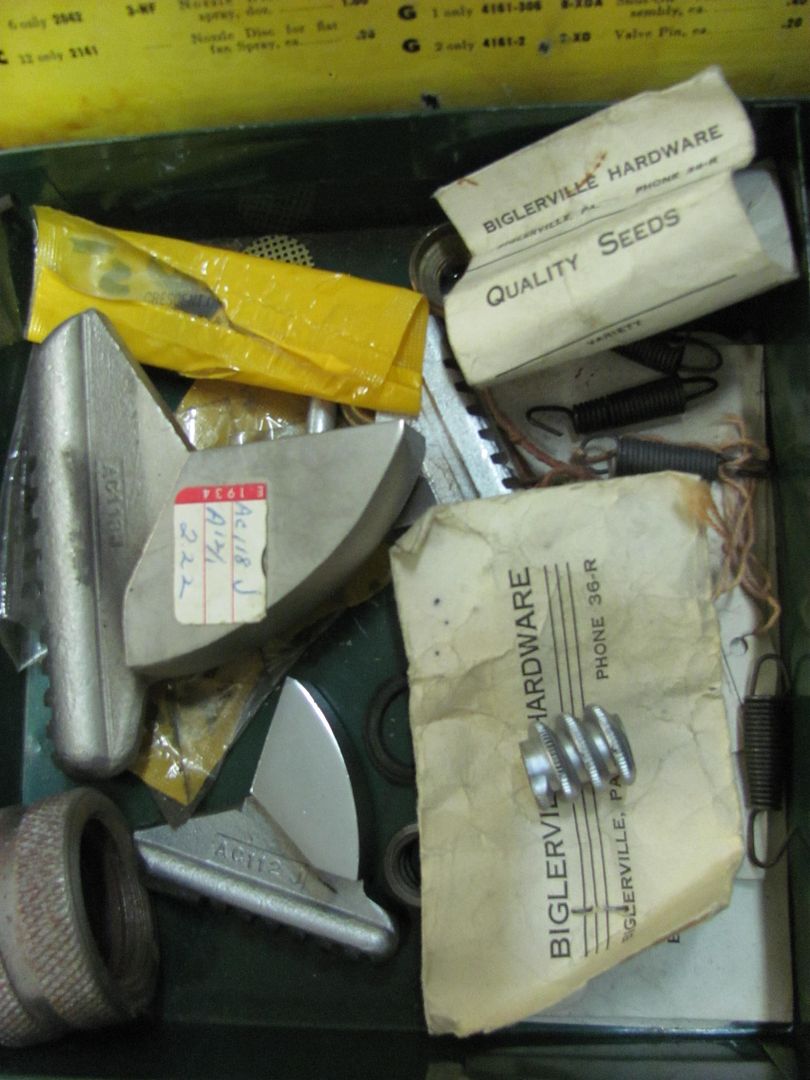
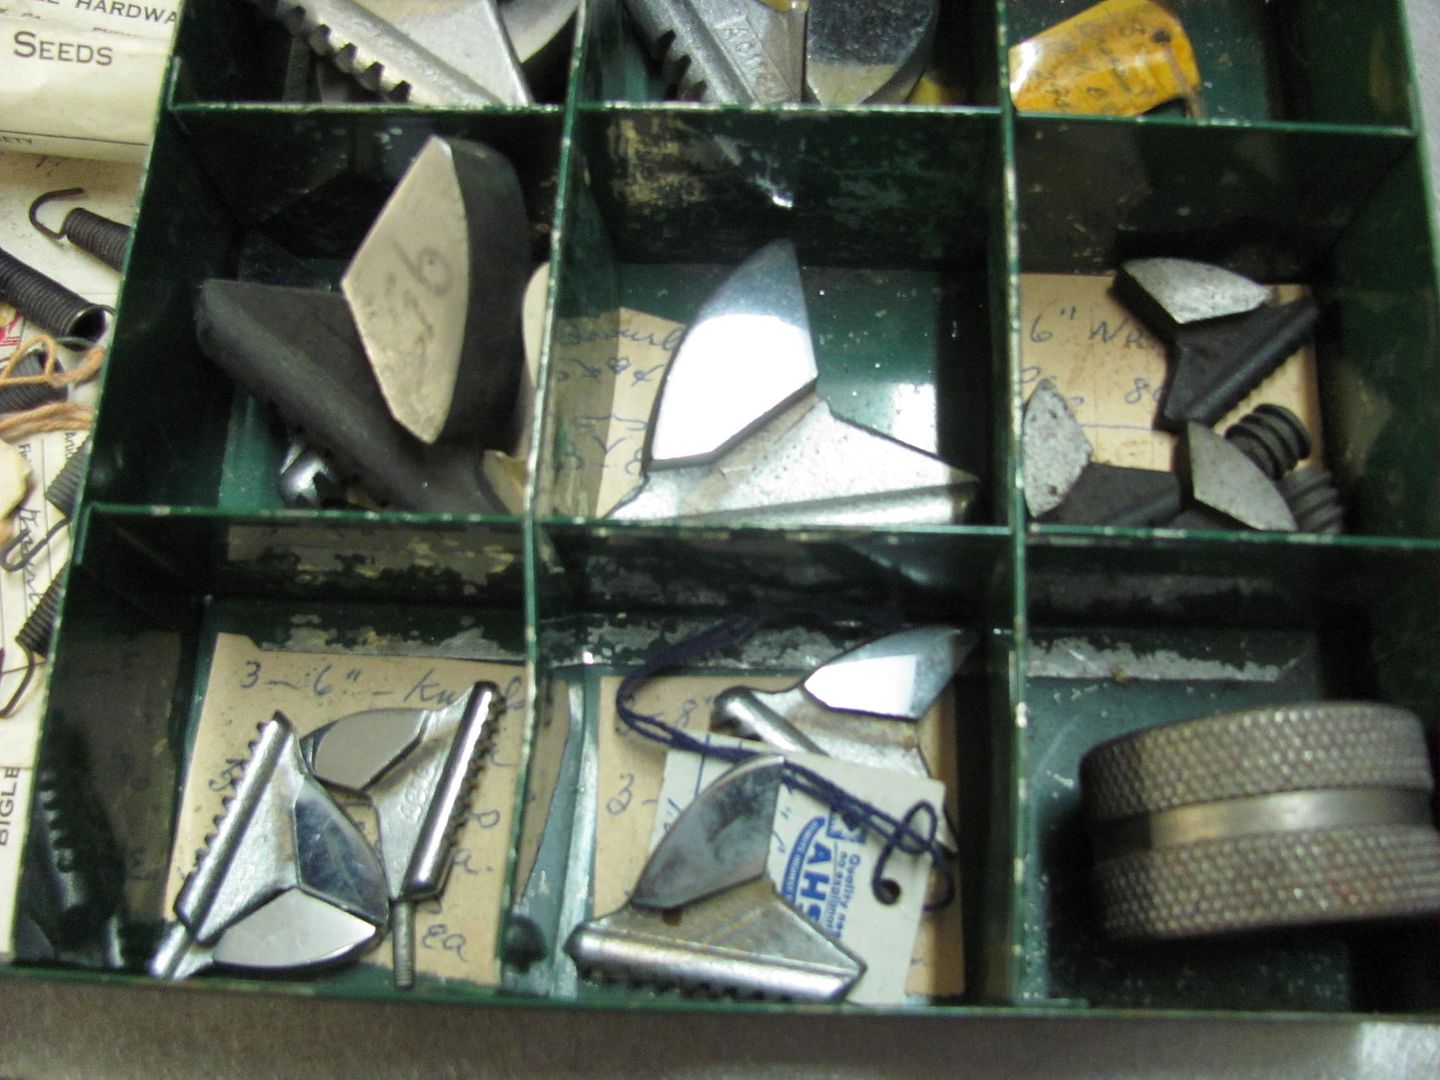
Another item I picked up at the auction yesterday, this is a crescent wrench rebuild kit that came out of a now closed hardware store. New jaws, thumbwheel/gears, and even vise grip springs (which I actually need a couple). Not items you're likely to see at a big box store..
 Heck, after reading through this thread as many times as I have, I find myself looking at gaps on everything now. From thigh gaps to desk drawer gaps.
.....the ad states "restored to show car quality"


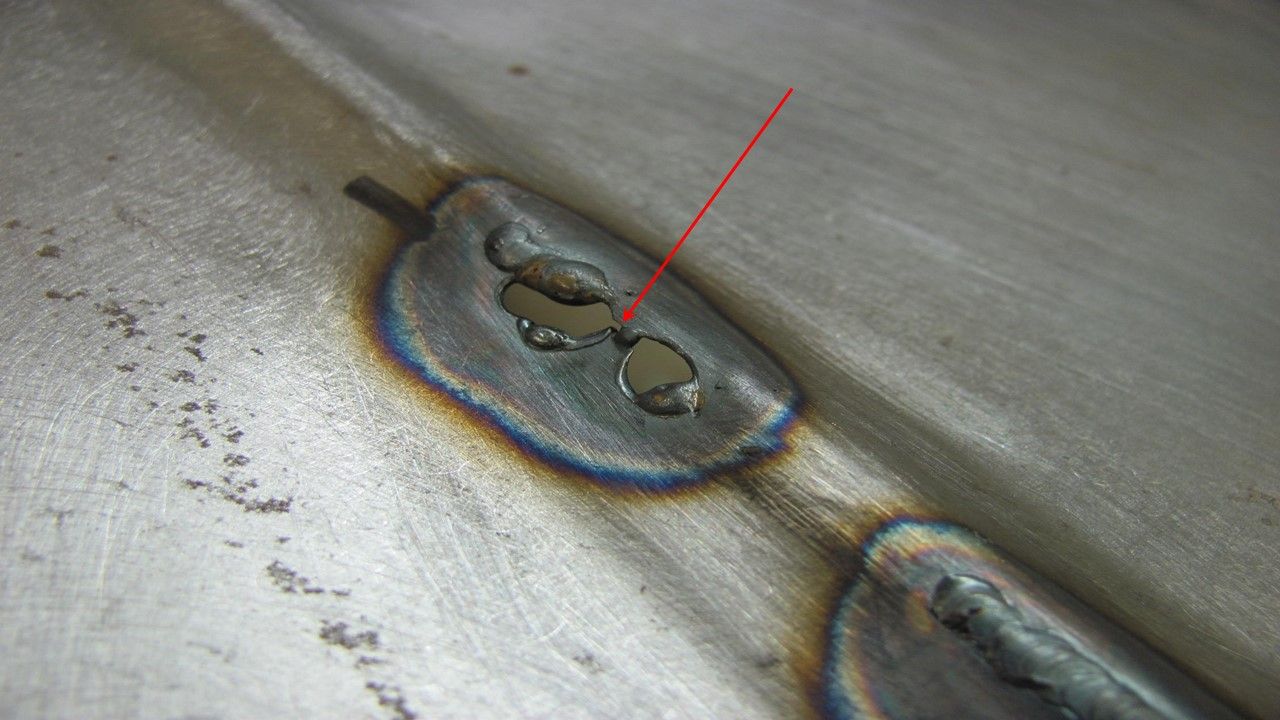
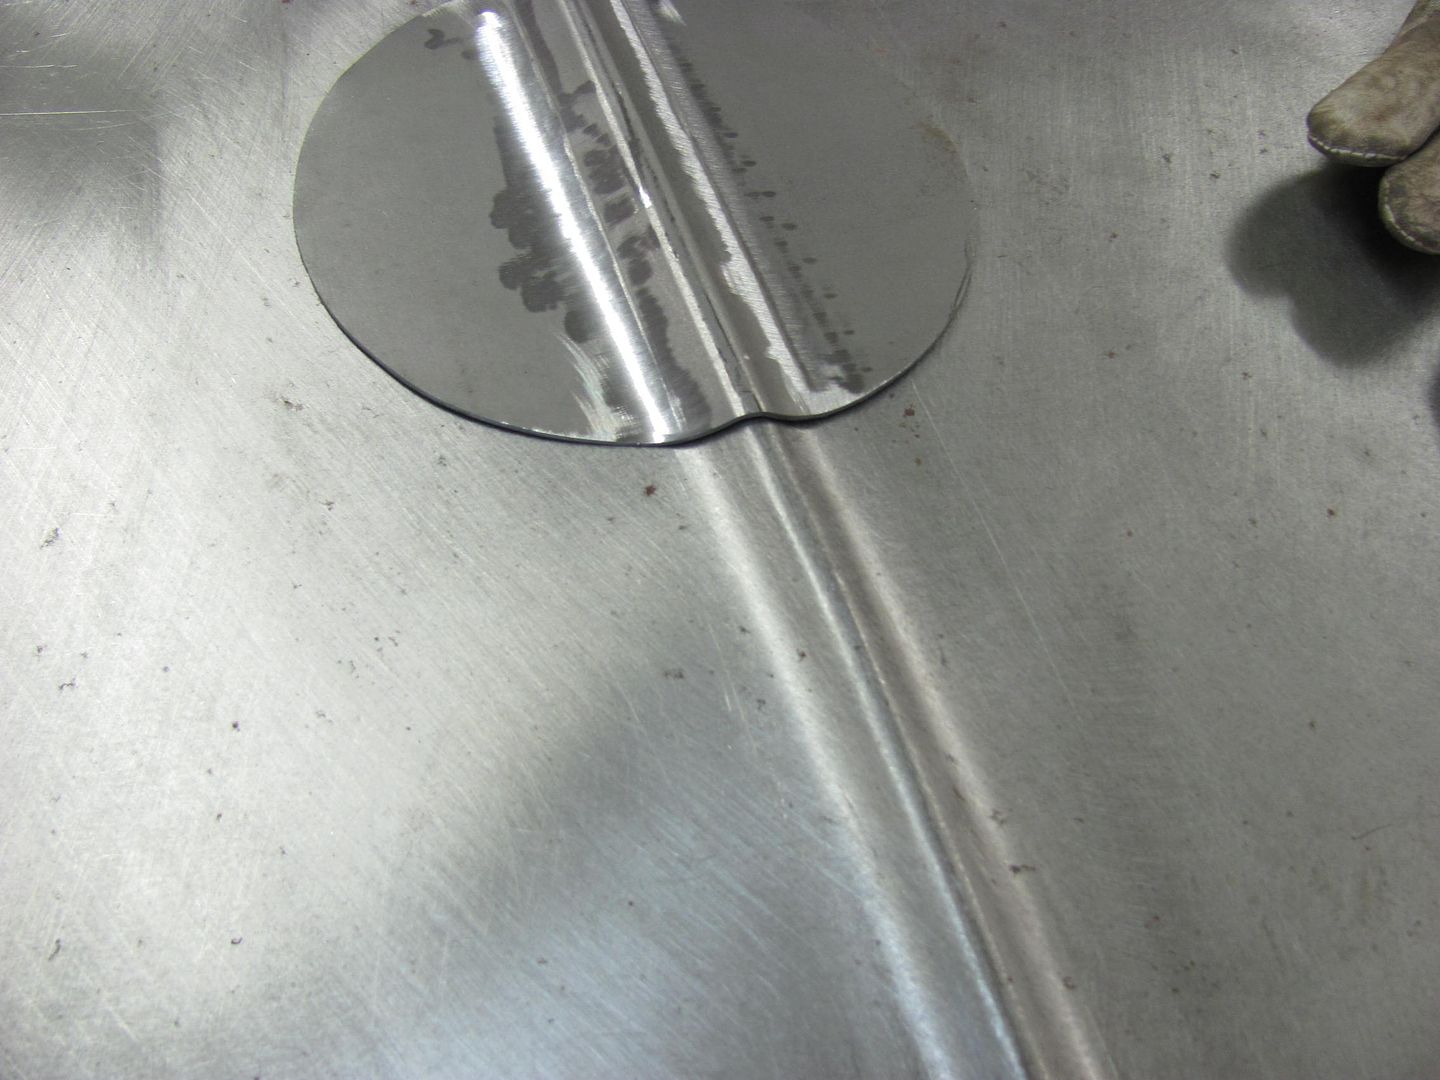
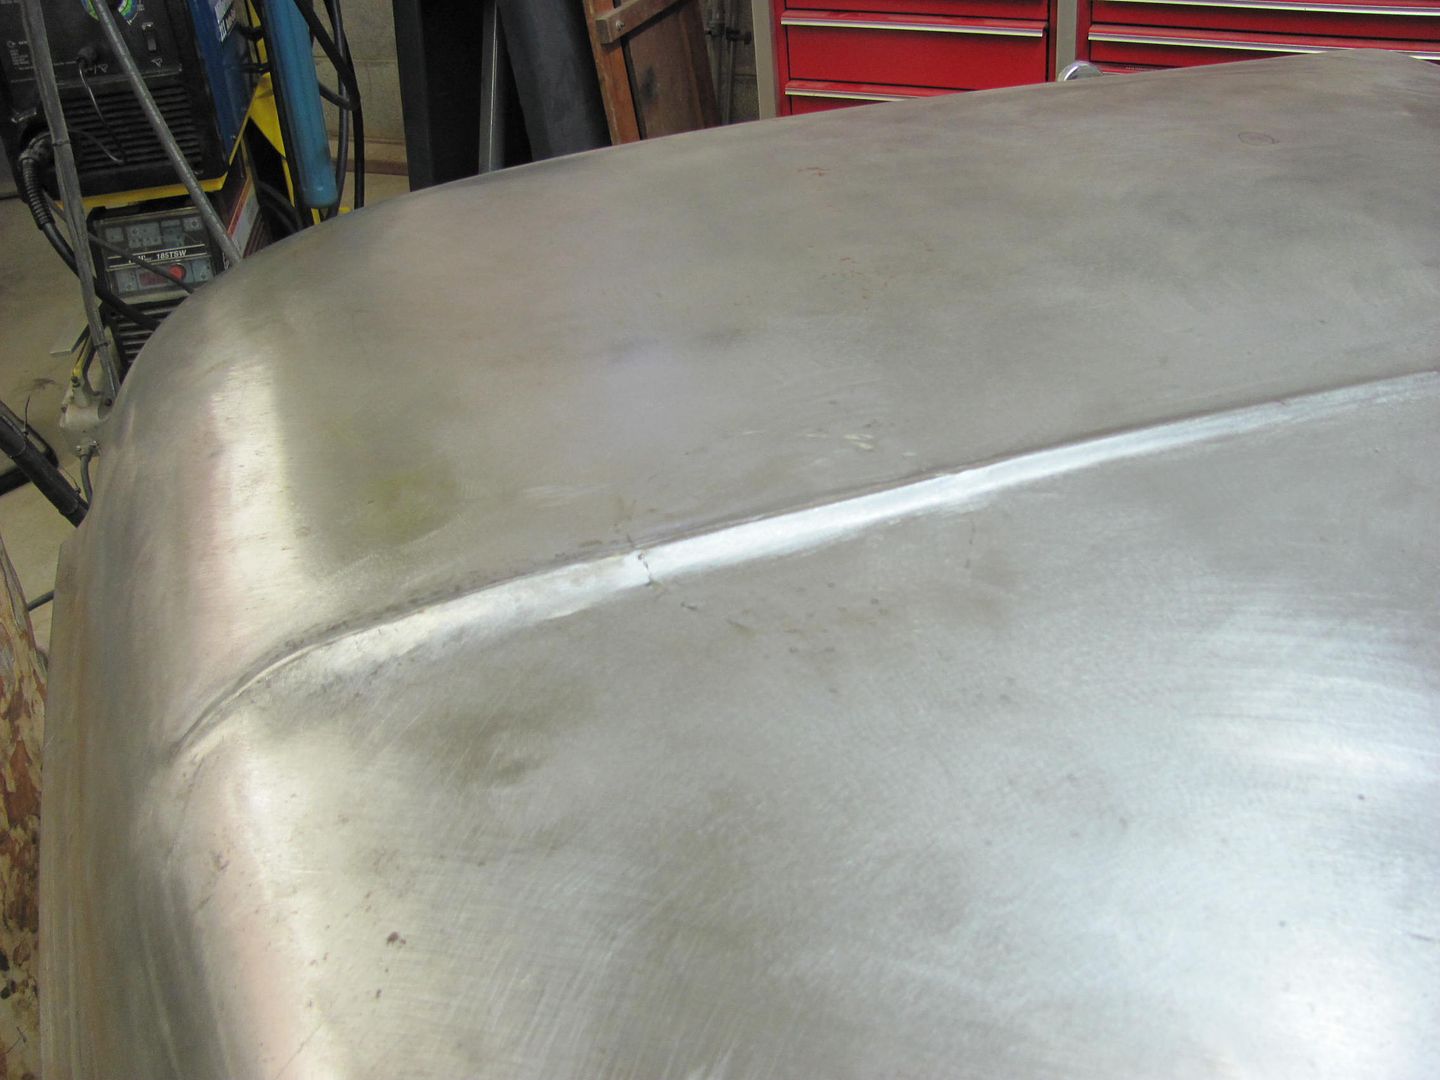

Could you have used the MIG to "fill" the hole in the hood?
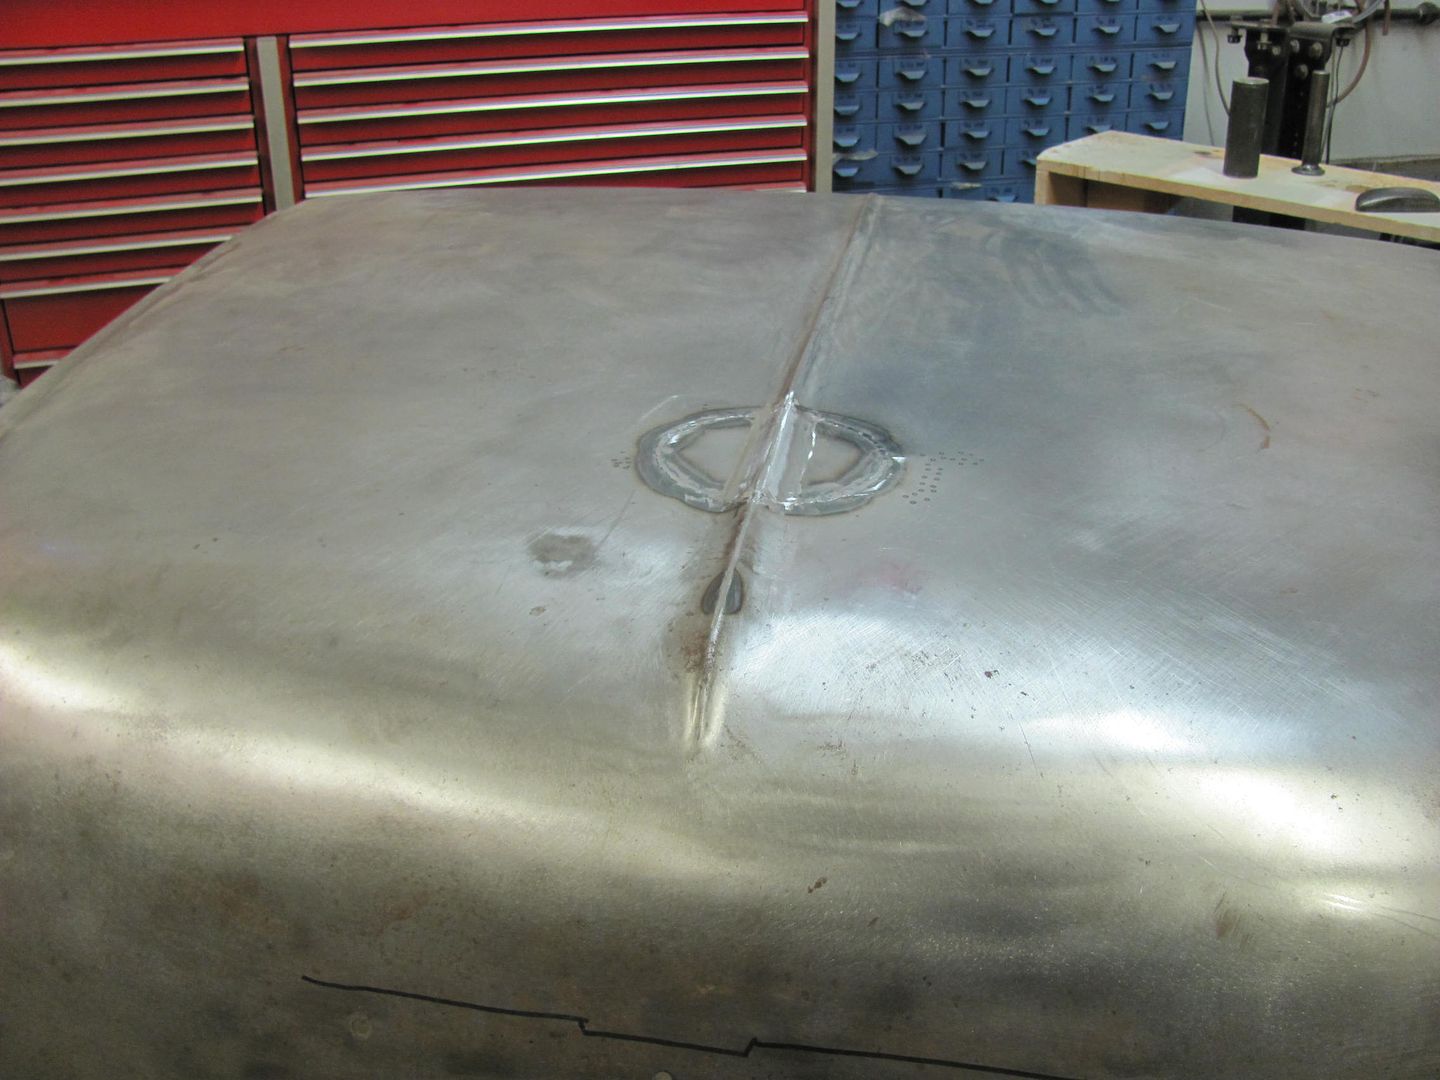
If I were looking at this I might use a copper backing plate on the inside and fill in the hole with the mig and than some careful grinding. I used to do this quite a bit to fill in emblem holes.
Kevin
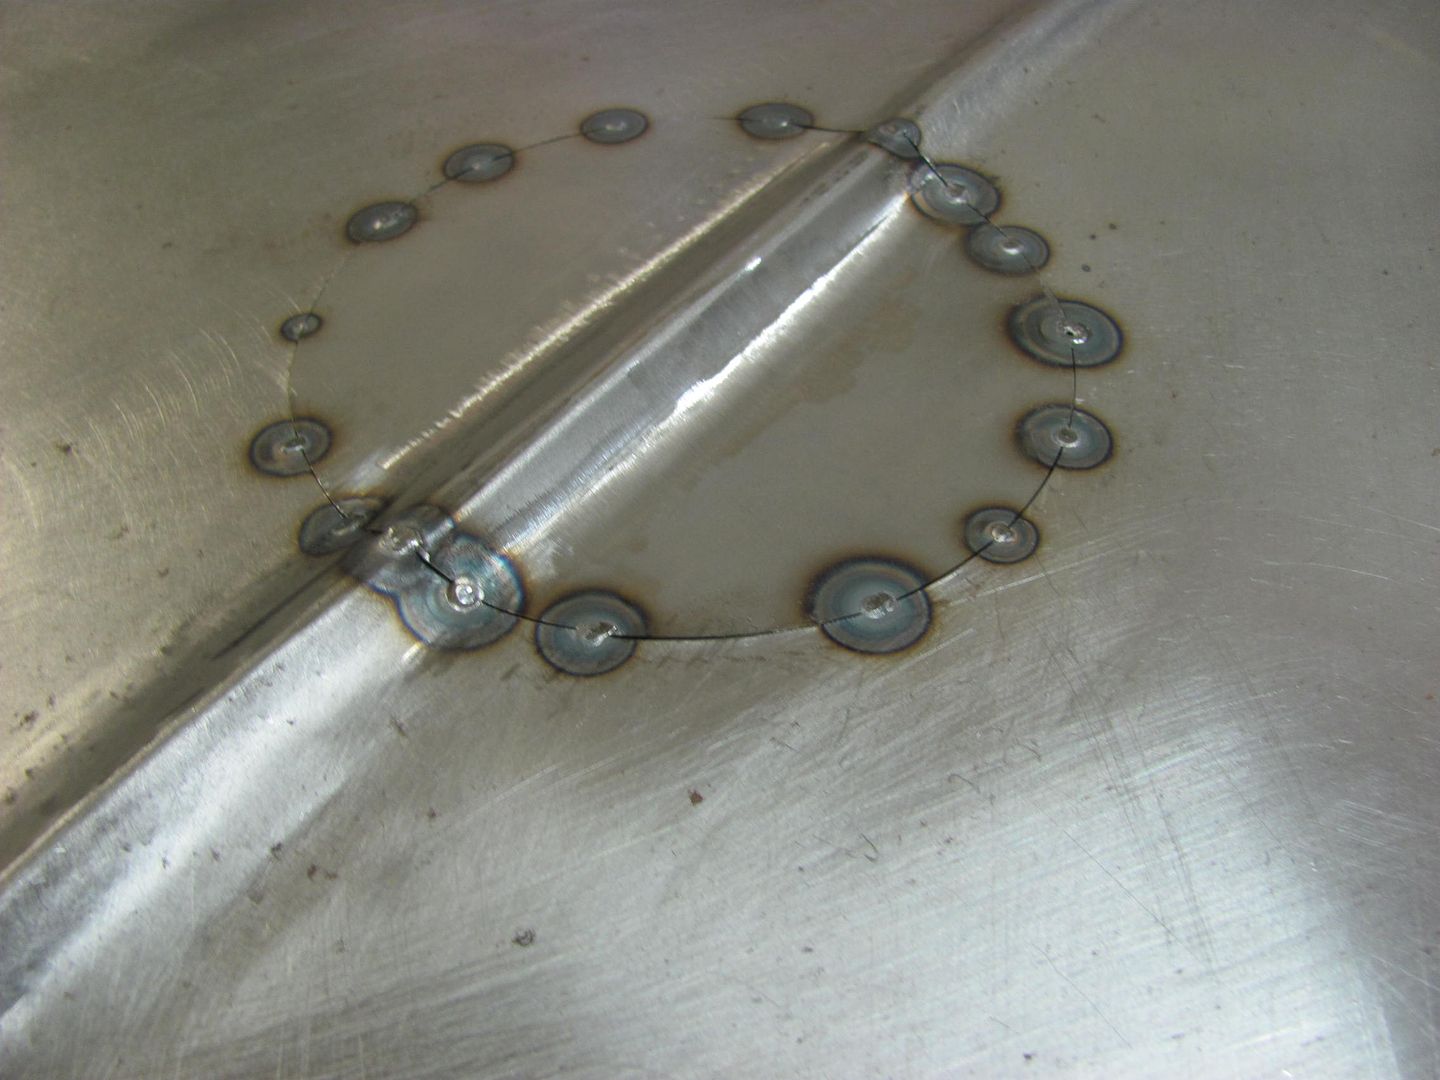
Great work. Are you trying to move away from the Mig "dot" technique and towards Tig? Which technique in your opinion takes less time?
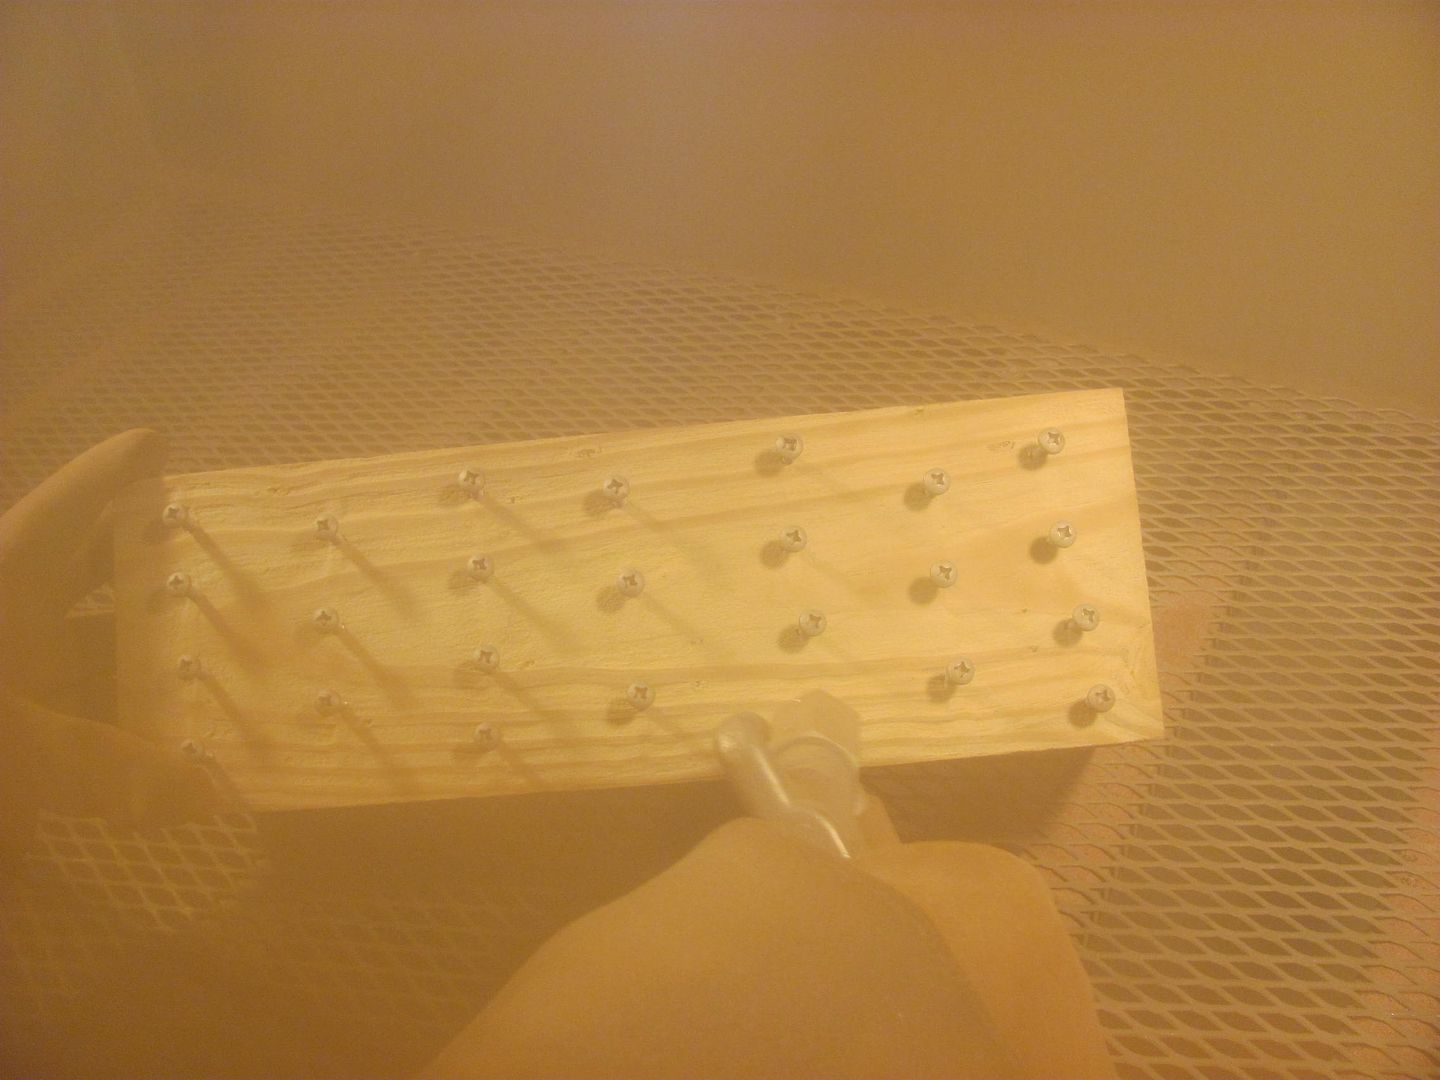

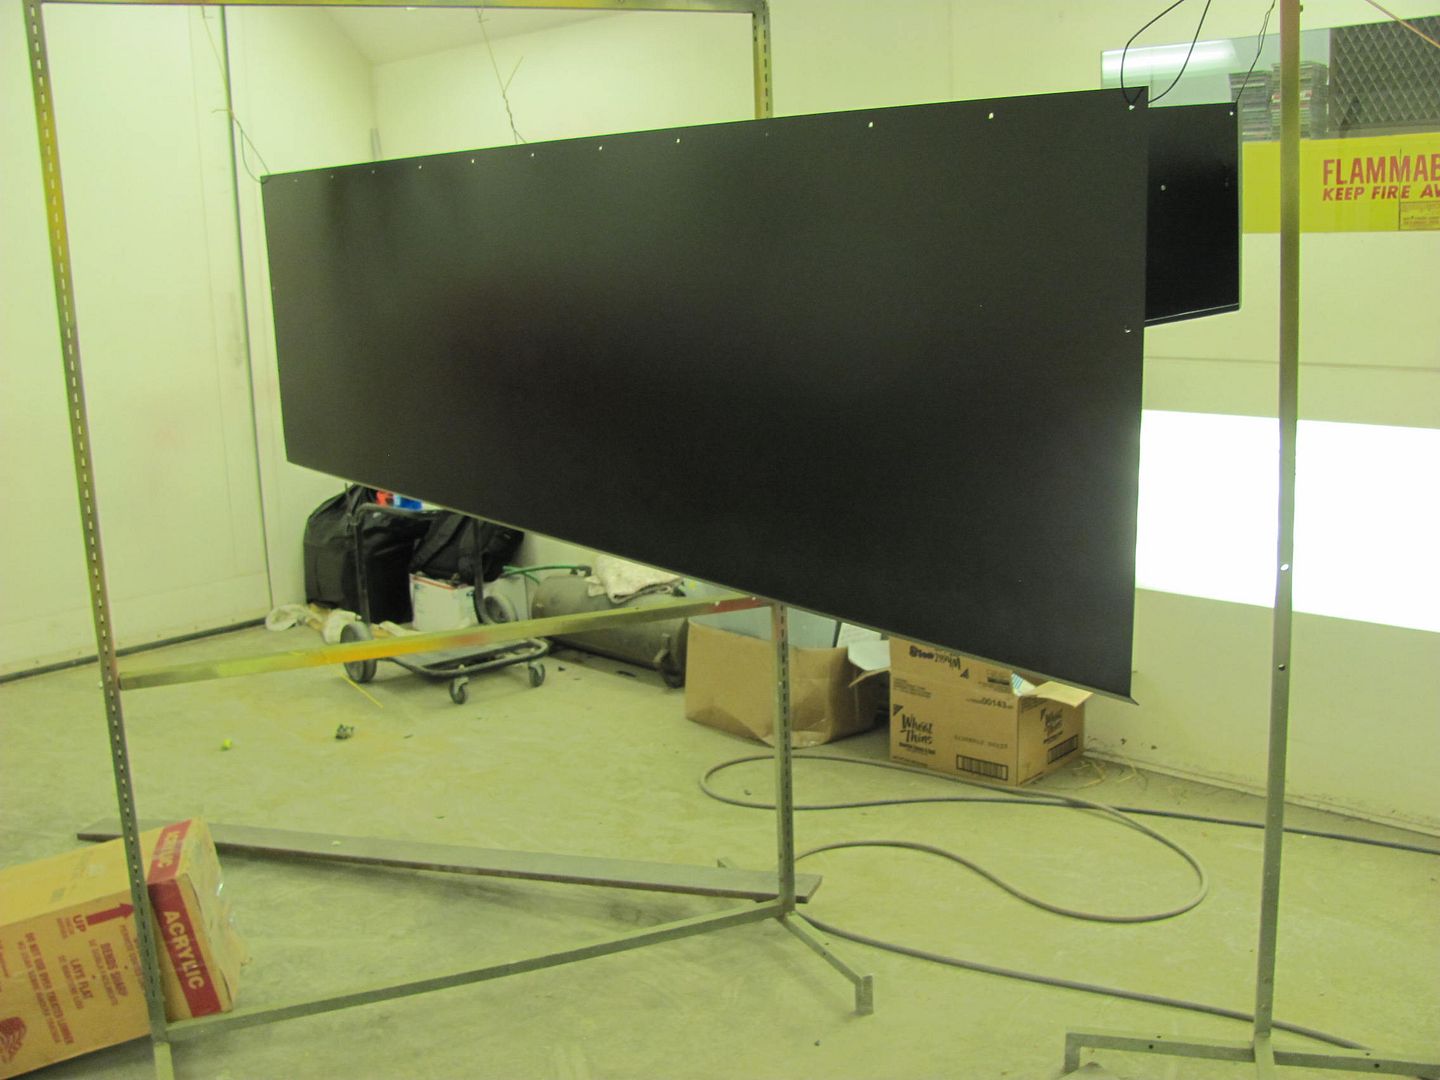
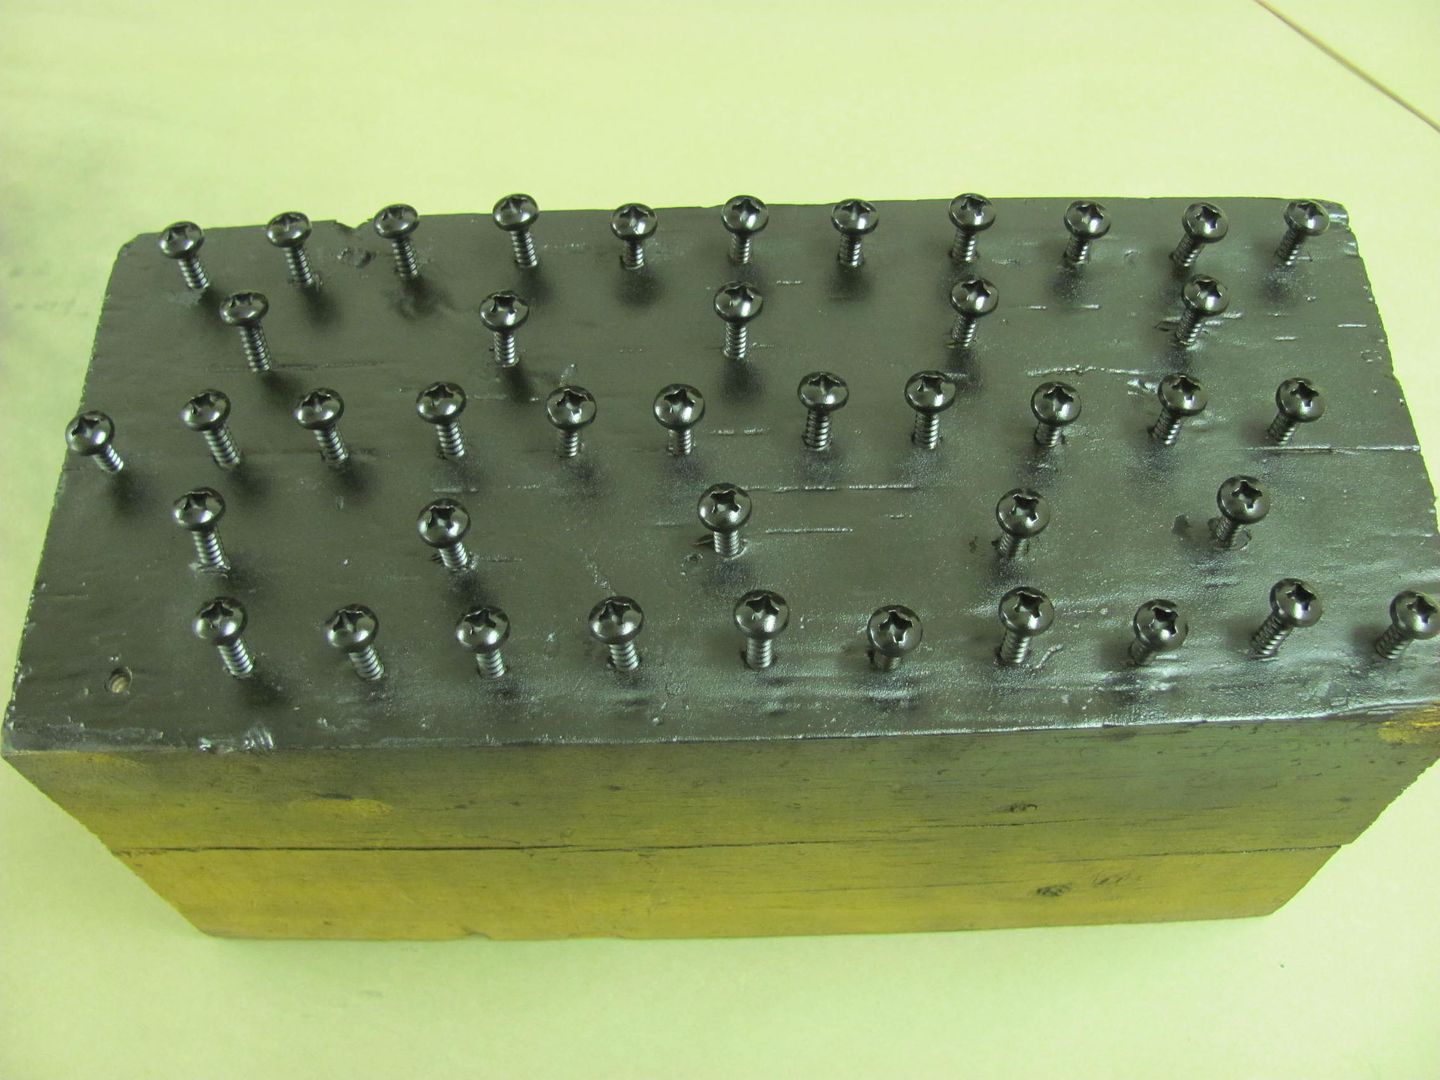
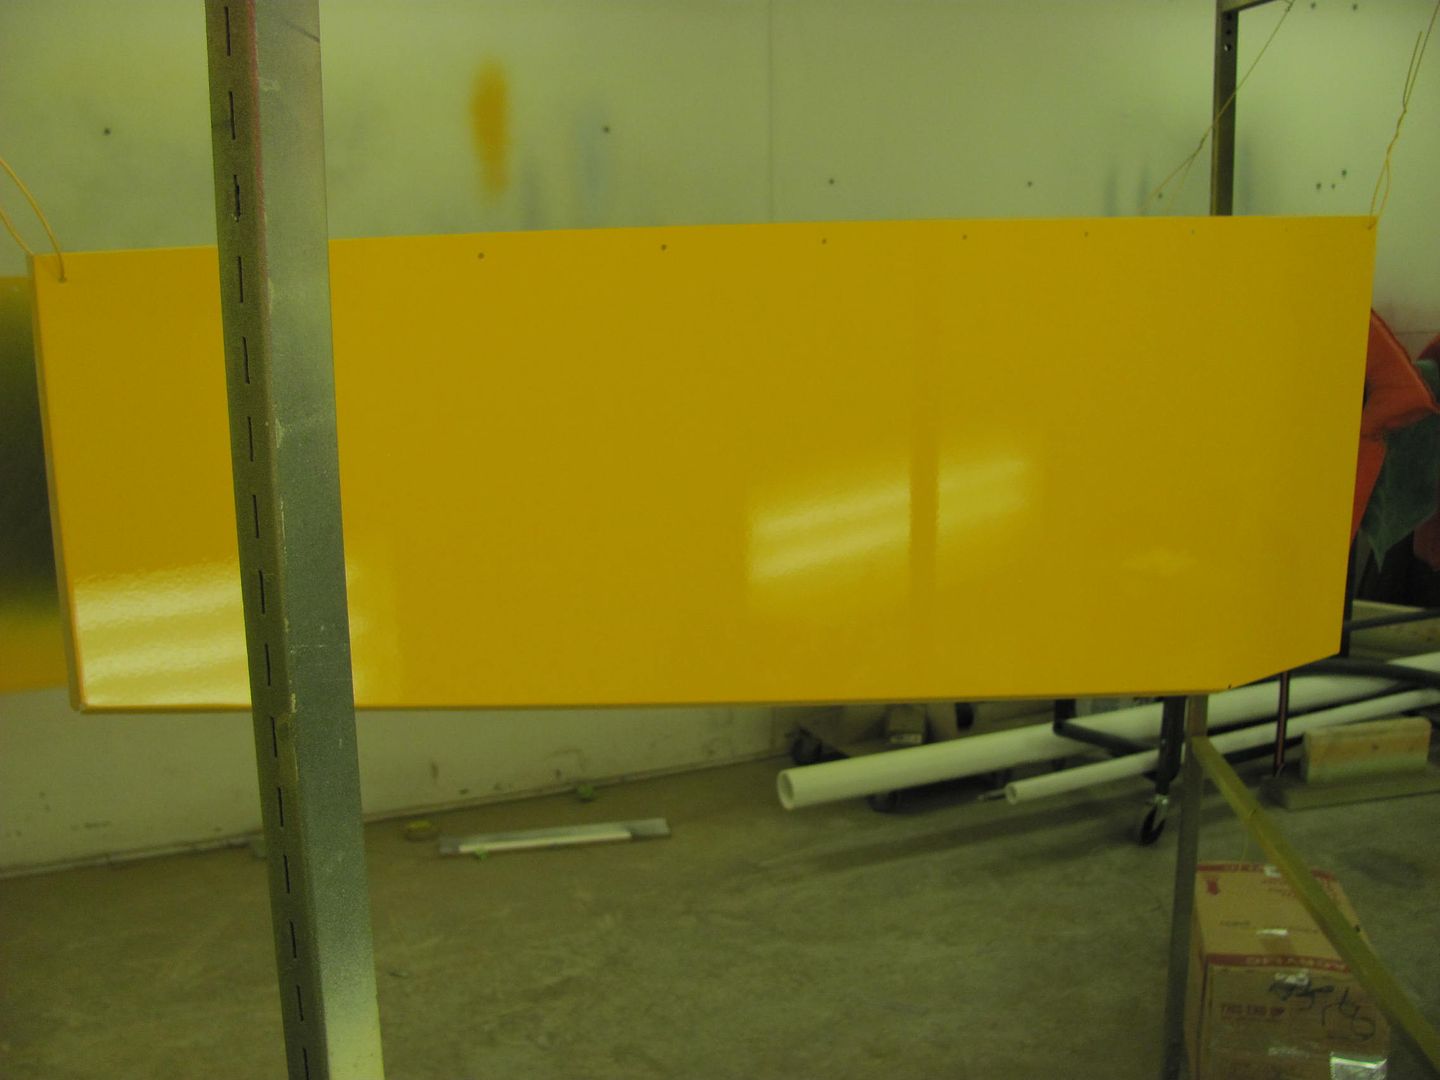
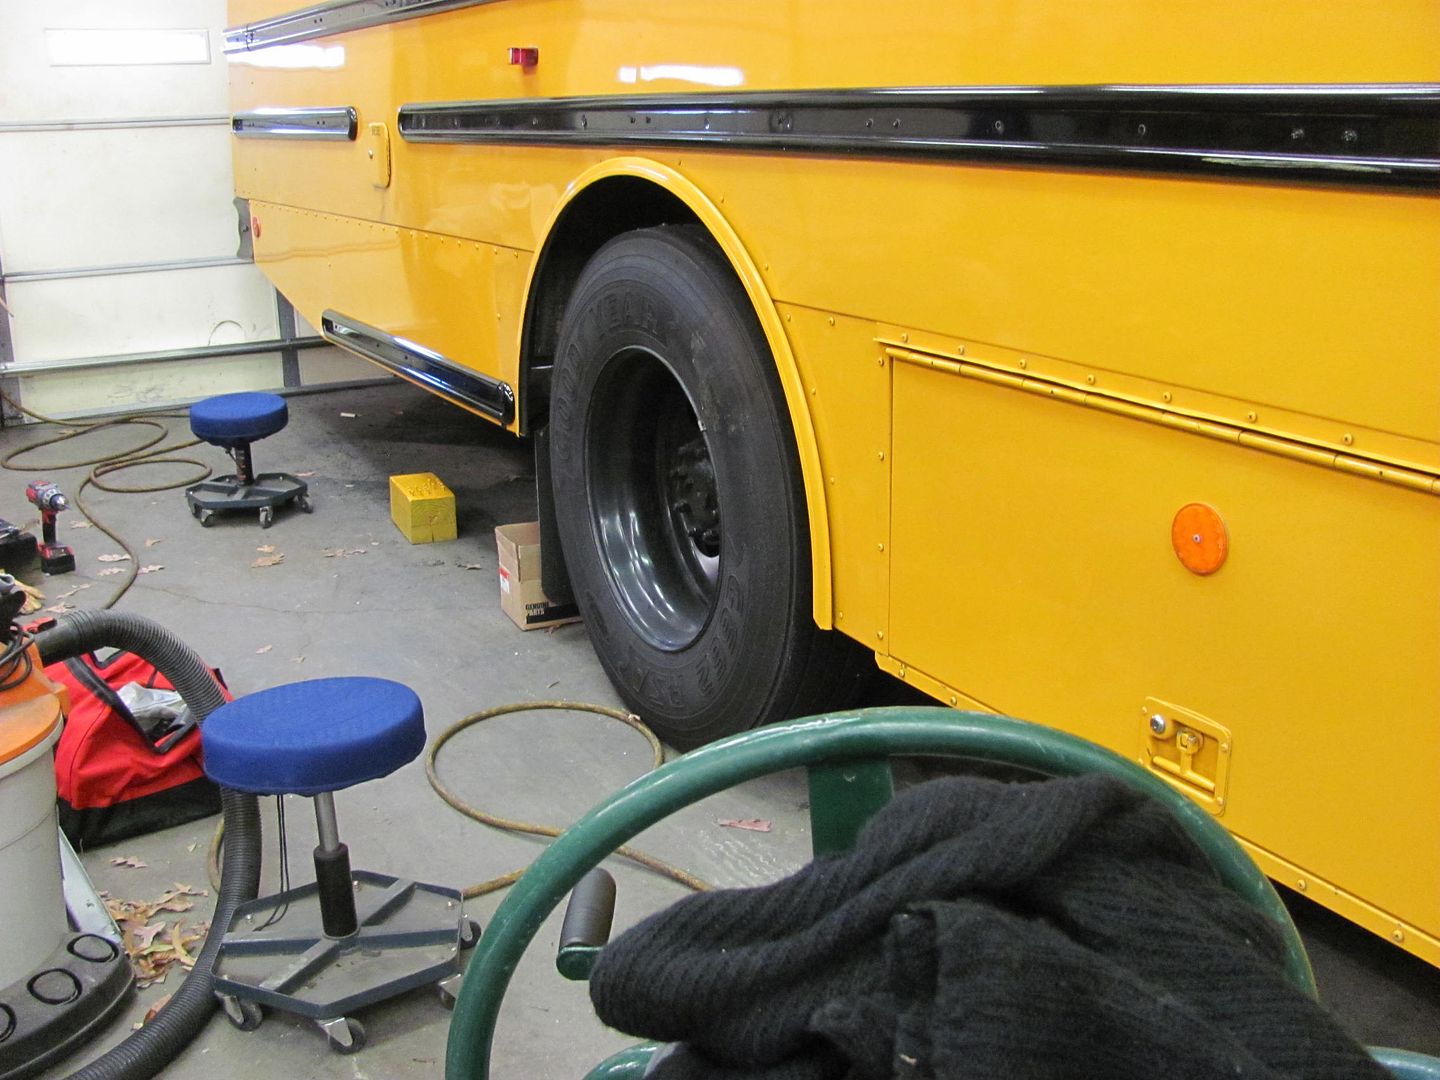
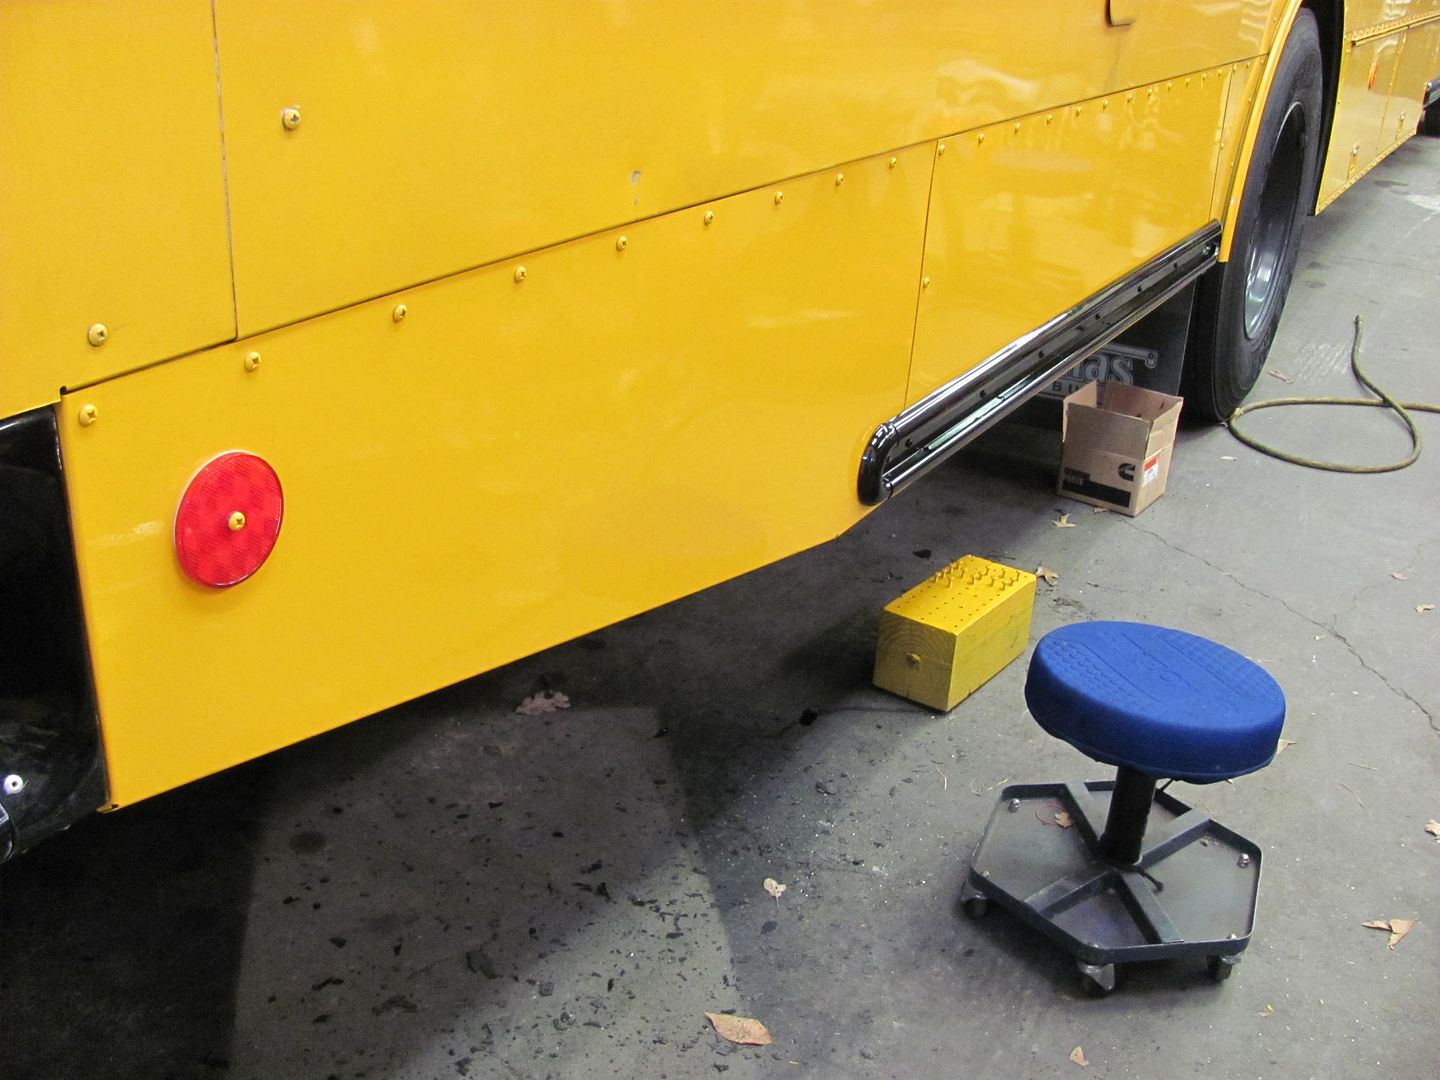
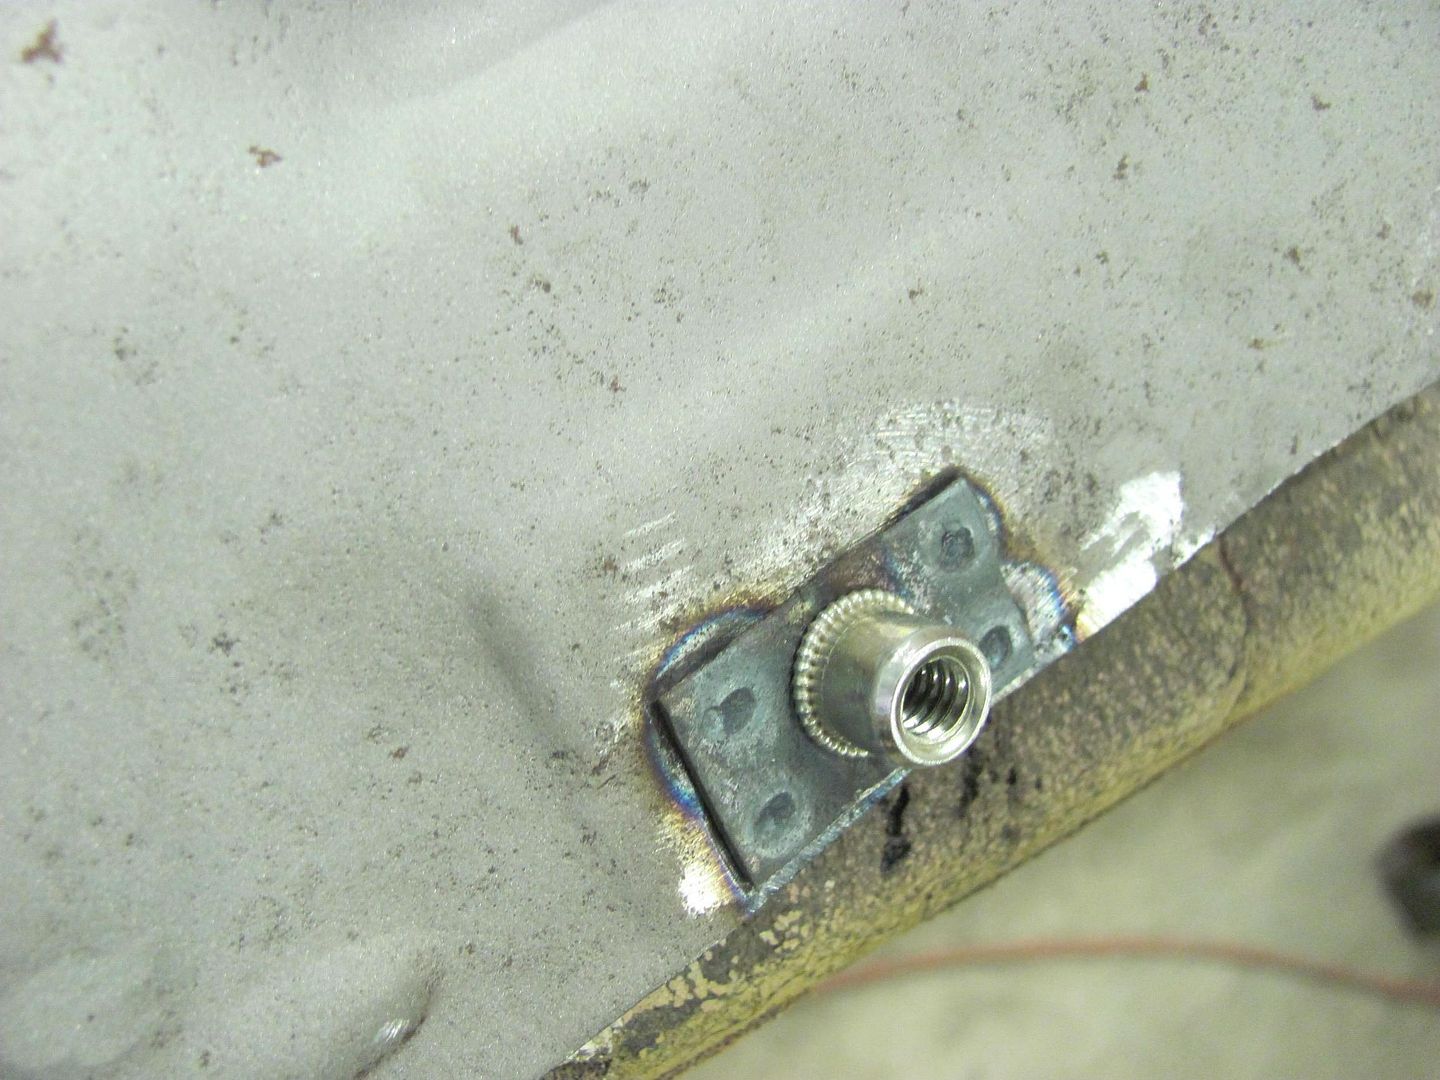
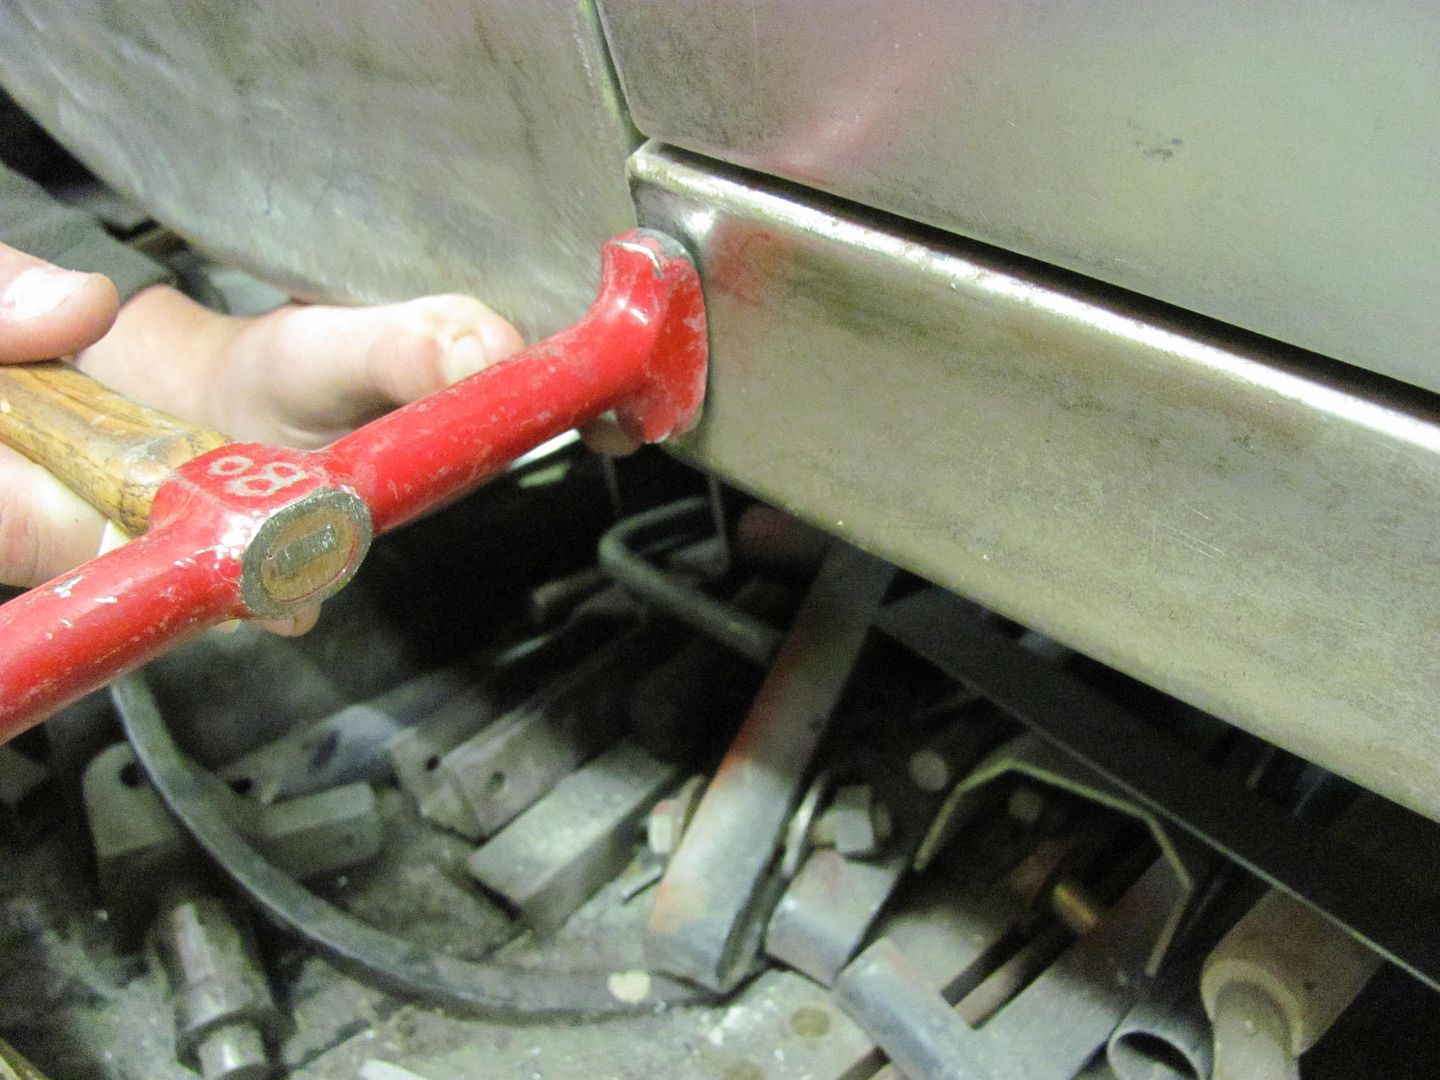
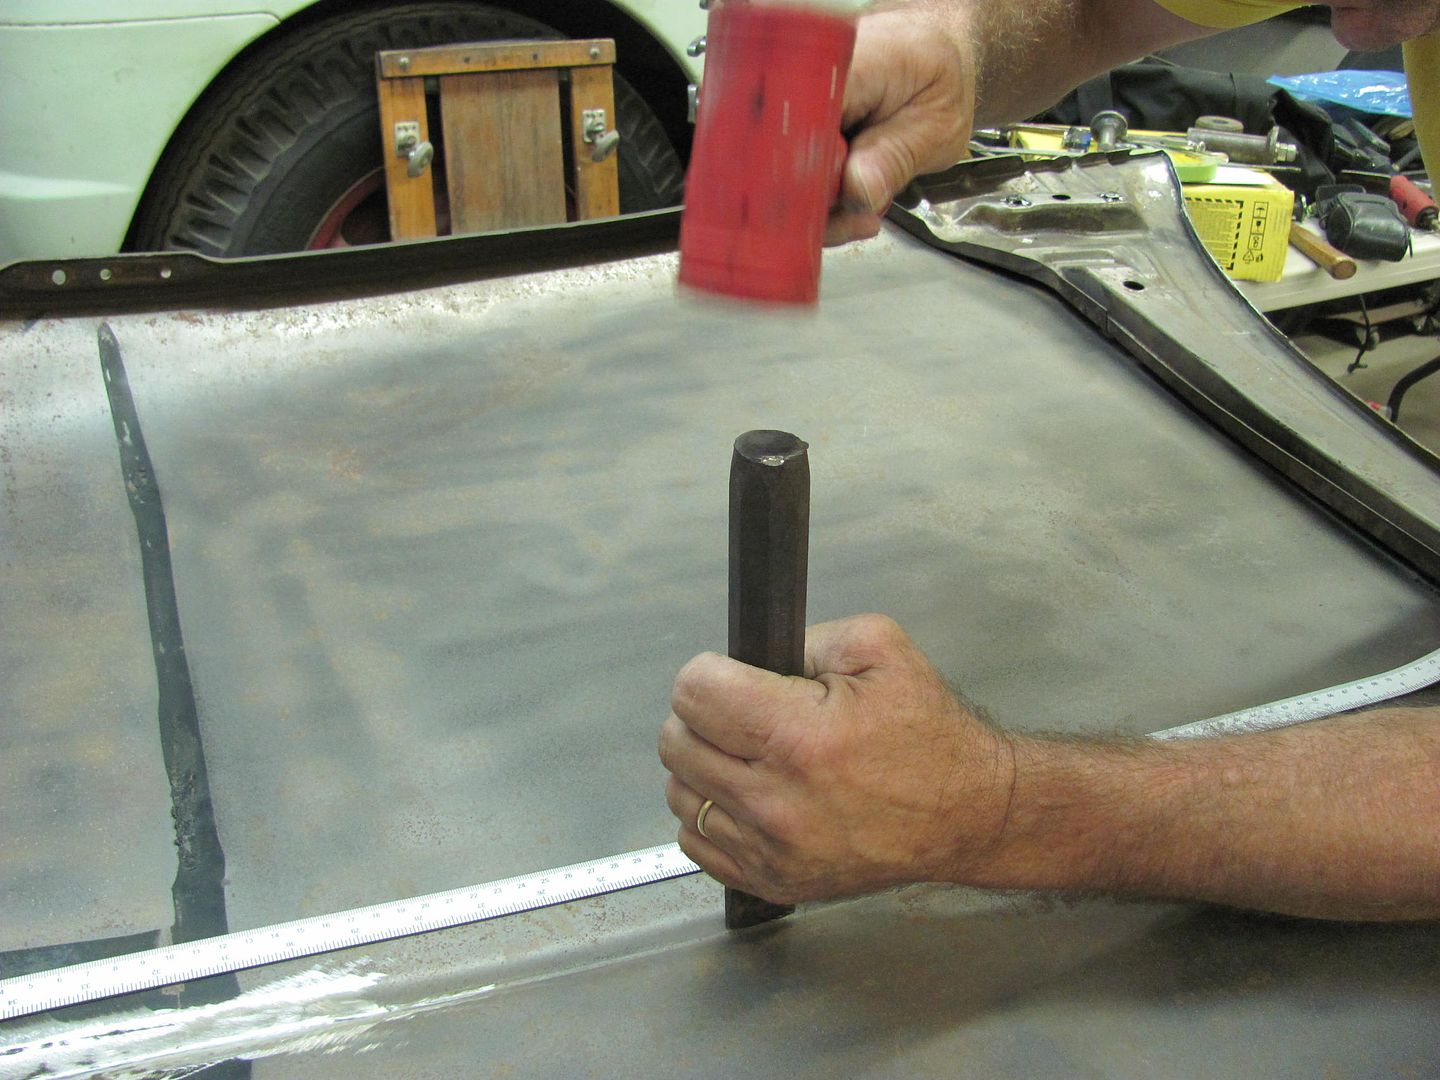
Now for the rub strip.. It was cut to size and holes drilled per the original. (had to straighten it a bit to transfer the holes) Here's the SPI epoxy:

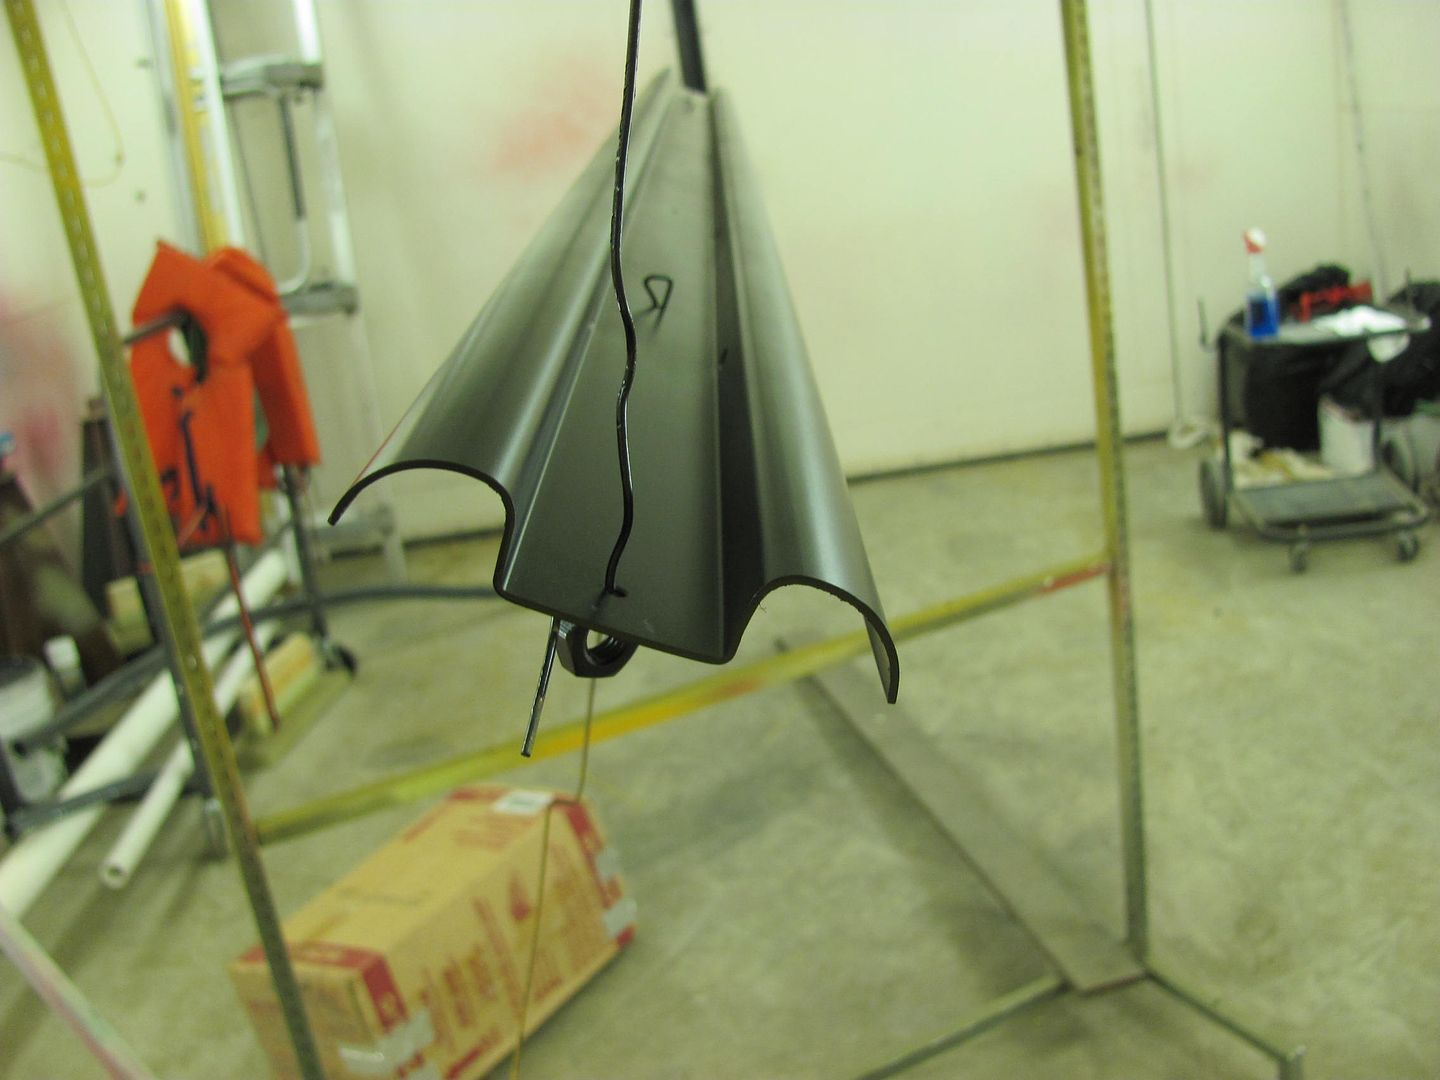
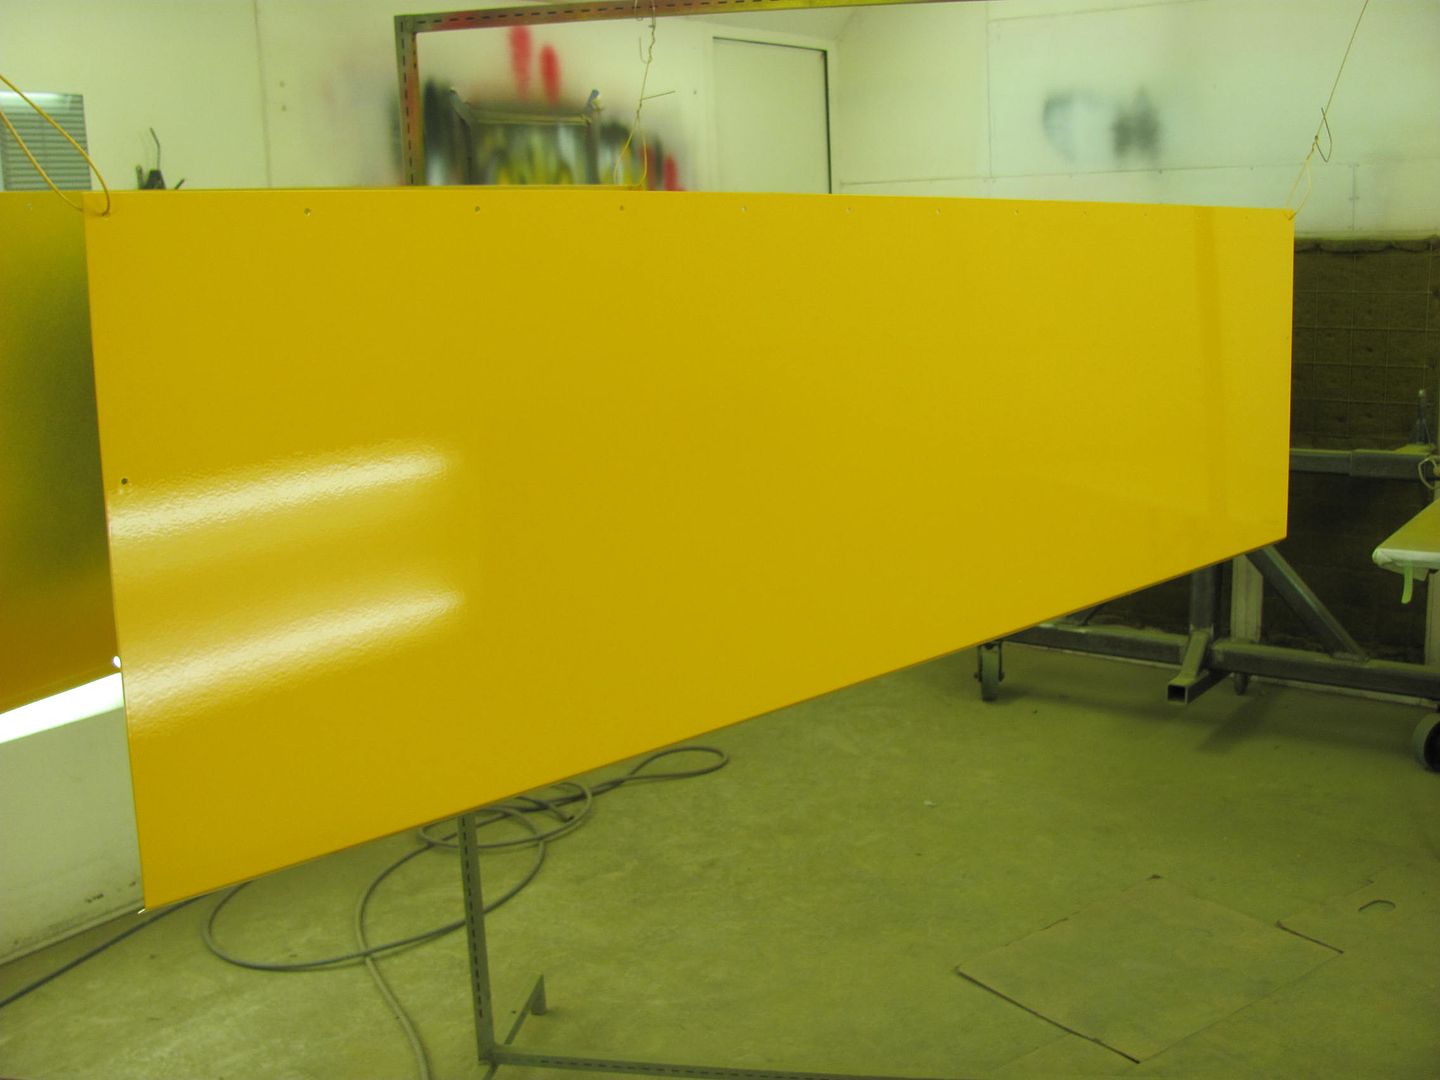
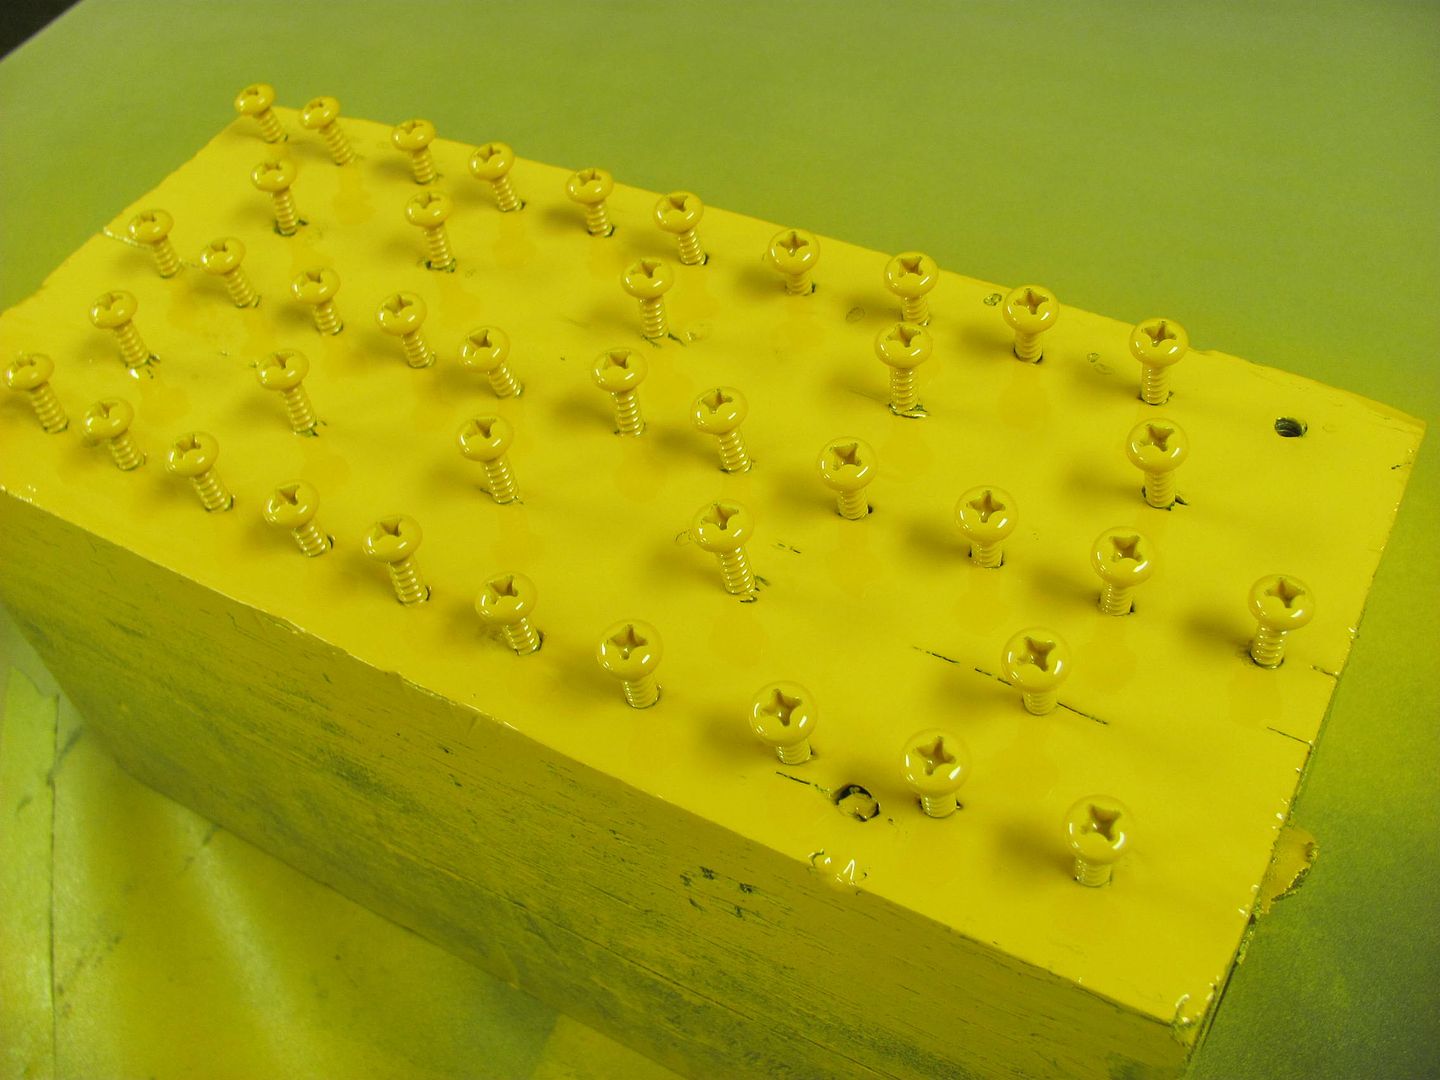
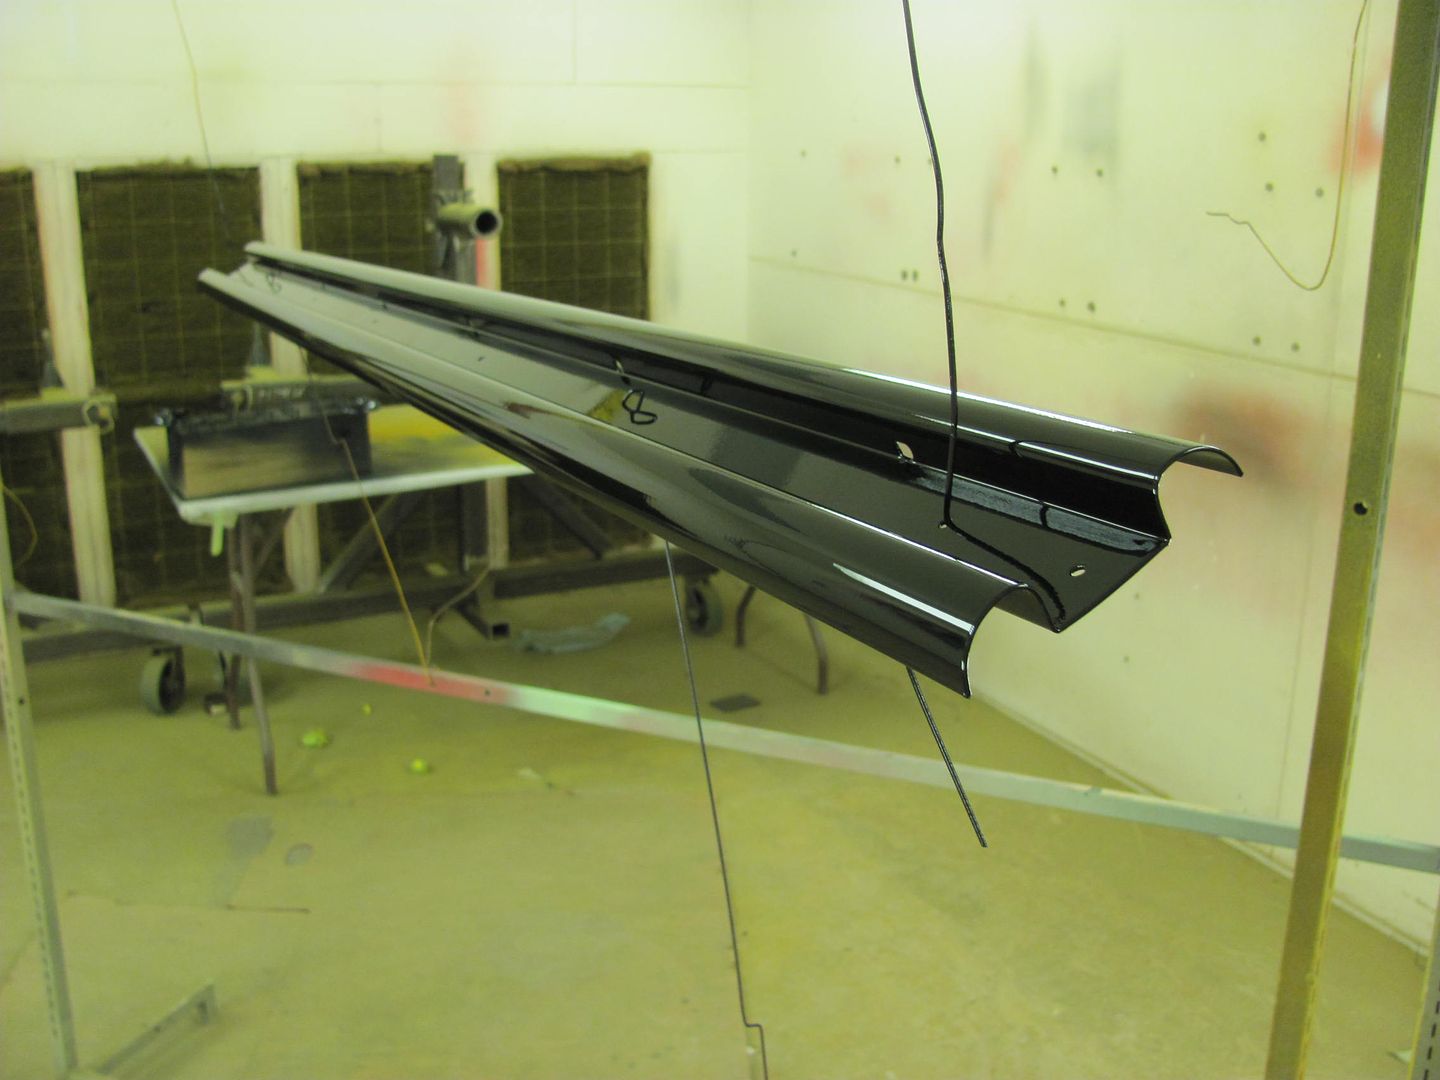
....and the black urethane..
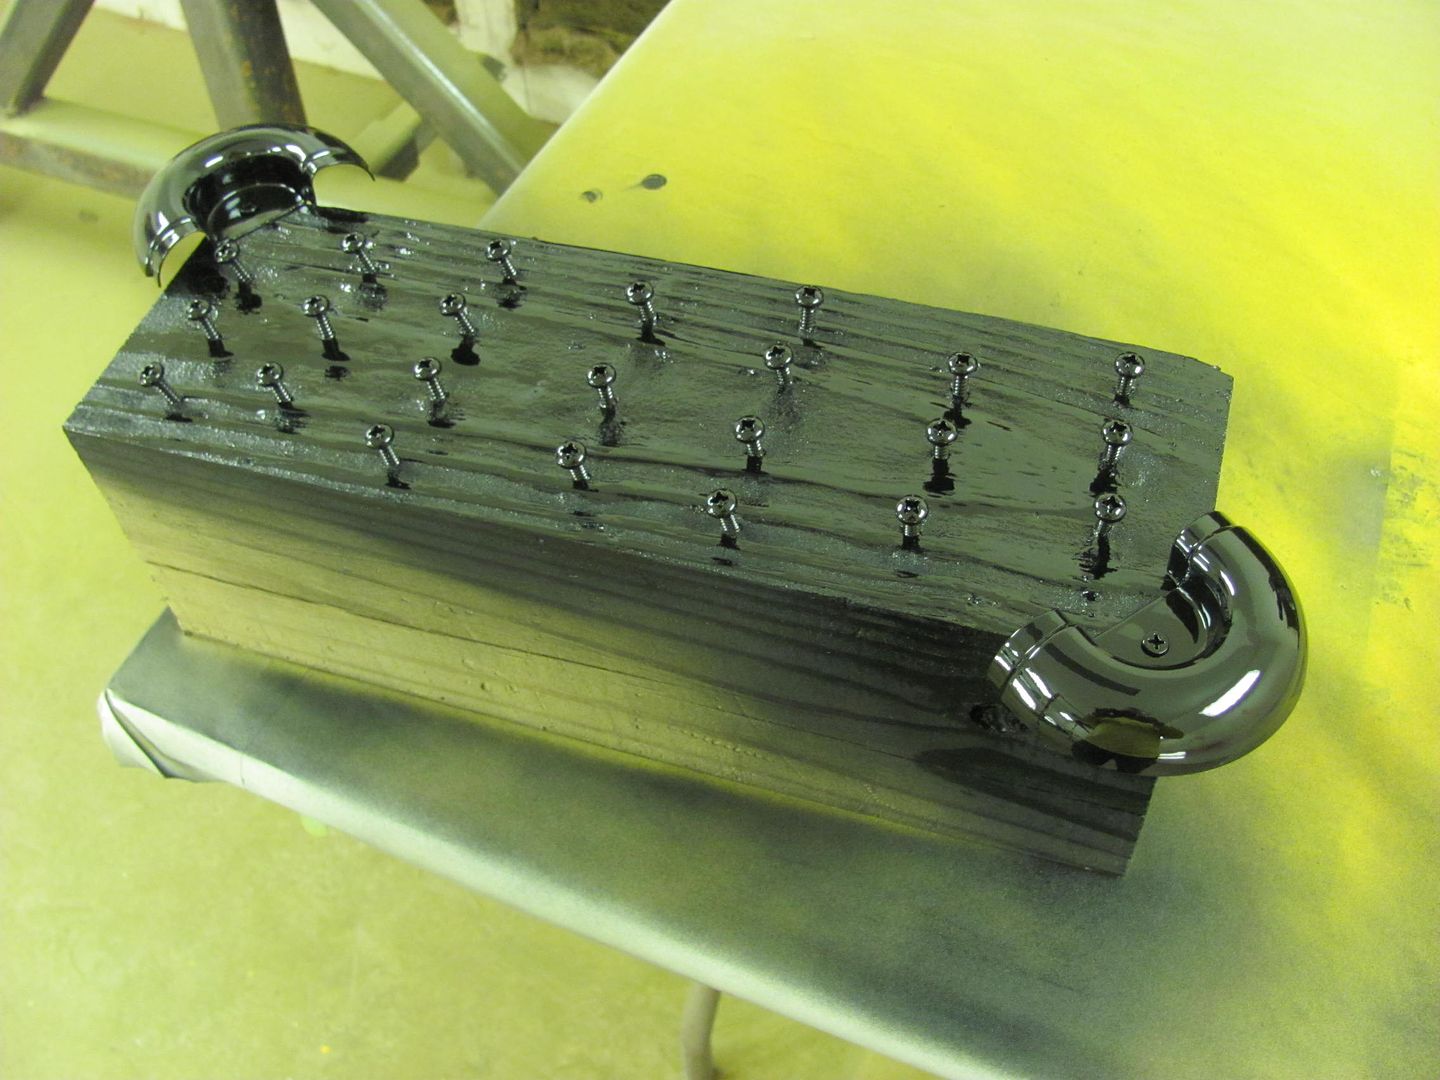
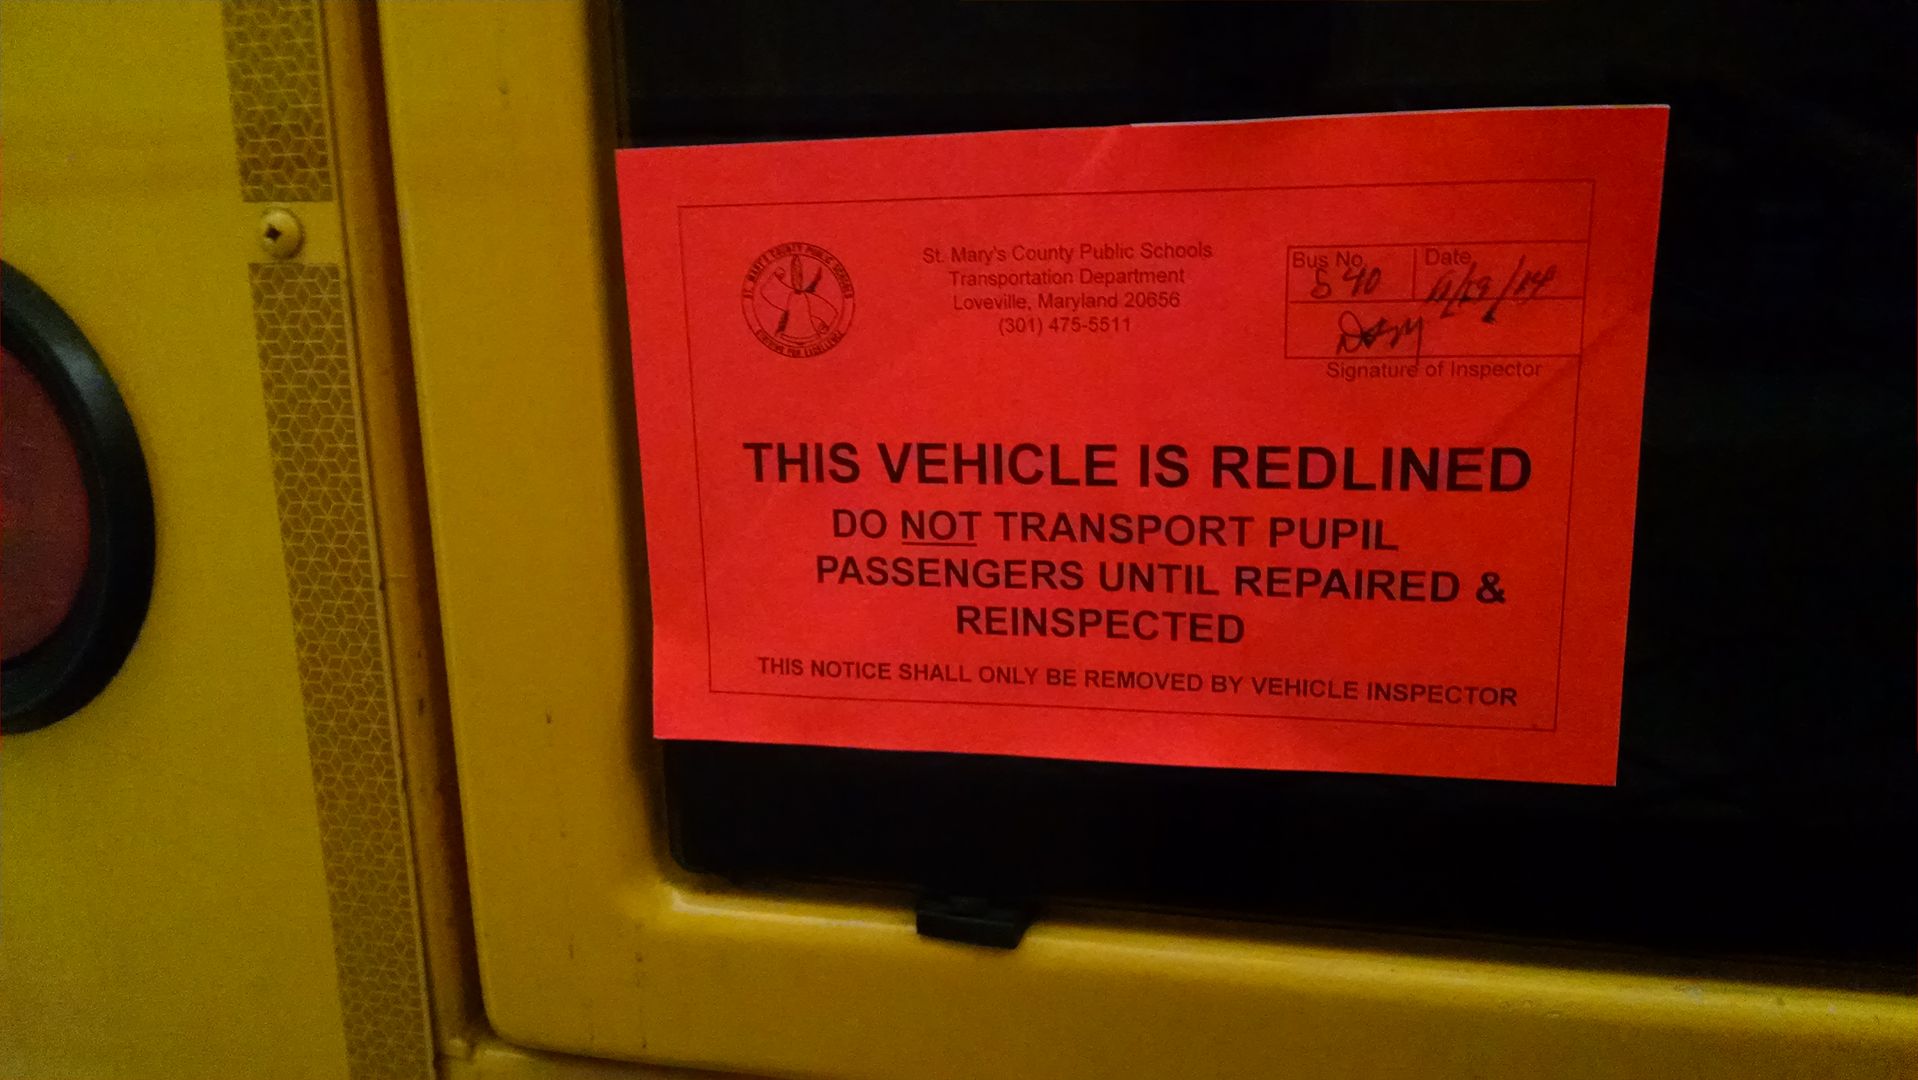
Should get all the parts put back together tomorrow, all ready for inspection..