RivennHewn
Well-known member
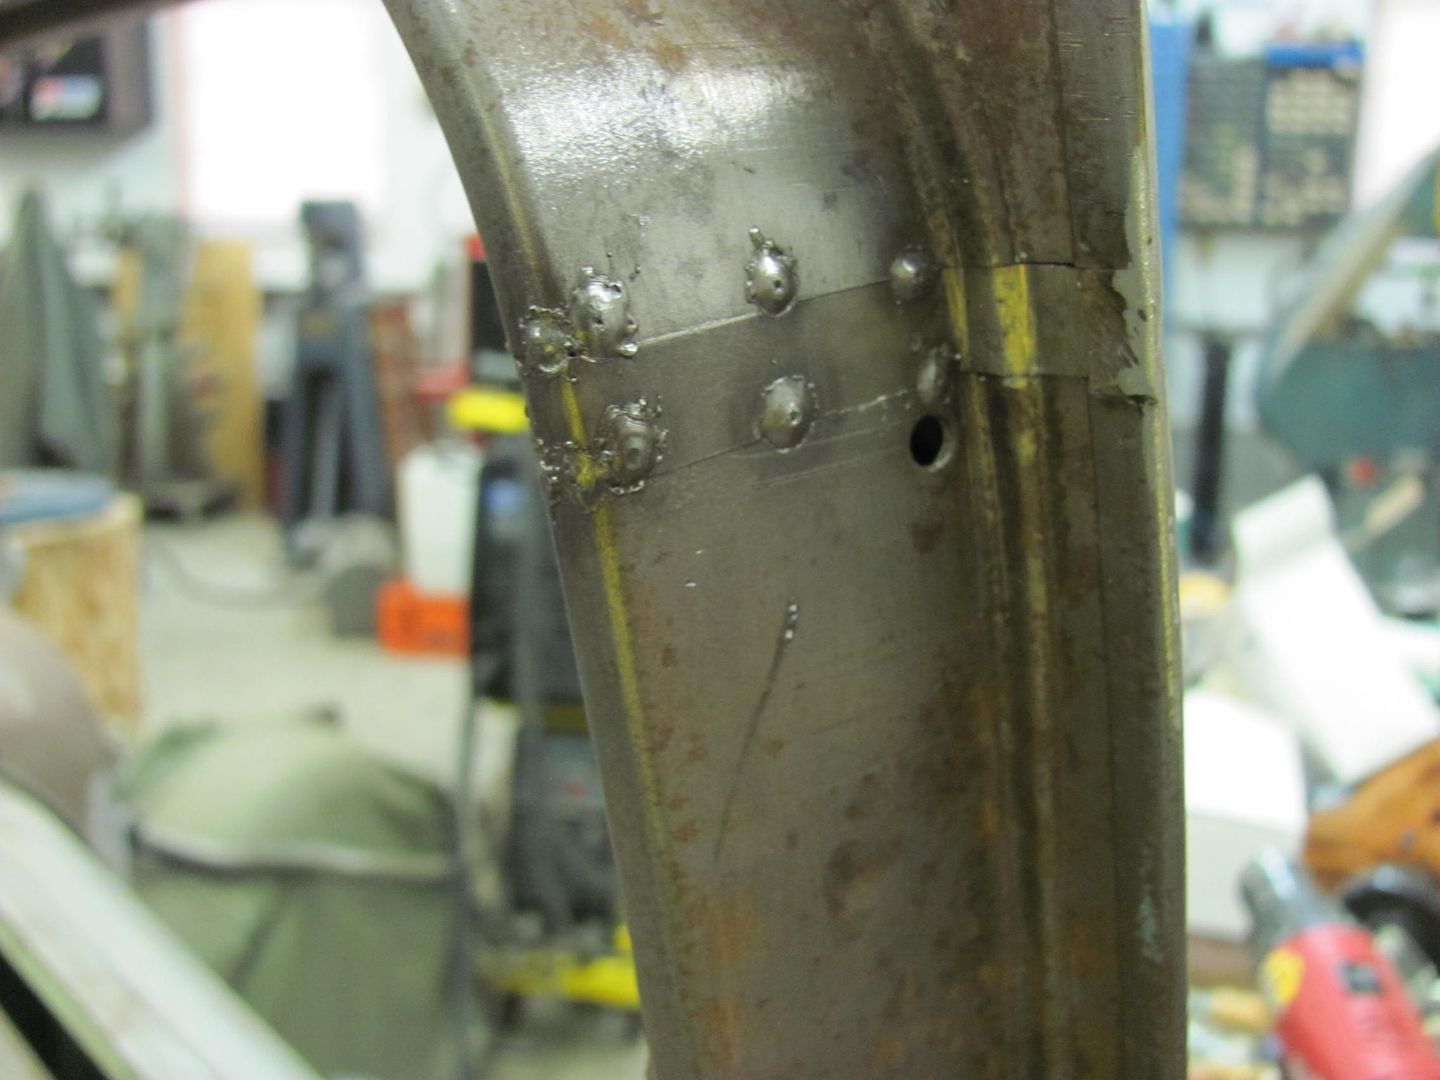
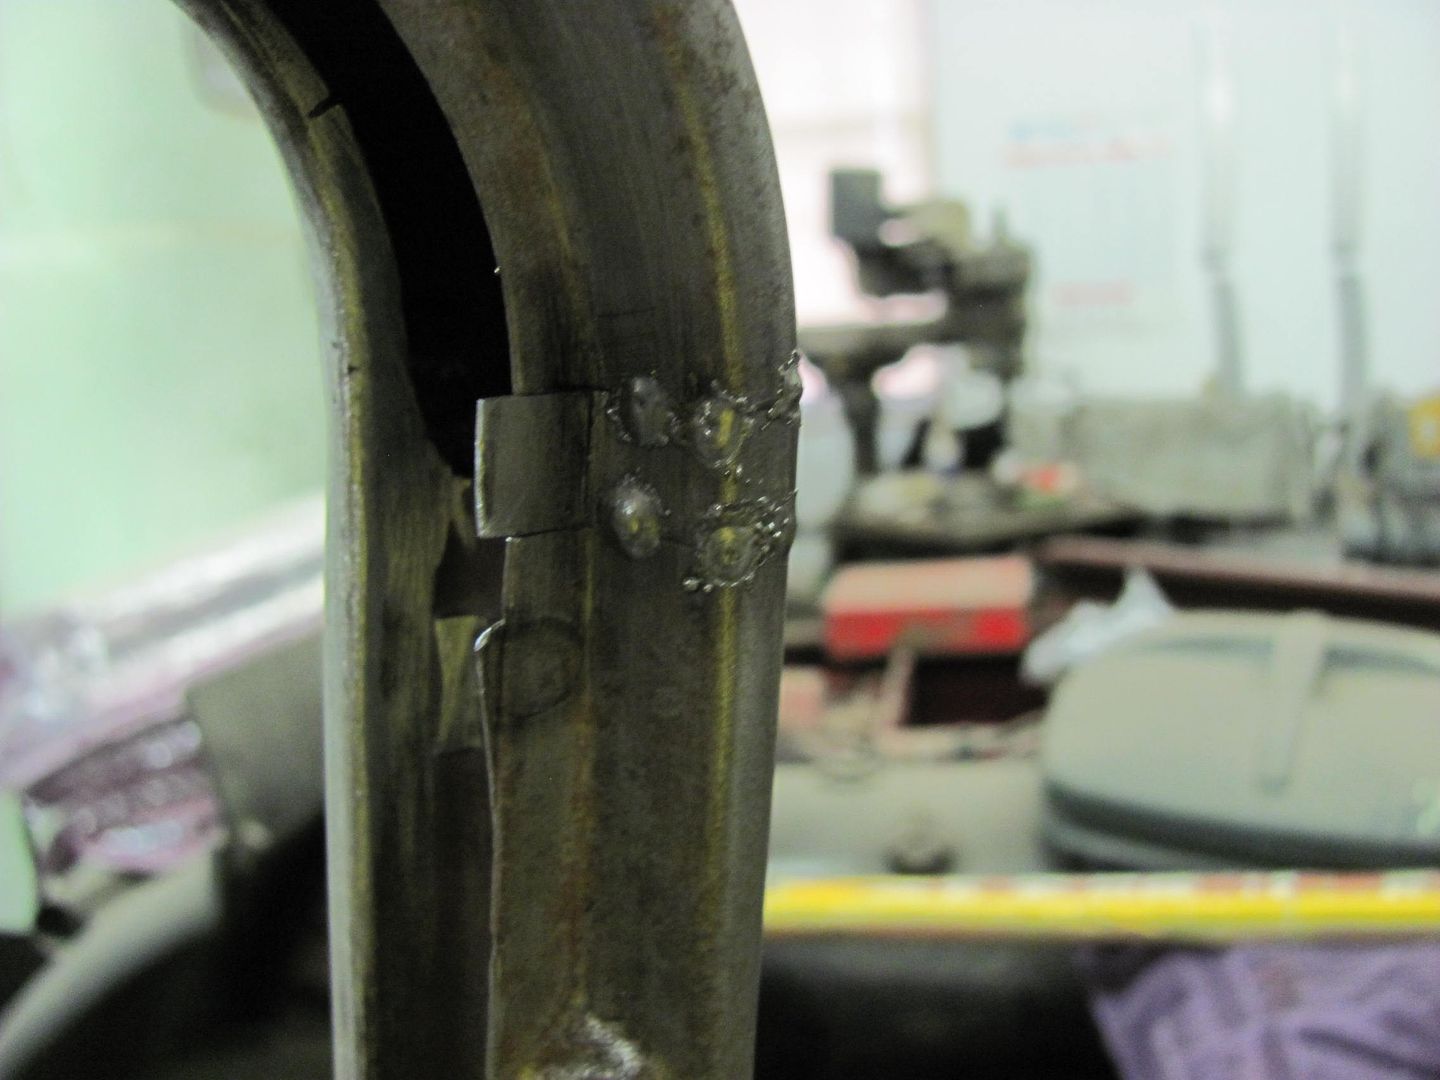
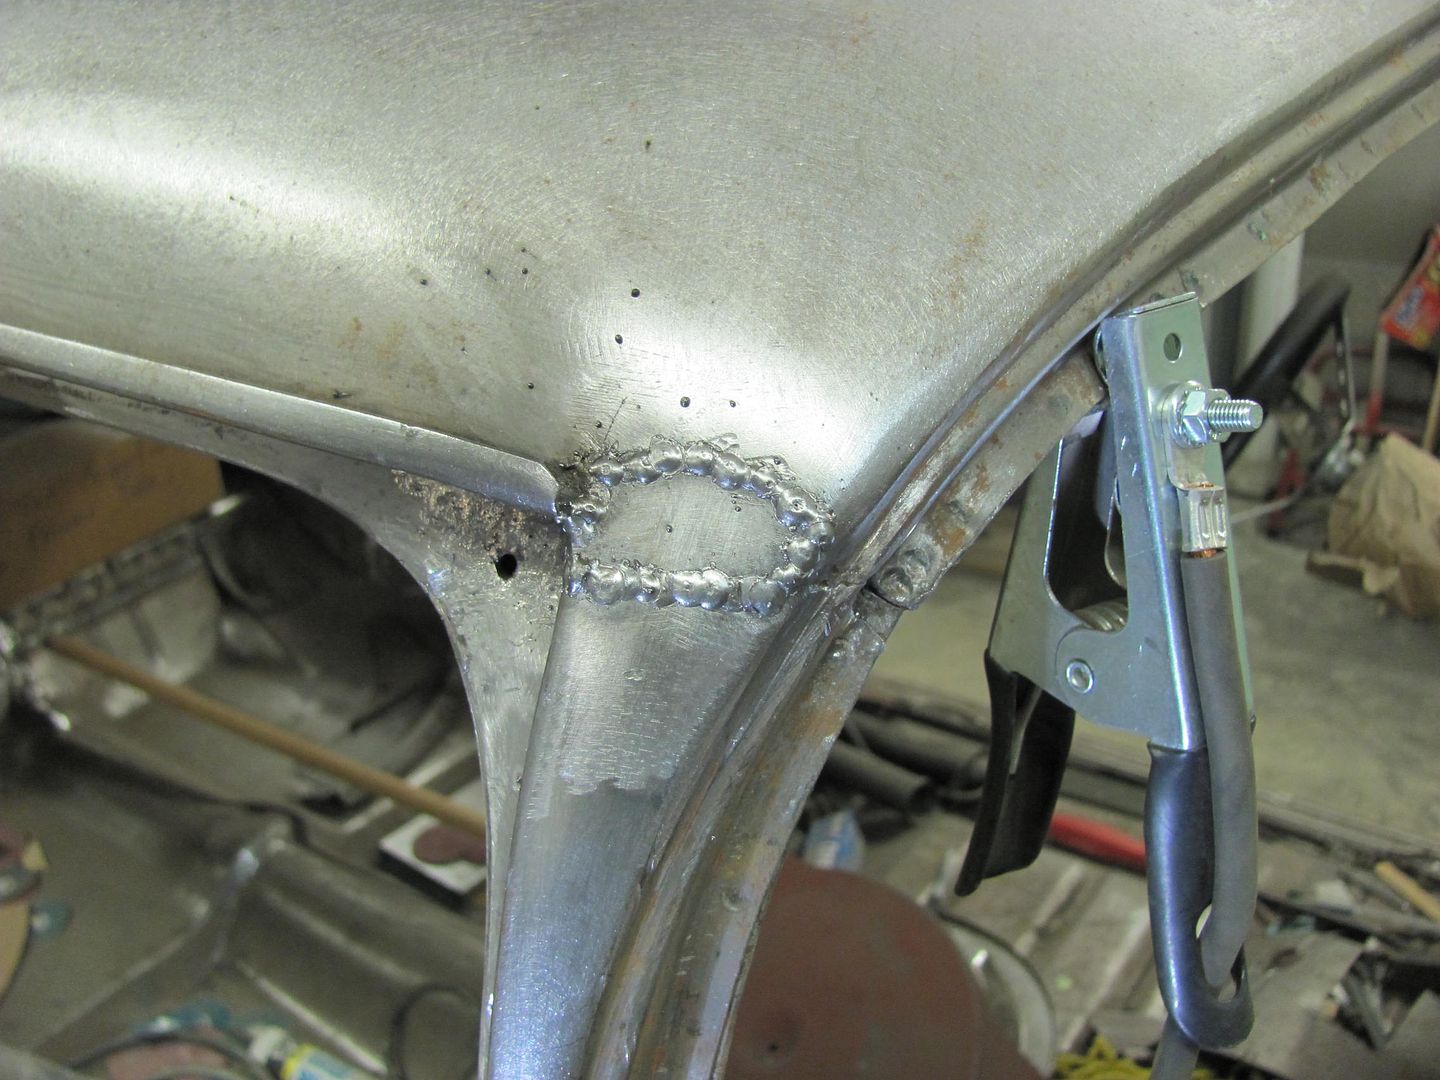
Must have a good teacher. His first look better than my 100th.


is this a fulltime job for you.

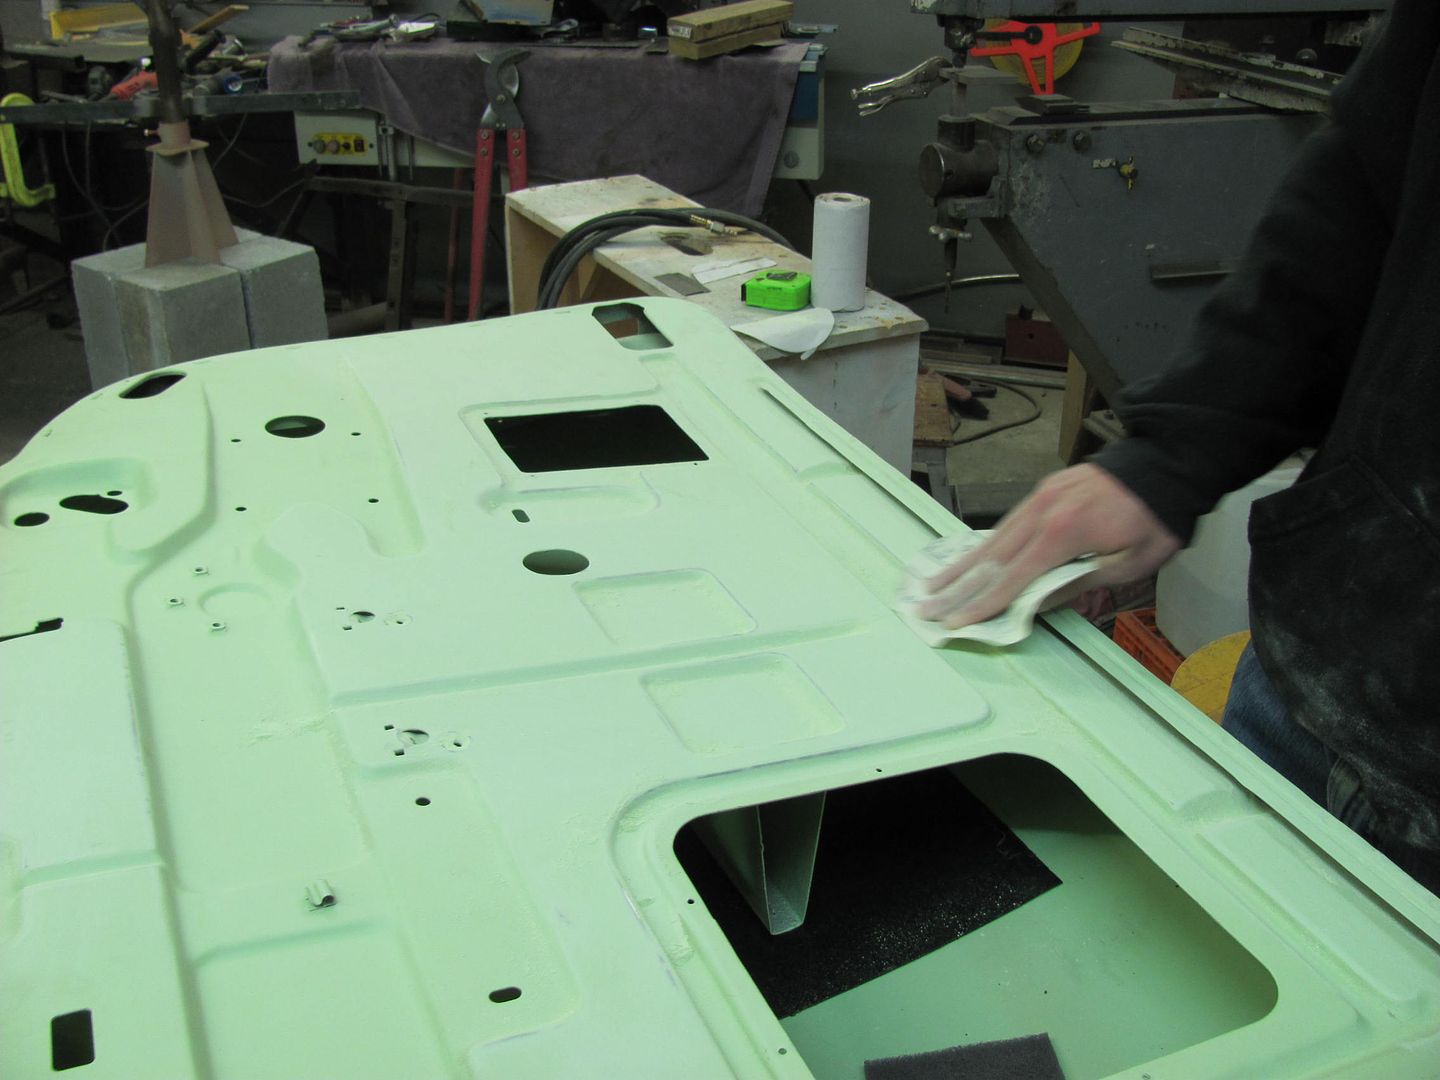
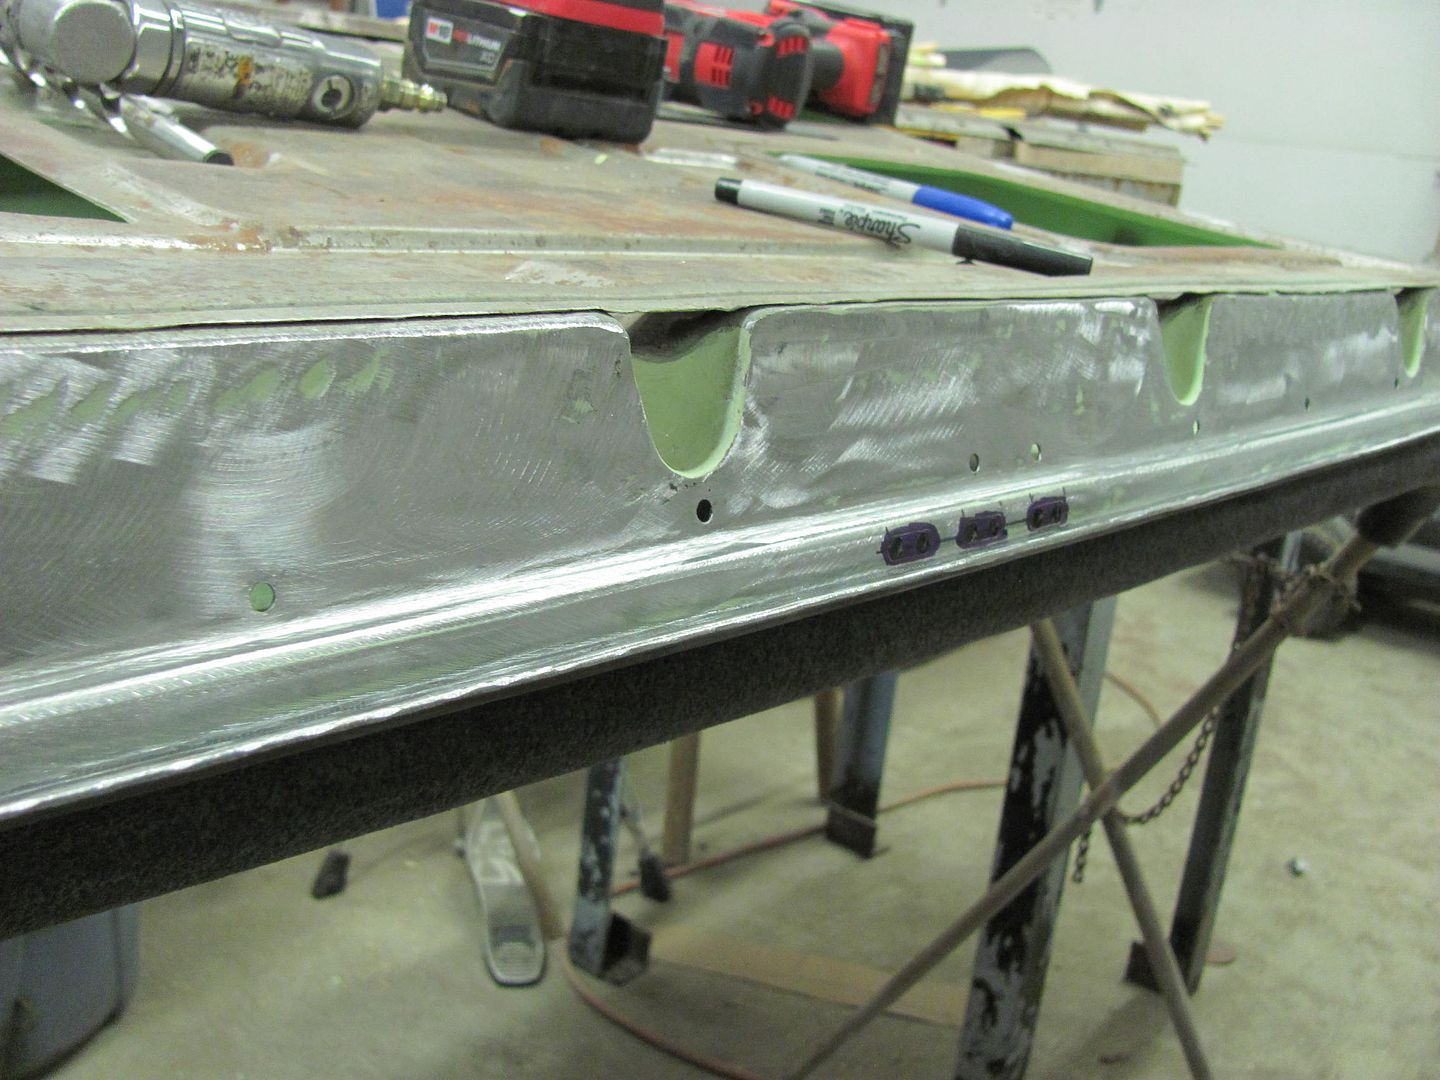


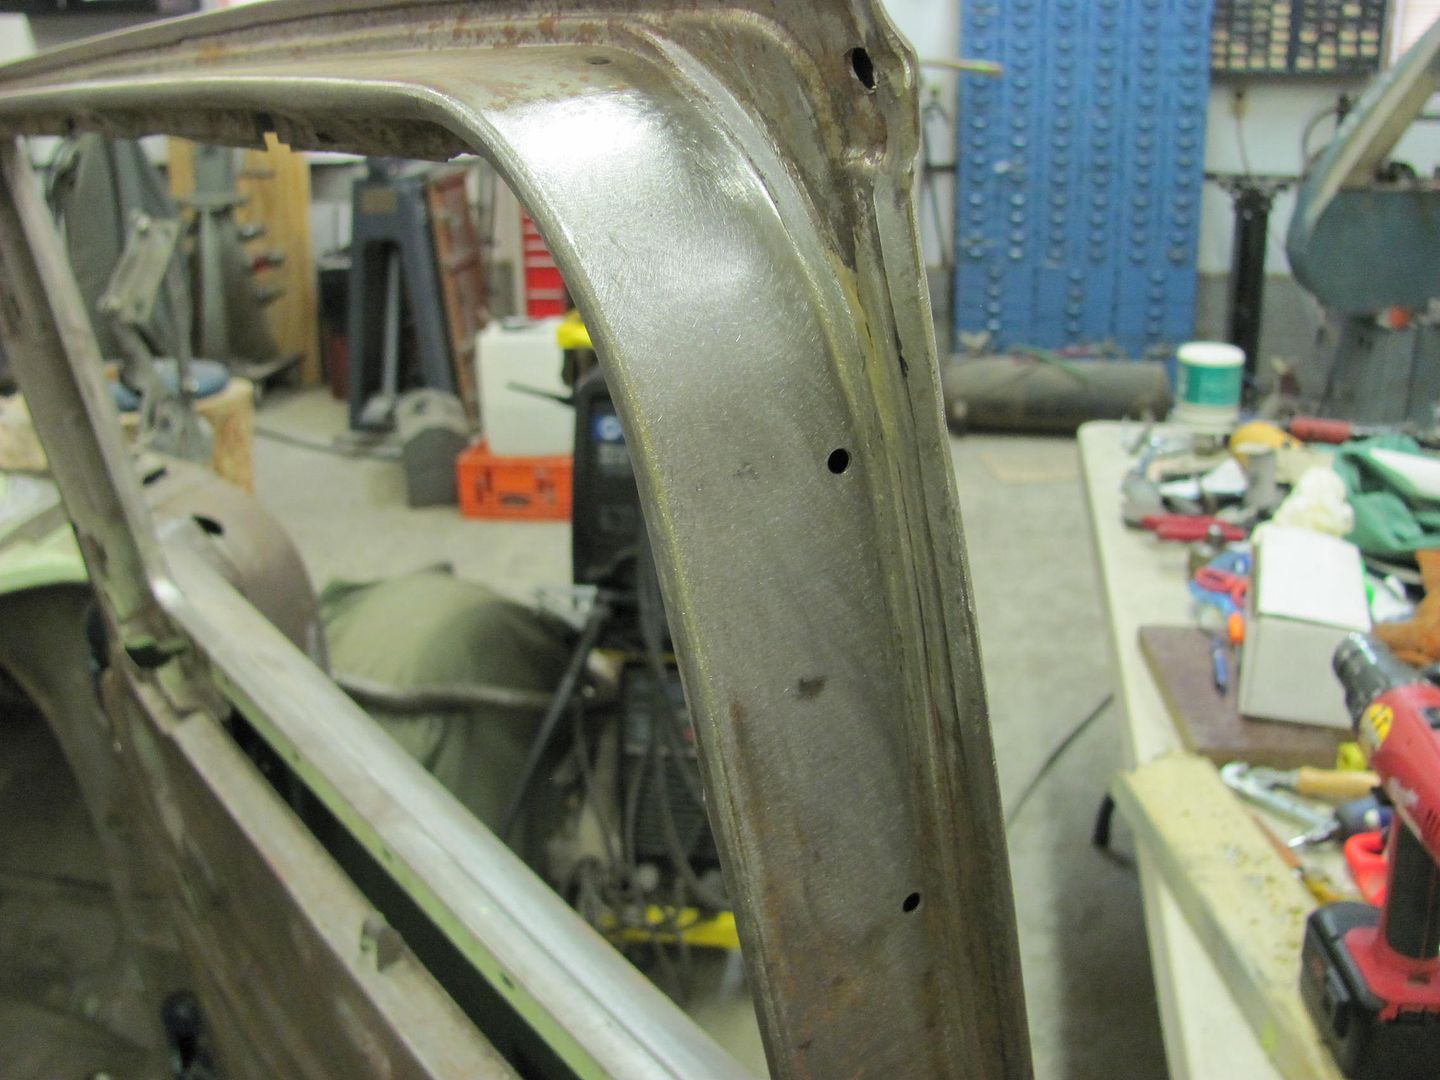
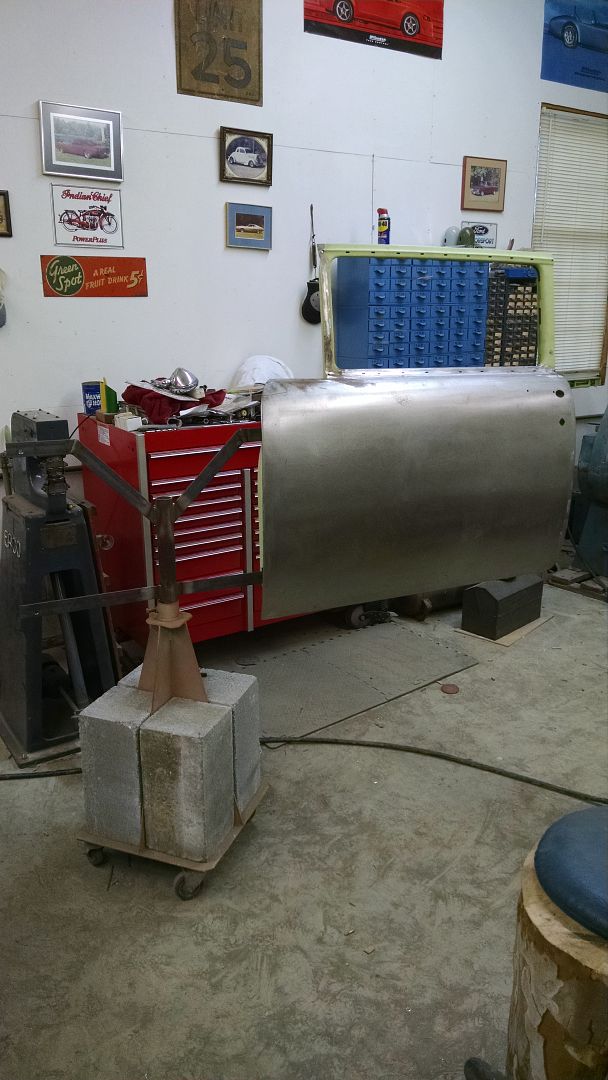
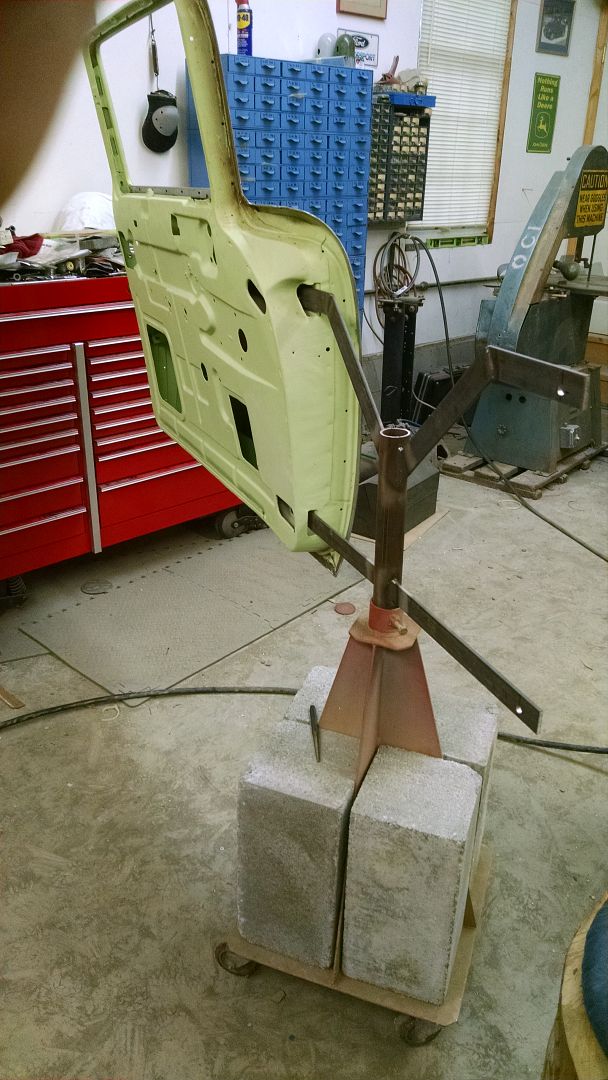
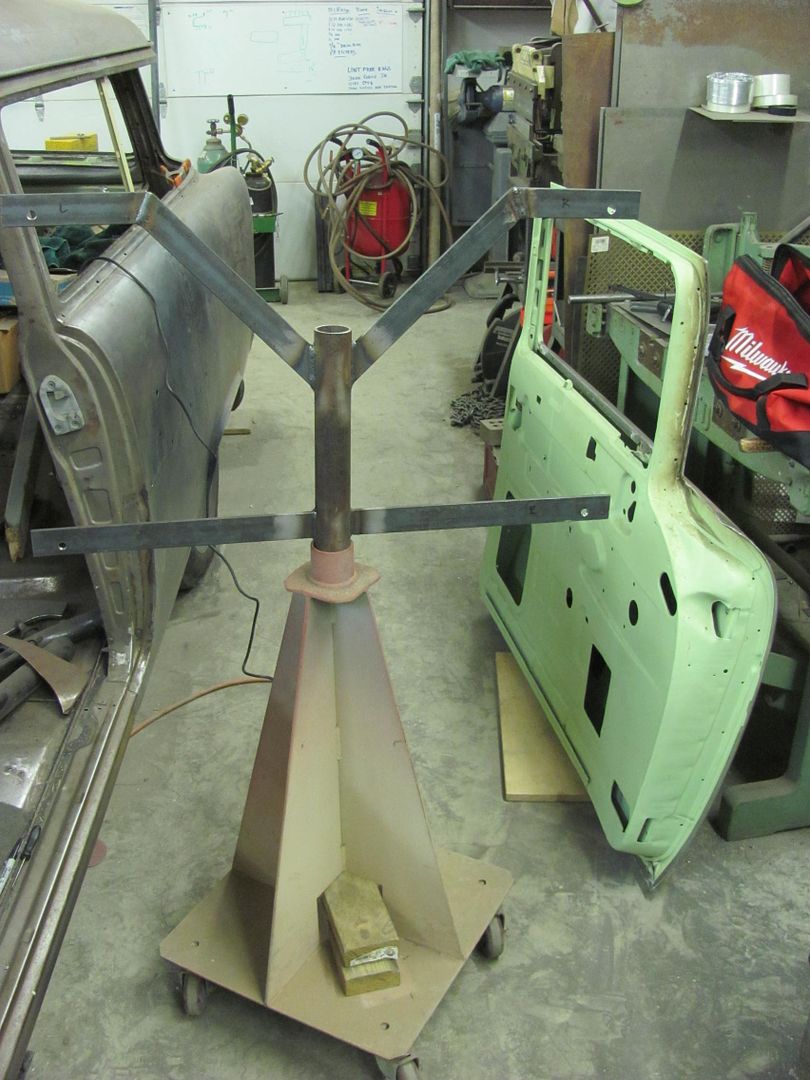
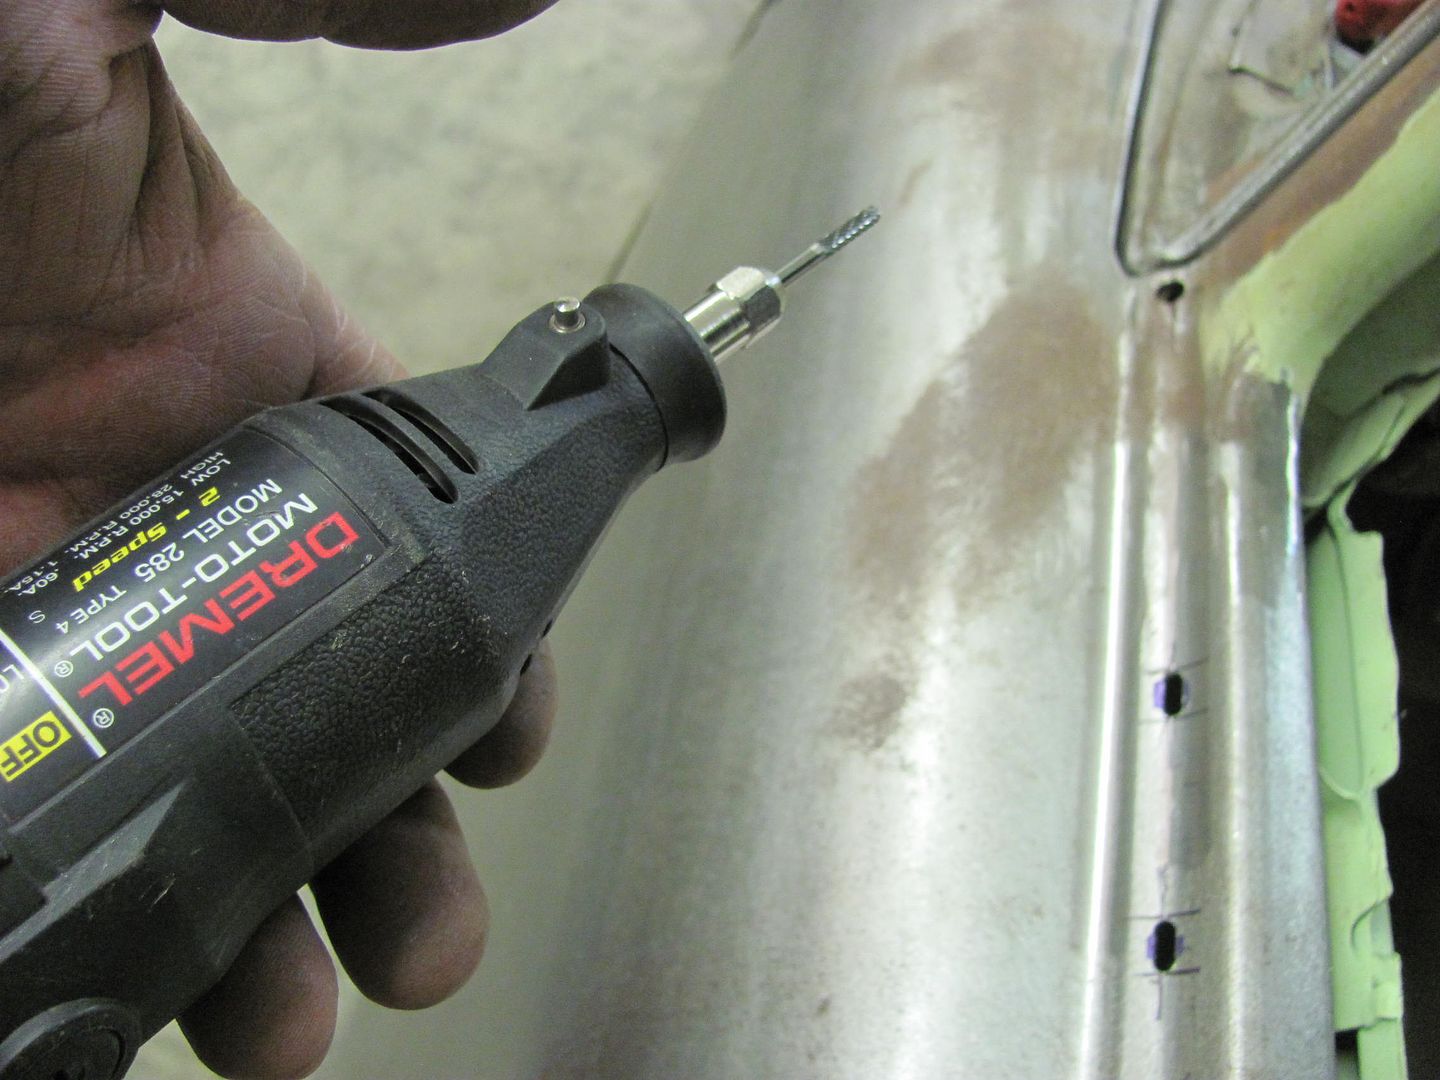
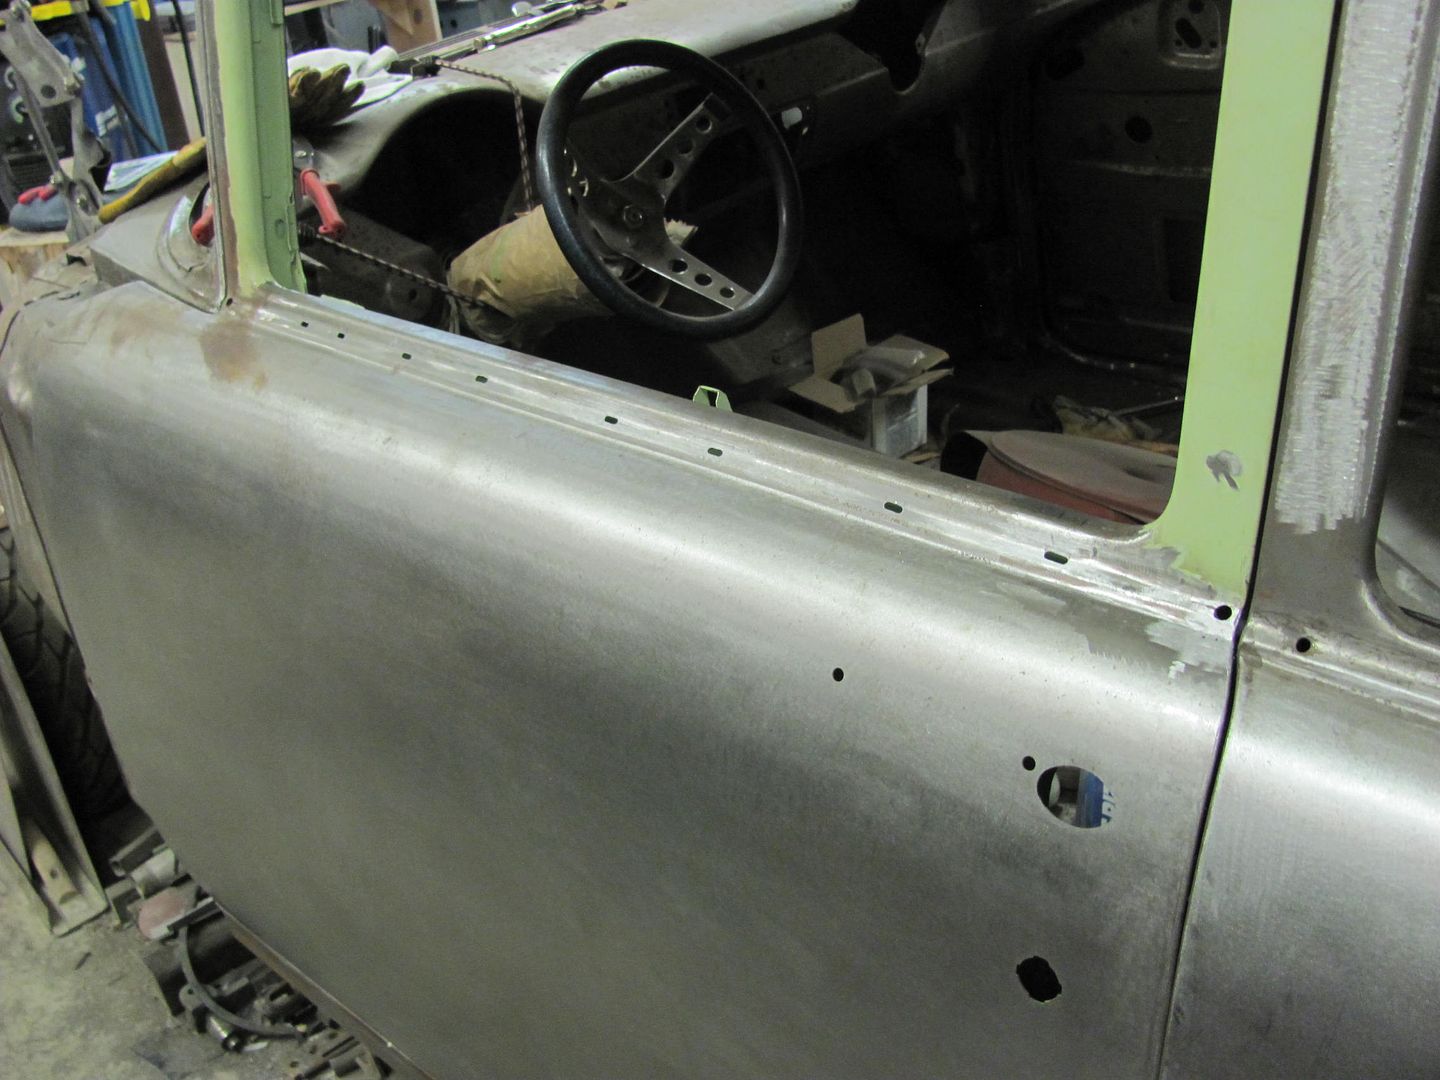
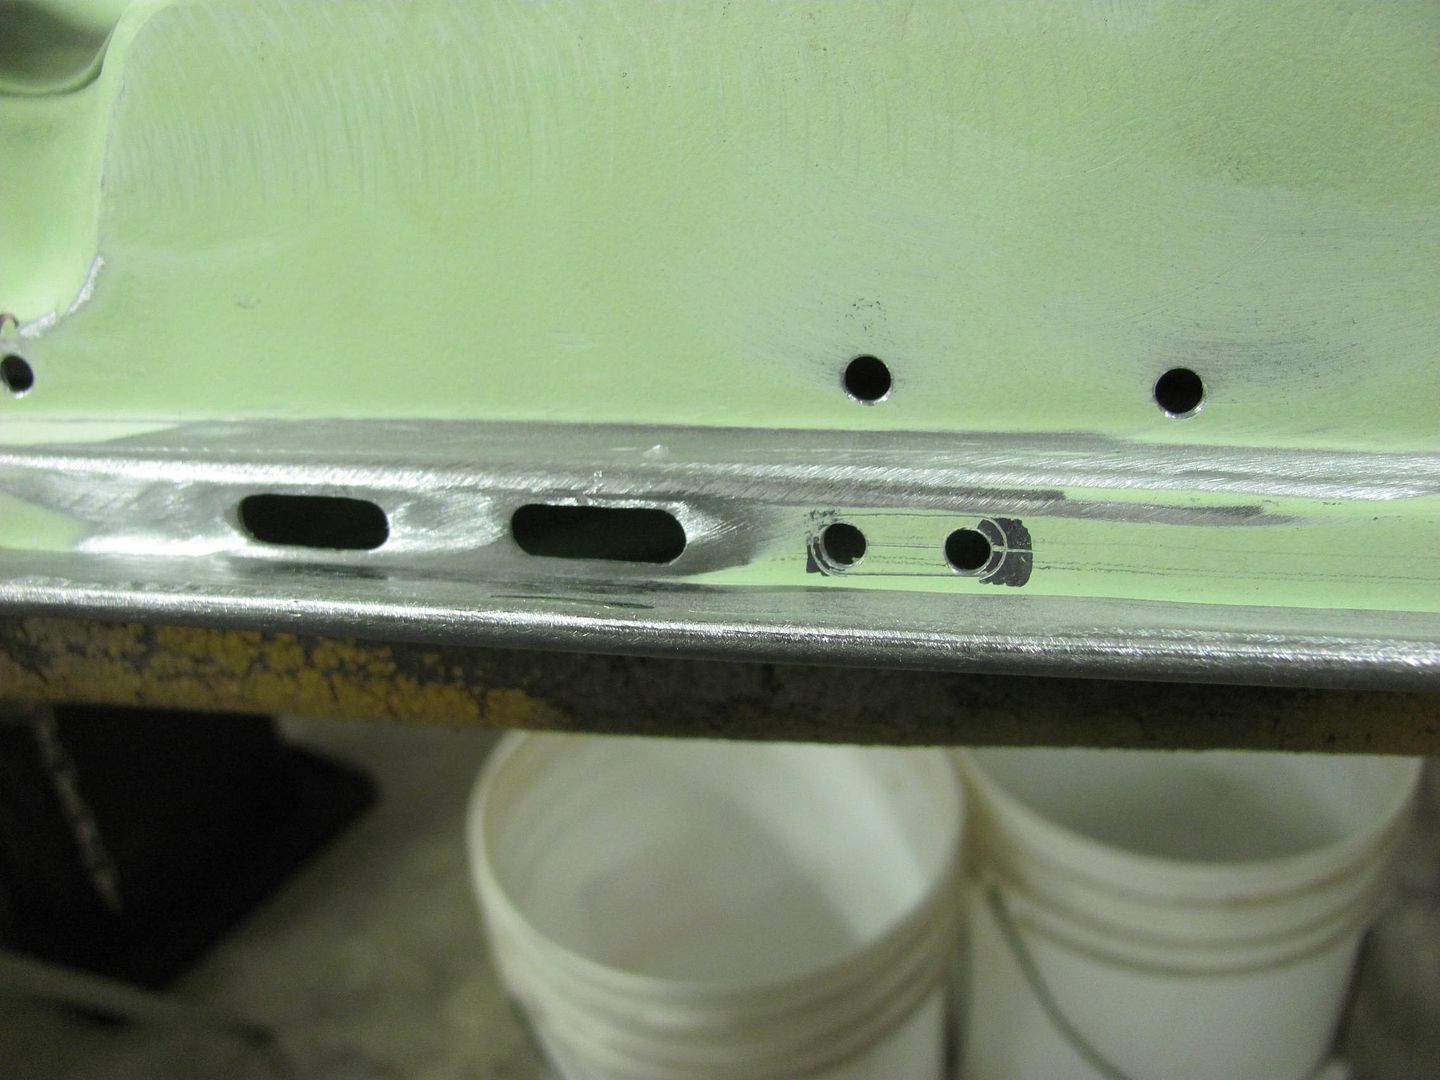
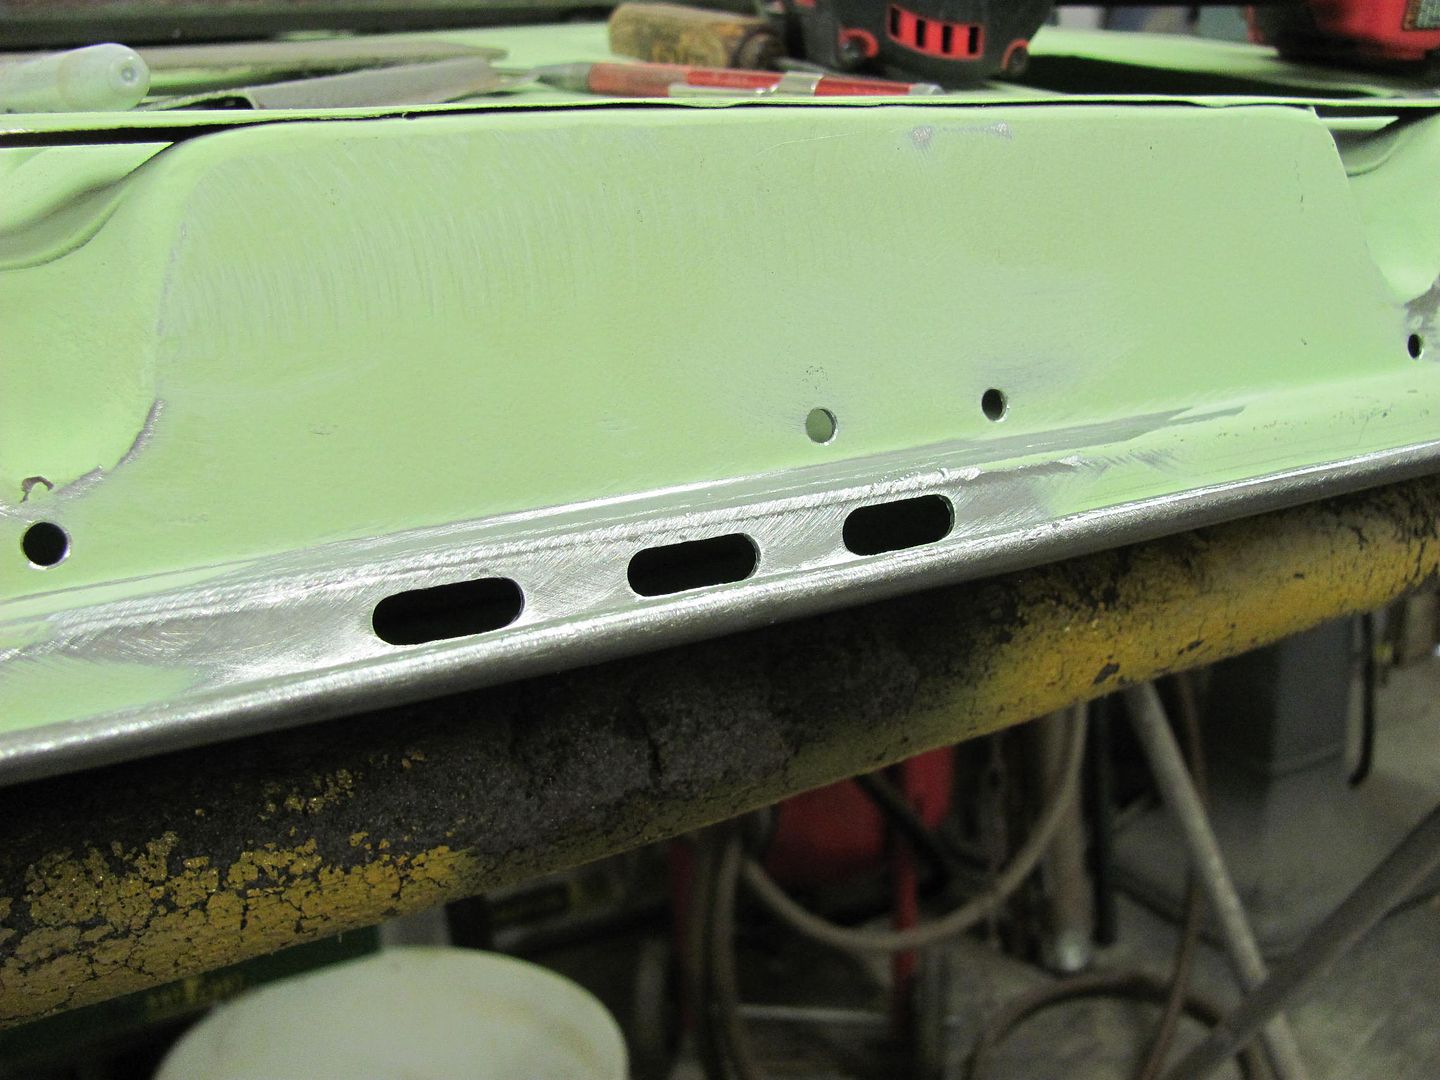
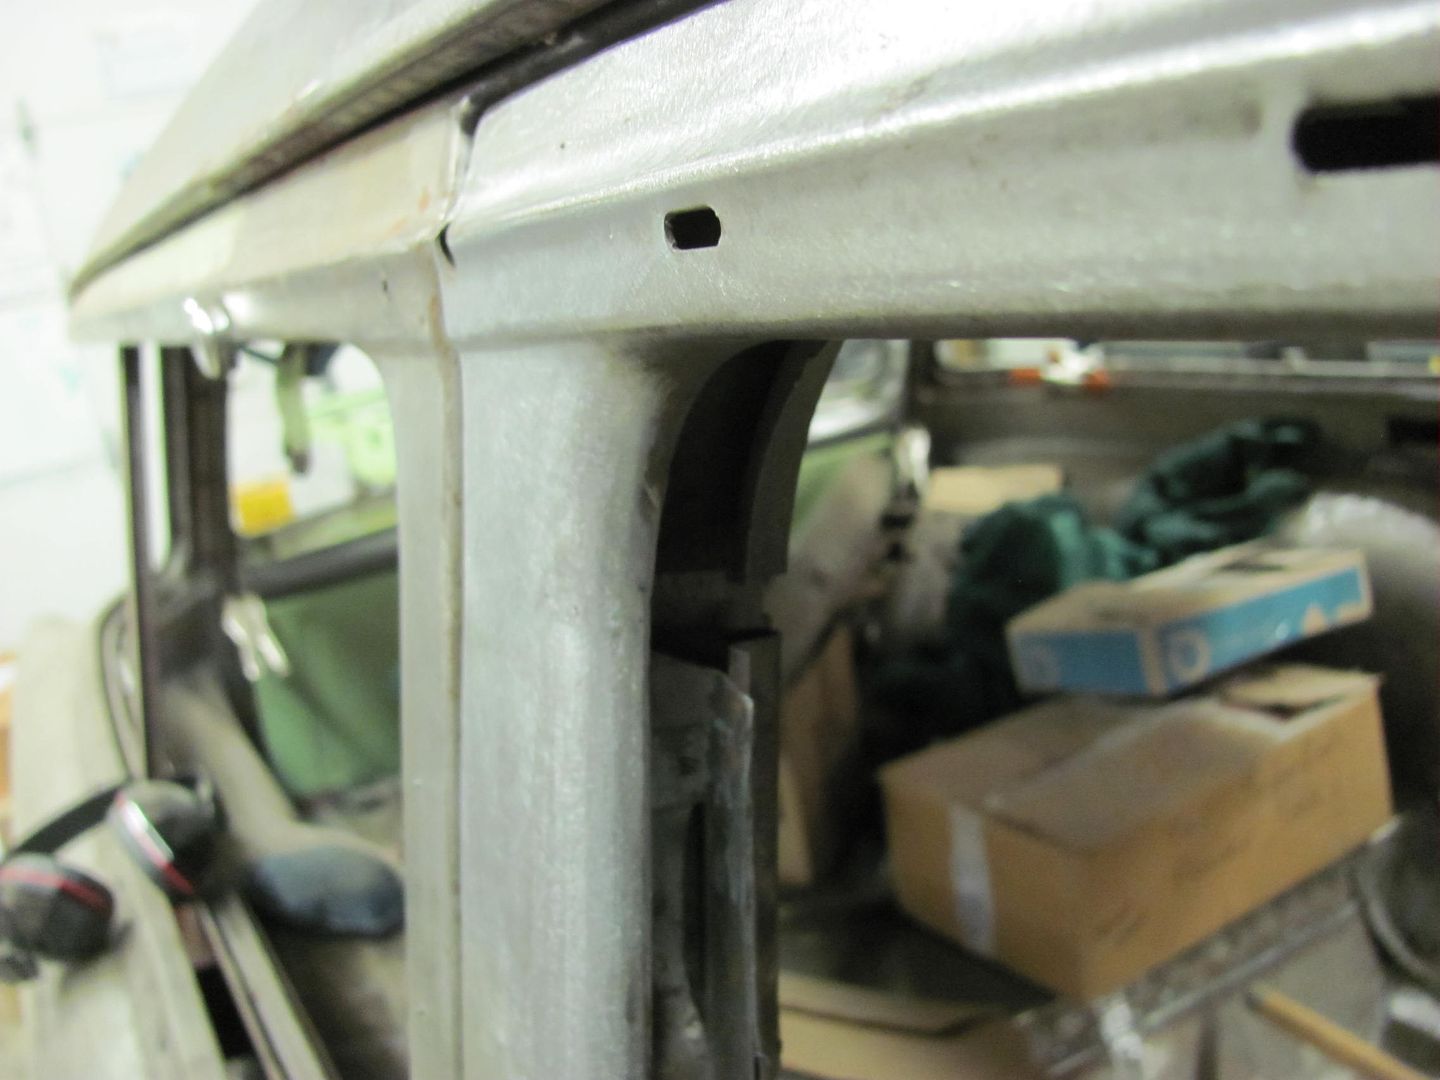
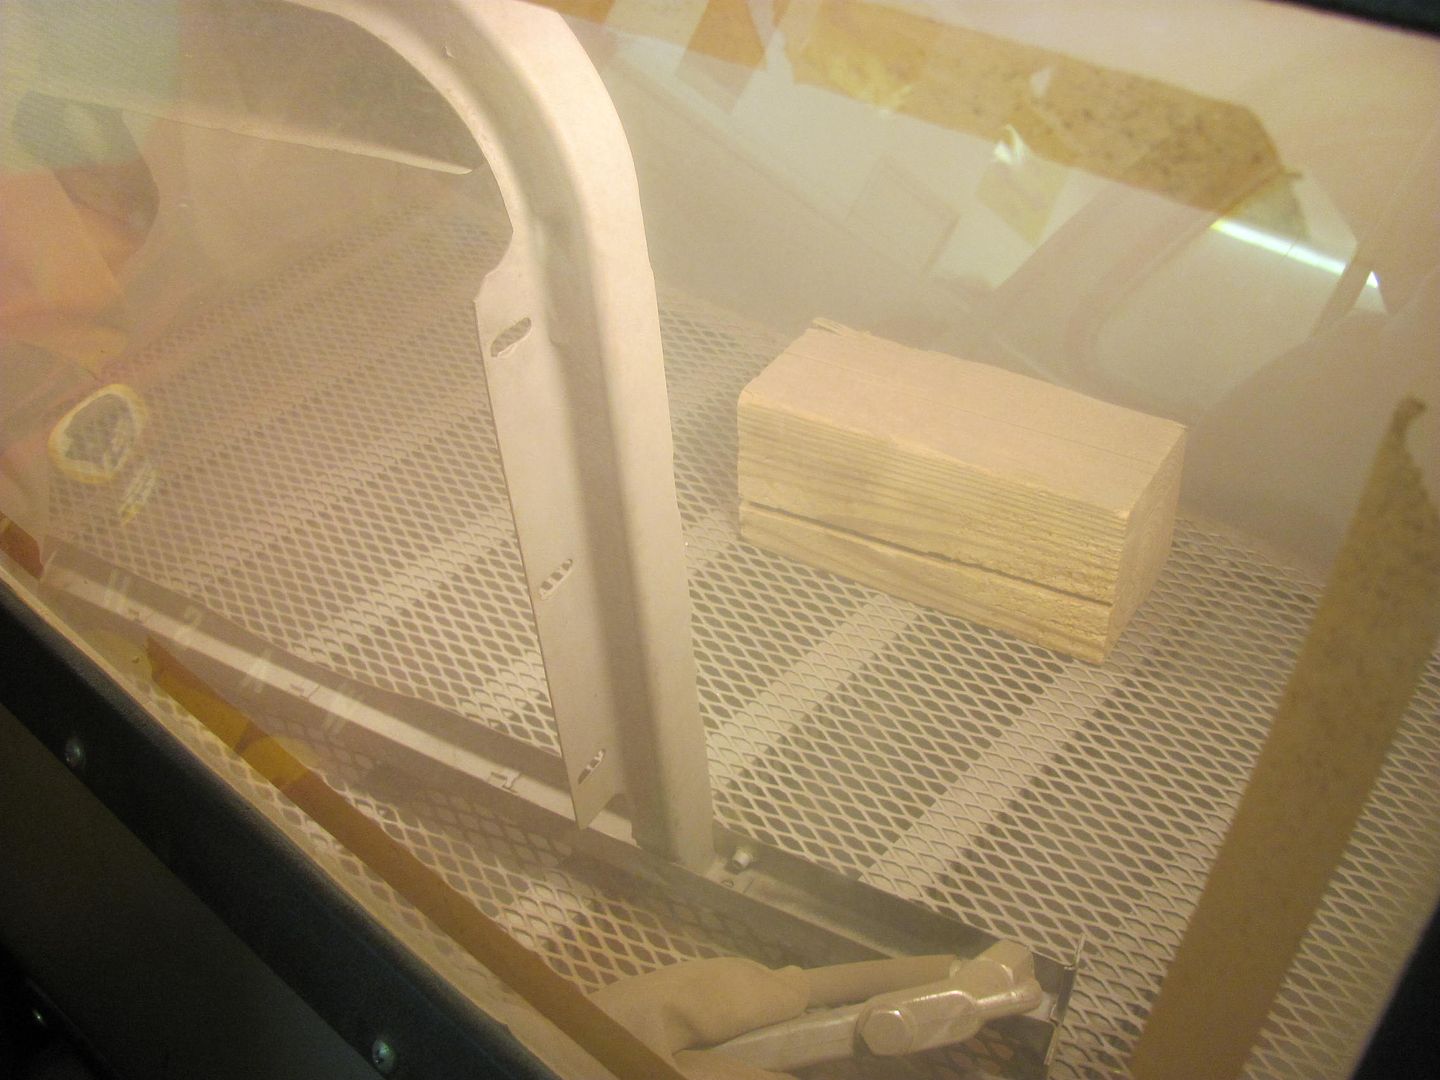
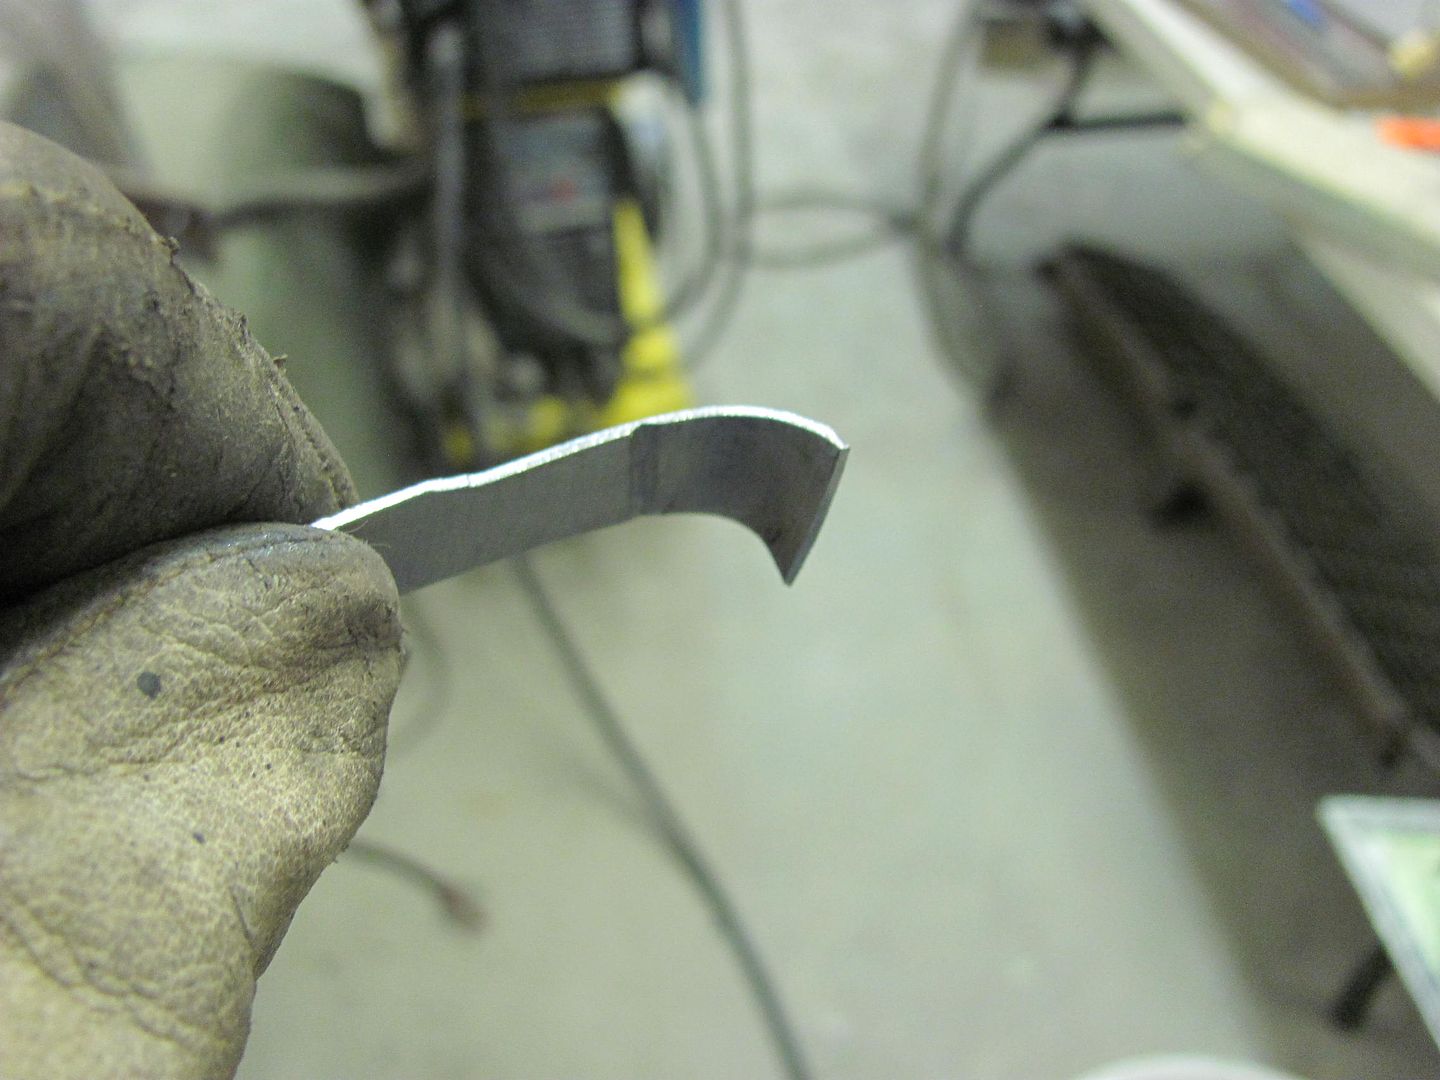
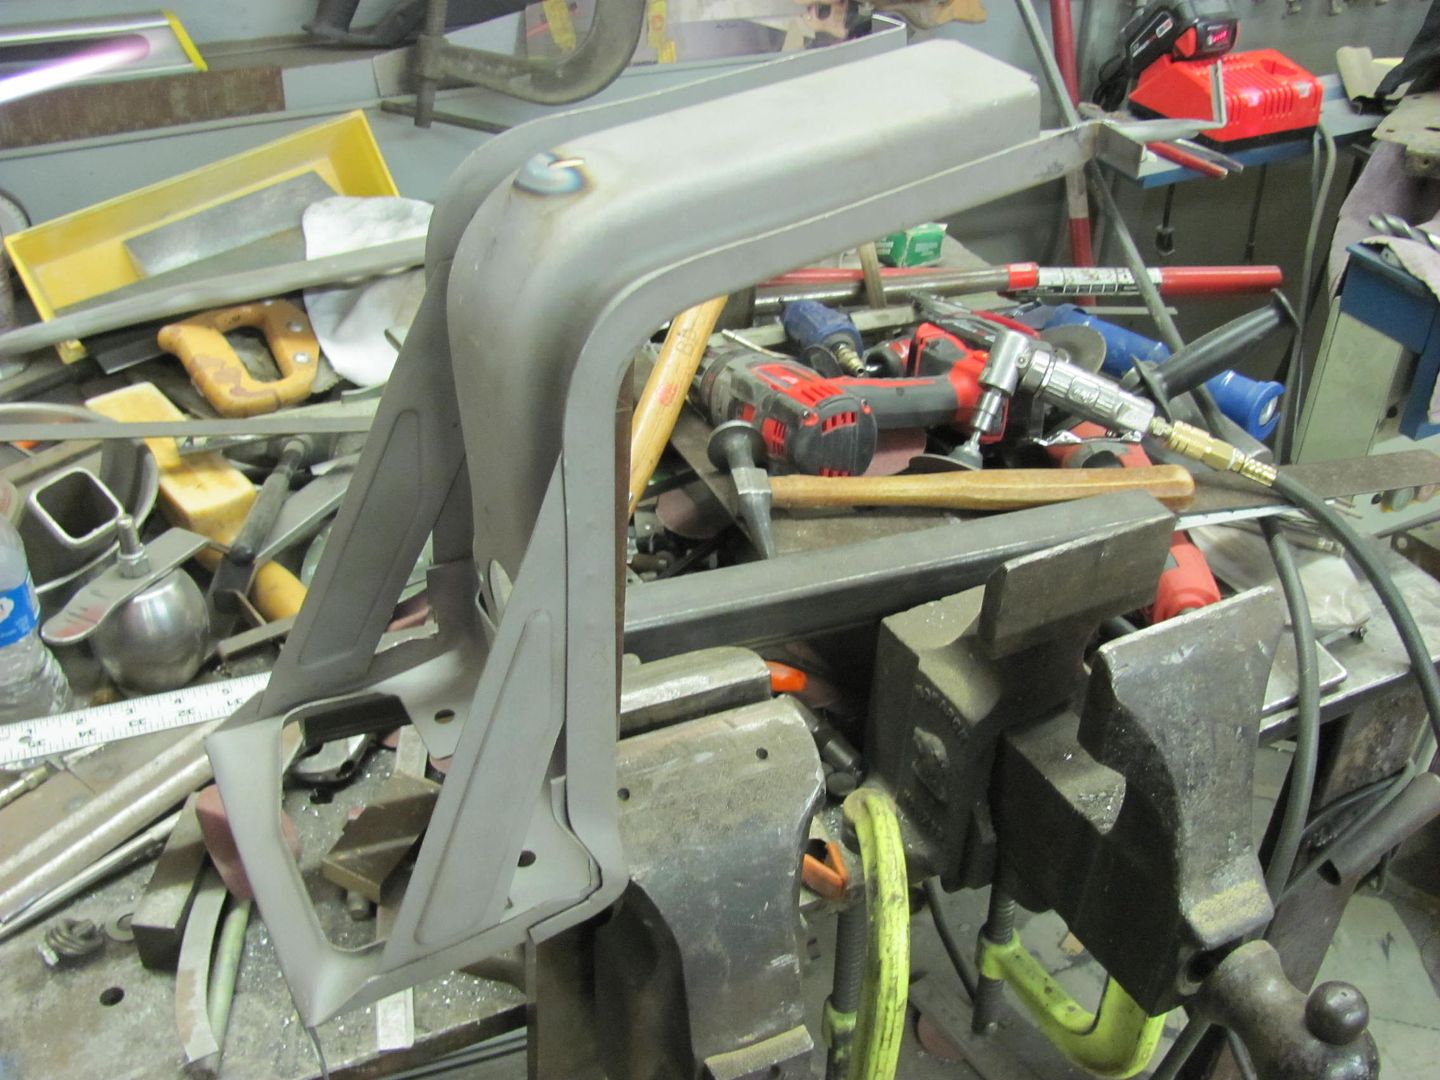
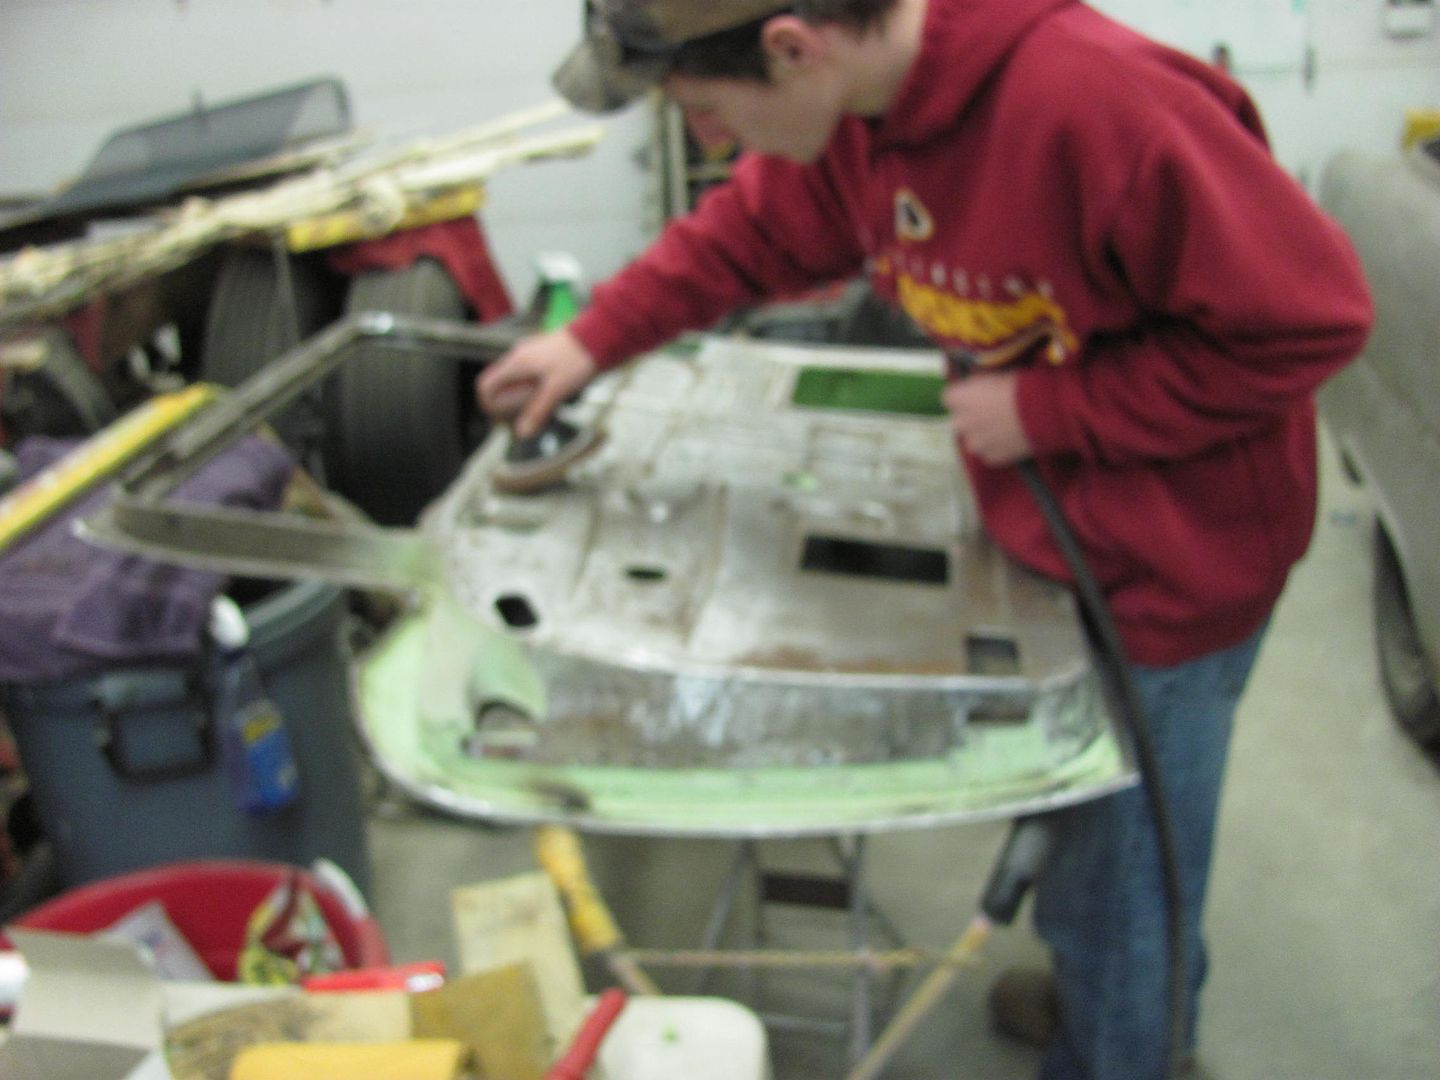
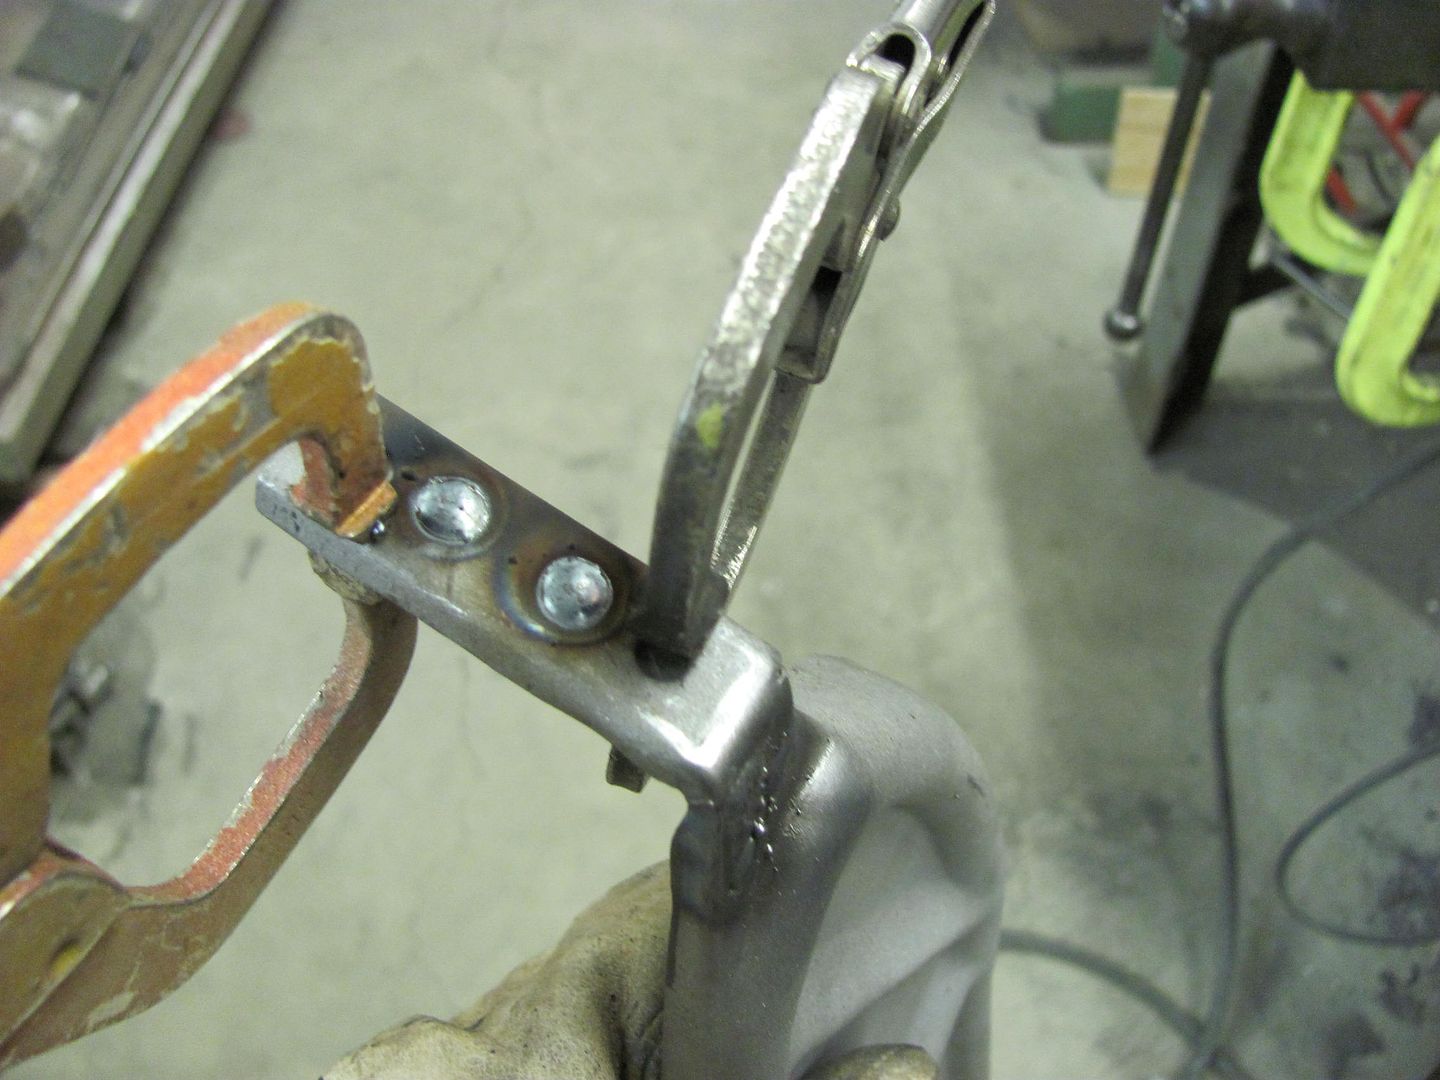
Kyle has the driver's door scuffed and ready to go, once the passenger door is finished we can spray some more epoxy..

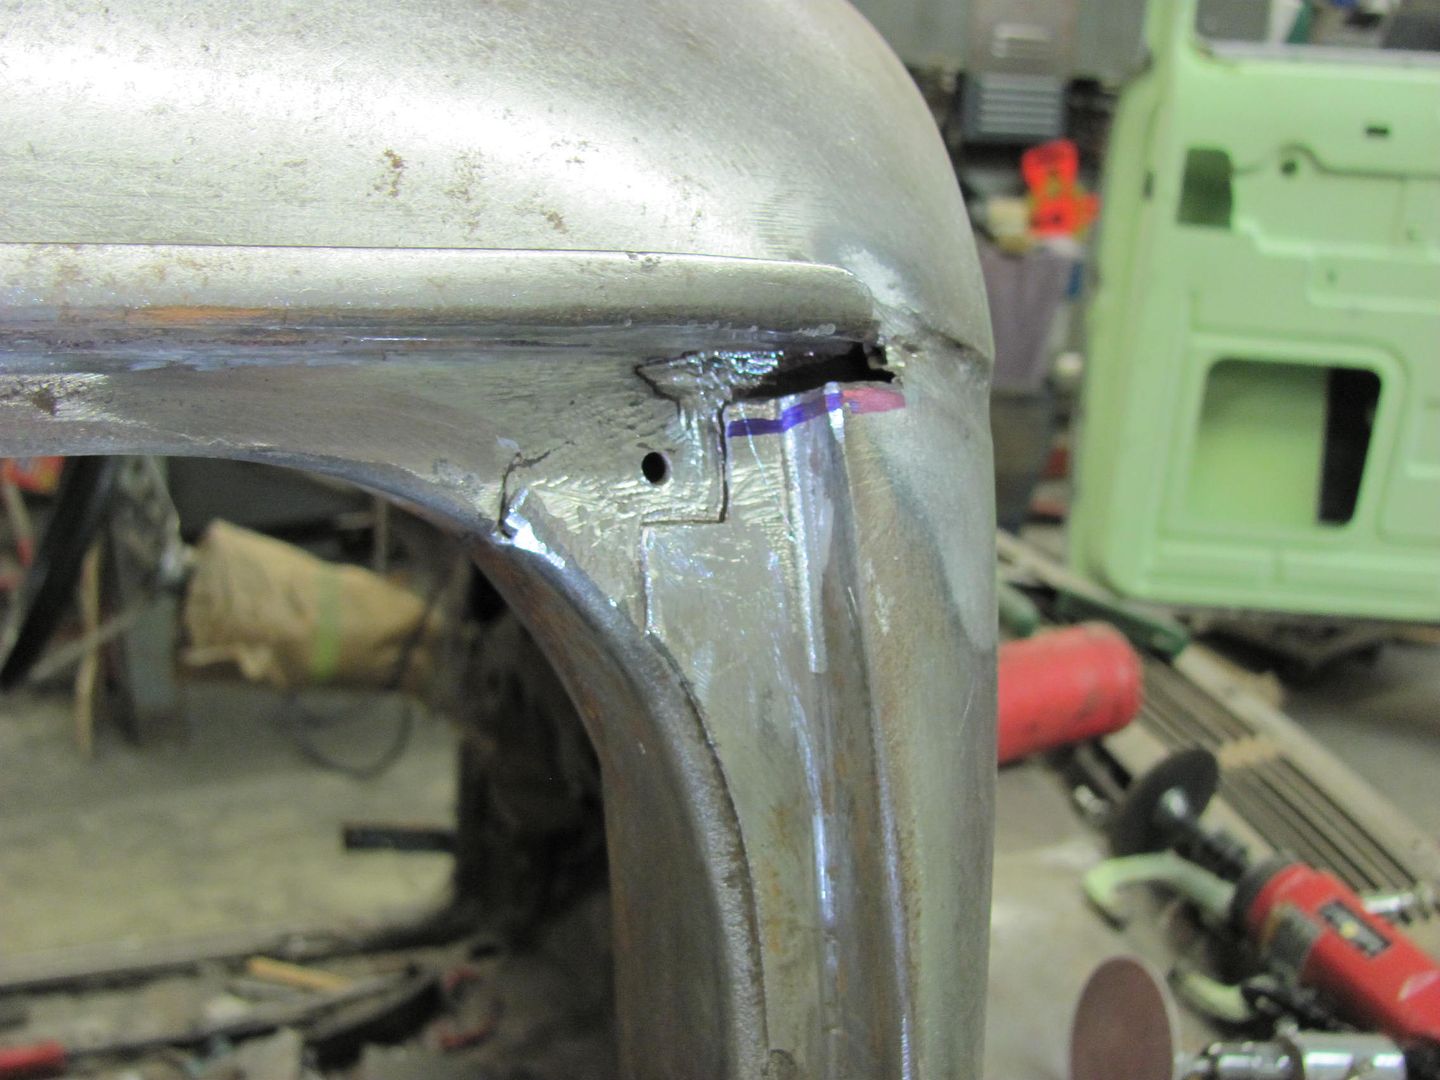
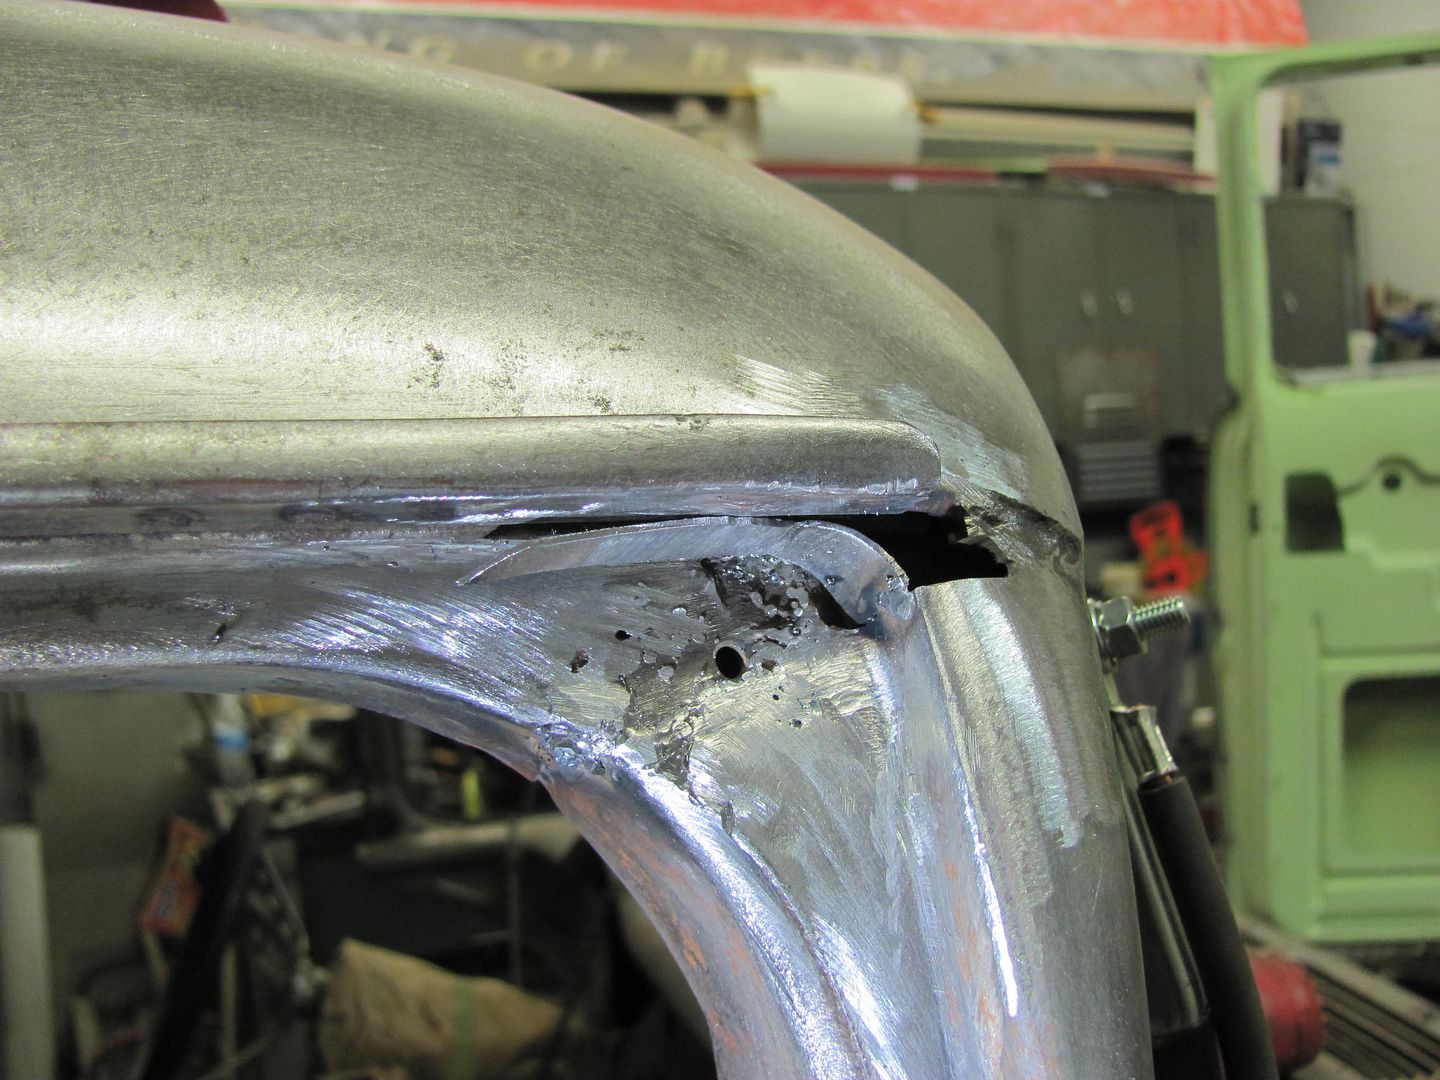
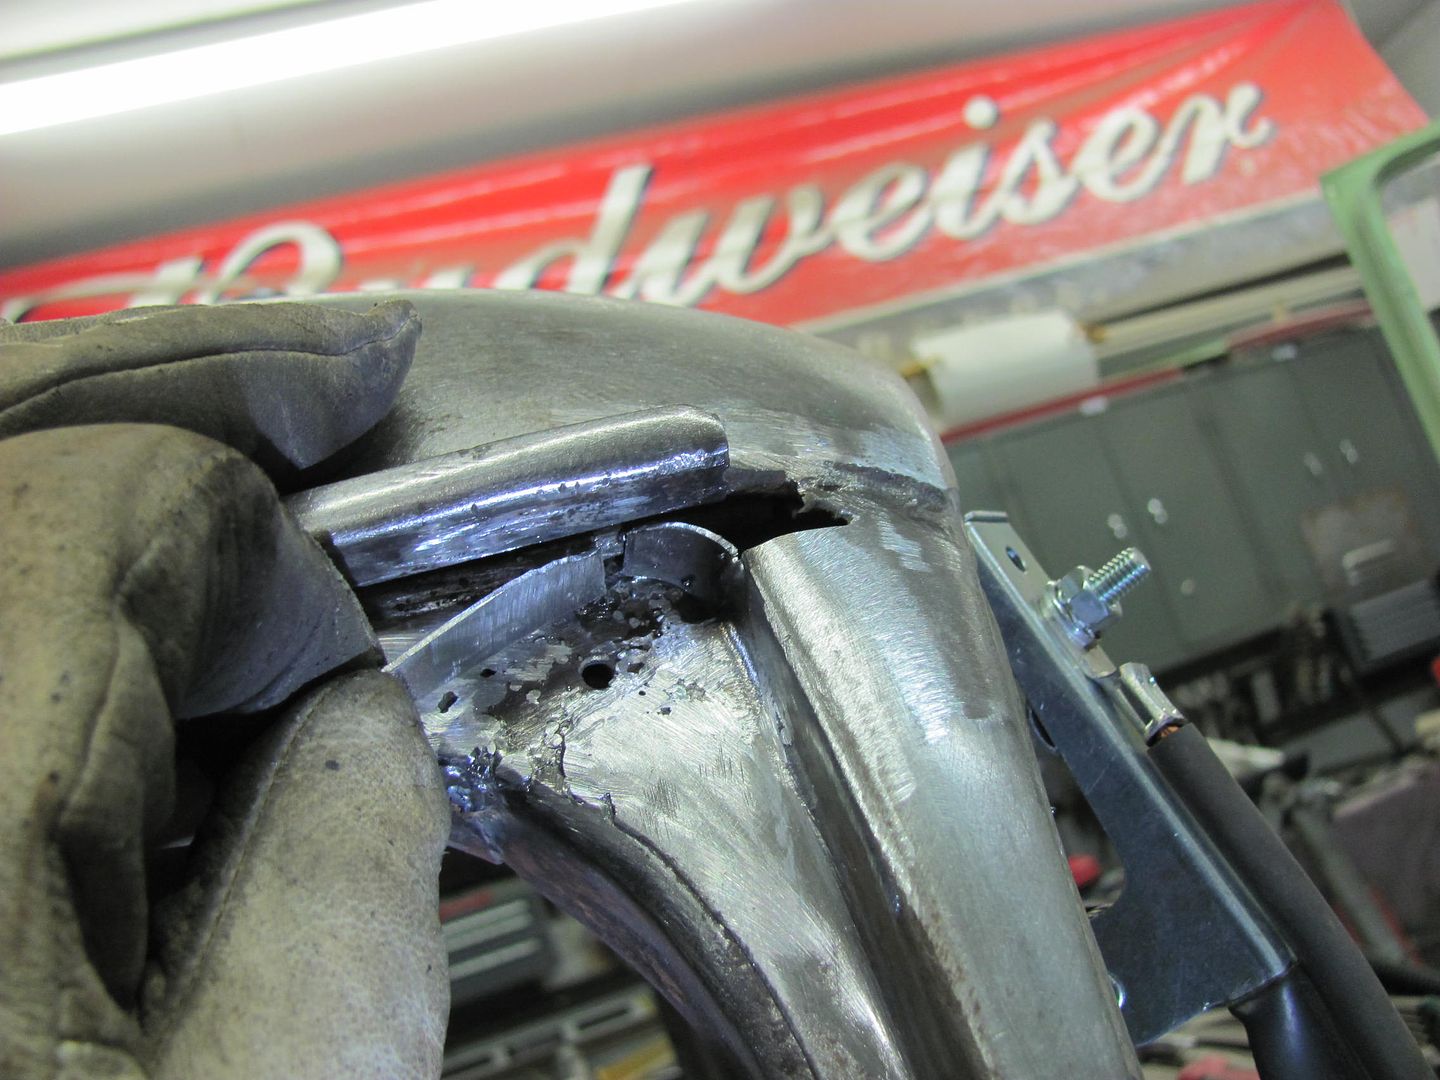


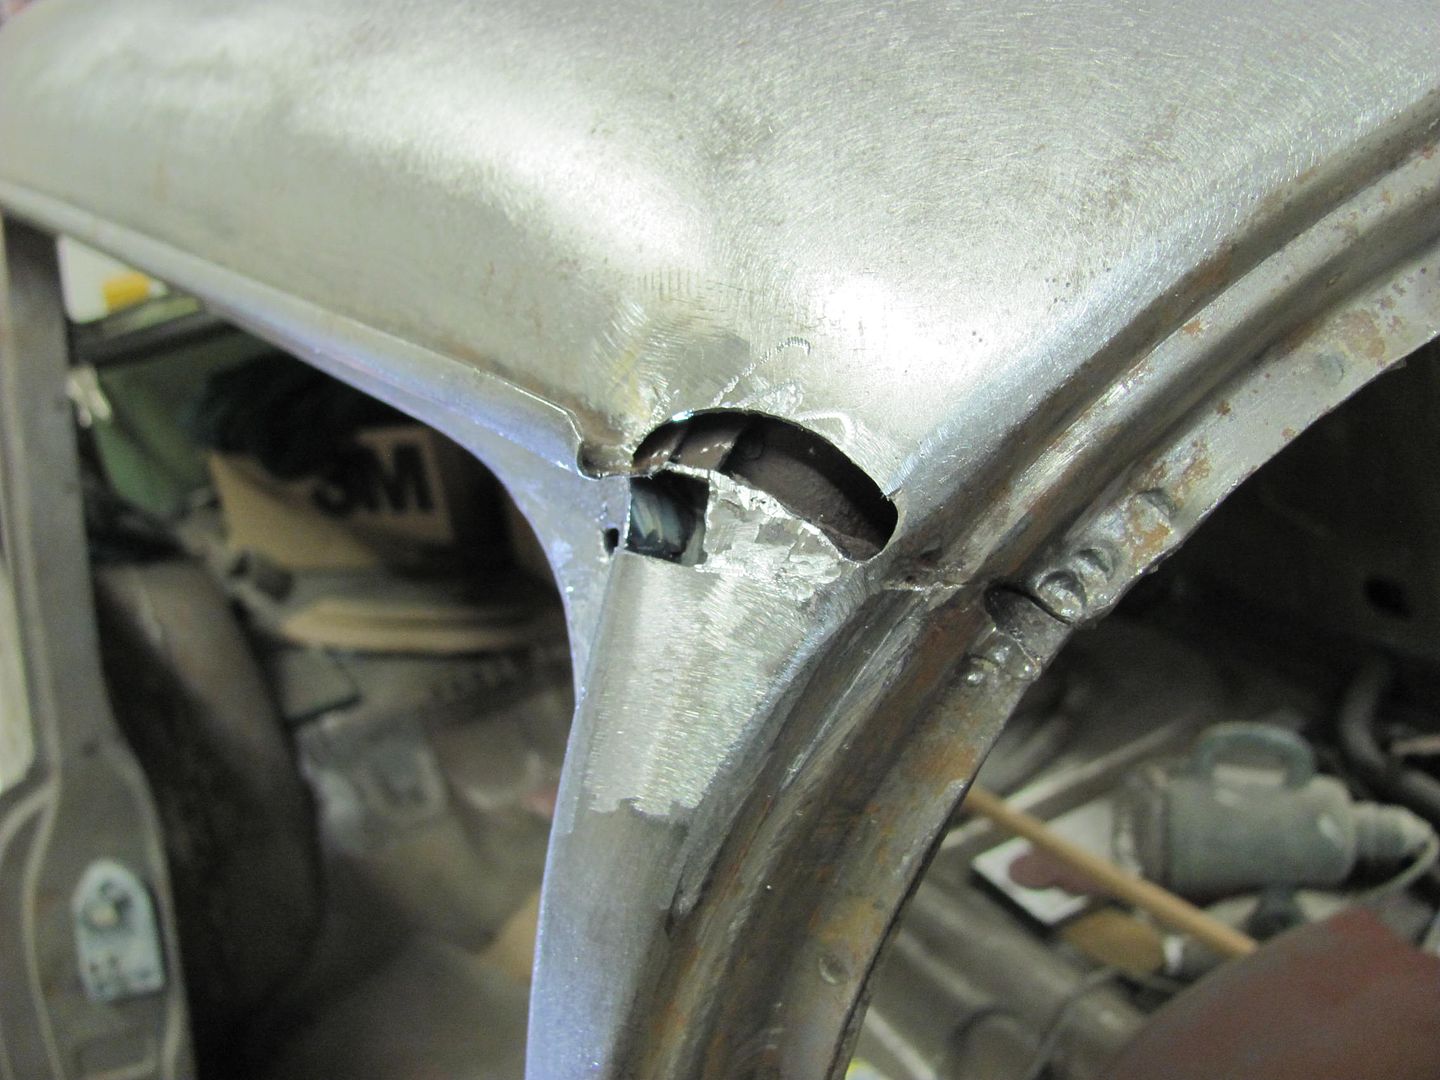
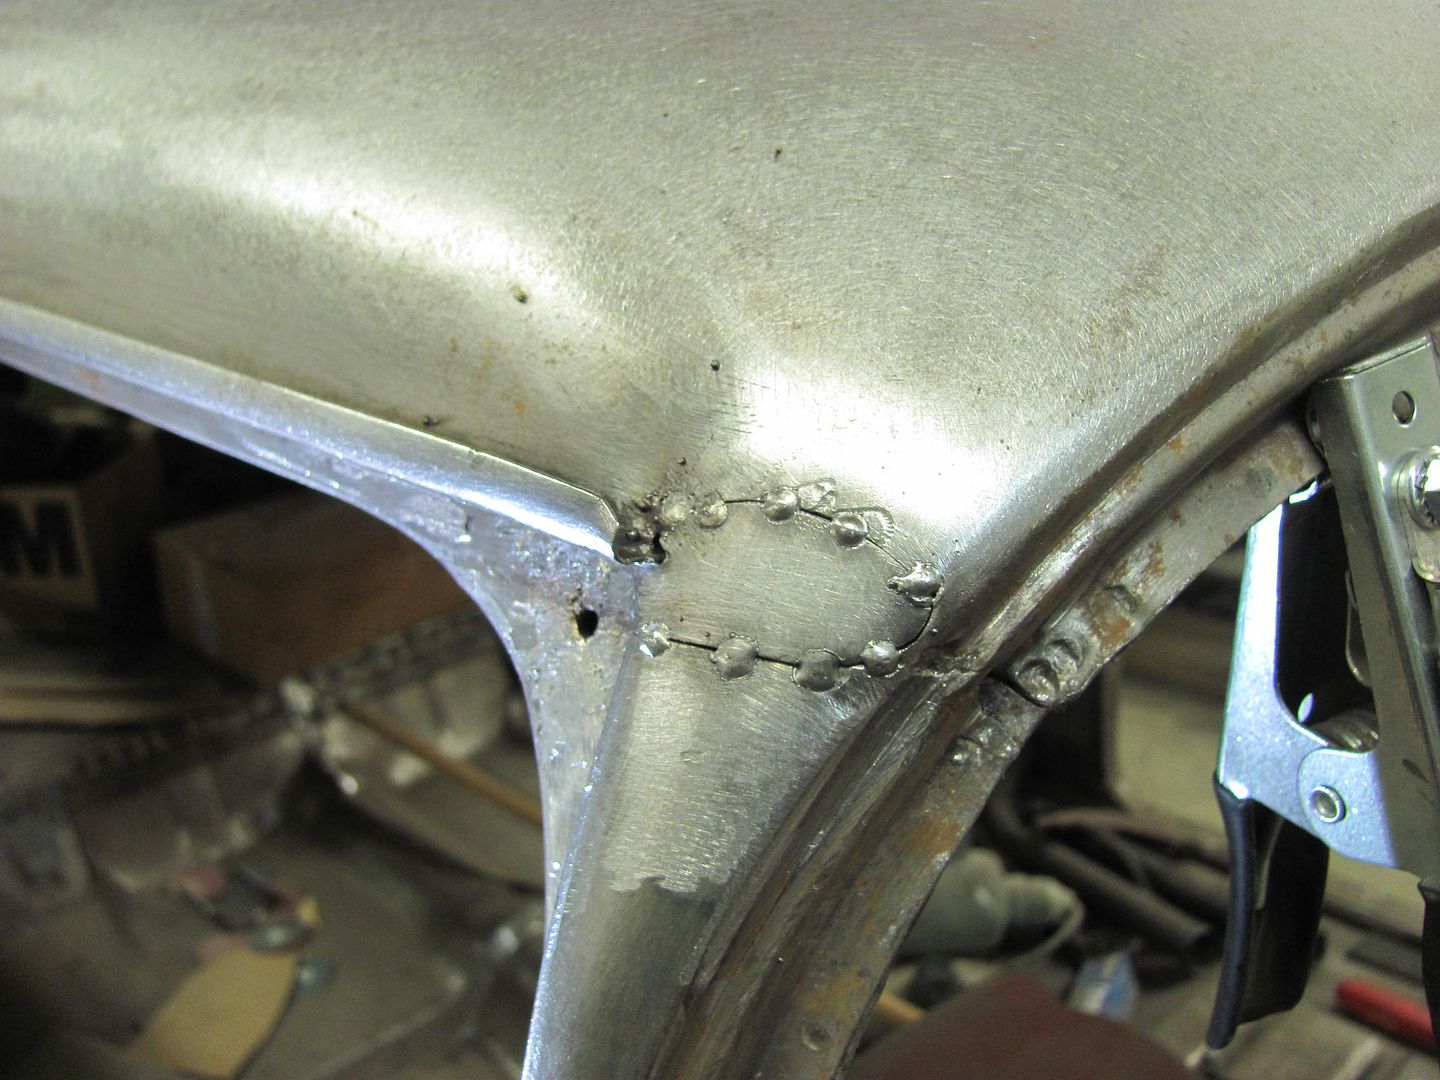
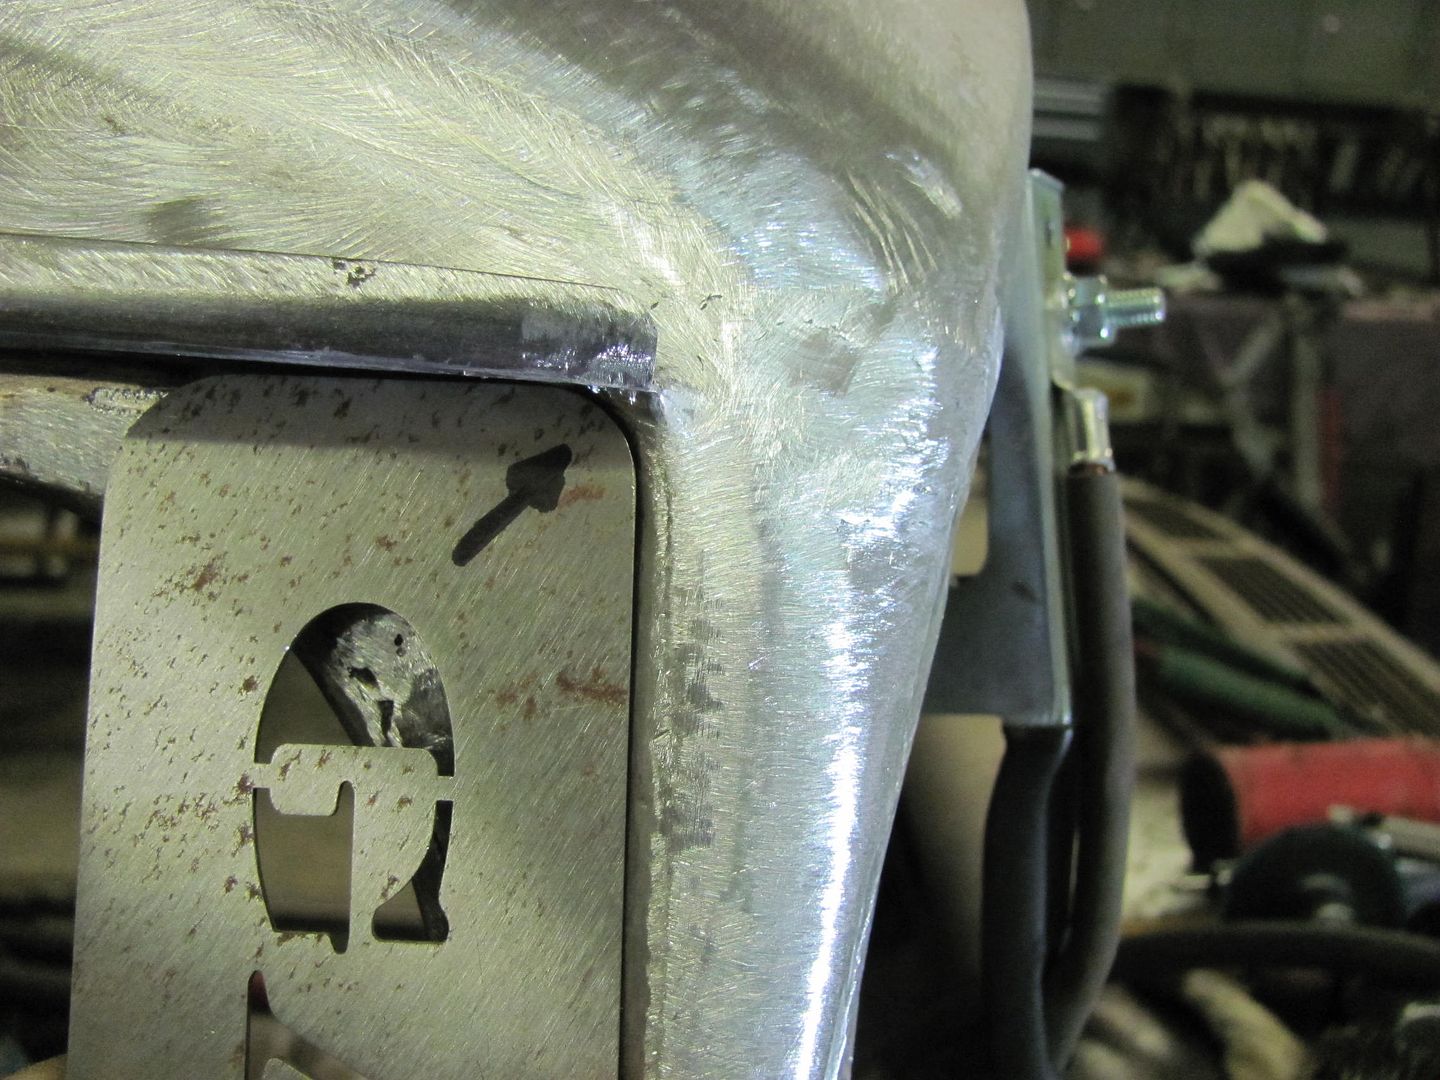
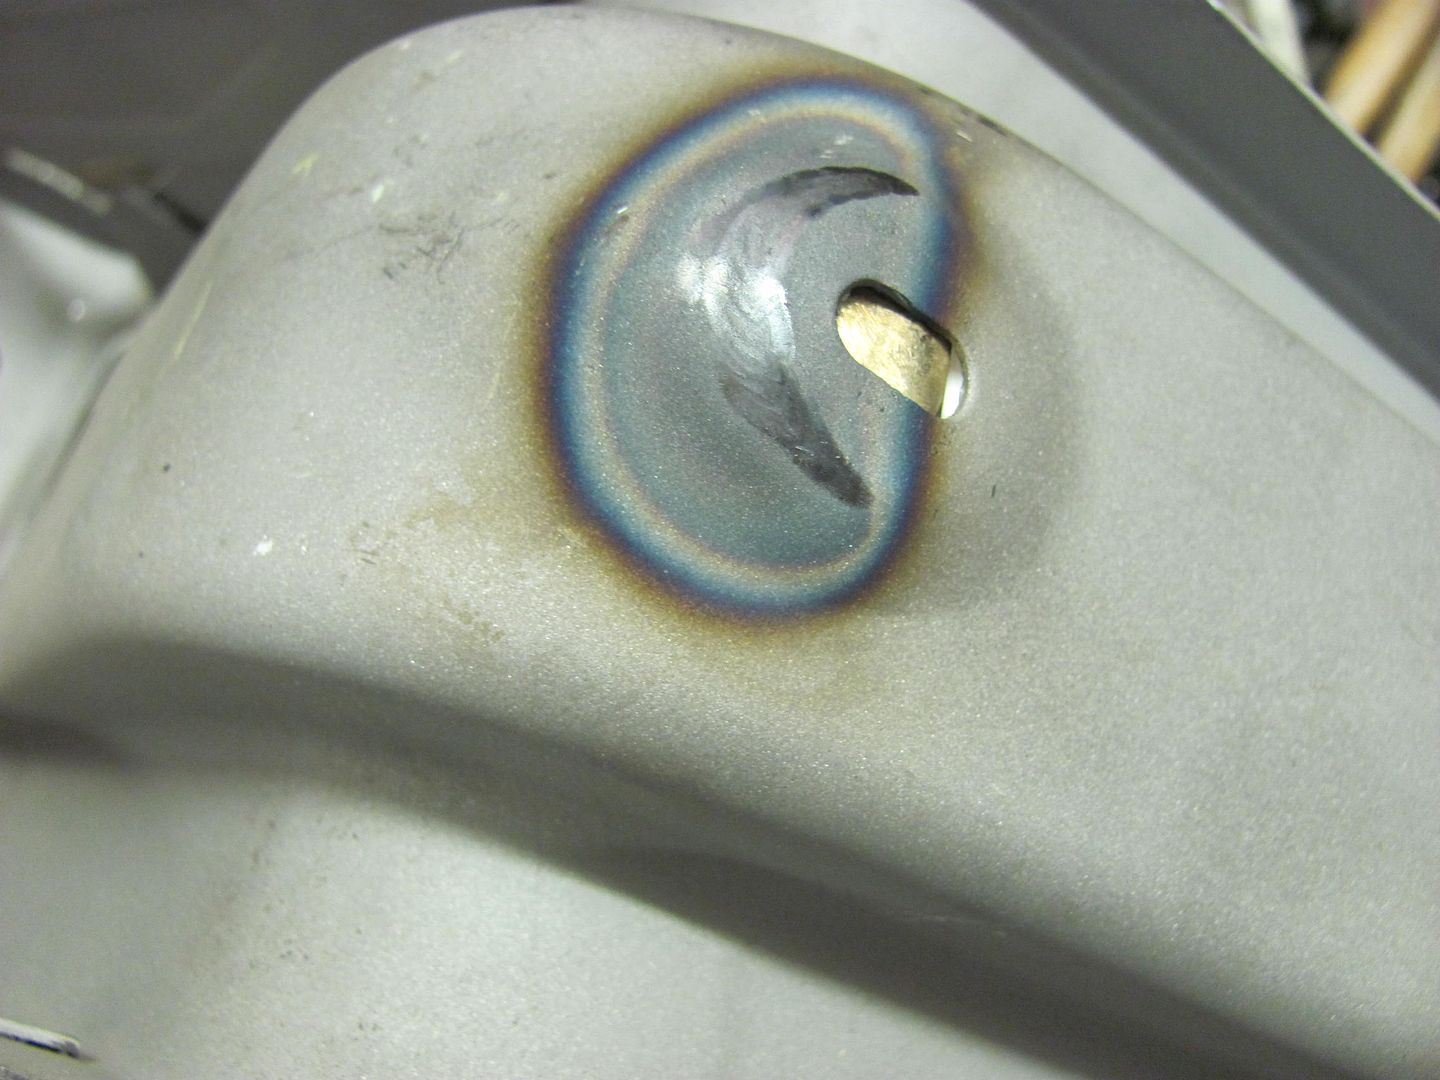
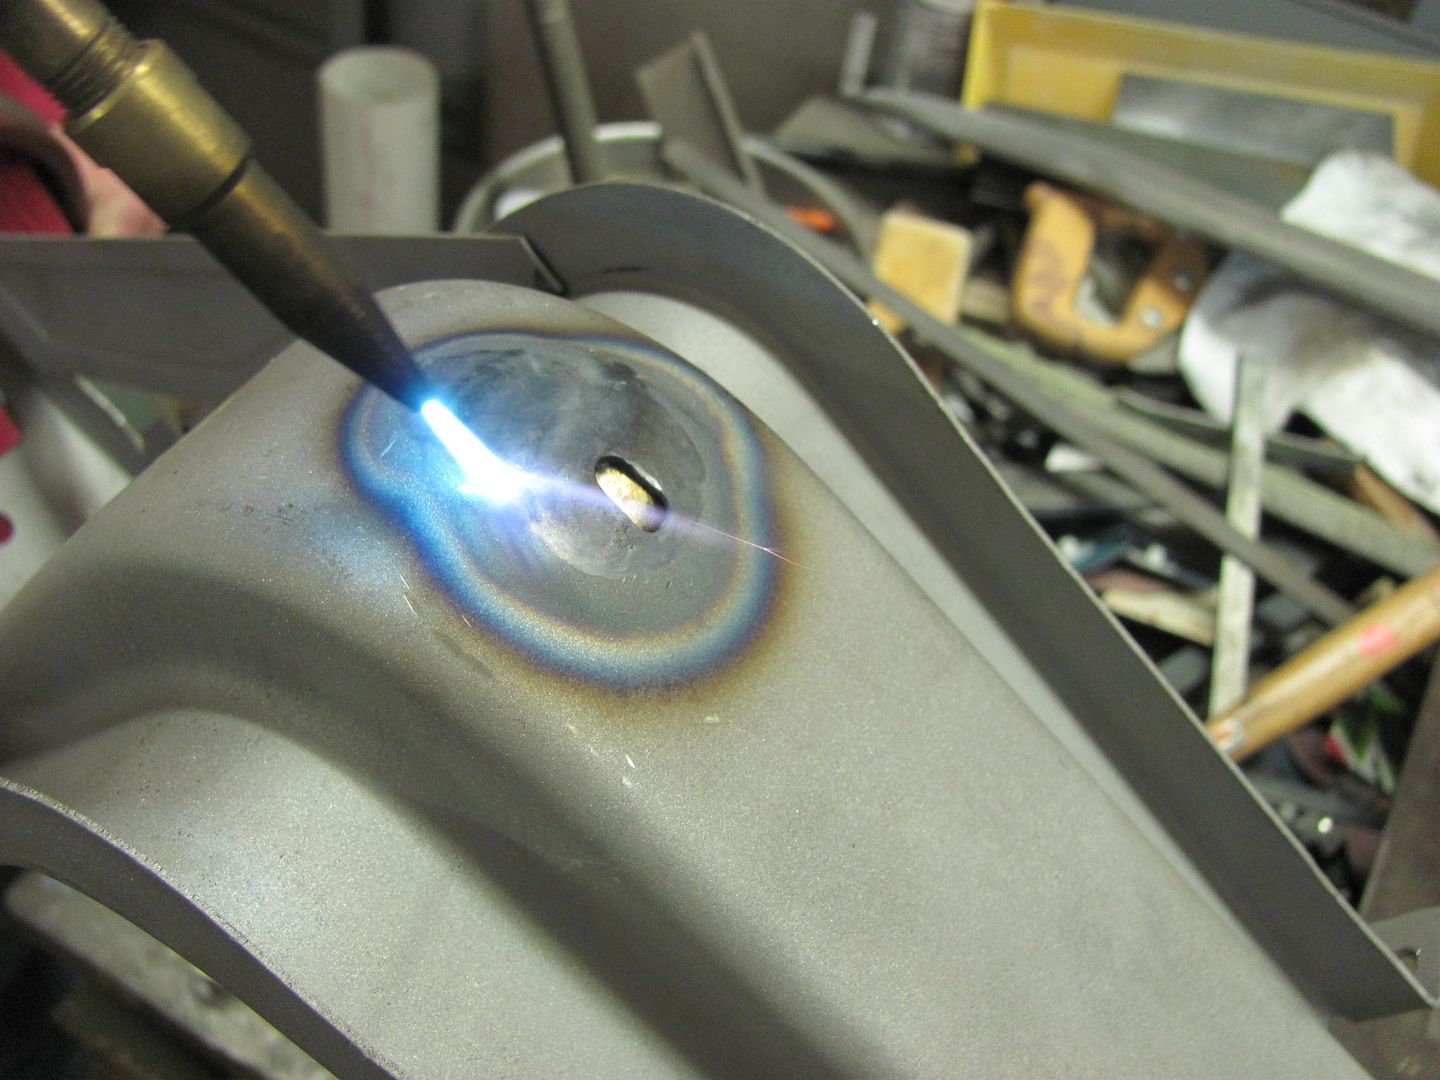
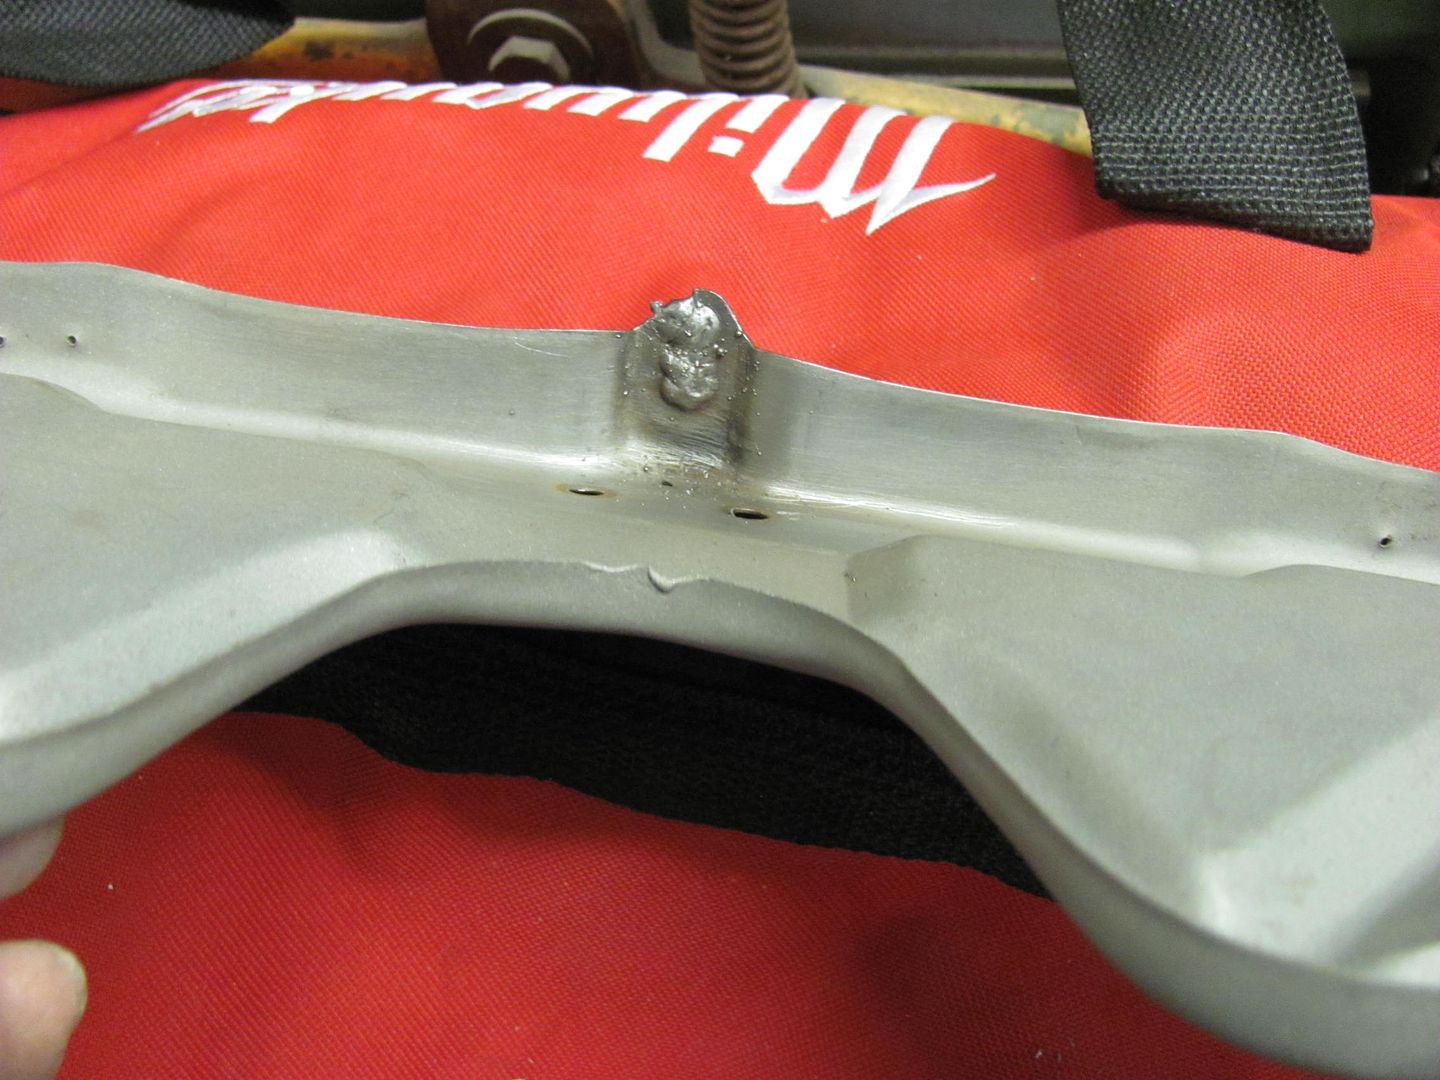
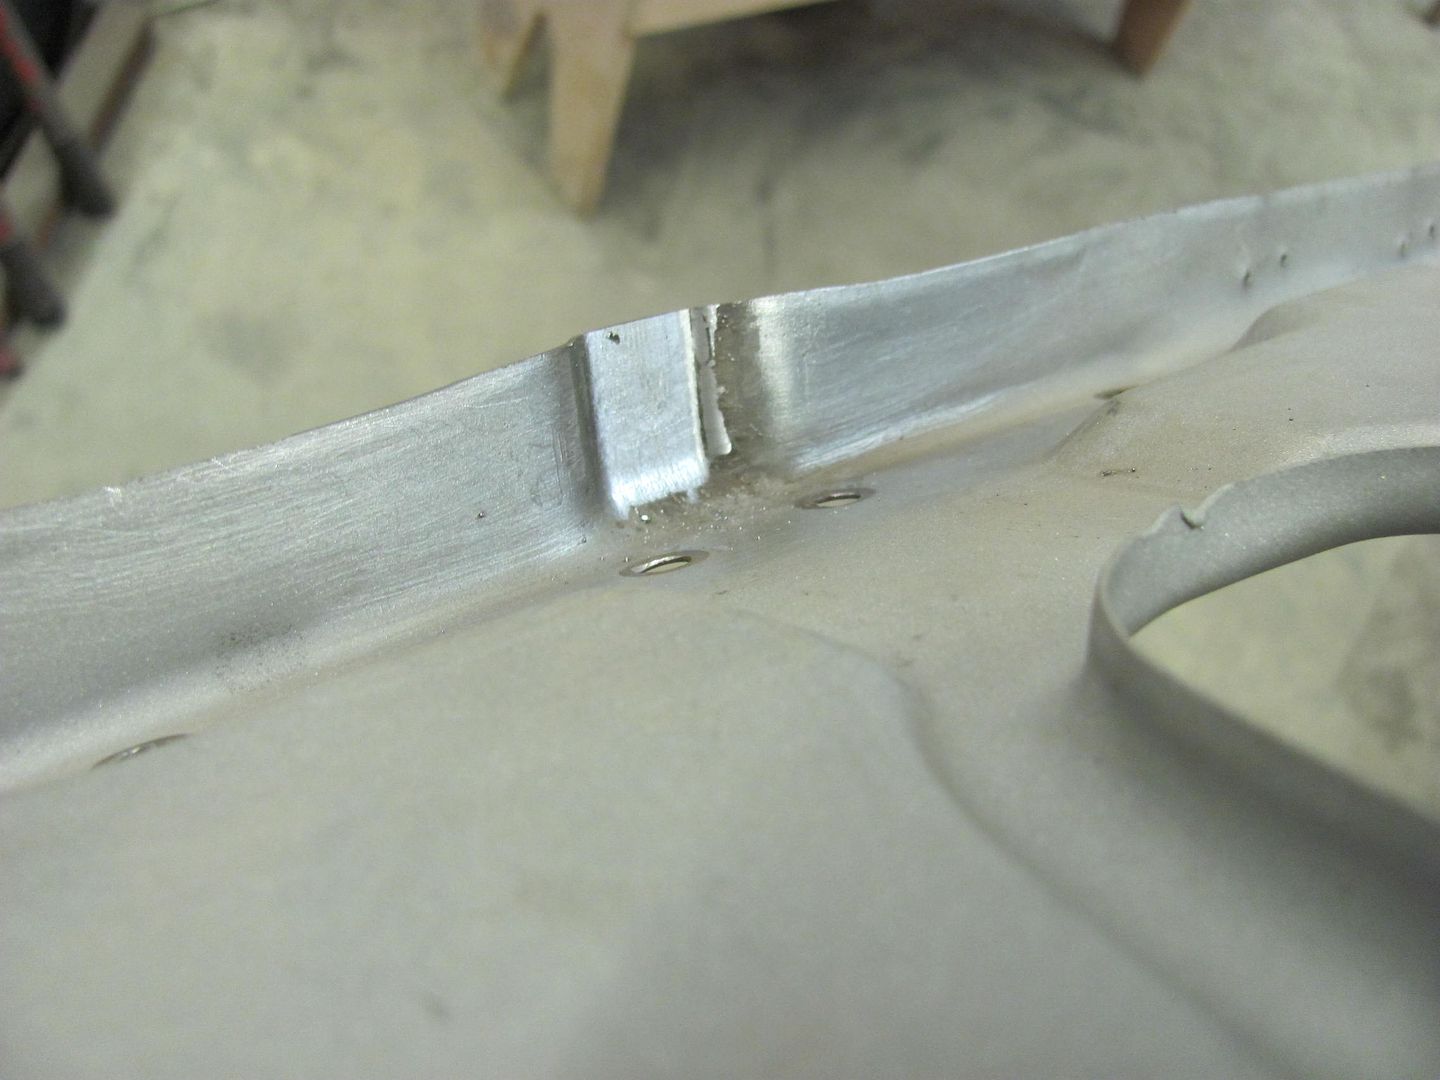
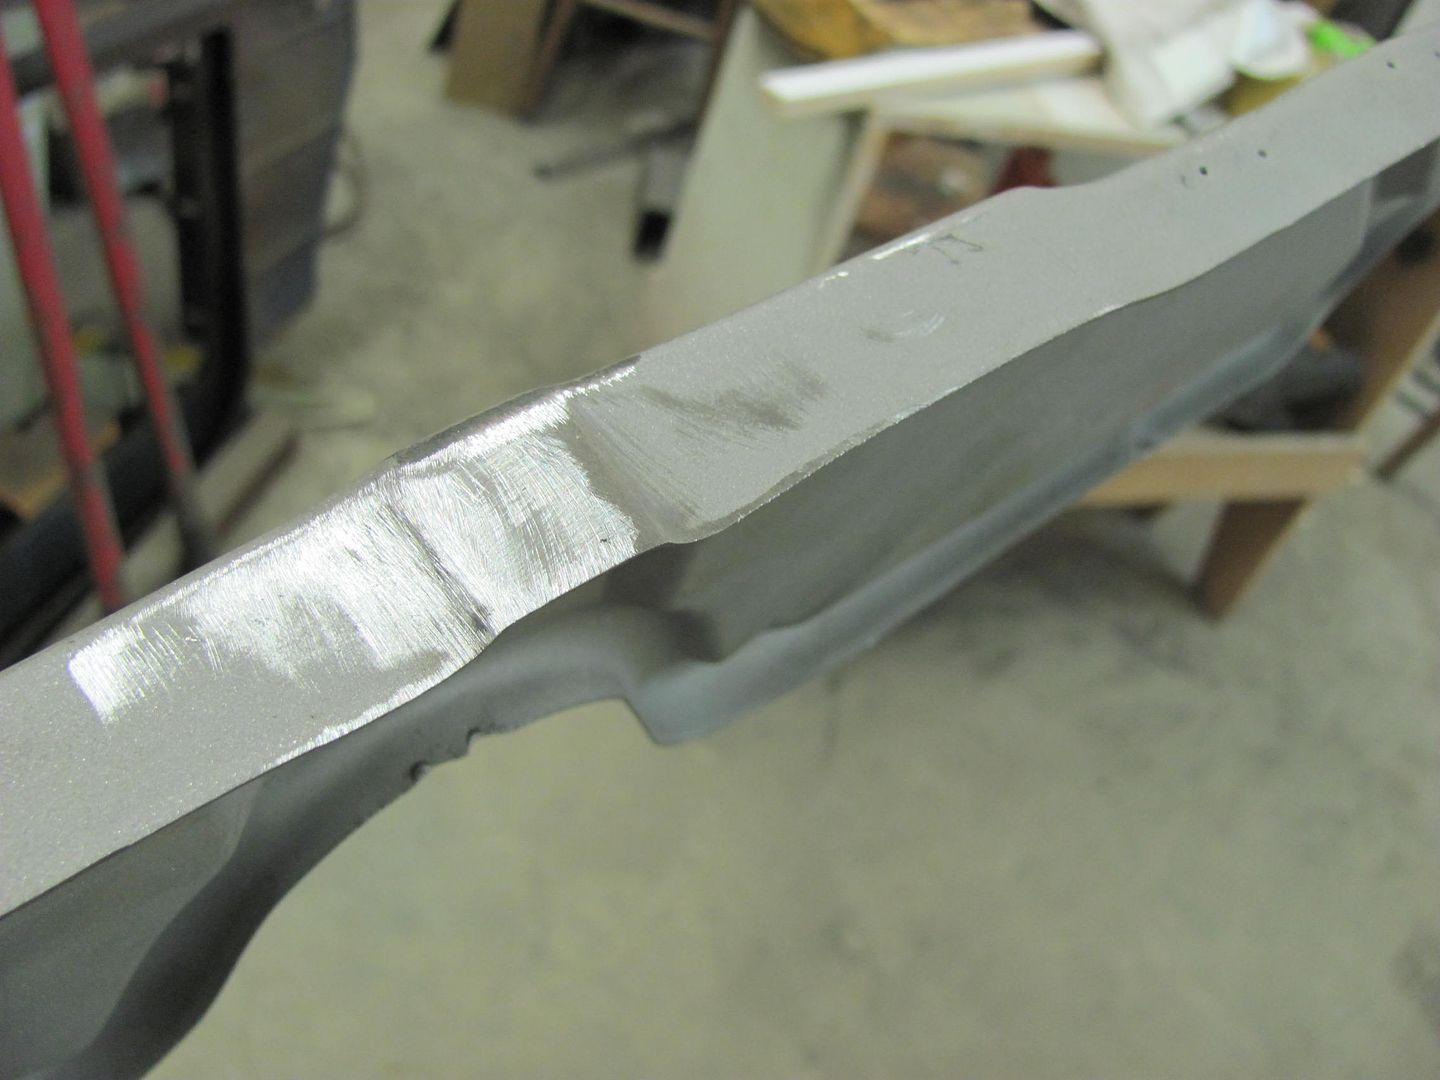
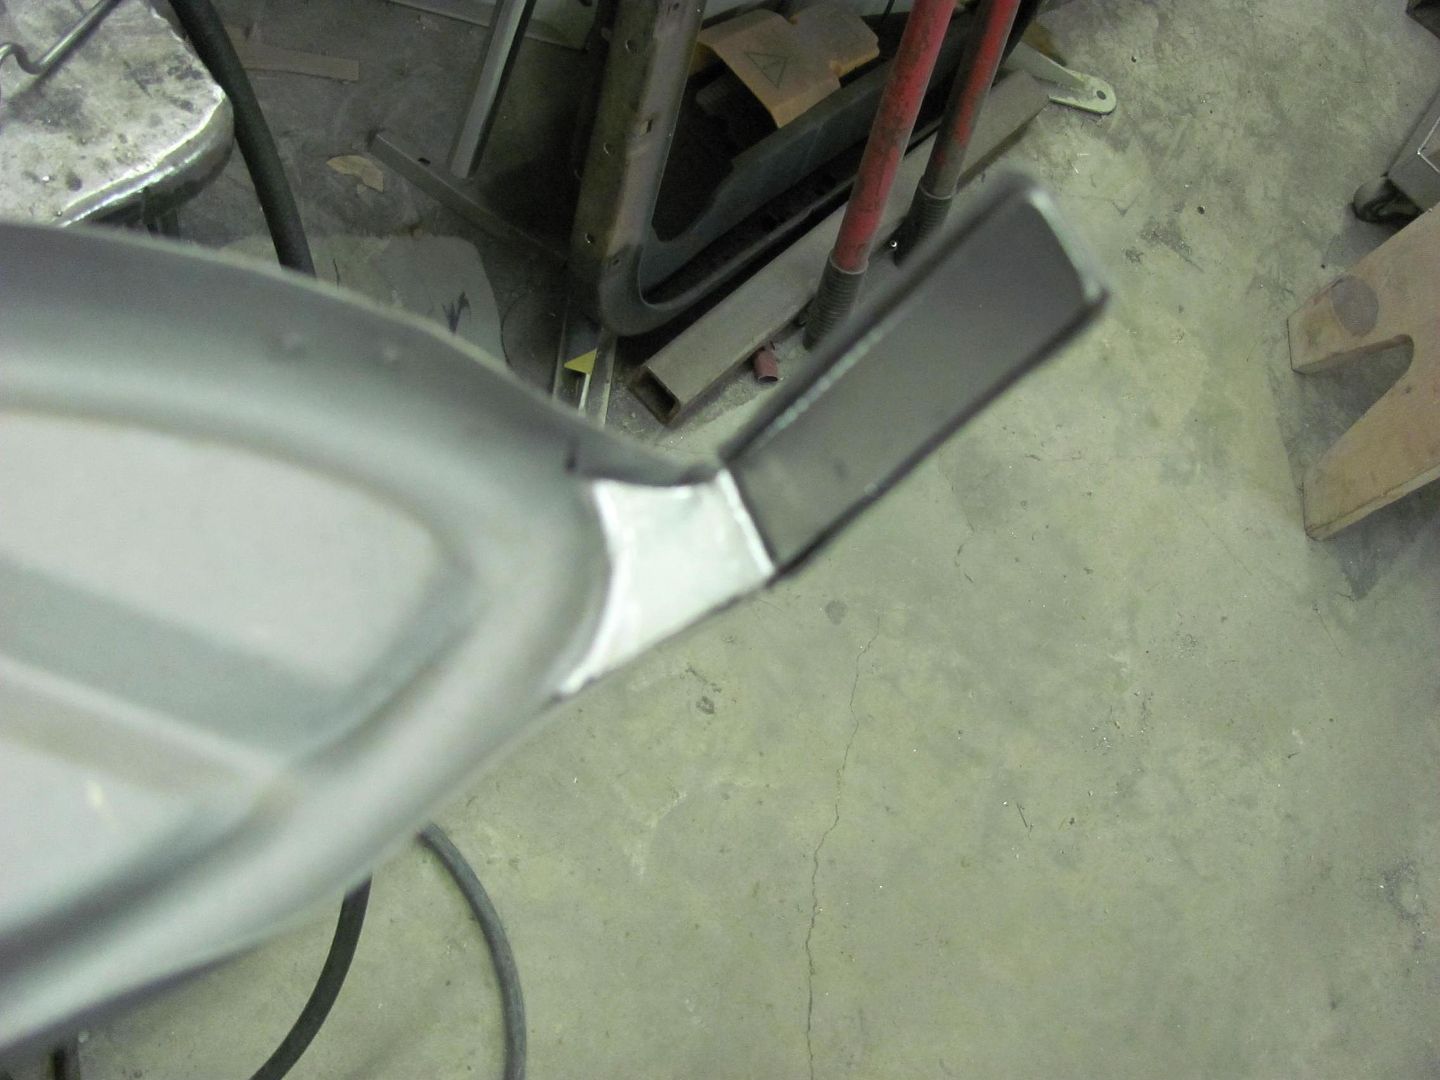
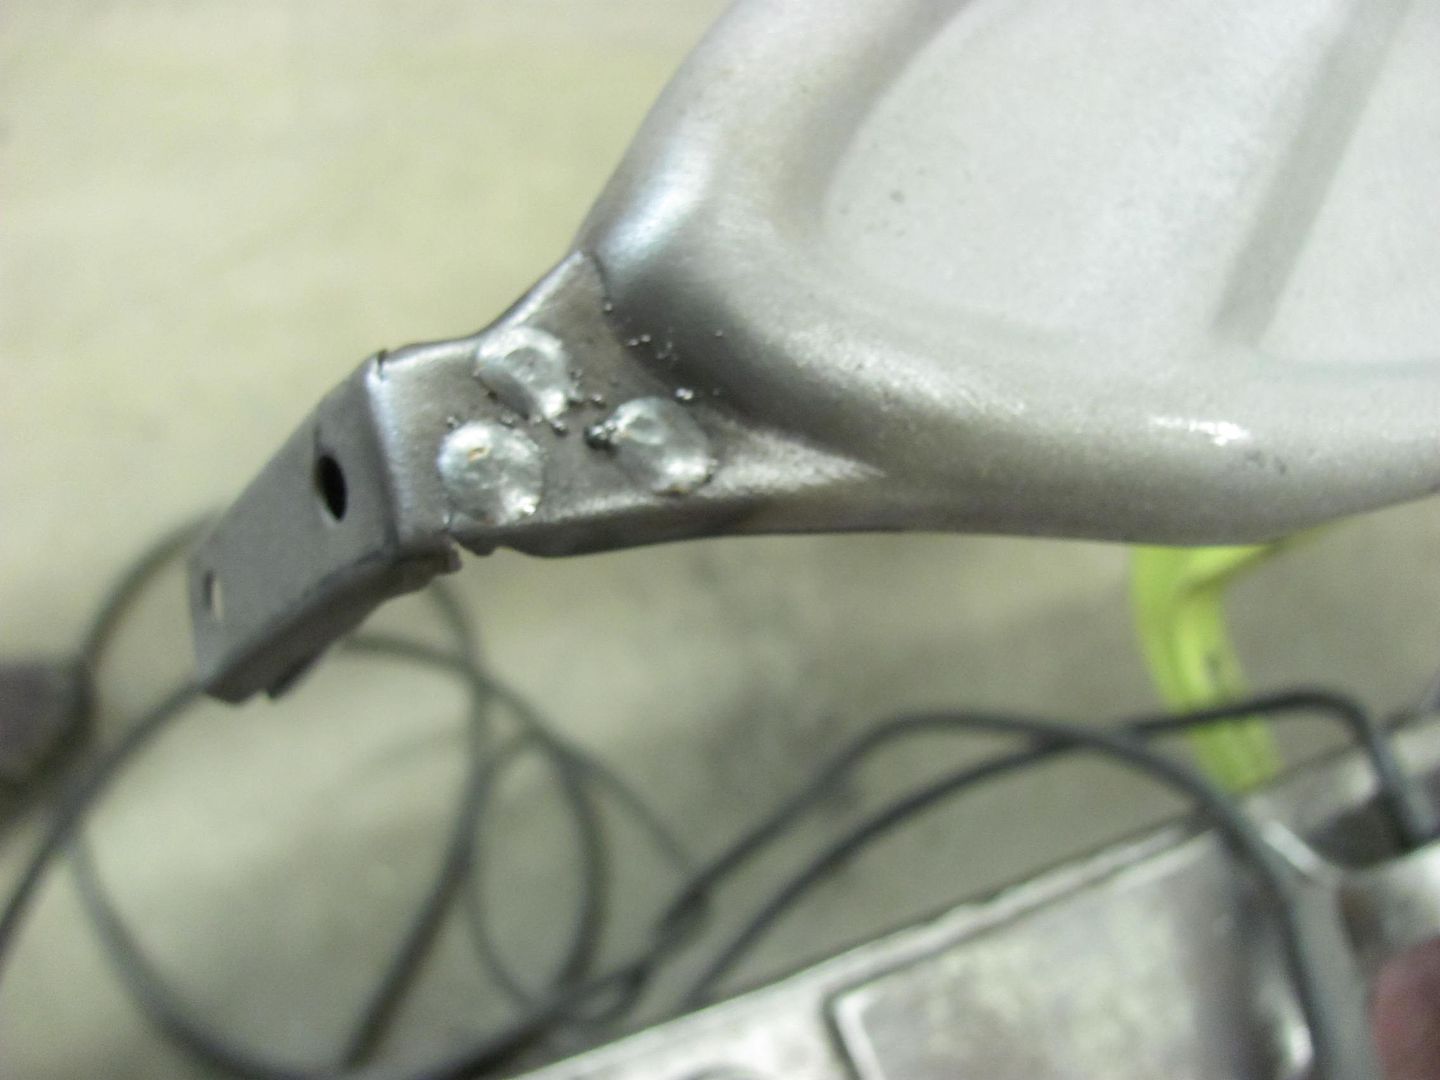

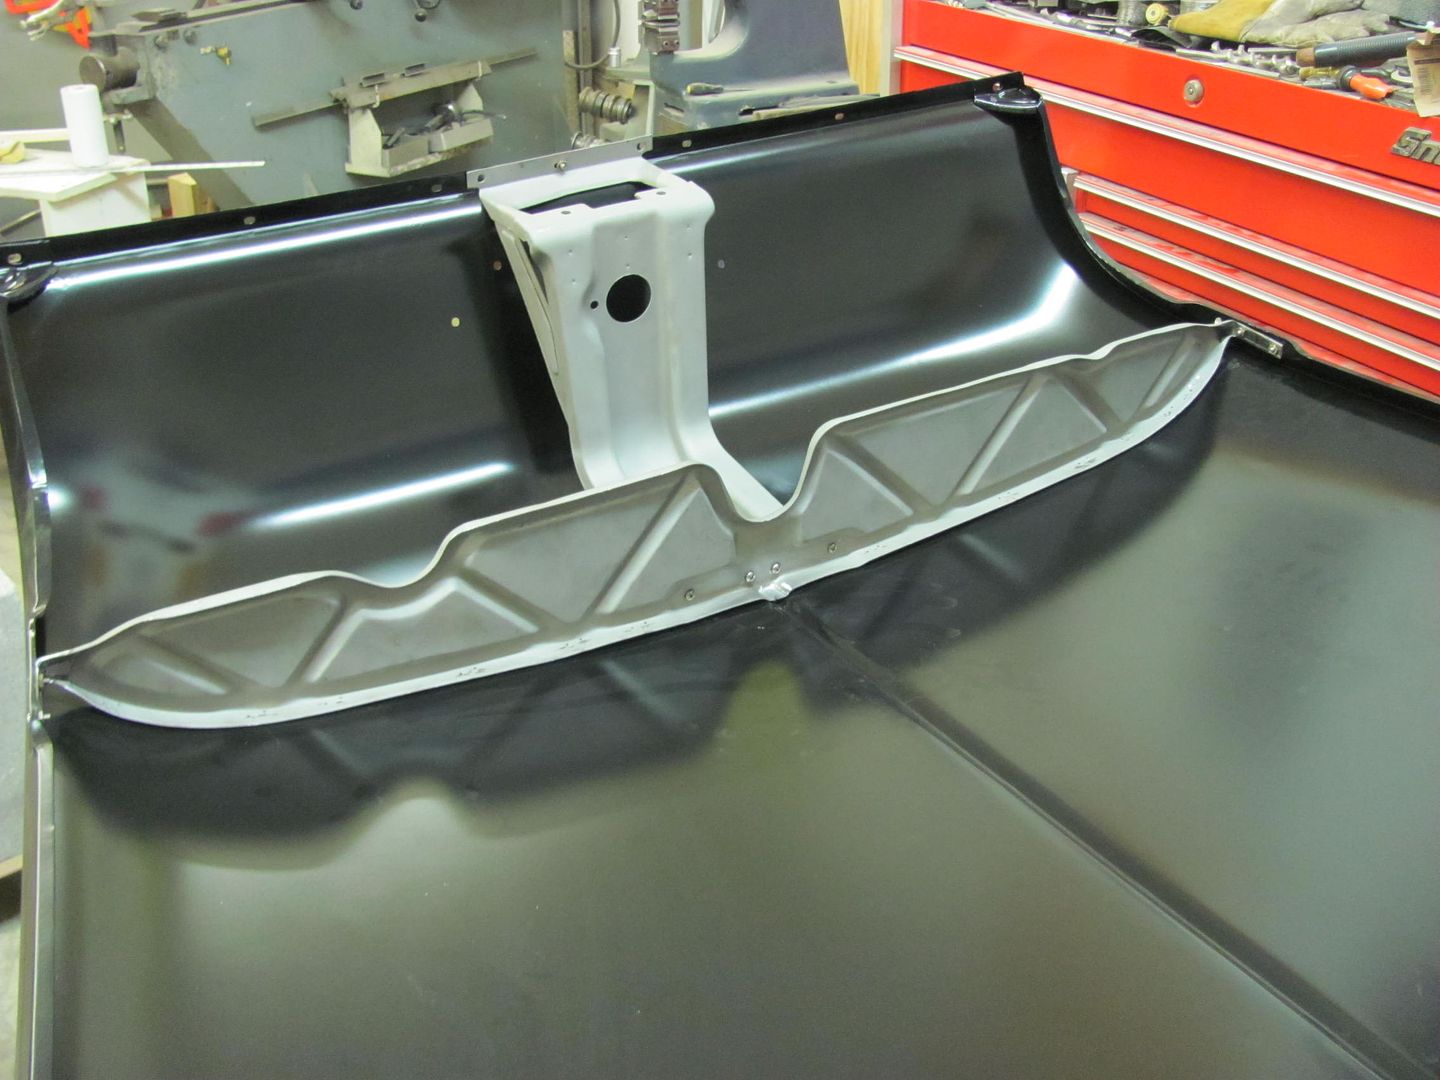
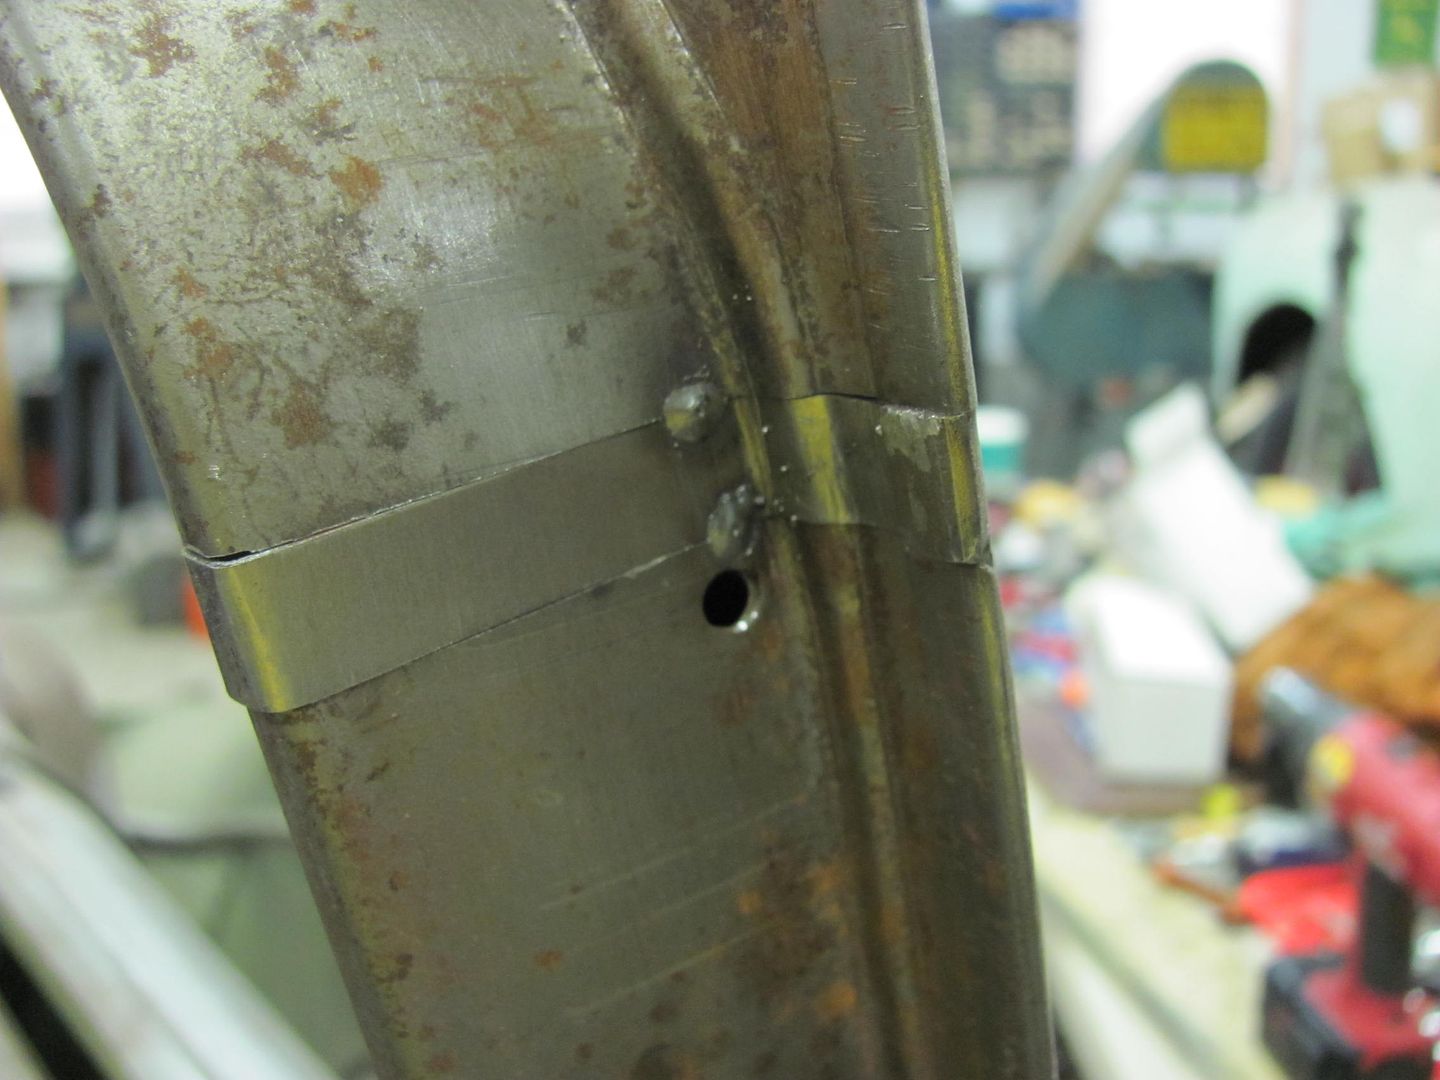
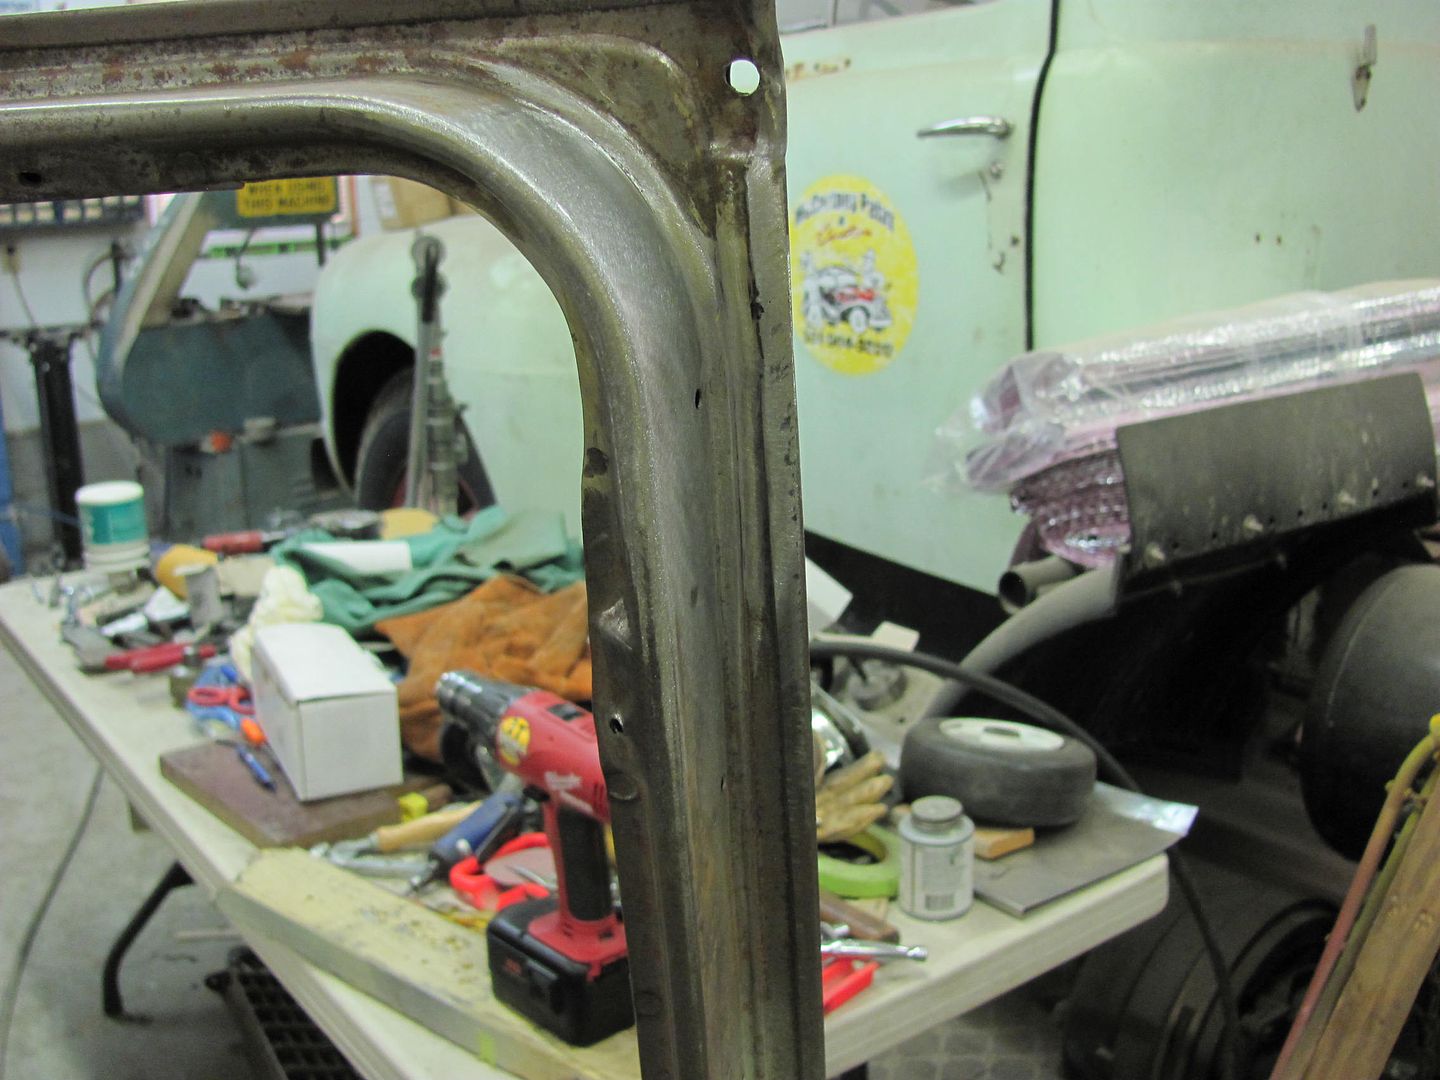
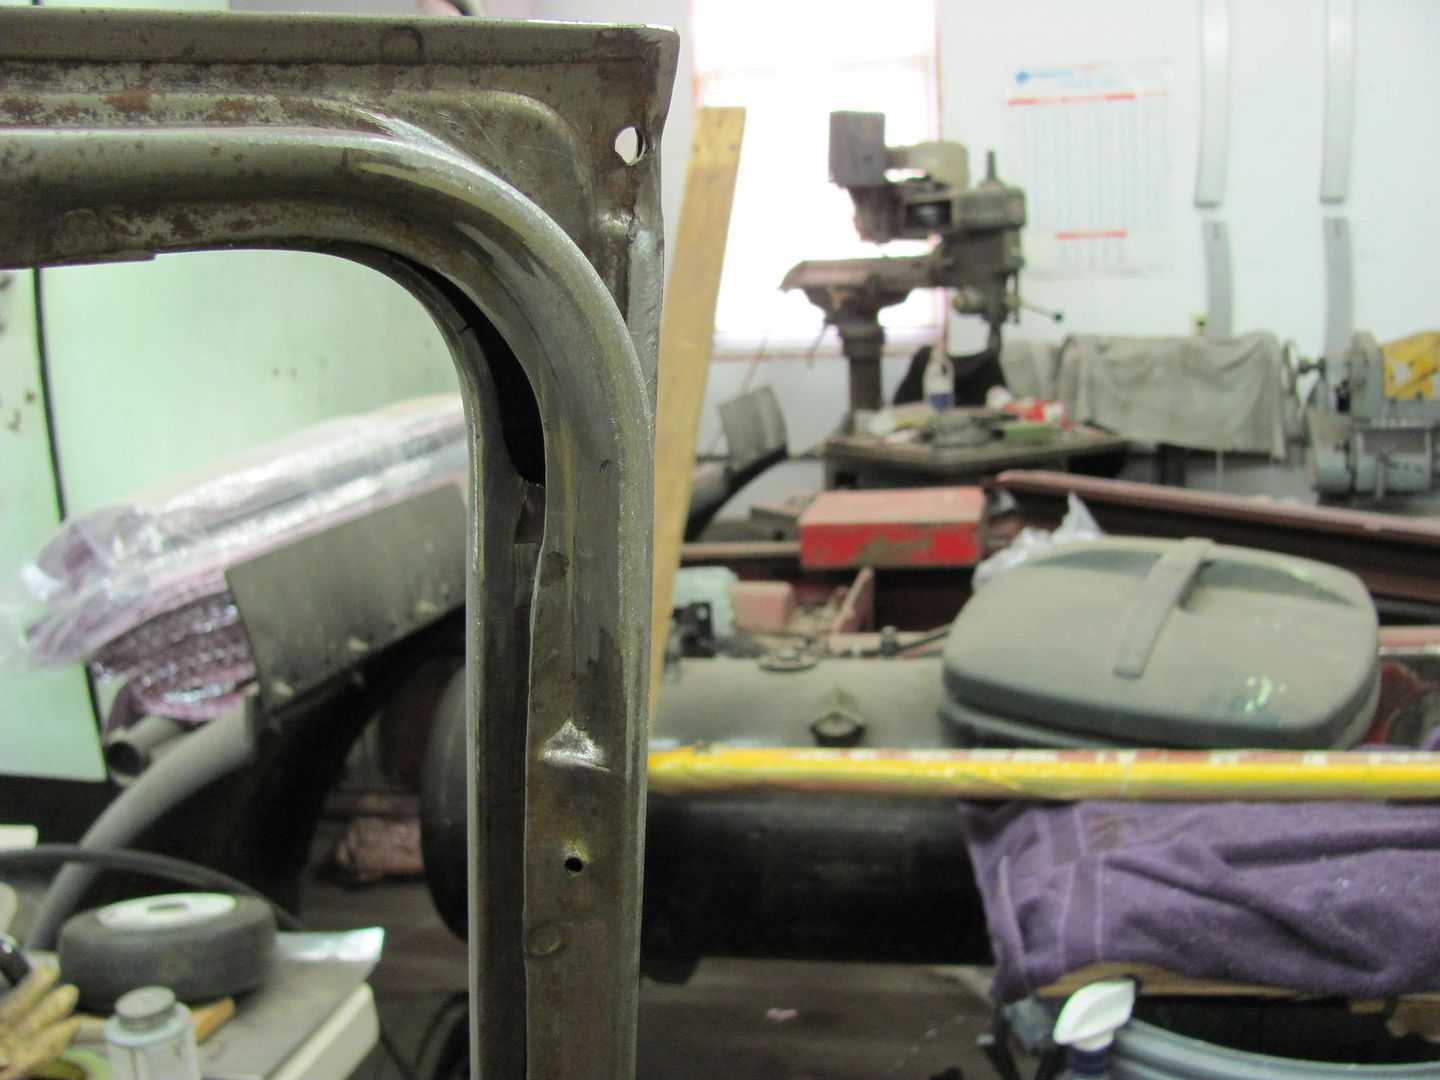
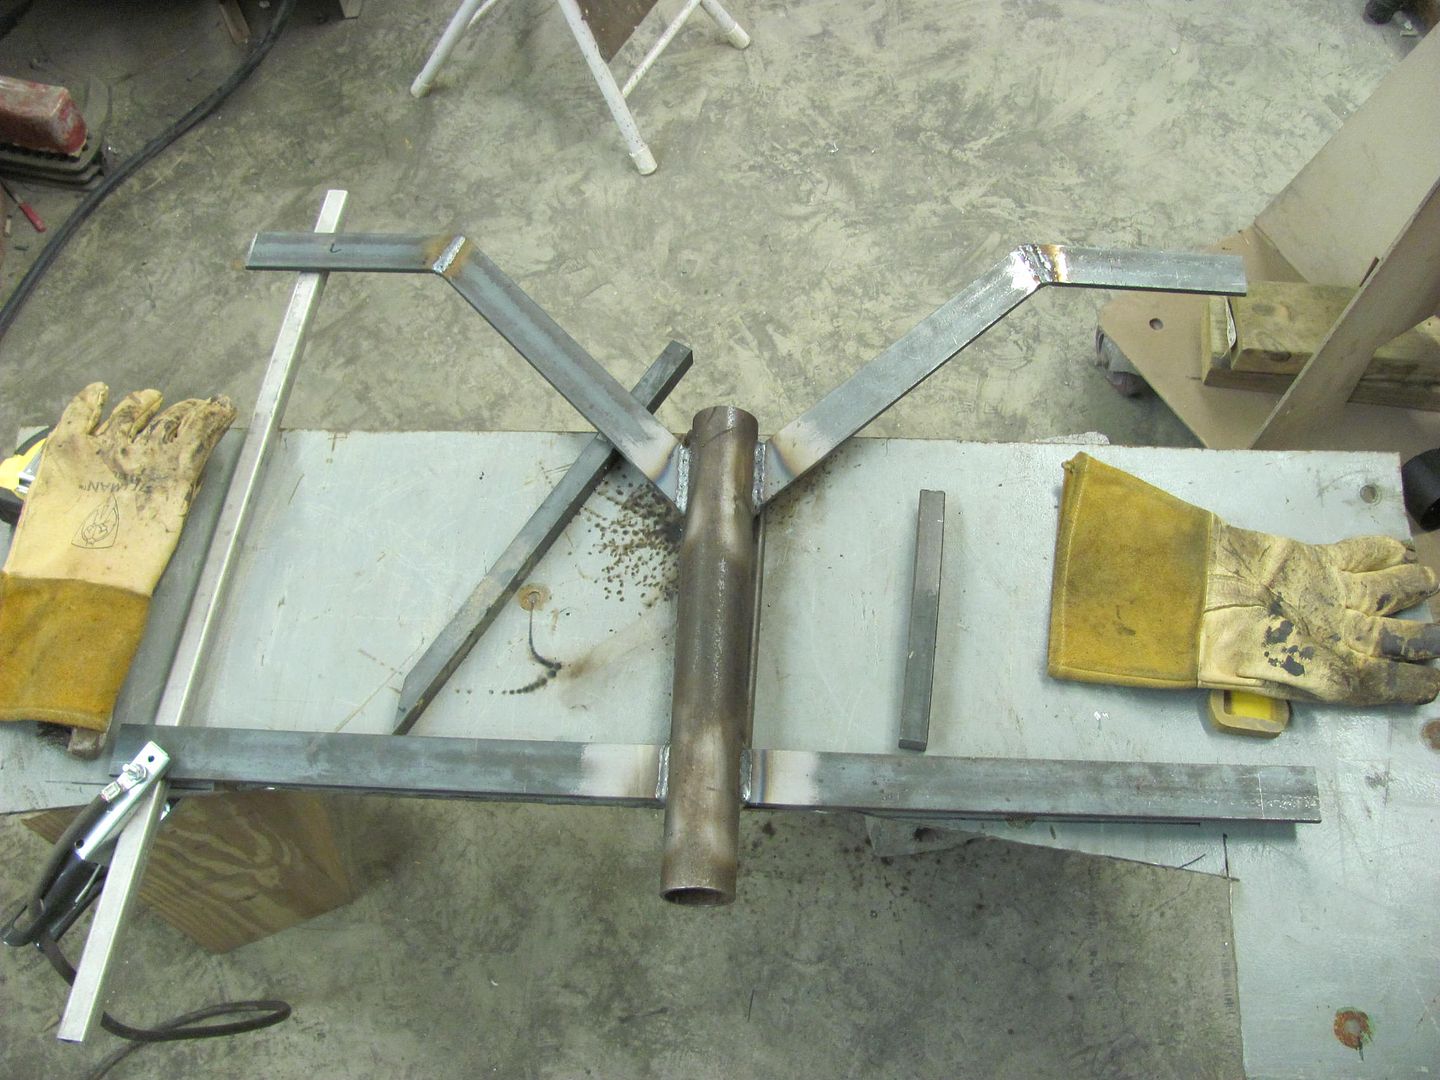
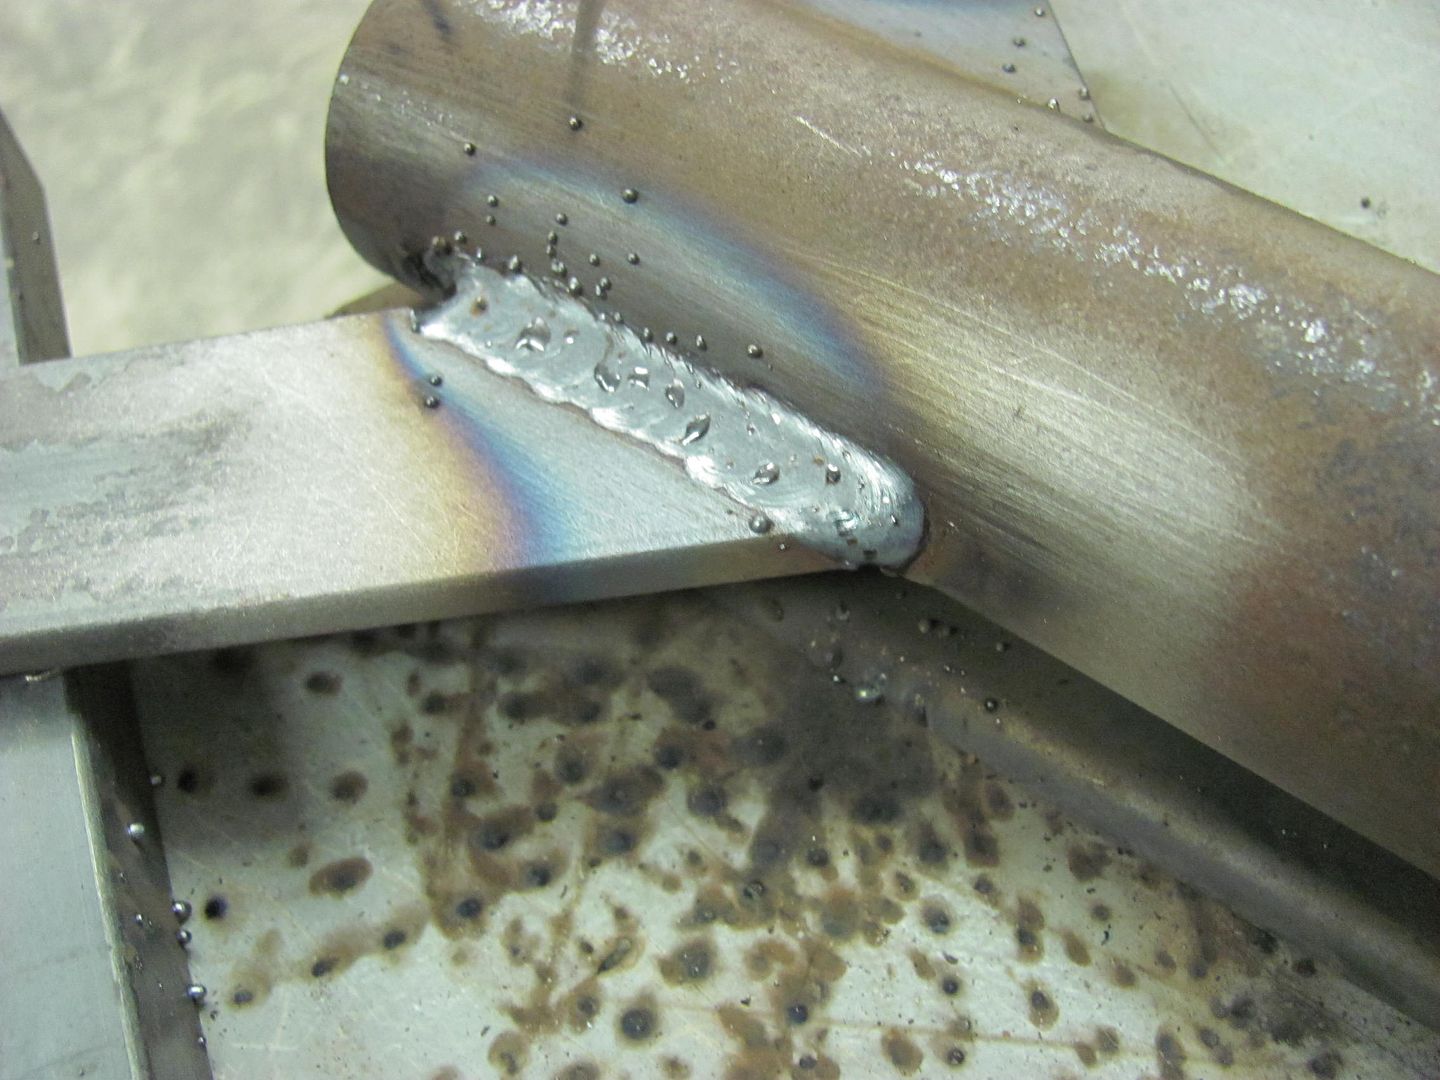
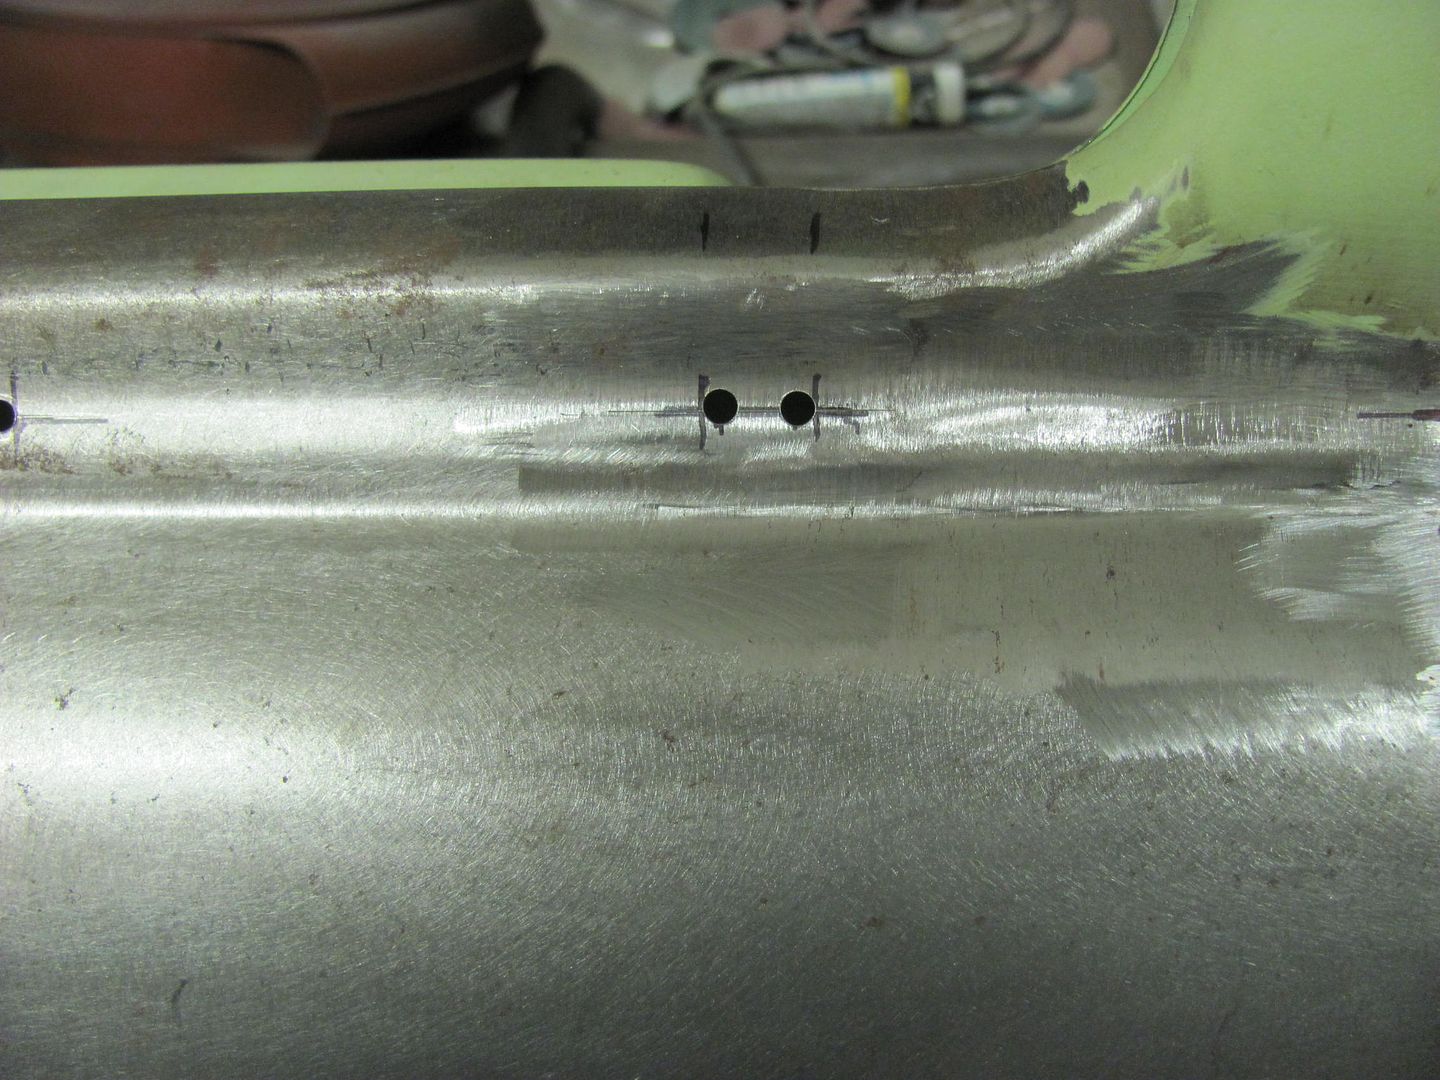
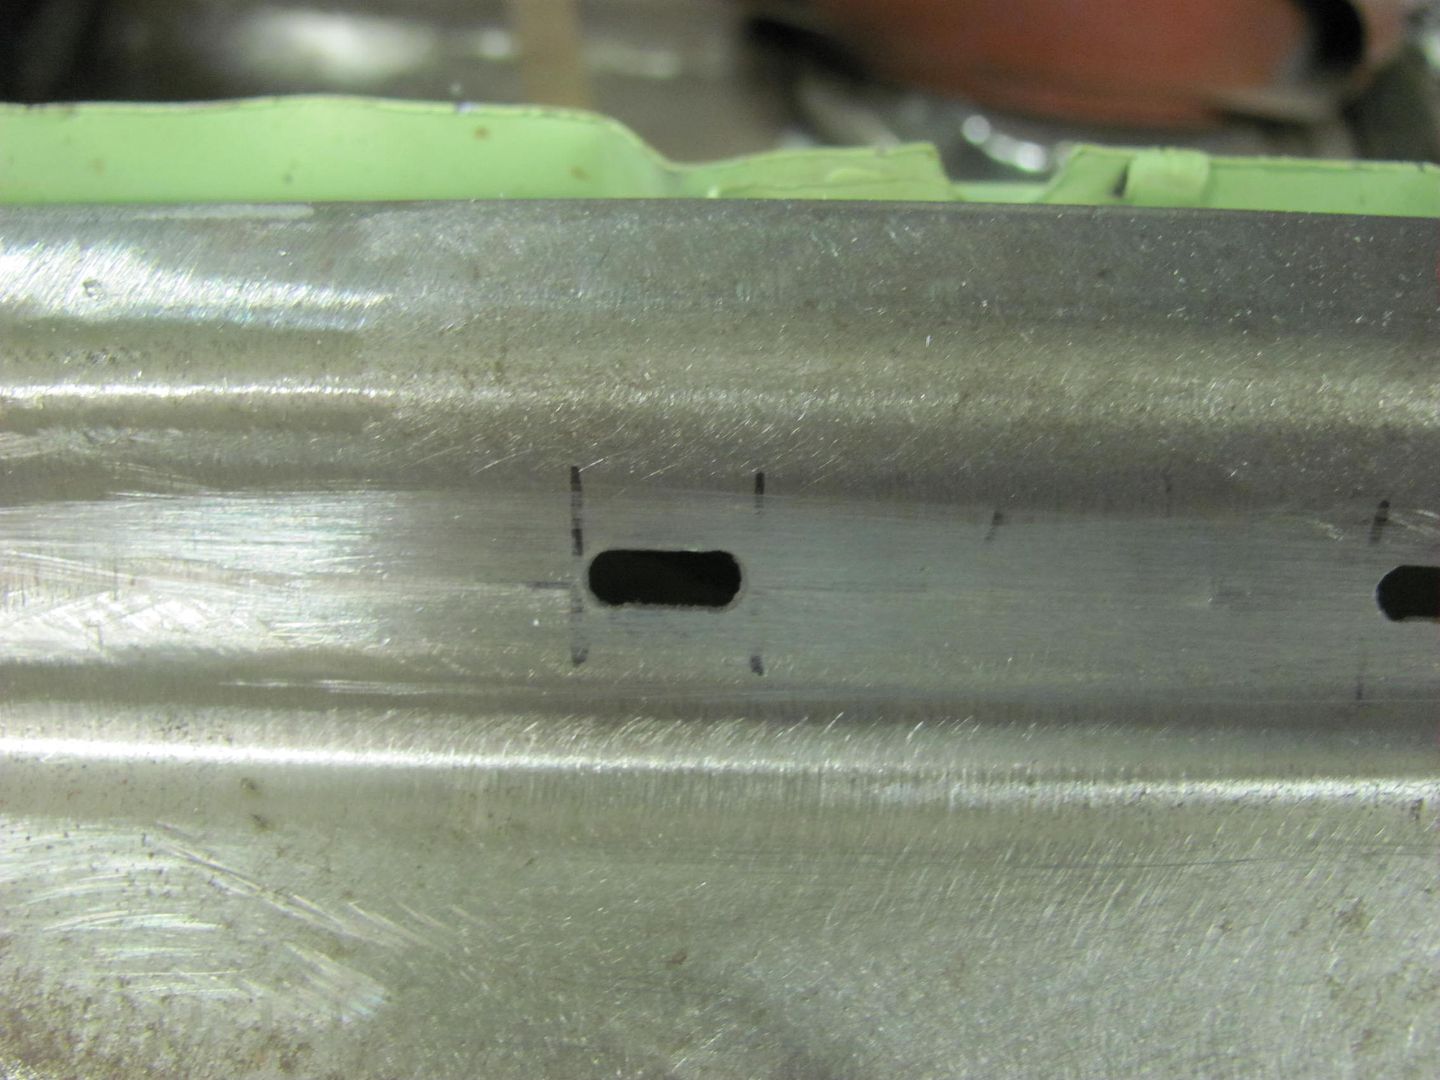
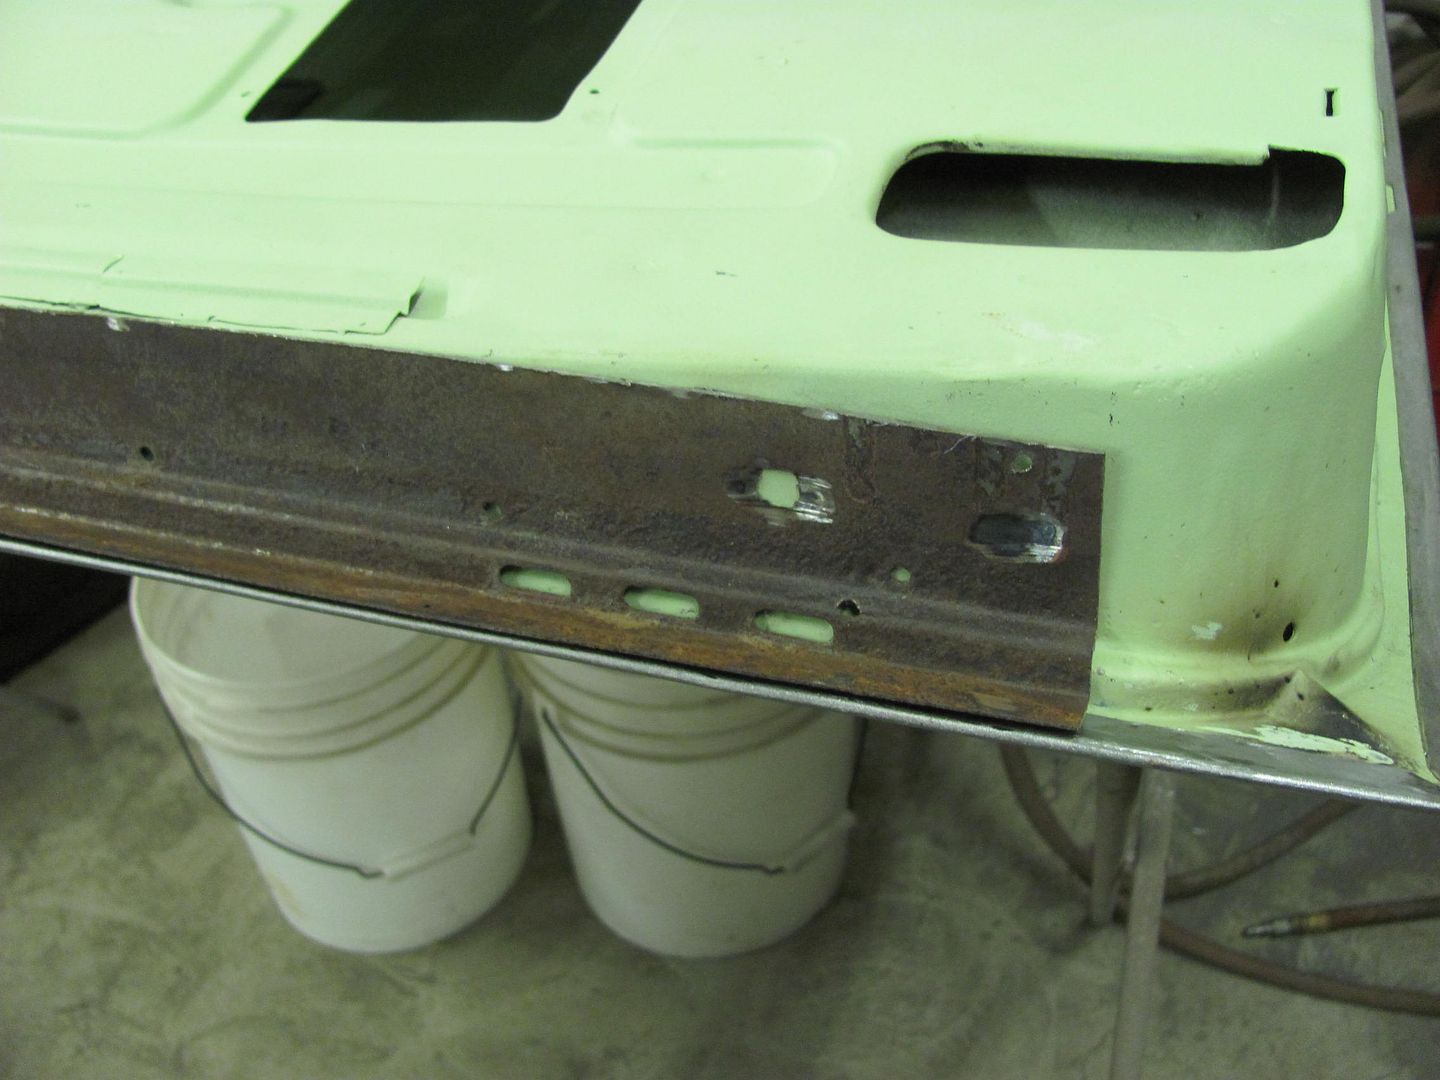
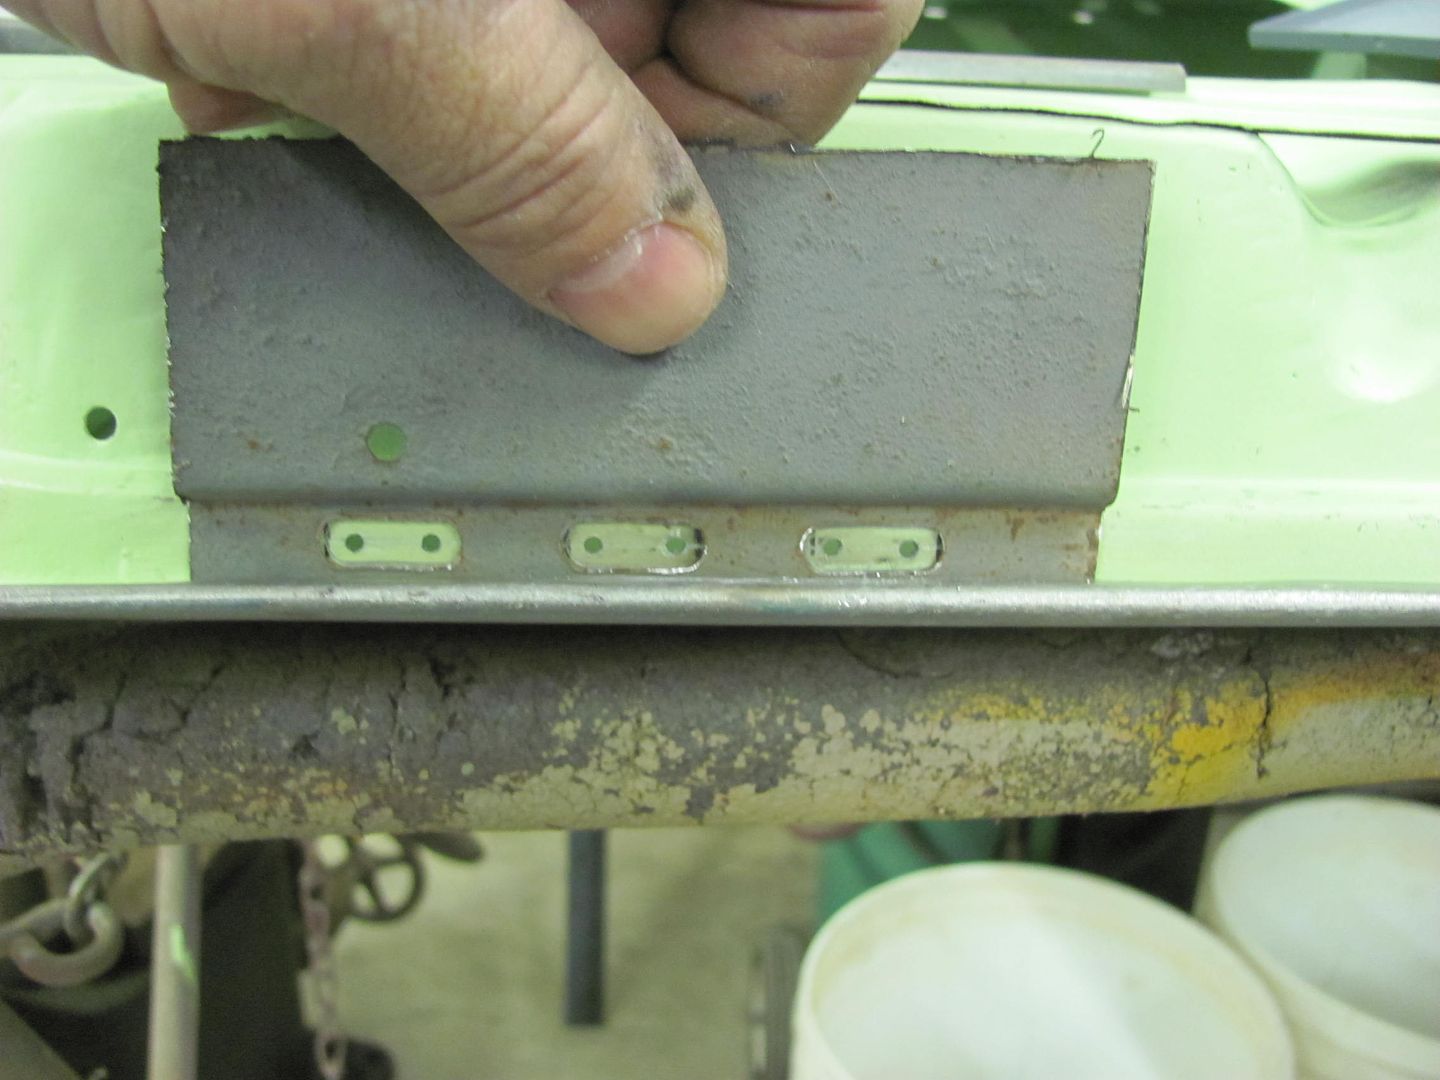
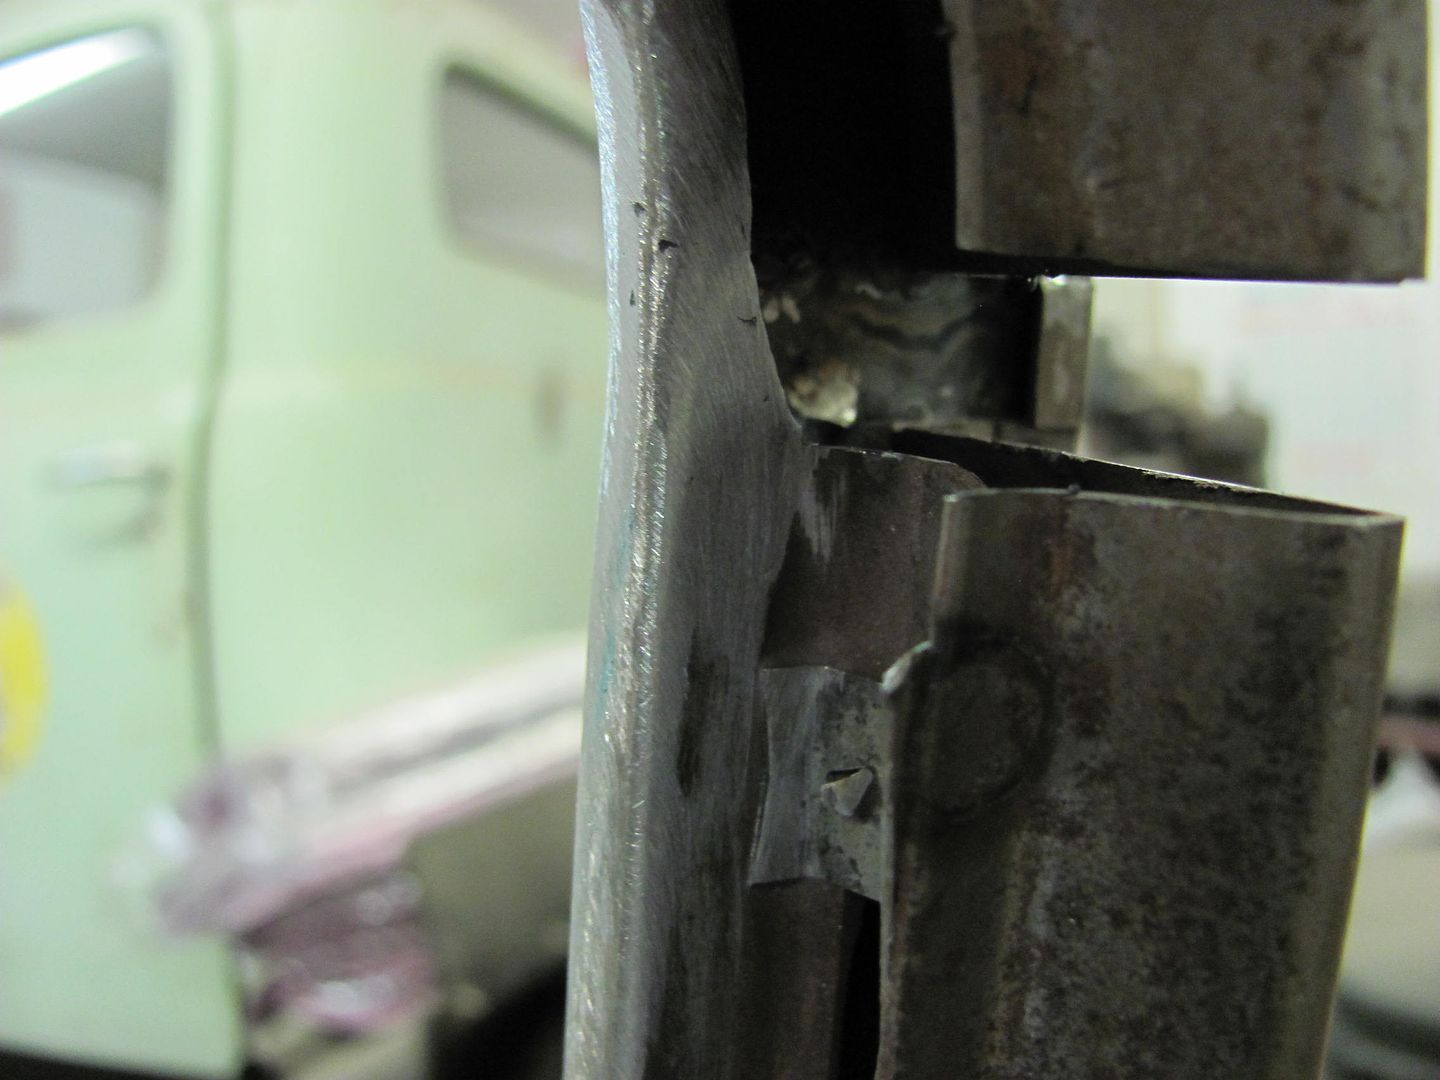
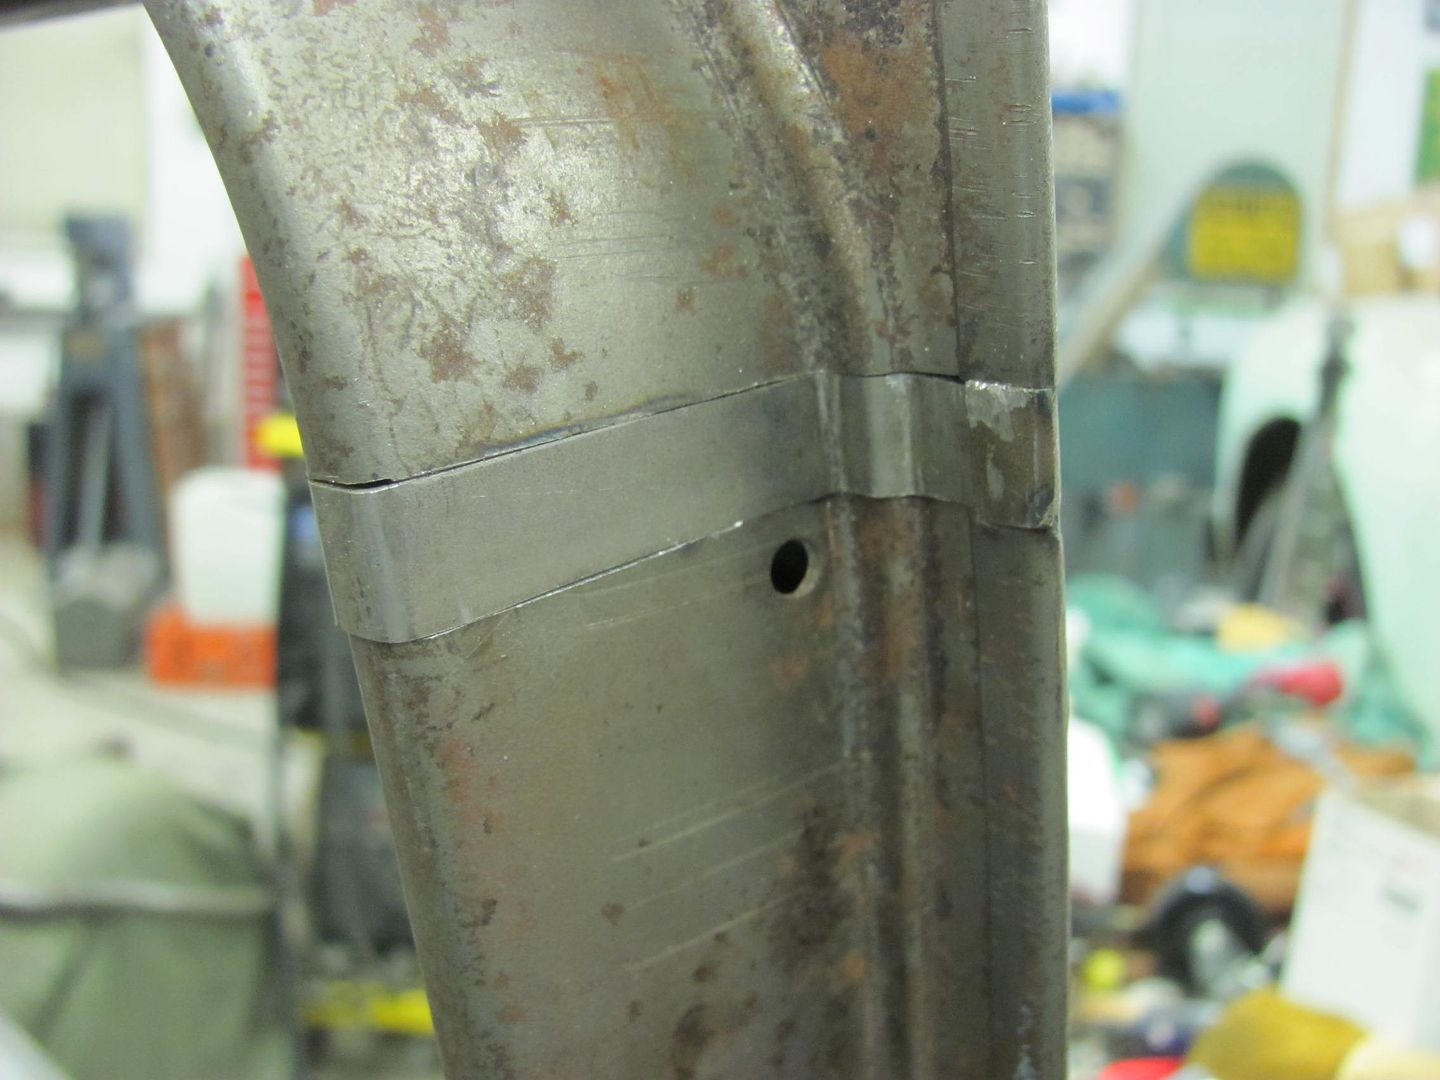
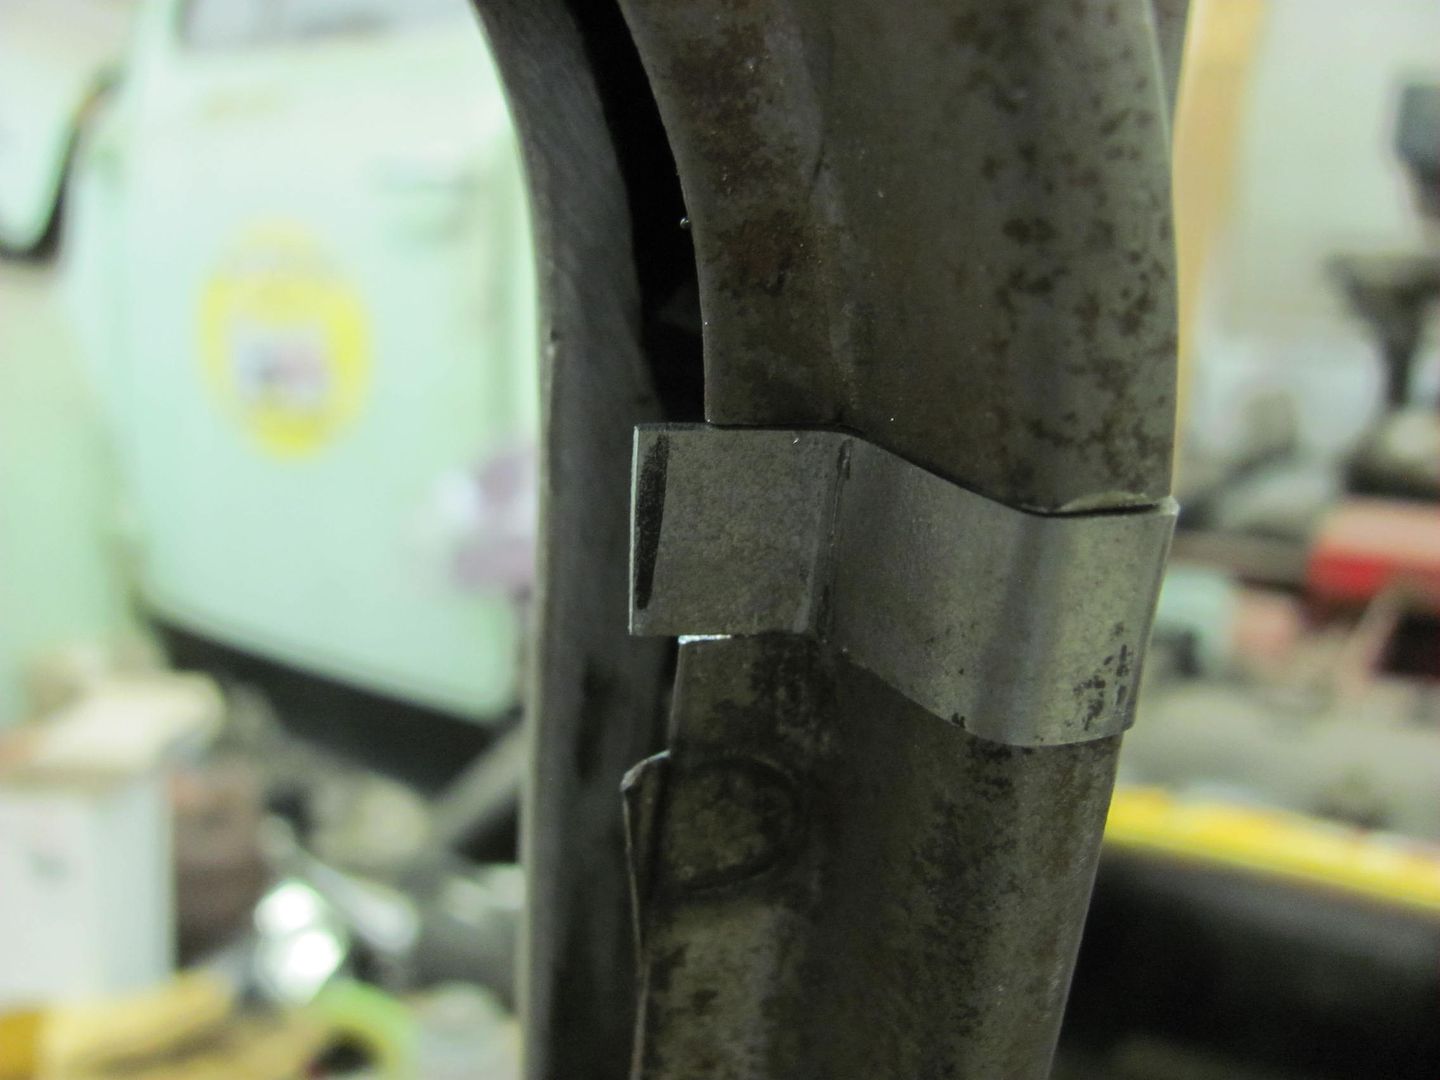
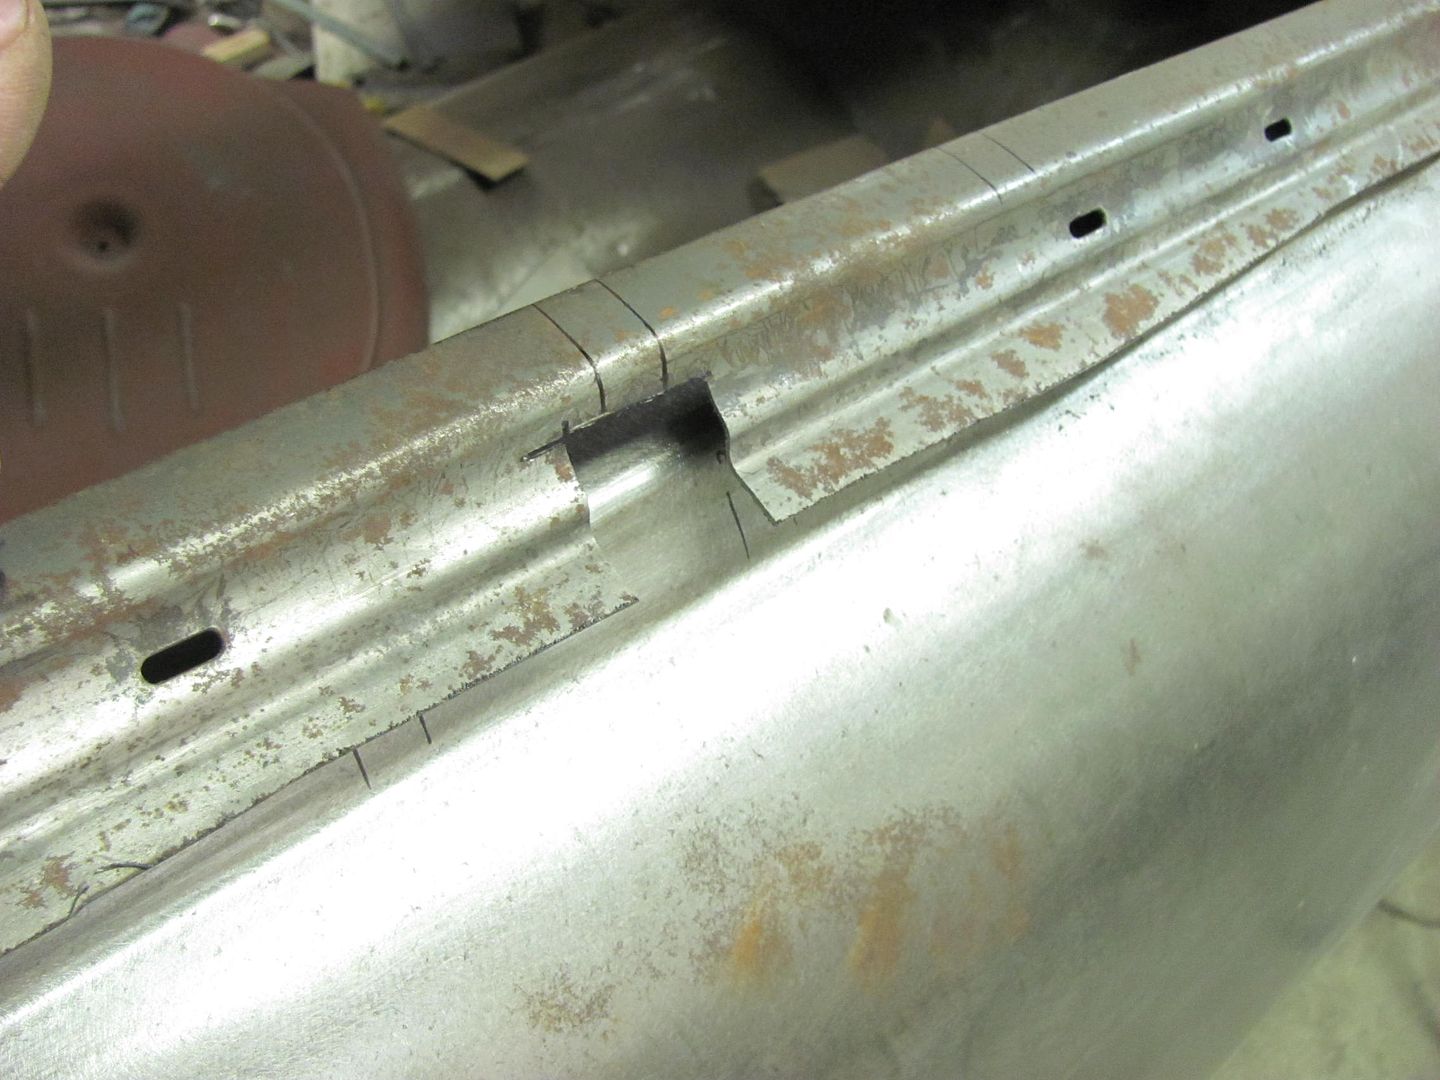
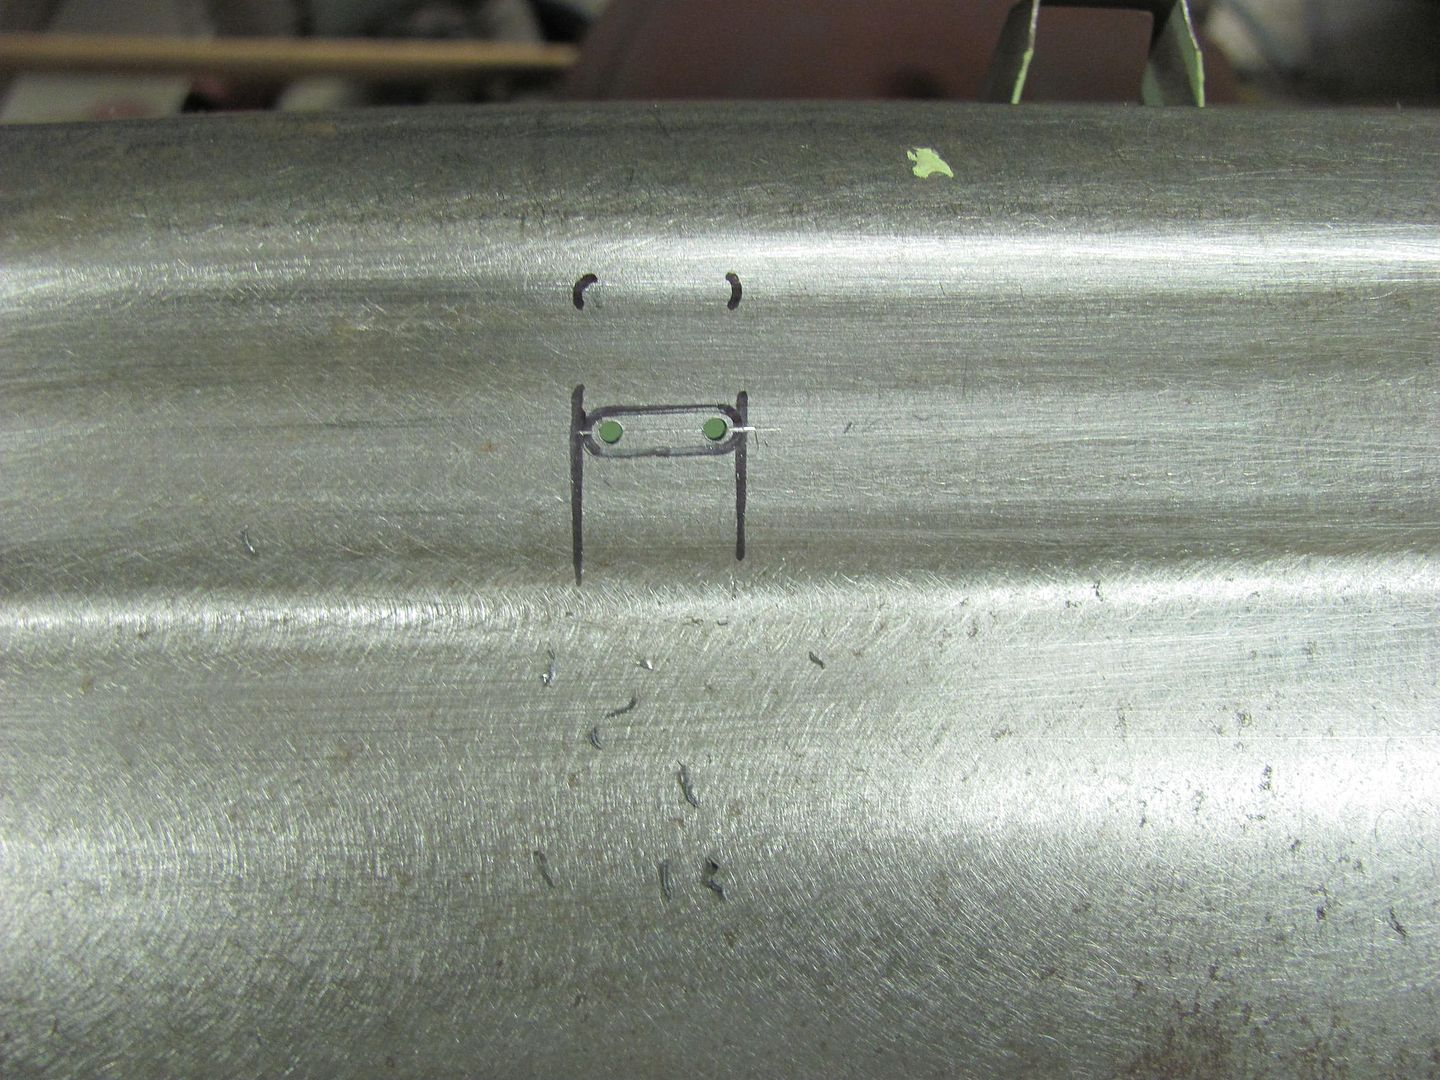
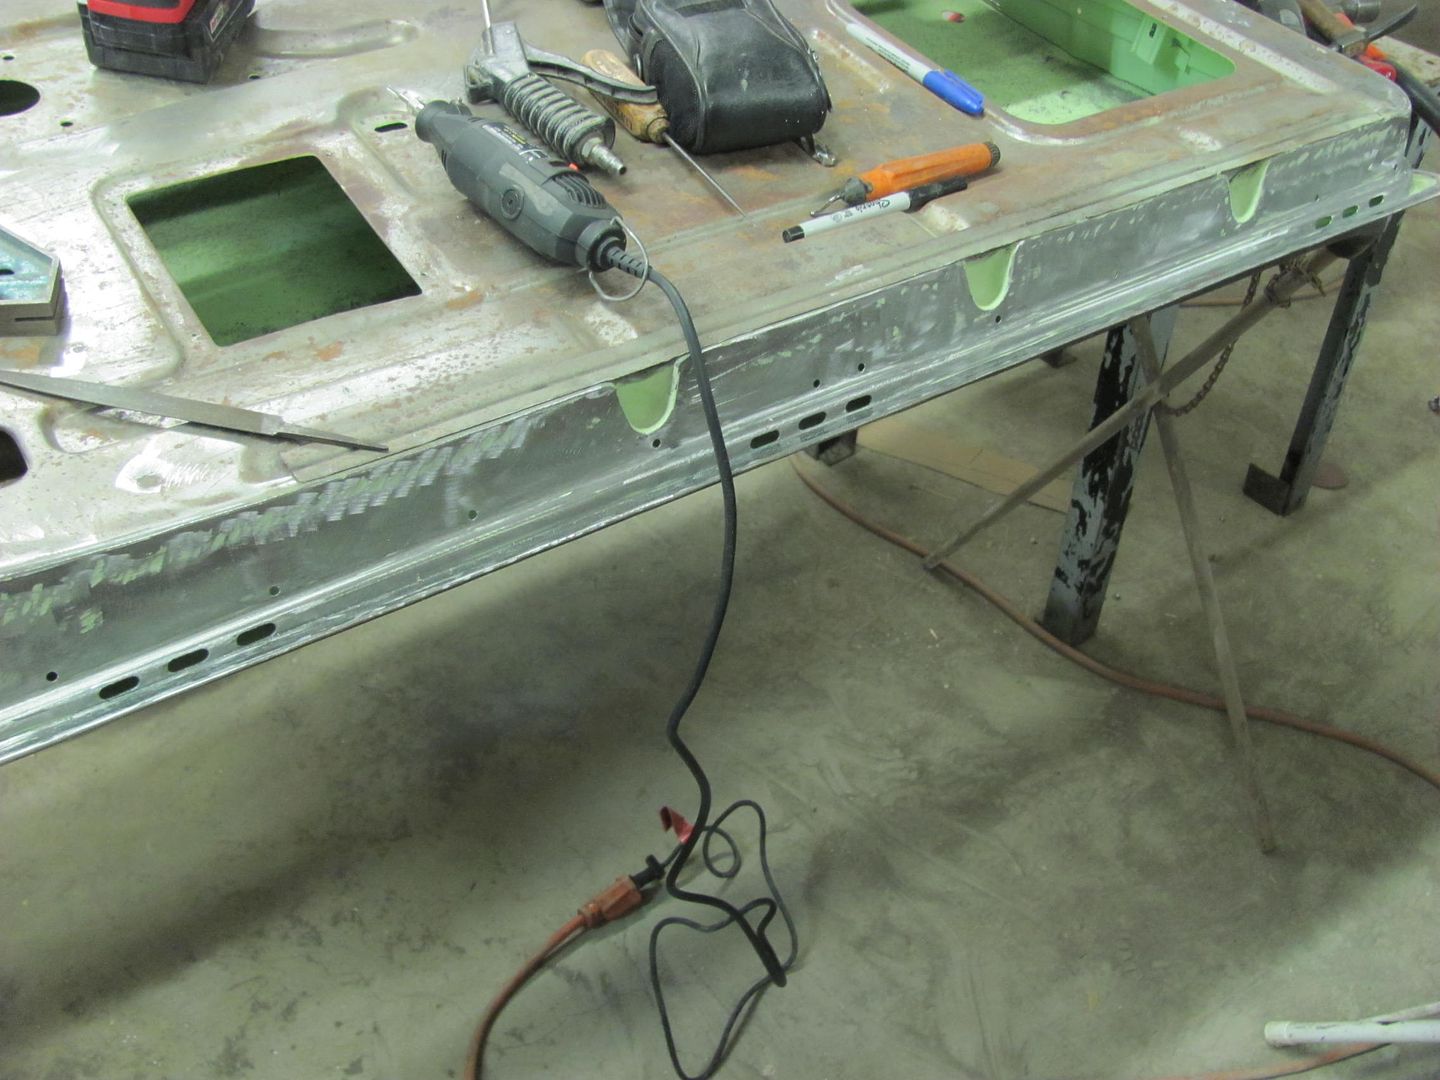
Really? Thats nuts that tiny little section probably took 20 minutes of grinding!!!!!!!
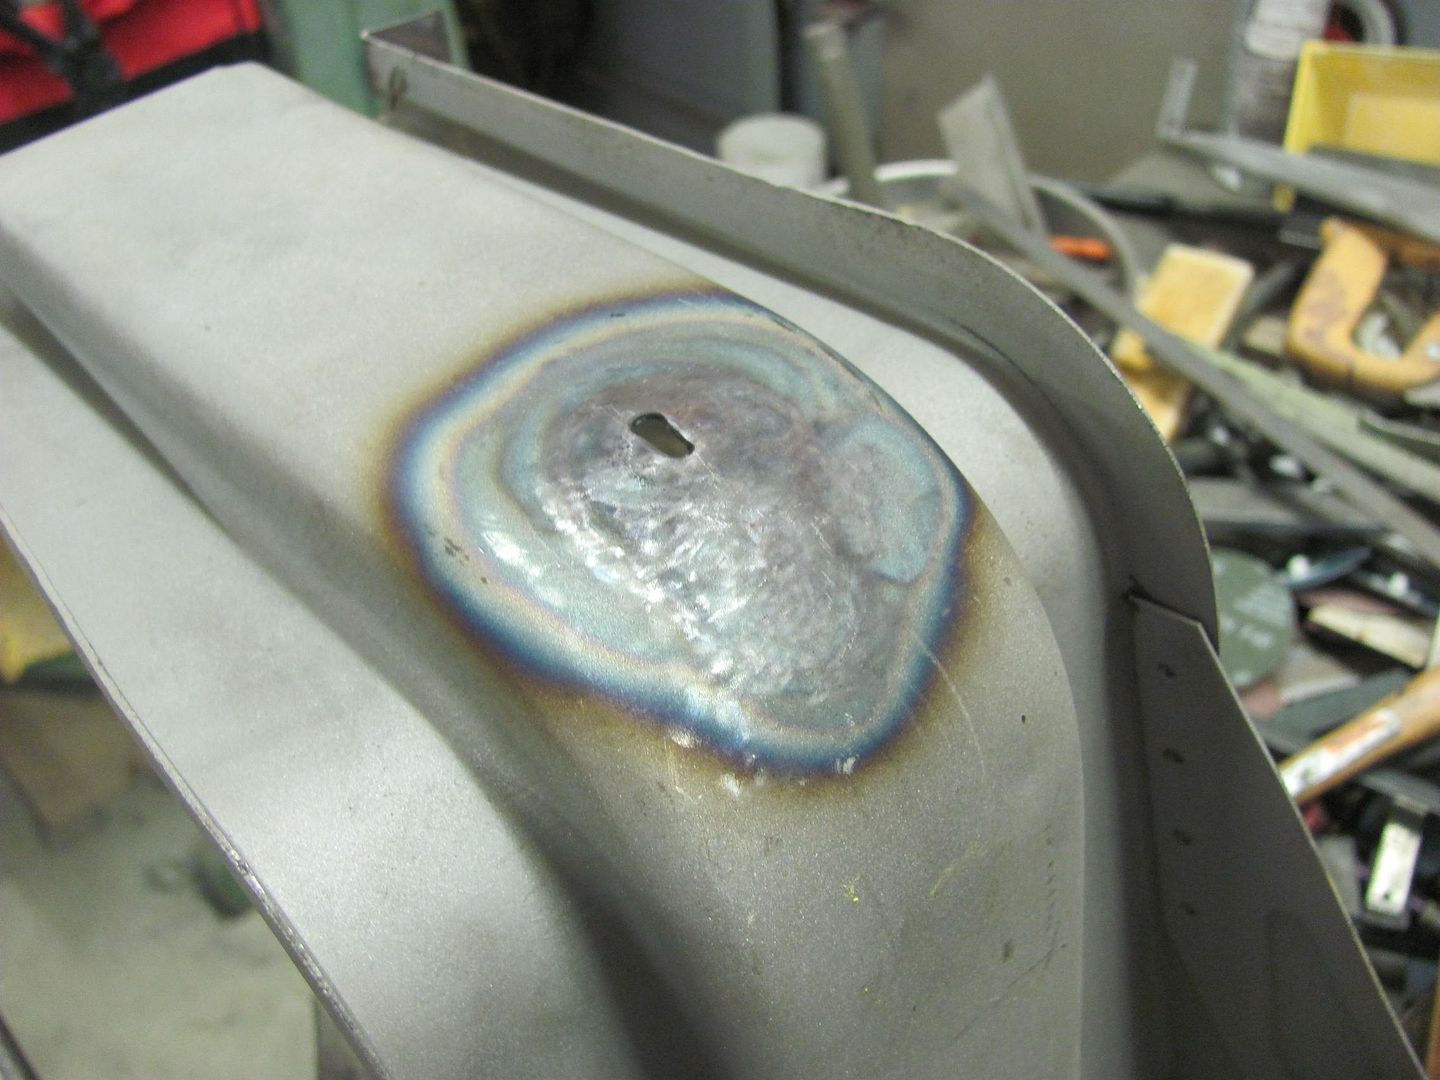
It's not that bad. I don't think I had 10 minutes of grinding in all of those plug welds and hole fills combined.
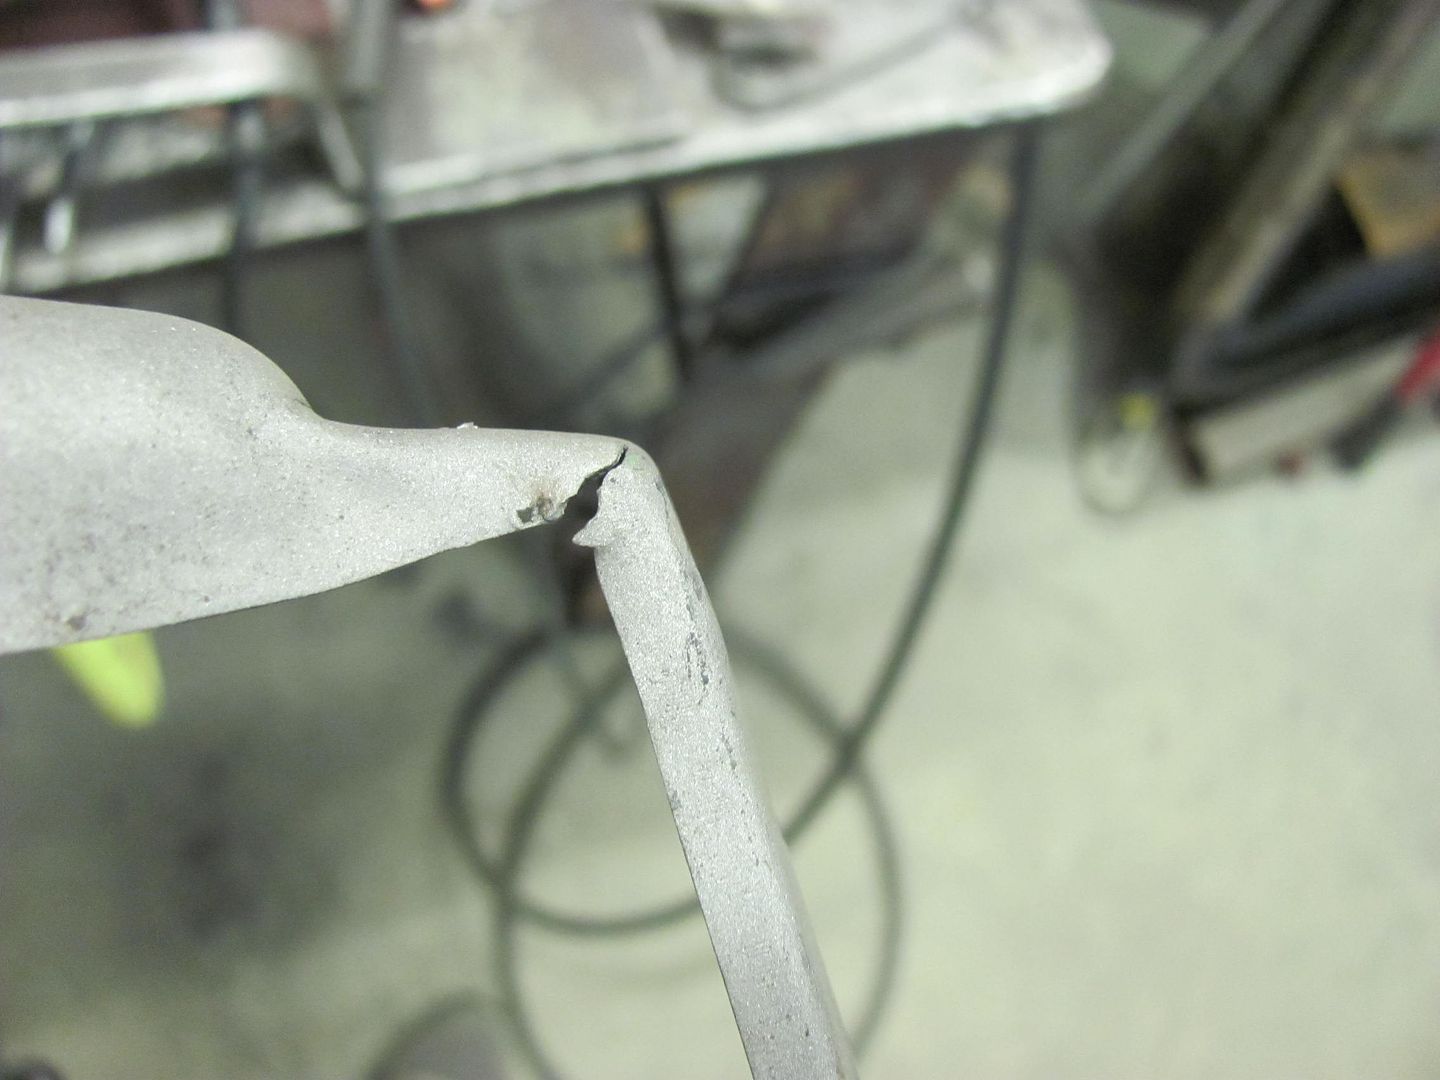
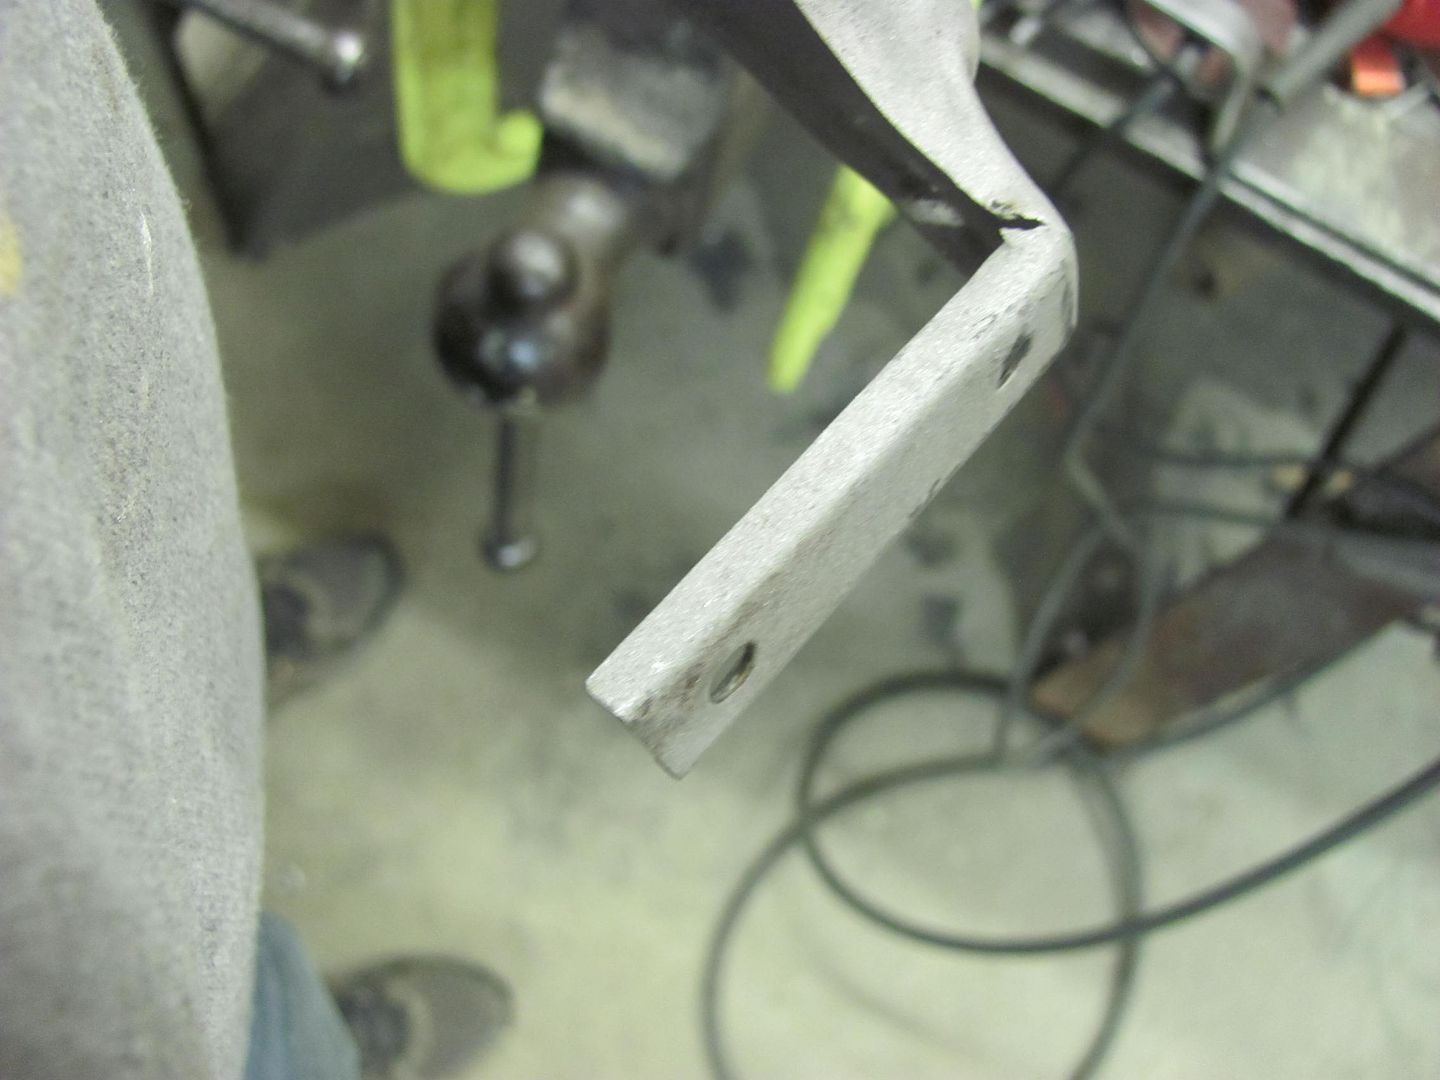
 That's the difference experience makes. You probably already knew that you were going to have to grind the welds, what tool you'd use to do it and where the tool was.
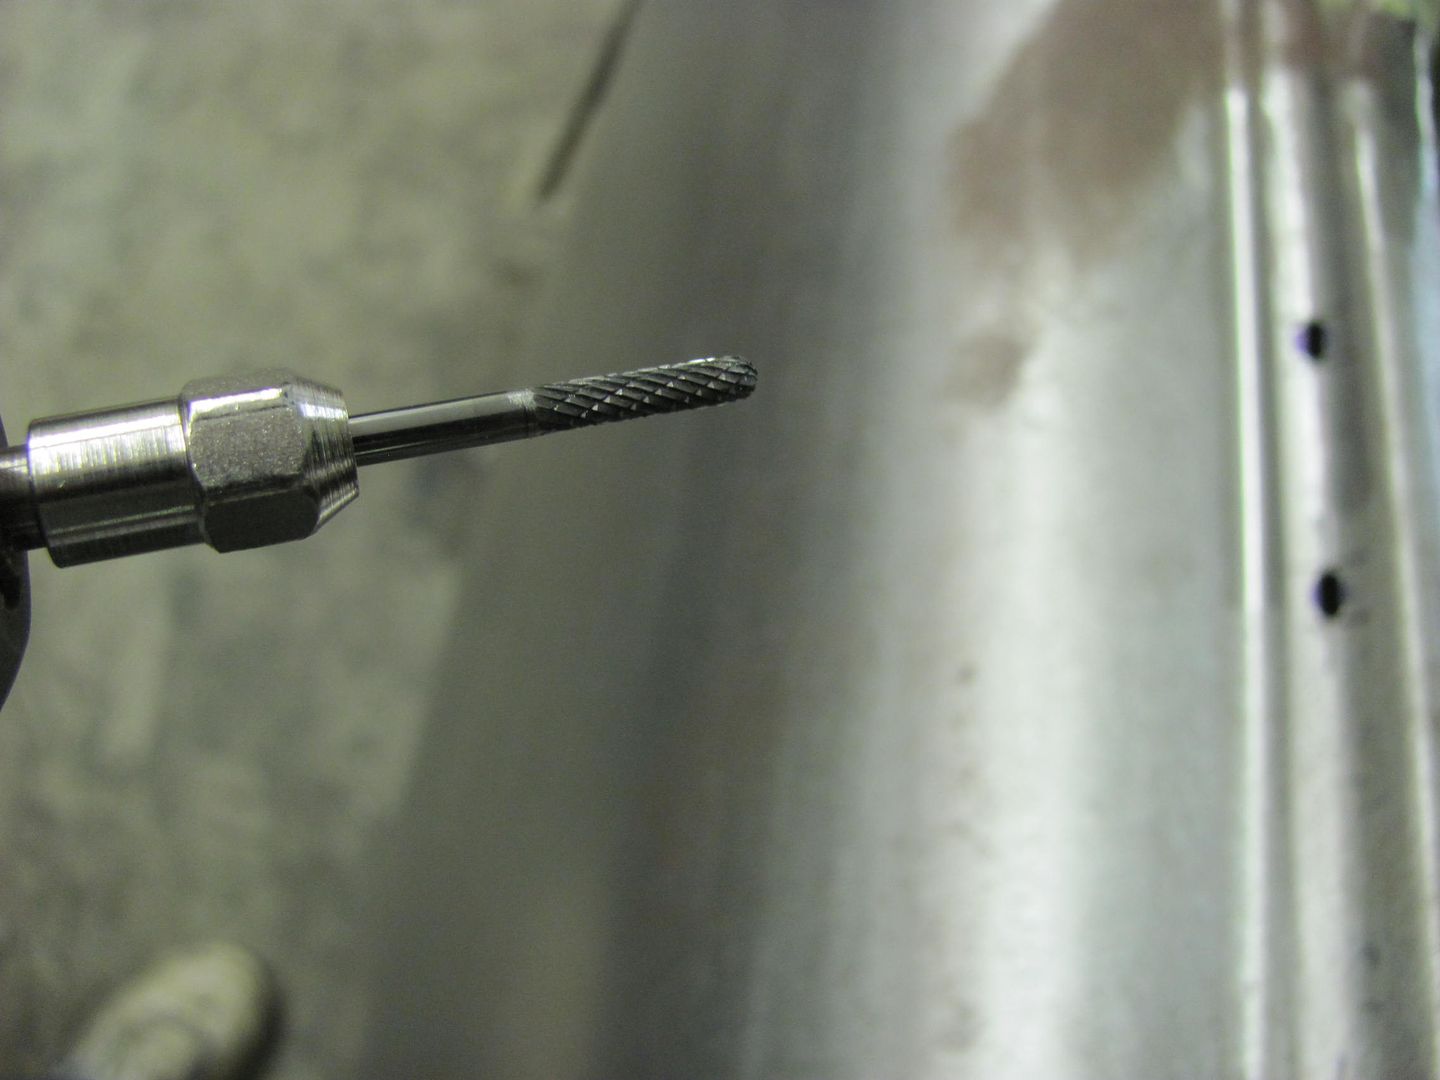
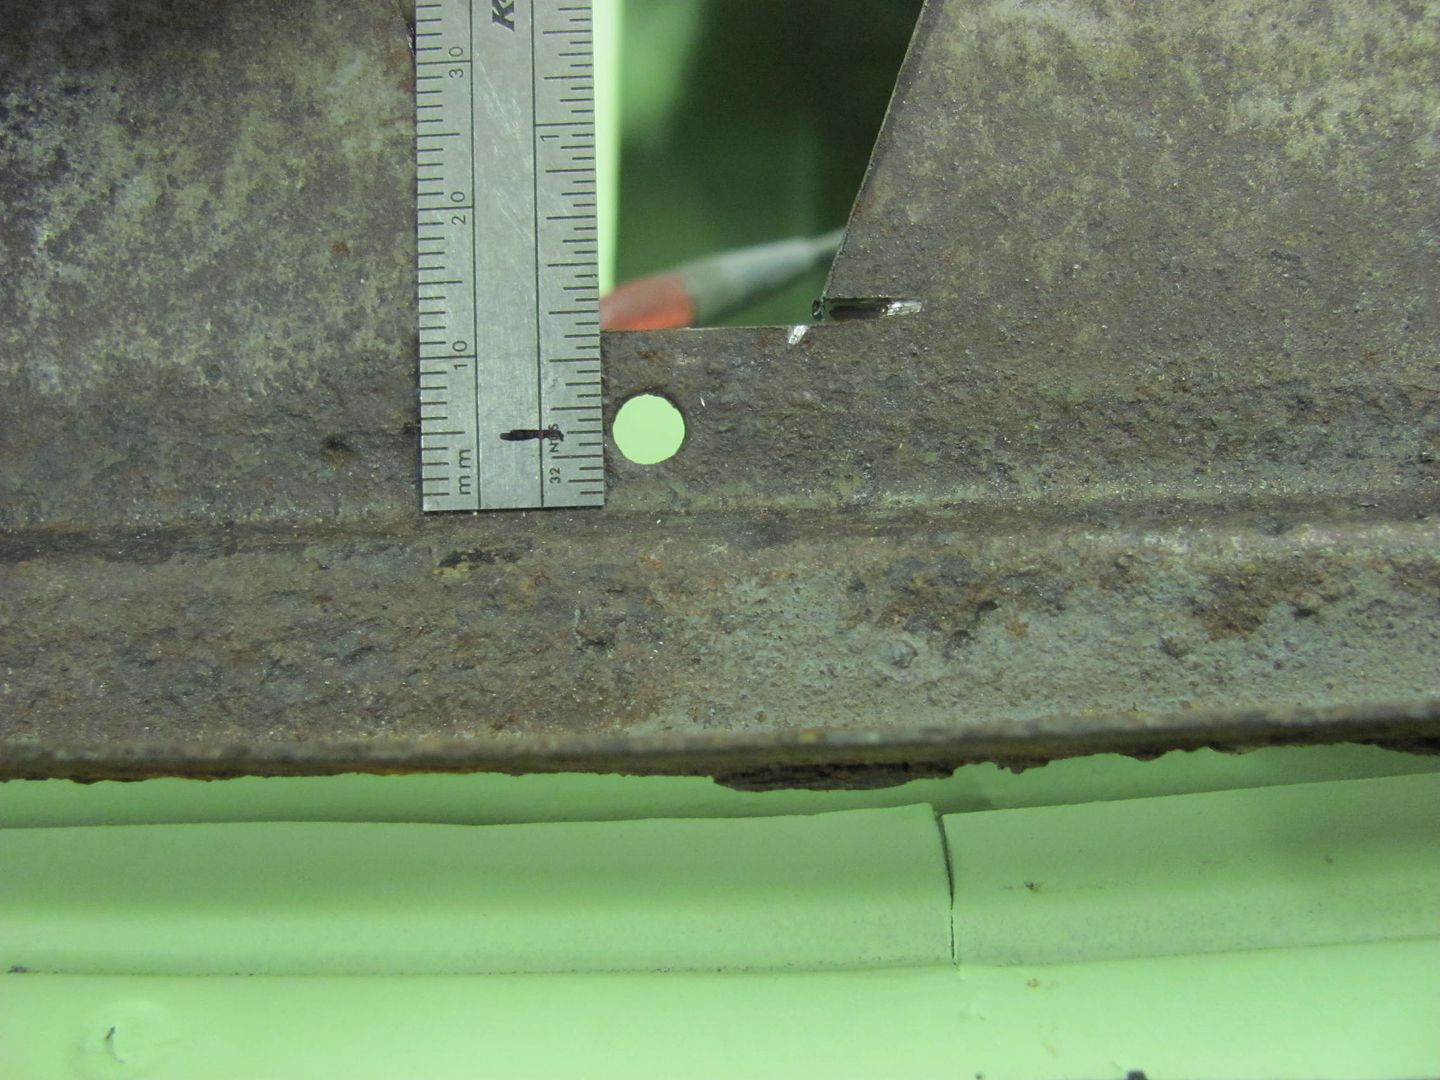
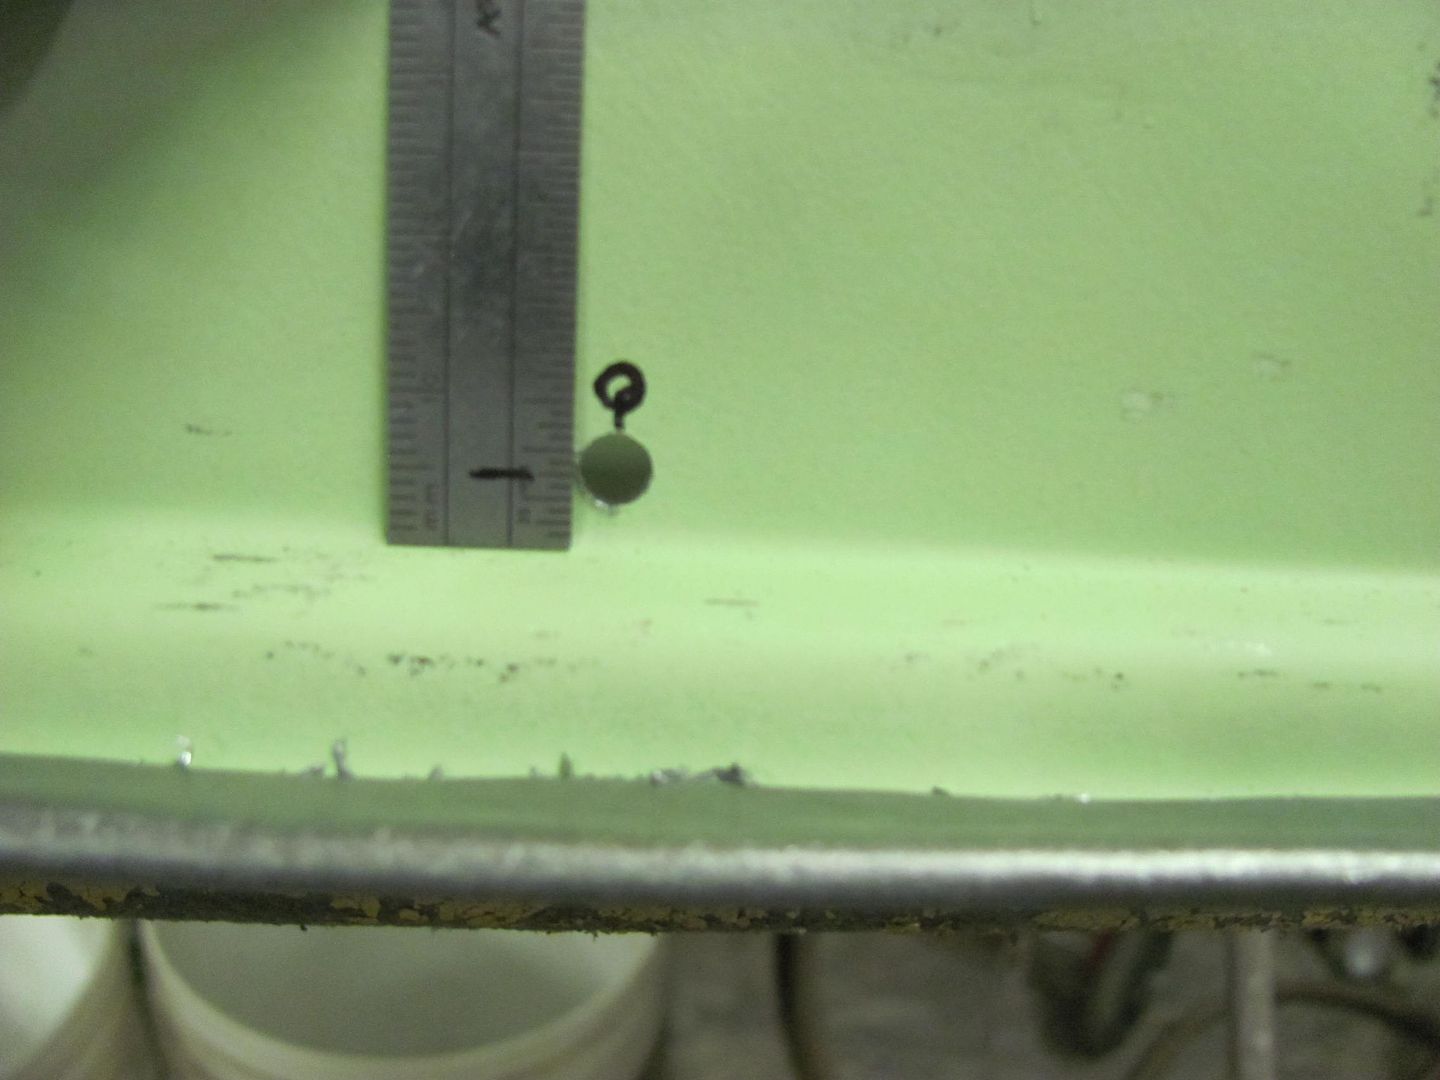
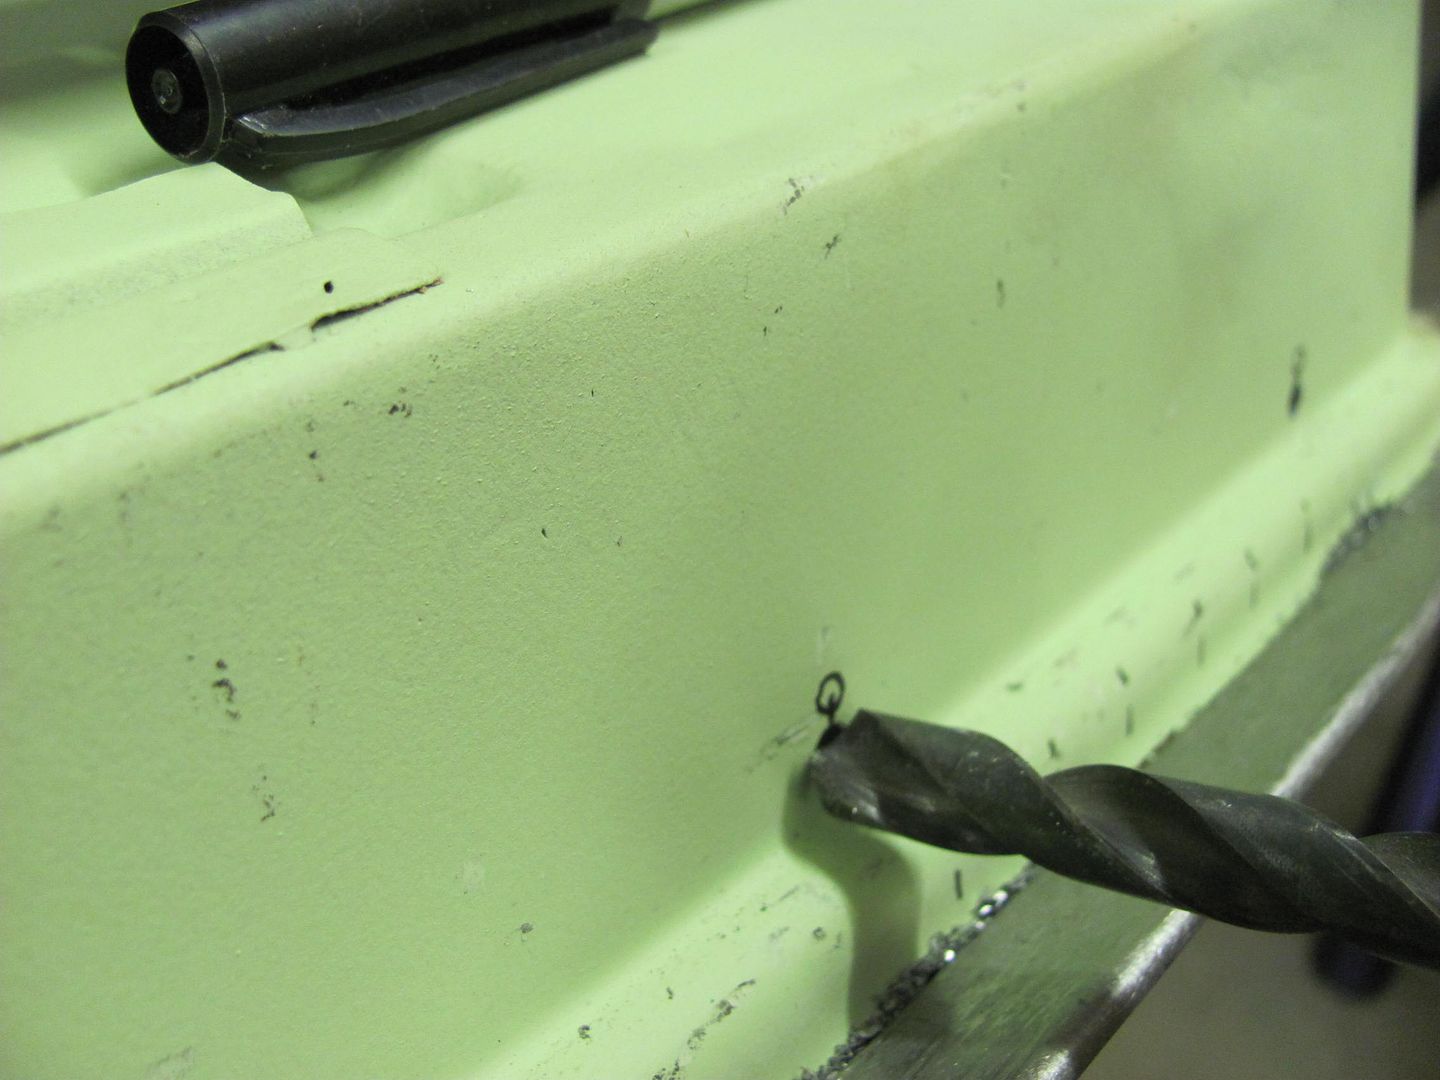
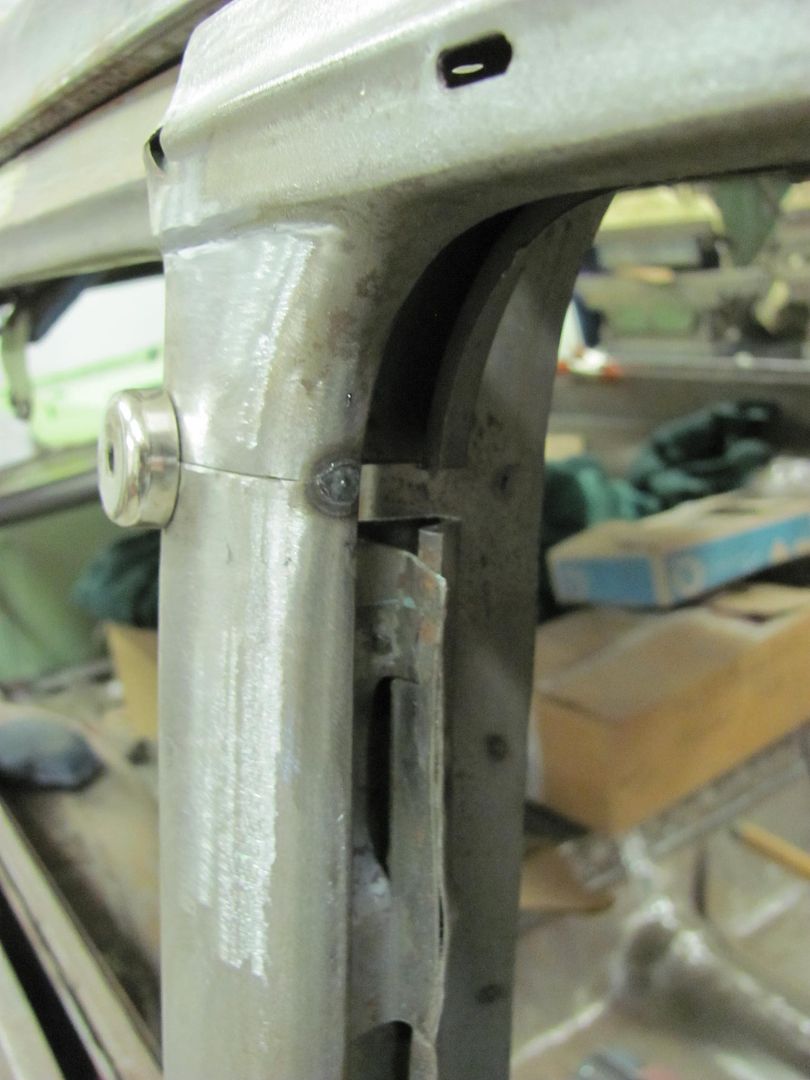
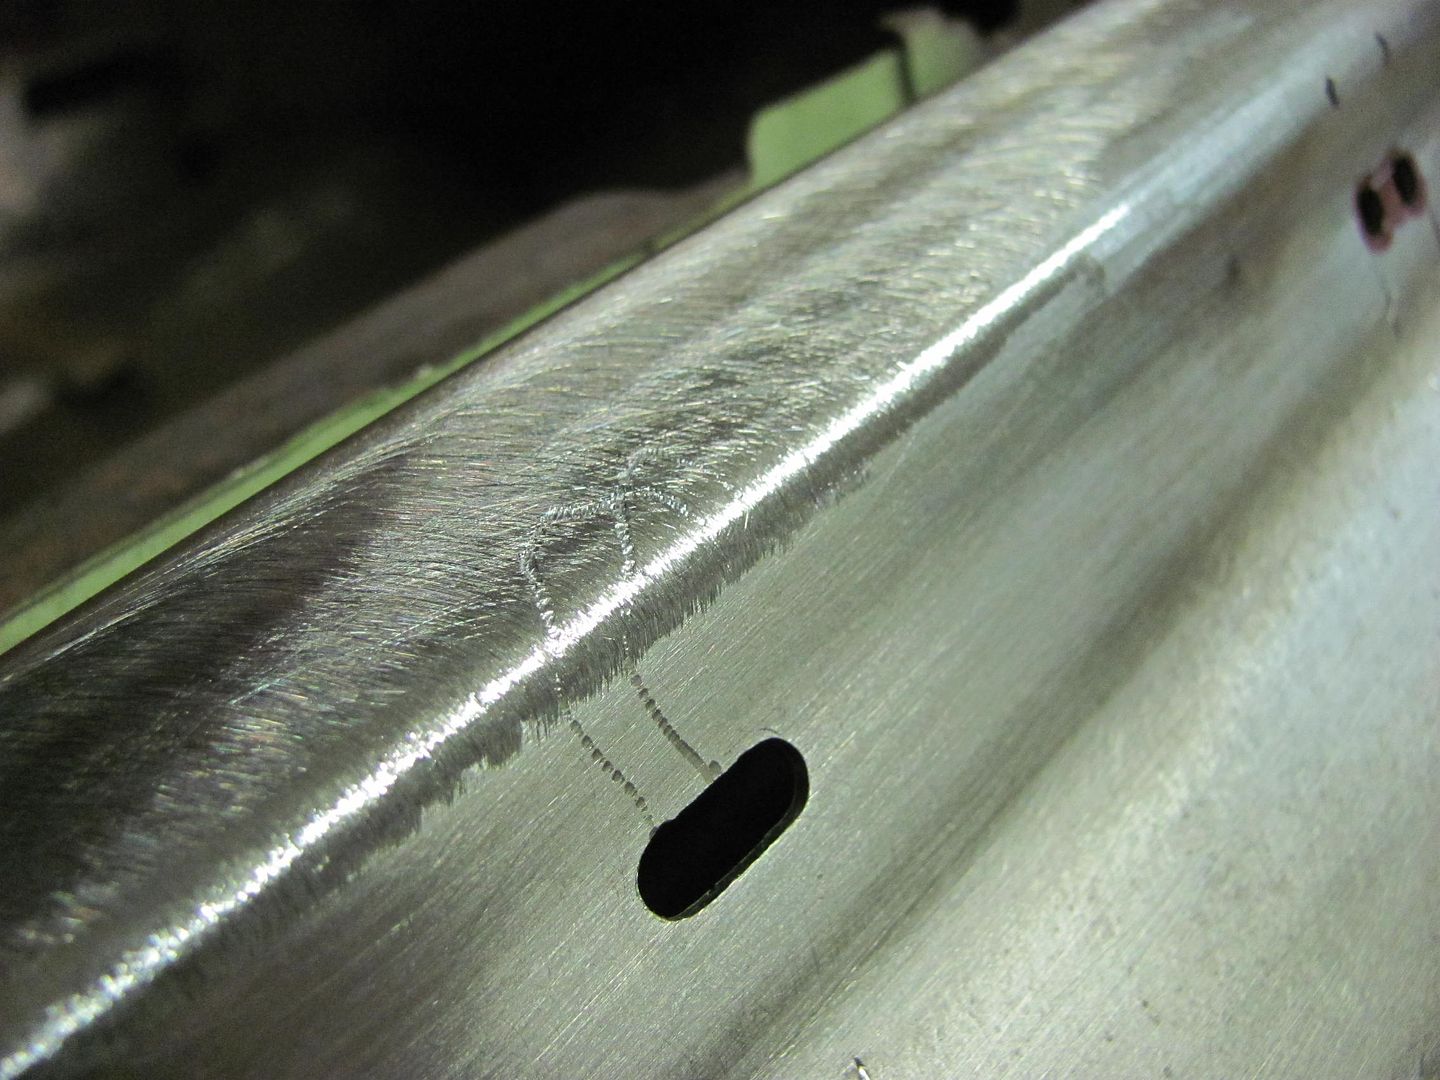
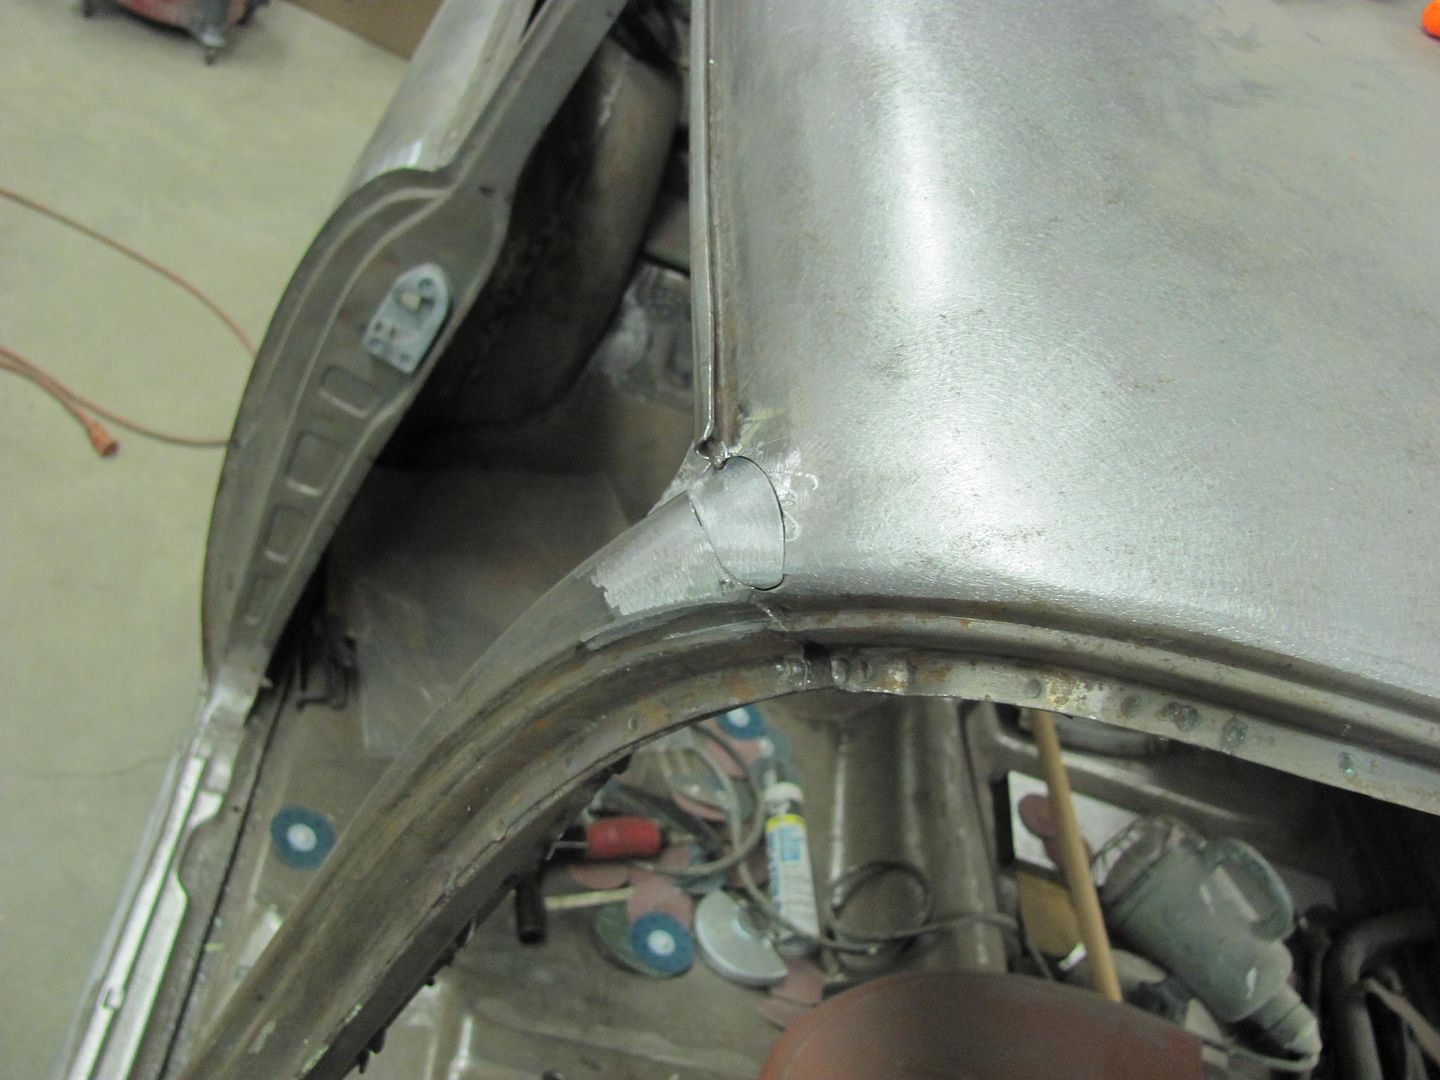
Sorry for the blurry picture, gonna have to fire the photographer!

I think I could find more than one thing for the out of work photographer to do in my shop")