Thanks for the comments guys!
A rare earth magnet will hold better!
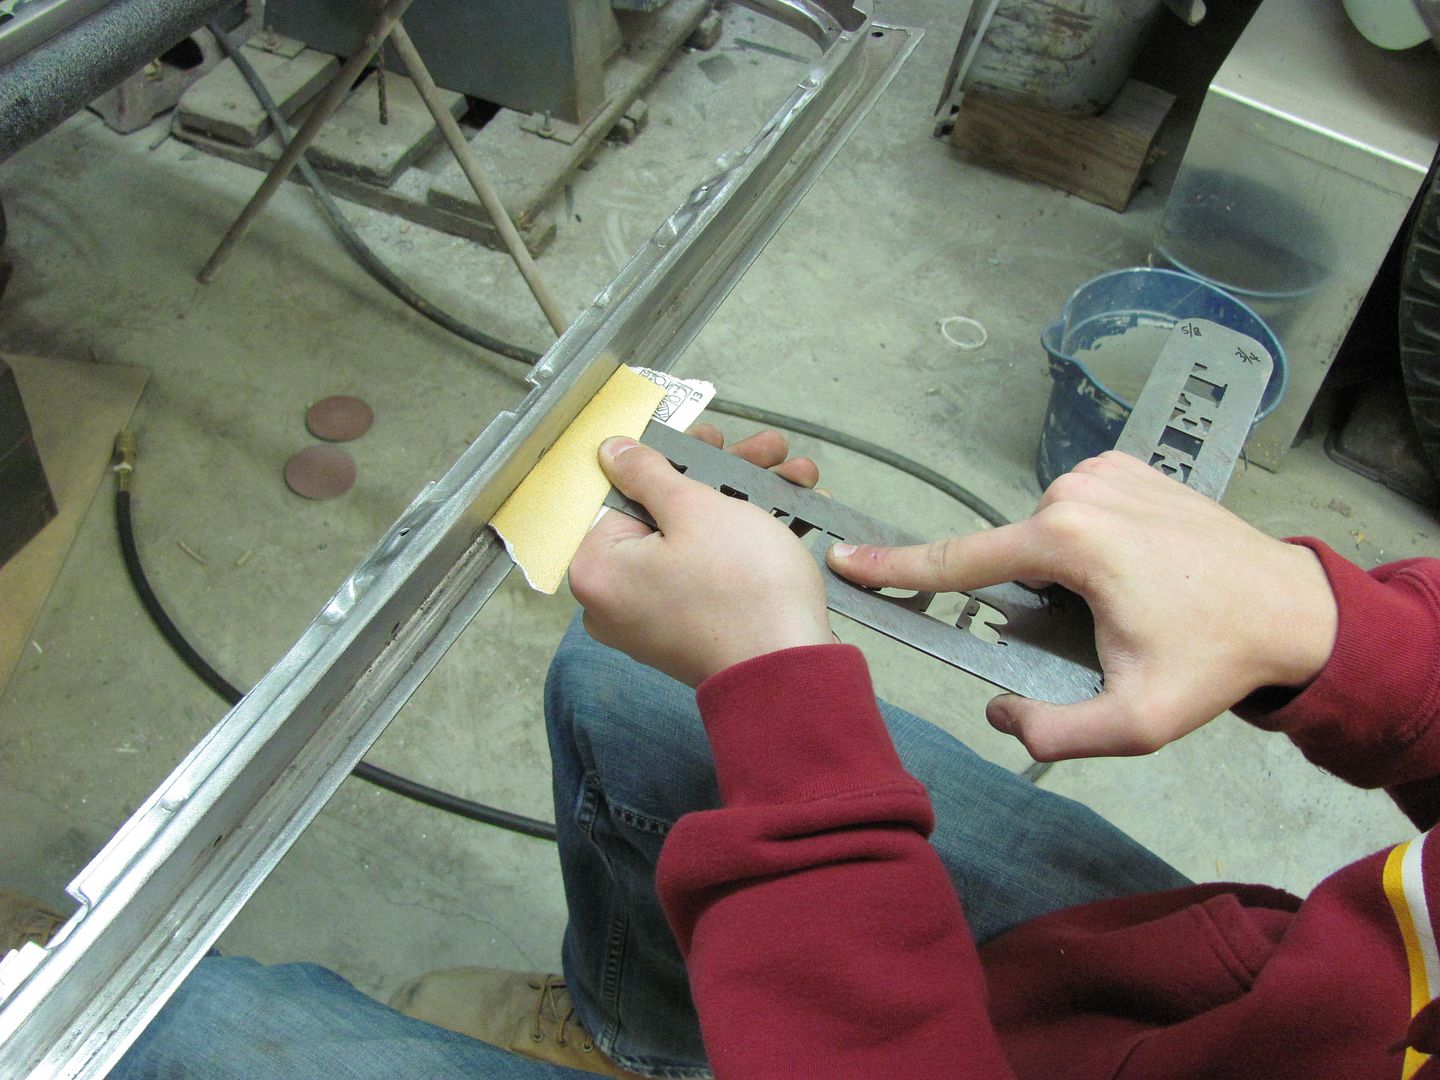
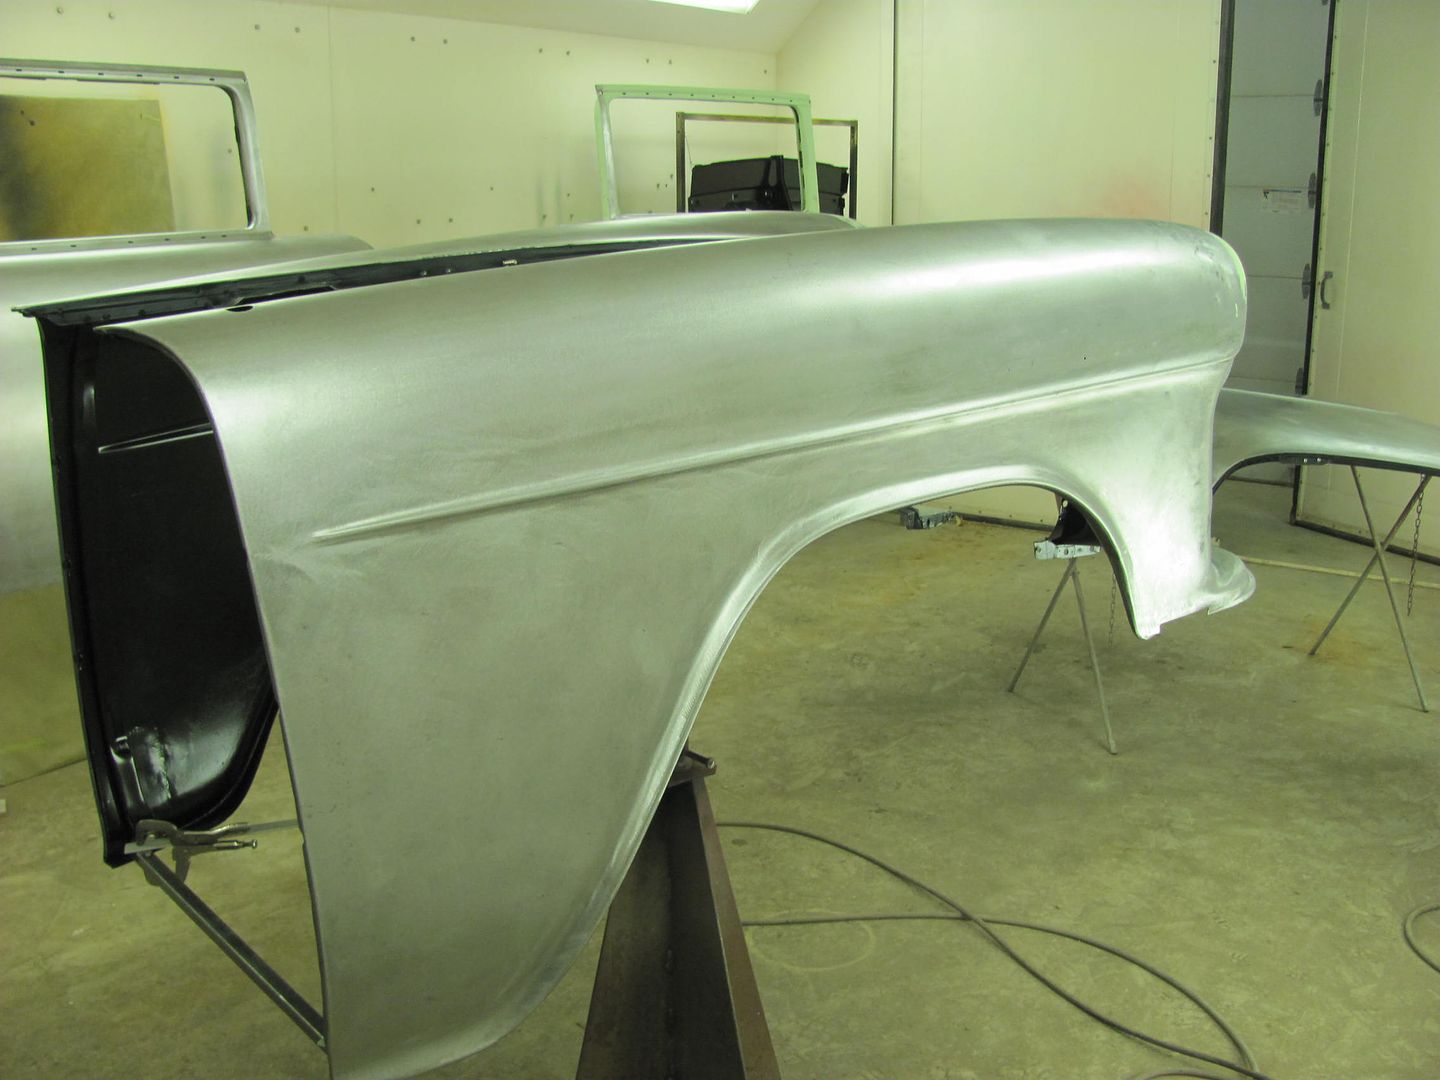
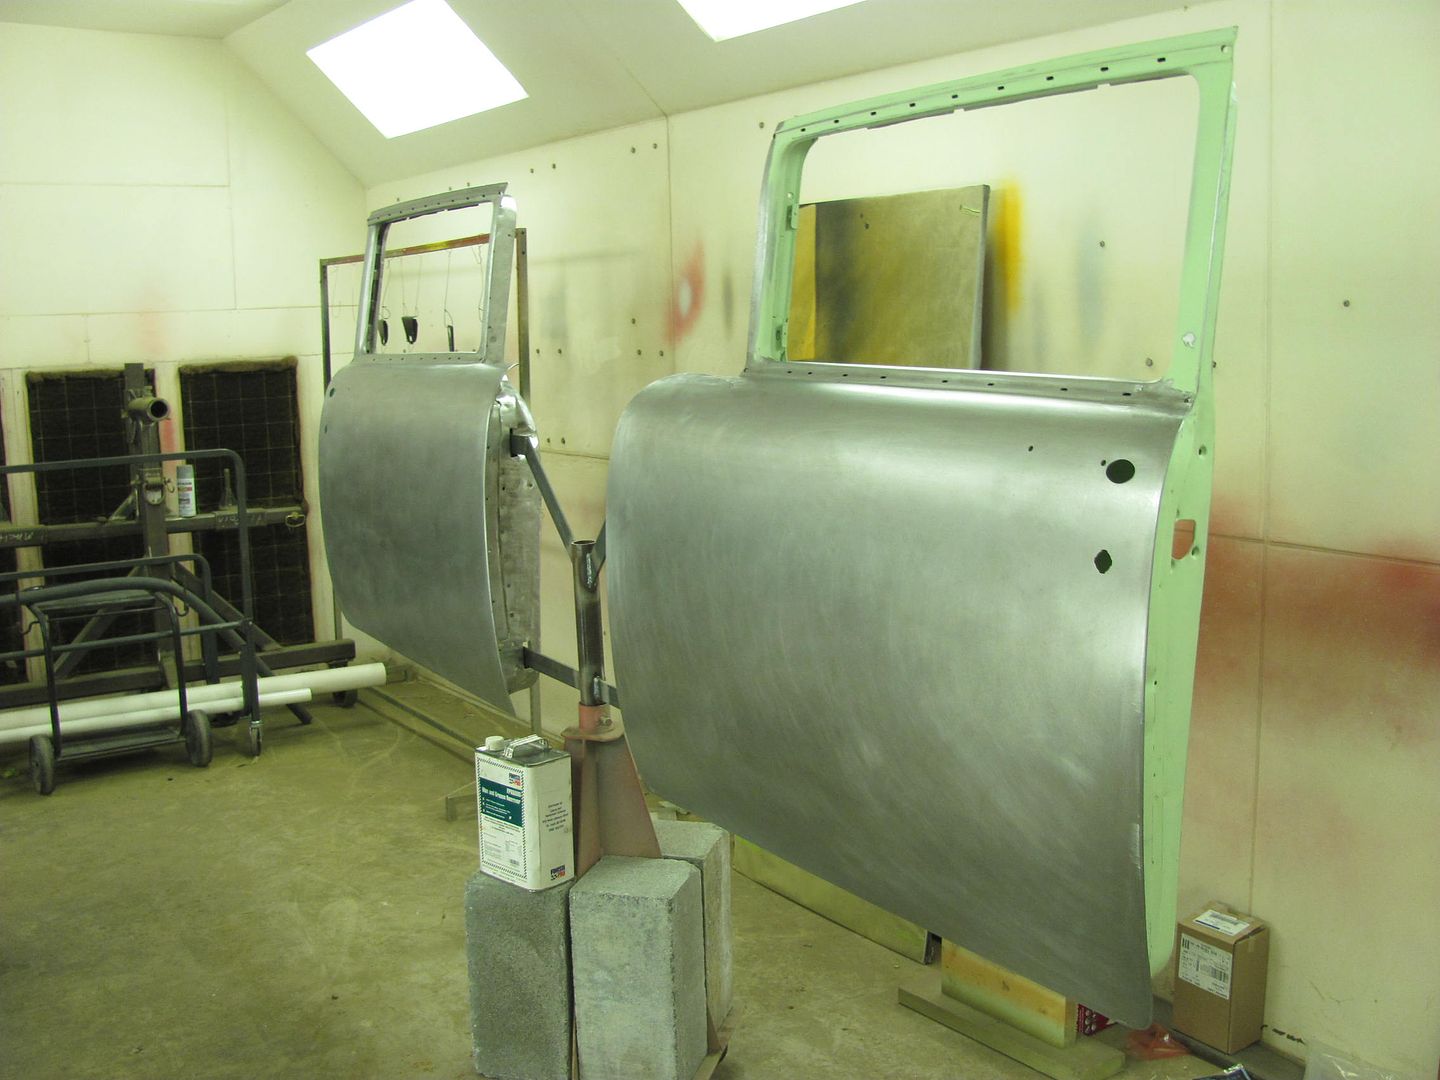
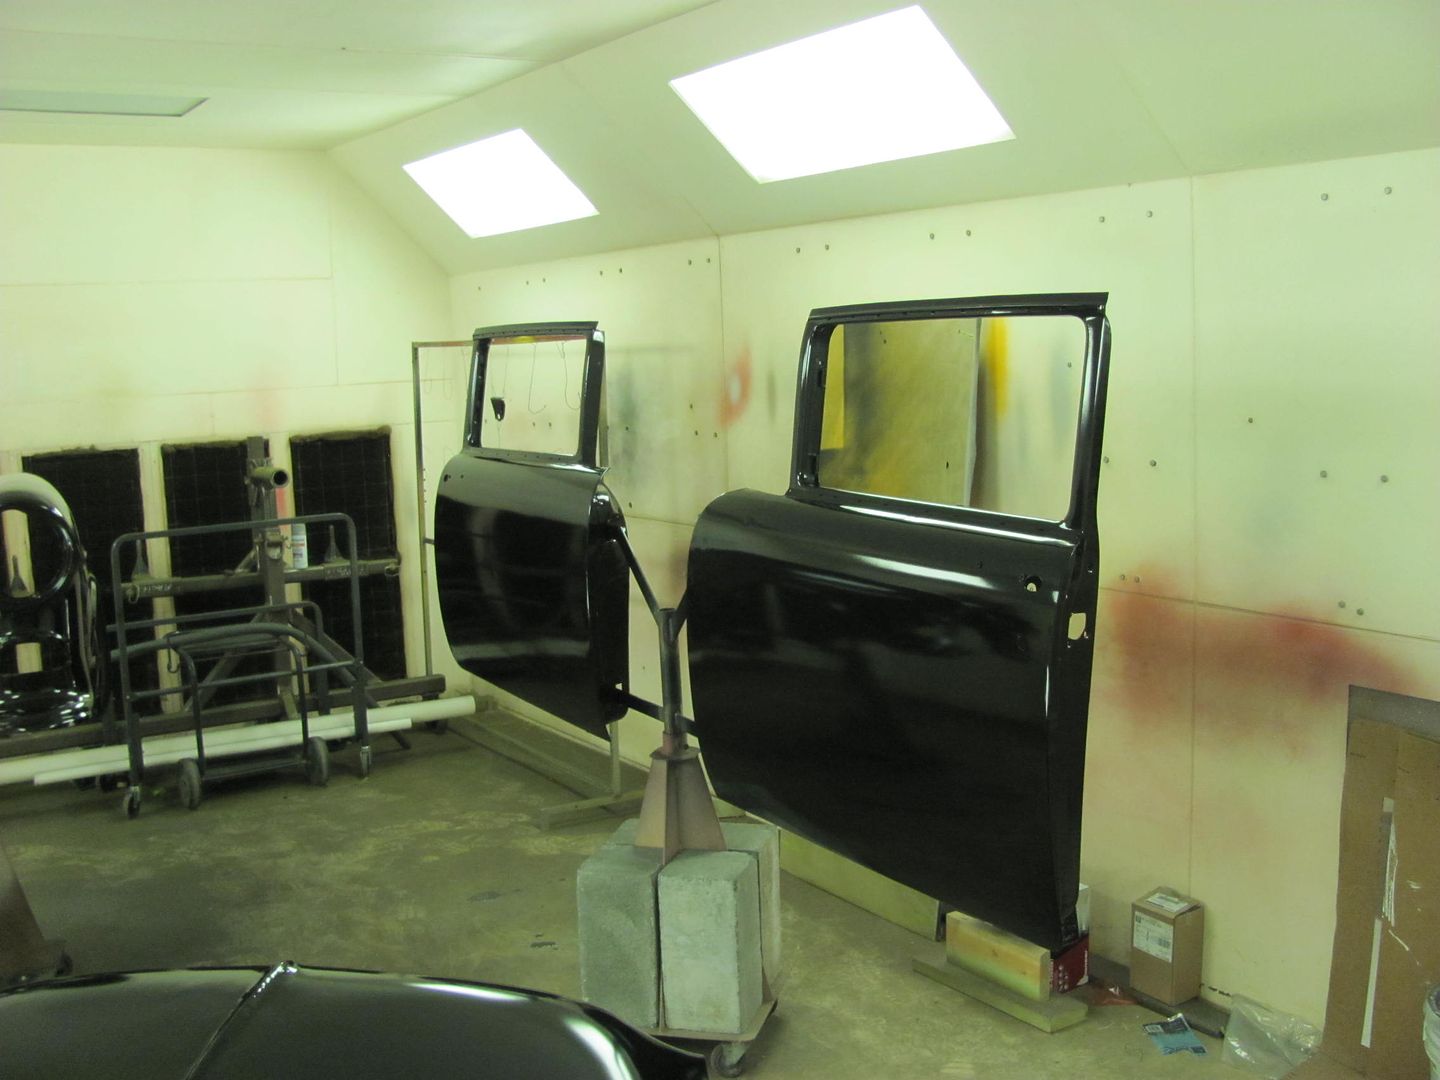
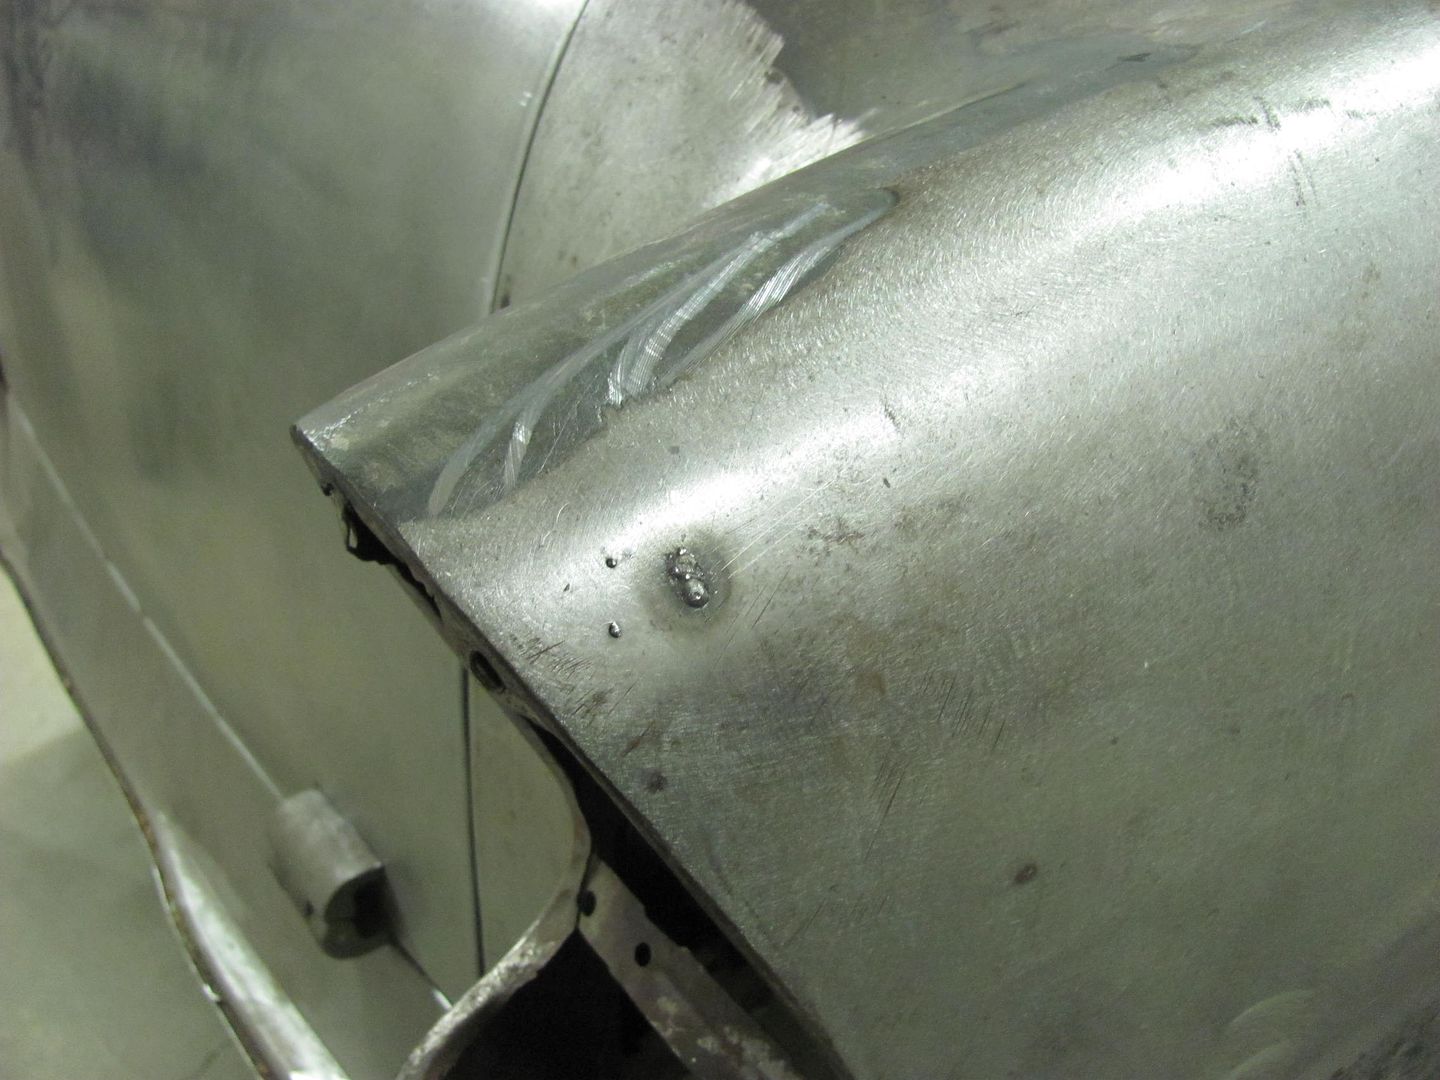
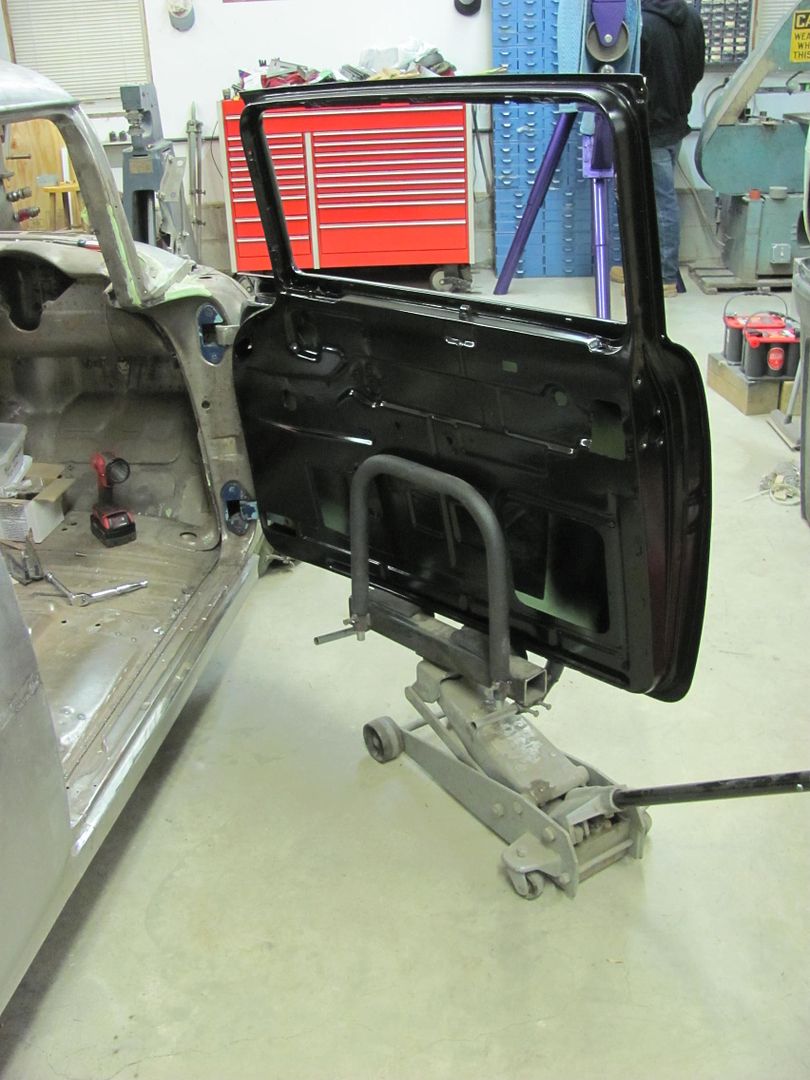
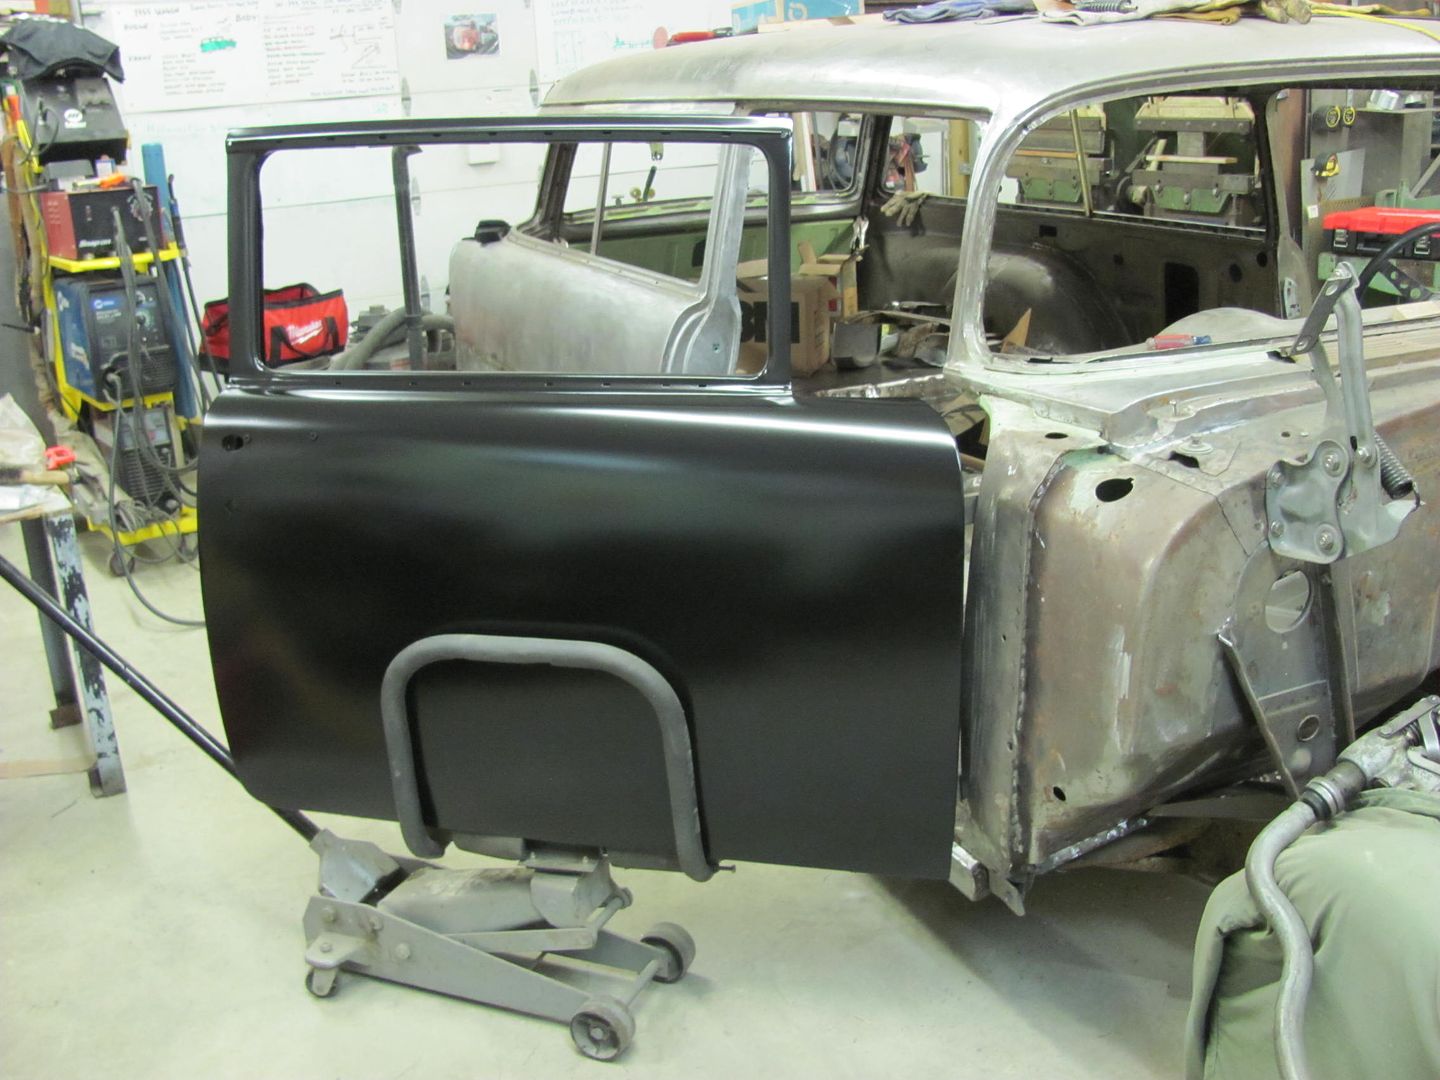
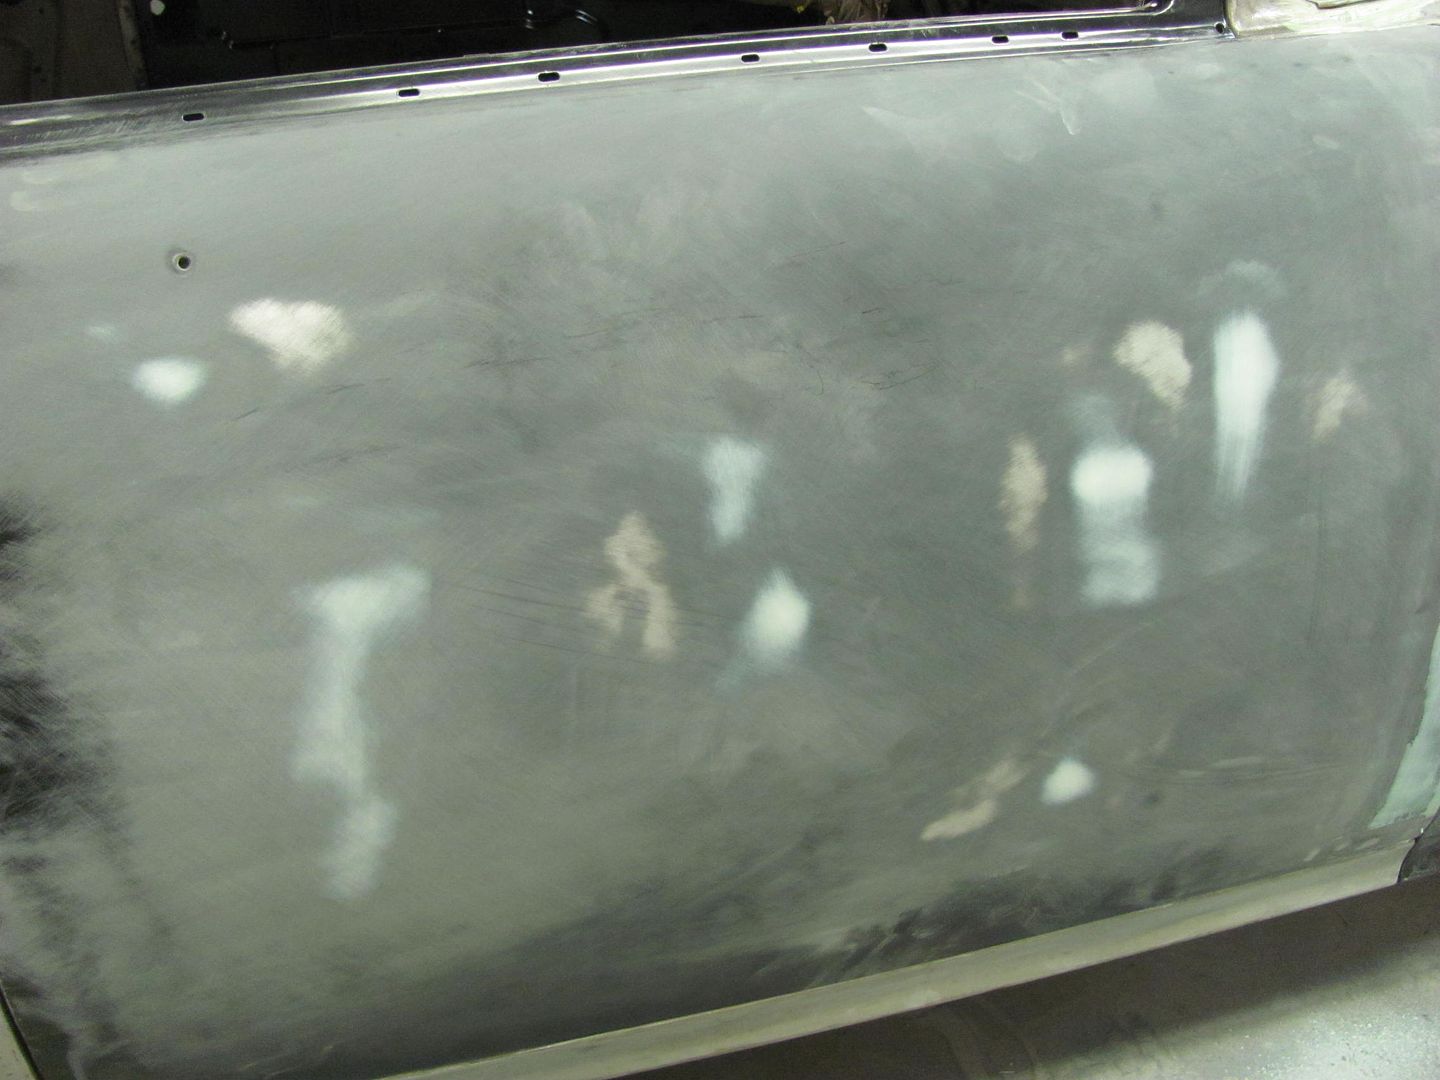
Tonight Kyle was putting the finishing touches on prepping the passenger door for paint. Lots of nooks and crannies. We ended up moving the drill press so we could open the media blast cabinet door wide enough to put the door inside. It was a snug fit, but made easier work of cleaning the door on the ends... The rest will be done by hand...
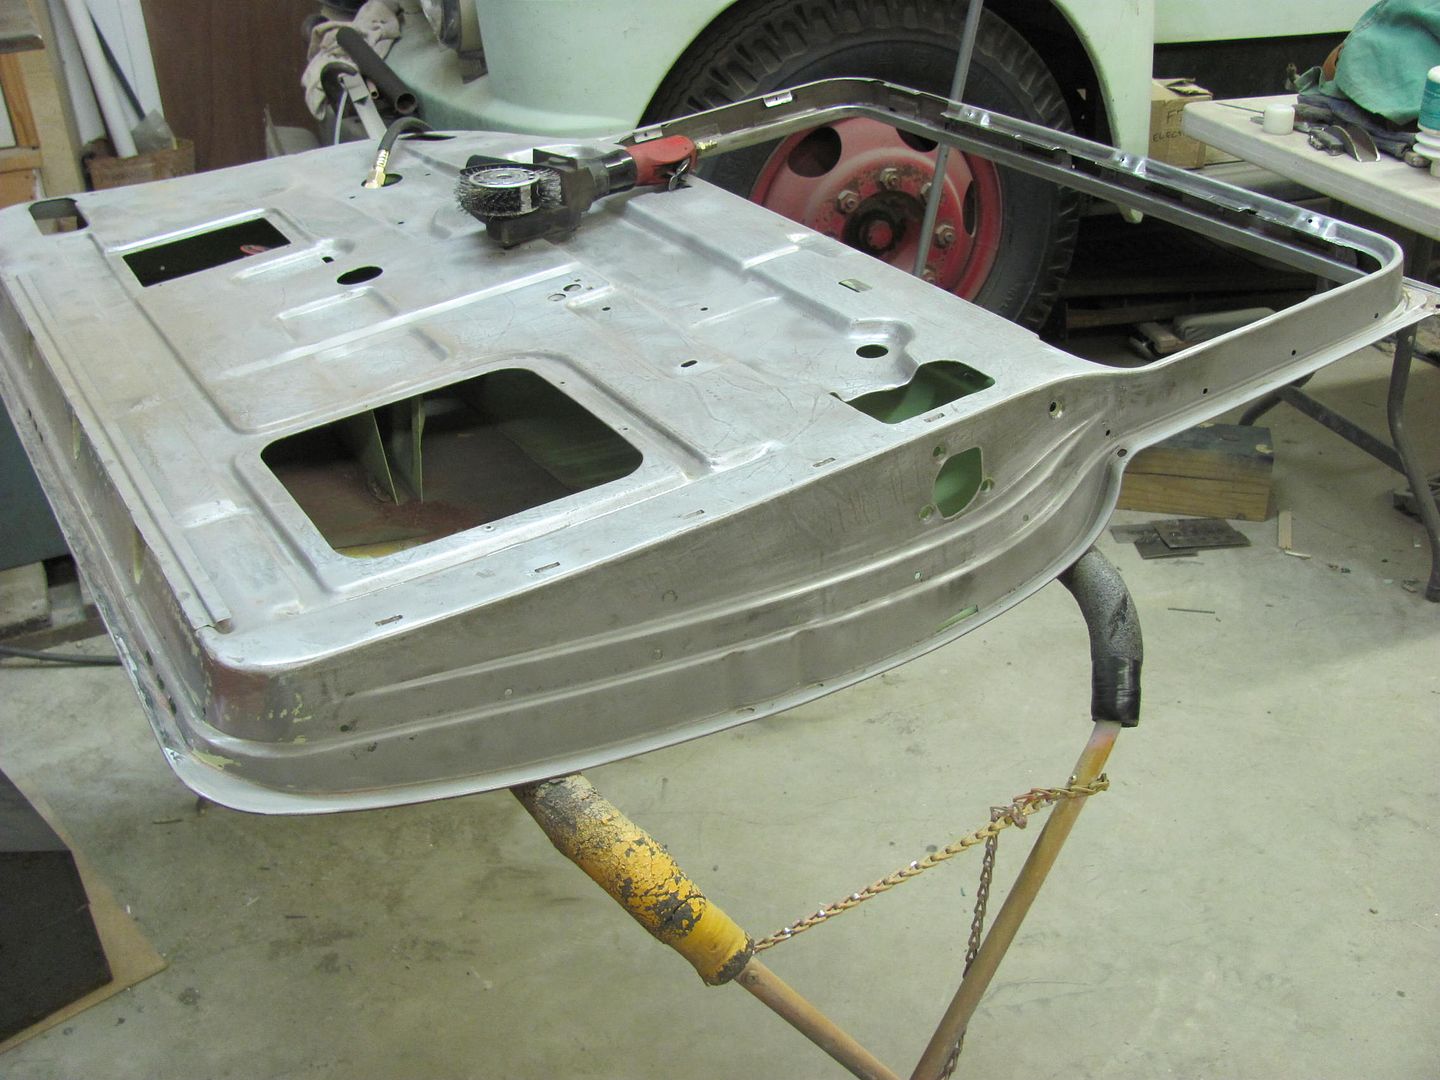
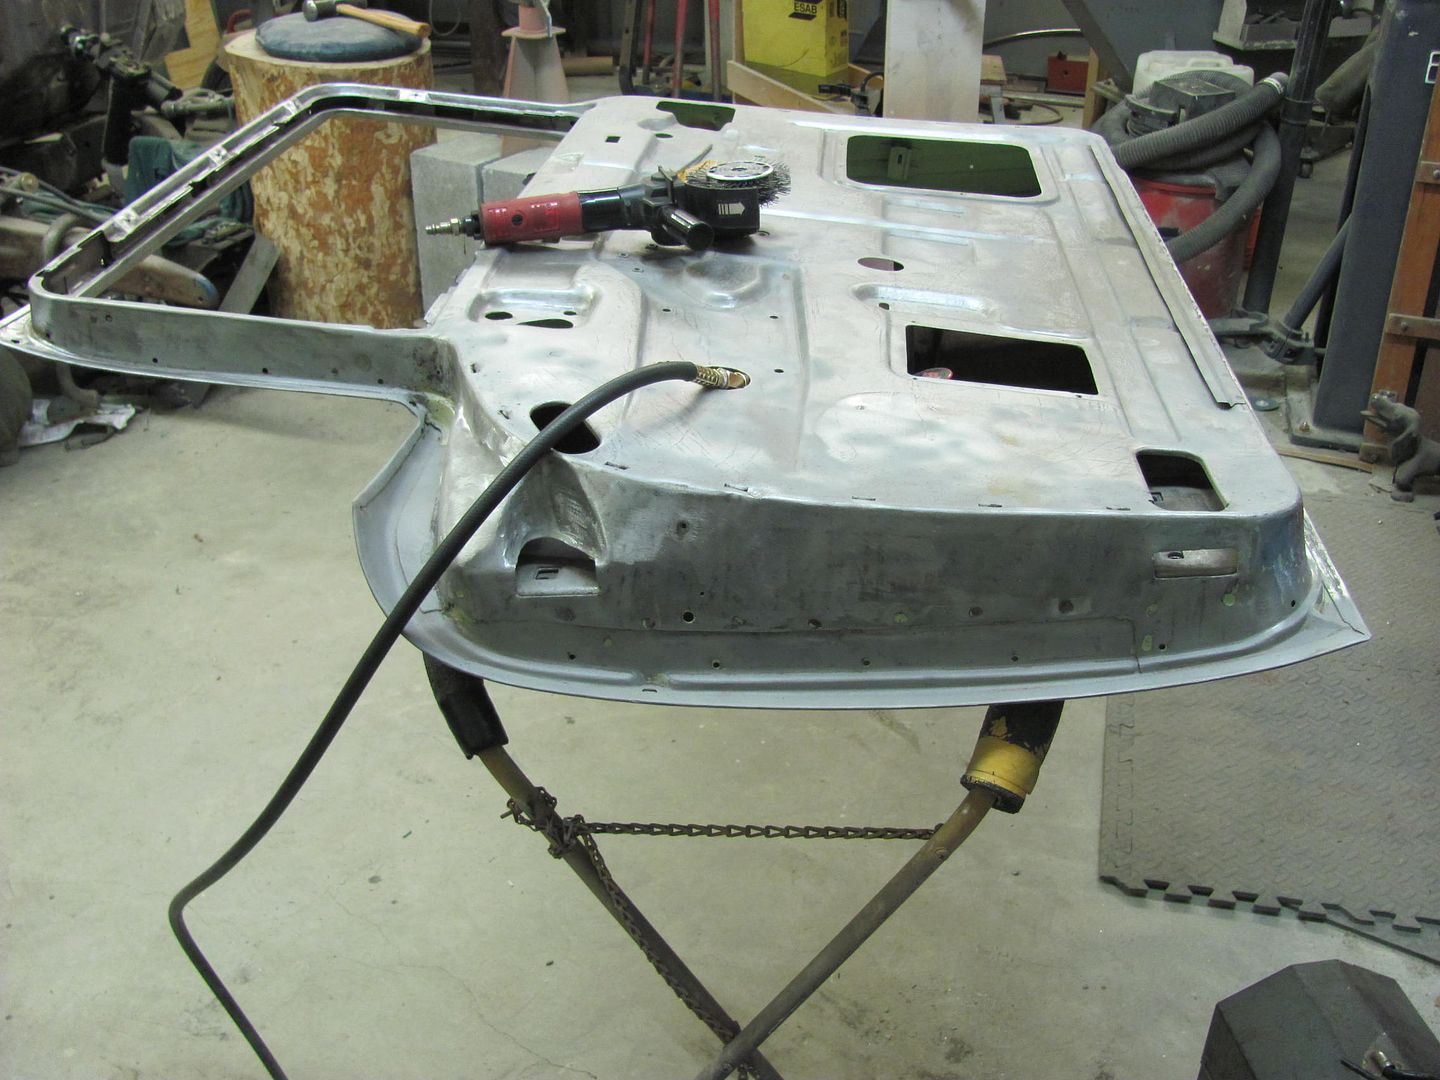
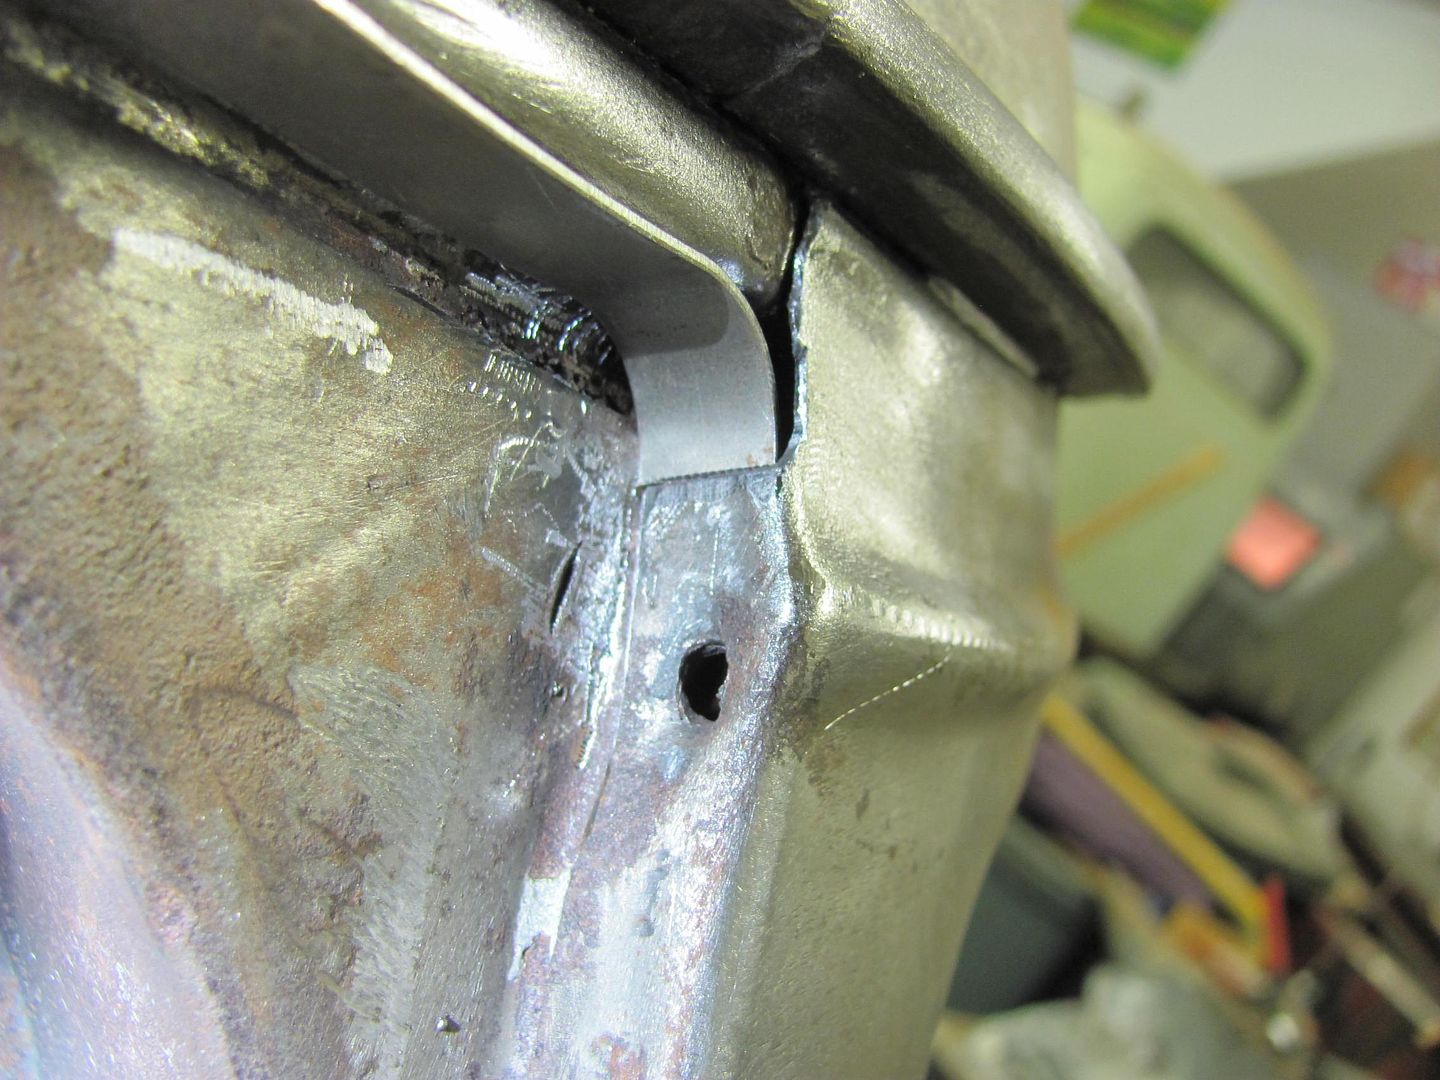
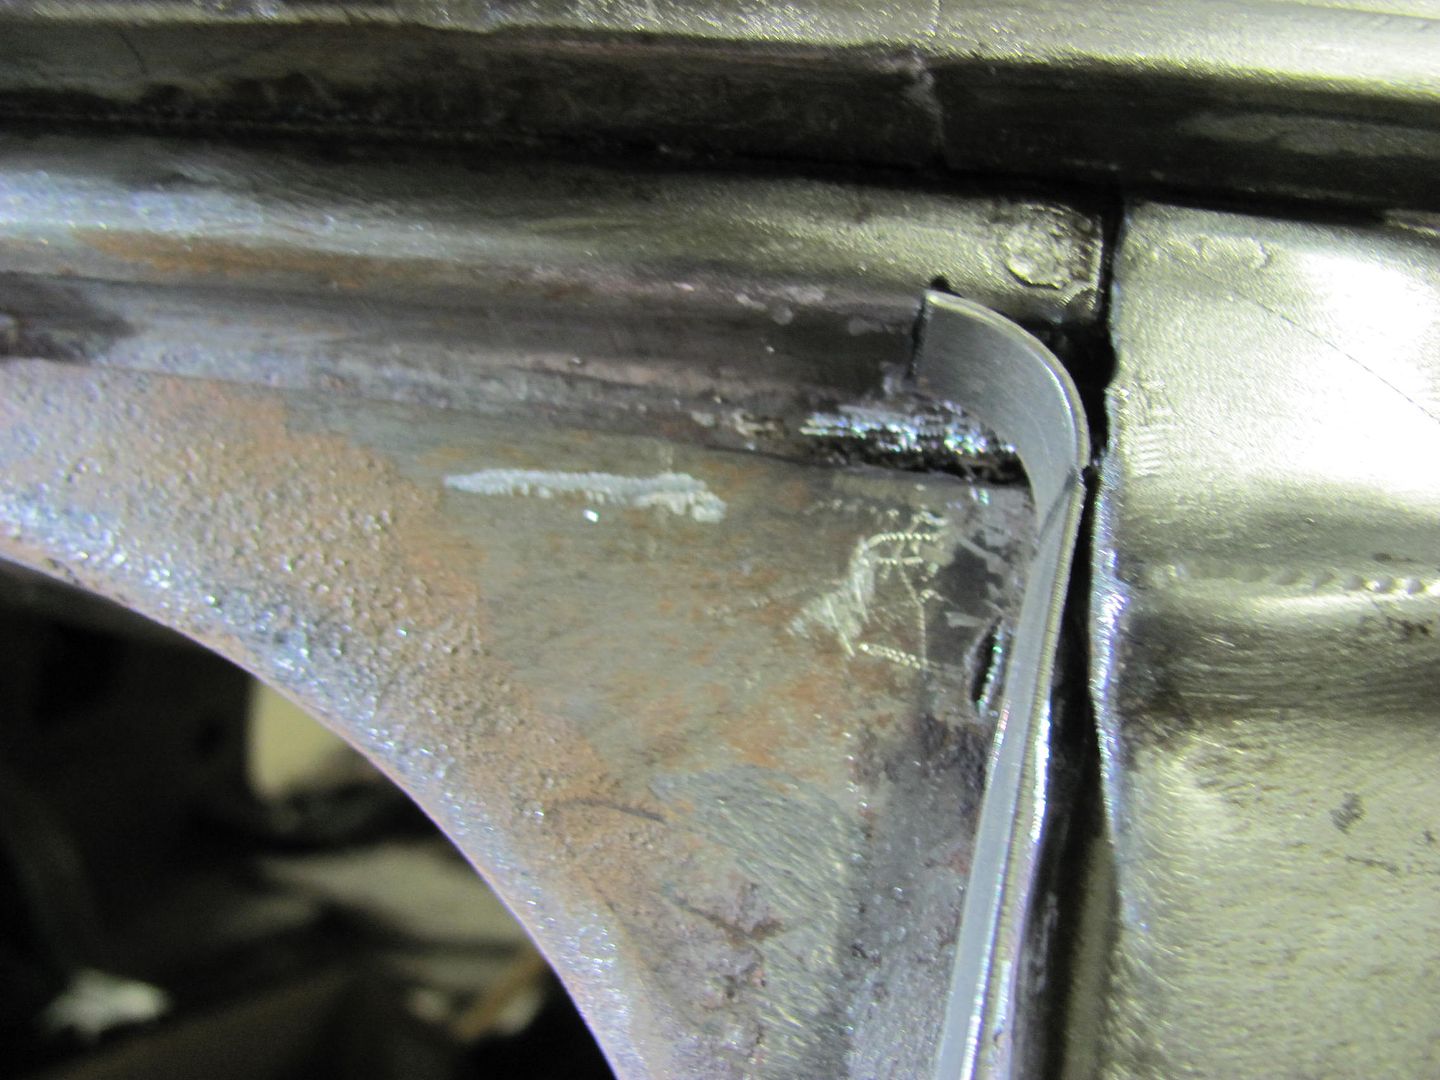
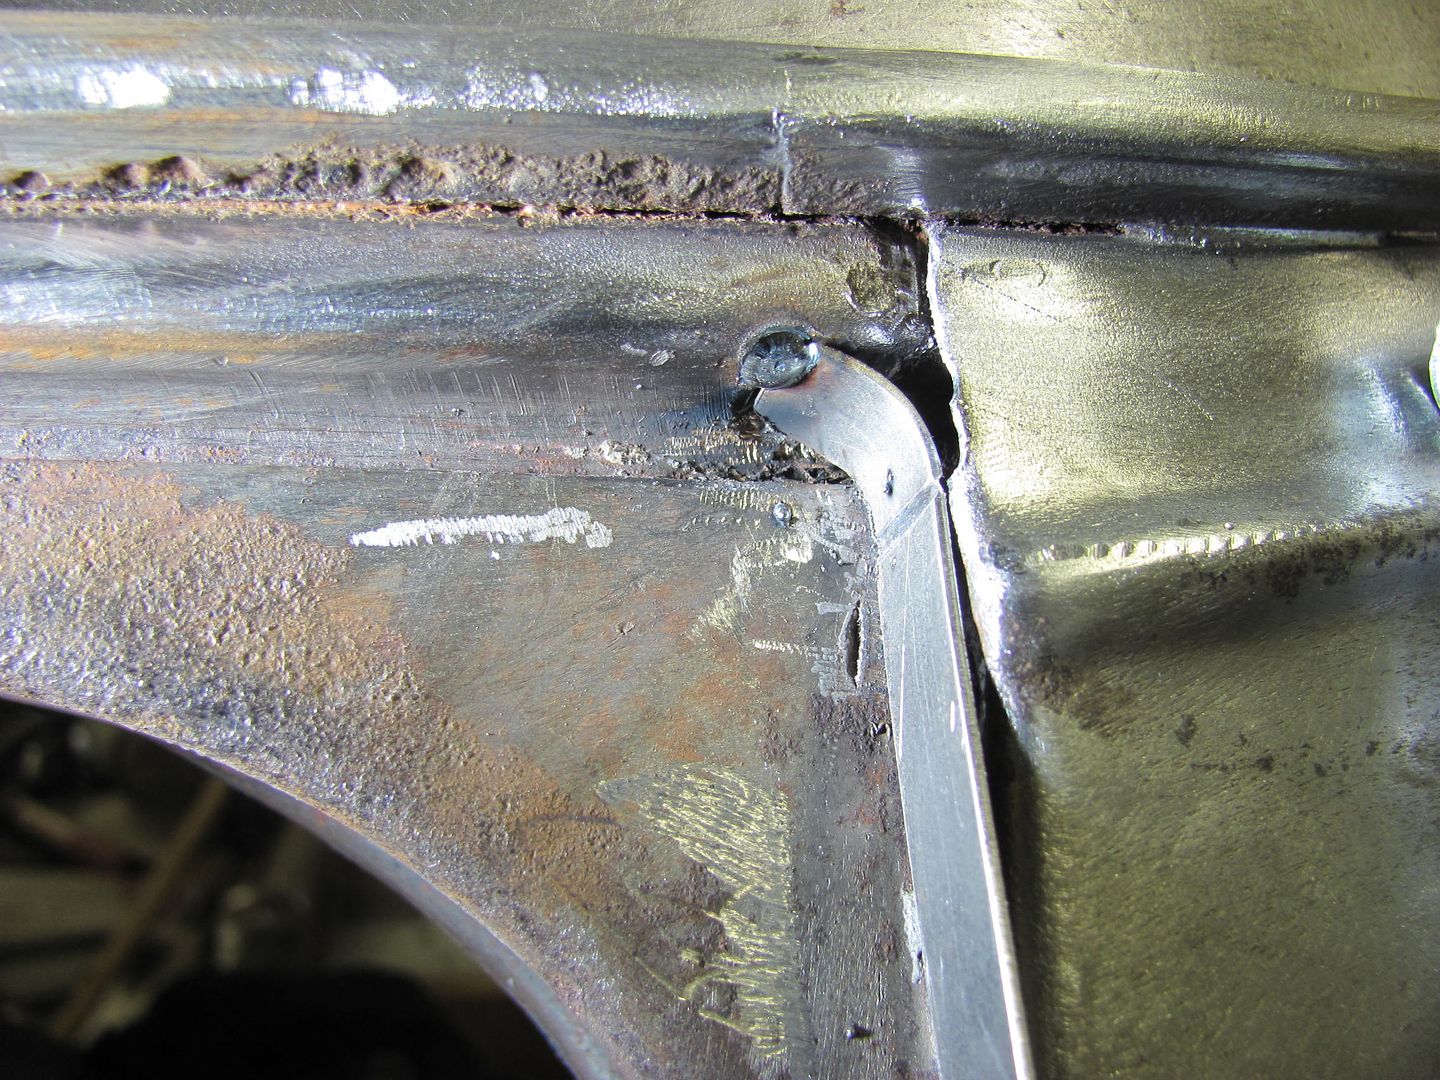
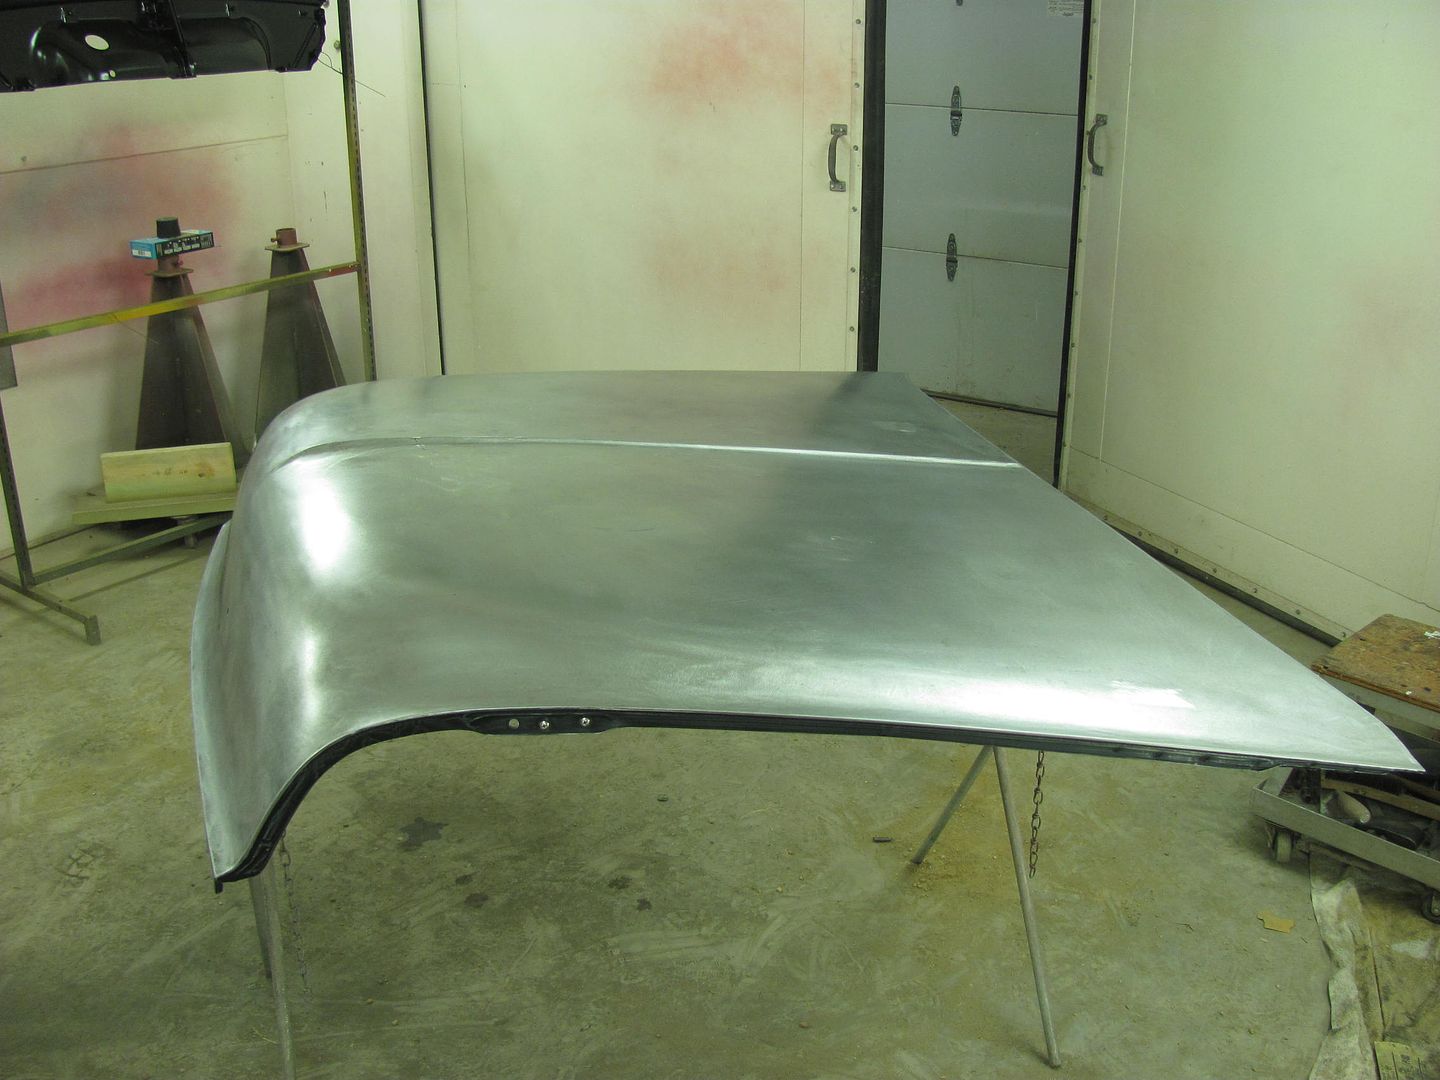
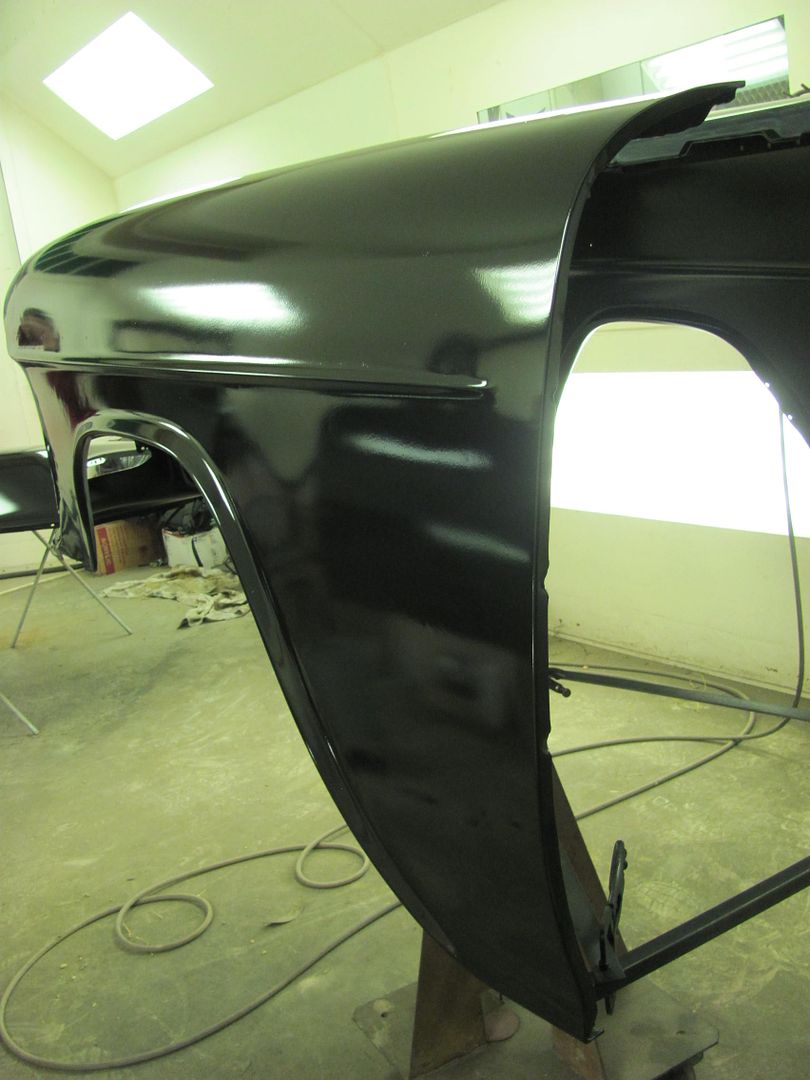
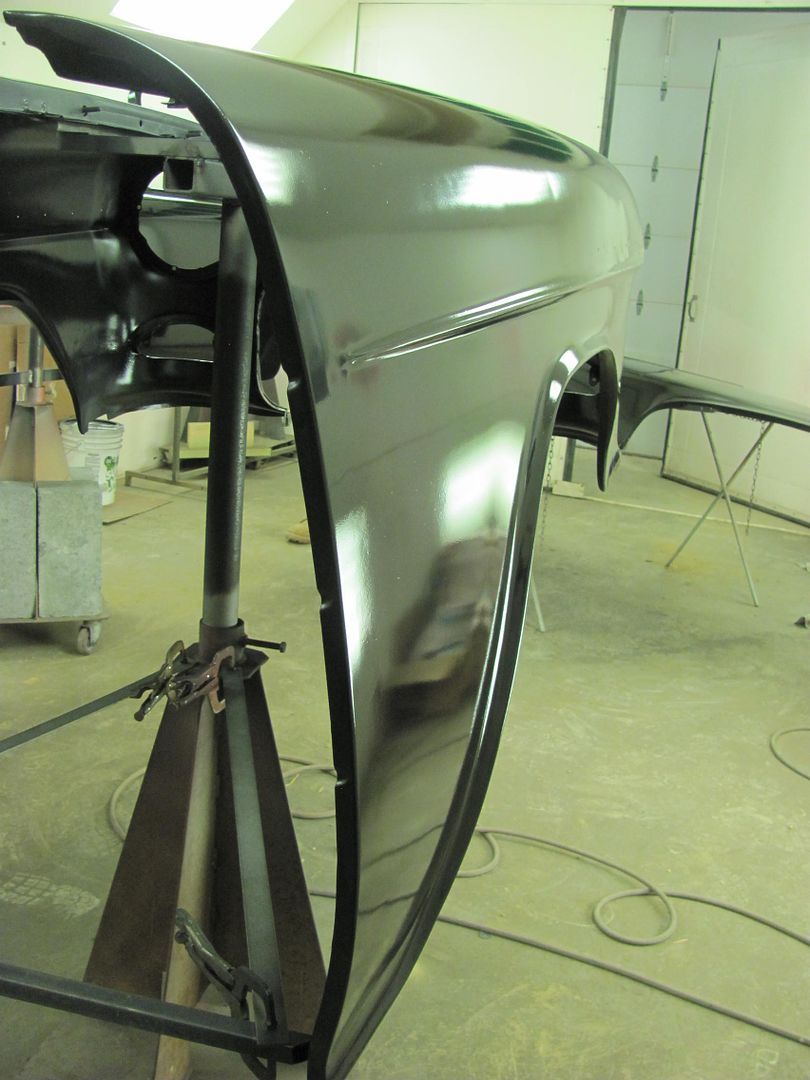
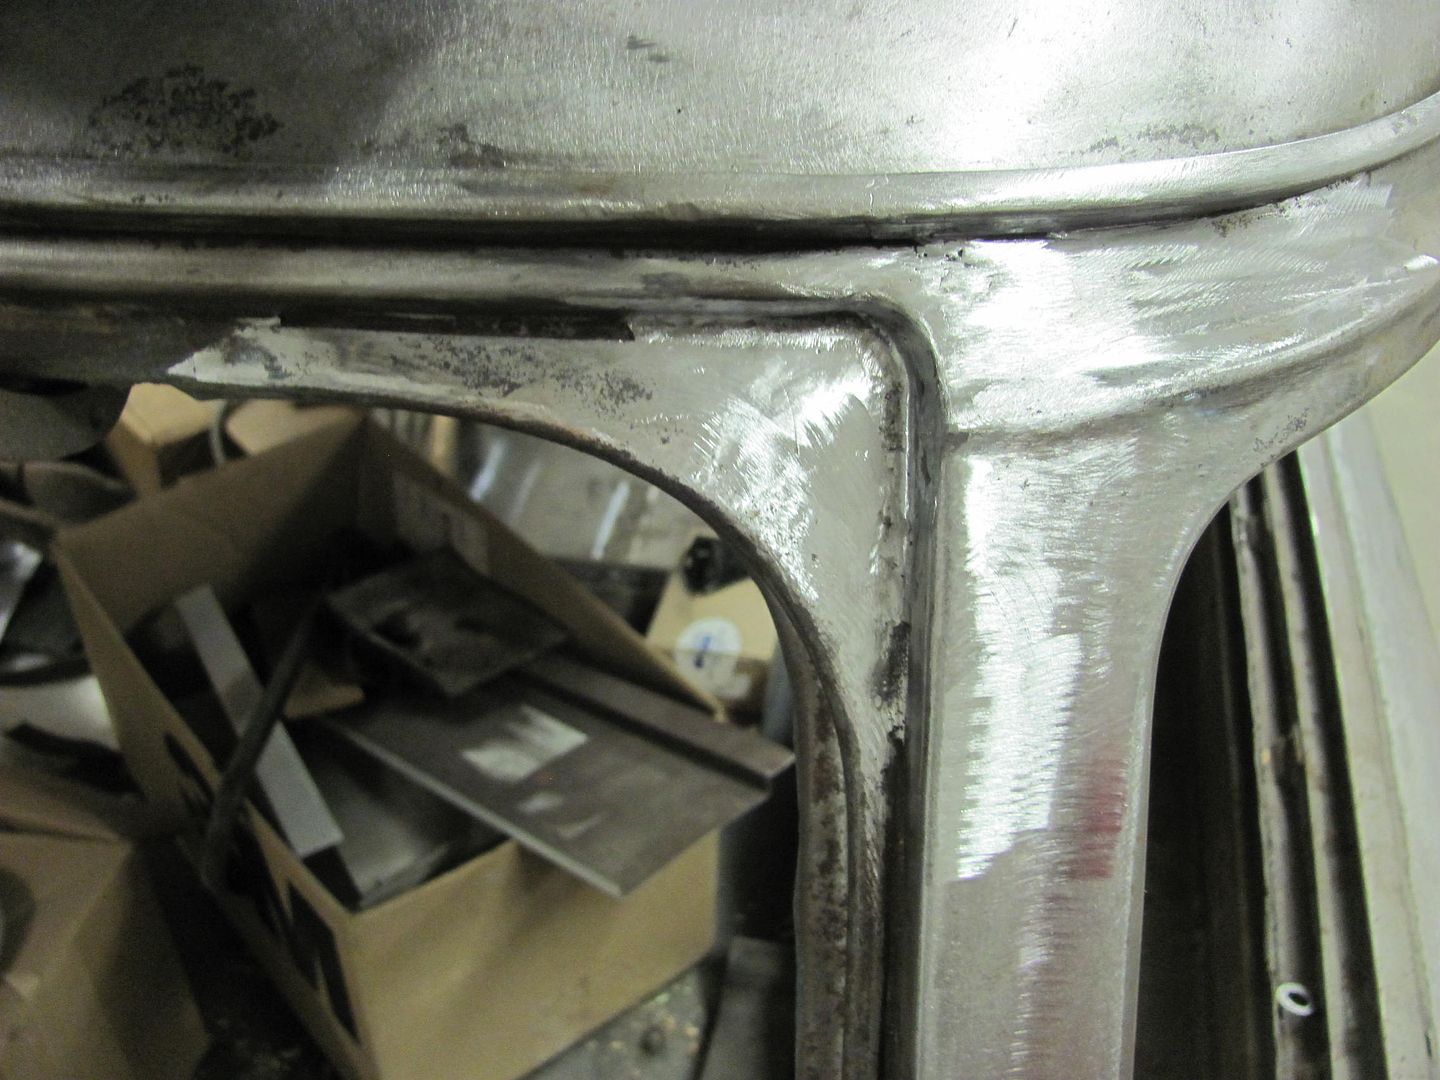
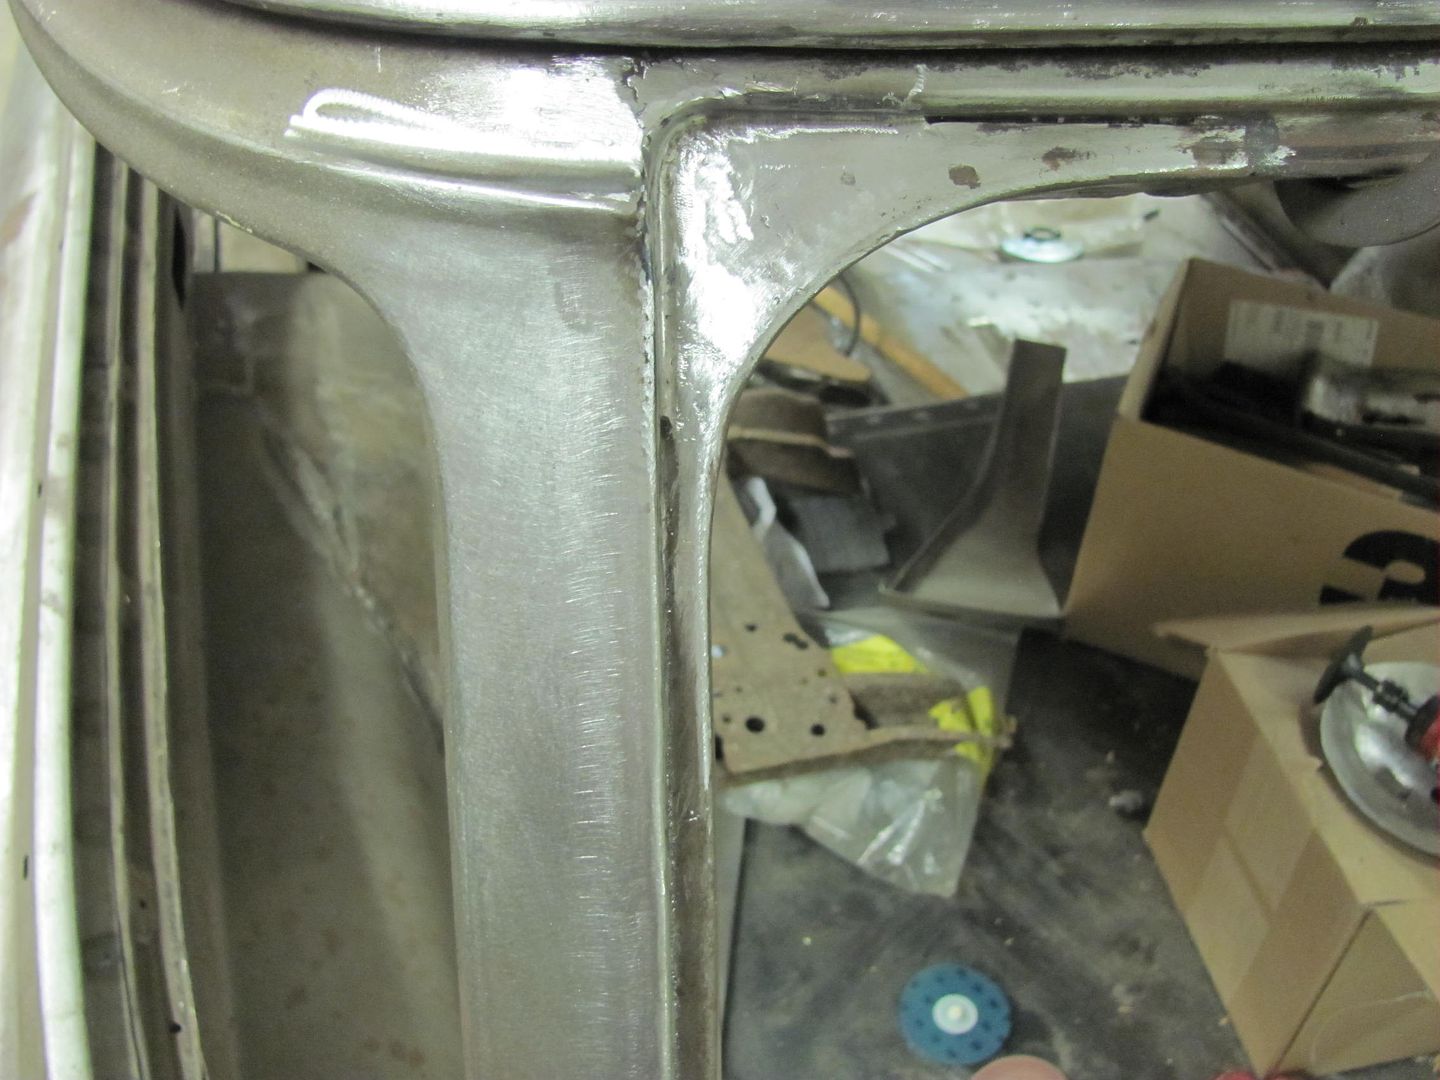
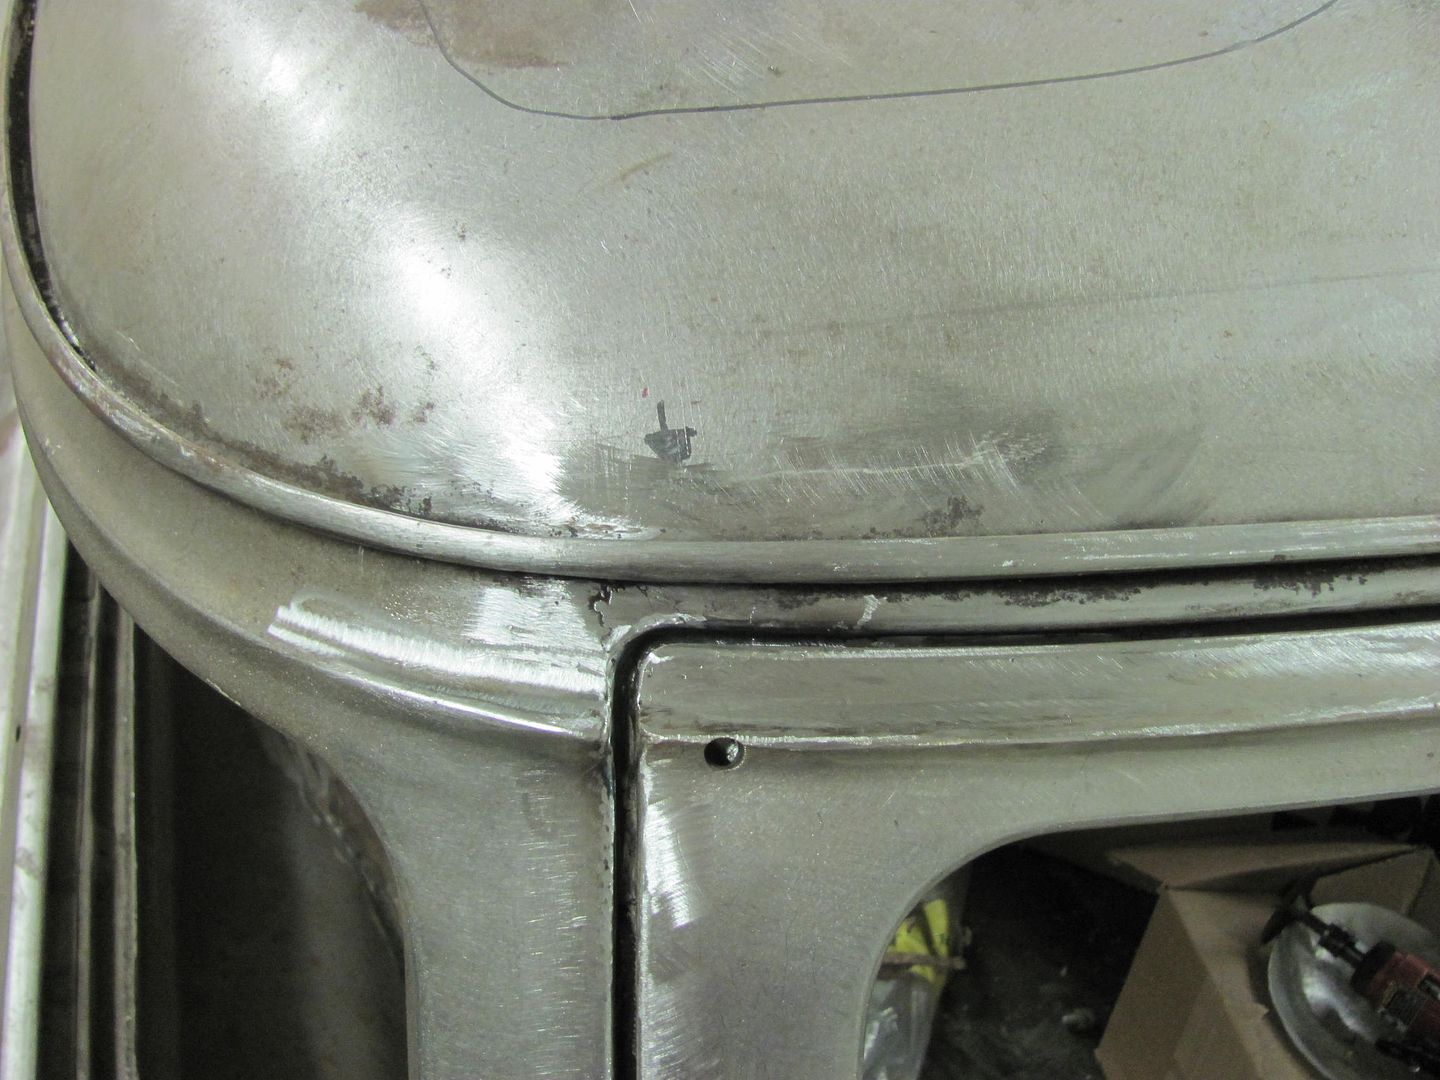
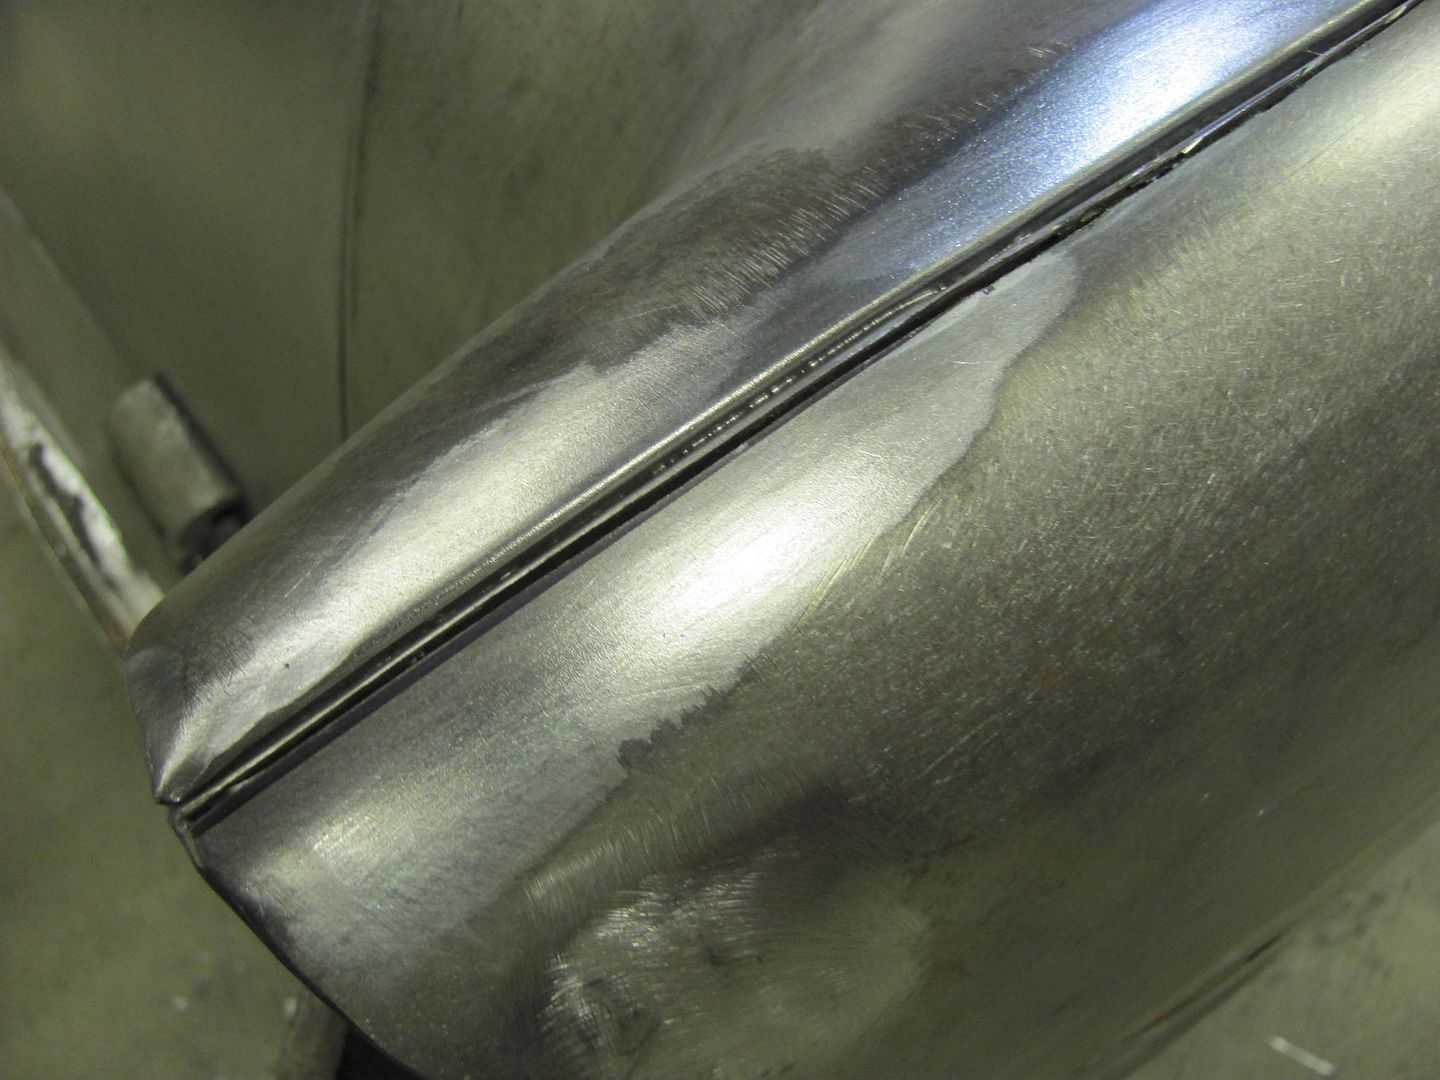
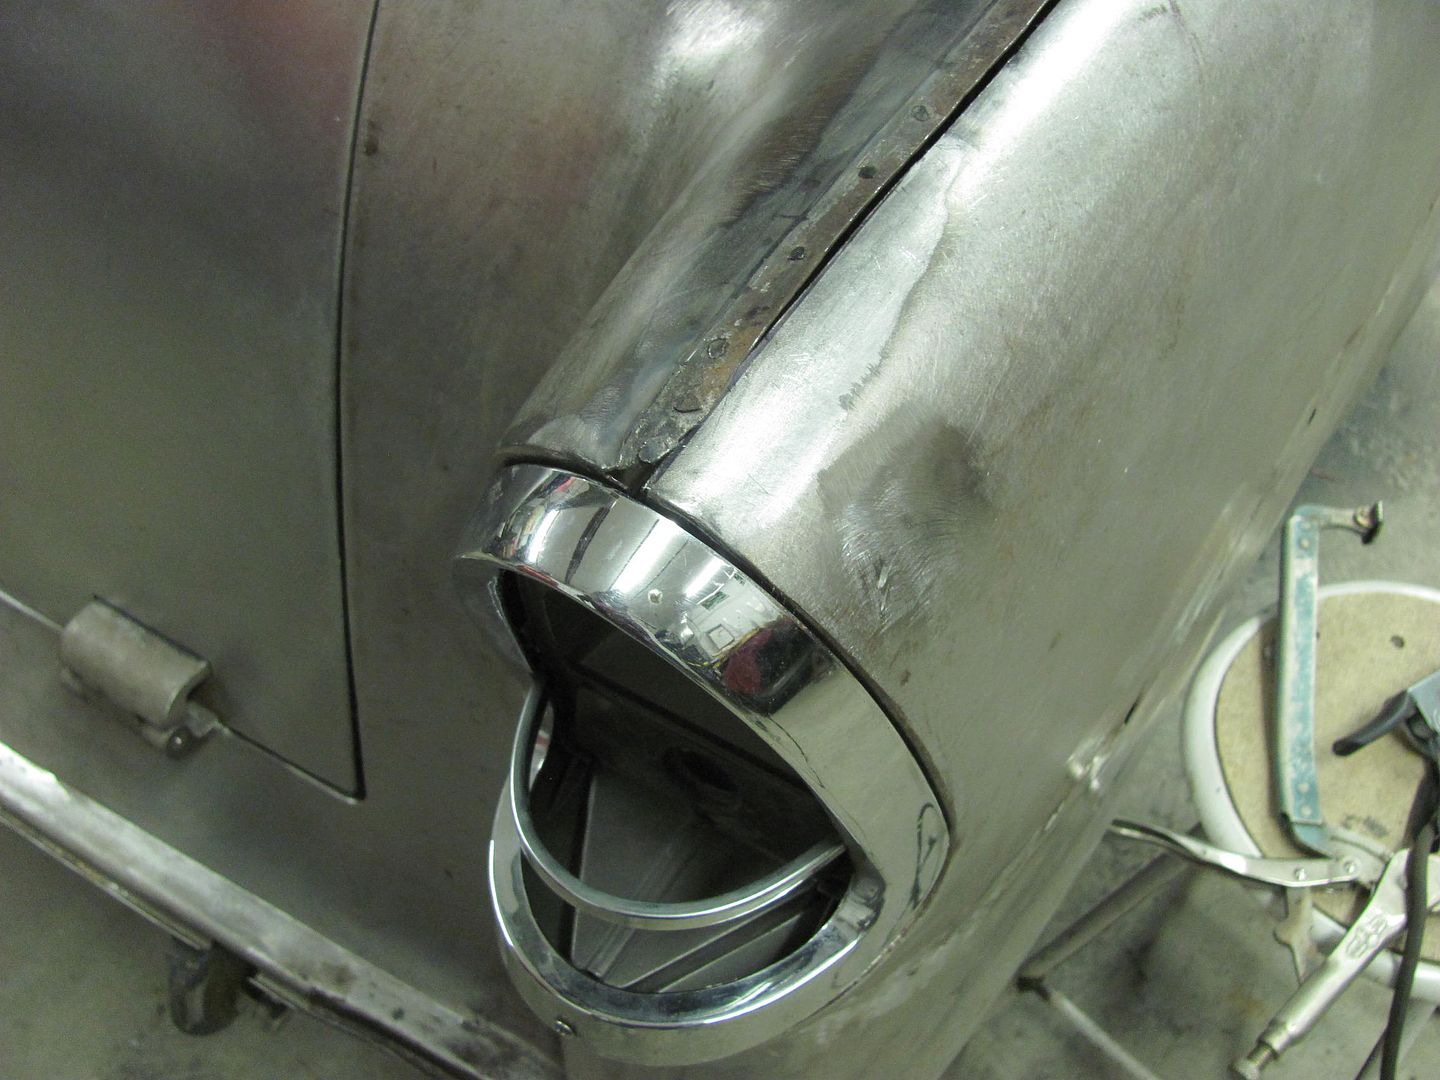
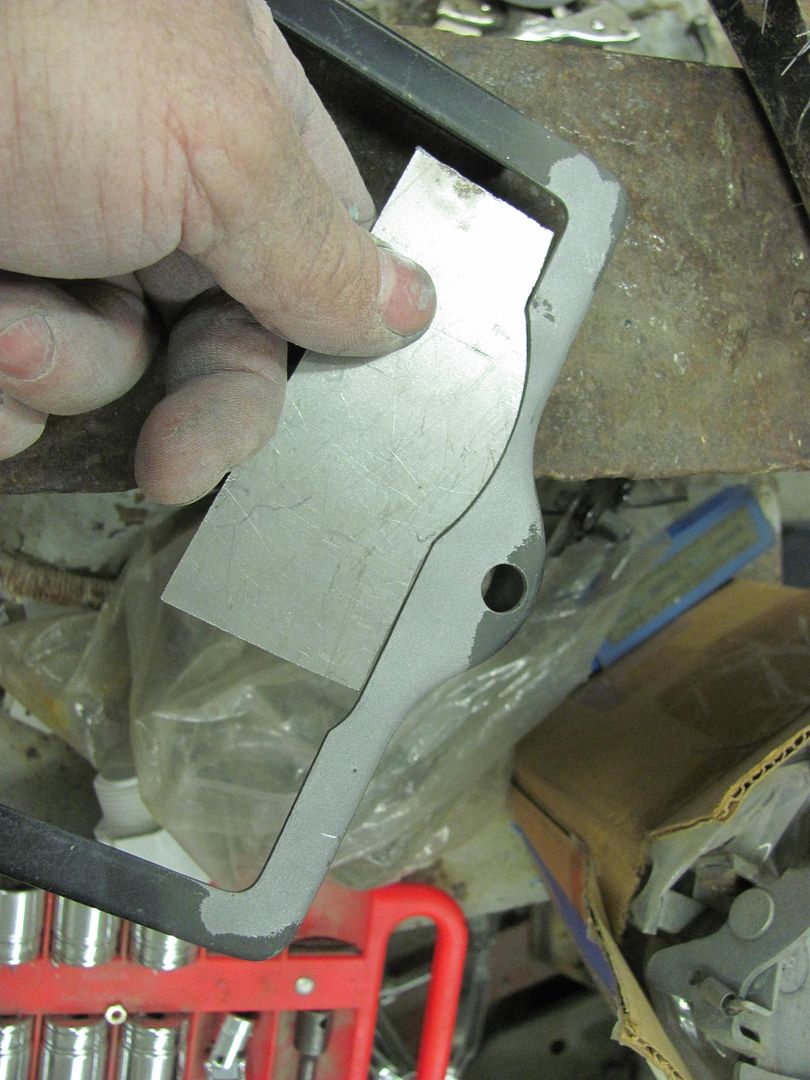
After adding the radius to the doors, it only made sense that the lift gate needed the same modification. Sorry to bore you with more of the same, just wait until we get to wet sanding

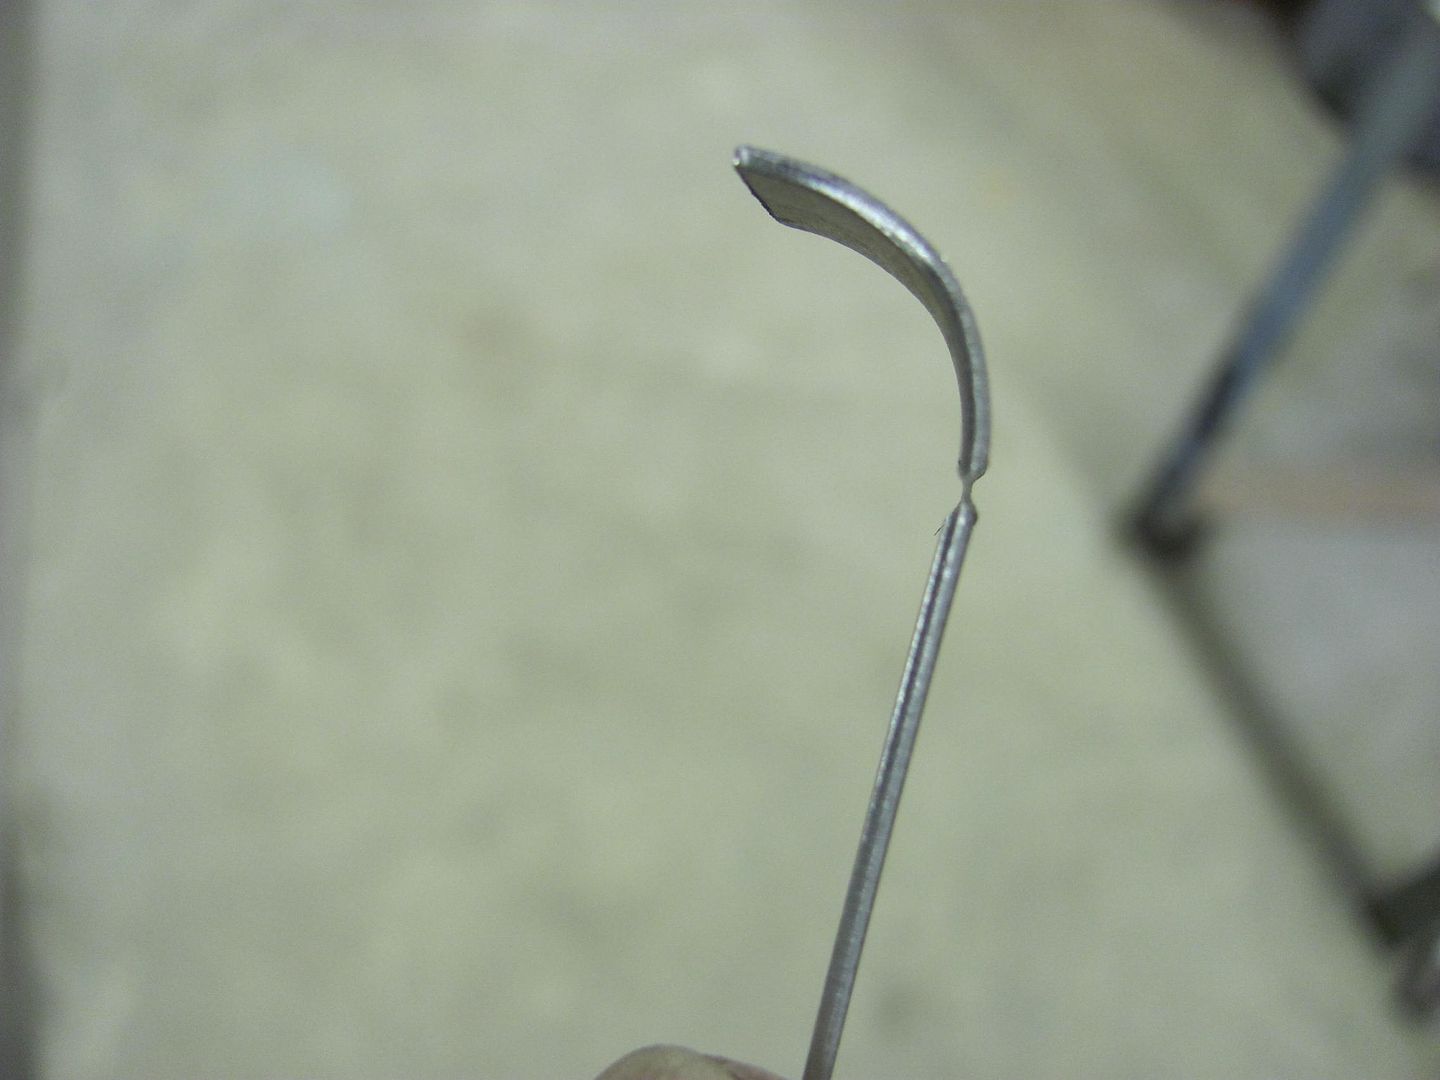
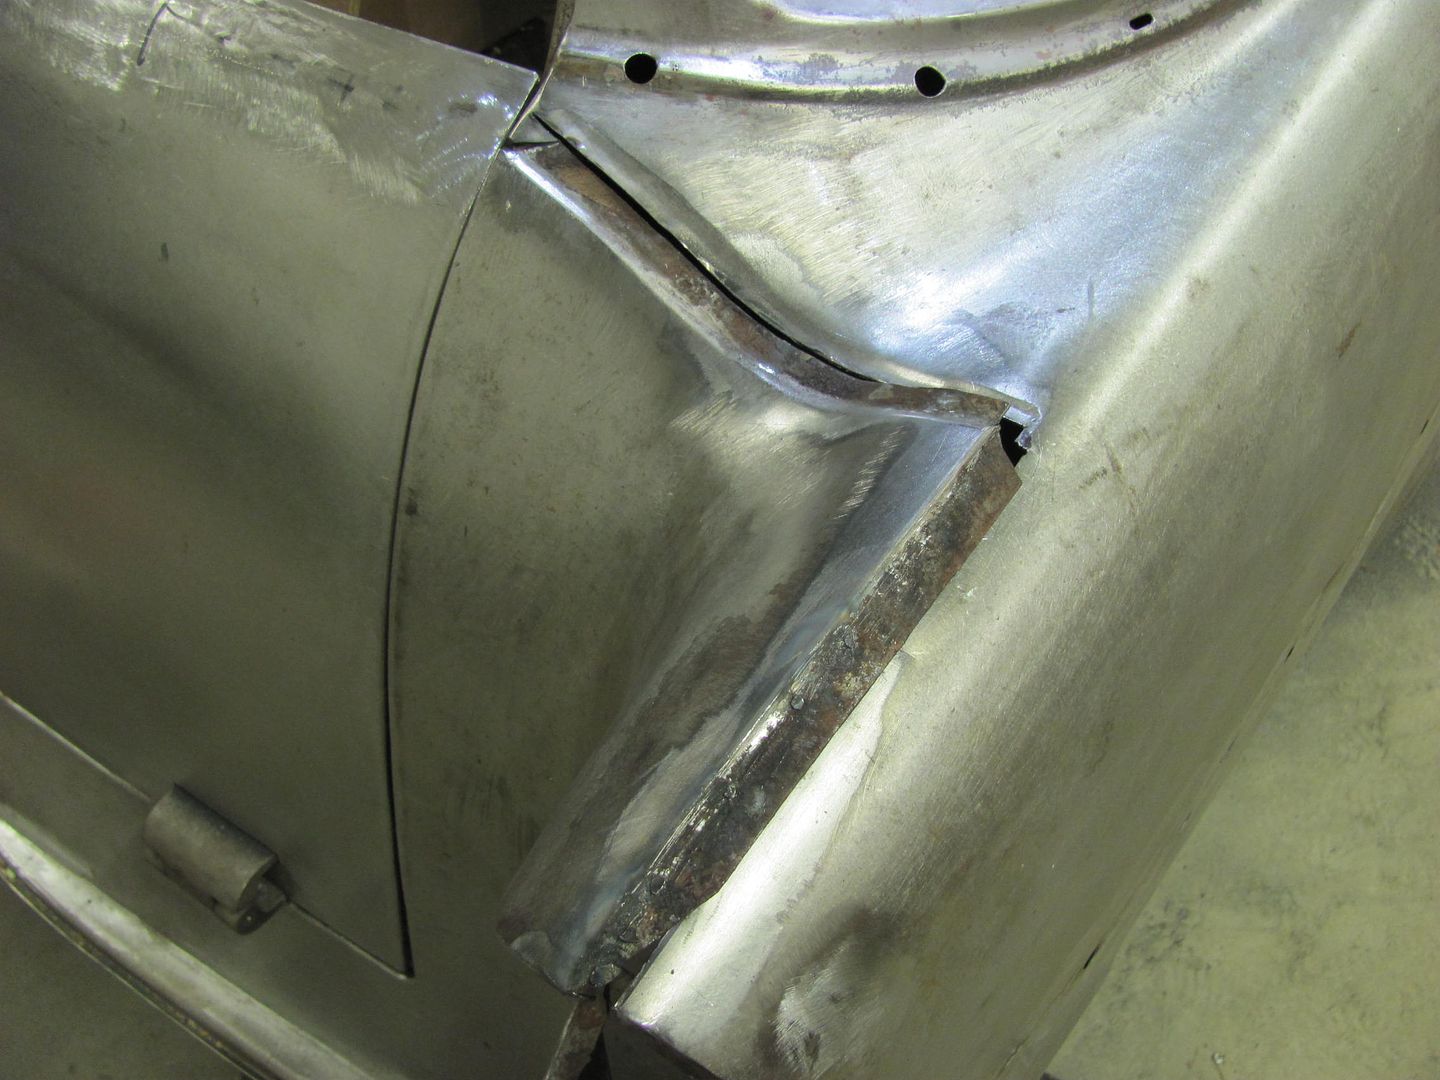
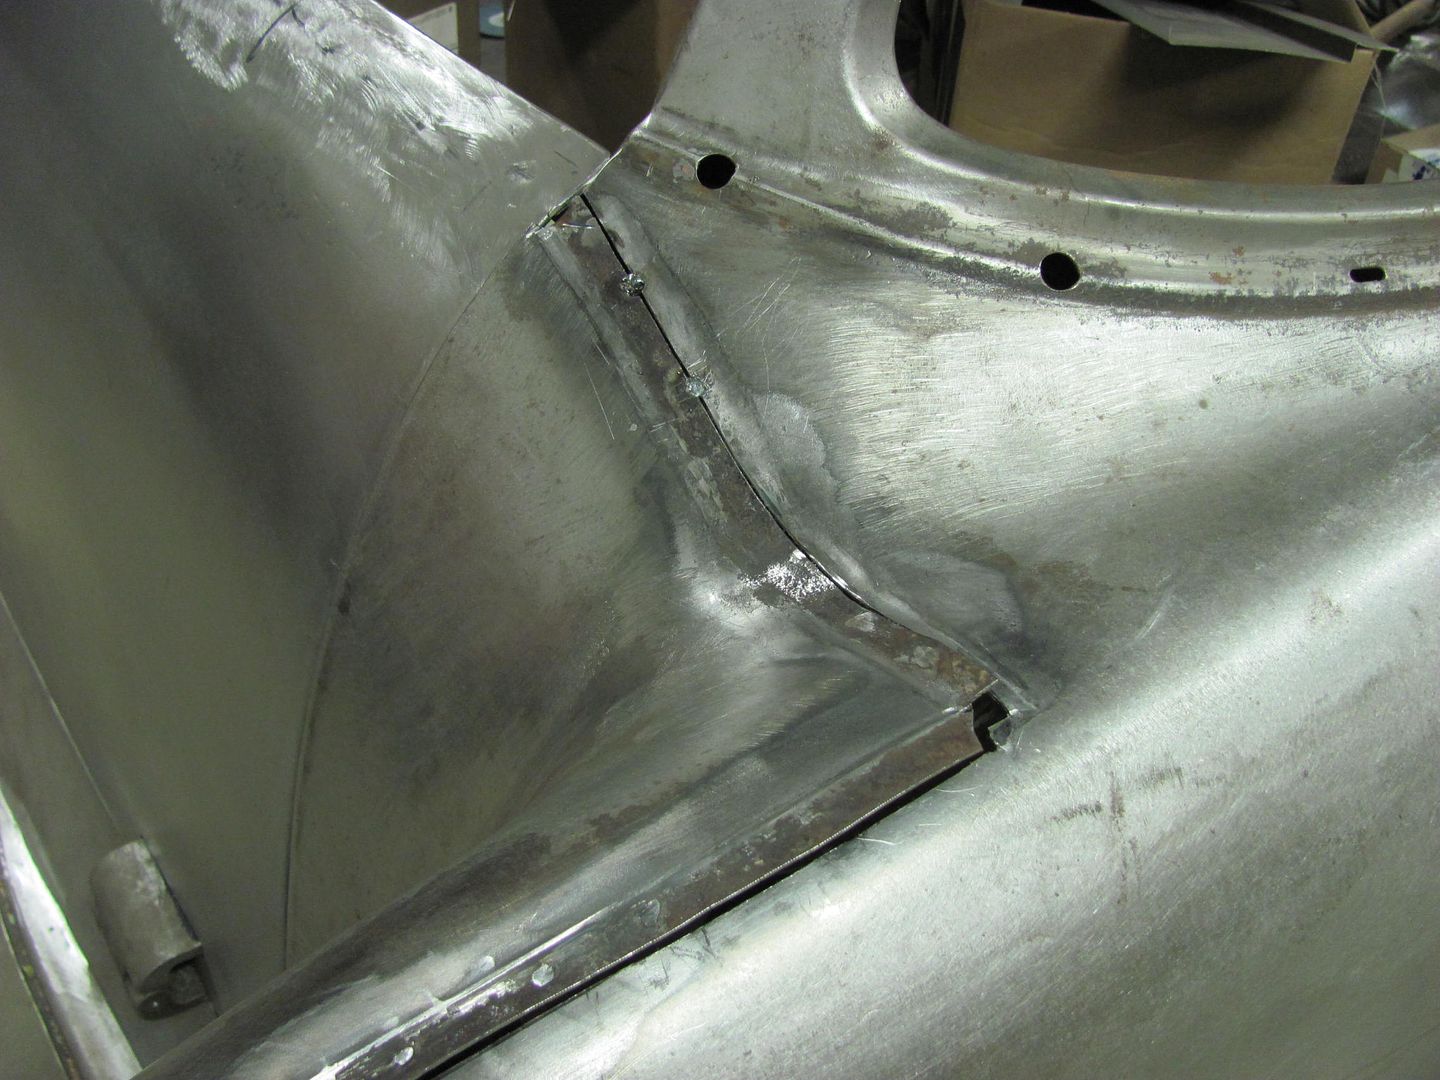
Test fit the radius...
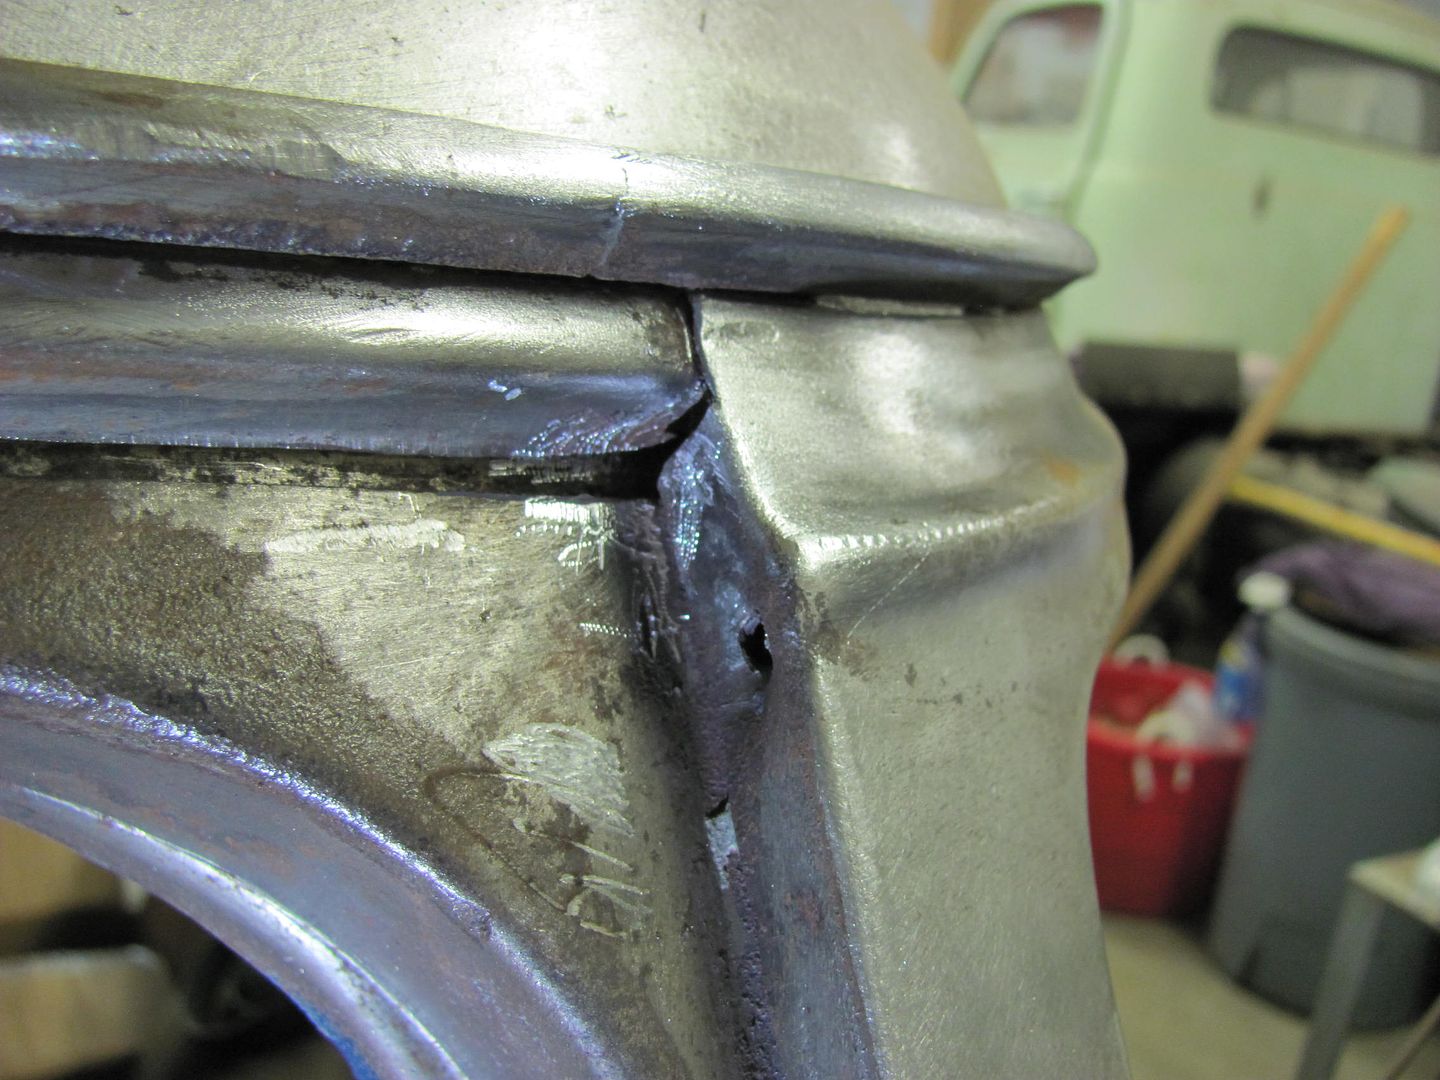
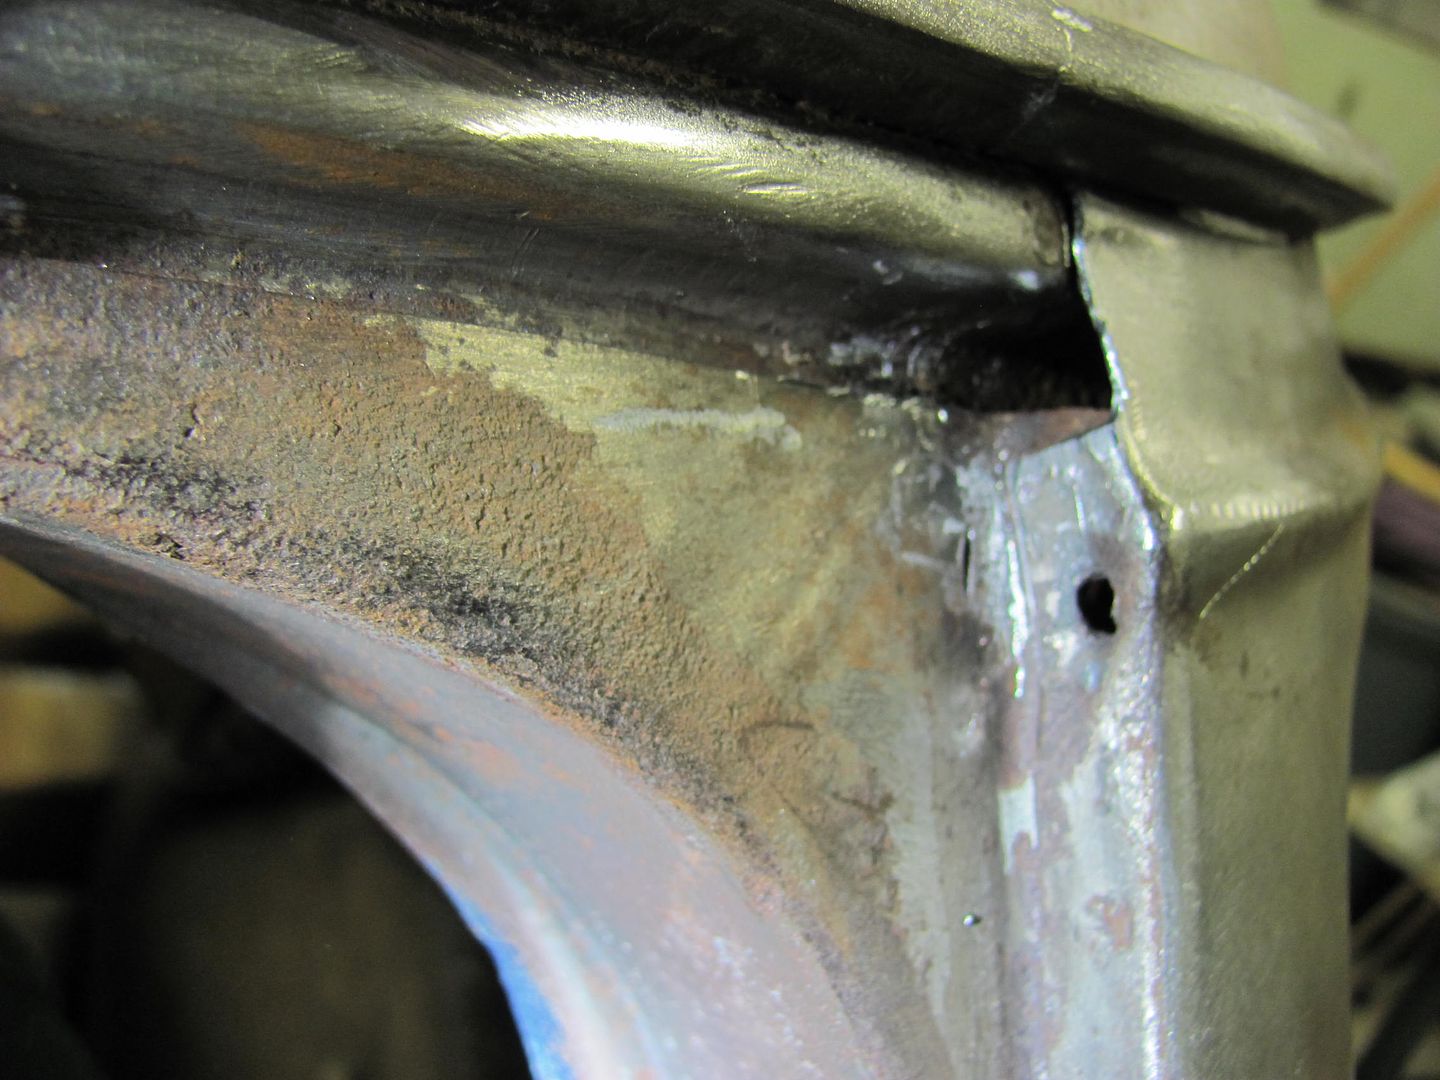
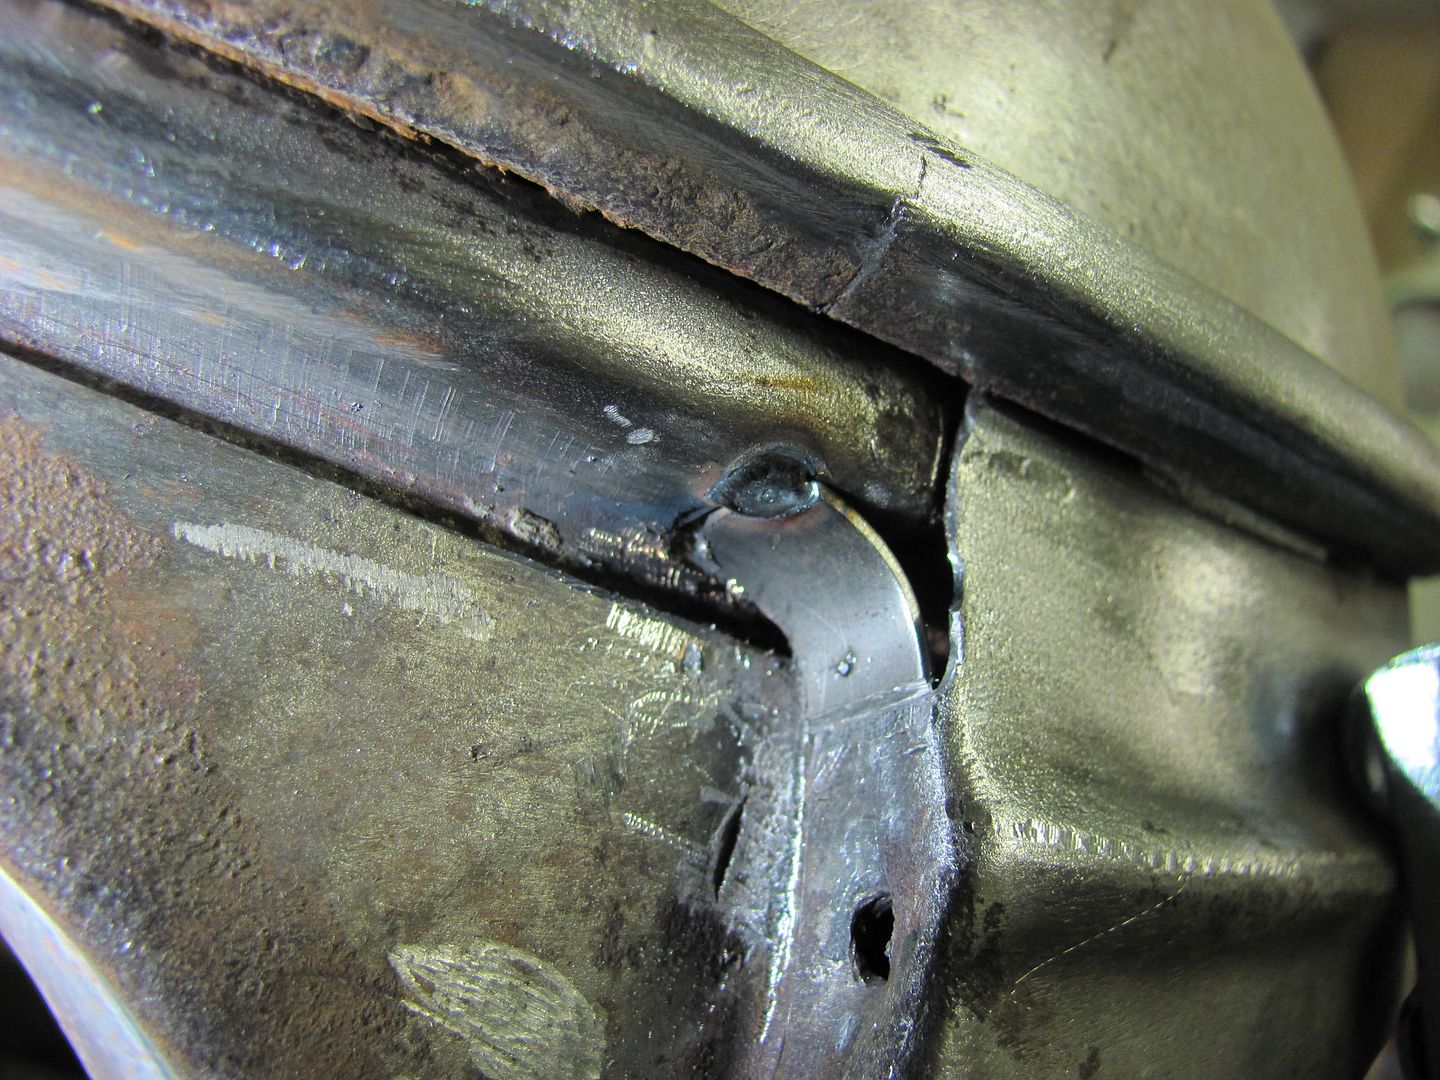
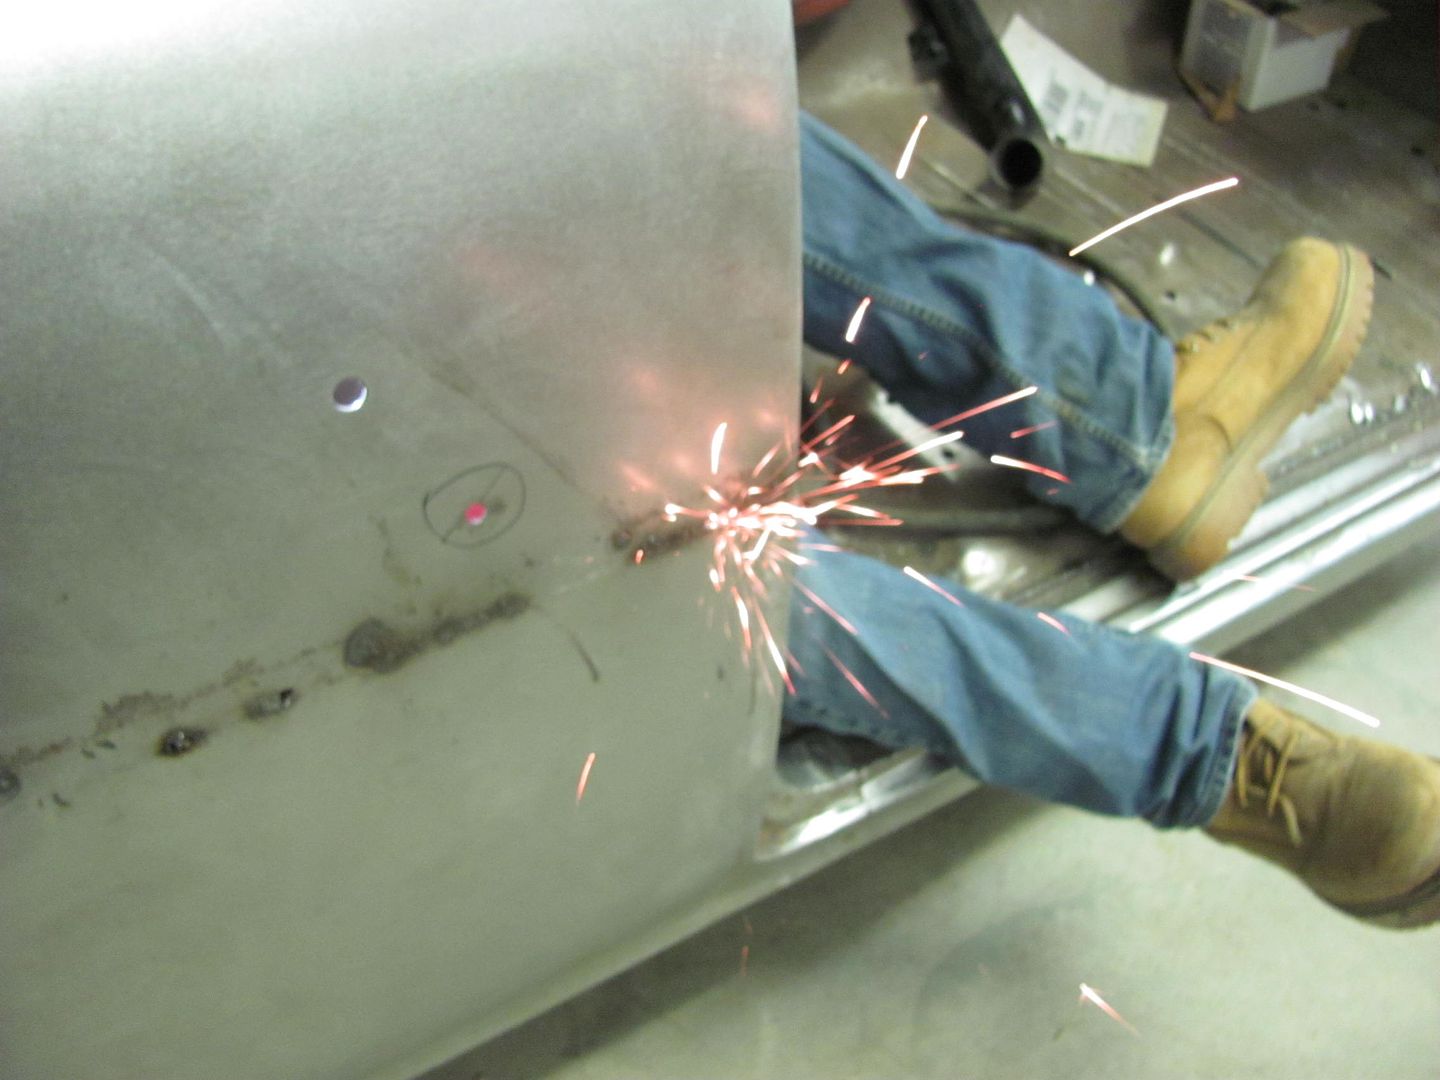
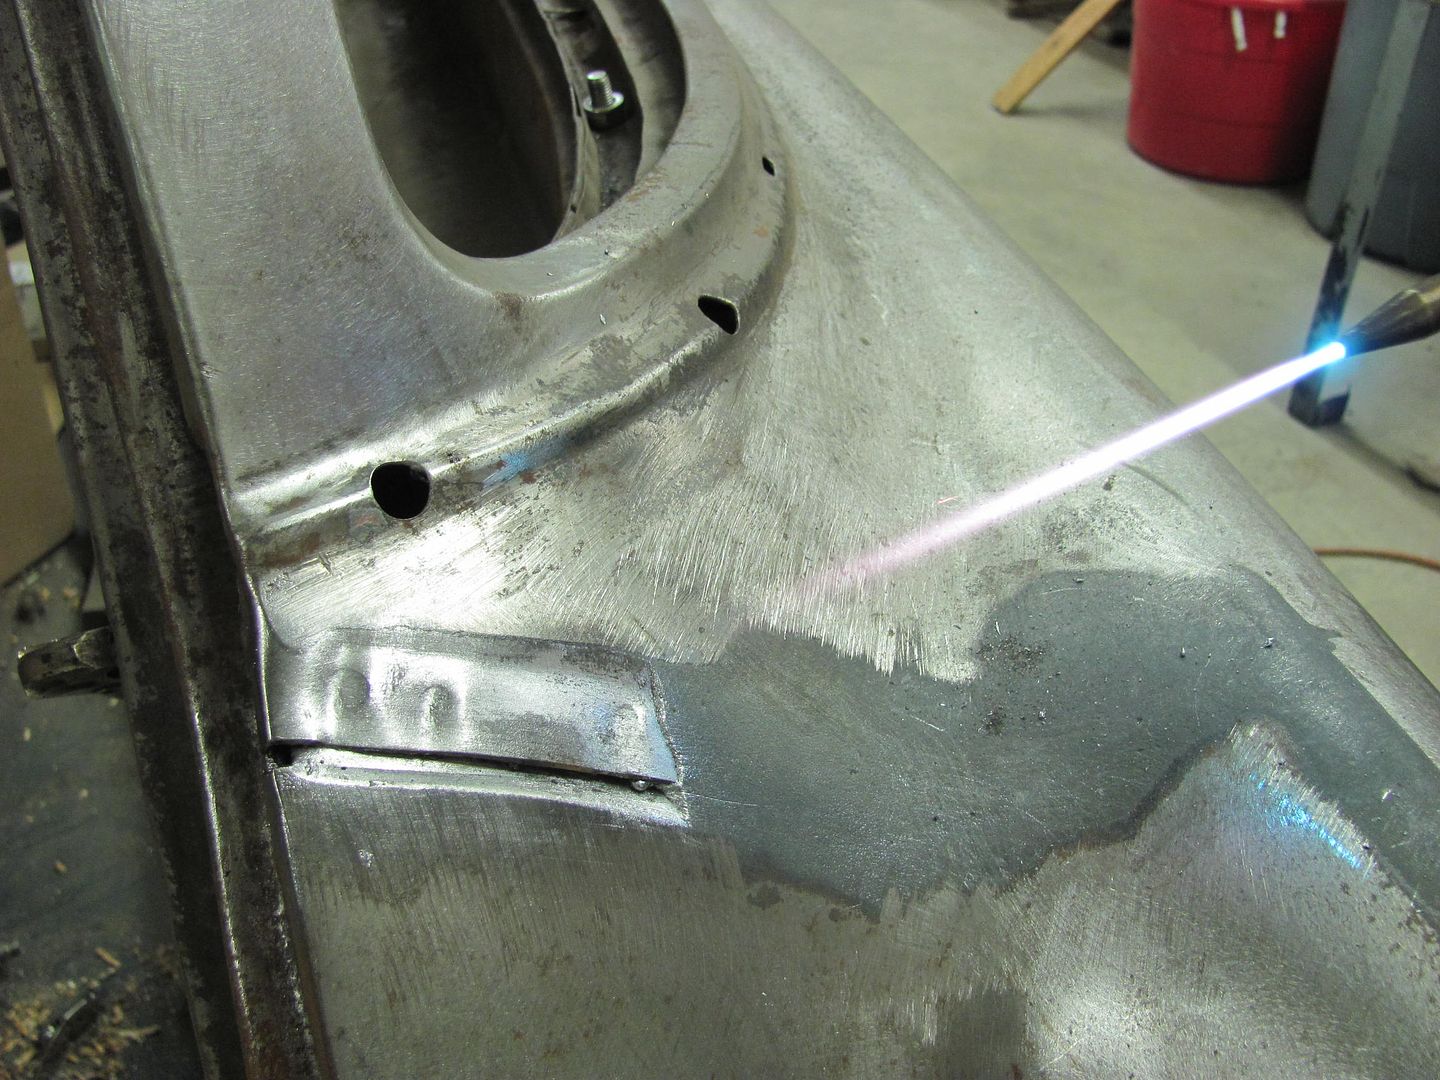
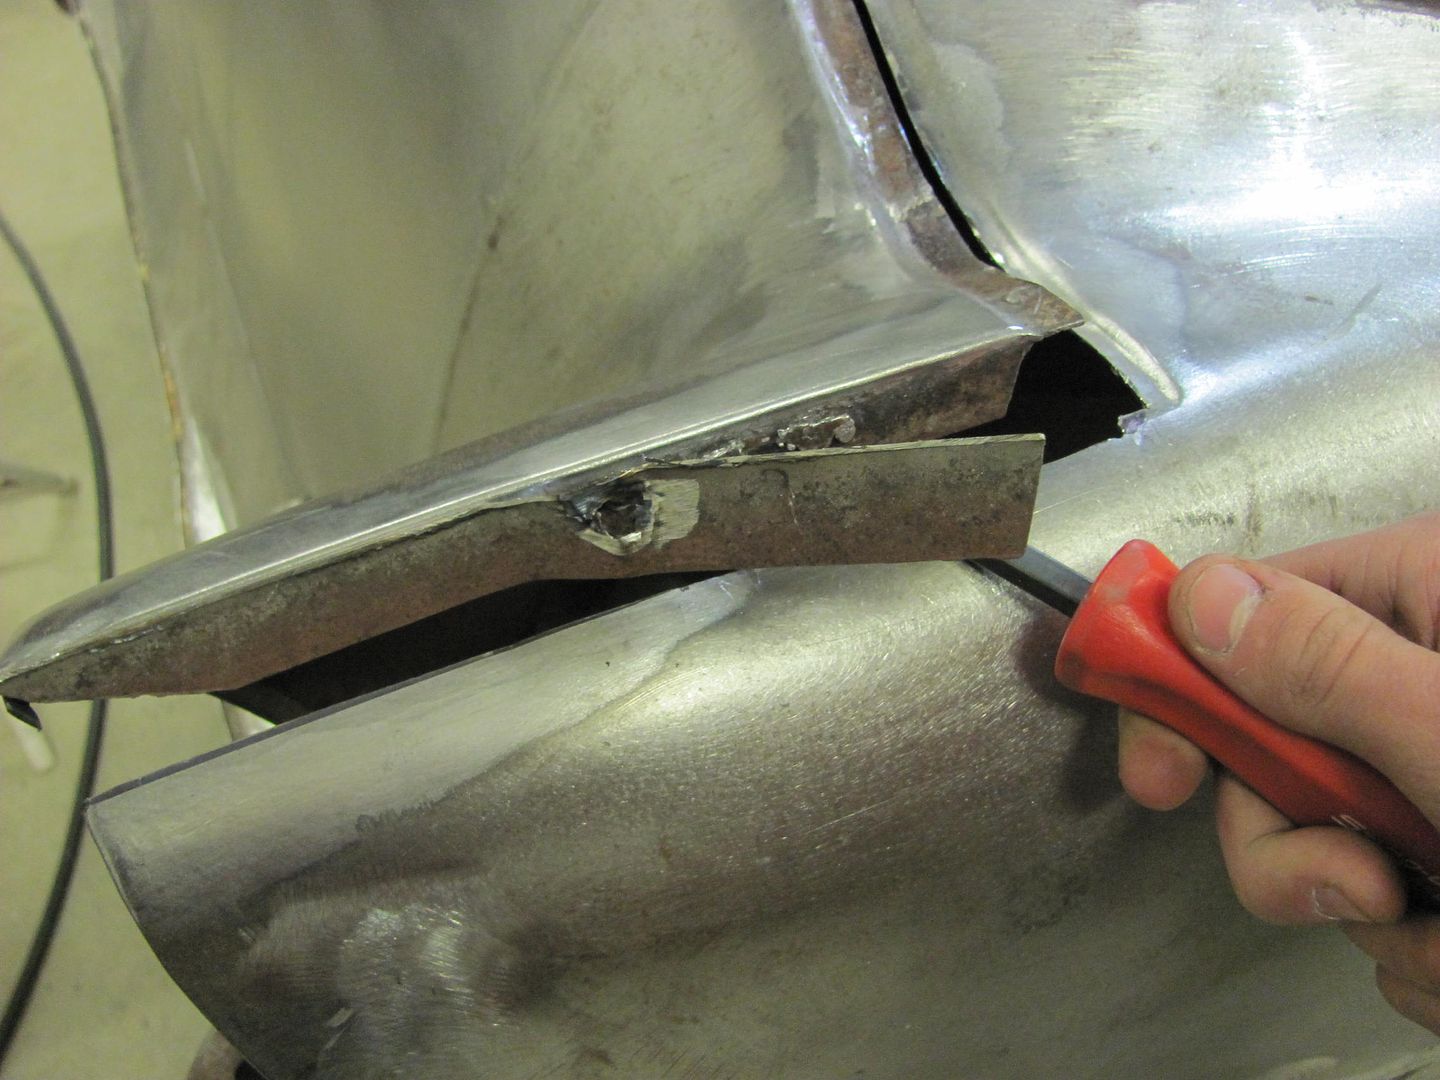
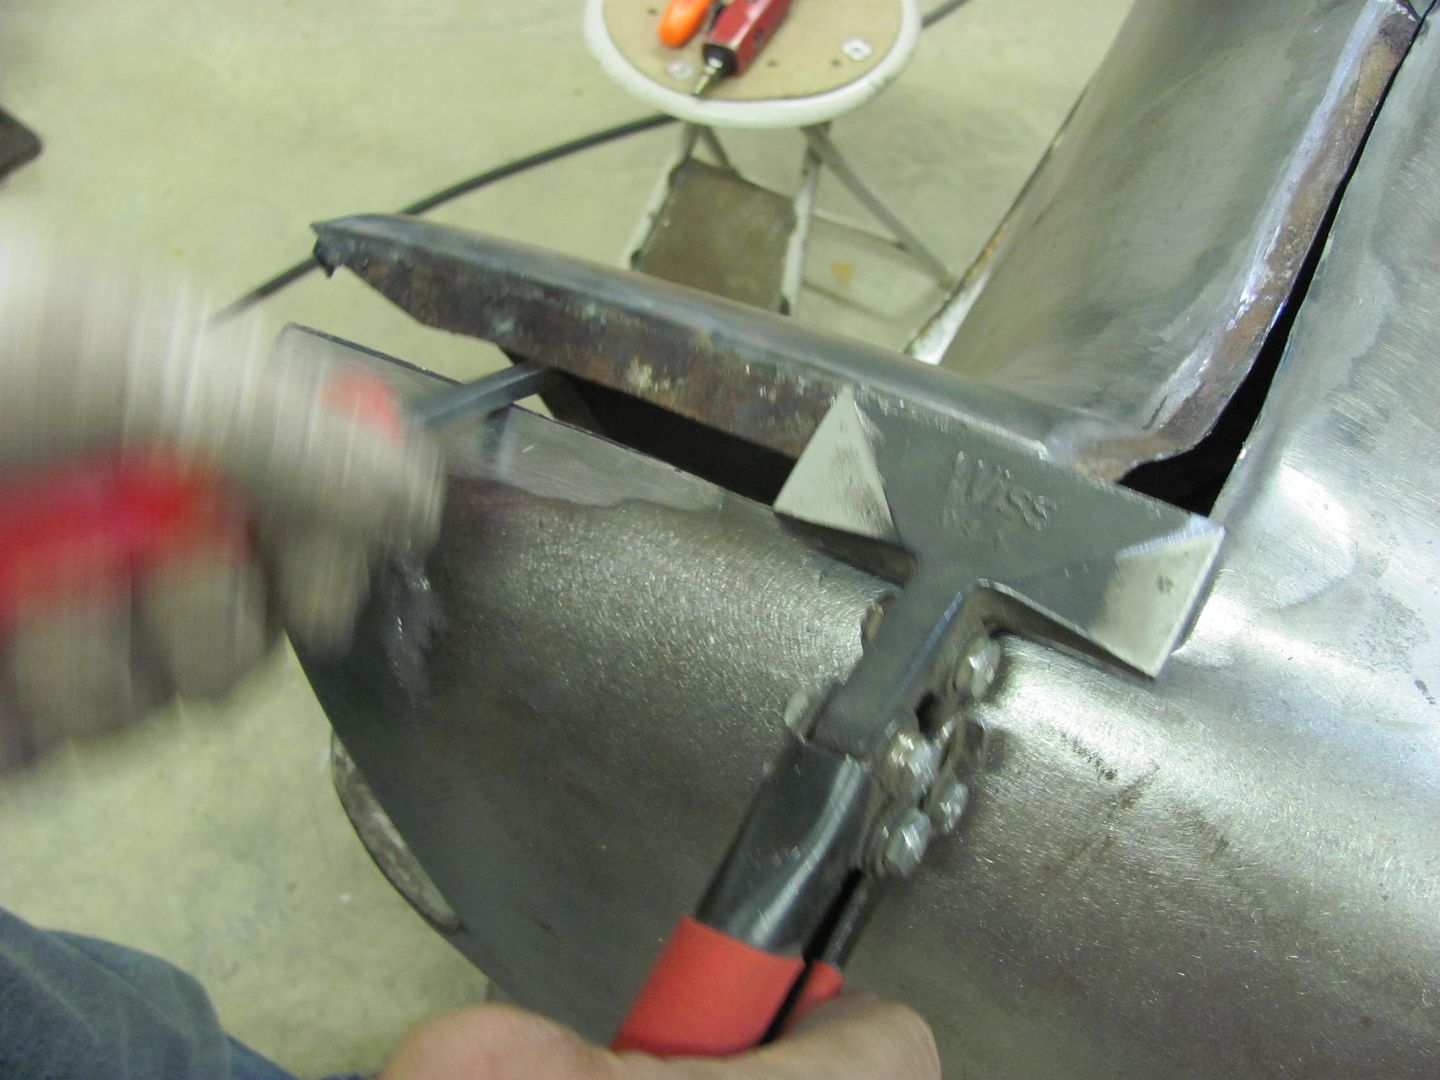
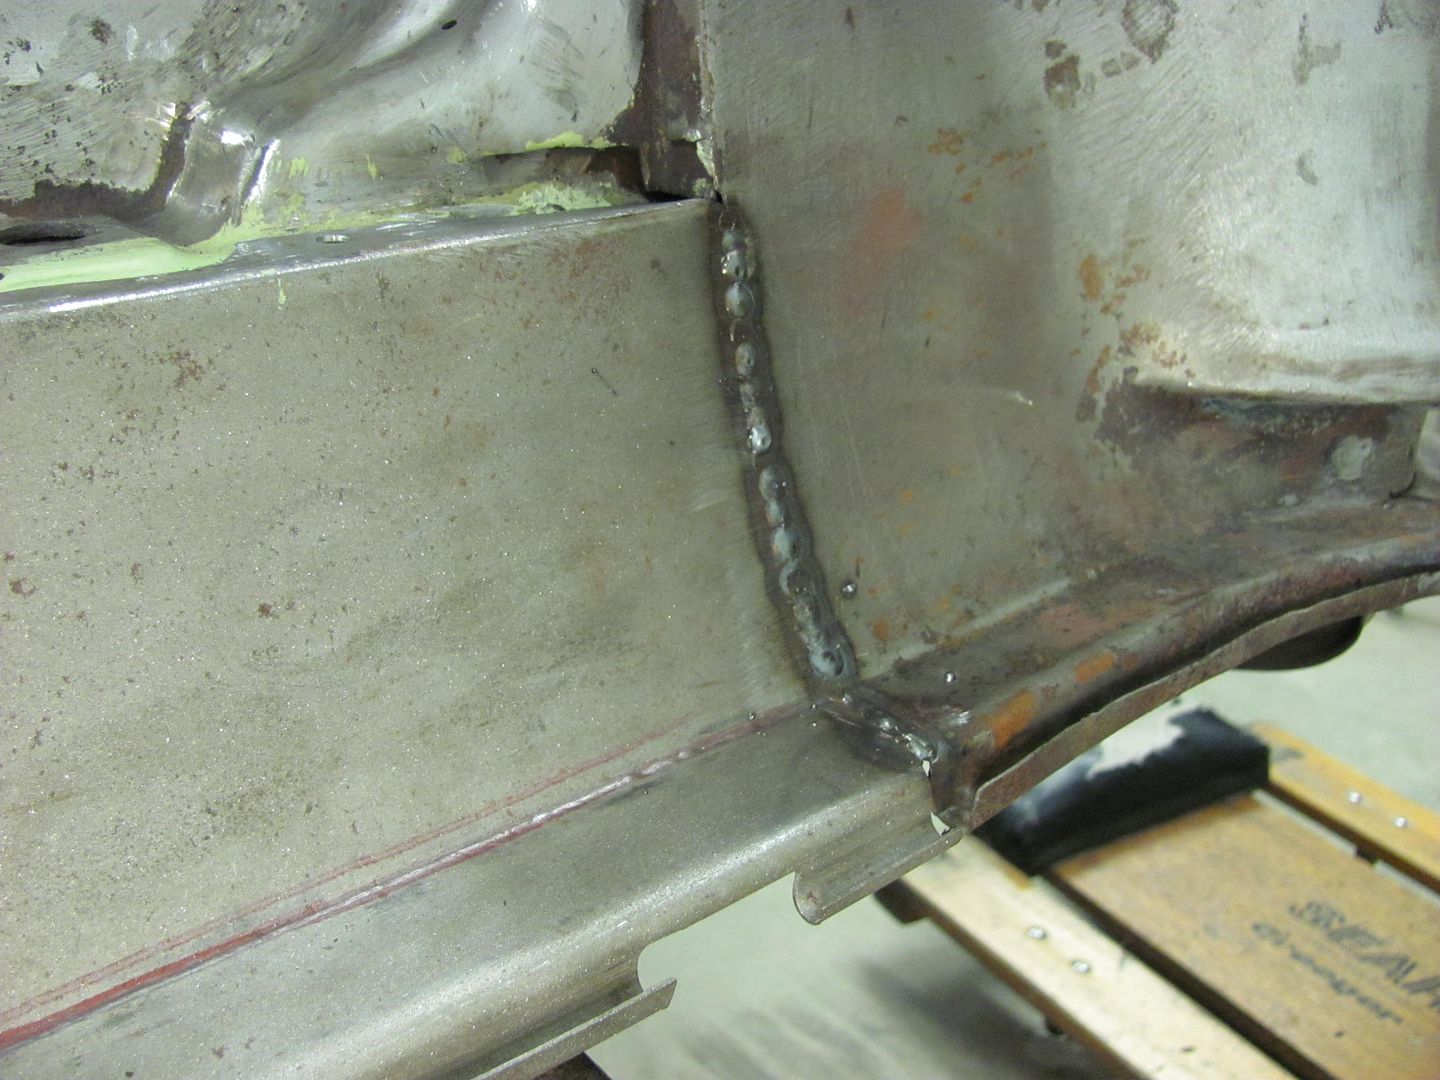
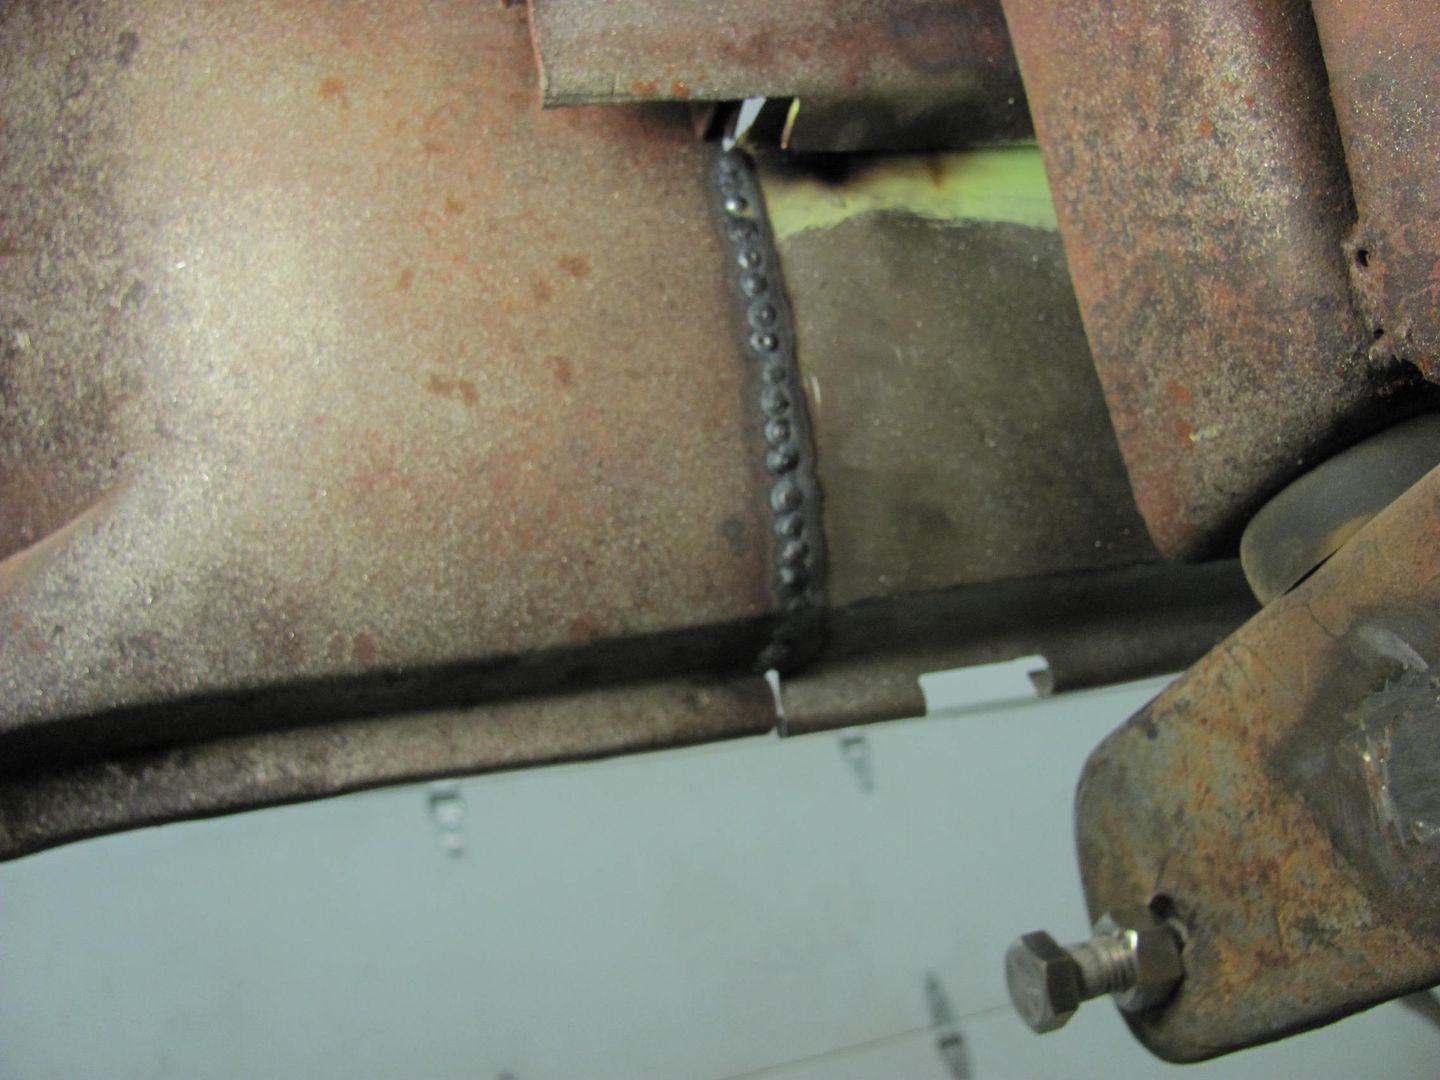
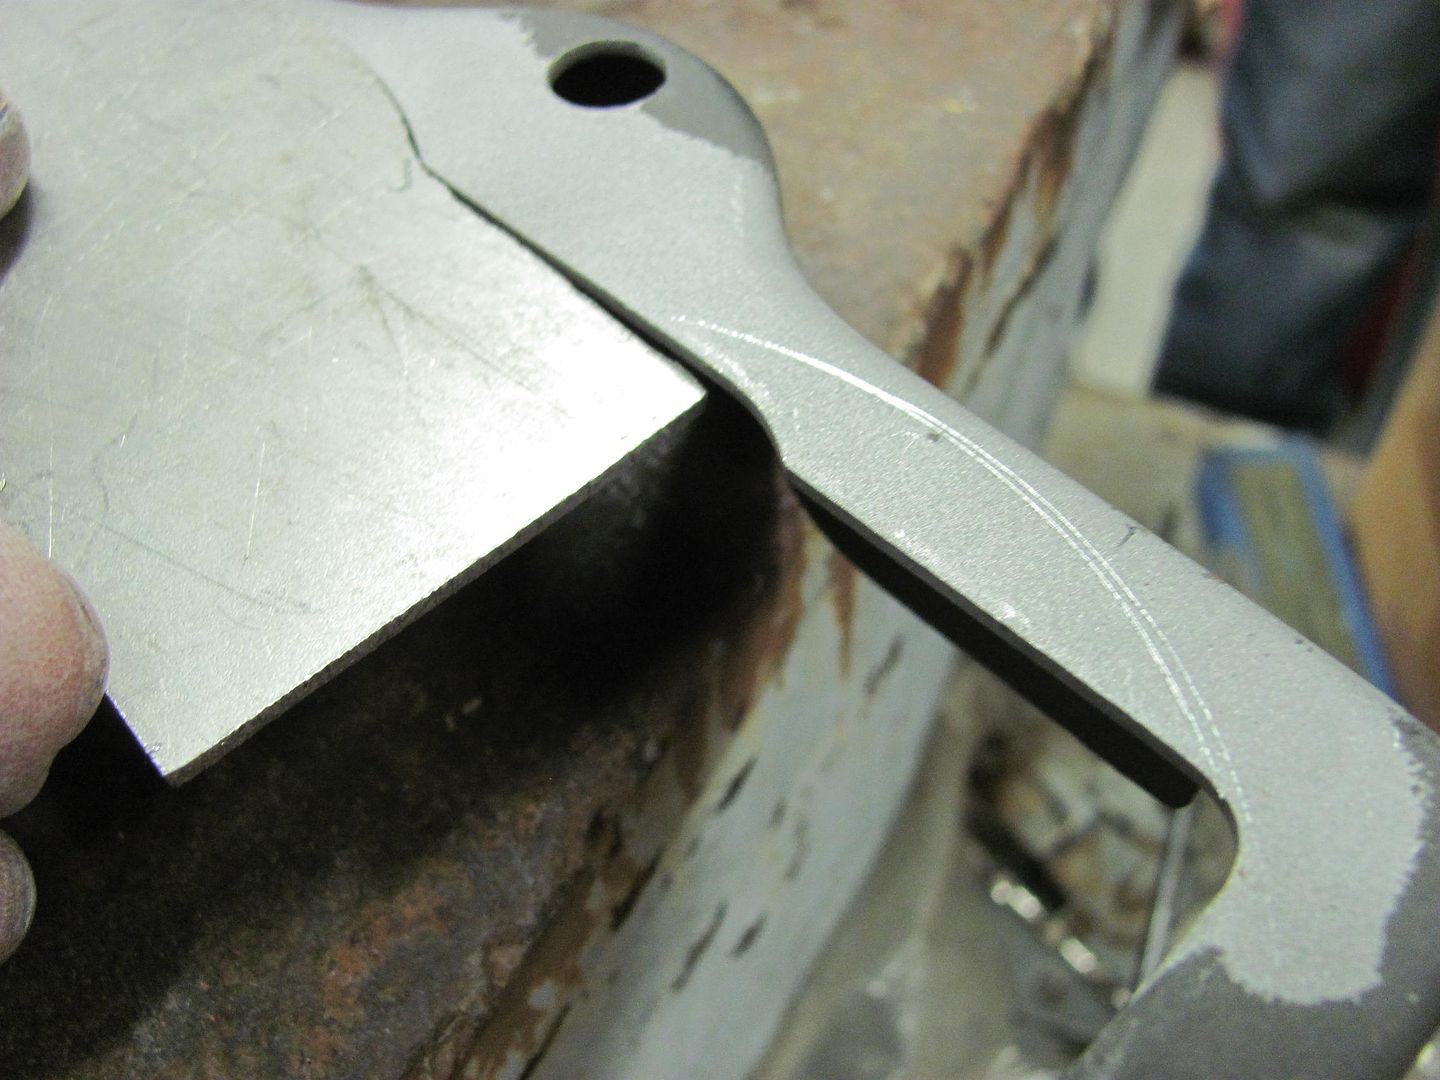
Scoring the second cut location, and tacking in place..
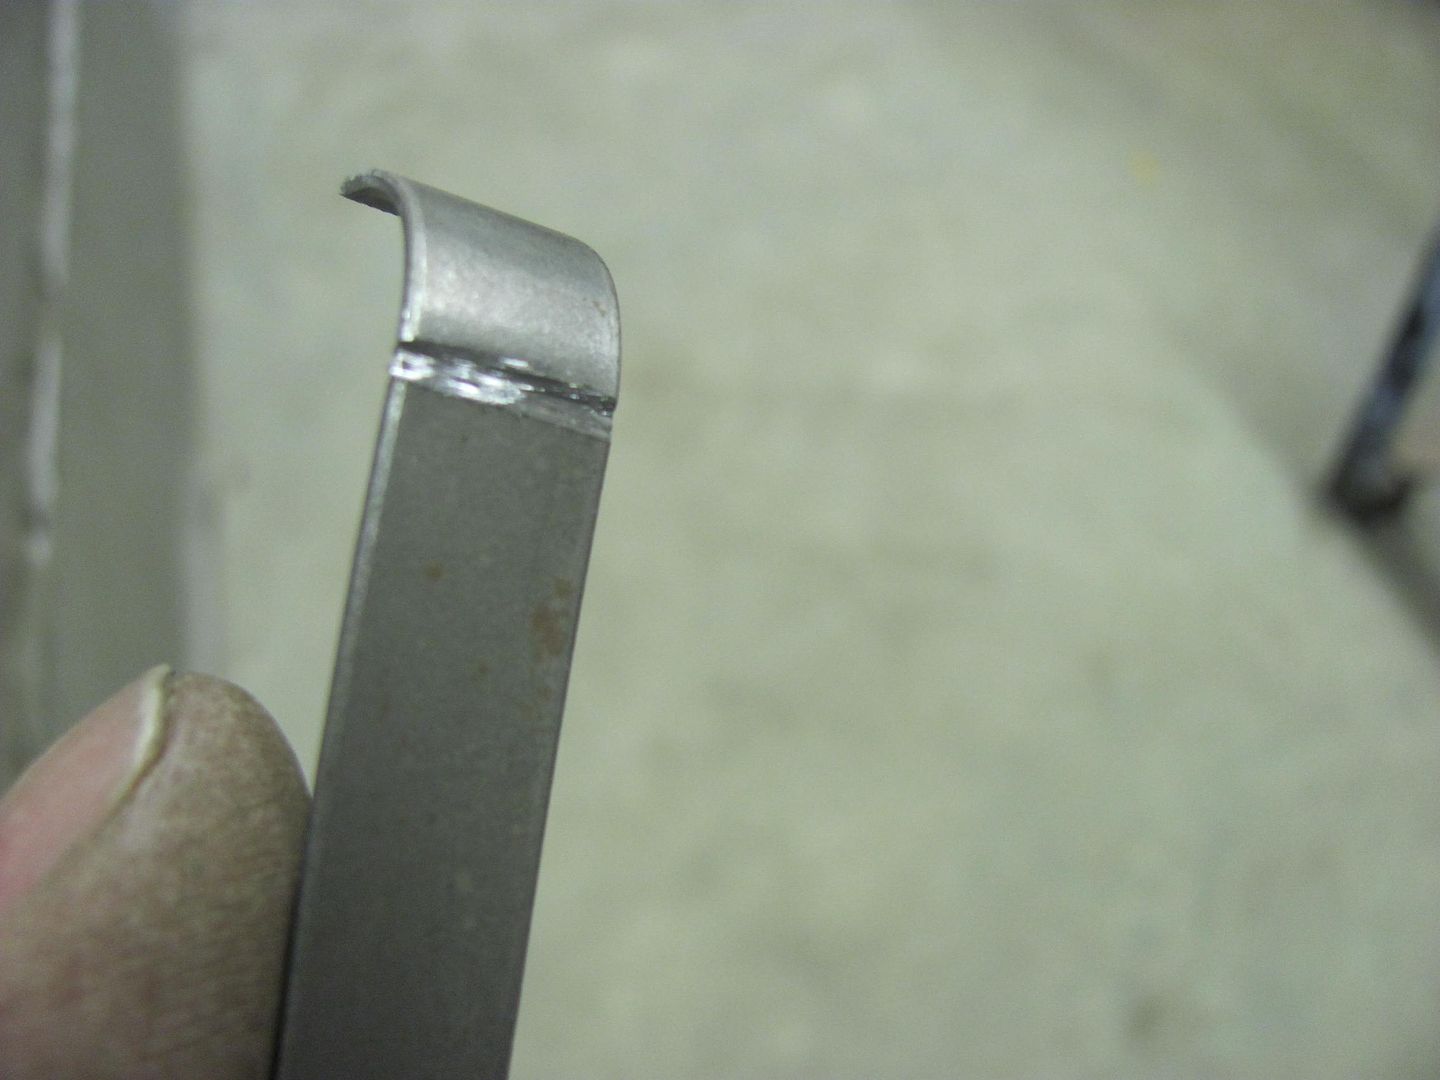
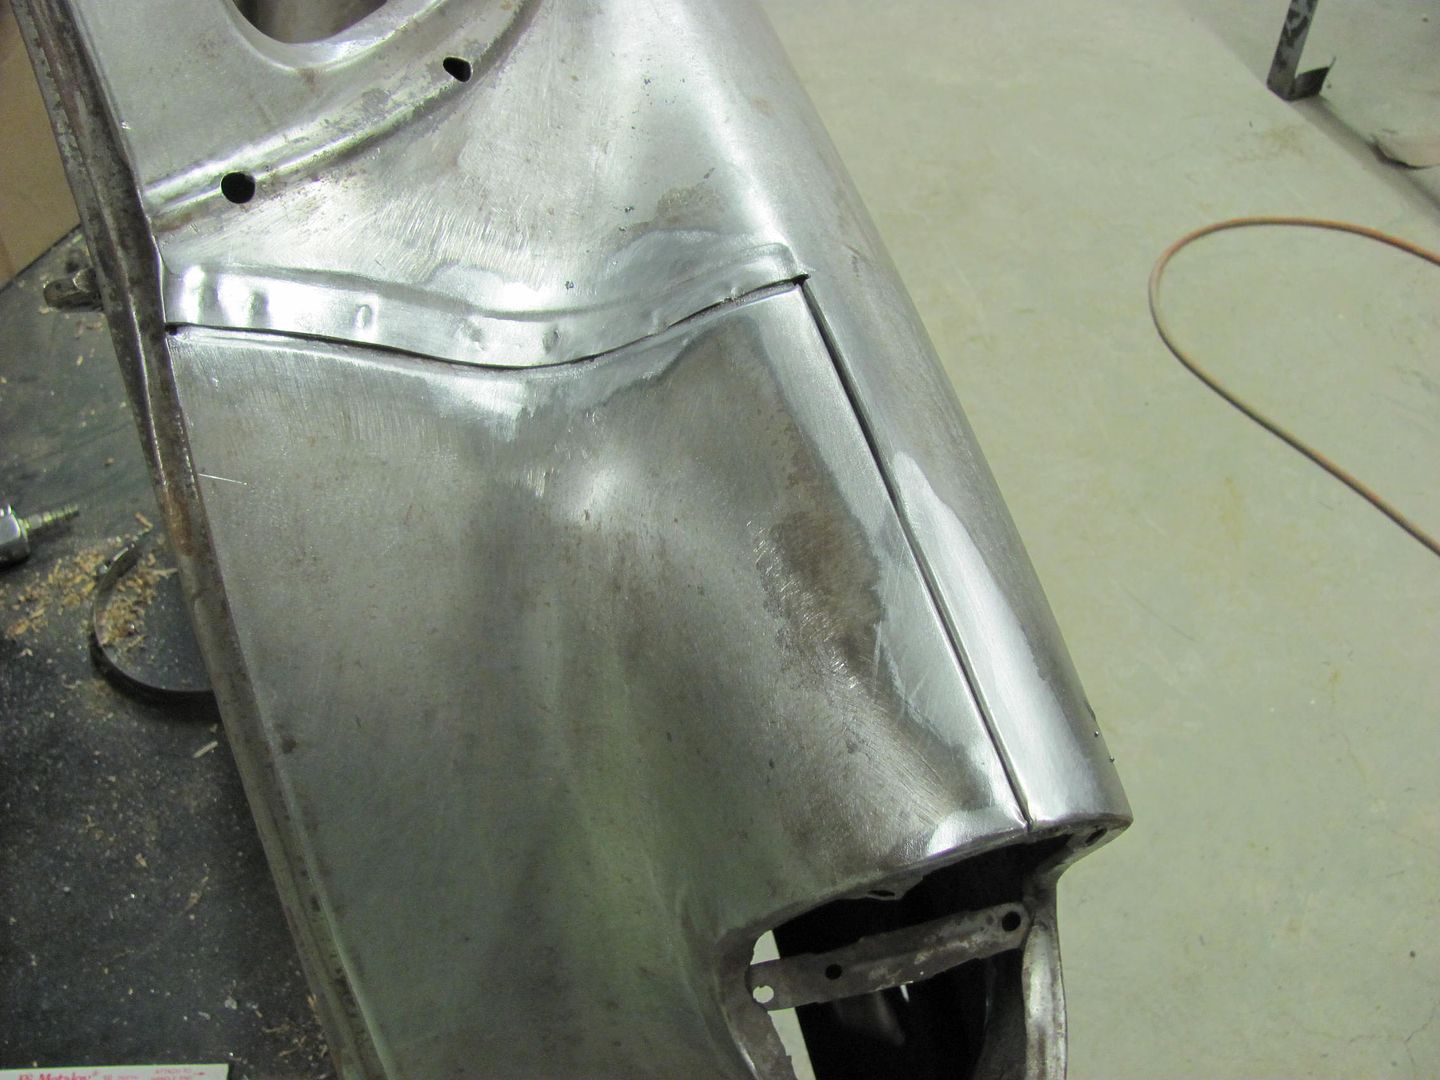
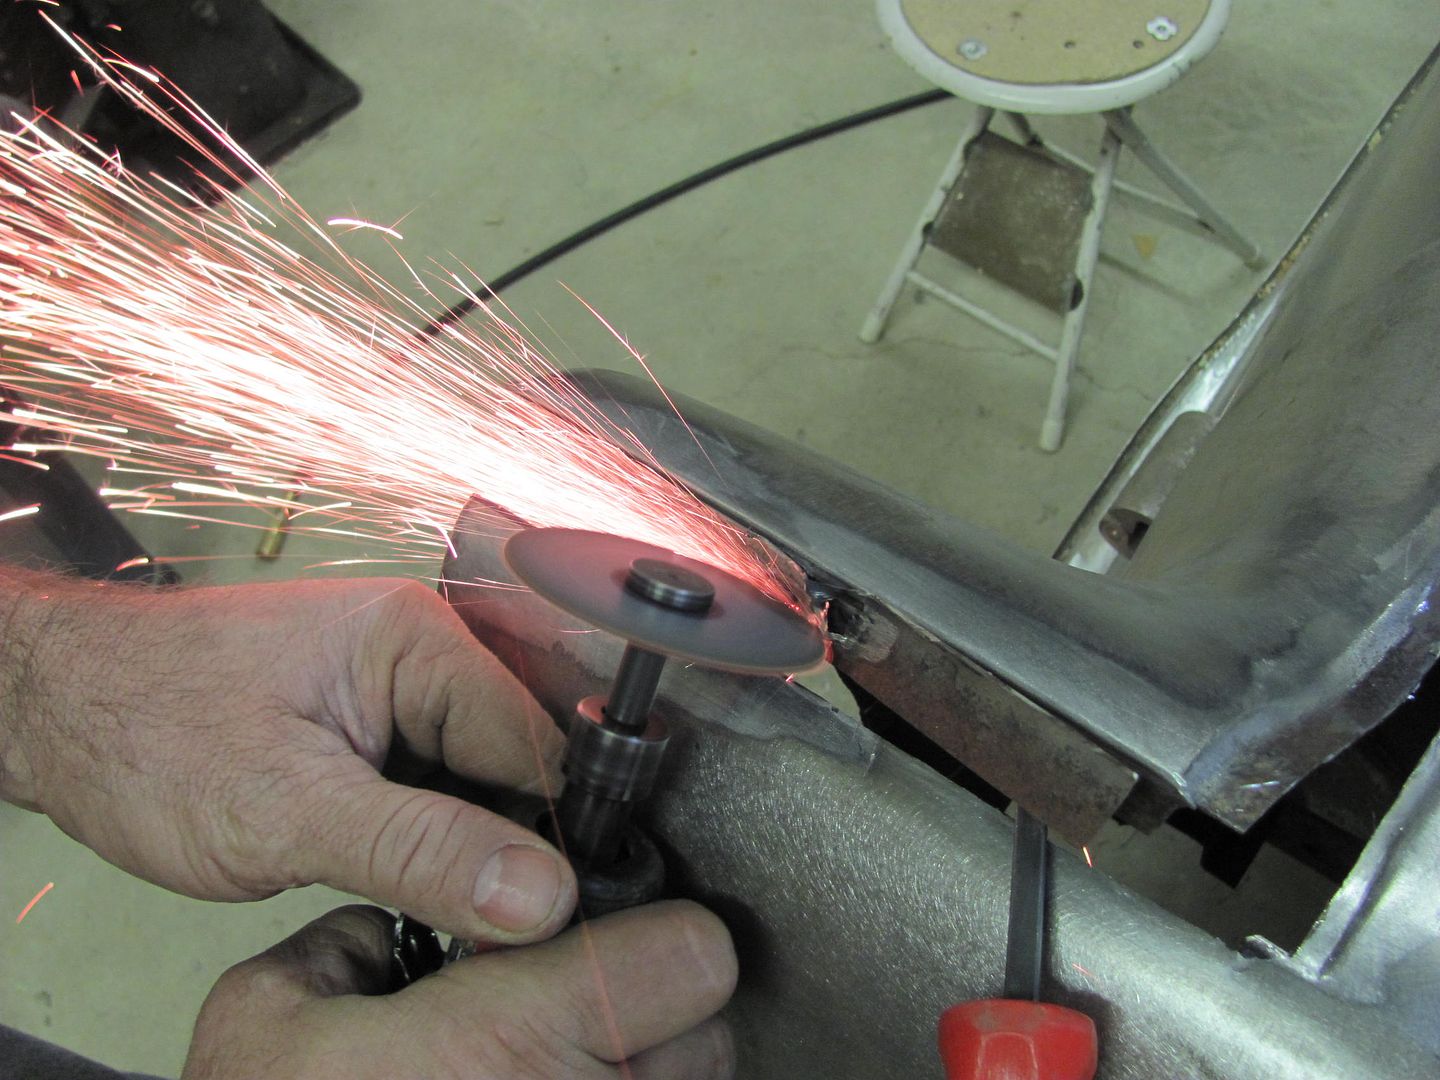
Snapped of the excess....
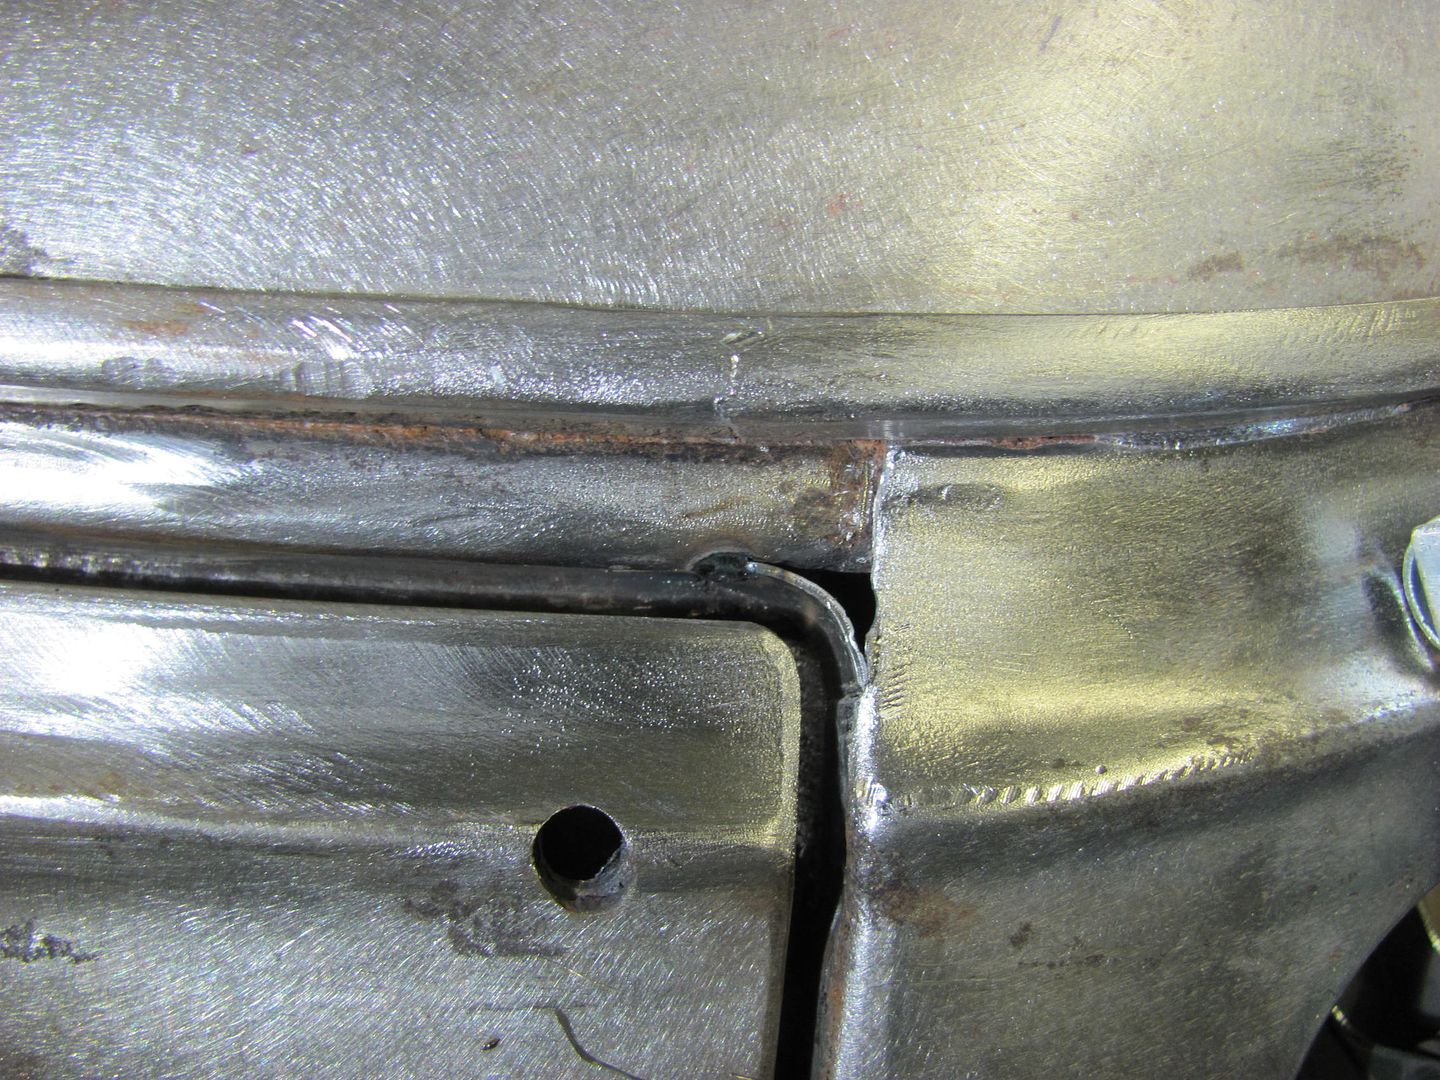
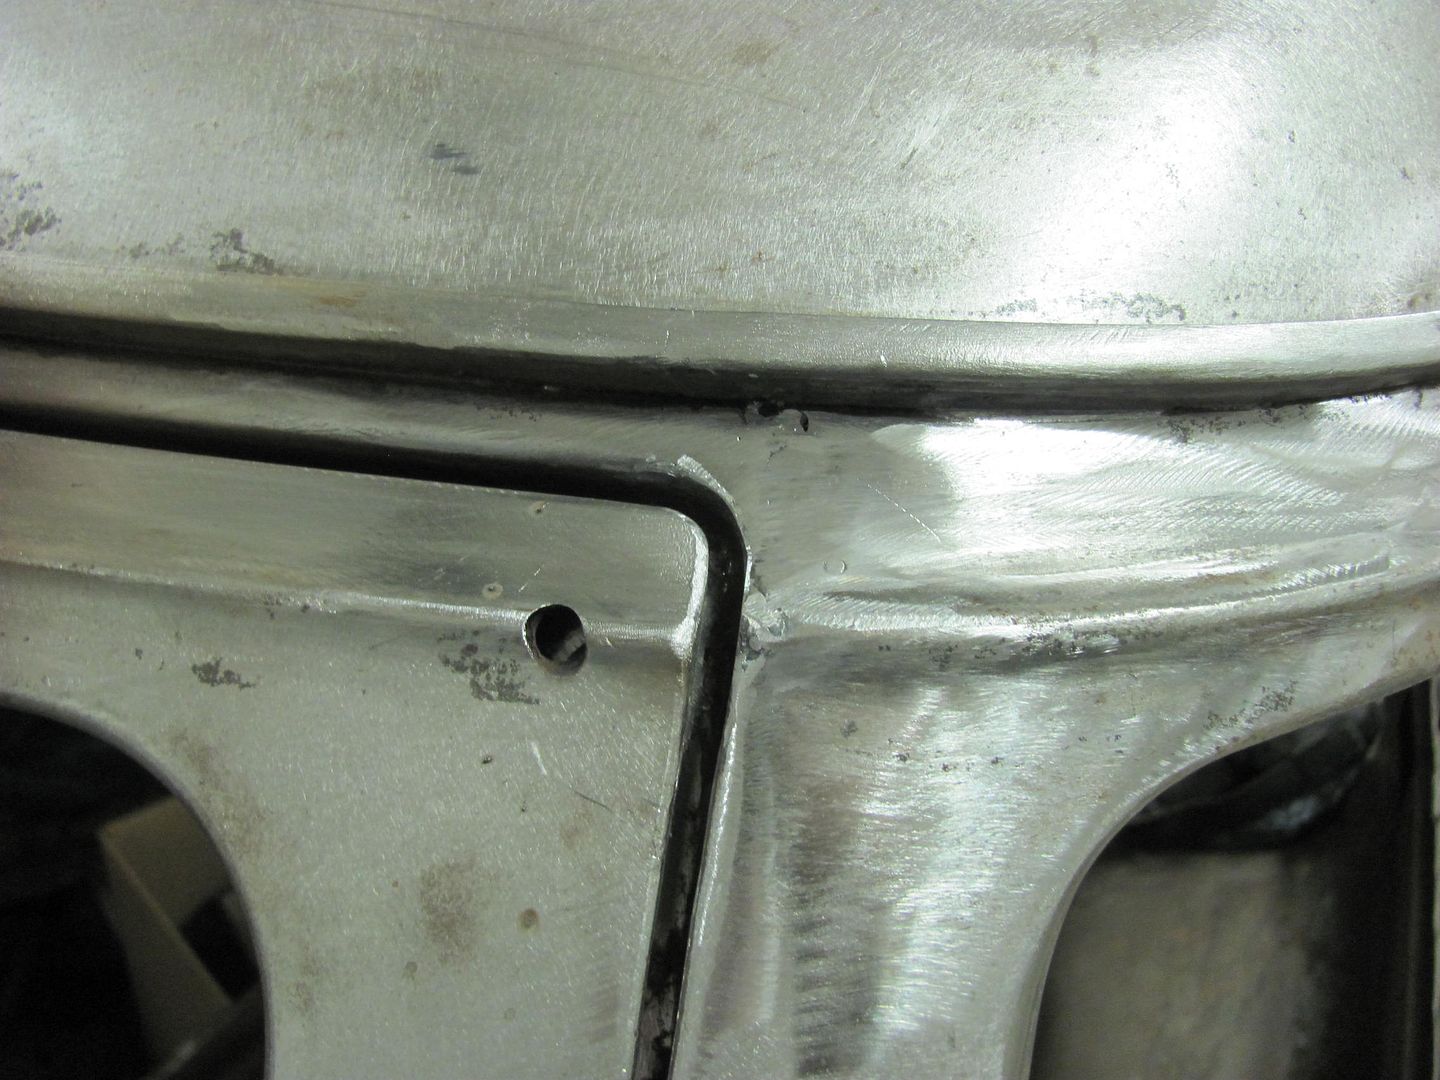
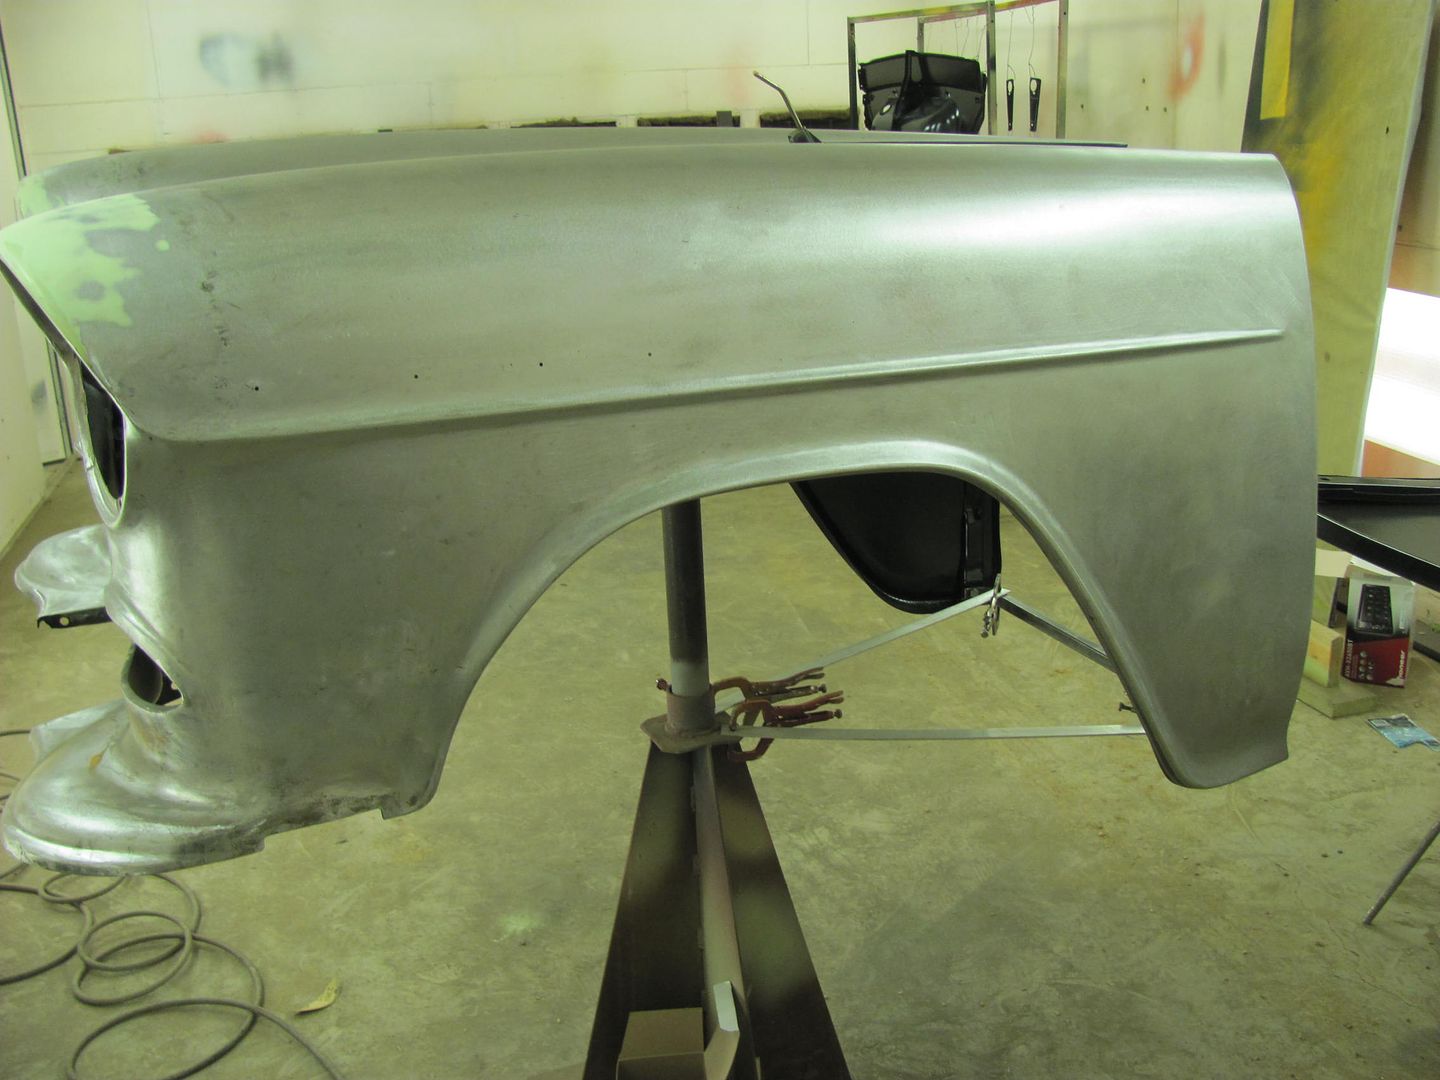
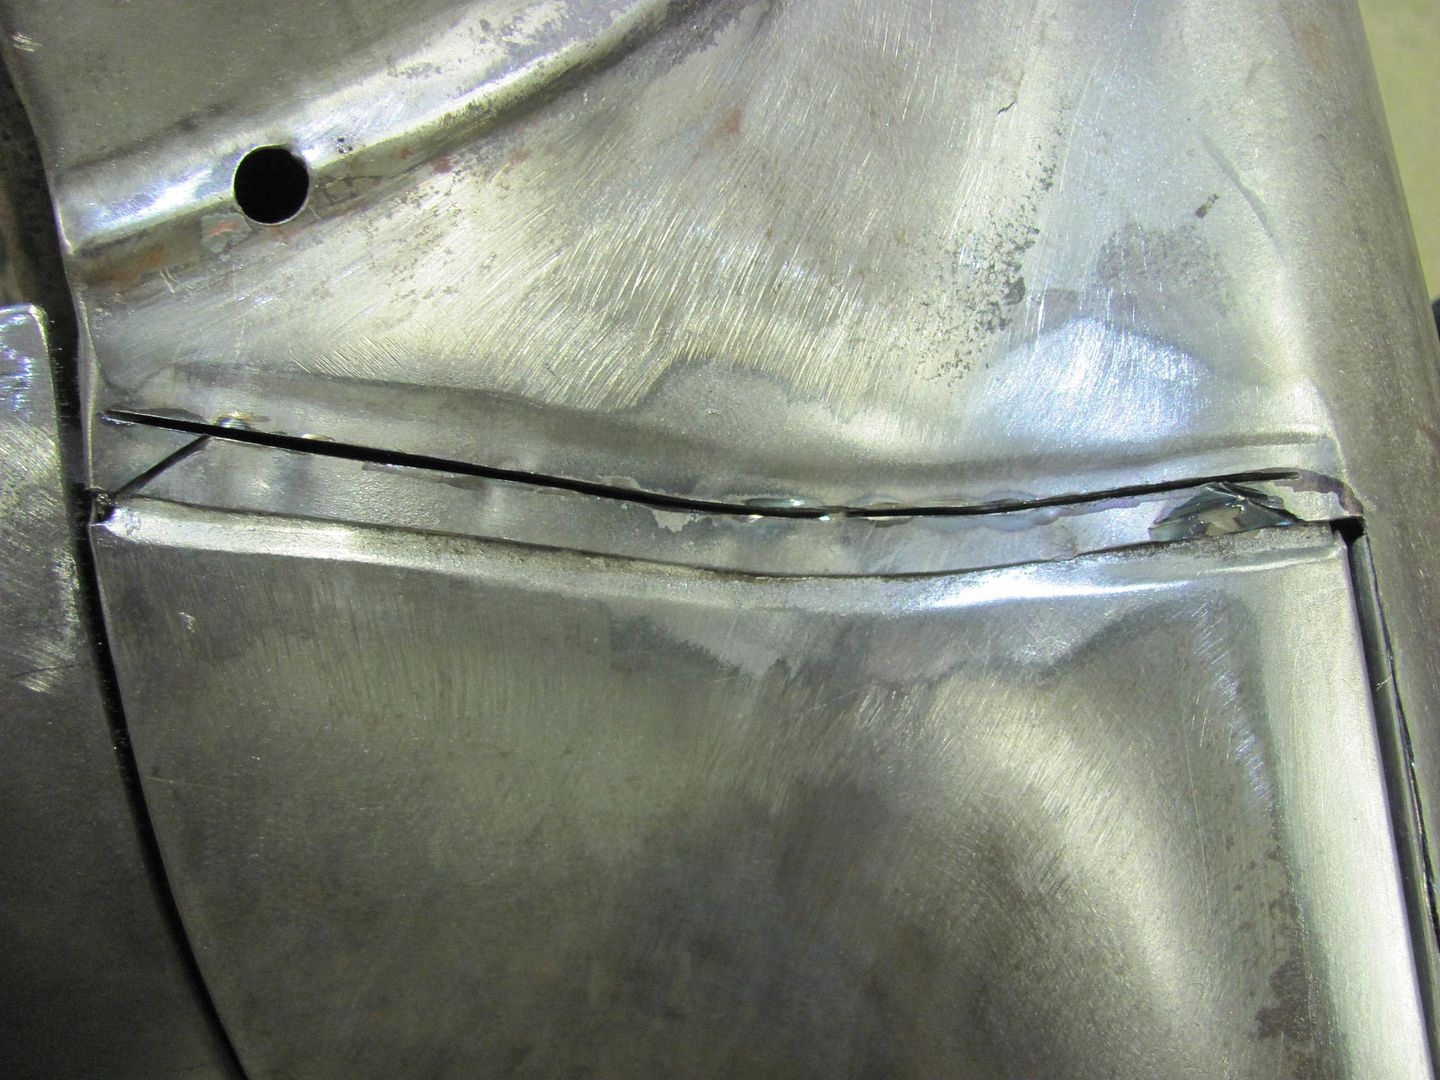
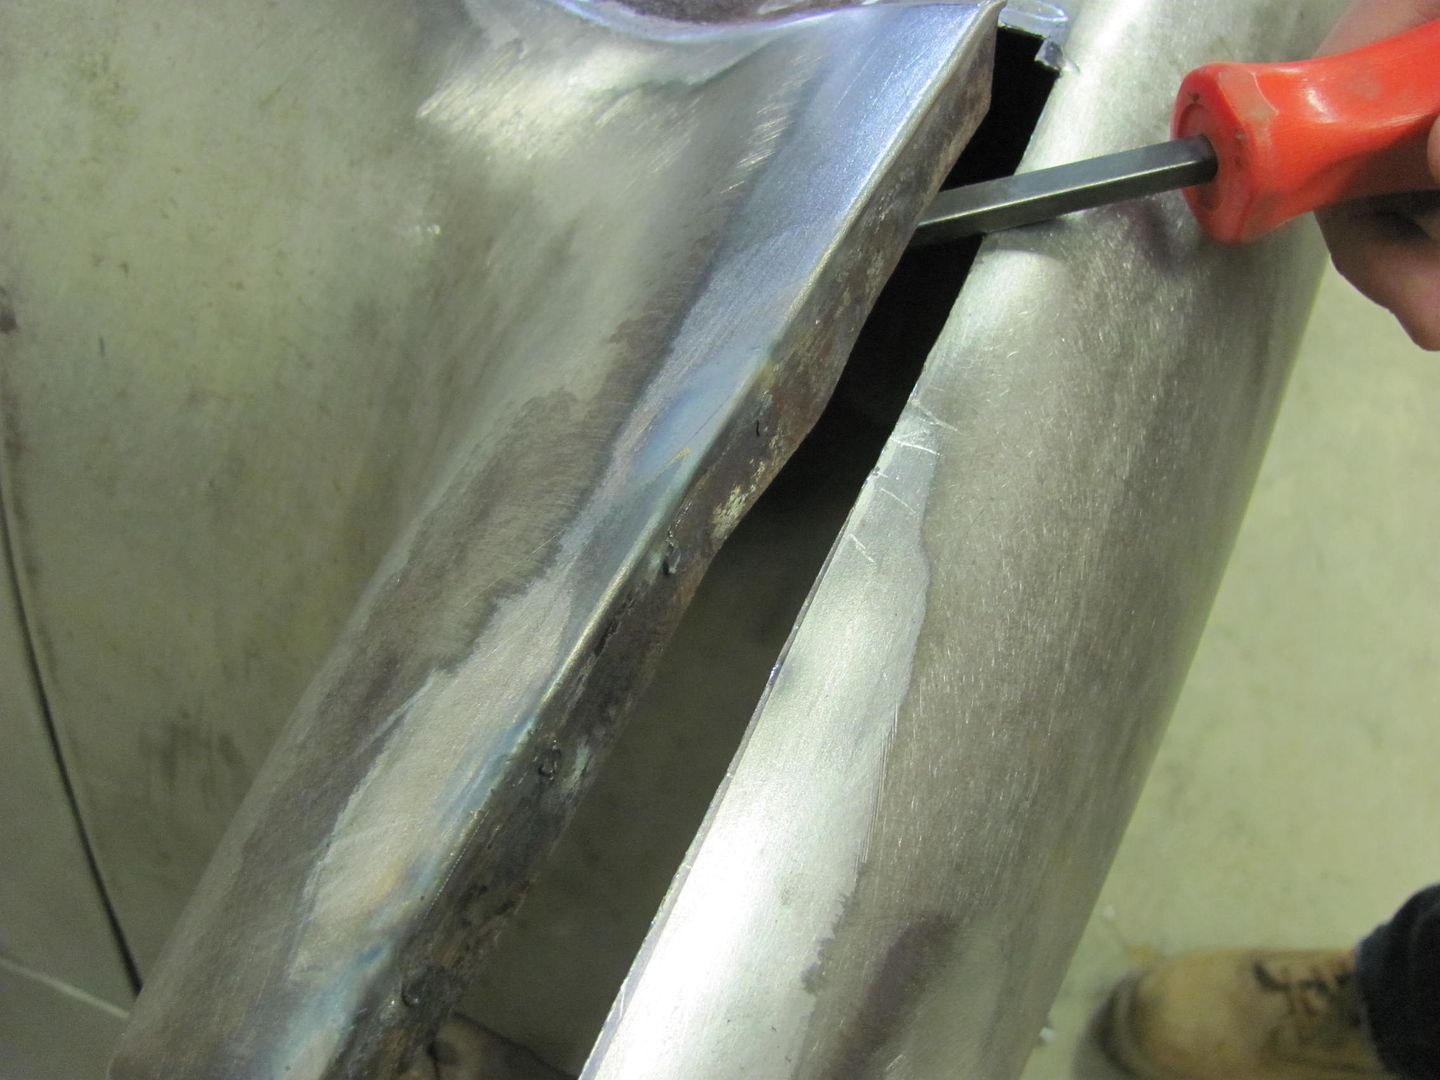
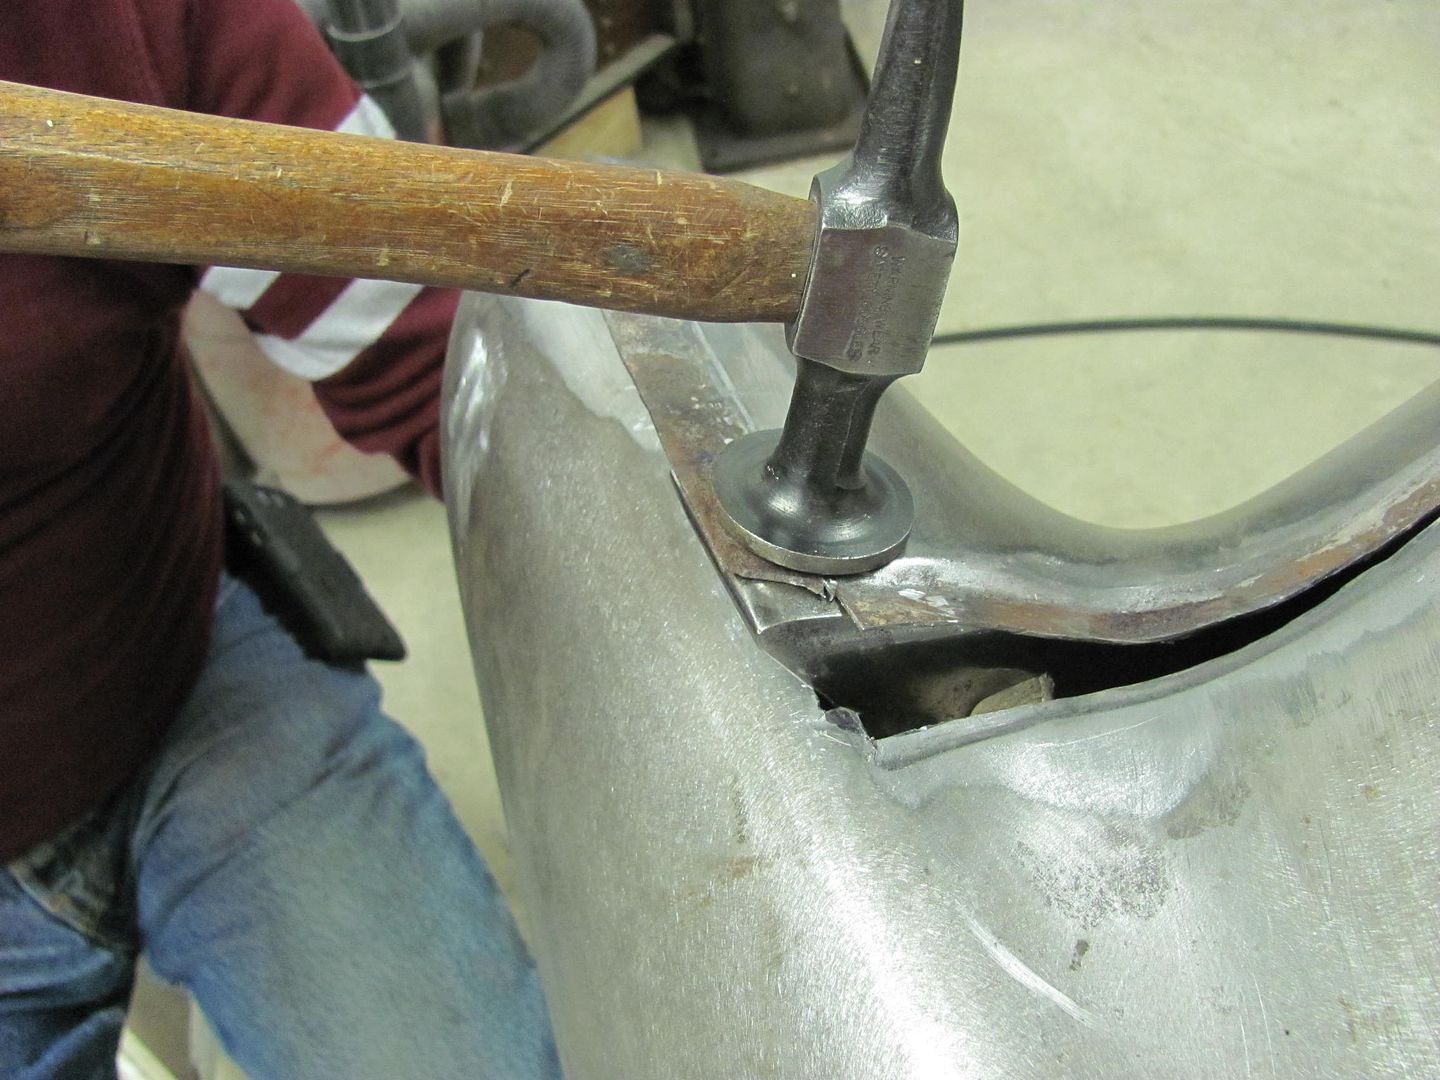
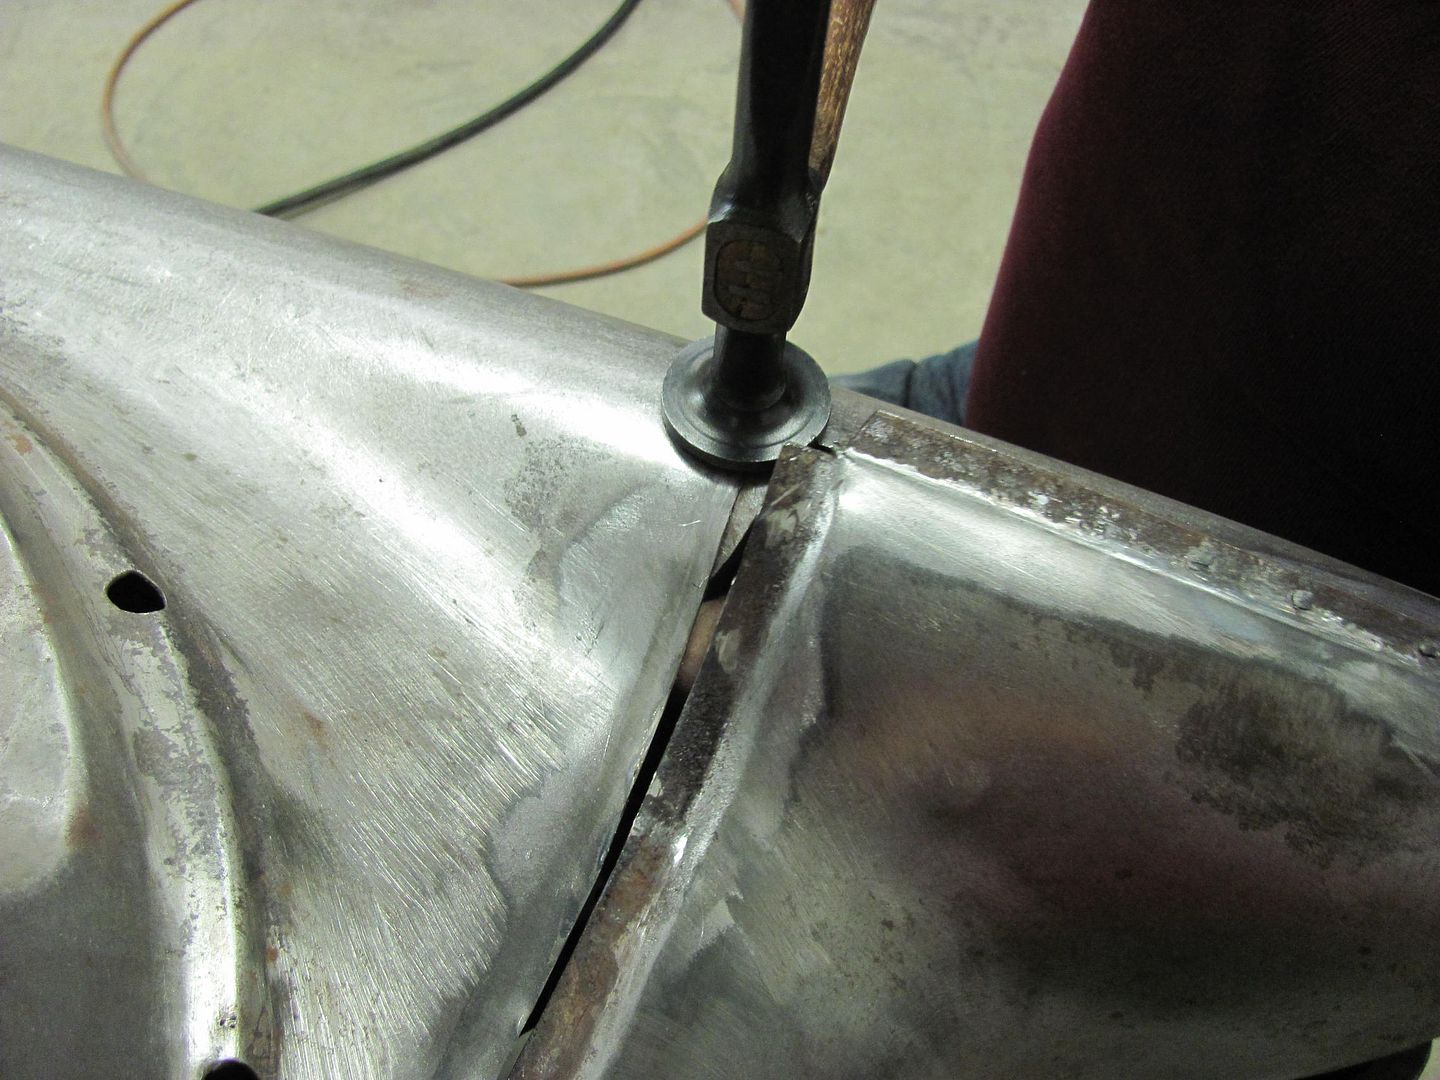
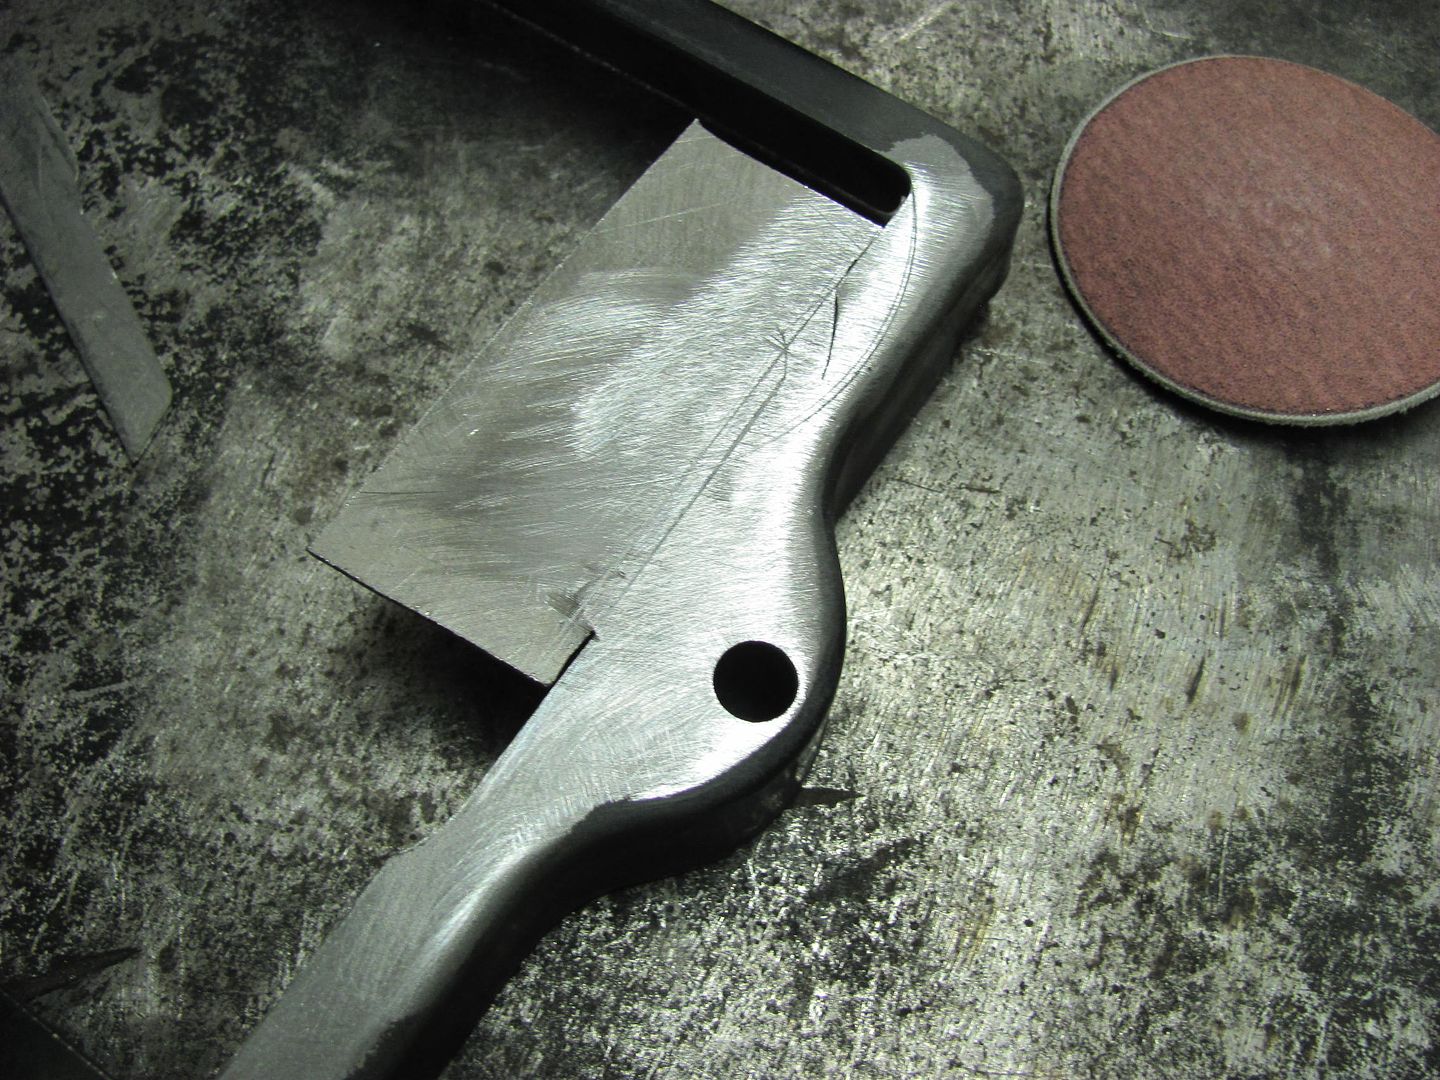
Checking the radius, and welded in and dressed...
They're calling for a heat wave this weekend (in high 40's on Sunday), so we should get some more primer sprayed....