Finally read this entire thread & loved it! It's like reading a book you just can't put down.
Thanks so much for taking the time to do this Robert, I'm learning so much from you!
Glen
I told you he IS GOOD!

Finally read this entire thread & loved it! It's like reading a book you just can't put down.
Thanks so much for taking the time to do this Robert, I'm learning so much from you!
Glen
I told you he IS GOOD!

Robert -
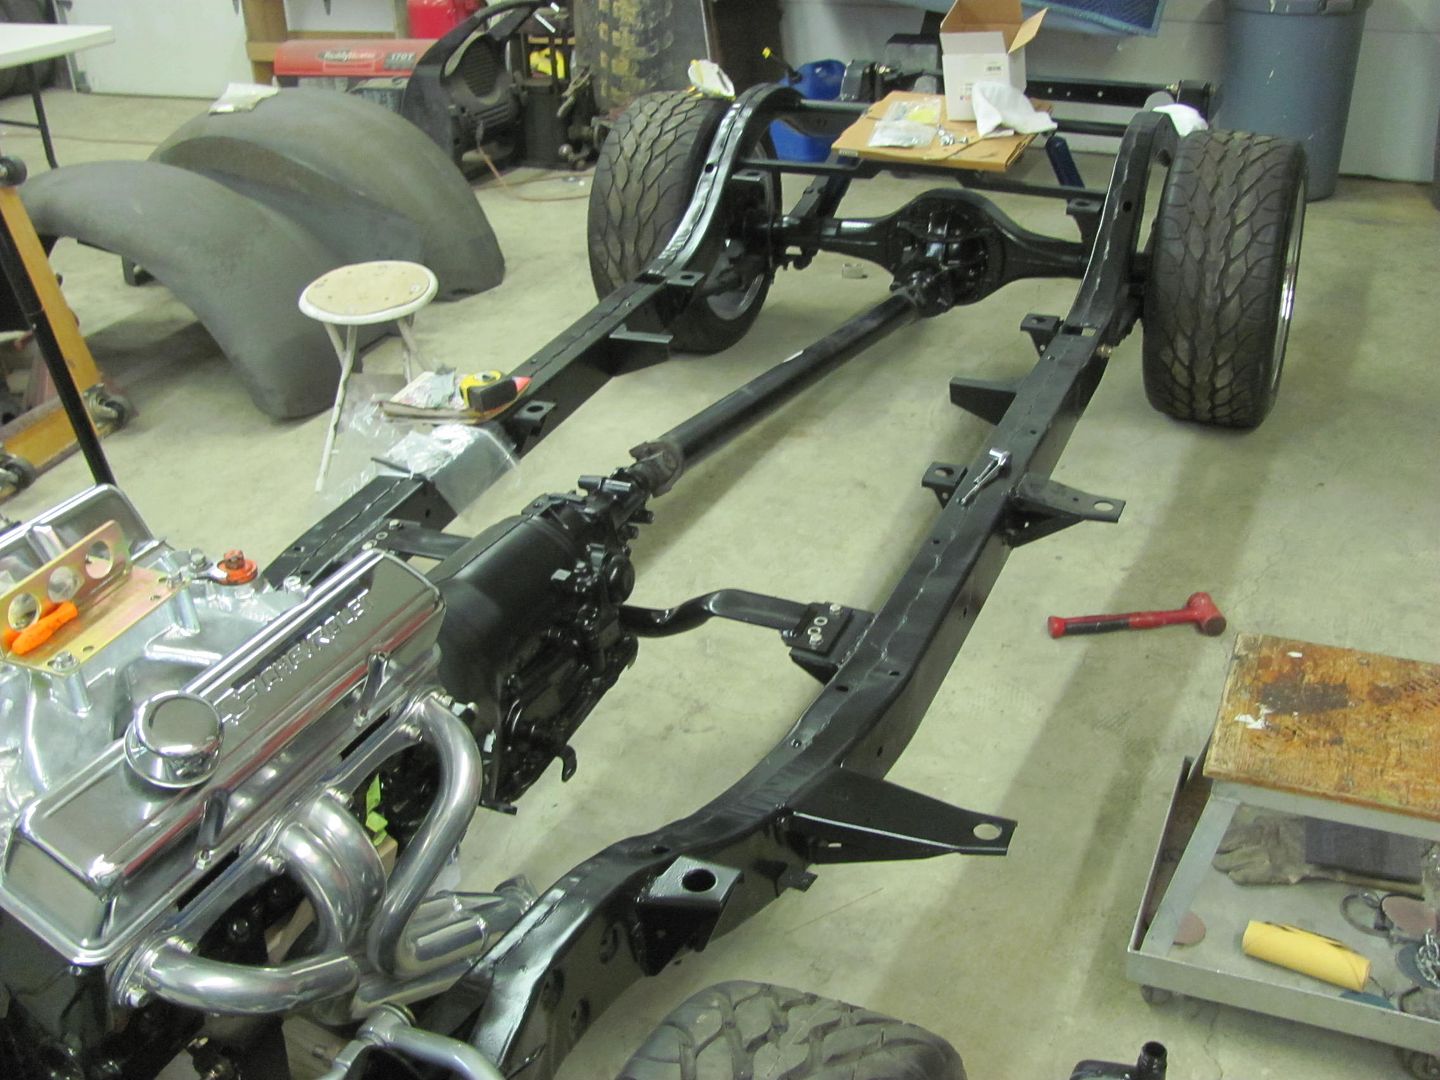
Is everything getting painted black on the suspension? Hardware, too? I personally prefer the contrast of gray/silver here and there, especially for hardware and parts that weren't painted from the factory. On nice clean blasted parts, a flat clear looks pretty good, in my opinion.
Scott

Robert,
Dave's post reminded me that I wanted to double-check my
understanding of your process...
1. Get metal straight and smooth as possible.
2. SPI Epoxy, 2 to 3 coats
3. Sand to find problems
4. hammer & dolly FIRST to remedy issues if possible, then filler if desired.
5. Repeat epoxy and sanding steps until ready for paint.
So my question is: have you "encapsulated" bondo in the epoxy layers?
Or do you remove the primer where bondo is needed and then spray
the epoxy over that? I like the idea of putting bondo over a solid layer
of epoxy from a corrosion protection aspect, but I'm worried about
primer shrinkage. Do you gently hammer and dolly low spots after
the first guide coat of epoxy?
Thanks!
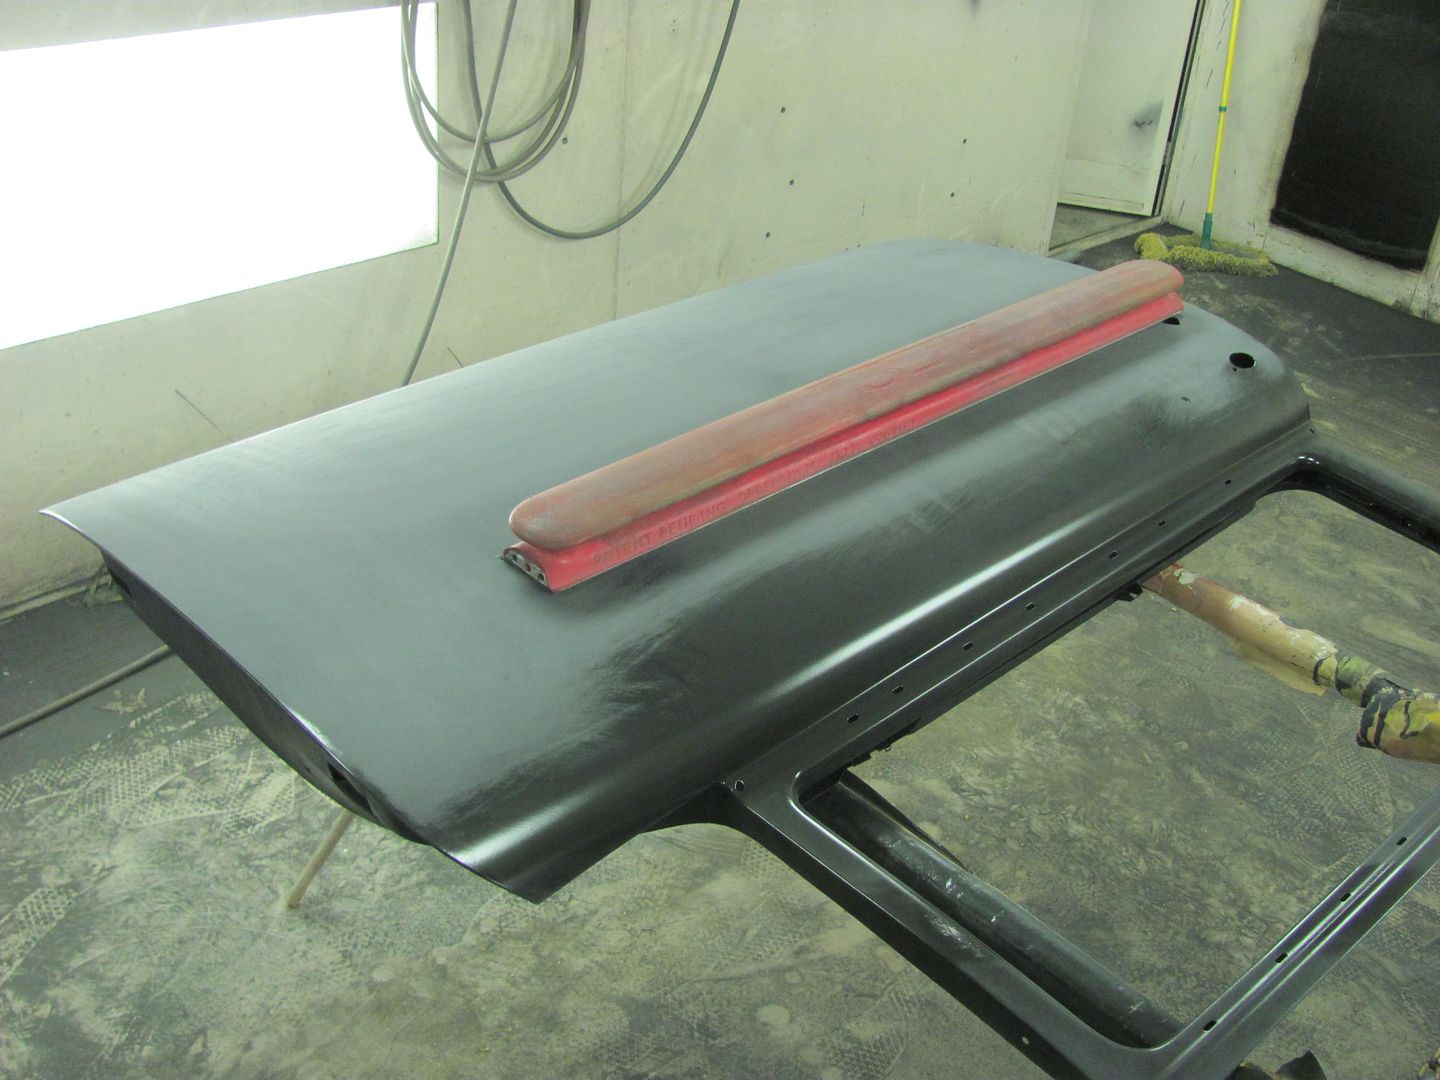
Dave, when we did the 65 Fairlane we used the H/K epoxy and Slick Sand. Now a few years later I can see some areas where it appears some very minor shrinking occurred. (I can see it, the owner can't) So in an attempt to eliminate that issue, I've been side stepping the high build to see if we have better results.
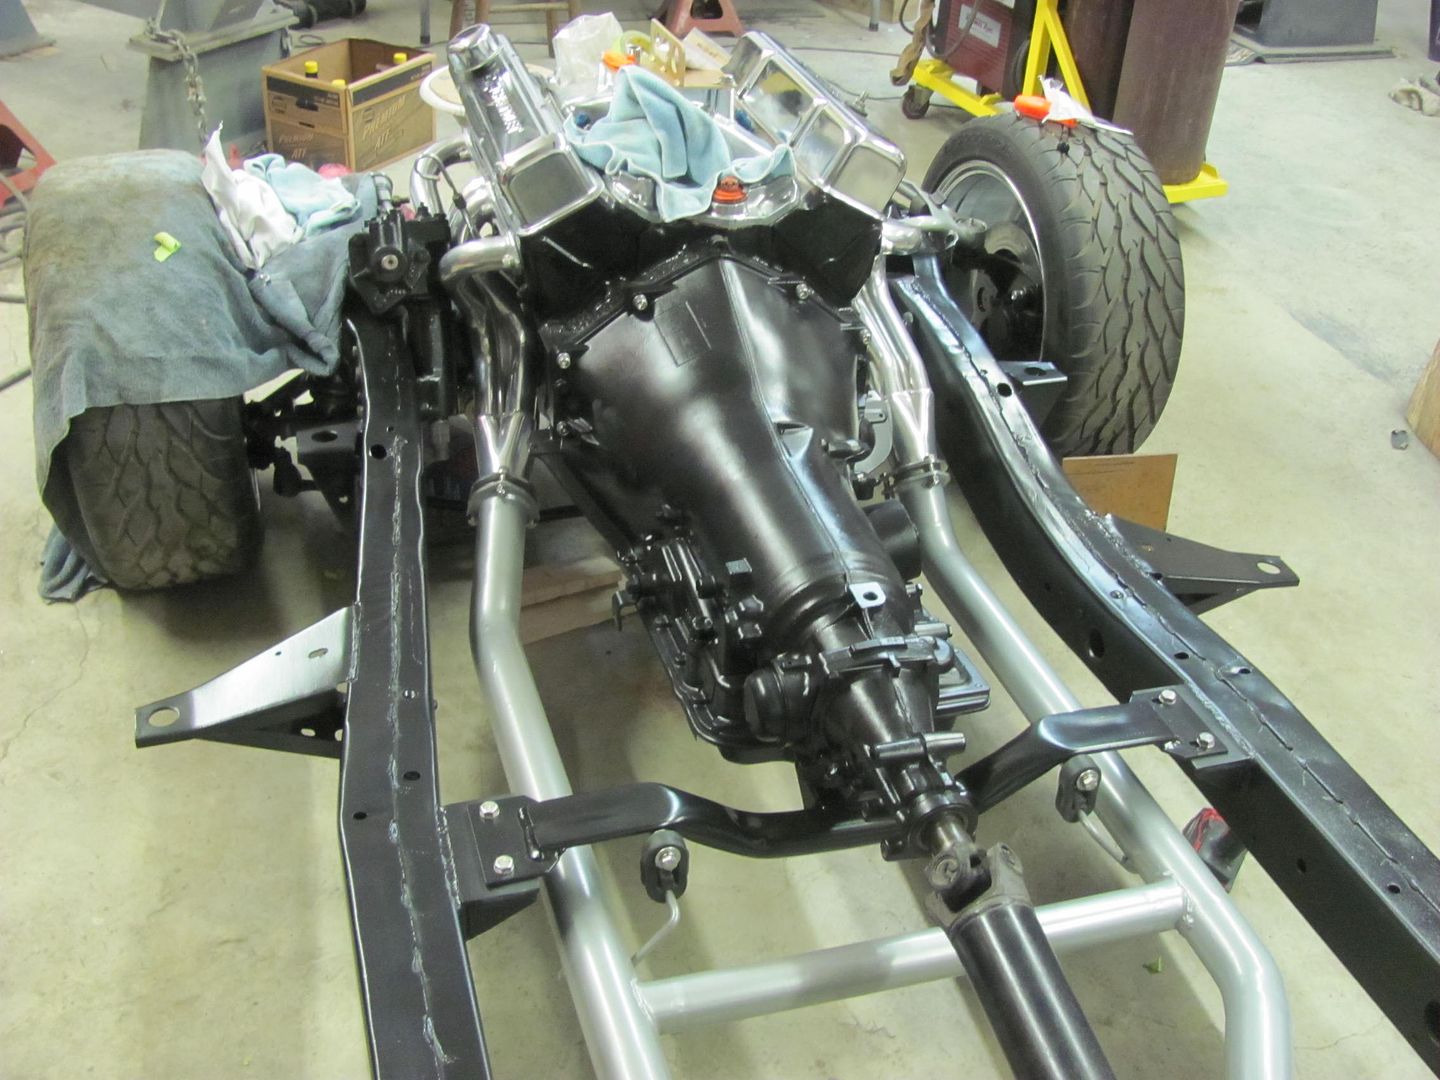
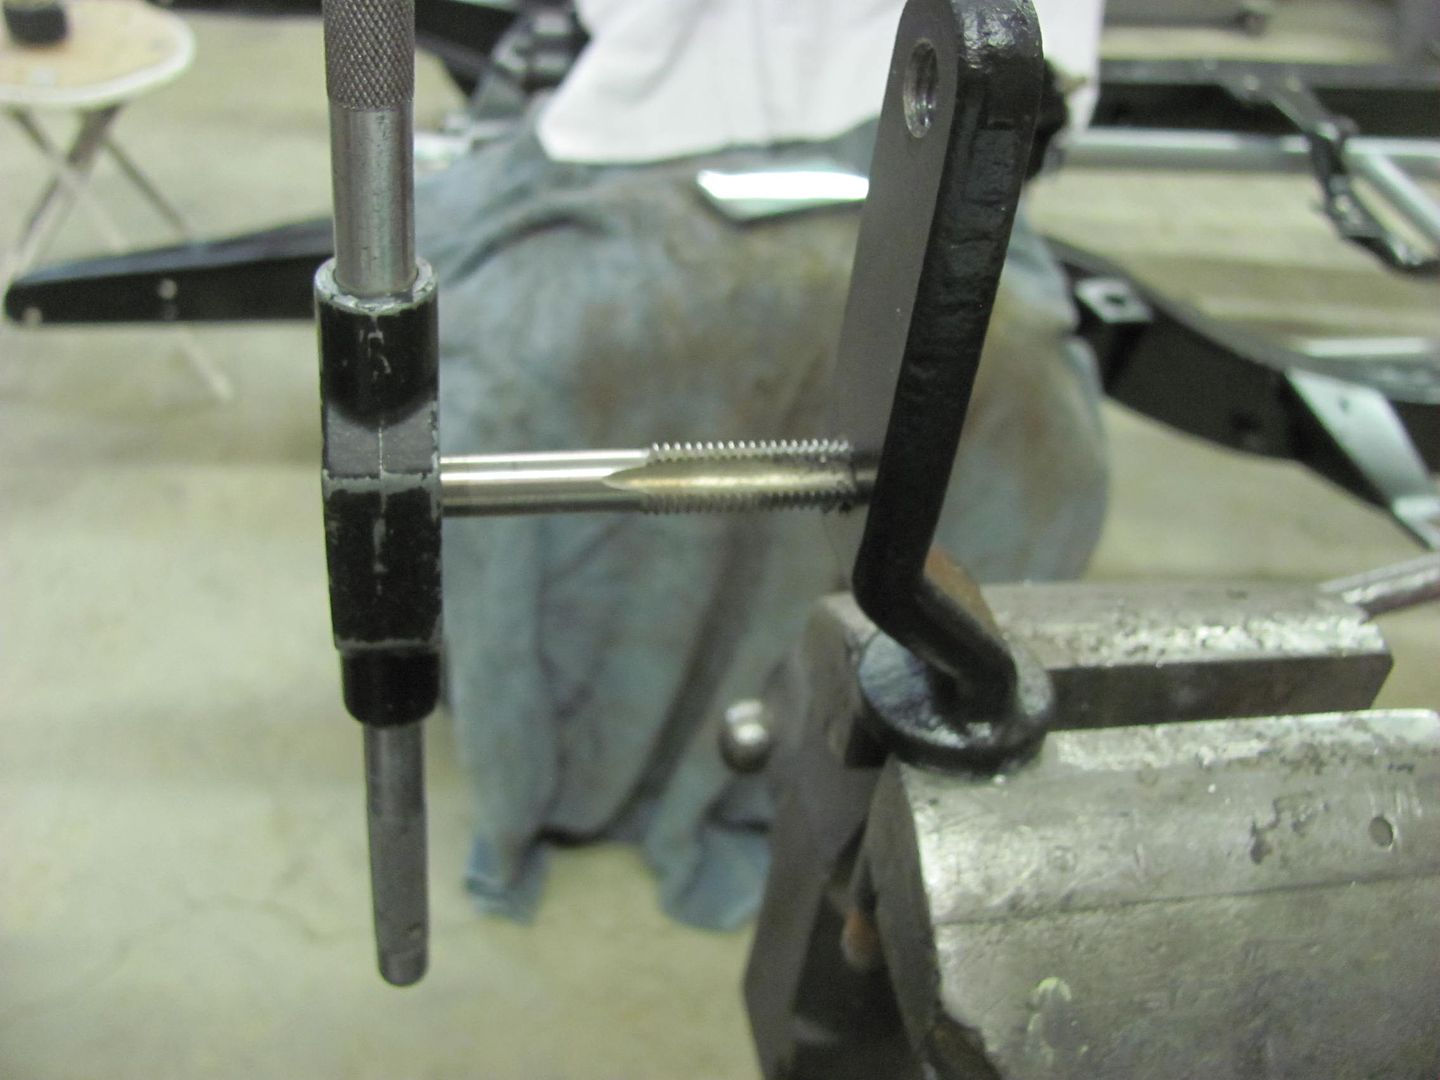
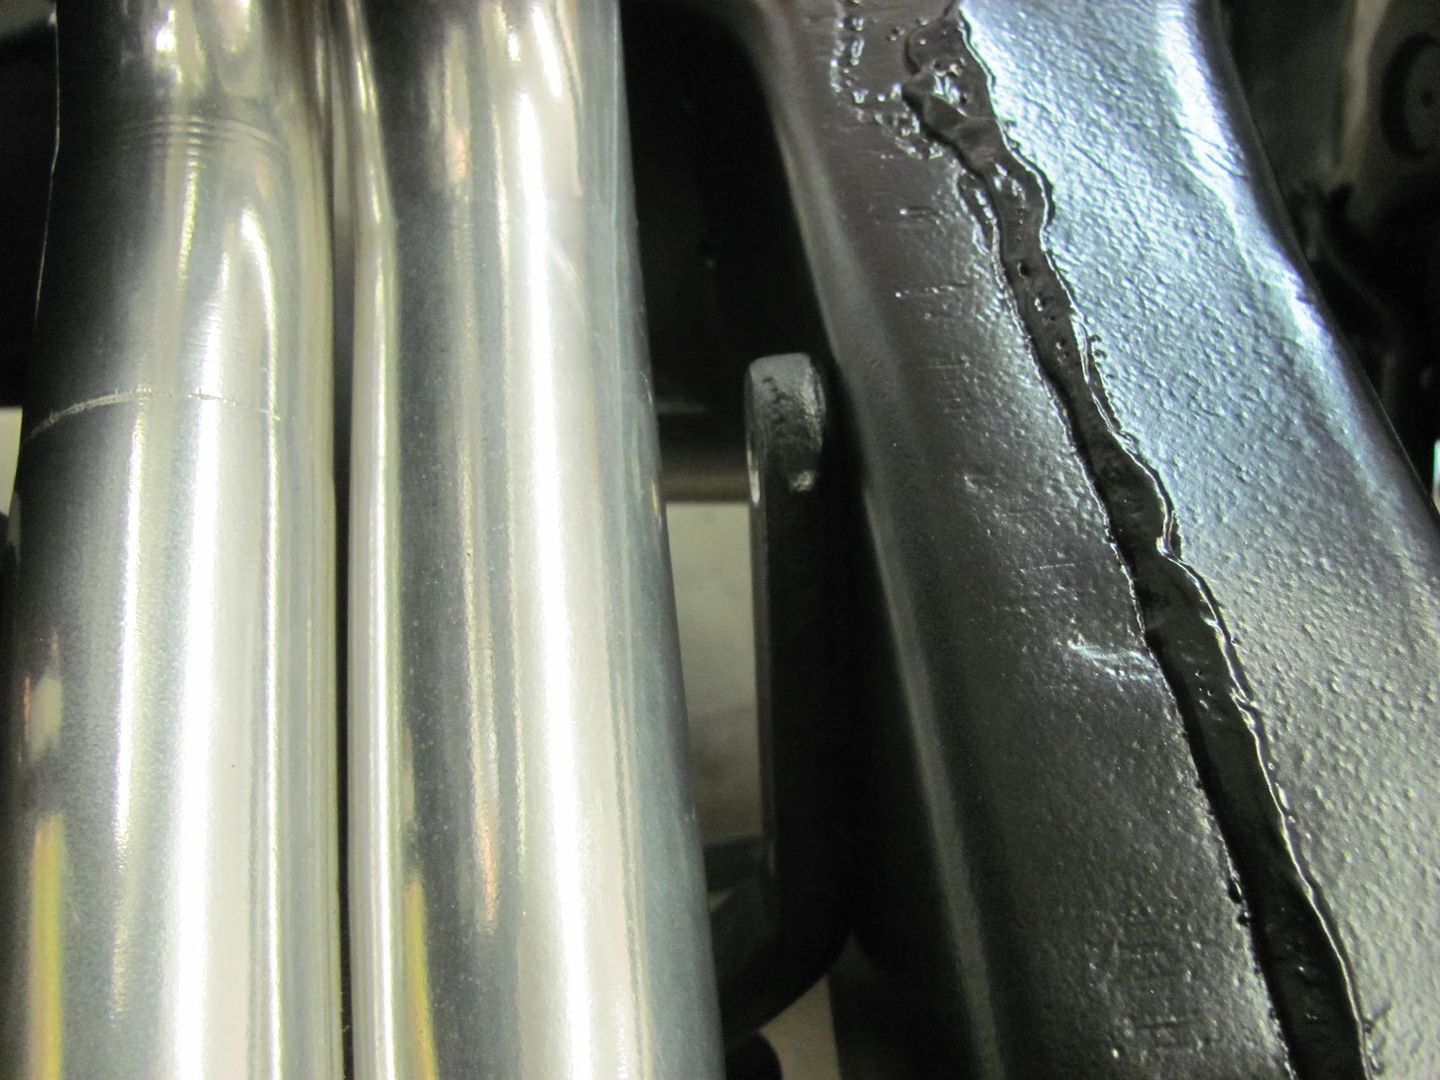
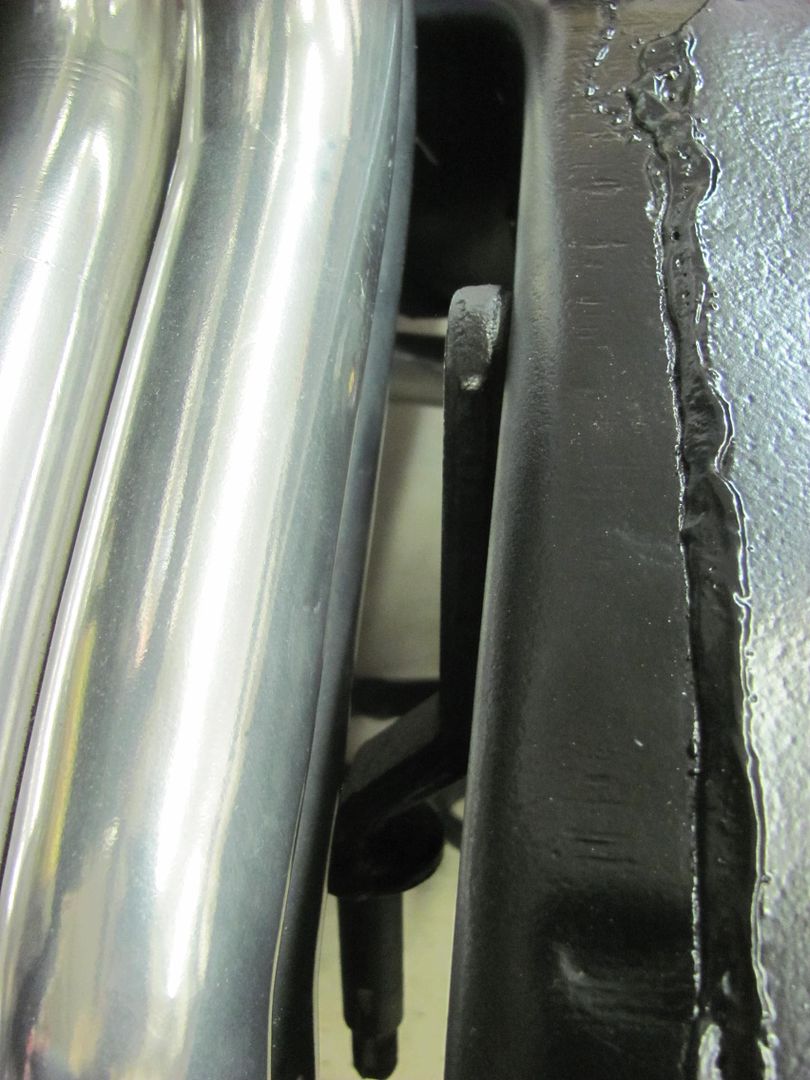
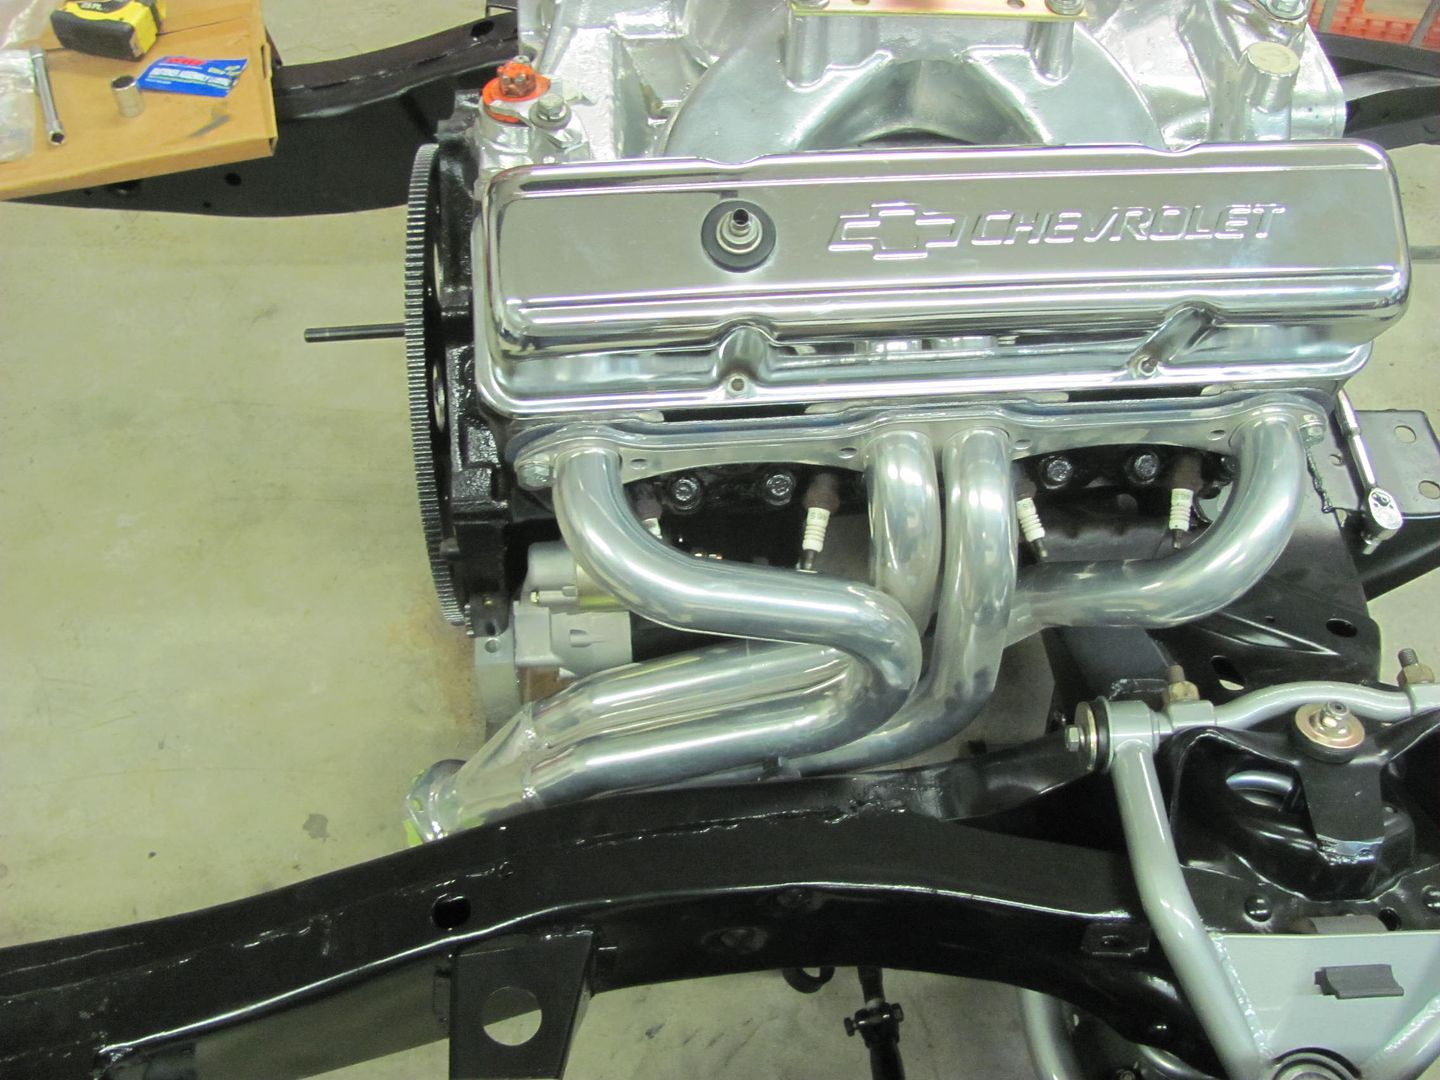
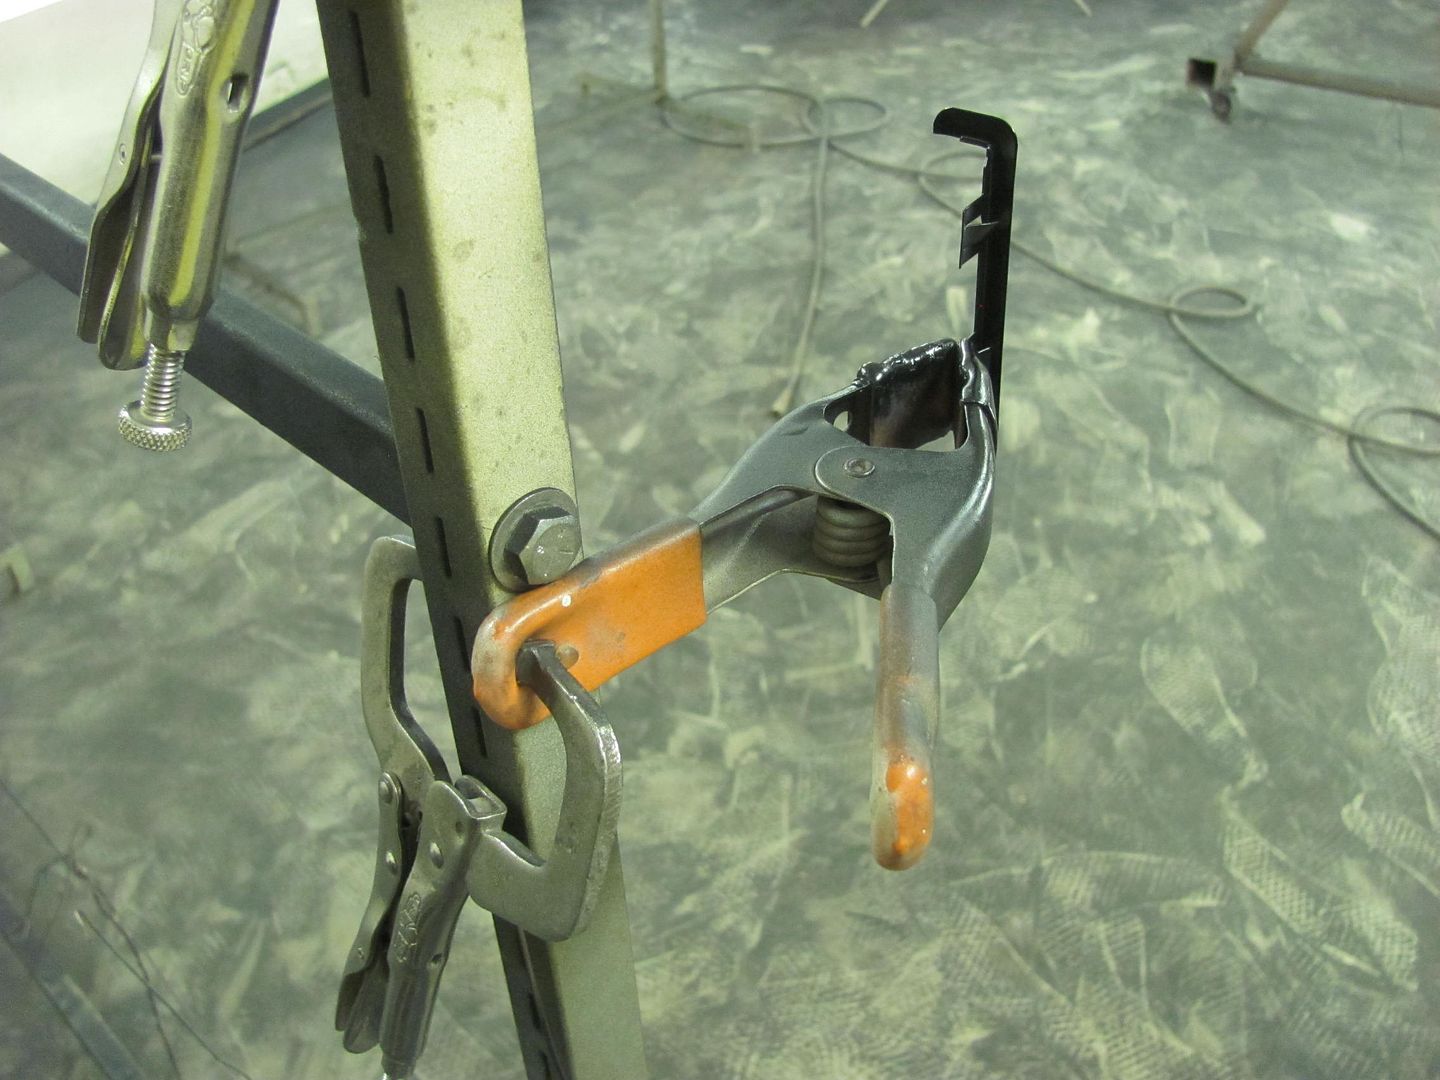
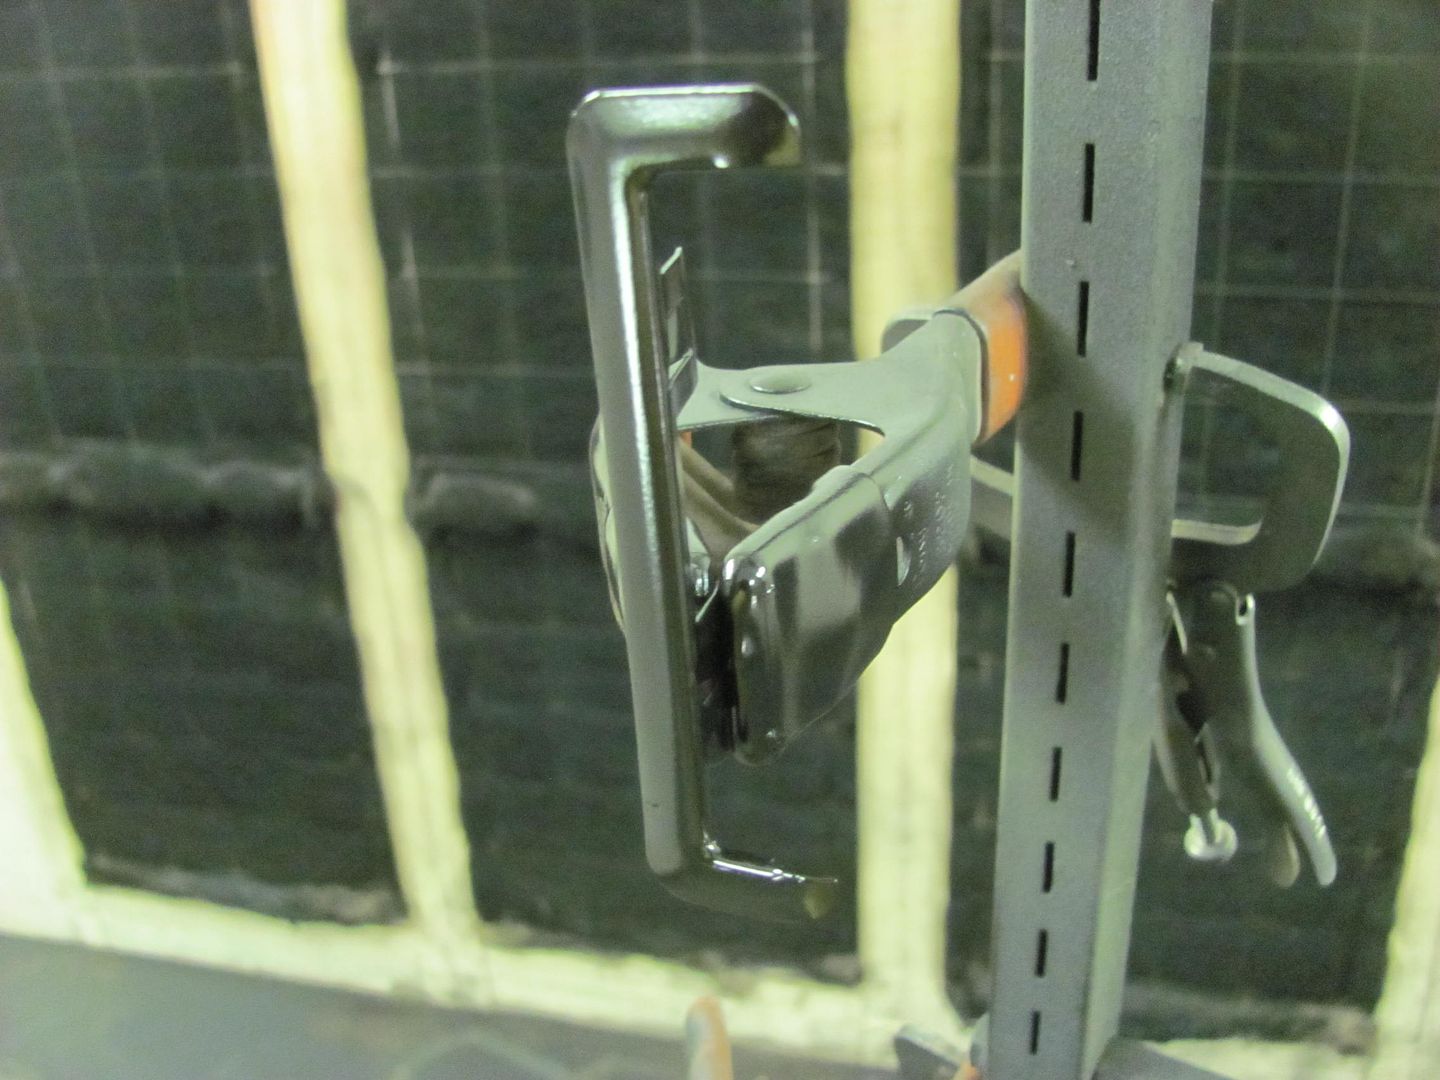
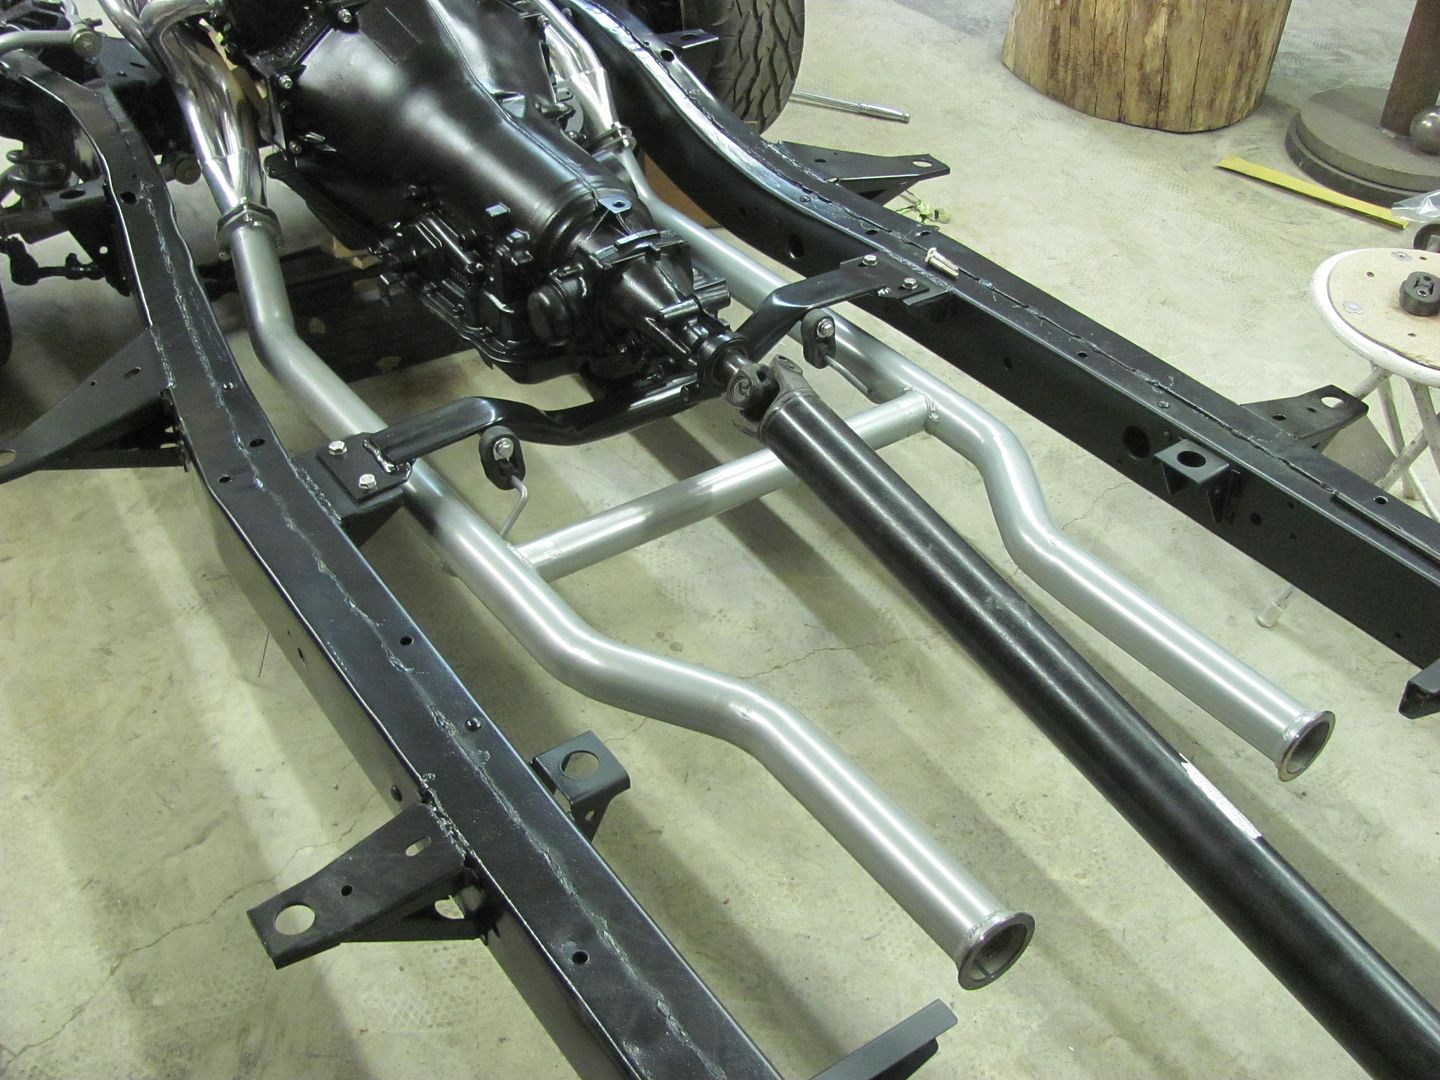
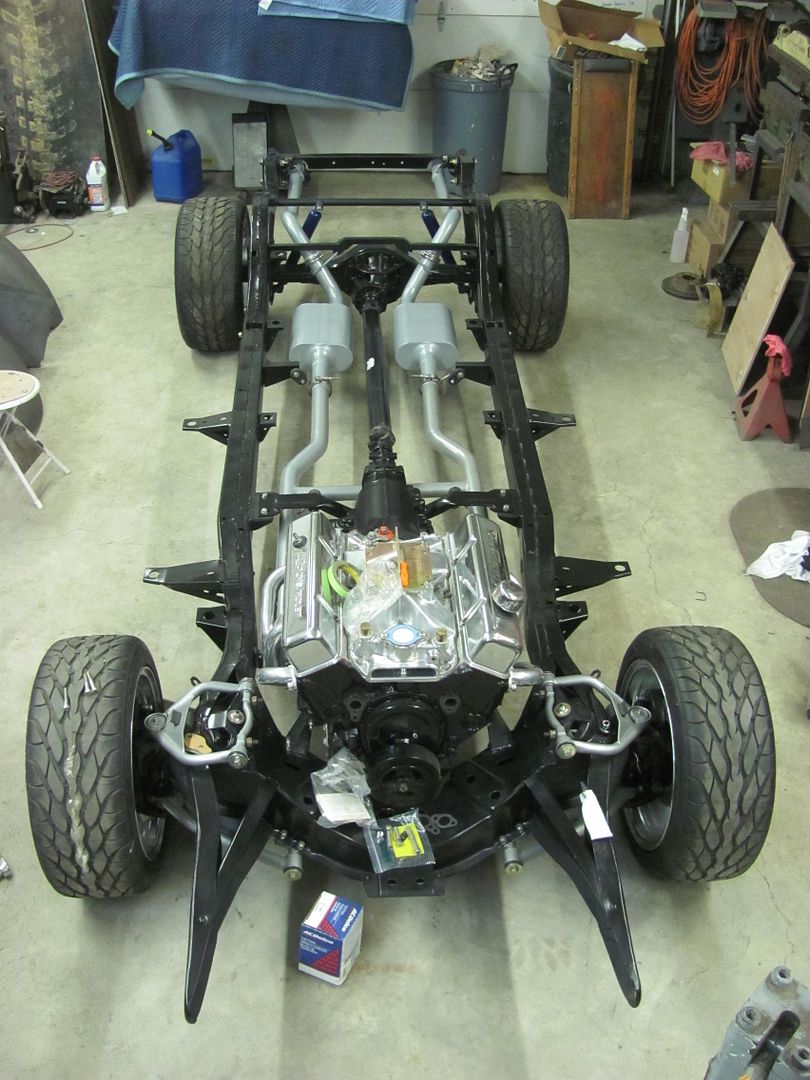
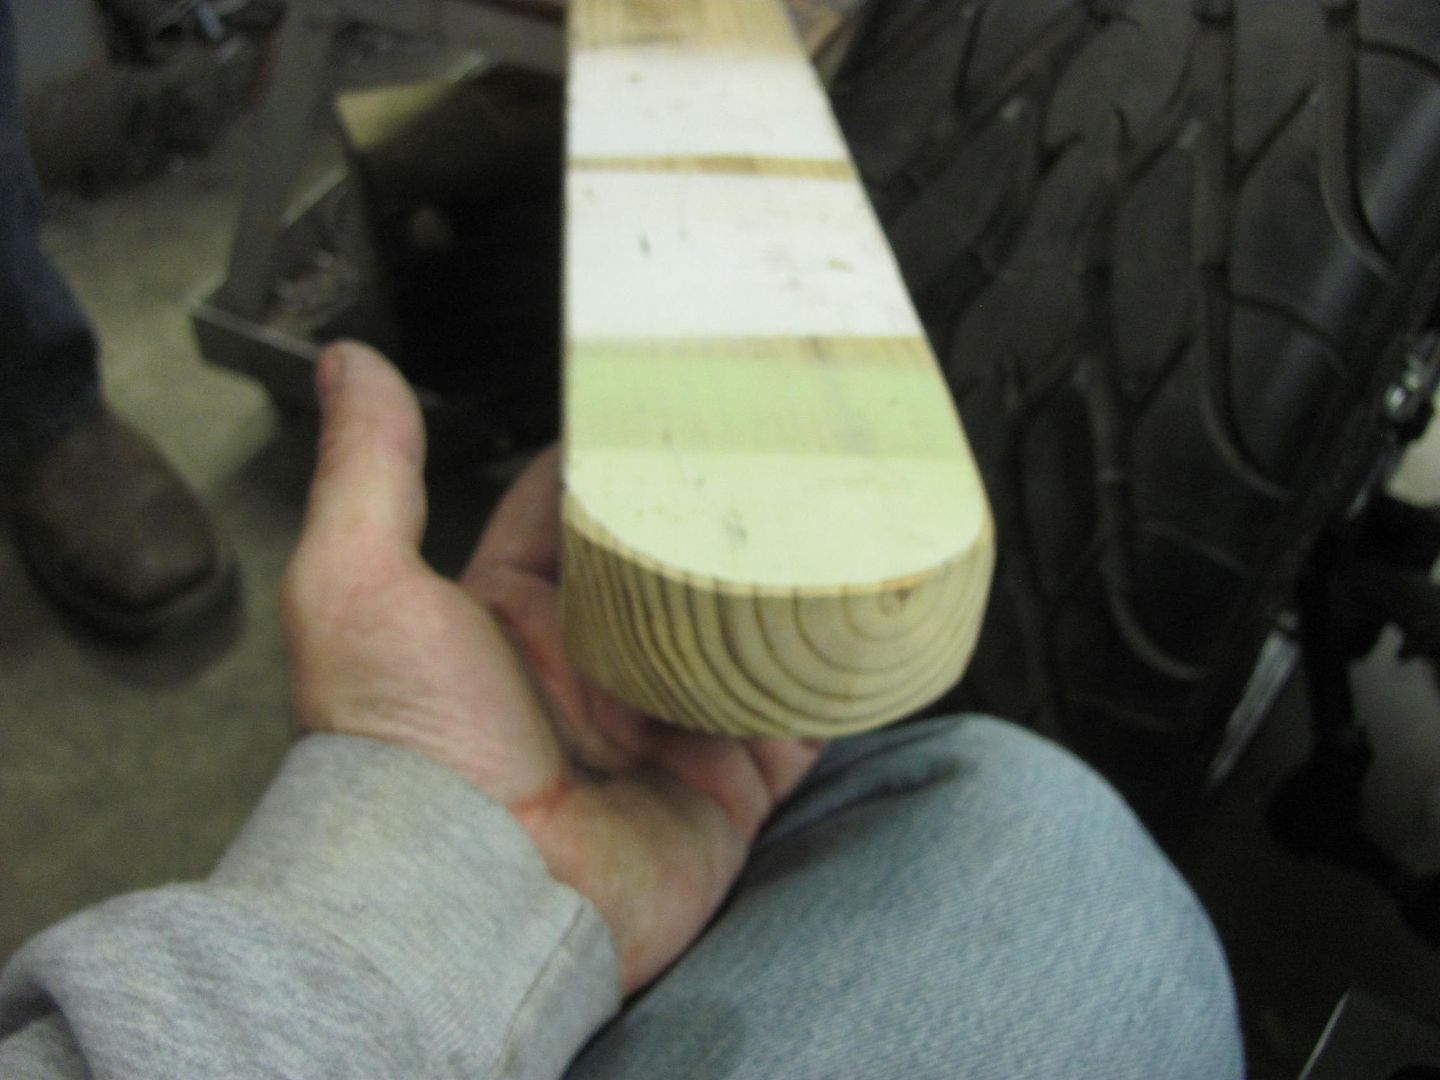
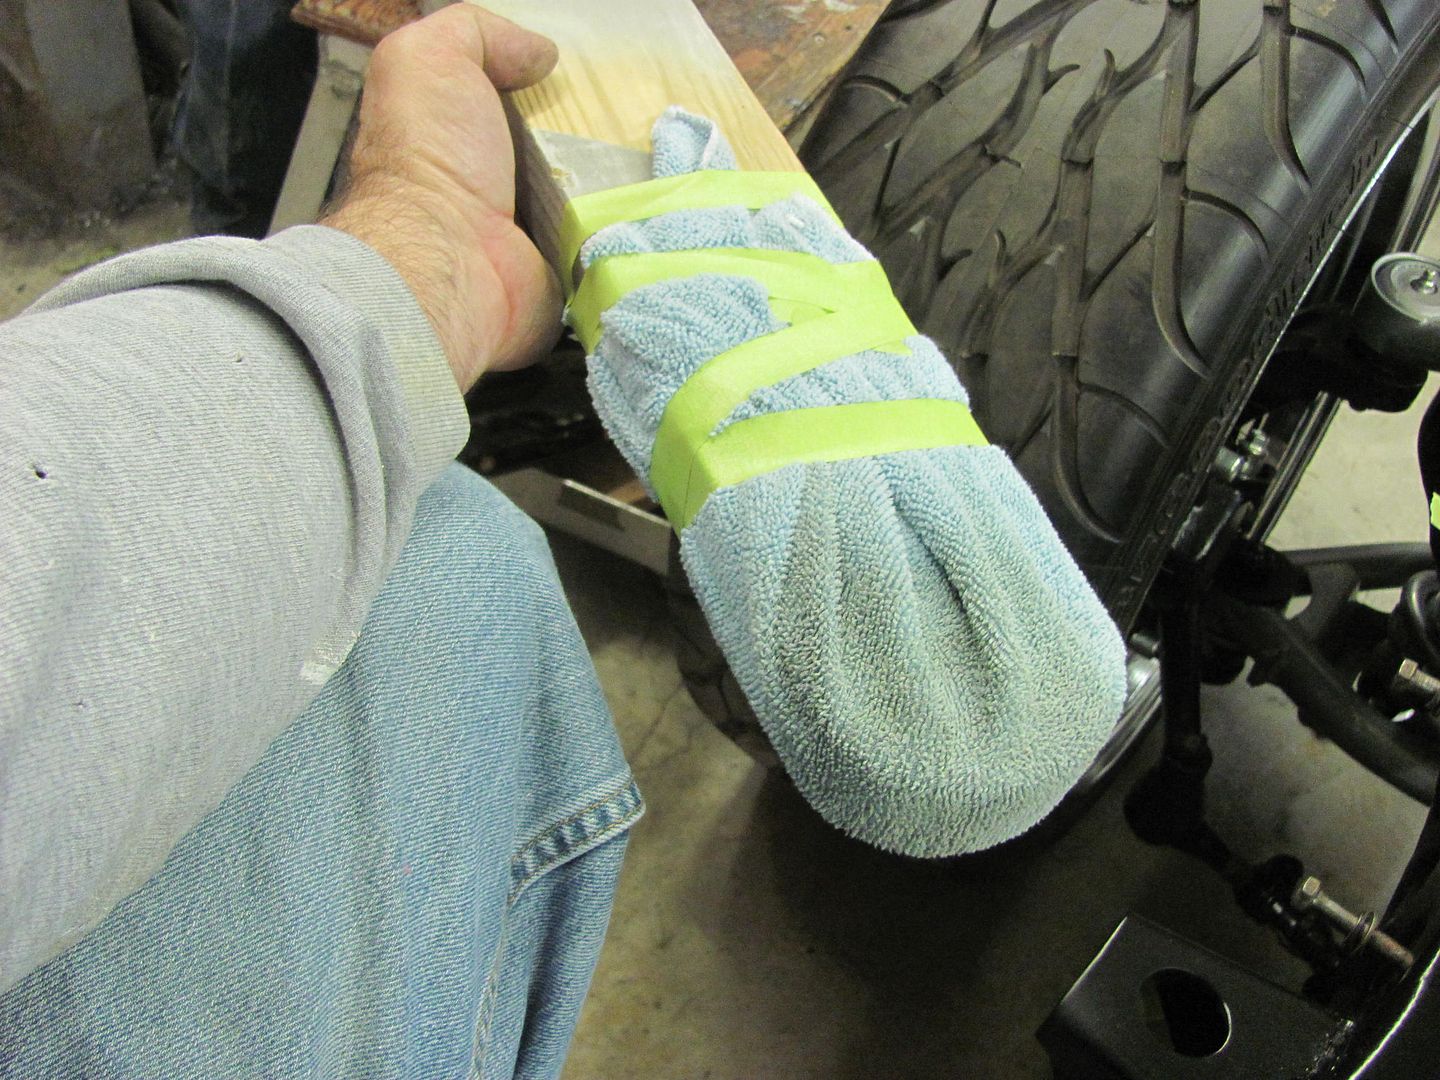
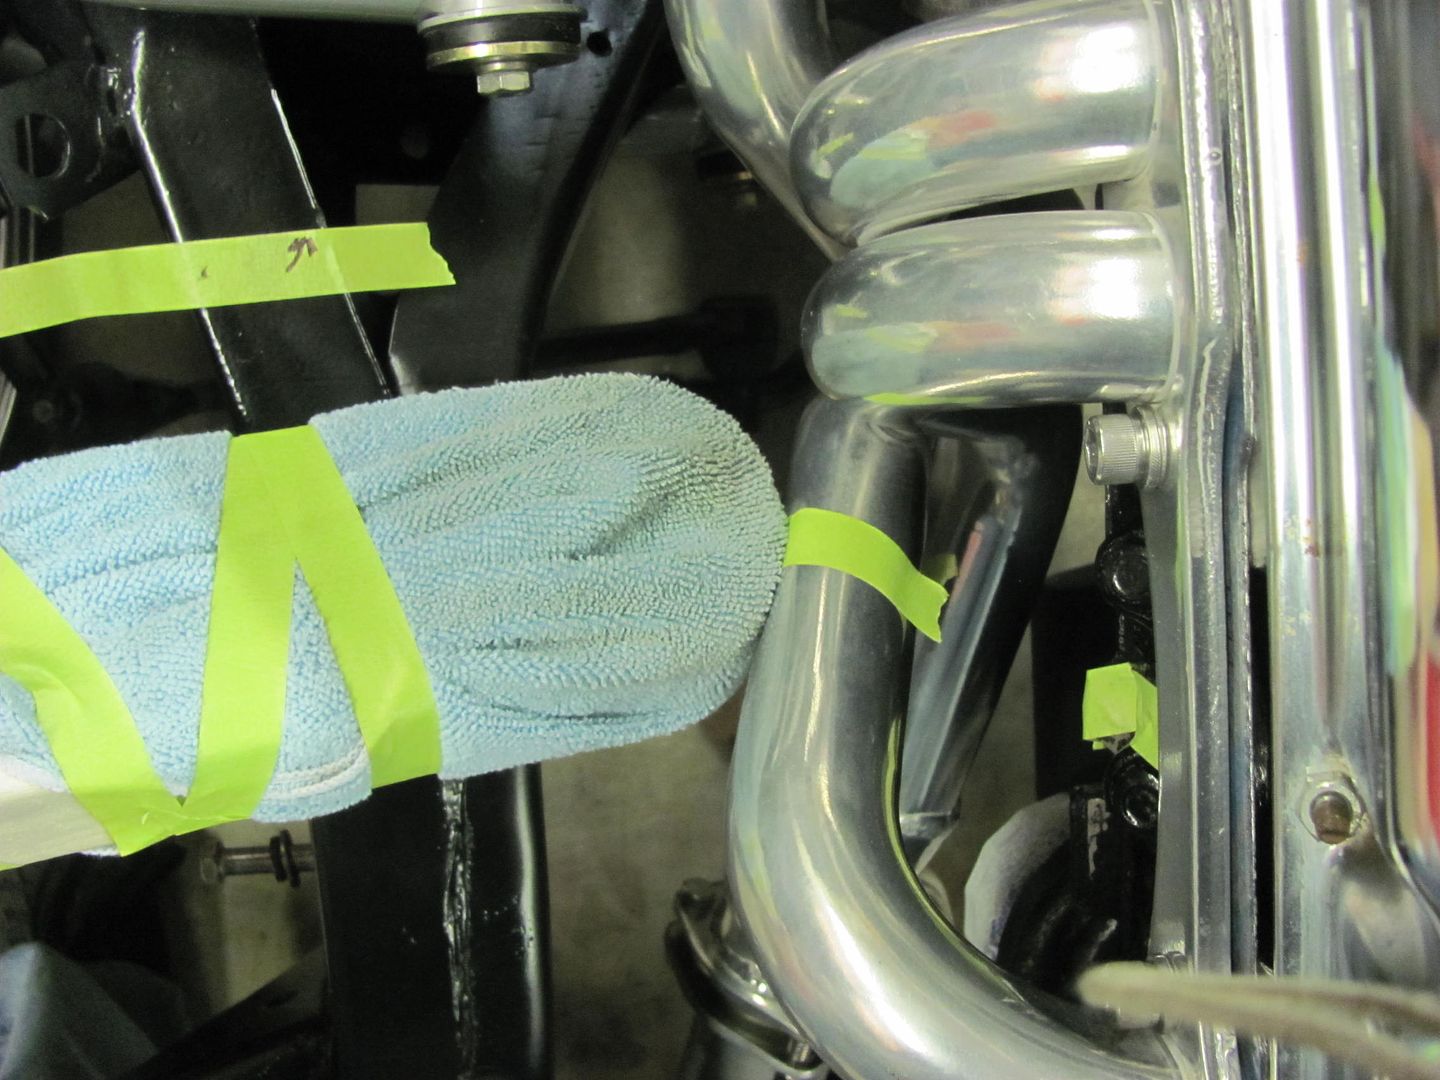
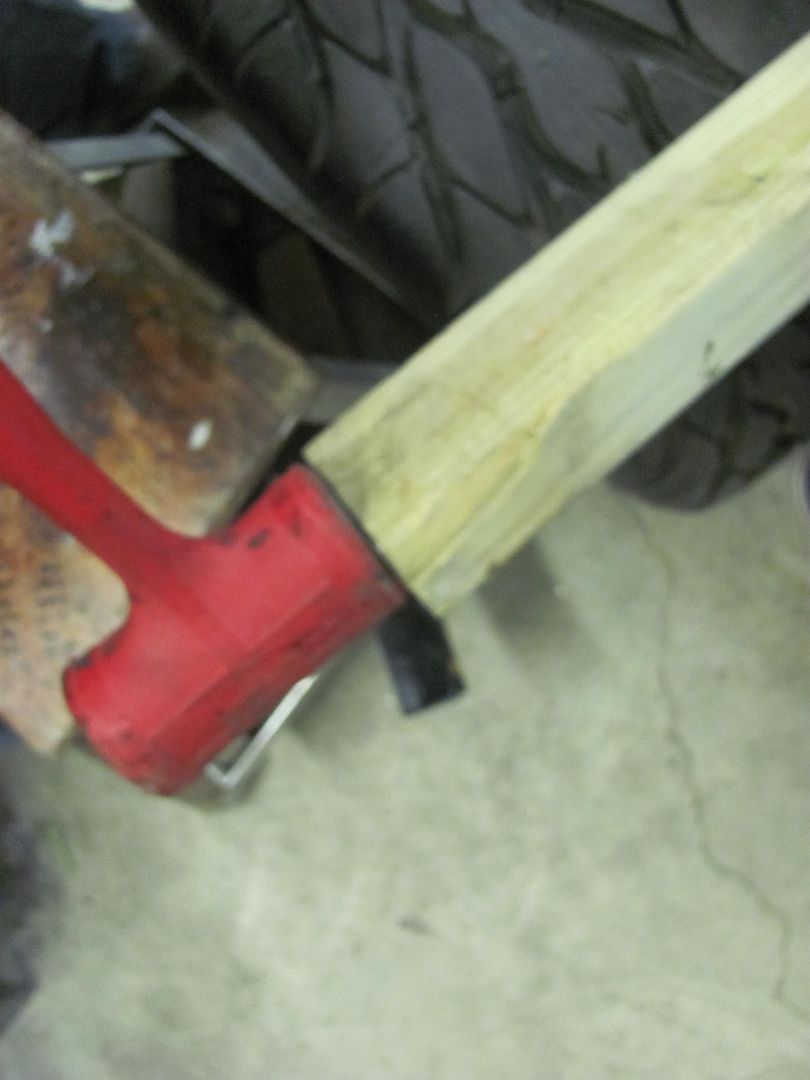
Nice header persuading tool. Did you dimple the 4th tube or just move the whole tube slightly? As always, great tips, great solutions and fabulous looking rolling chassis.
Nice header persuading tool. Did you dimple the 4th tube or just move the whole tube slightly? As always, great tips, great solutions and fabulous looking rolling chassis.
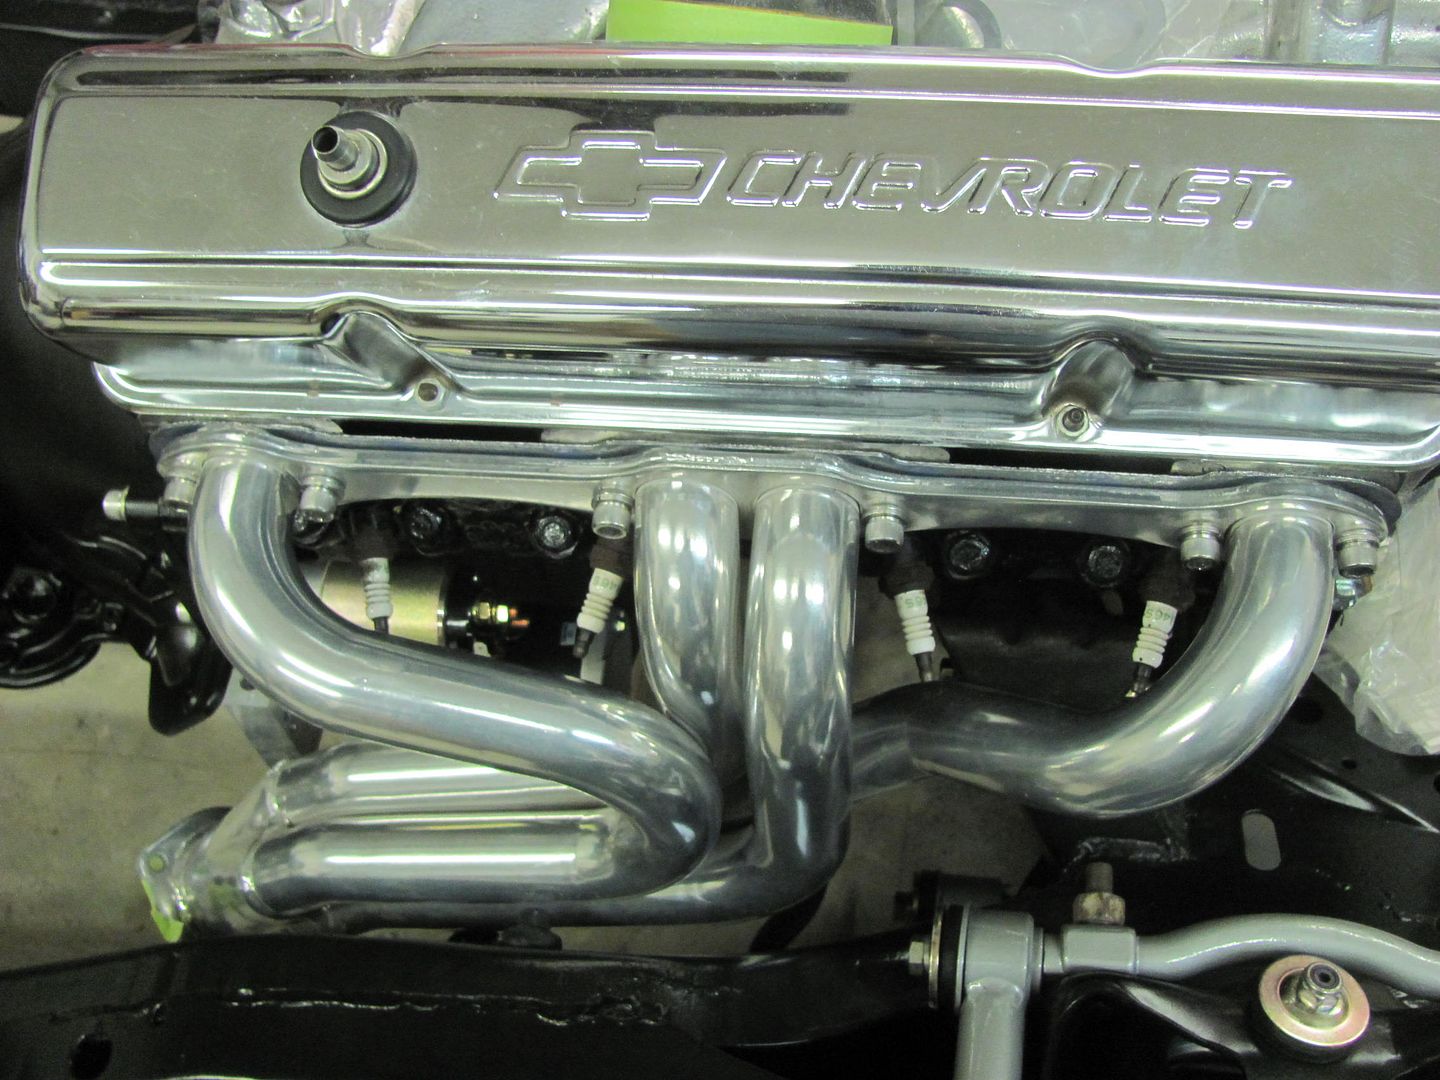
I know you probably didn't want to dimple or otherwise pinch those ceramic headers, but just so you know the actual effect of such bashing or bending headers to get clearance, you might want to take a look at this video. It shows some actual results on a dyno. Surprised me.
https://www.youtube.com/watch?feature=player_embedded&v=azPKIjxmmdU

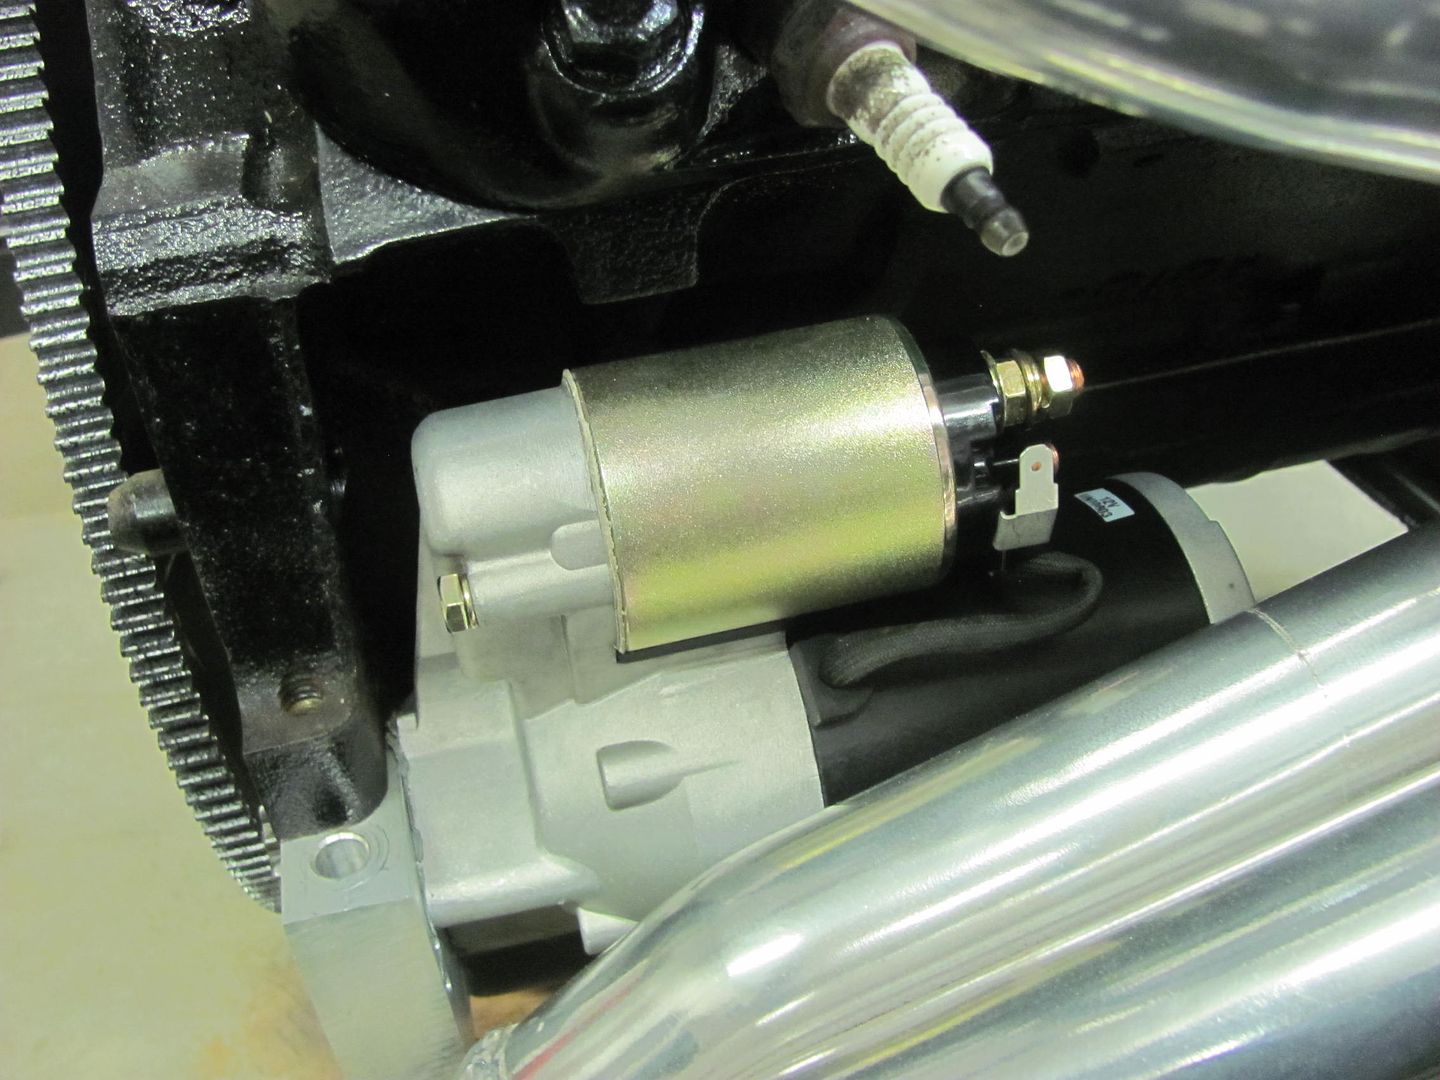
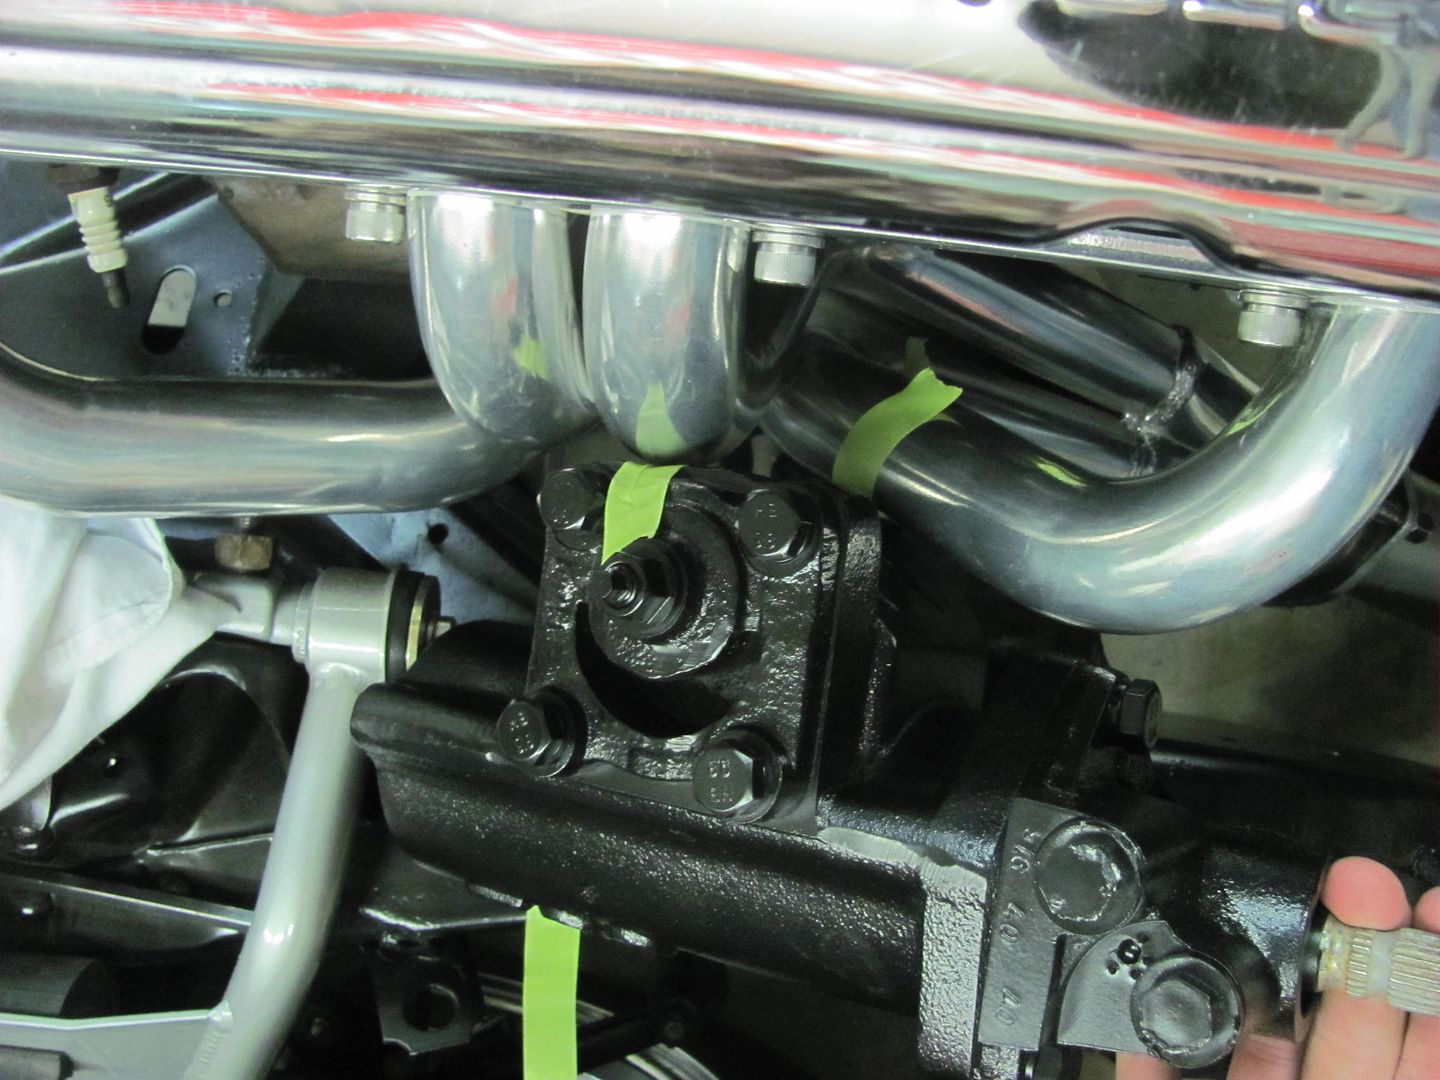
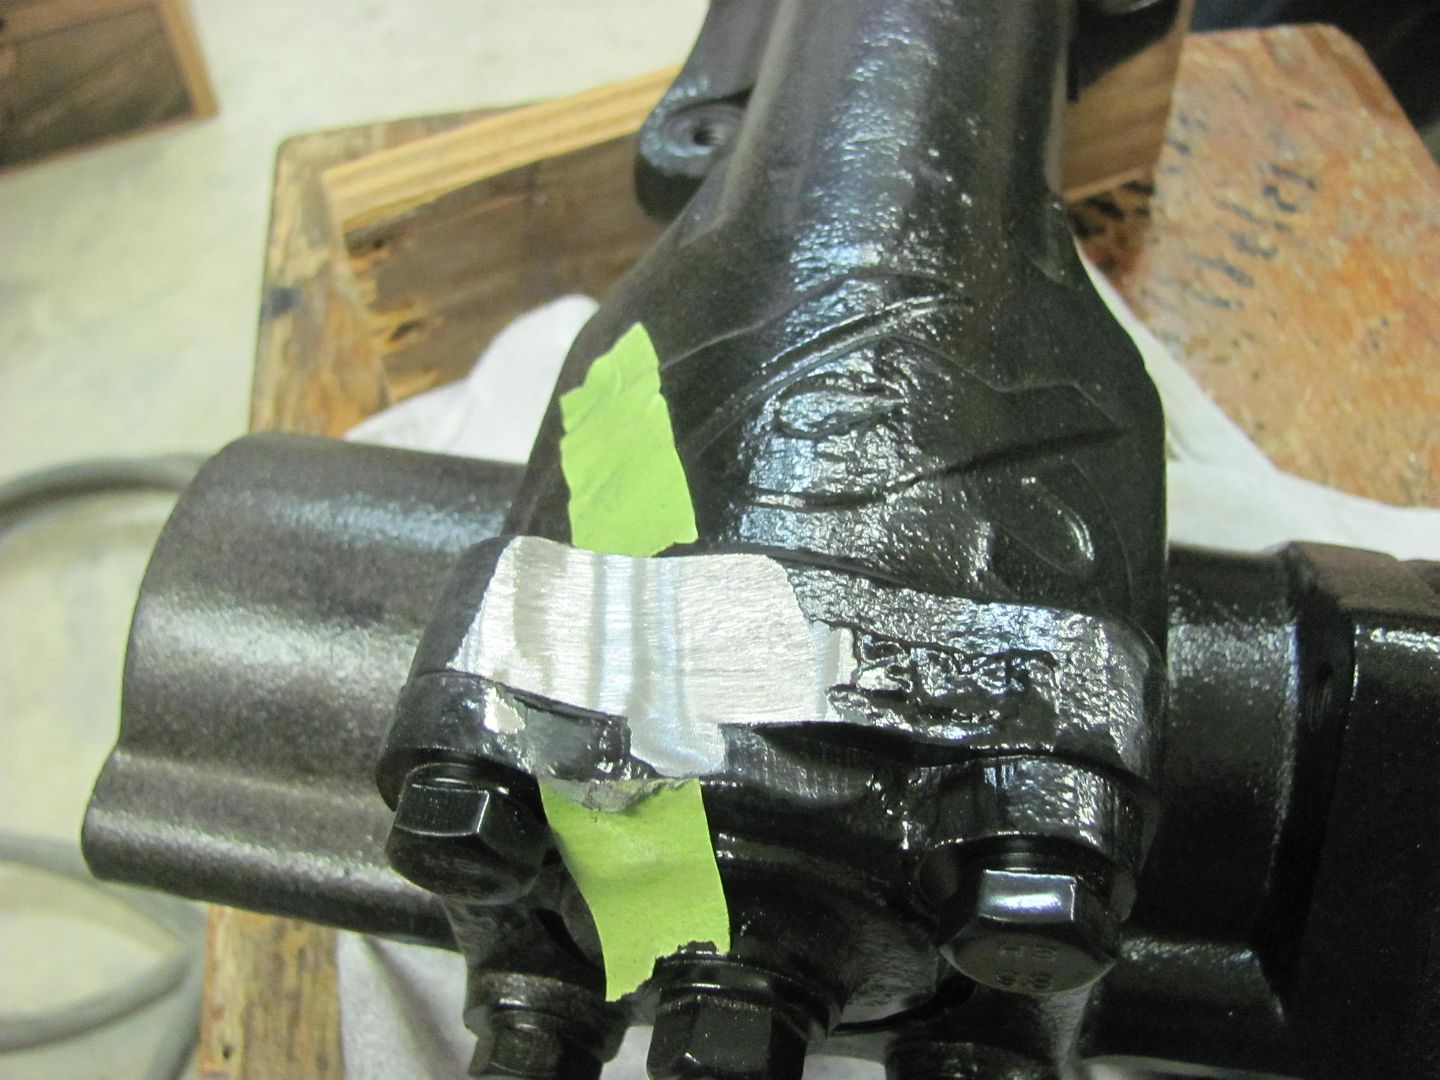
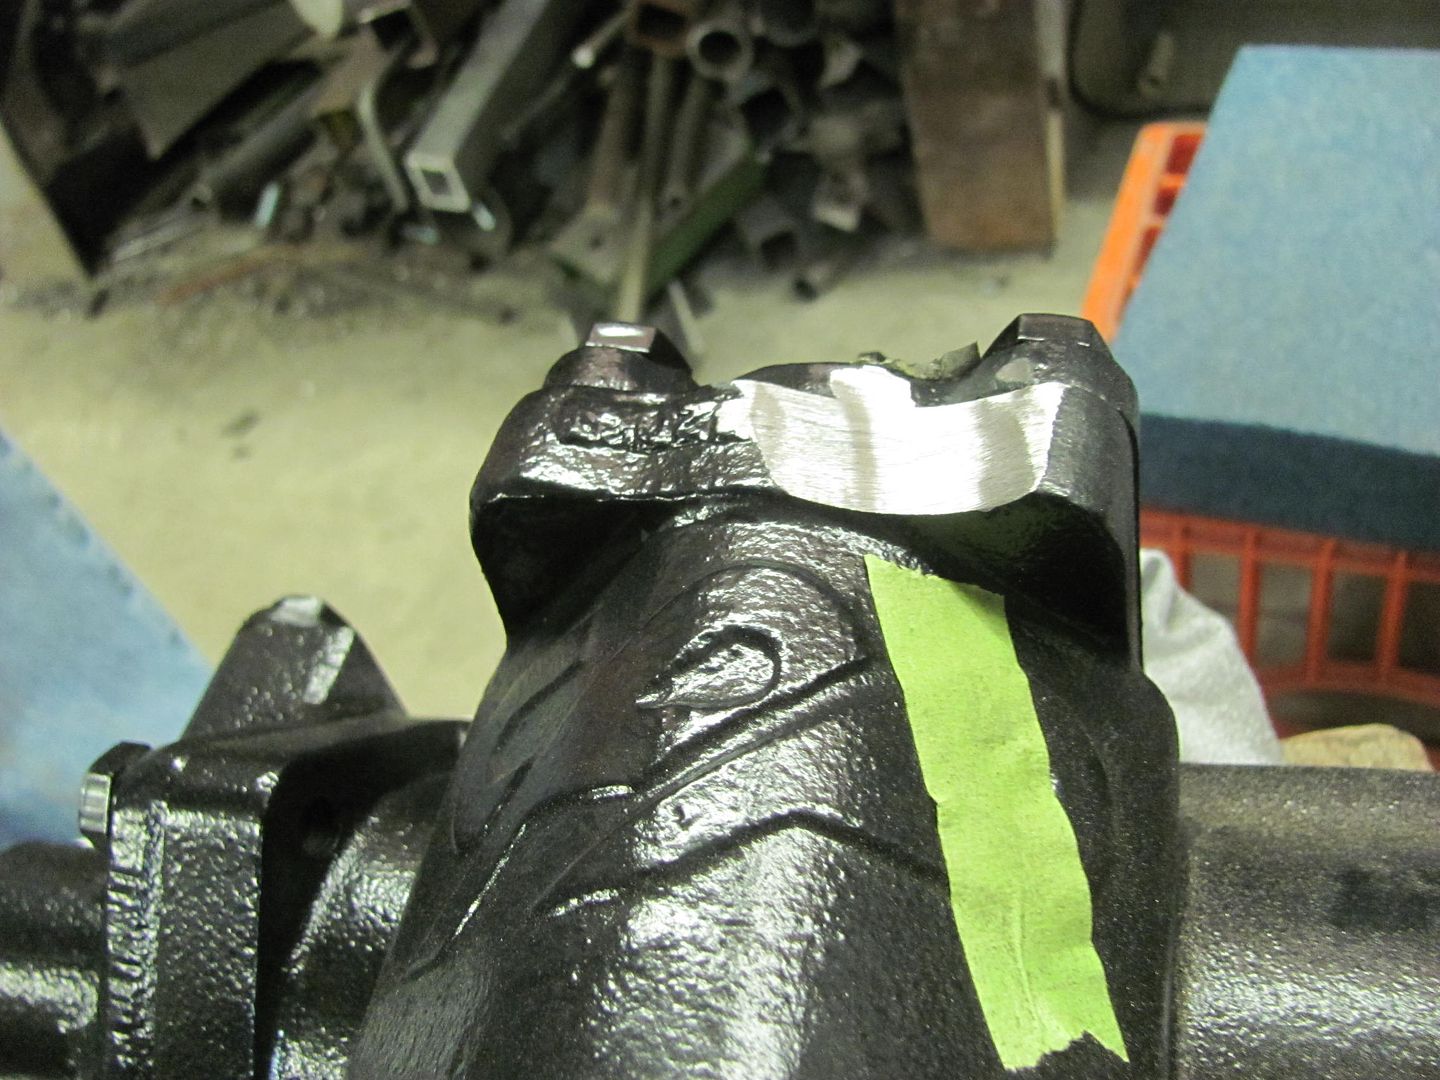
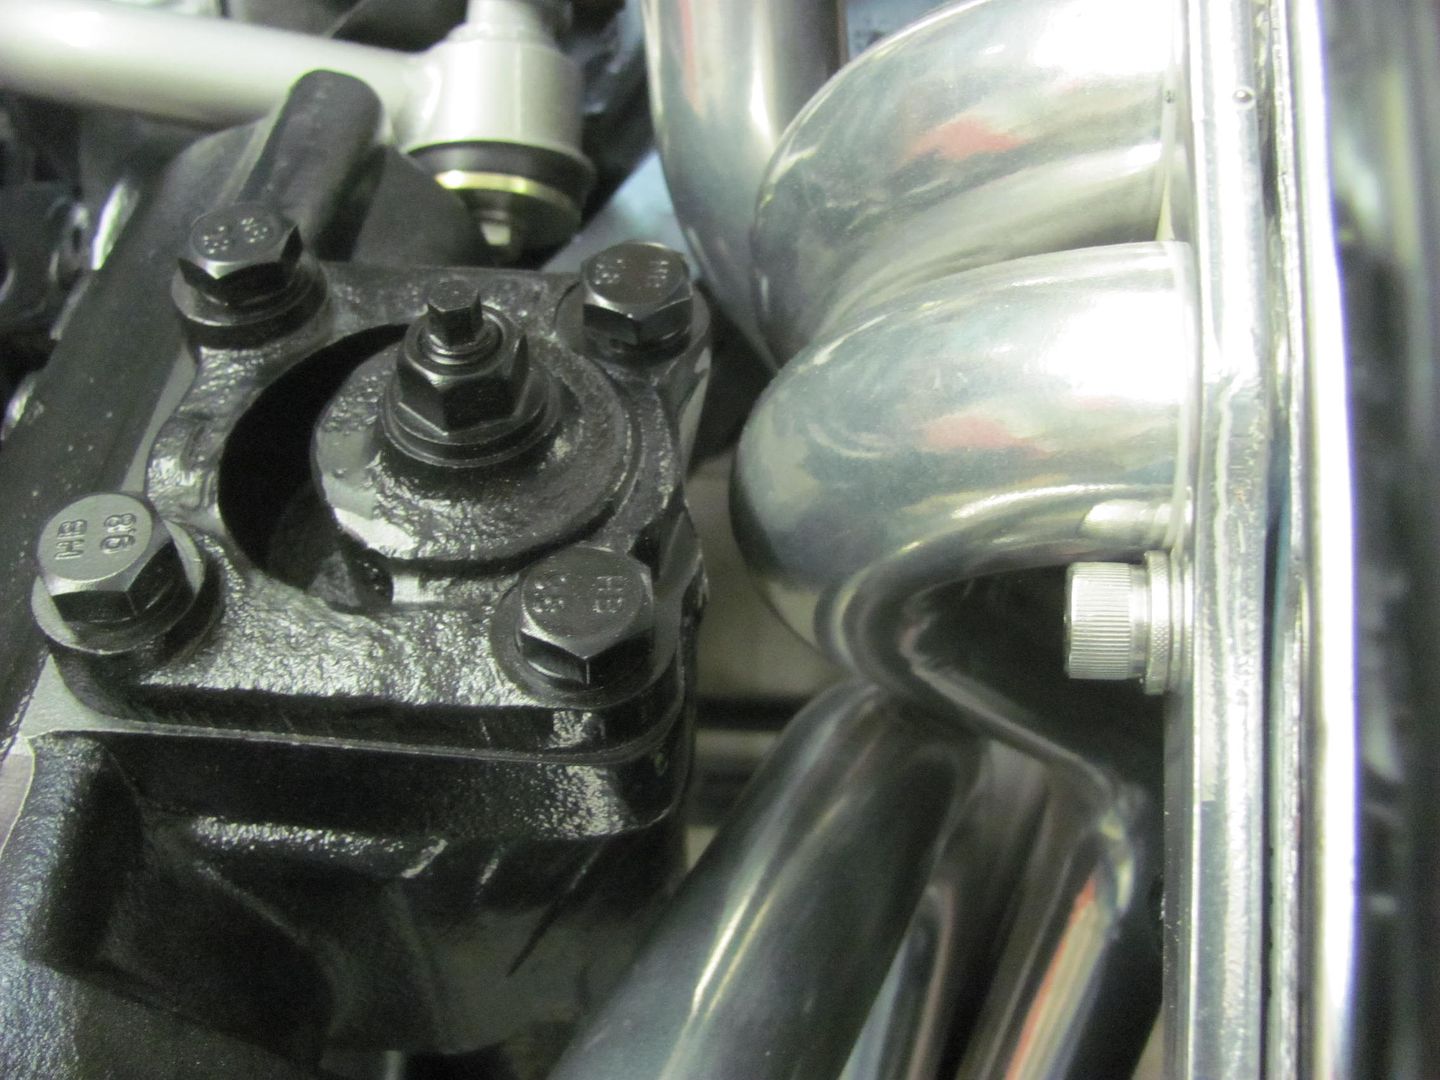
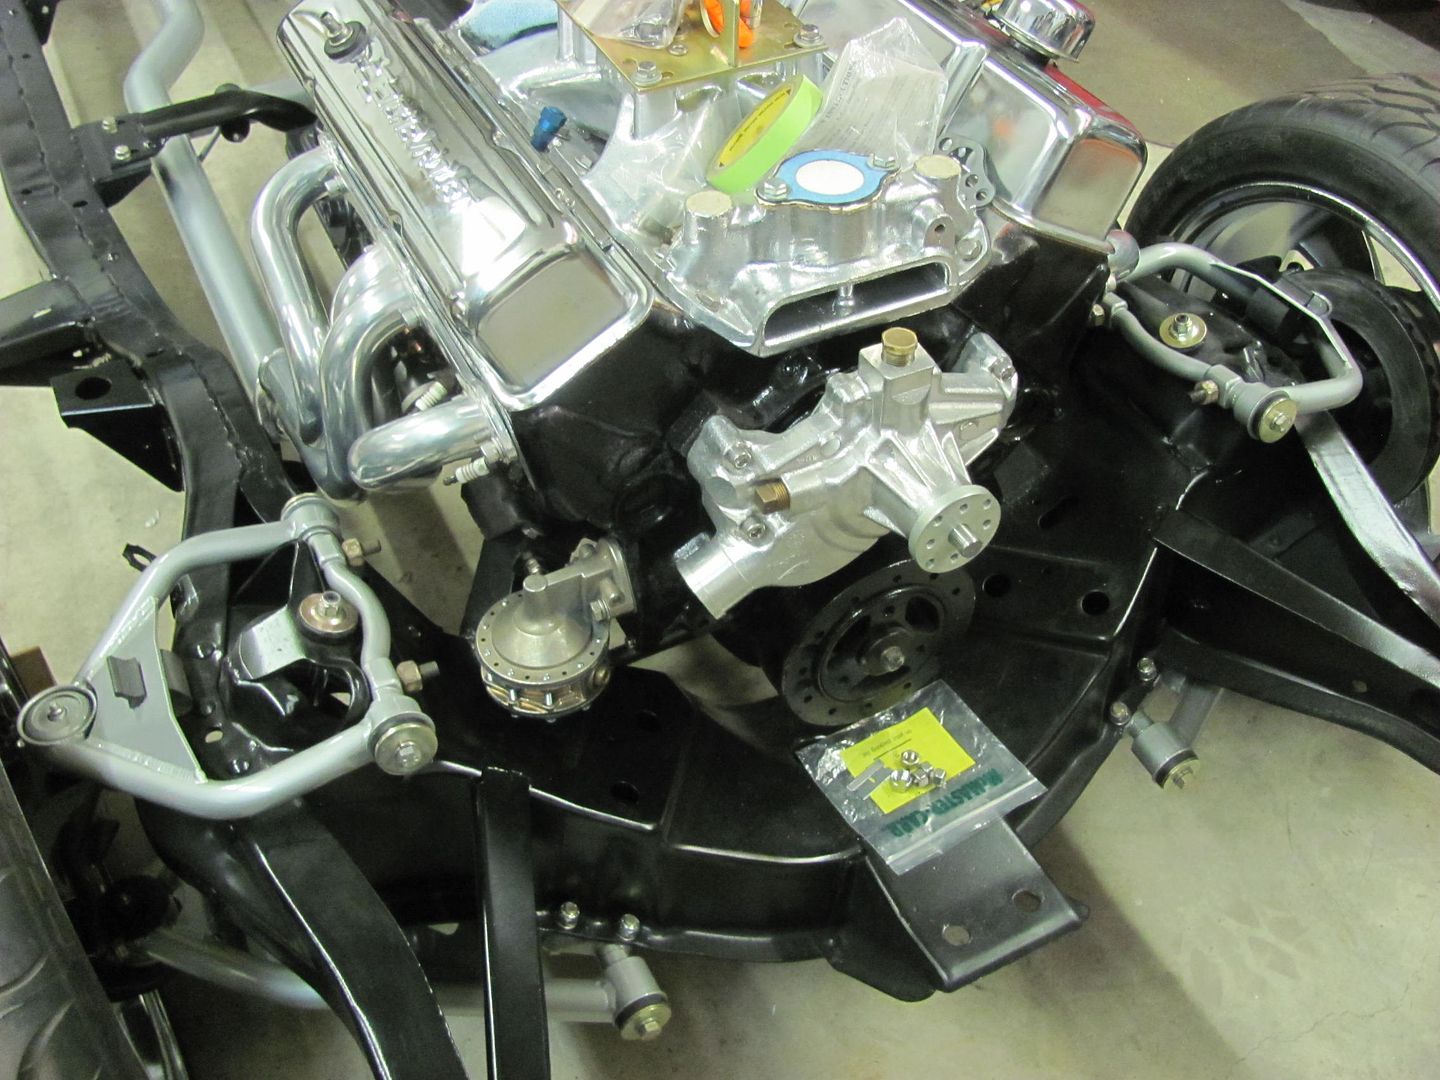
Robert, I have to ask. Did you remove the paint over spay from the engine transmission mounting surfaces?
Capt. Chrysler

Gotcha!
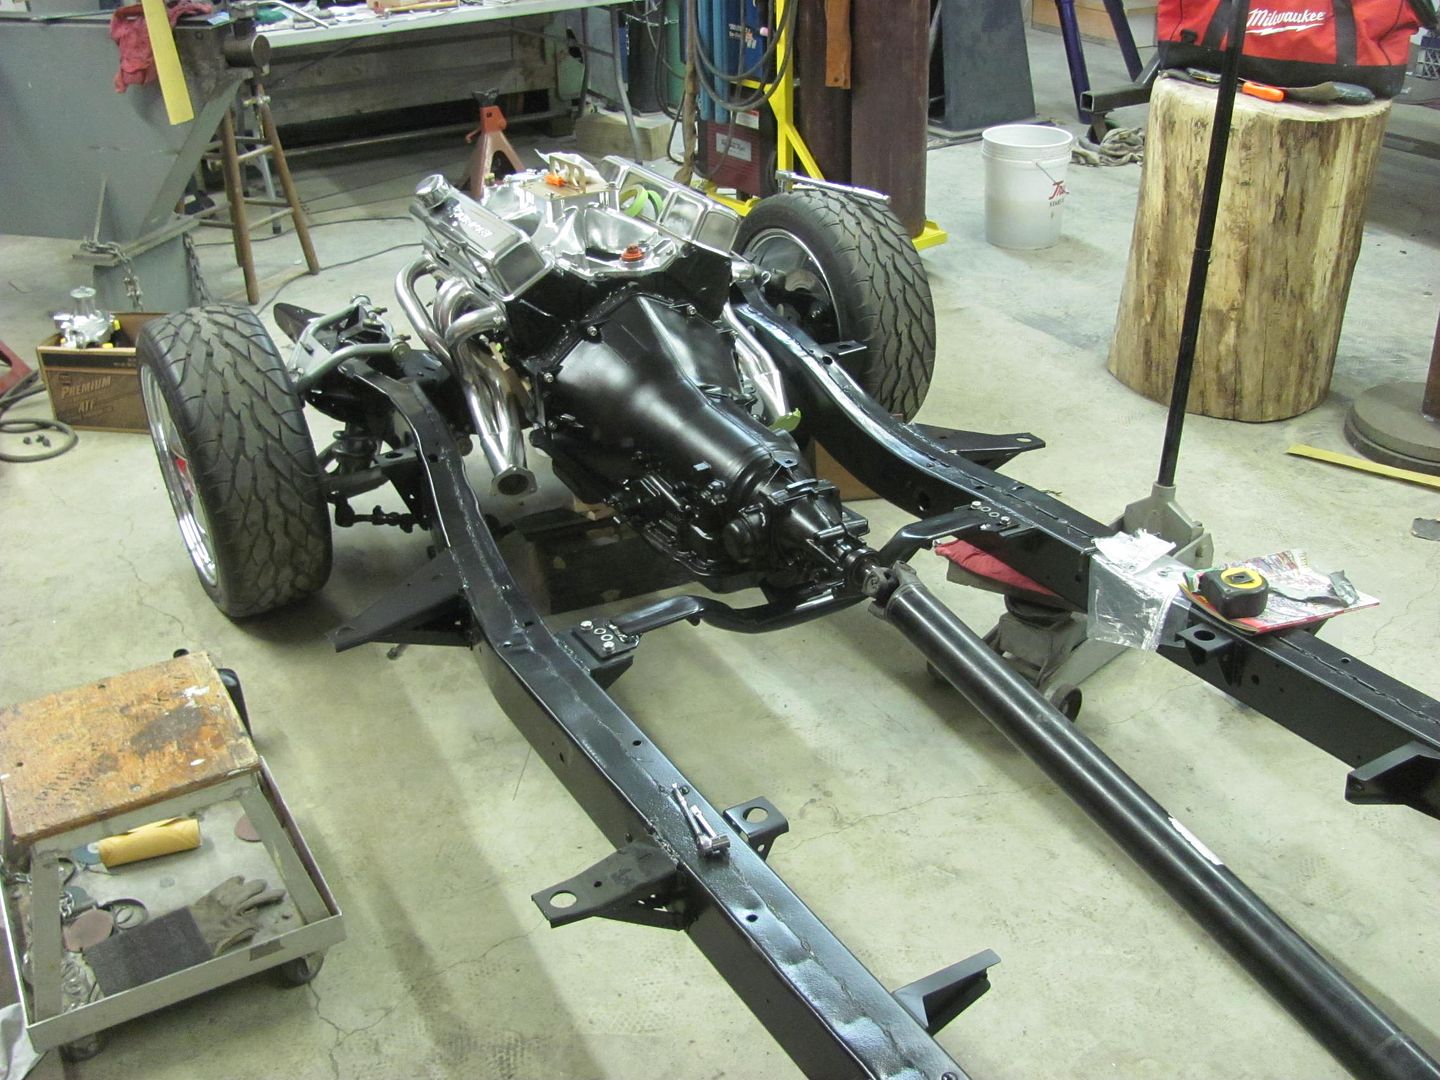
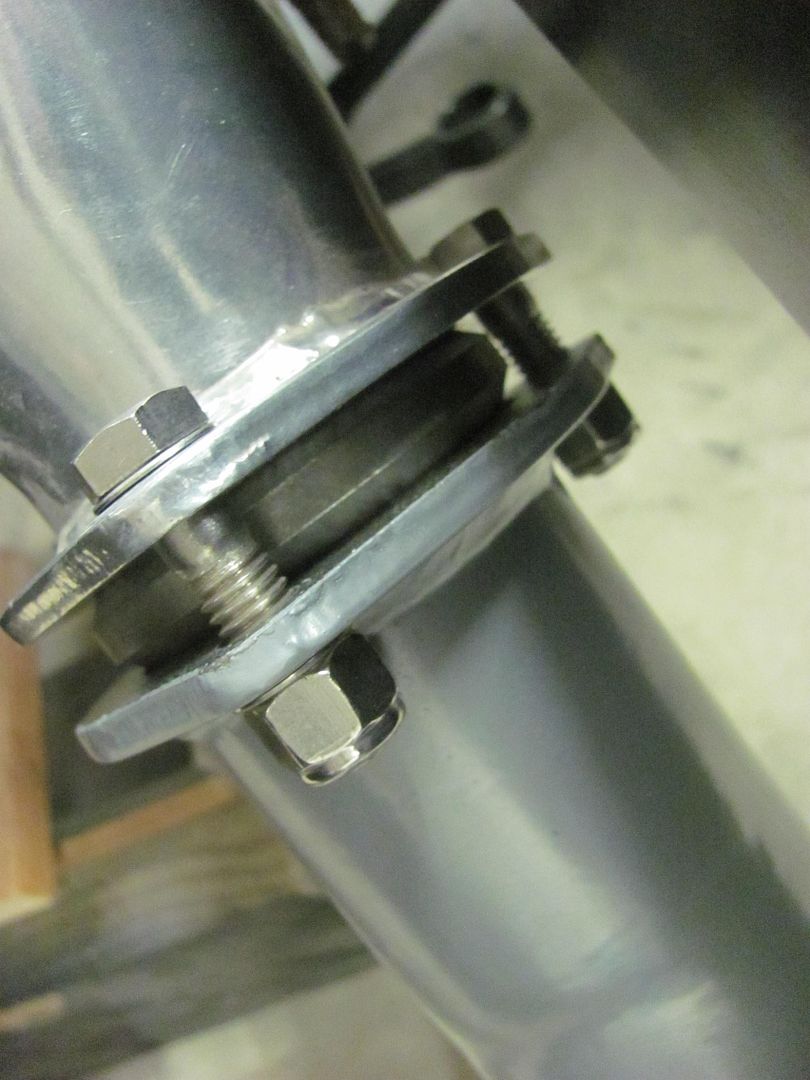
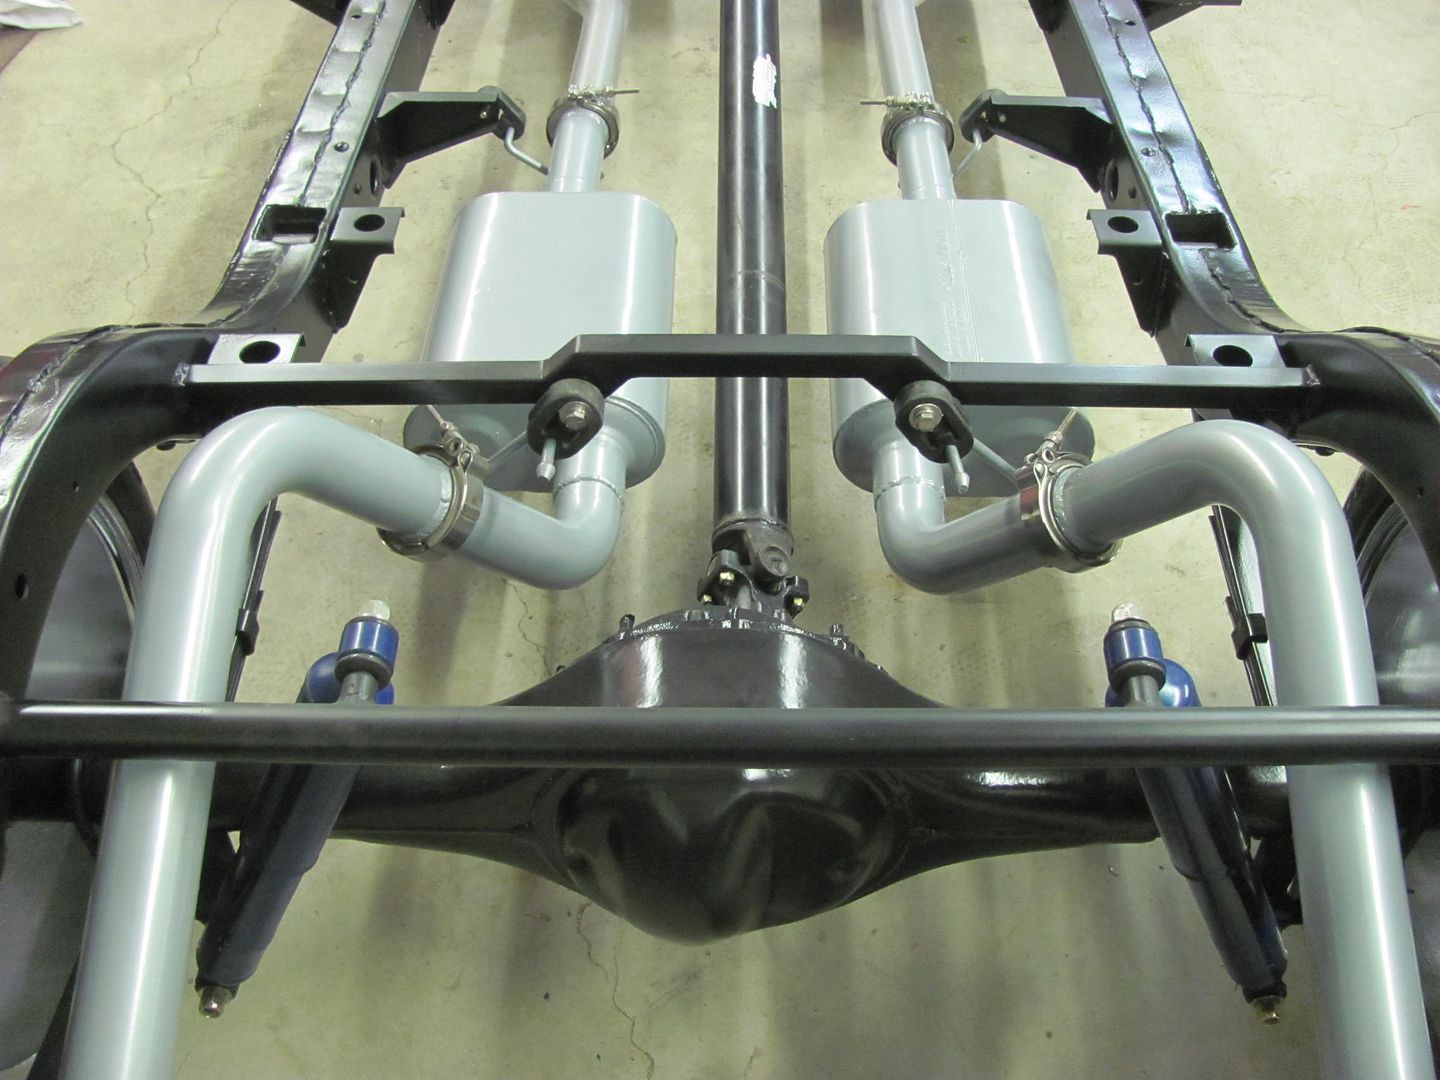
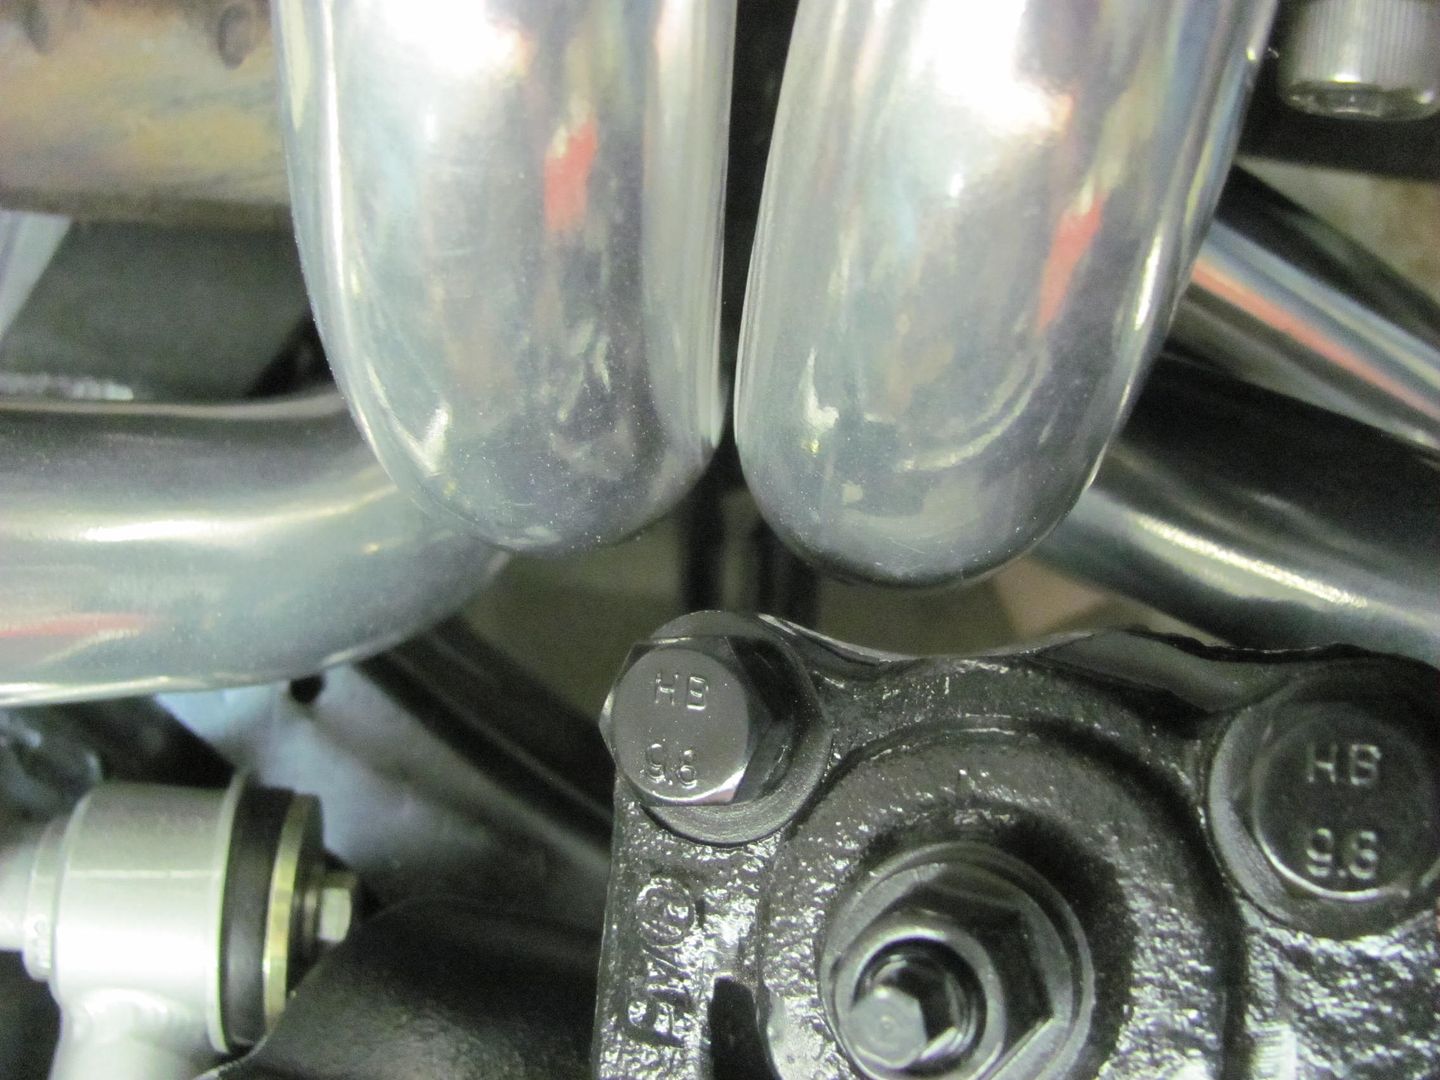
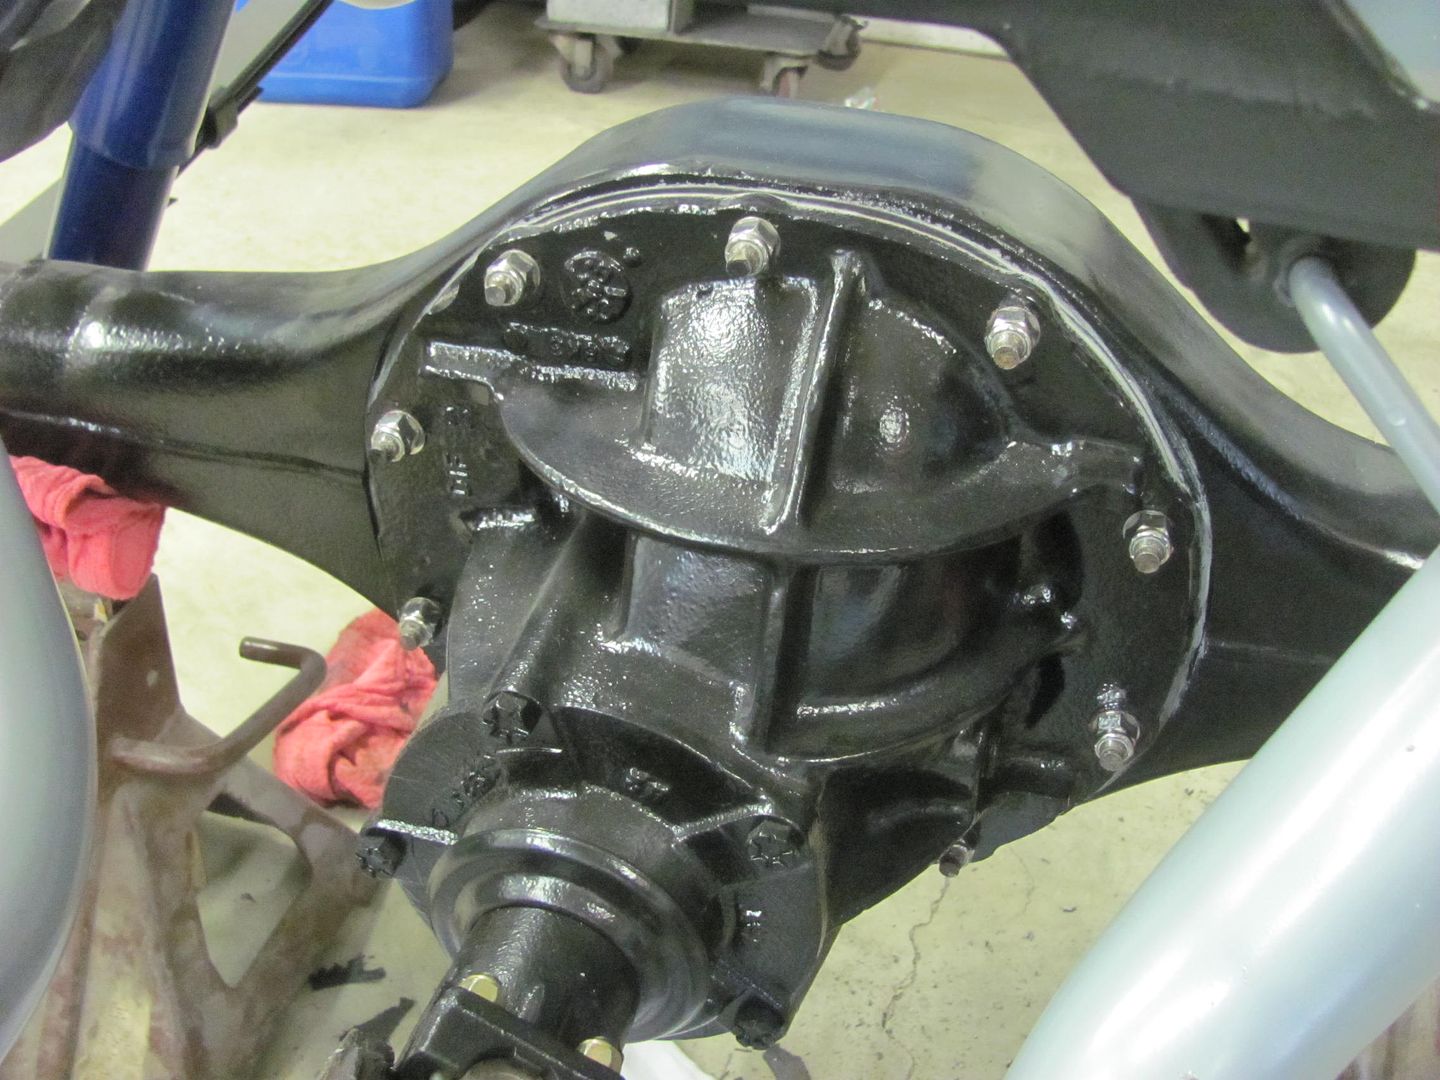
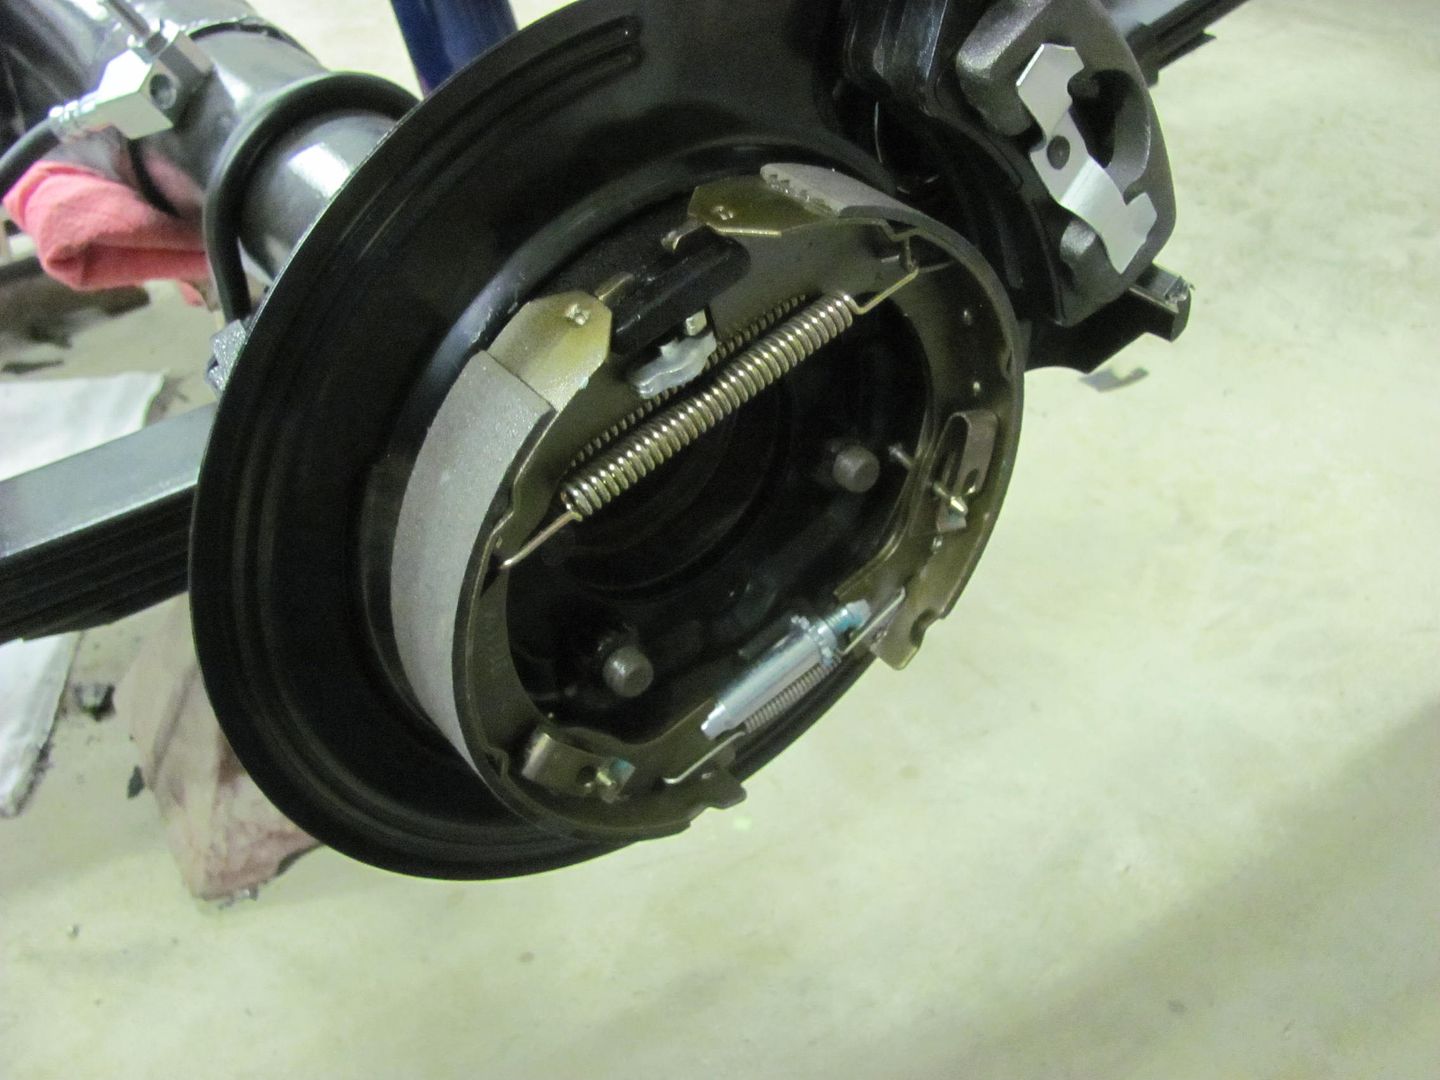
Well the stainless lock nuts showed up today, so we pulled the third member, cleaned the mounting surfaces, installed a new gasket and torqued things down.
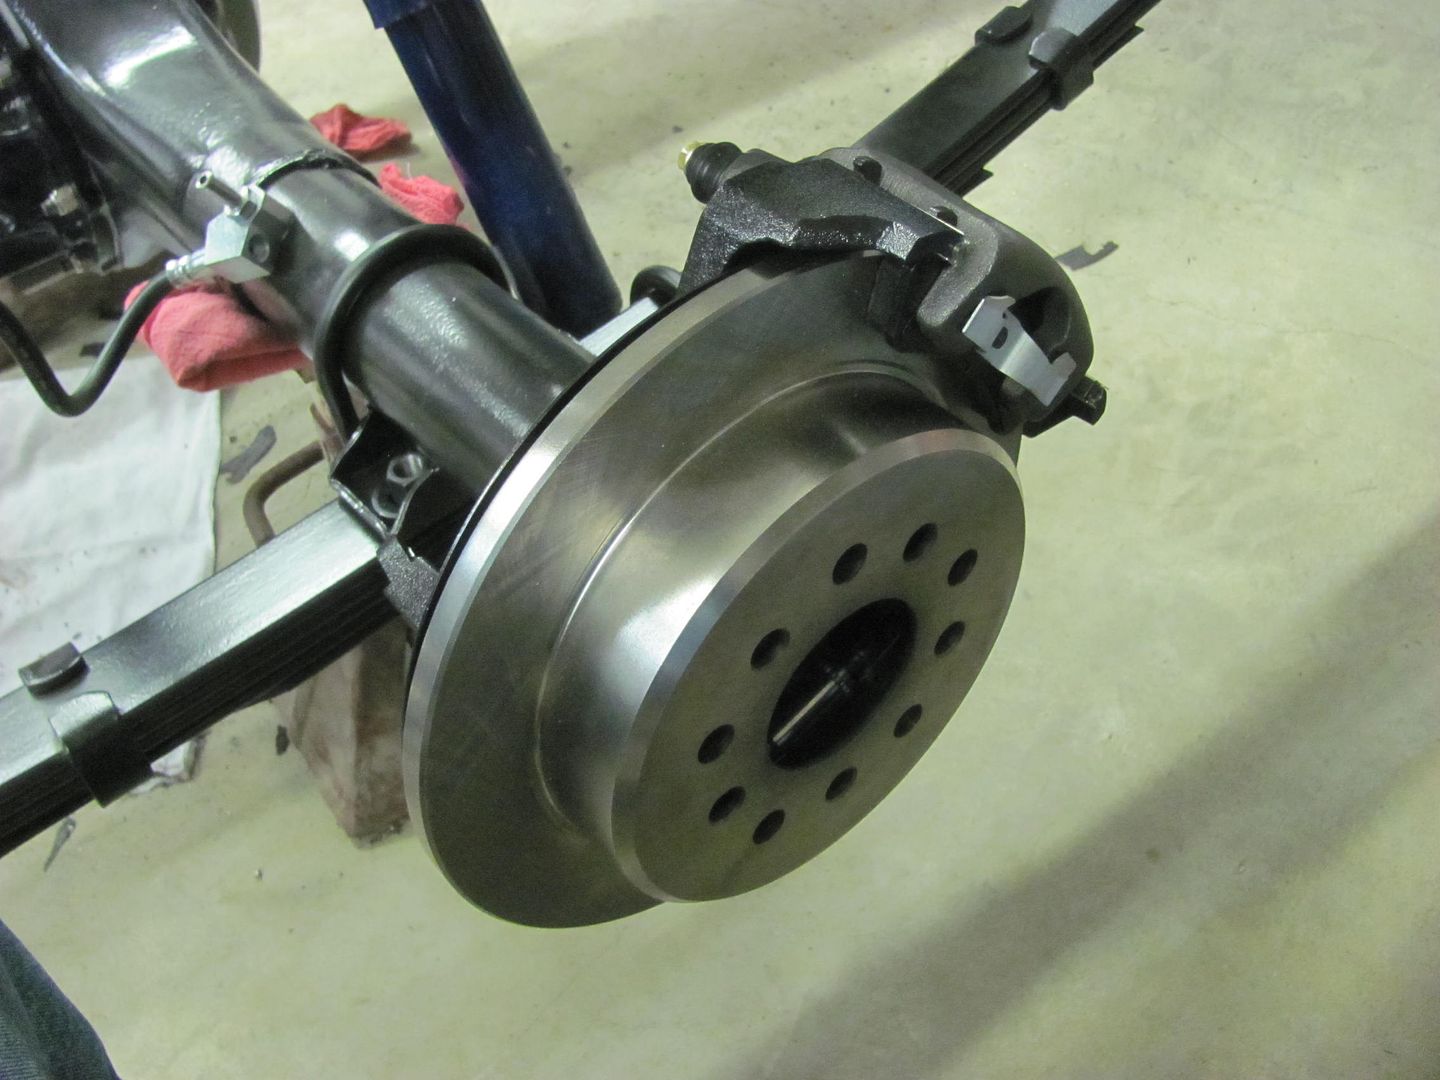
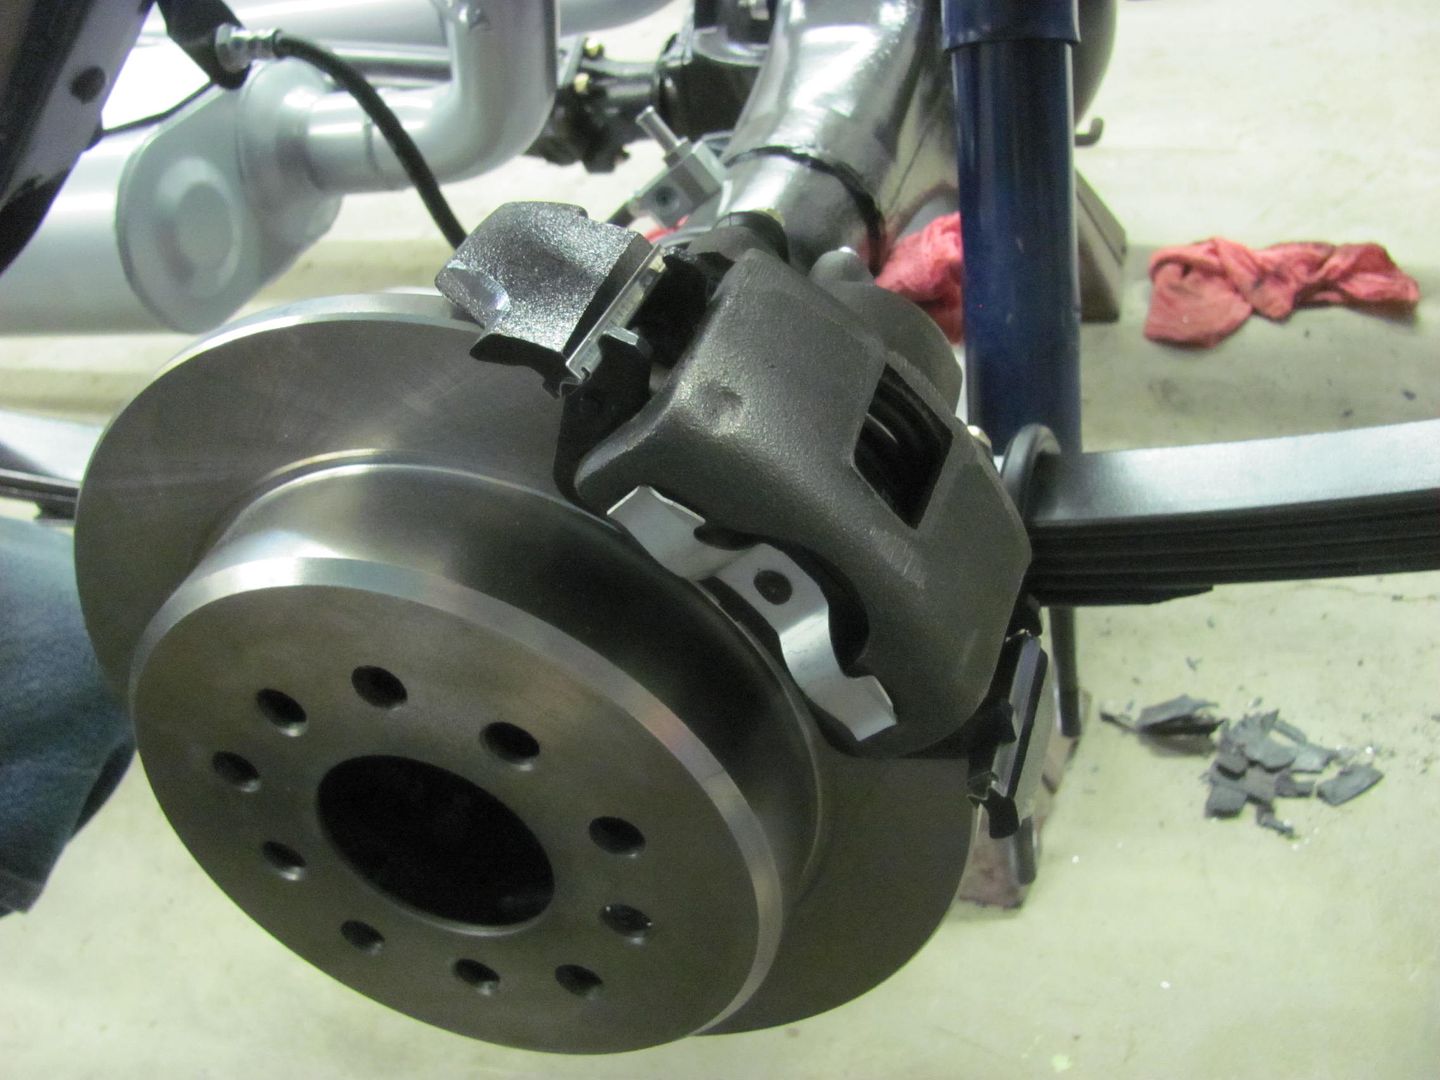
We also had taken delivery of the Explorer brake kit that gives us shoes inside the rotor for the parking brake. So we have some Lincoln Versailles parts if anyone needs some...
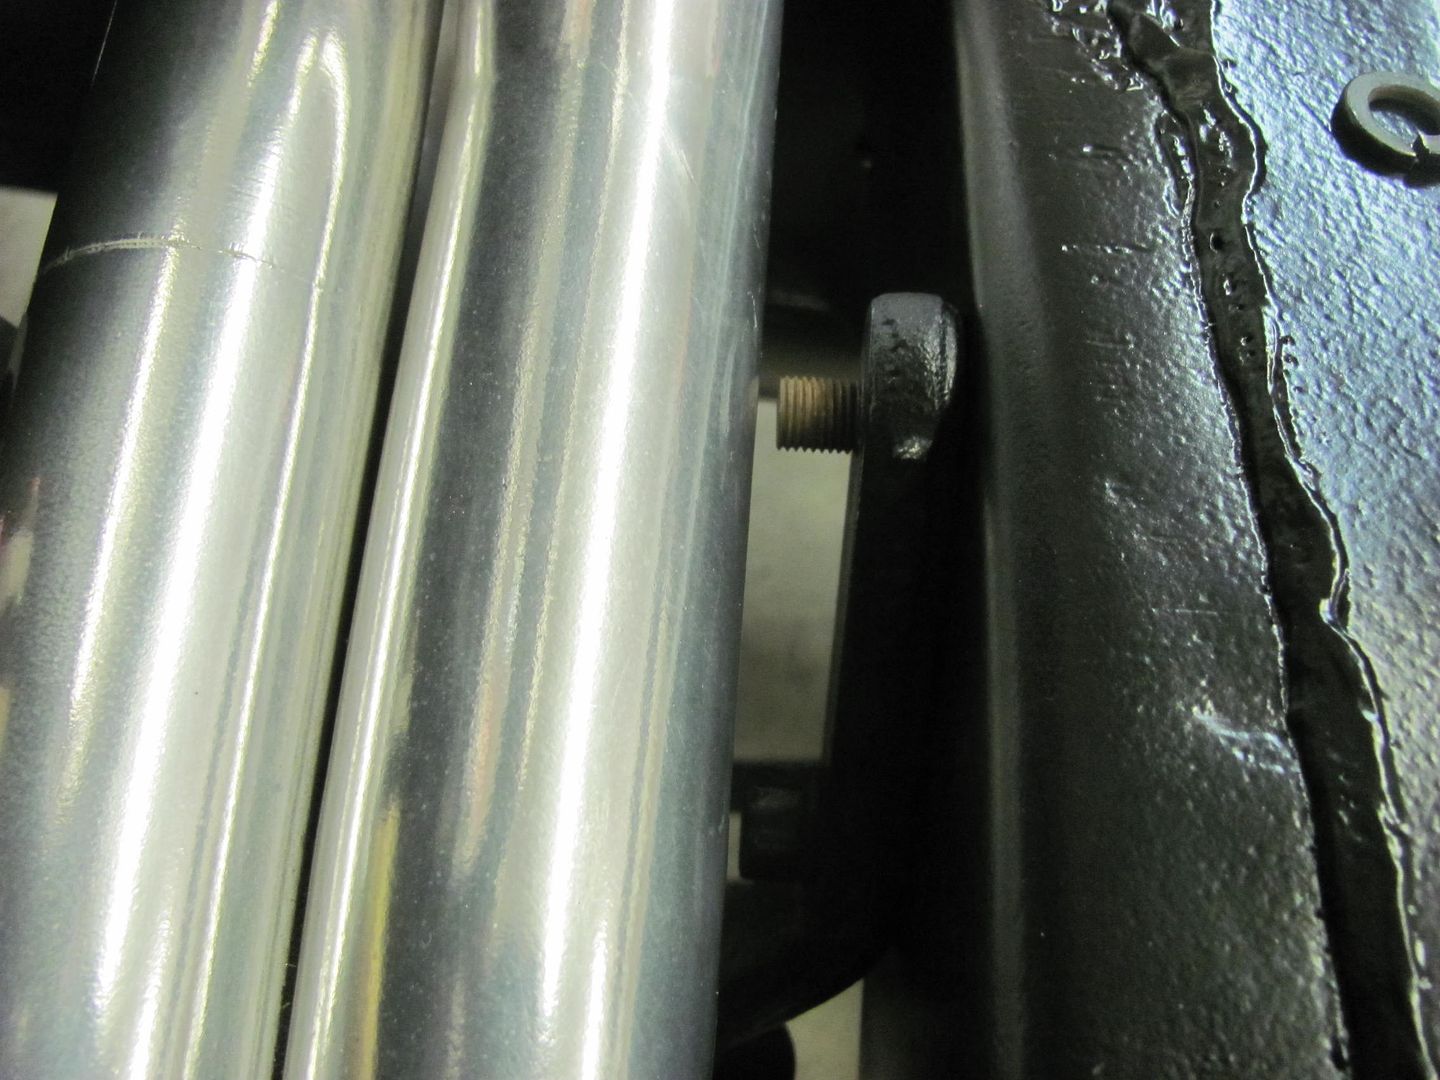
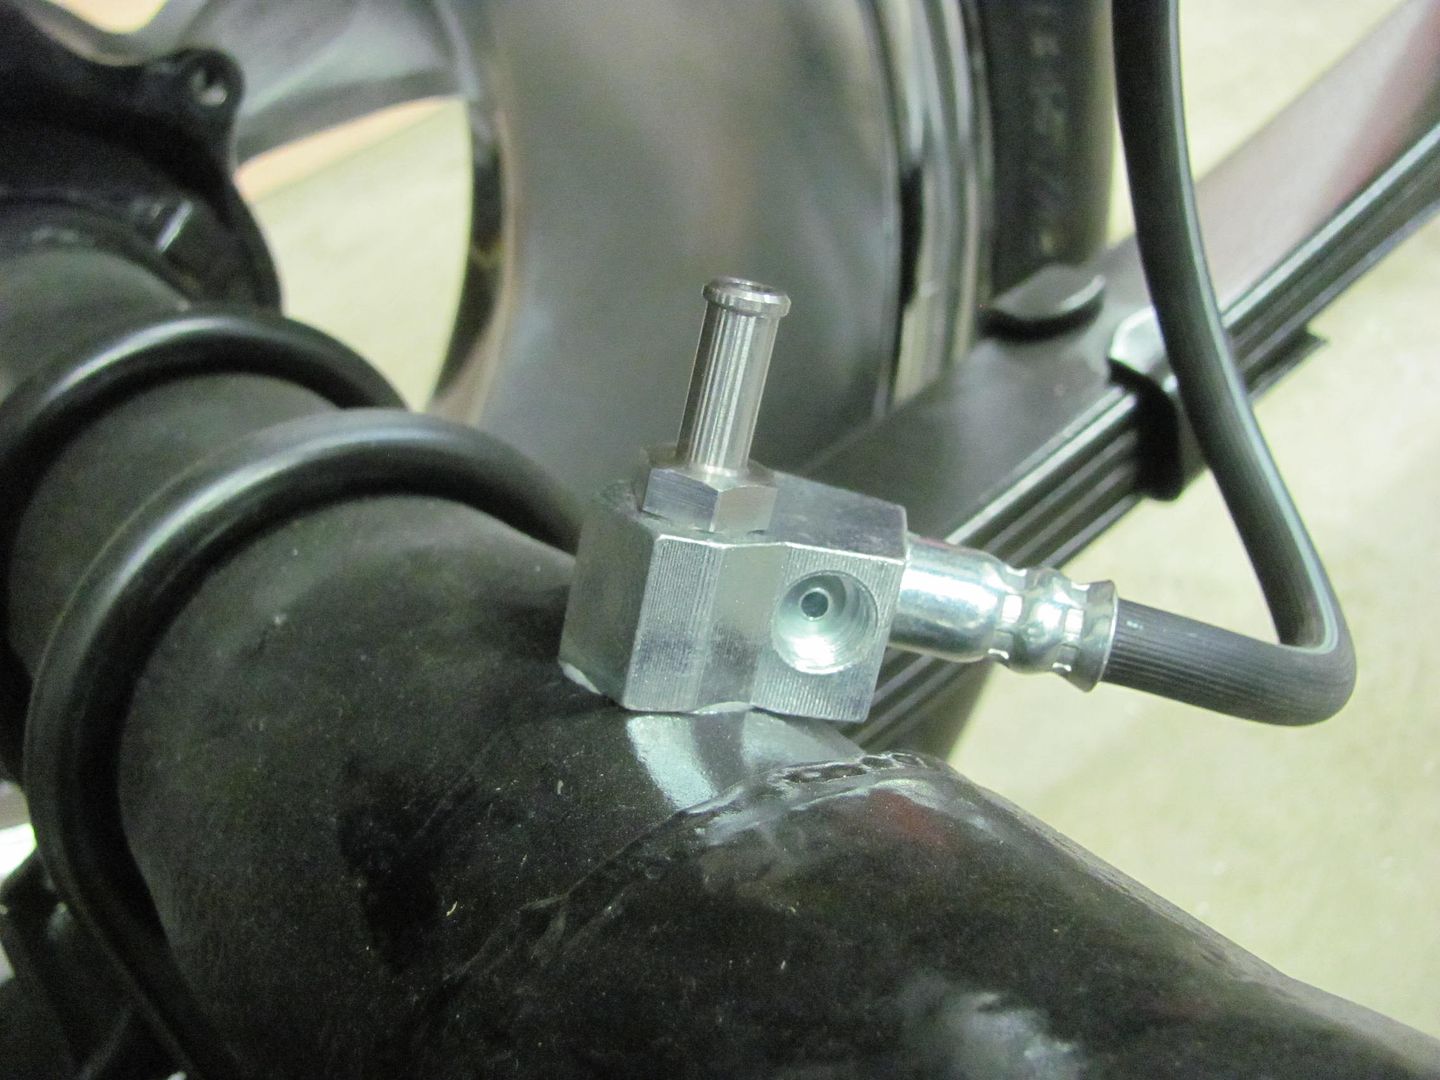
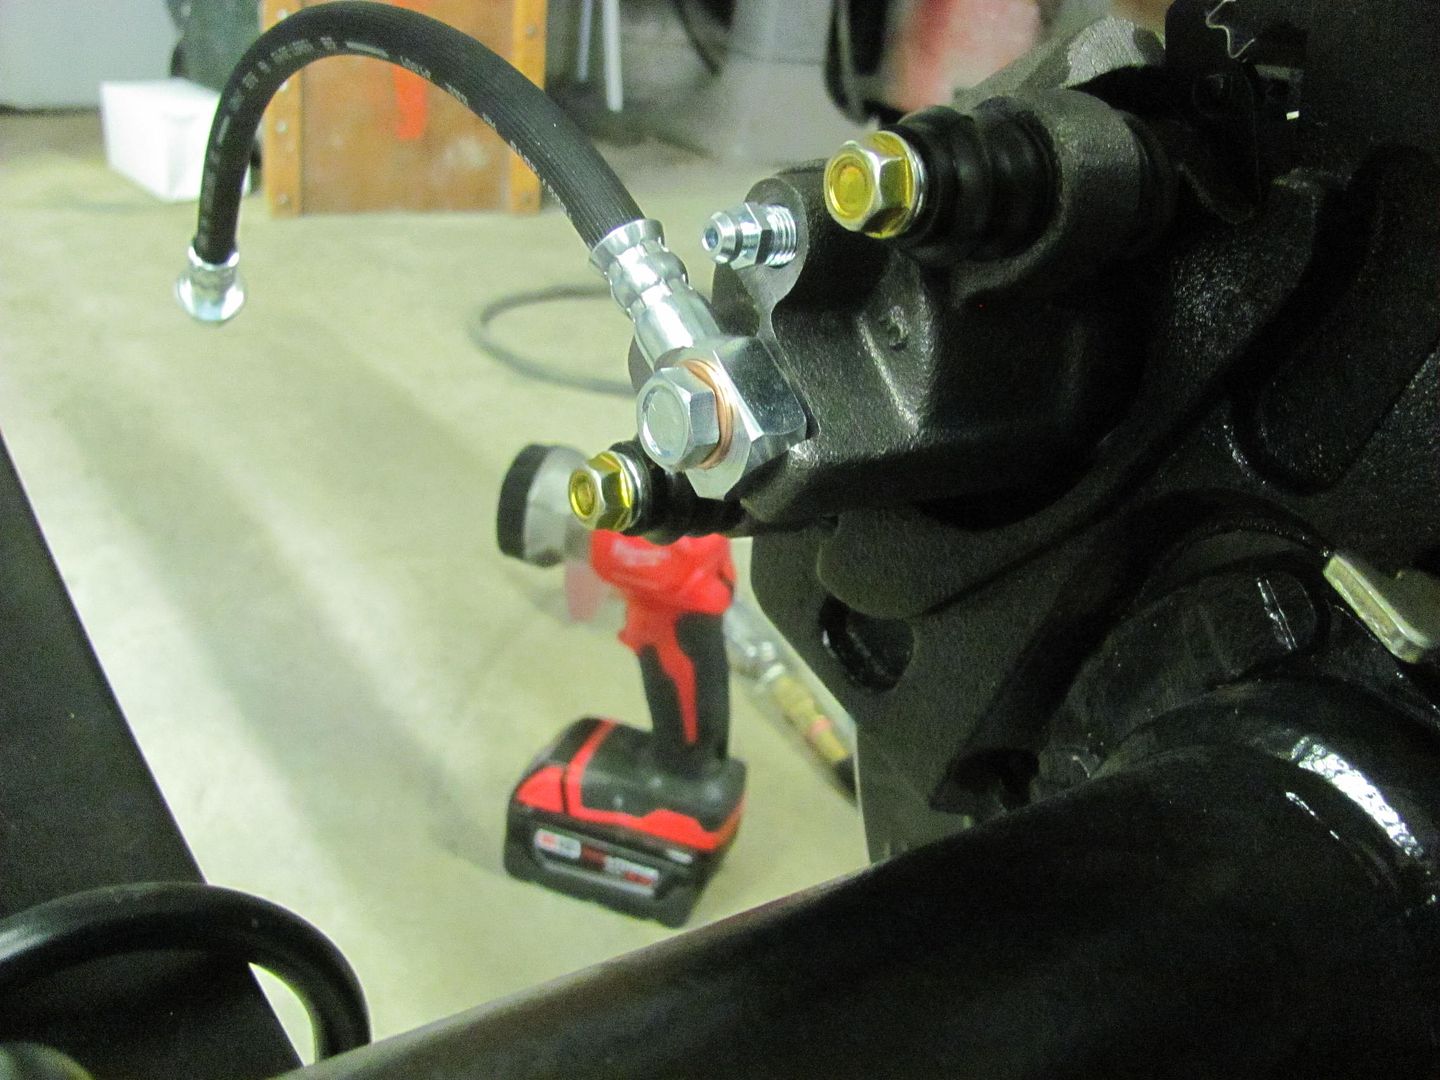
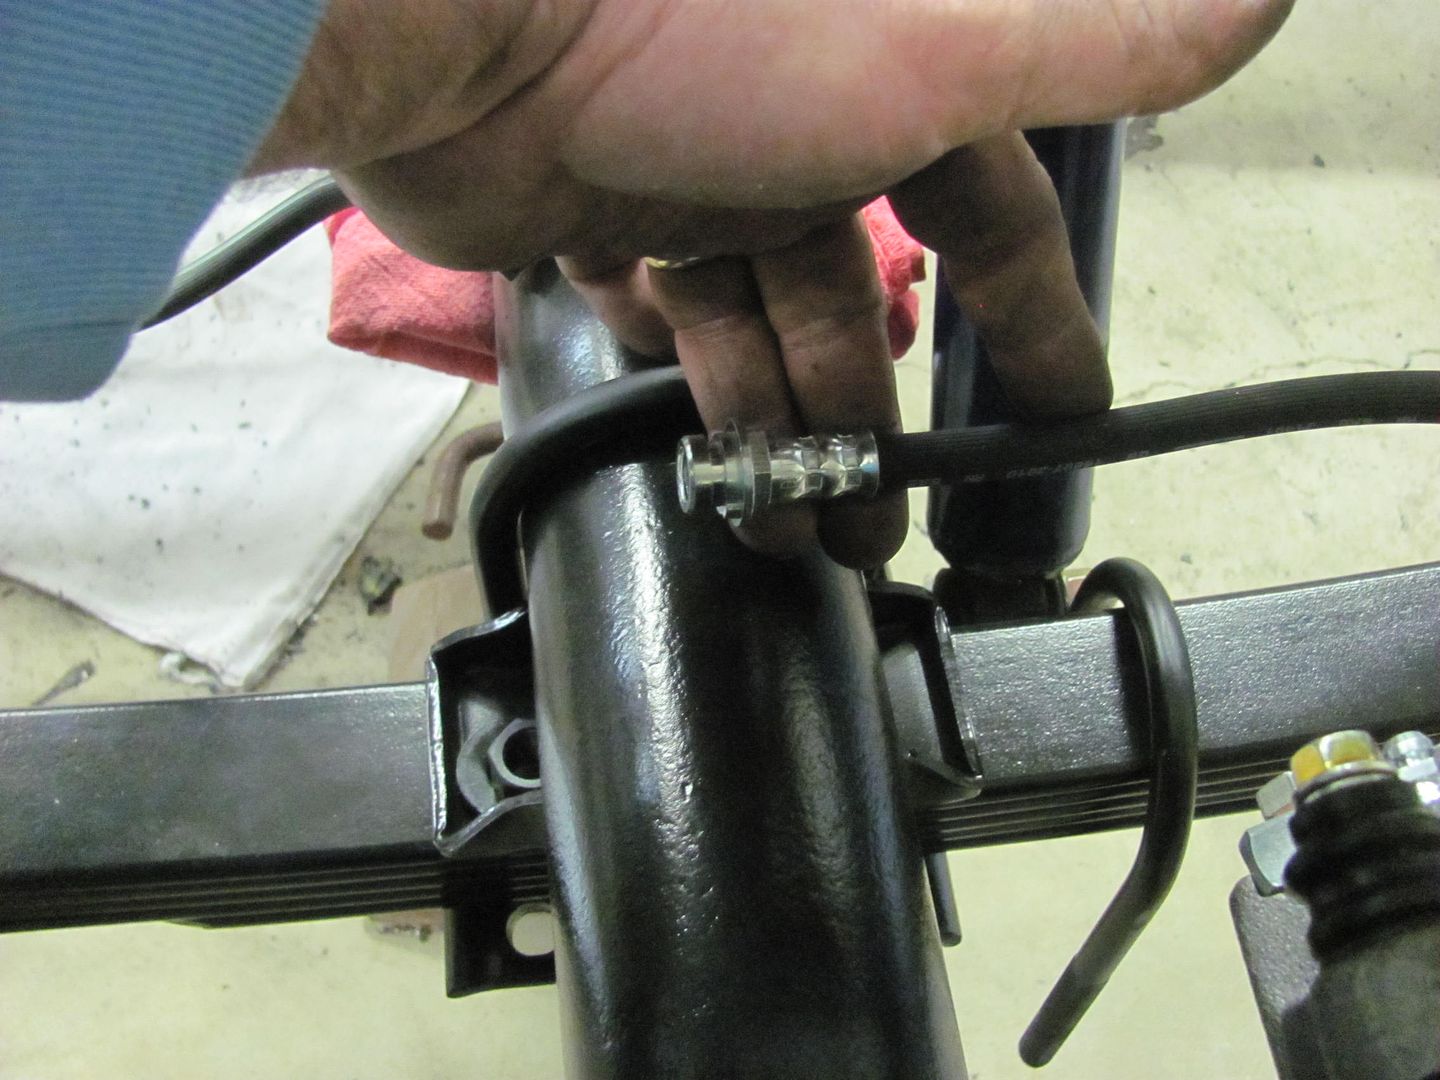
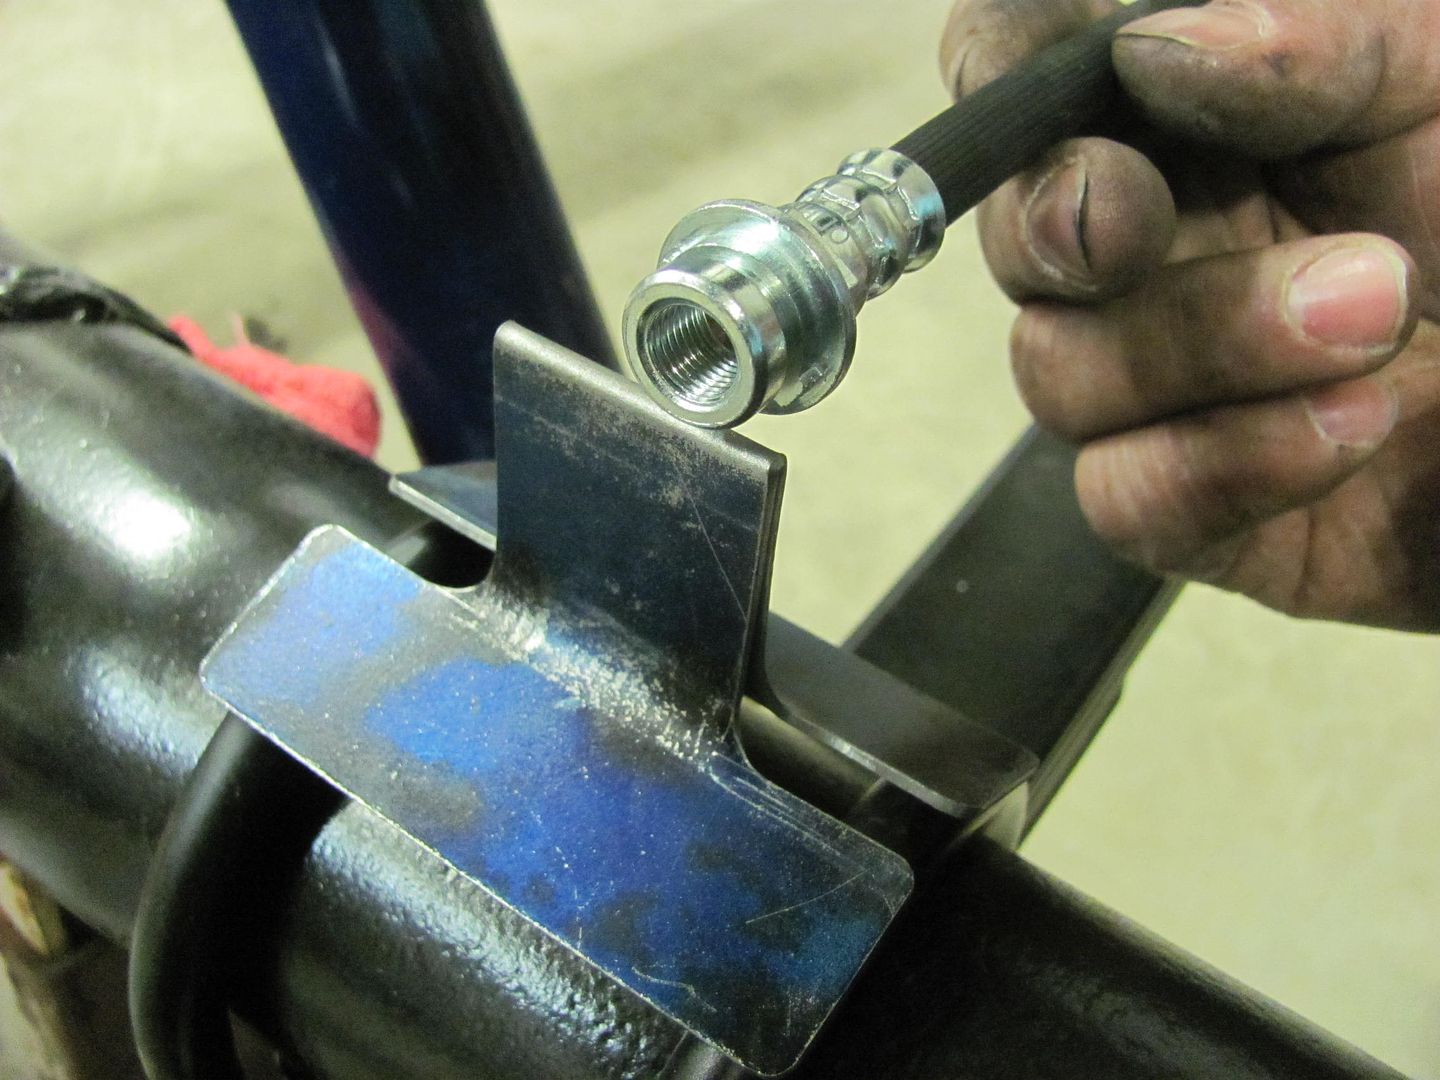
Went digging through the brake hose selection at the local Napa store, Guy Auto Parts. This should work for the rear, front hoses should be here Saturday.
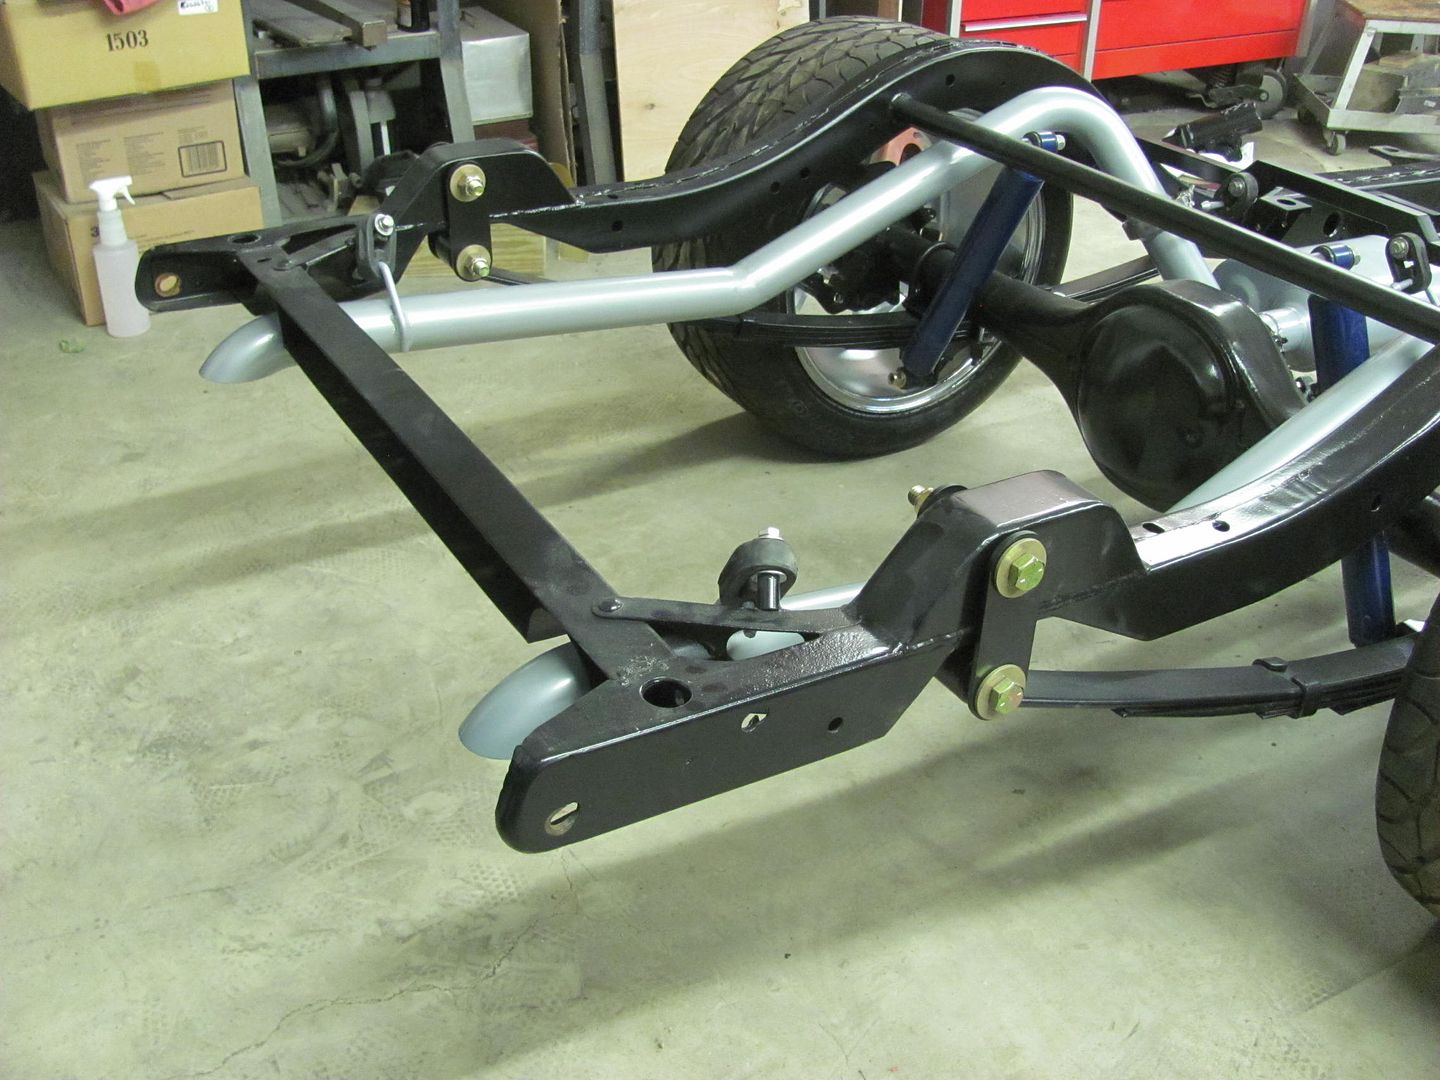
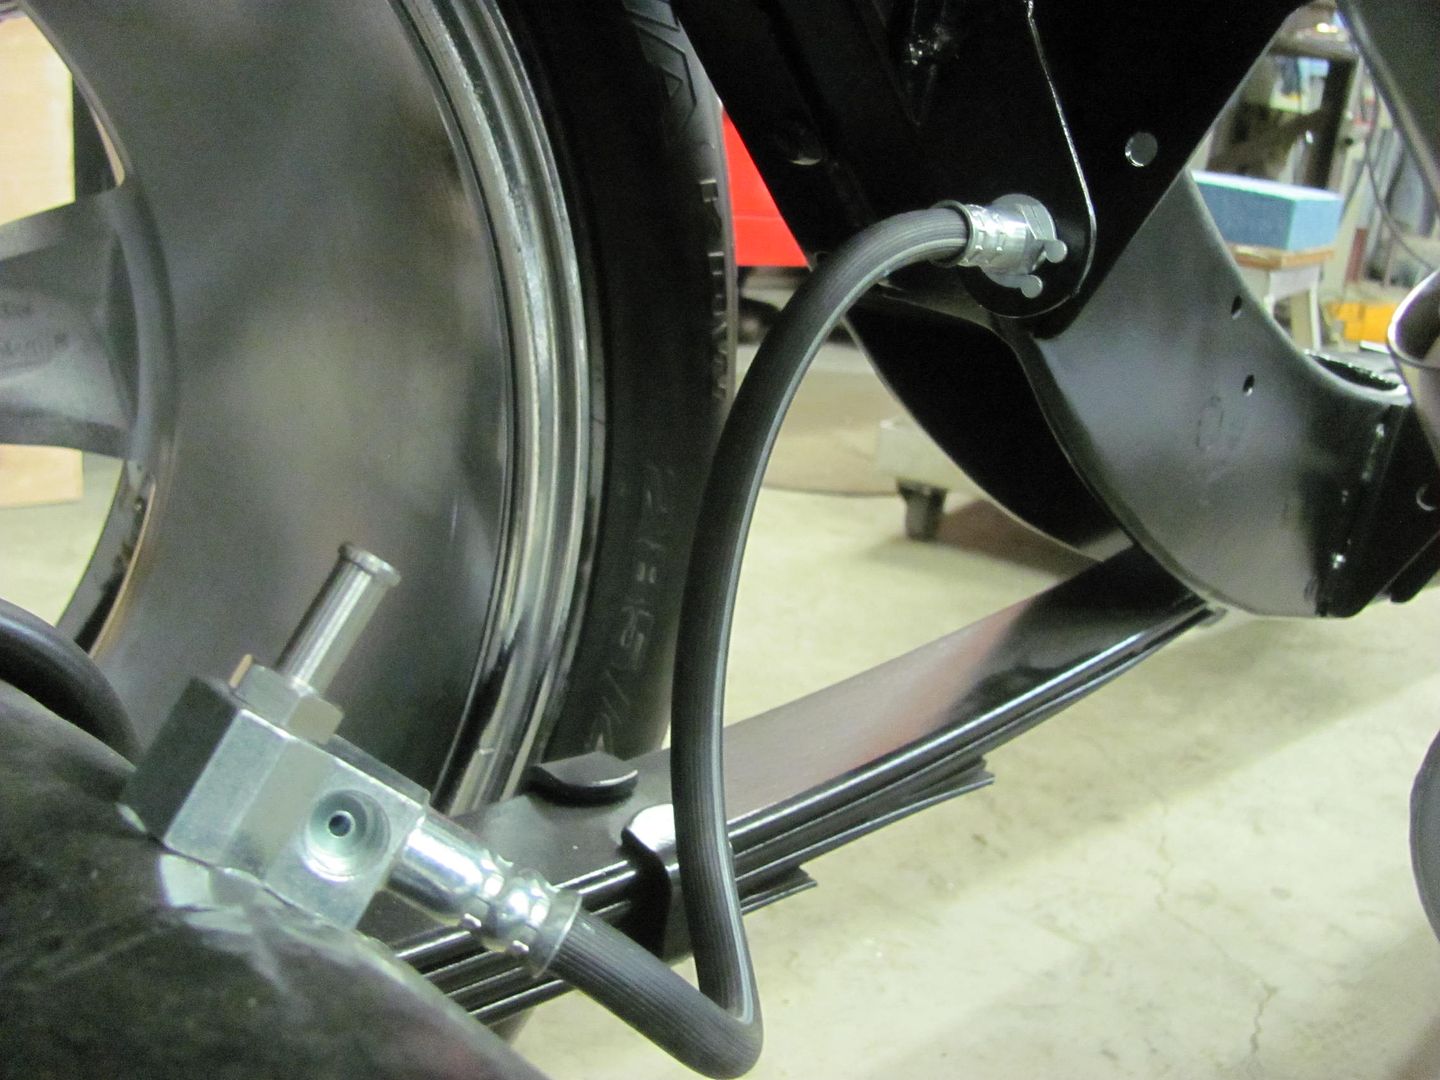
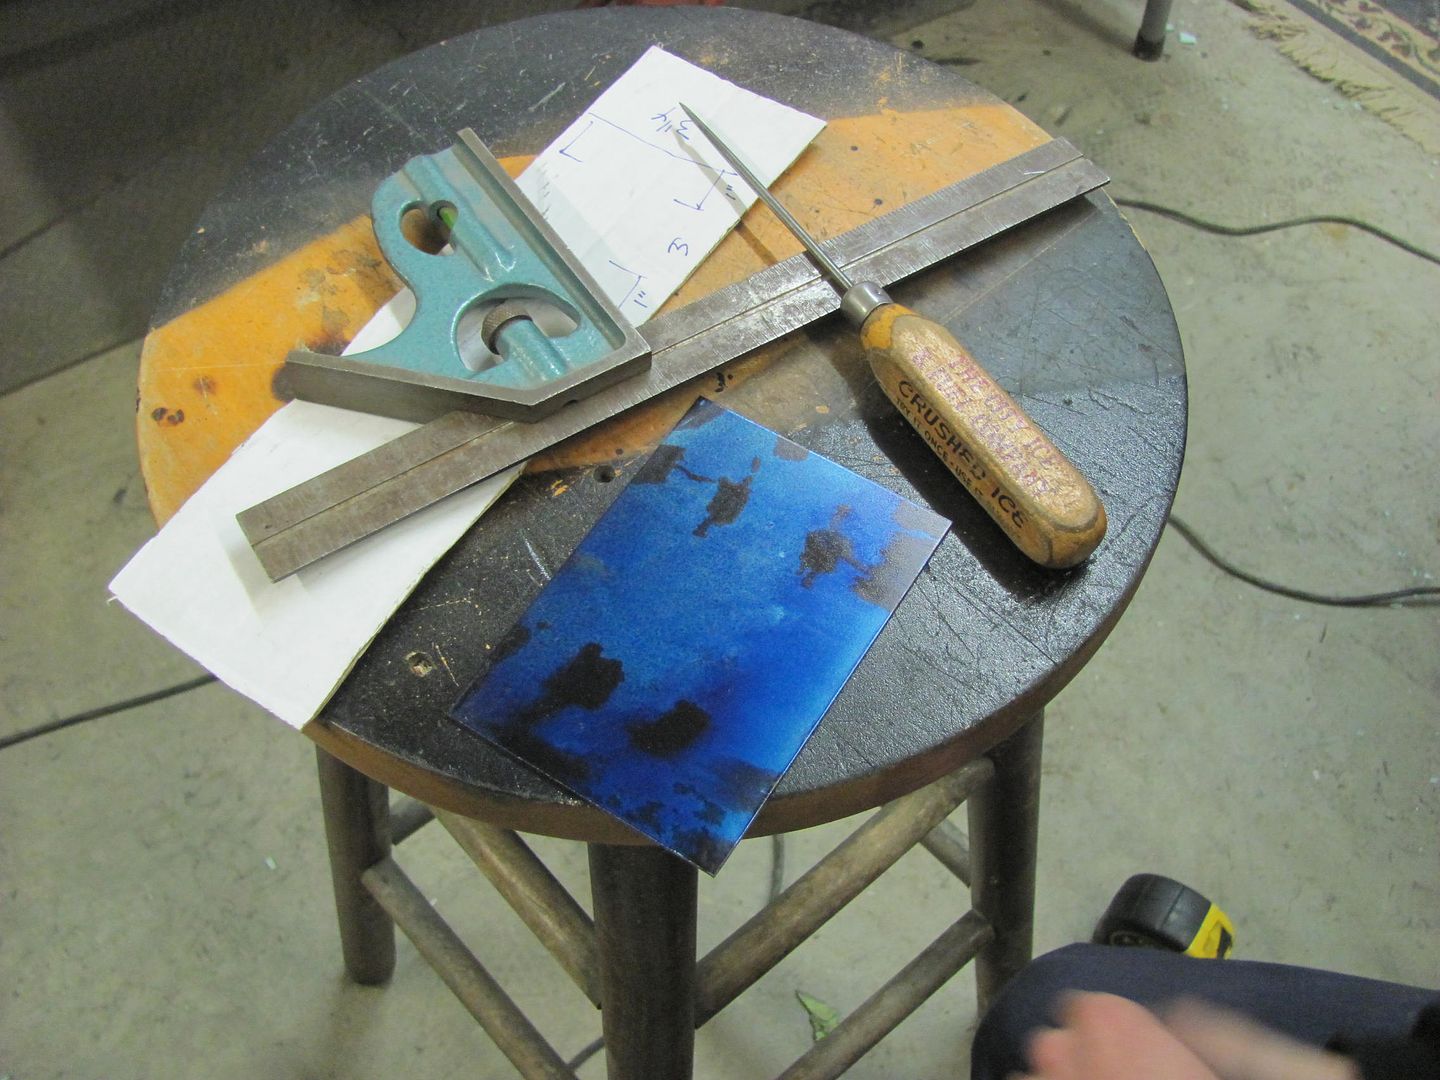
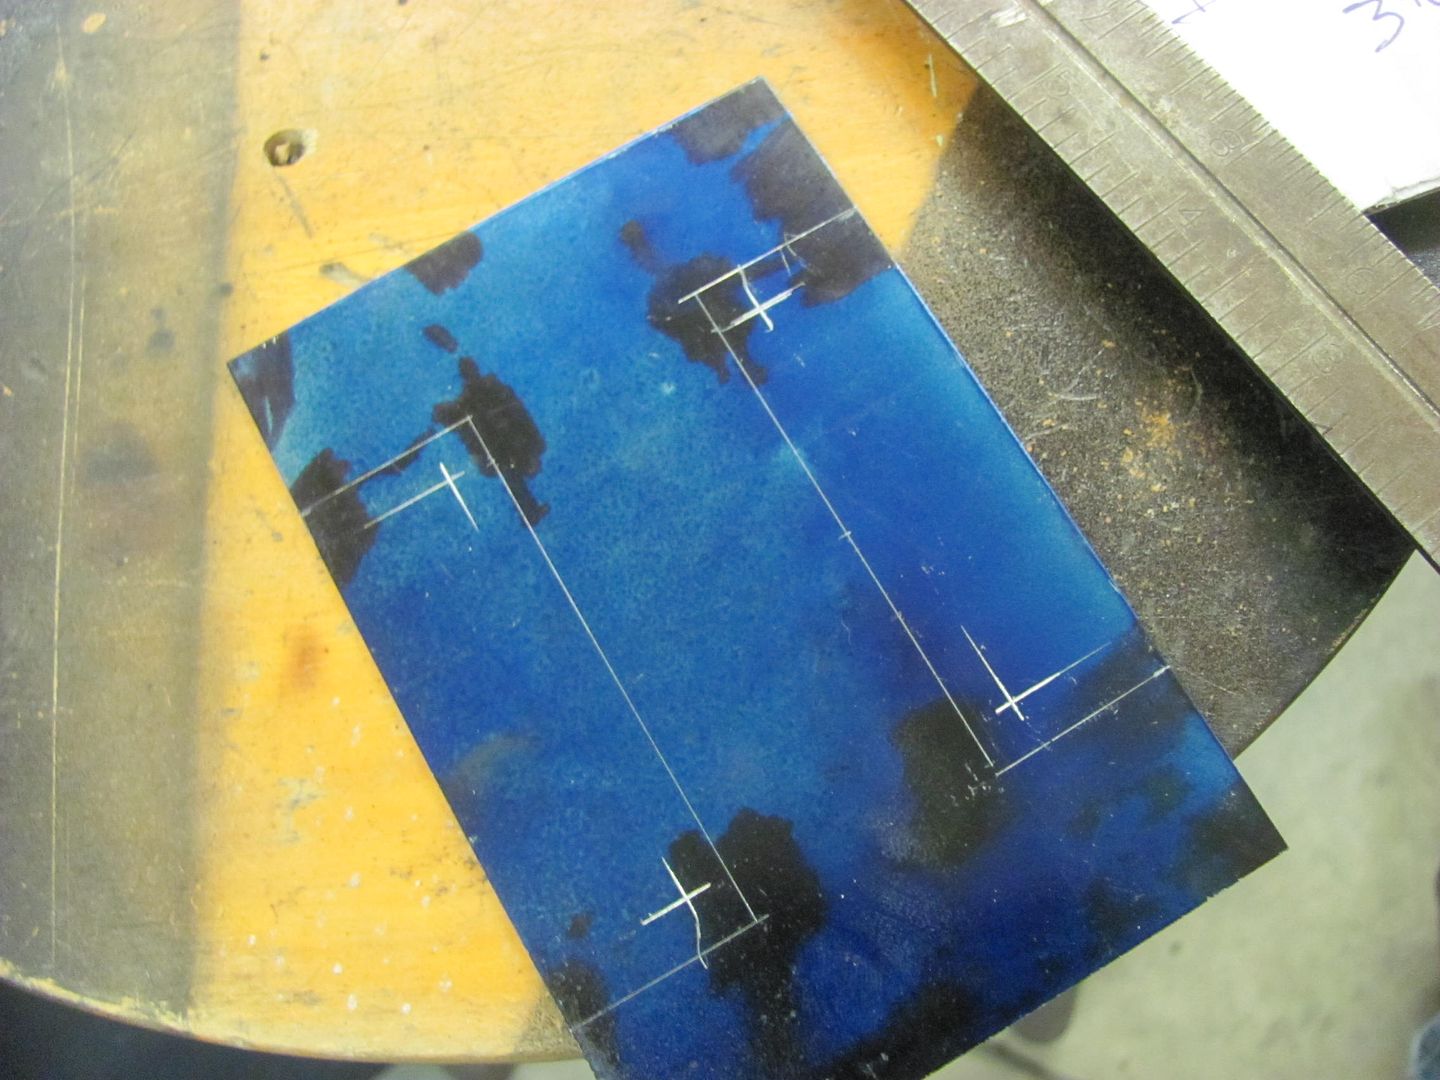
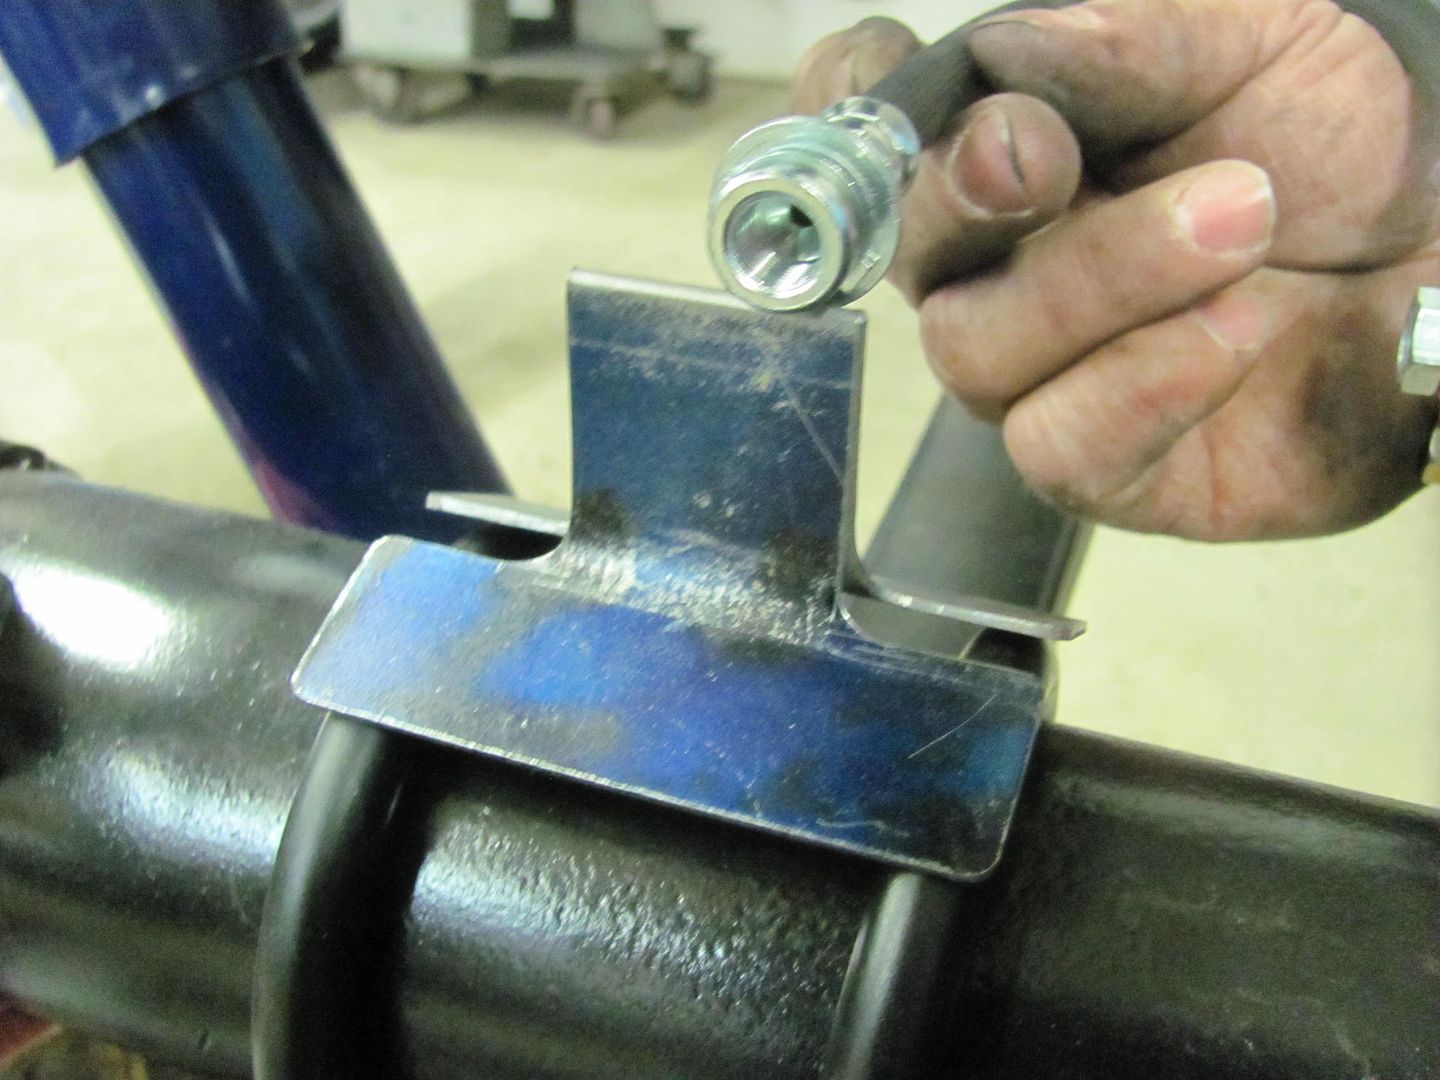
Now we need a bracket to anchor the hose end... We came up with this design using 16 gauge CRS, and planned to clamp it under the U-bolts...
Now looking at it, I'm not sure I want the U-bolts off the axle housing, and may just cut the ears off and plug weld the bracket to the housing. Thoughts?
