shortykorte
Well-known member
Job security. Looks like an interesting job.

Always a new challenge every day....
The strong winds this weekend knocked over a dead oak tree across the chain link fence at the local high school, and this was the bus that found the overhang..


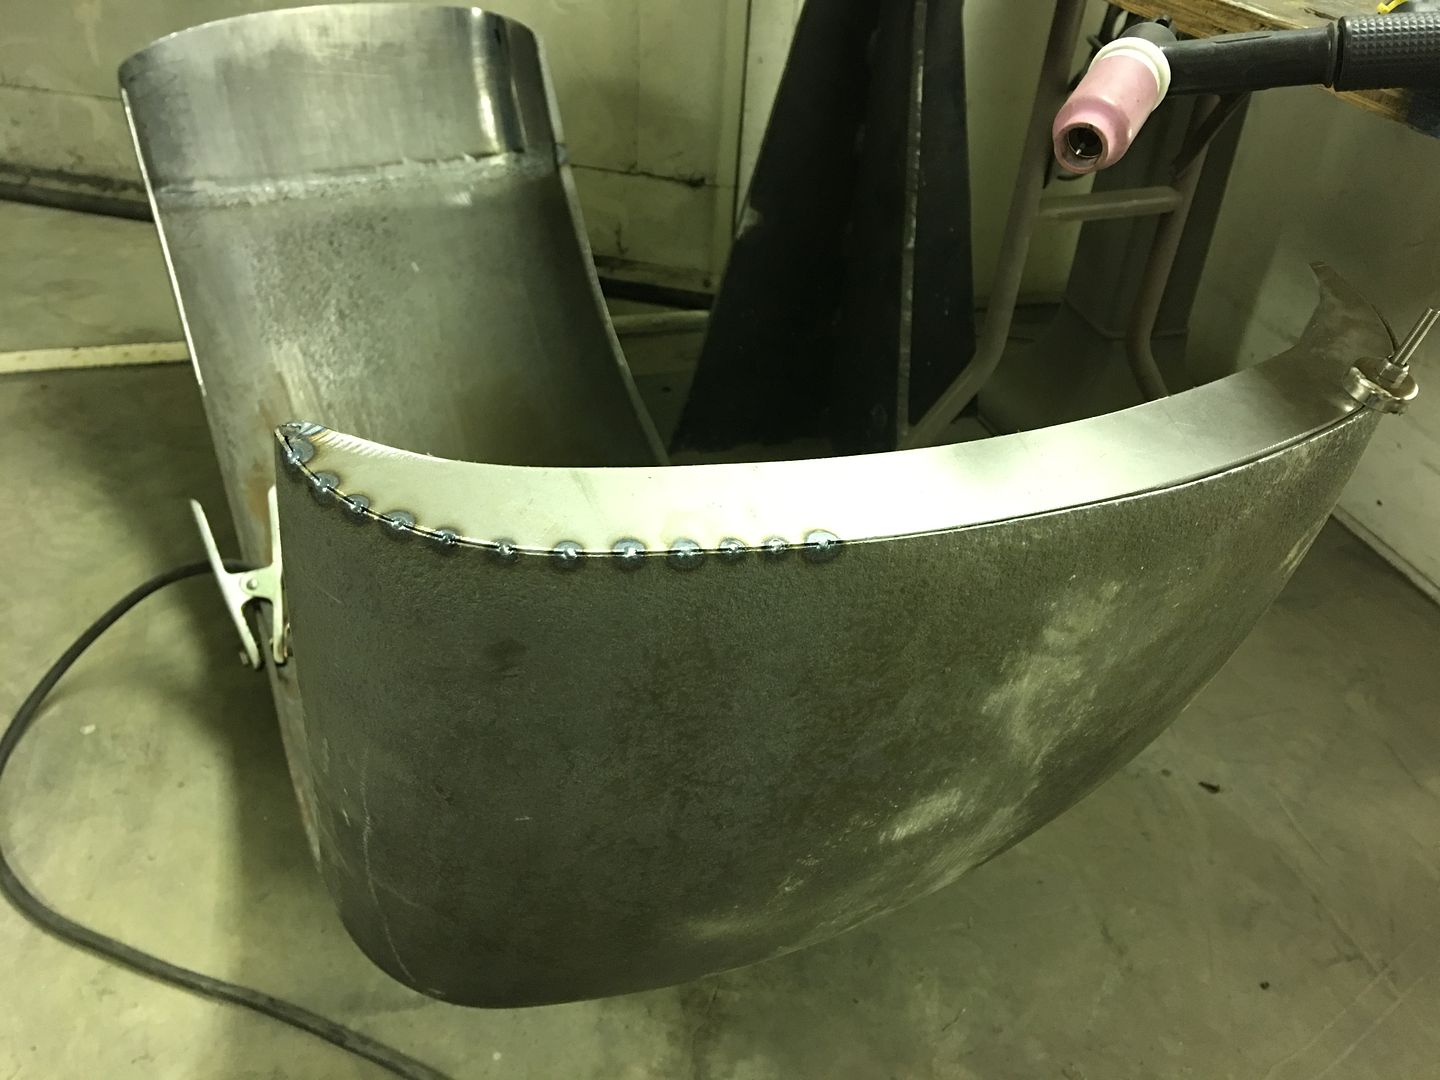
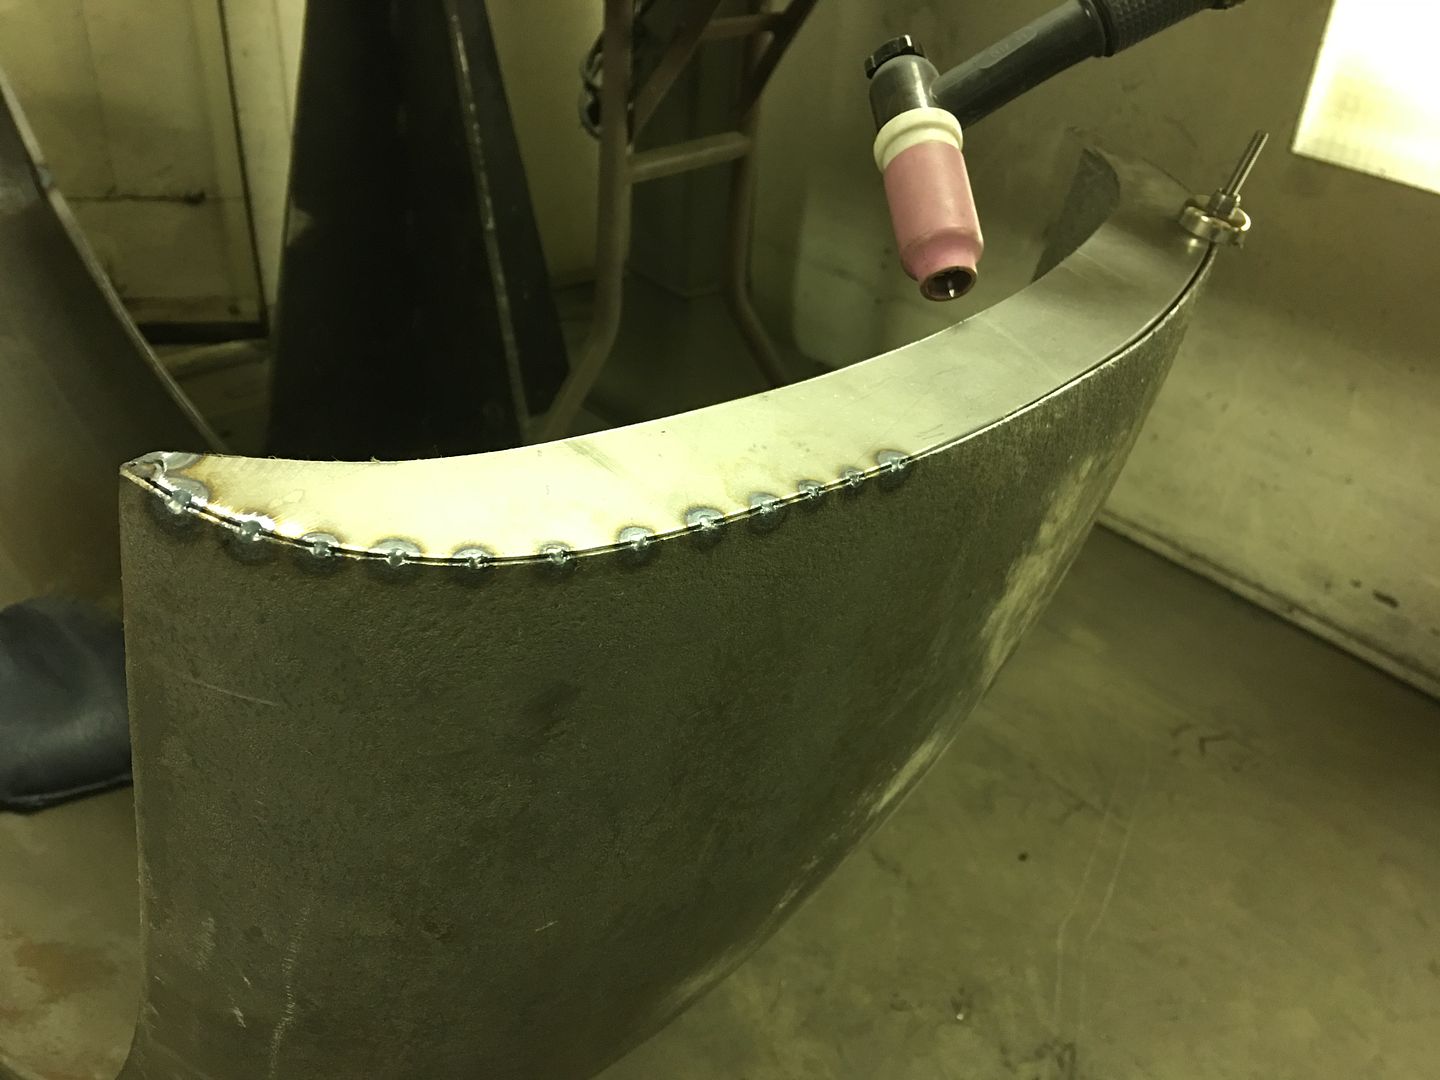
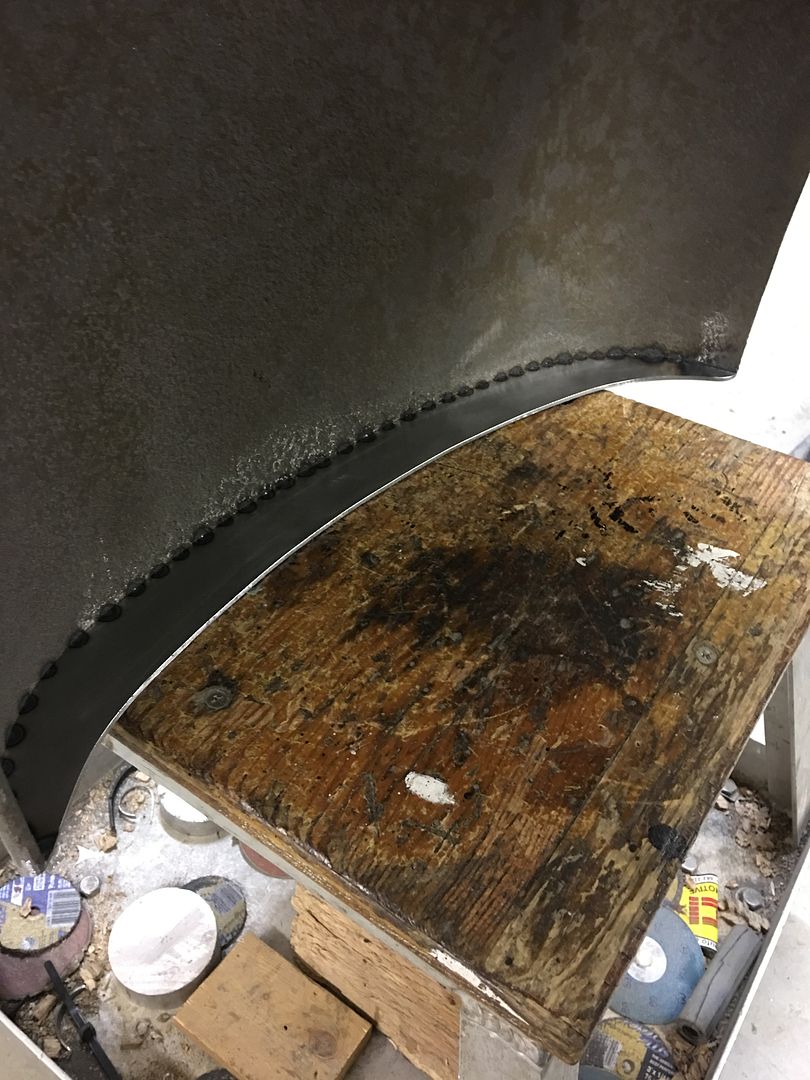
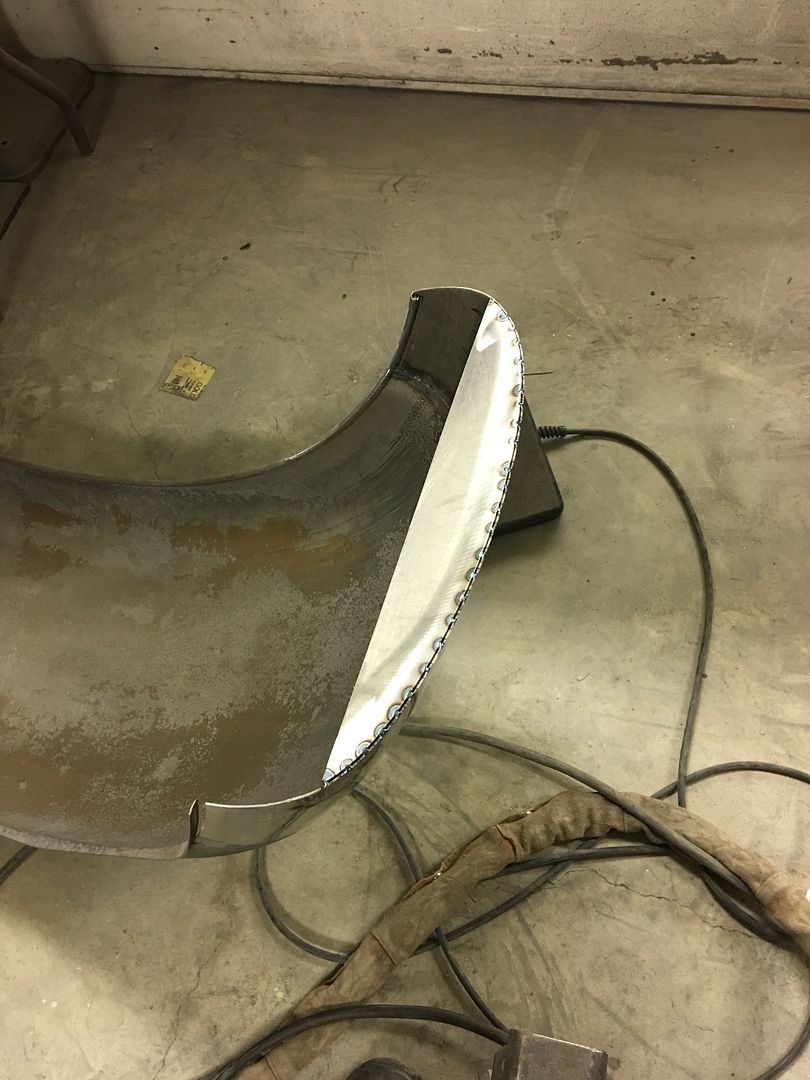
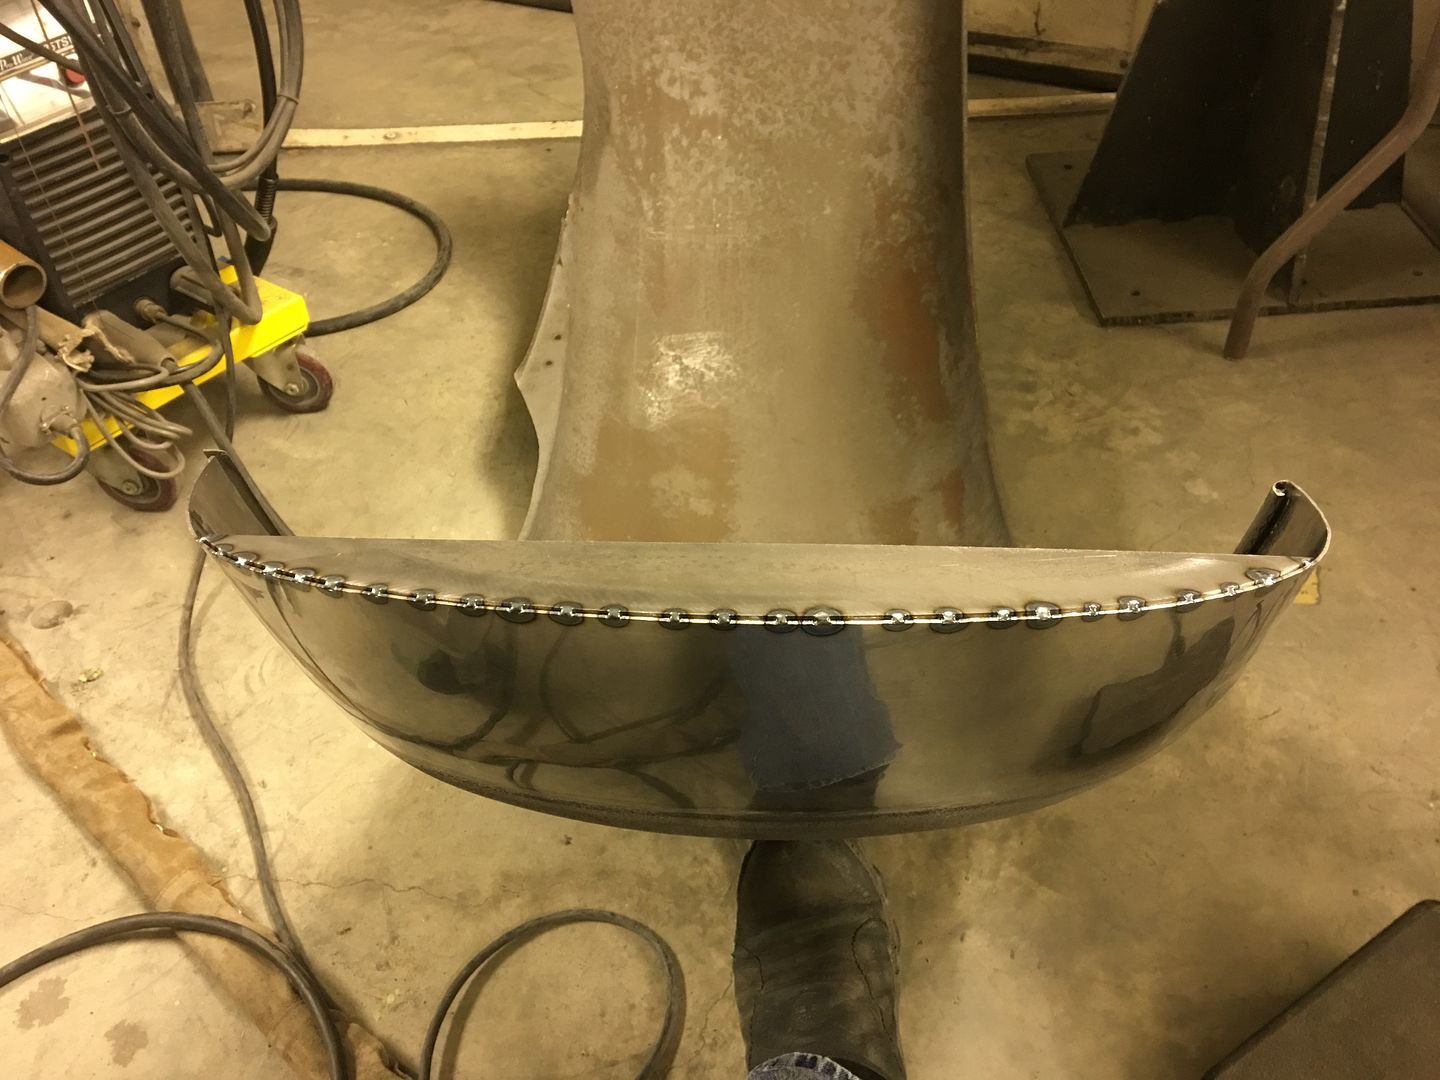
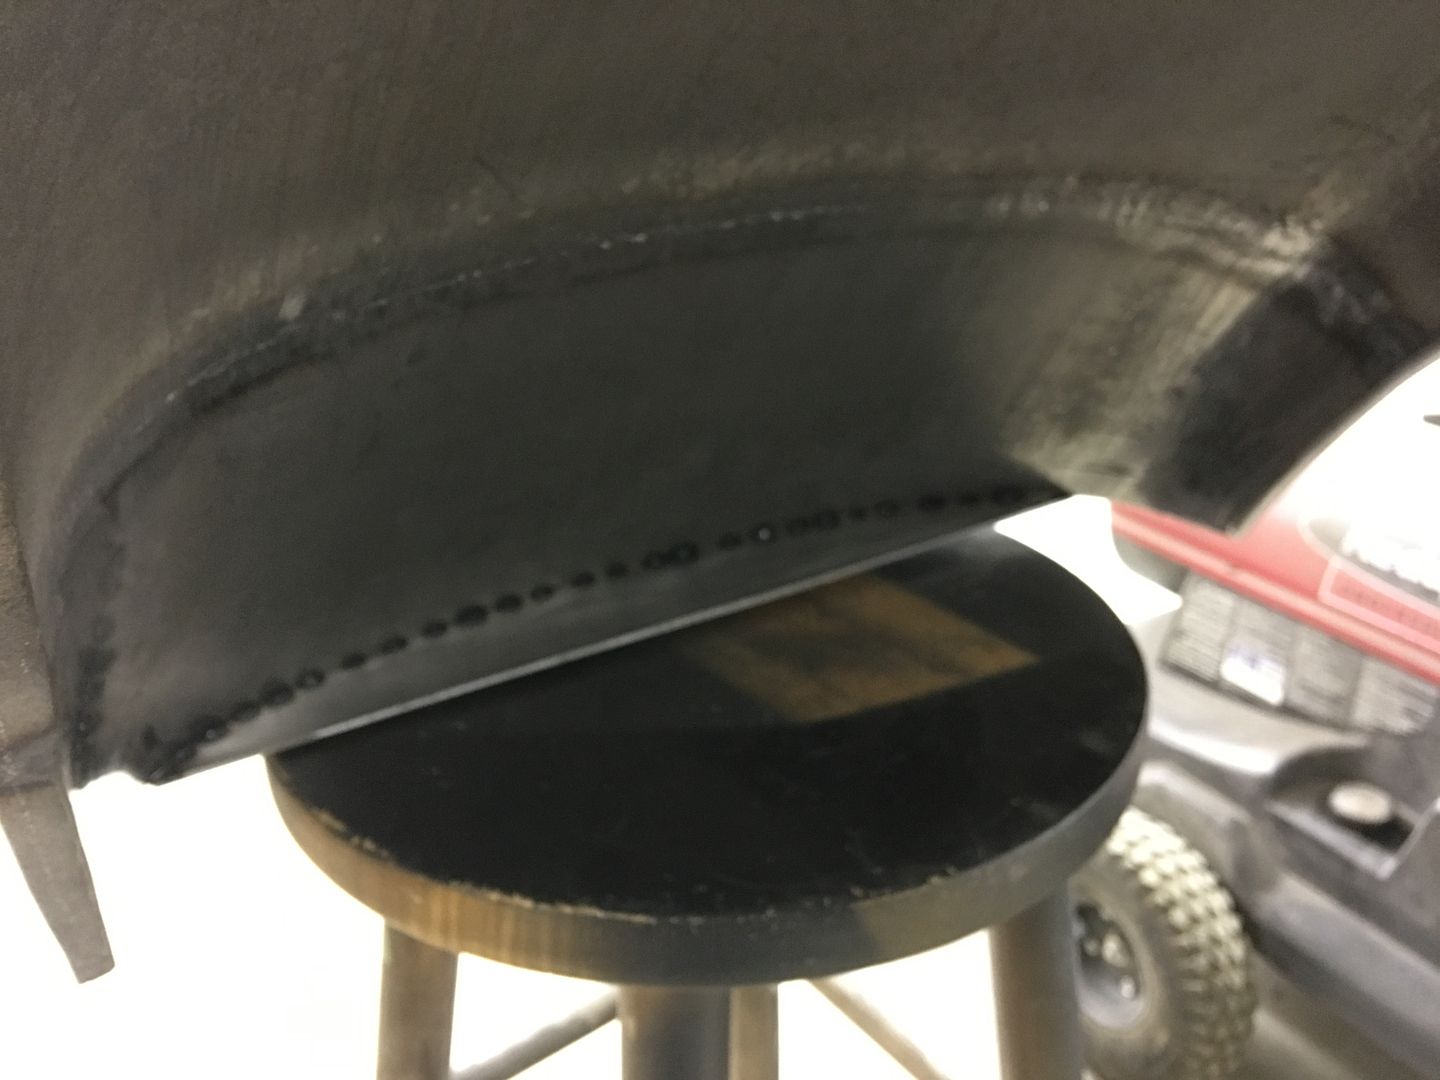
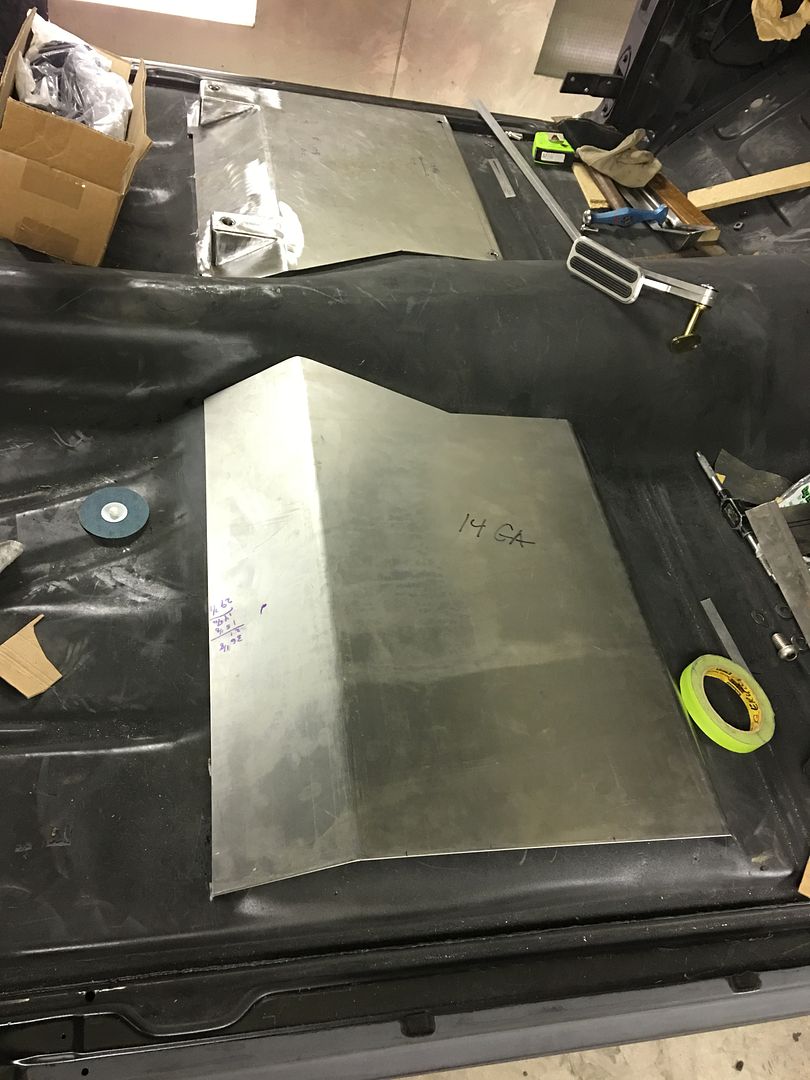
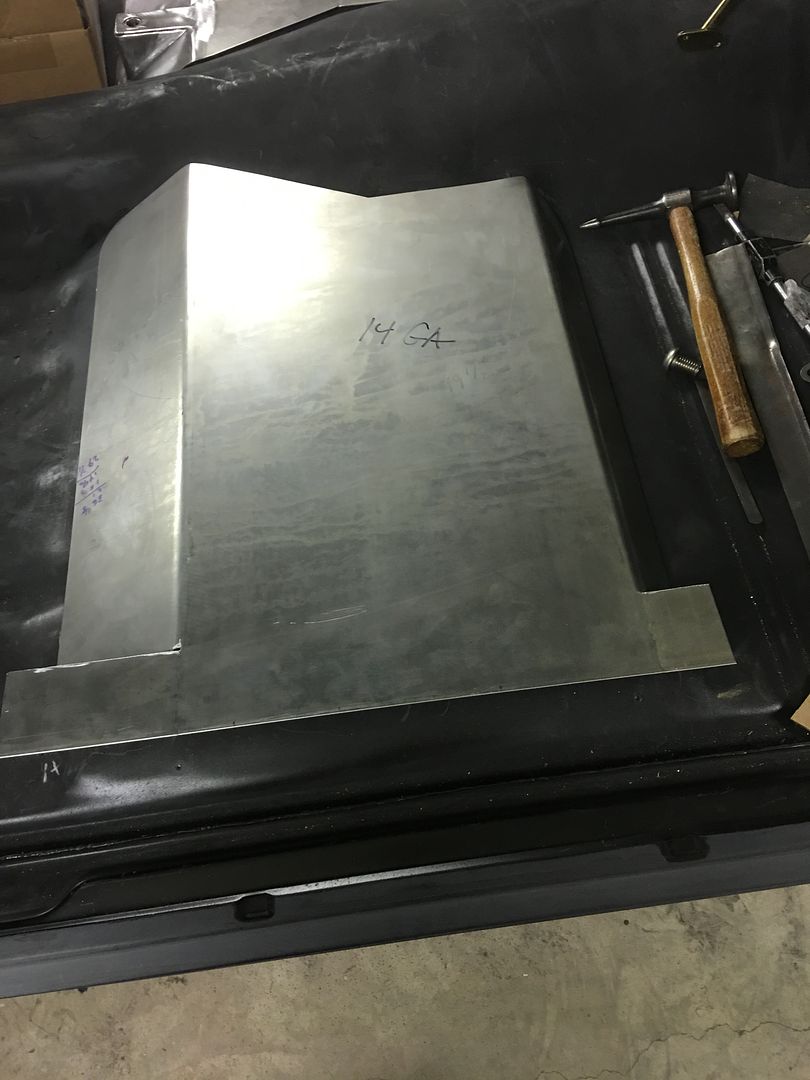
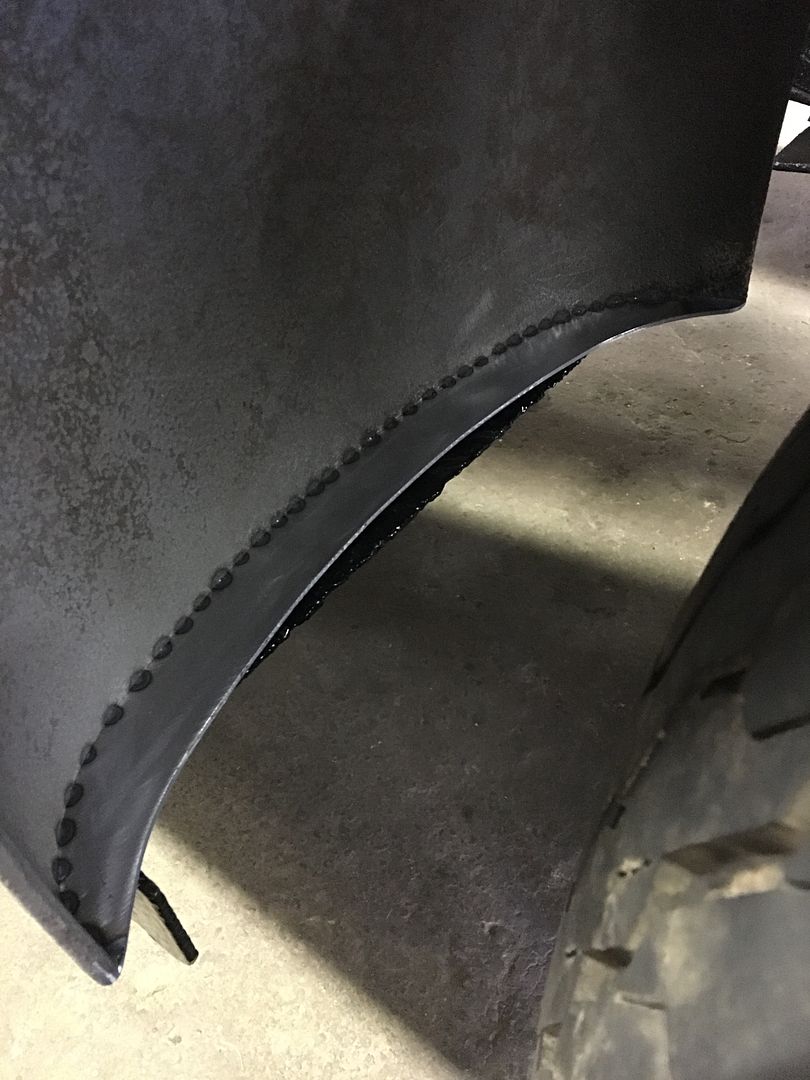
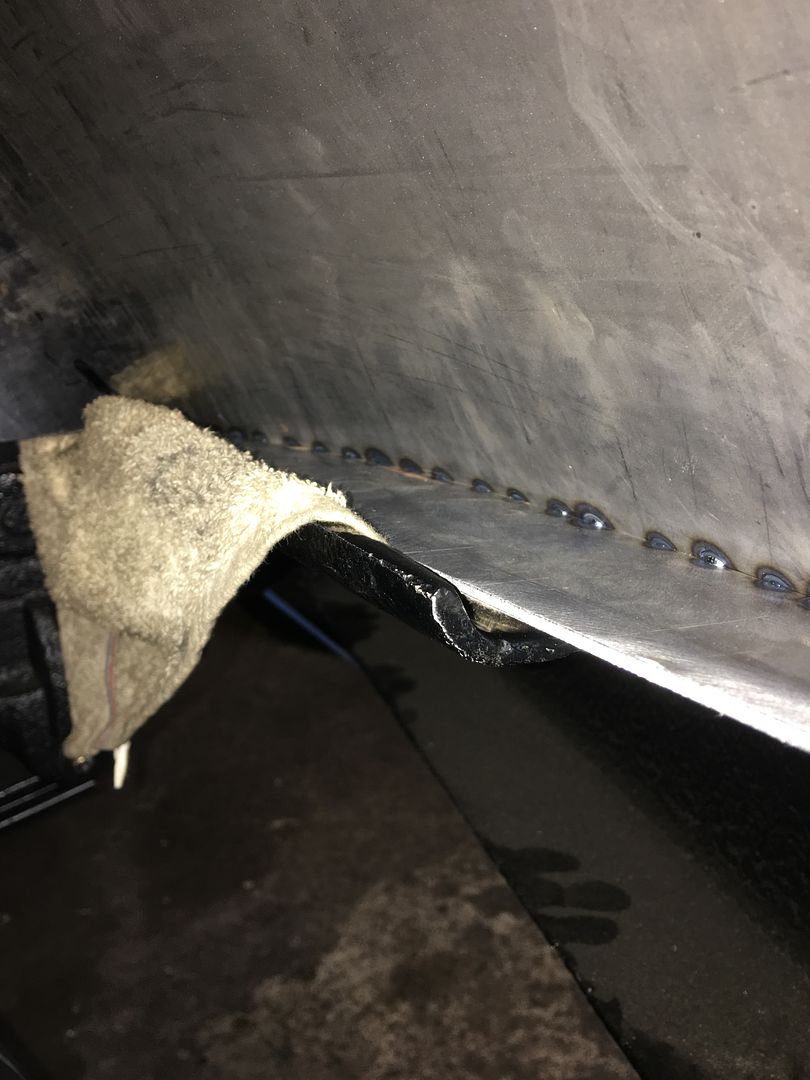
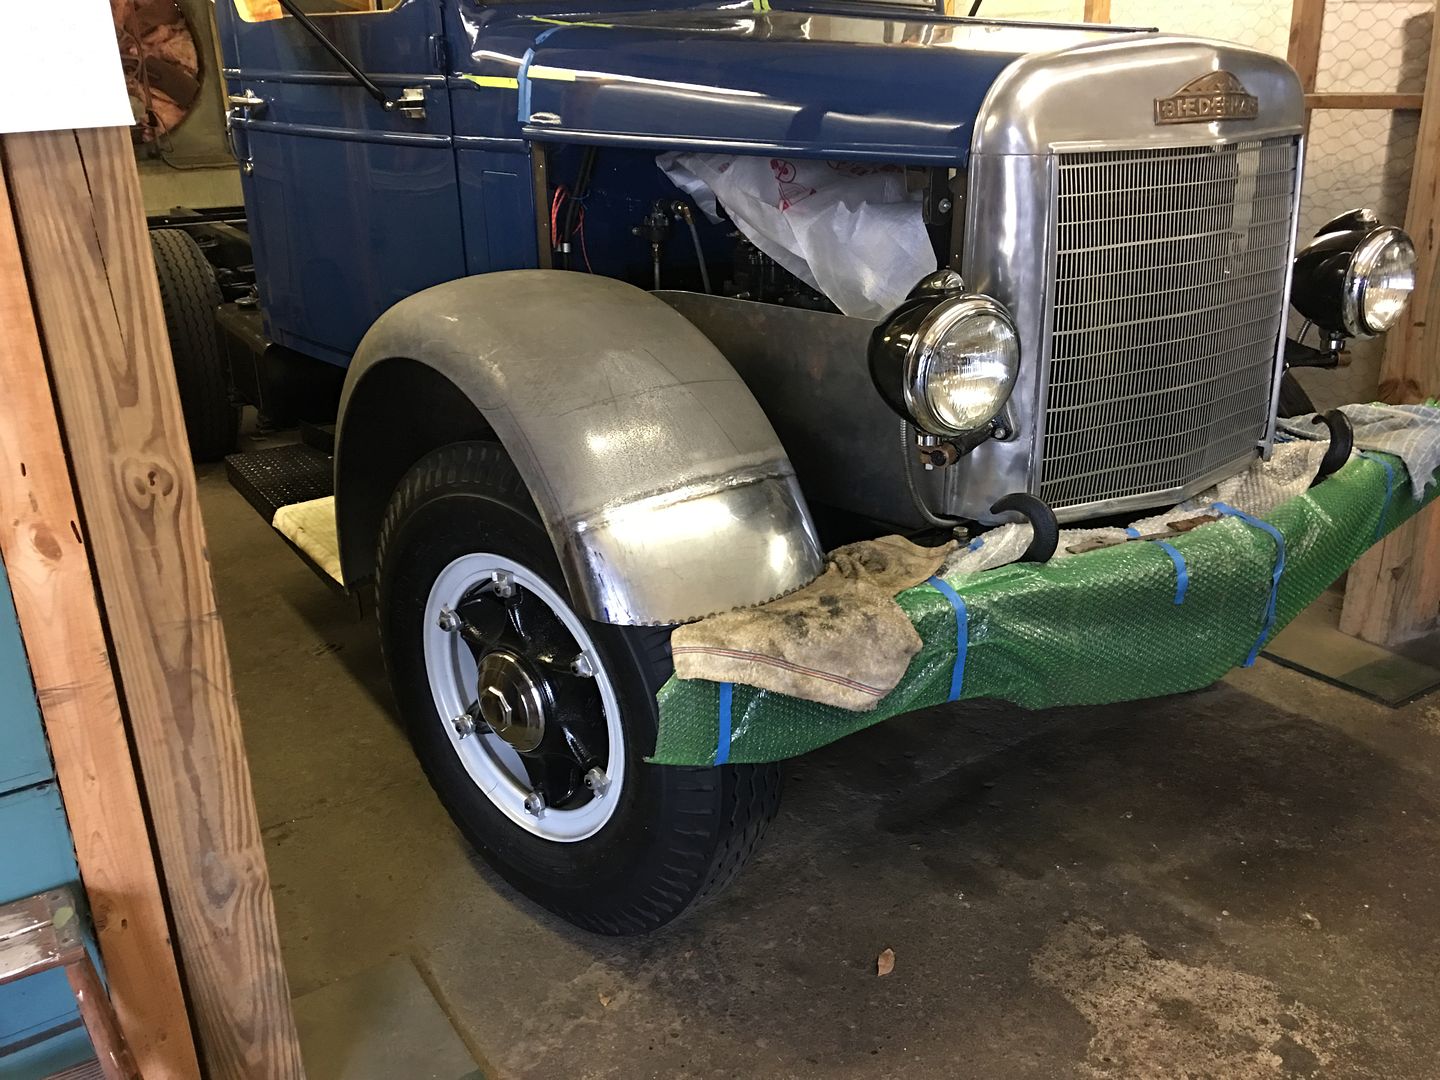
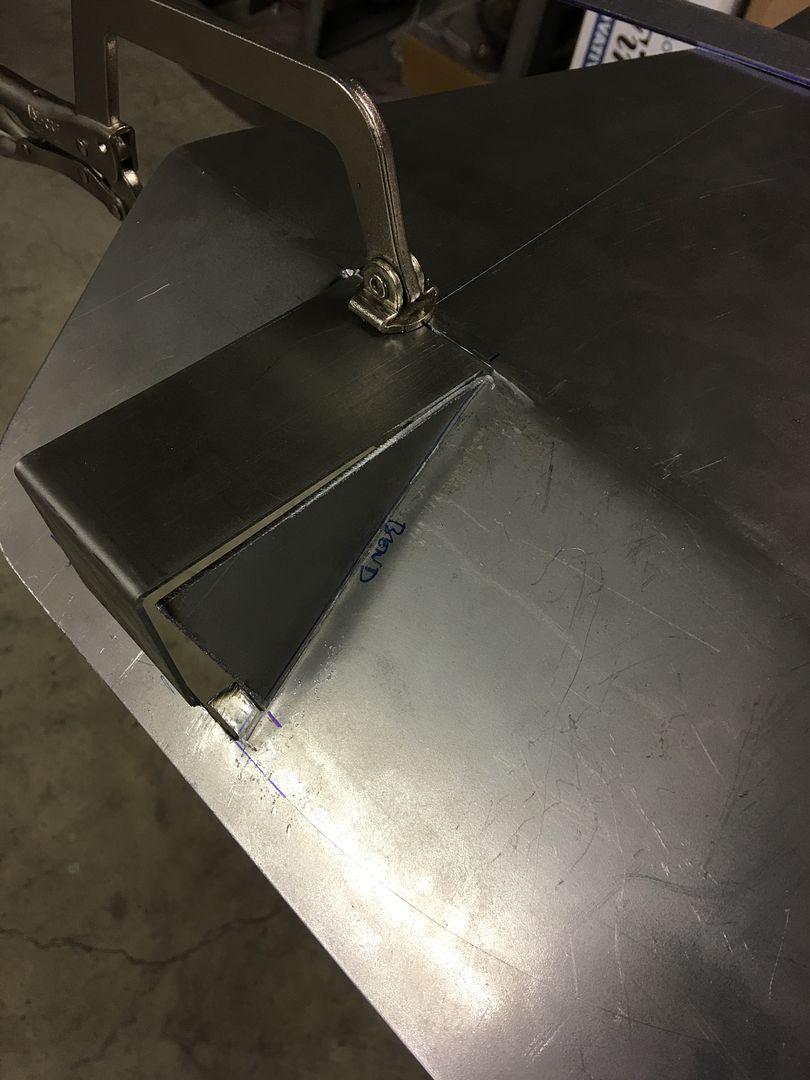
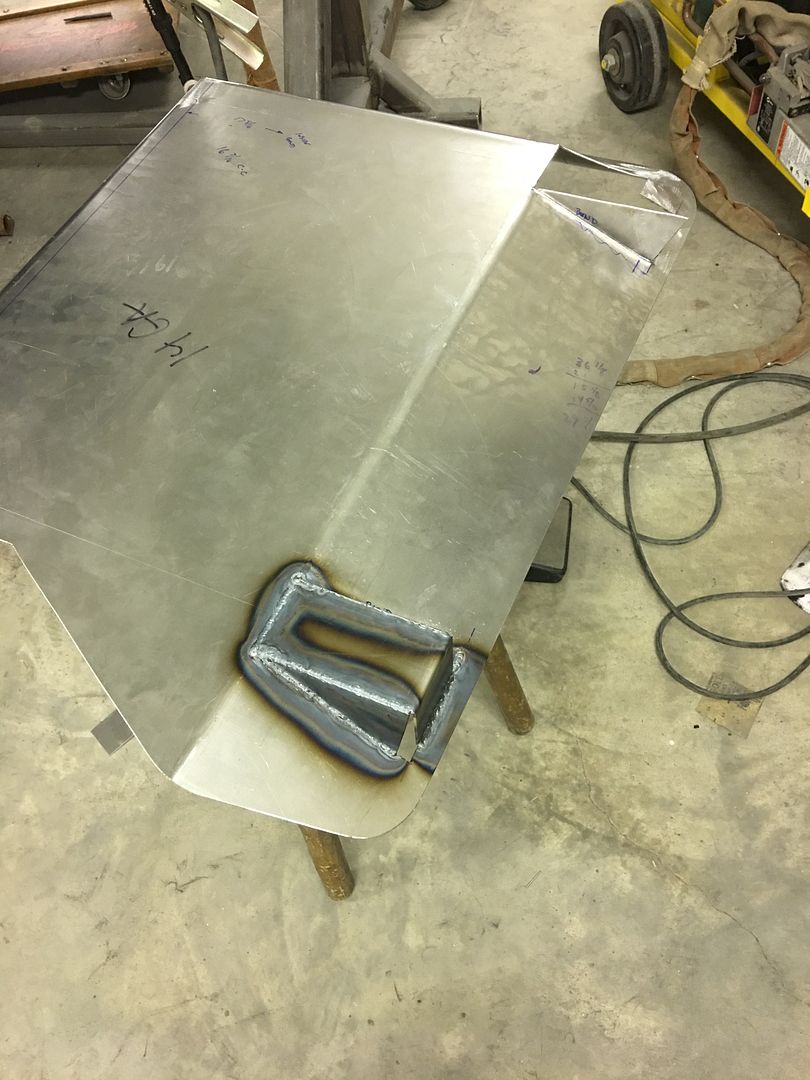
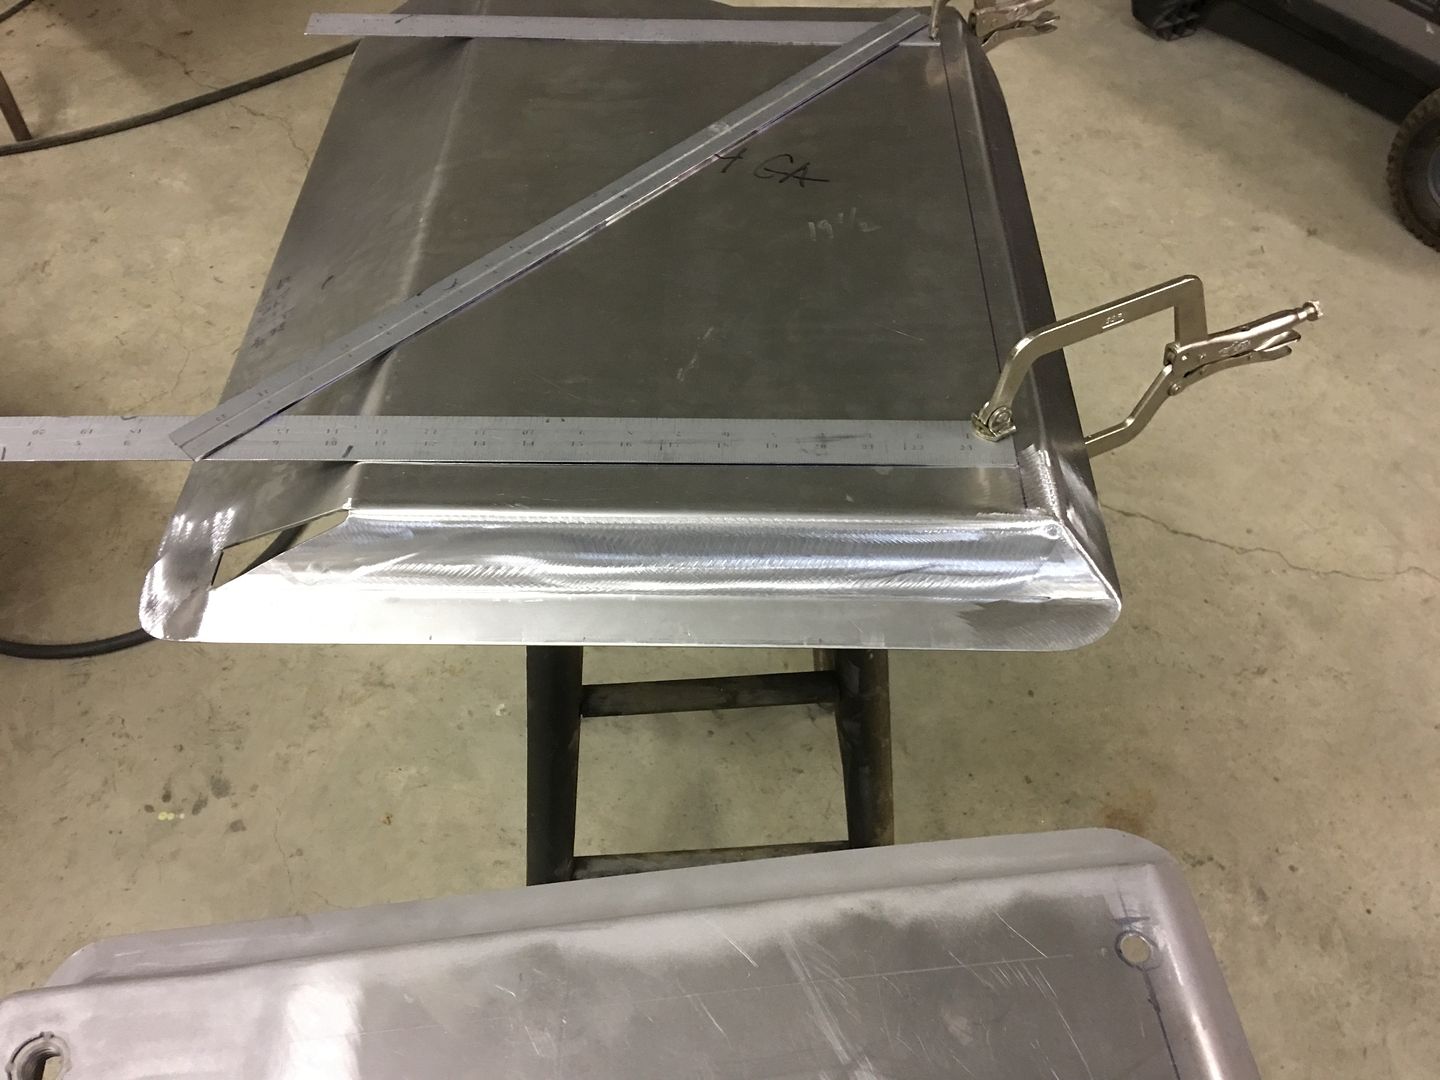
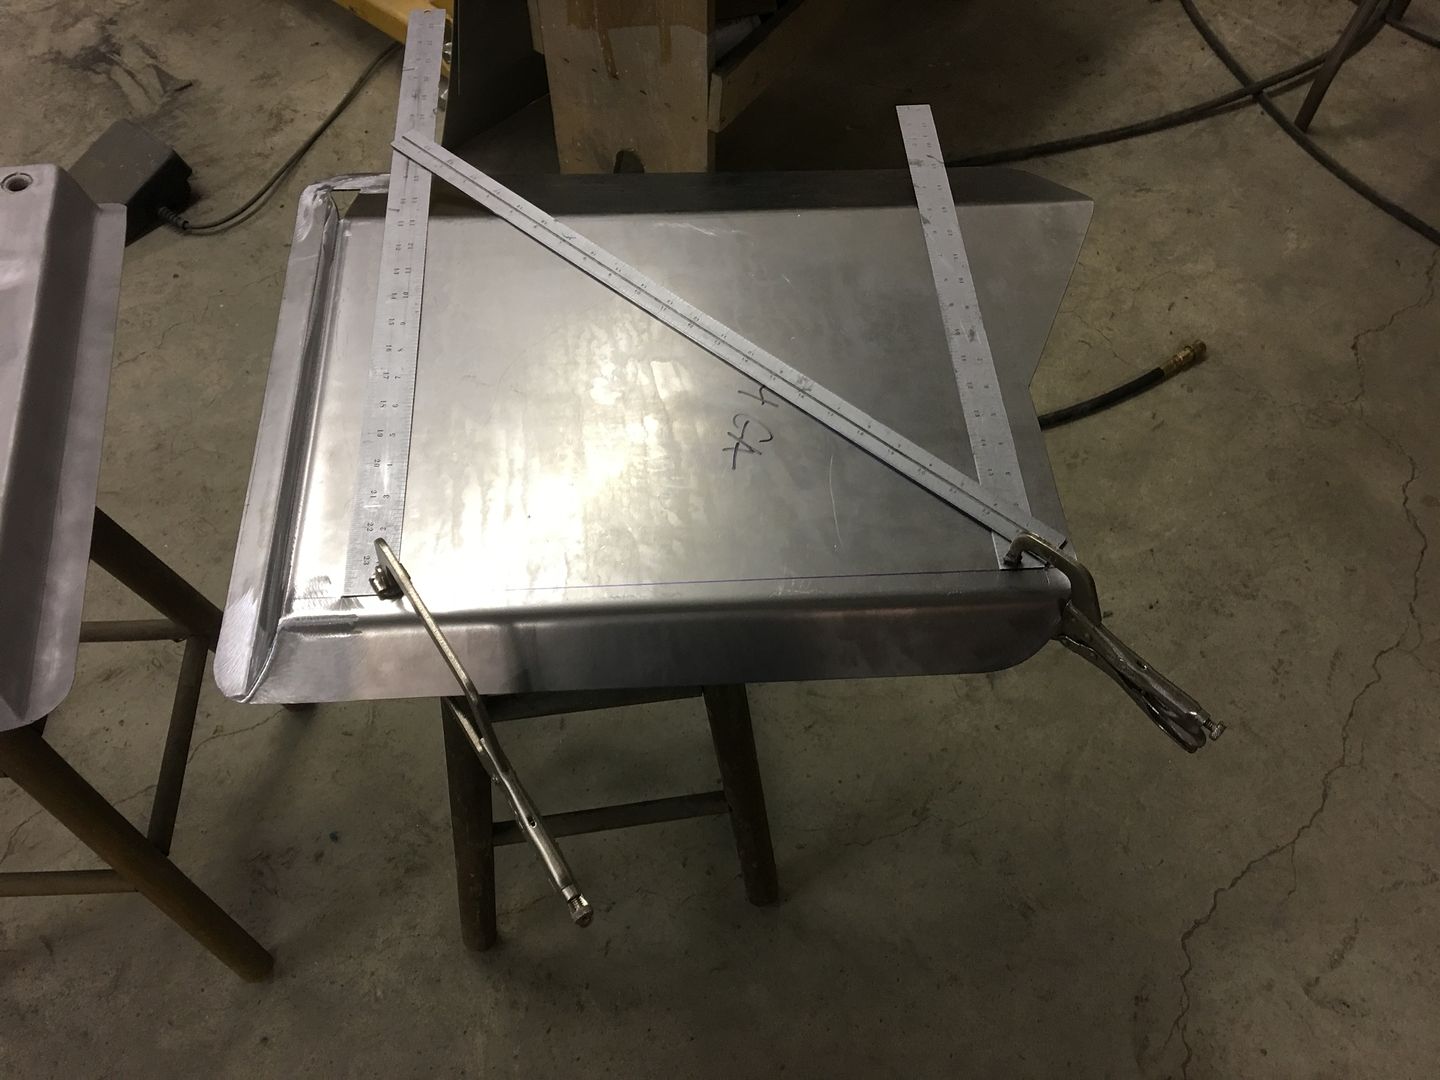
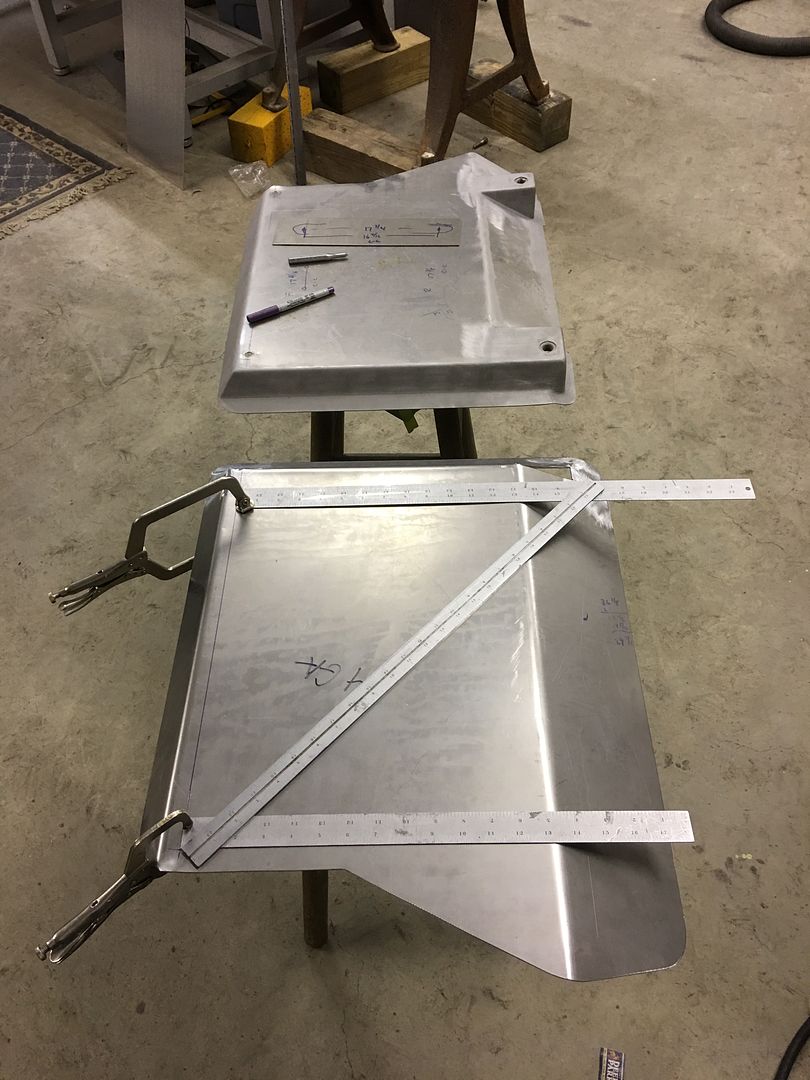
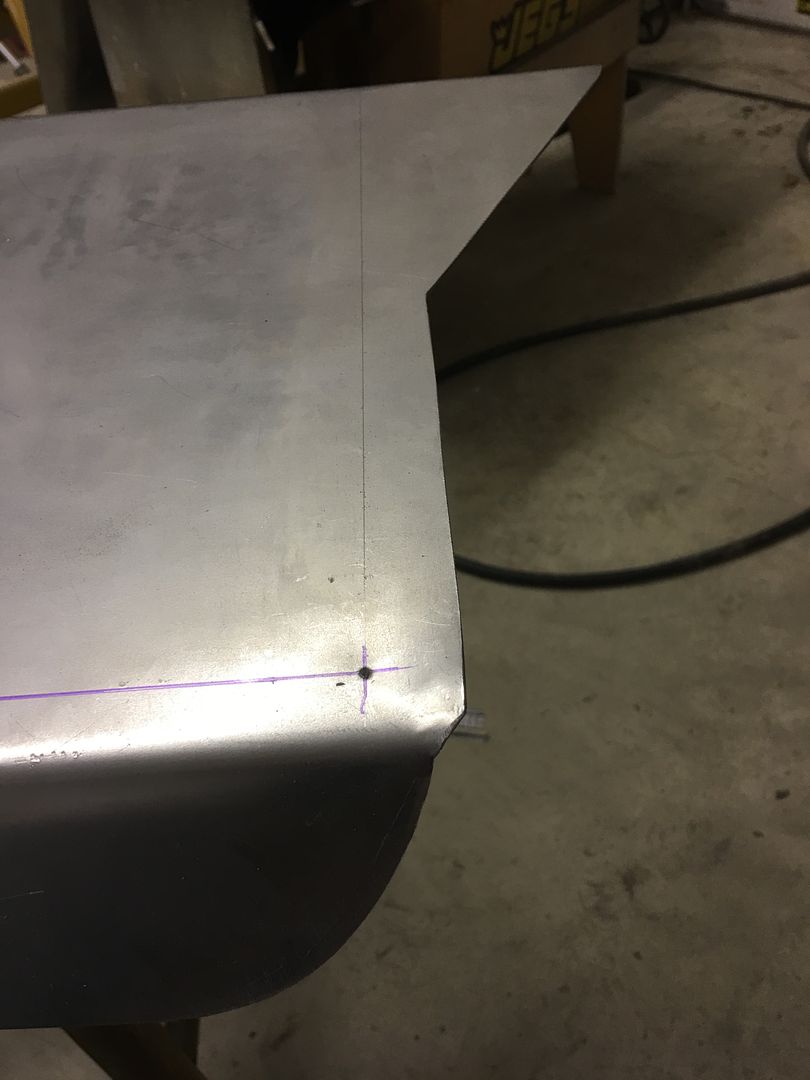
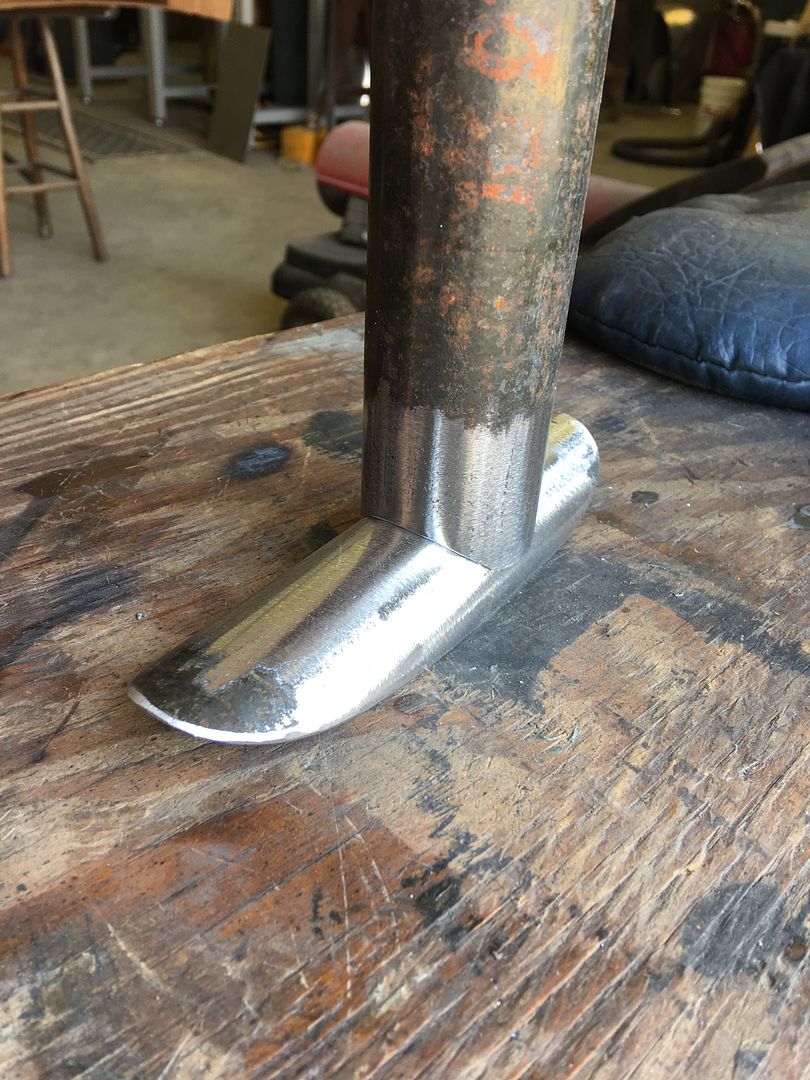
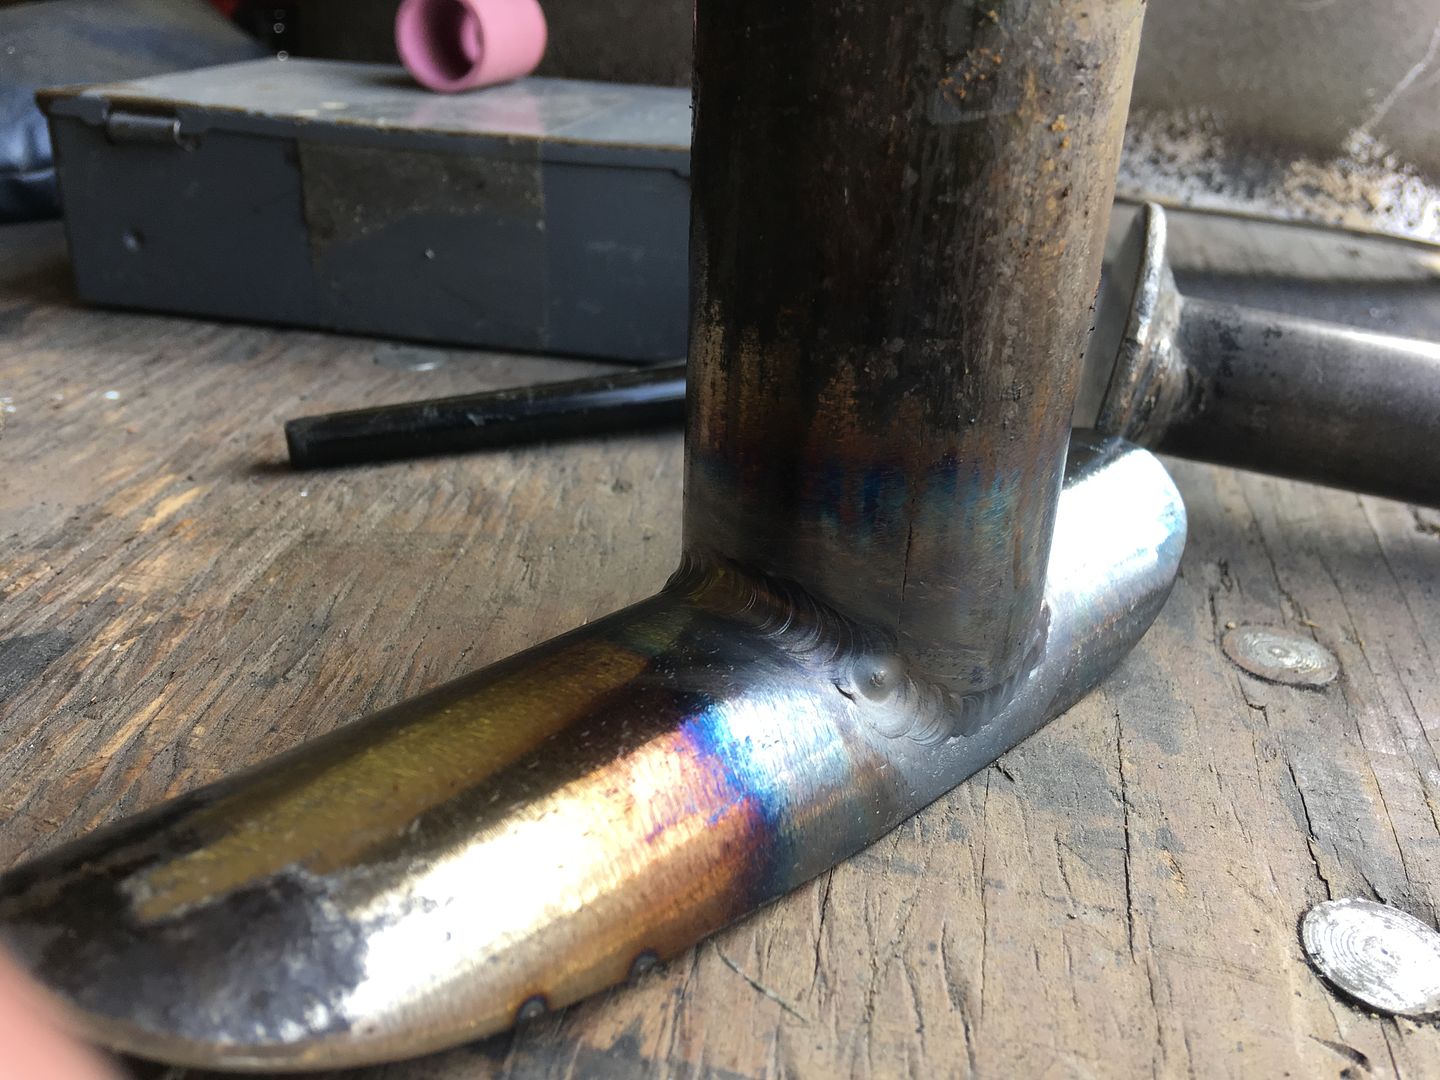
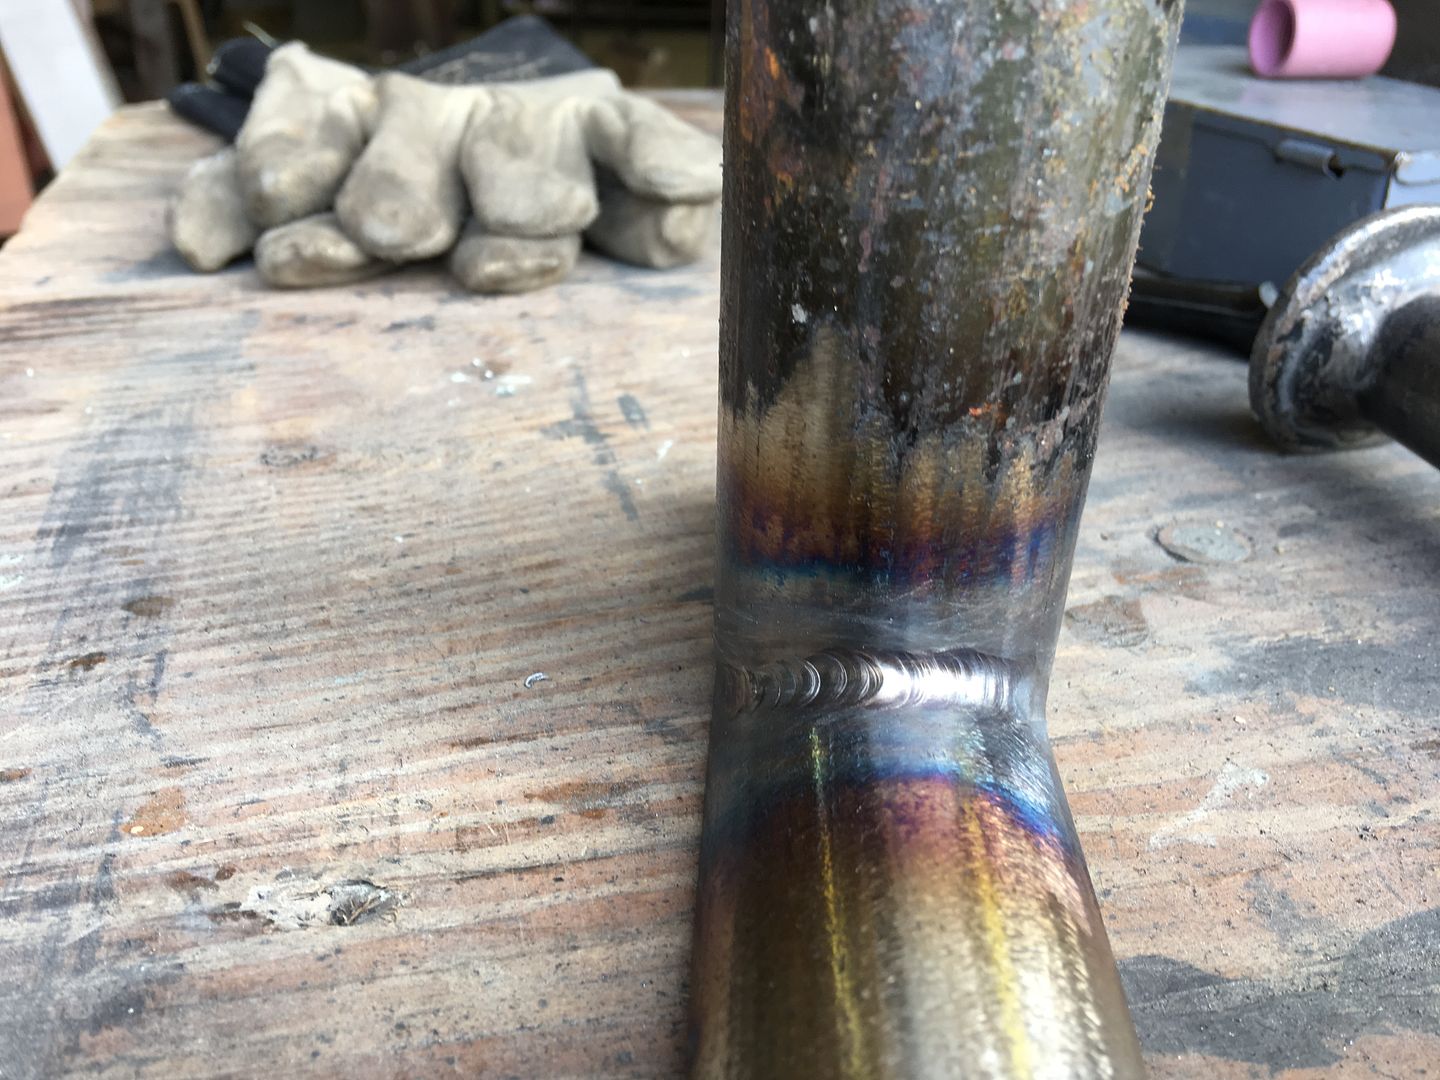
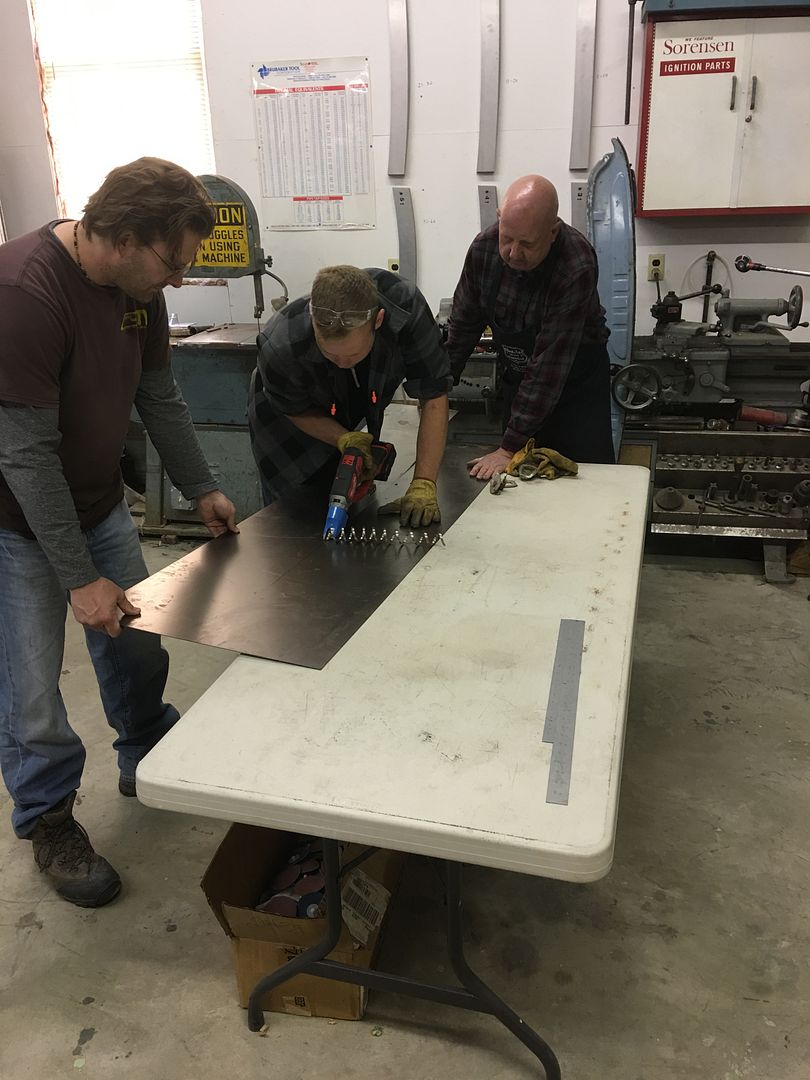
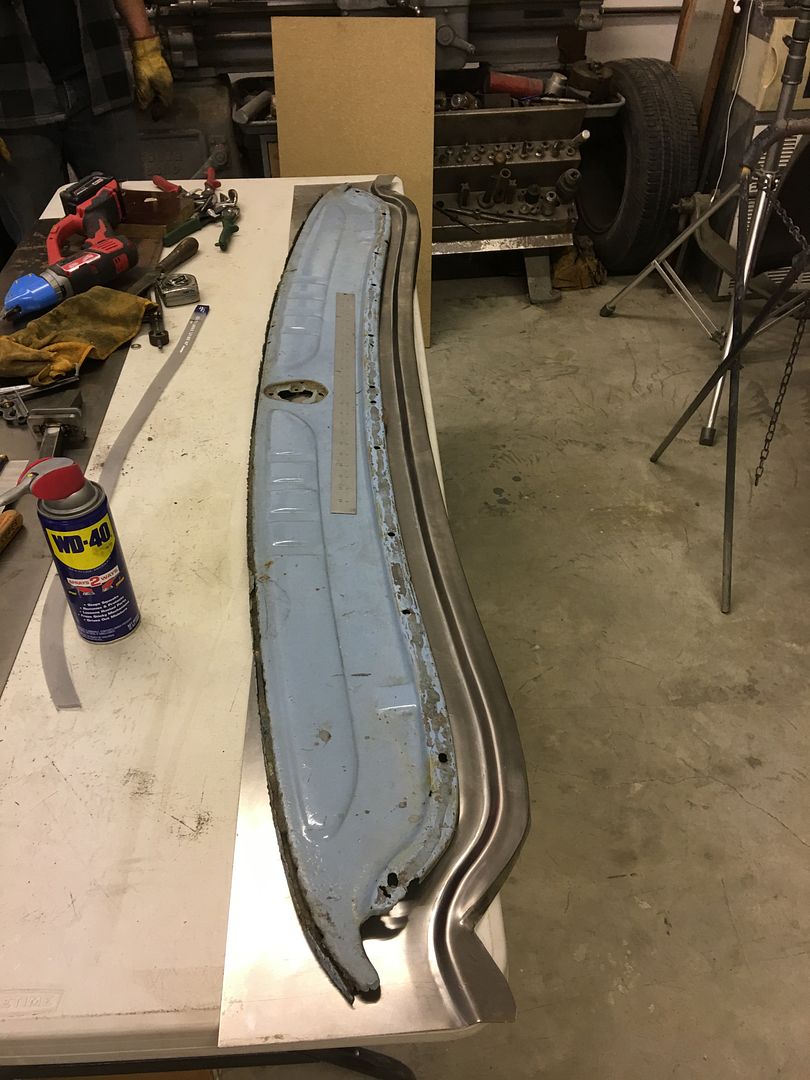
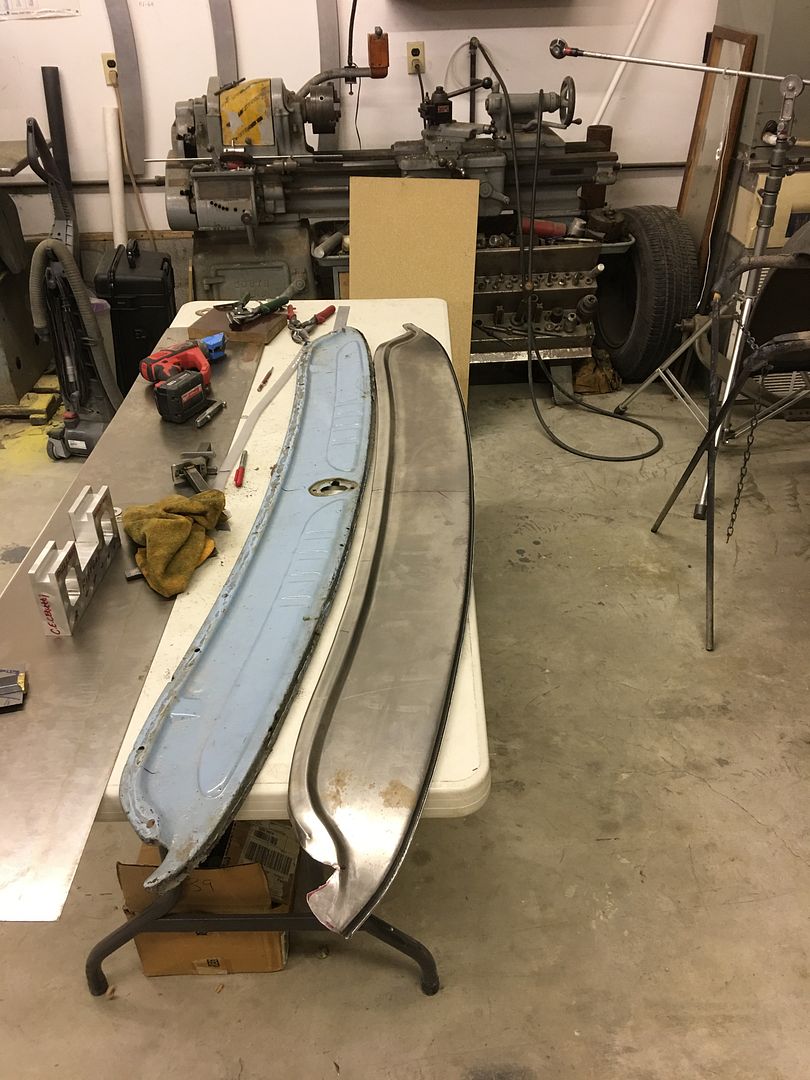
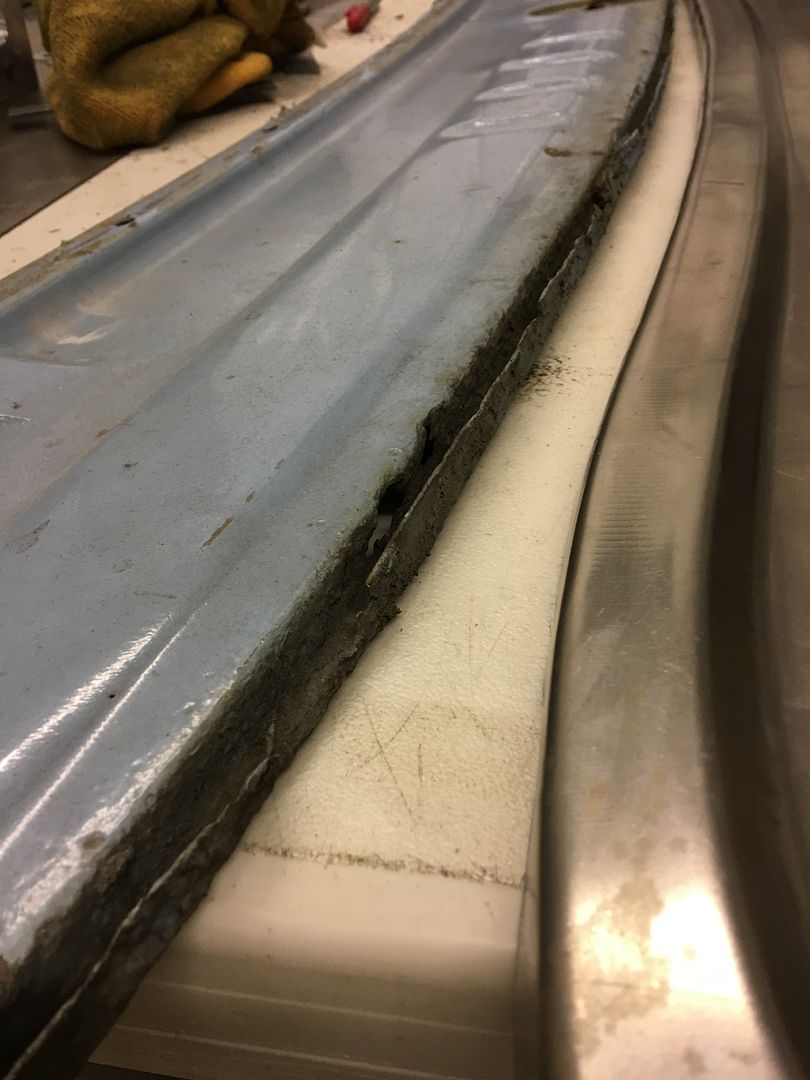
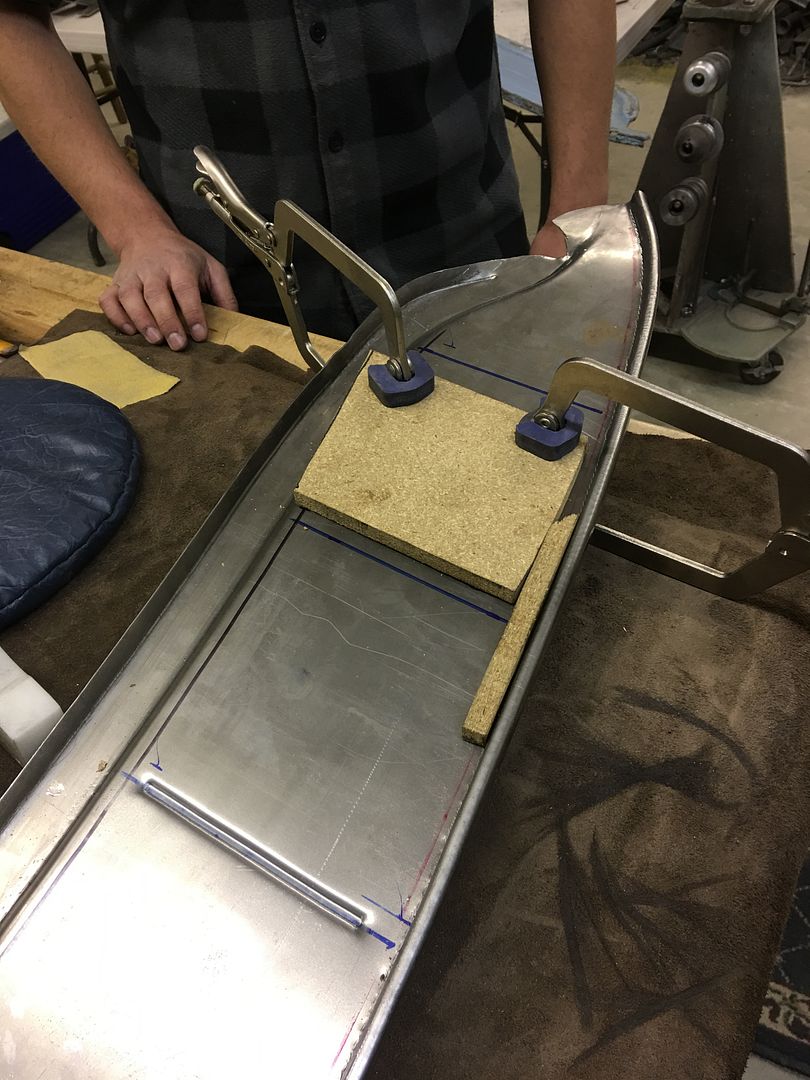
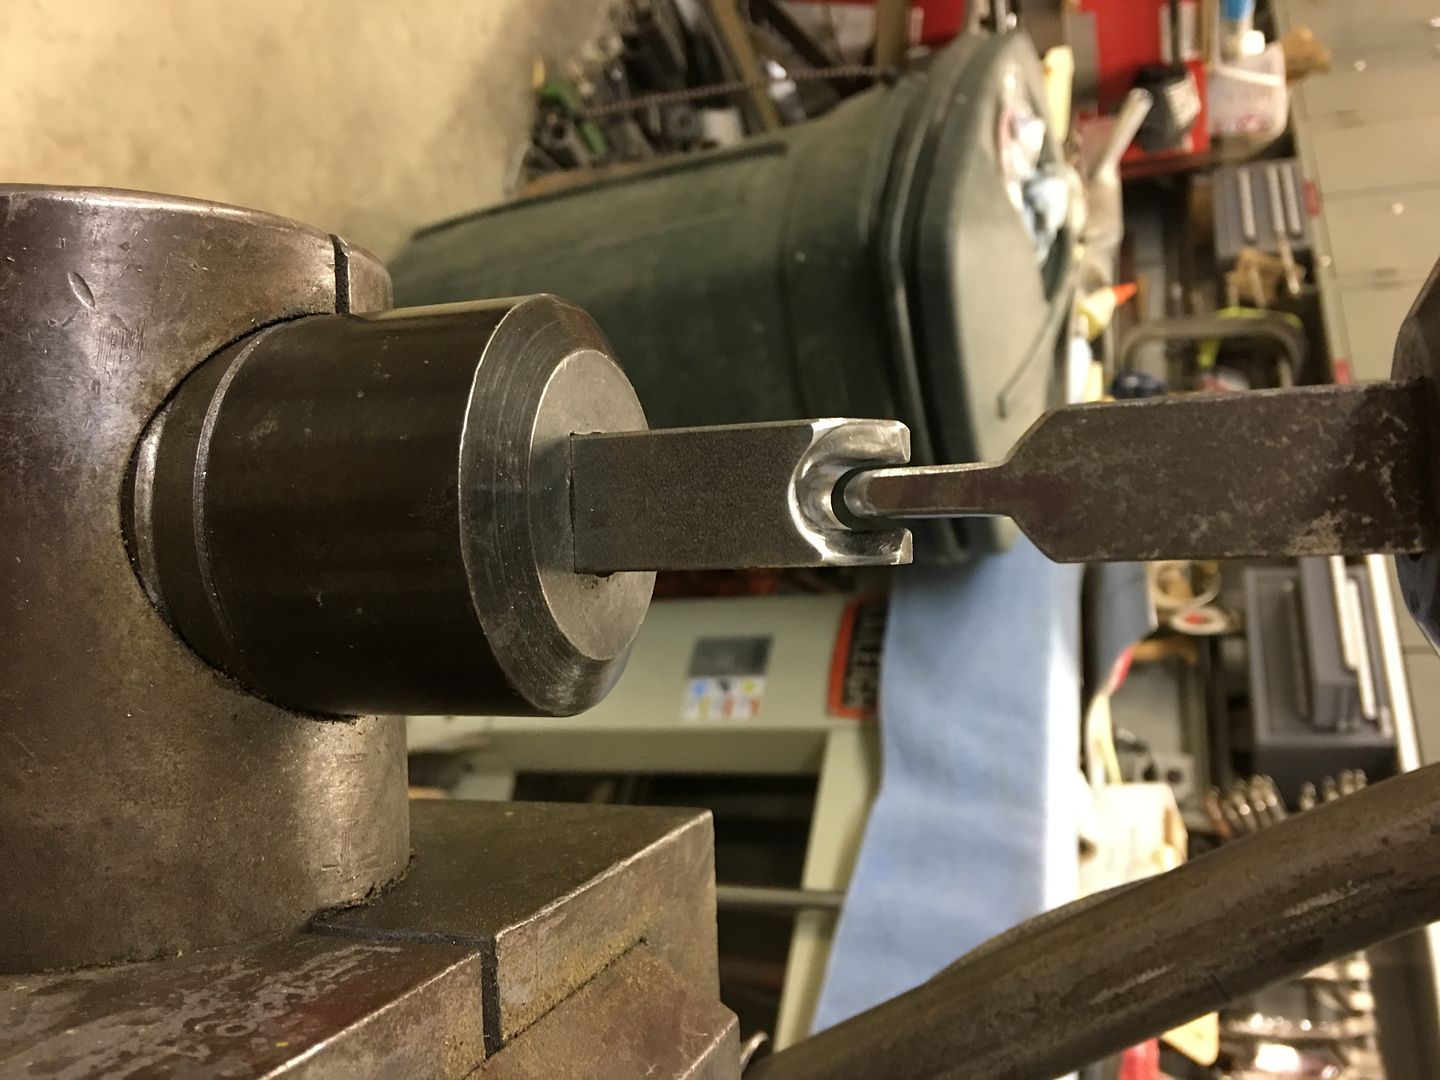
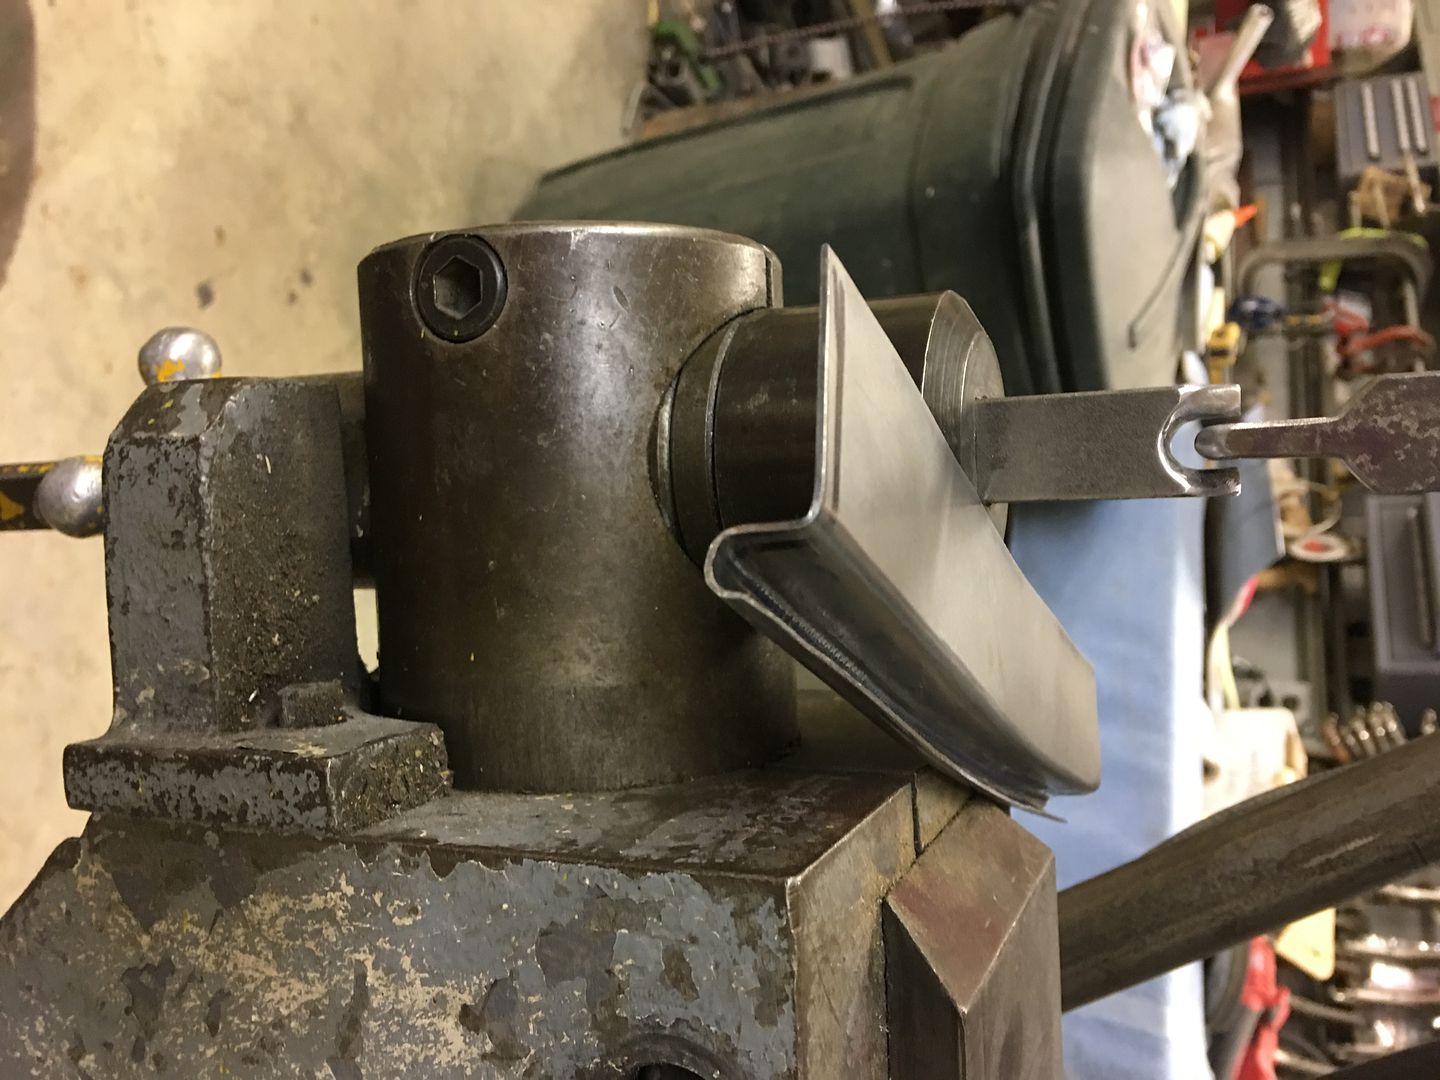
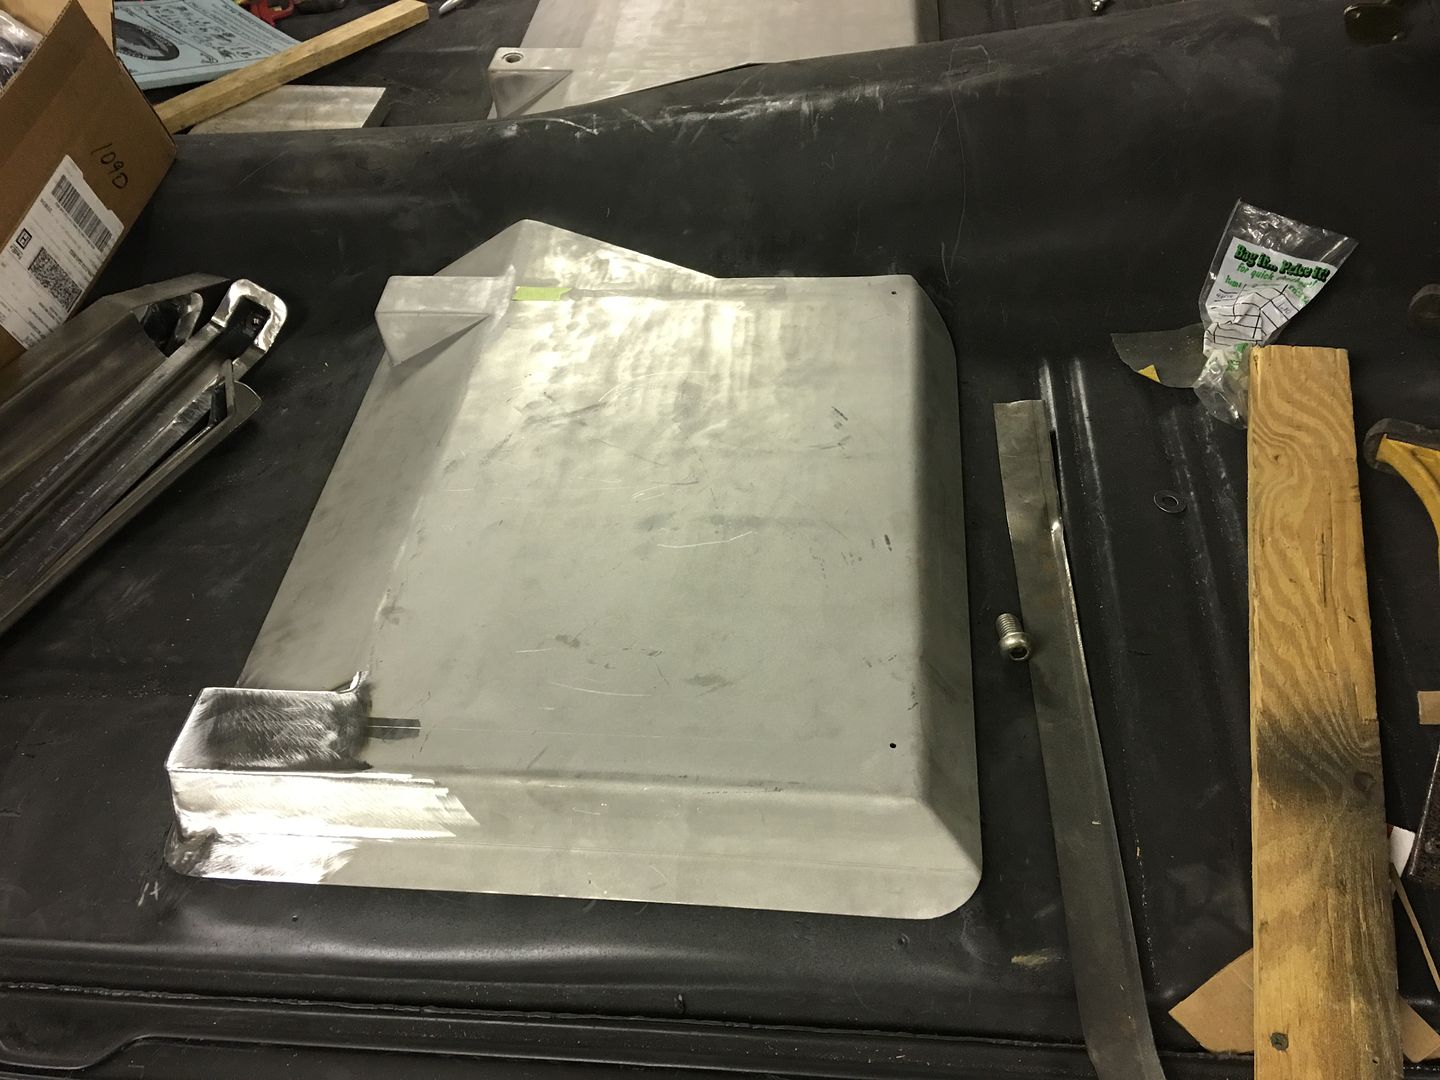
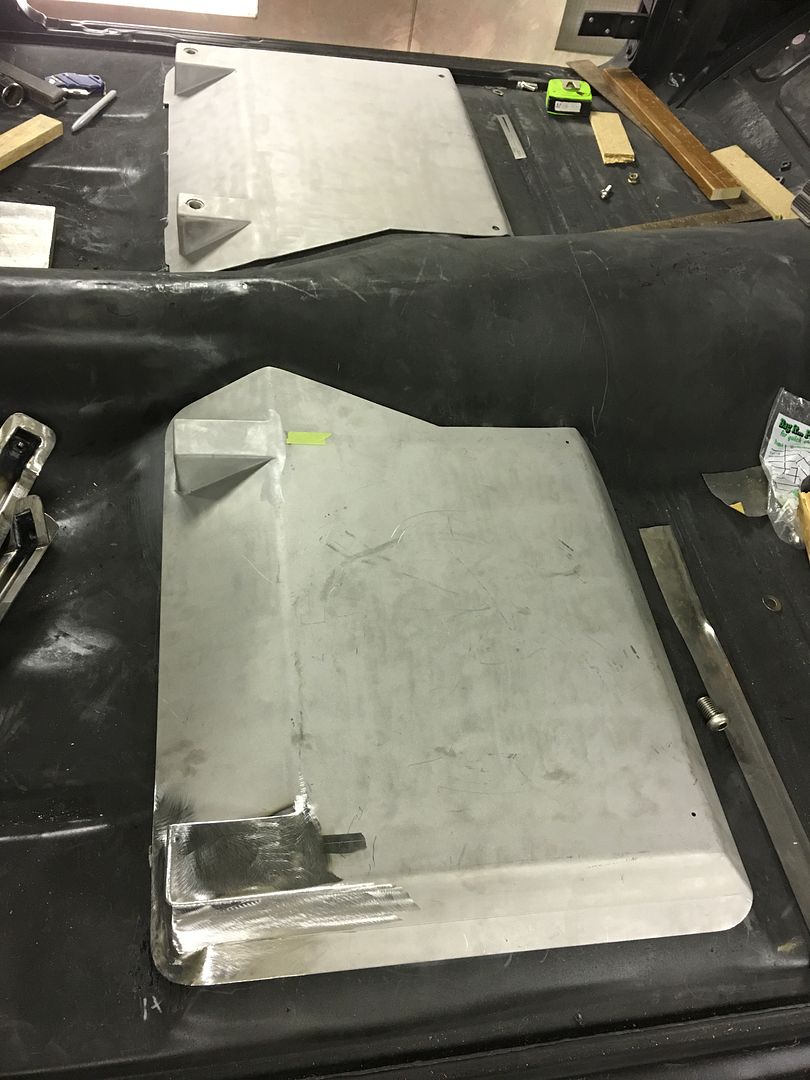
") Ground a bit to drill out the spotwelds. Need much more practice with that as I ended up drilling through most. Not the end of the world and already patched up what would be the bottom/back panel of the weld with help of a copper backing strip.
Ground a bit to drill out the spotwelds. Need much more practice with that as I ended up drilling through most. Not the end of the world and already patched up what would be the bottom/back panel of the weld with help of a copper backing strip. 


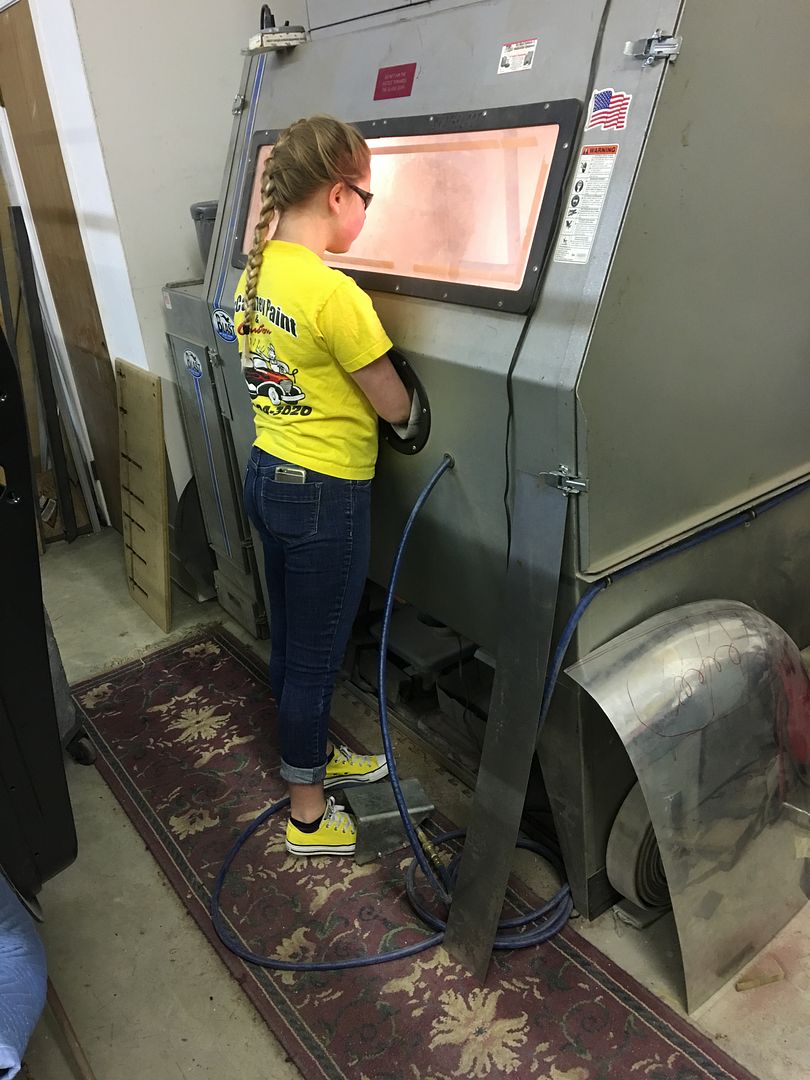
Robert,She's been wearing the shop shirts for quite a few years now, and has helped out before on occasion where I needed manual power for the bead roller. She's getting to a point where spending money is important.. I figure a little mechanical background will help out later in life no matter what she does..


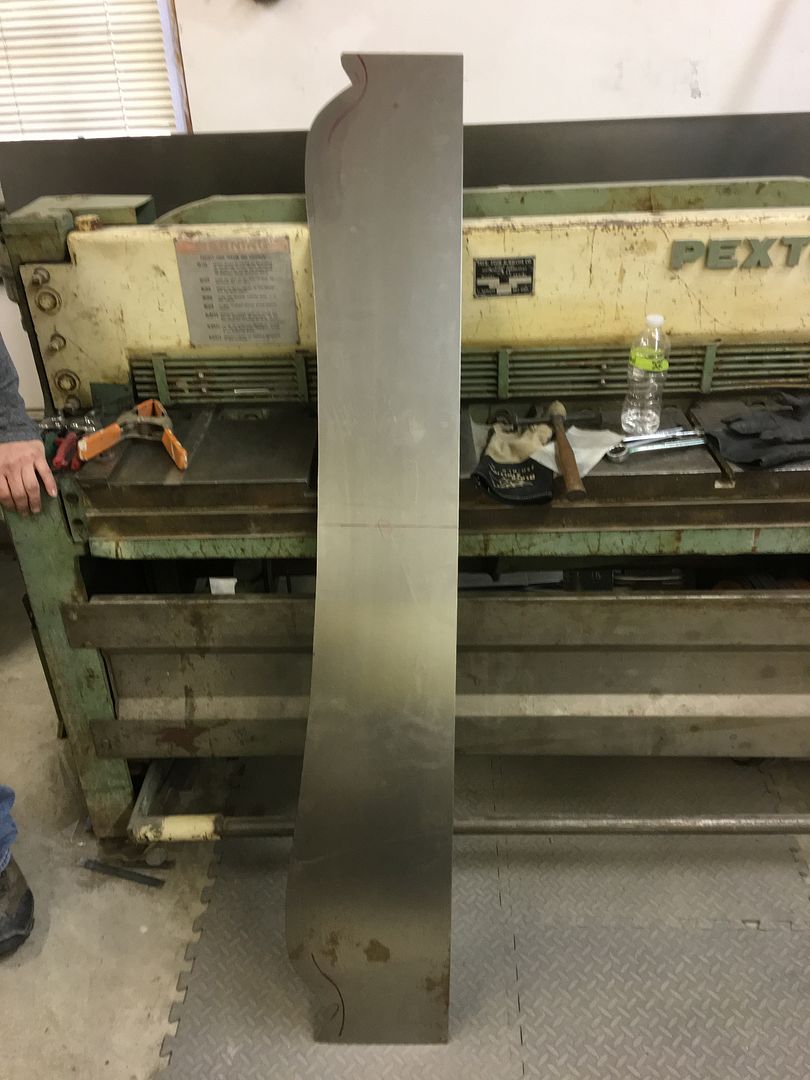


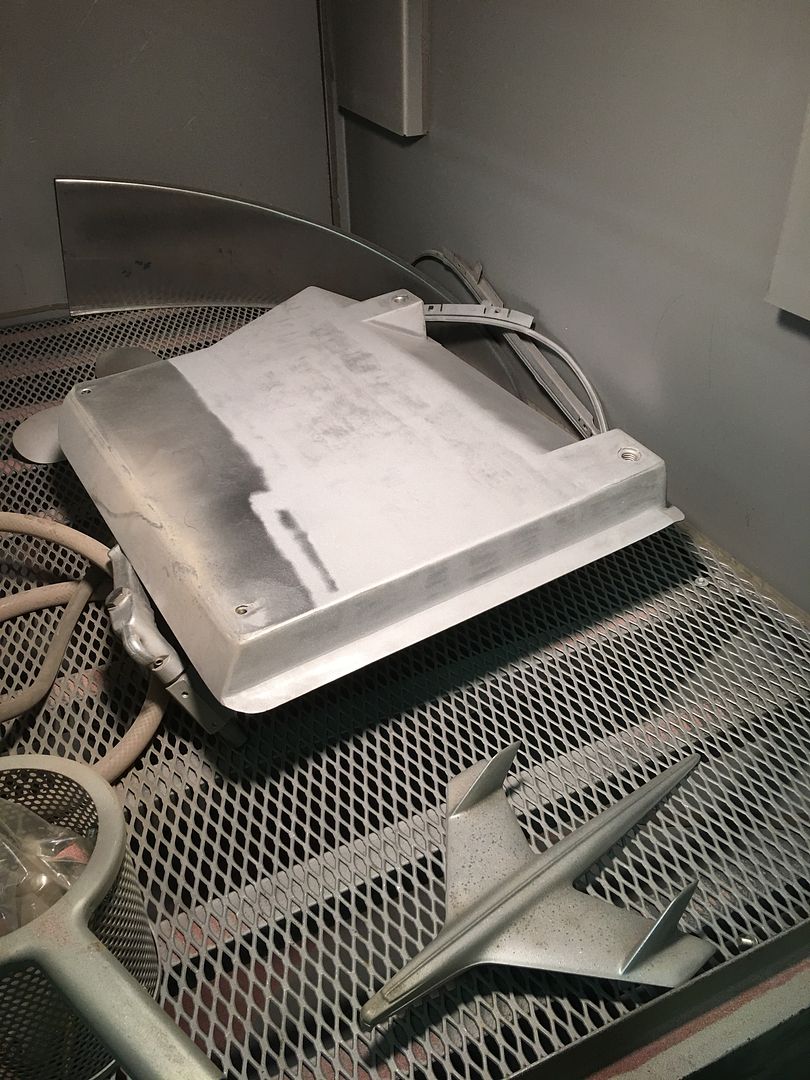
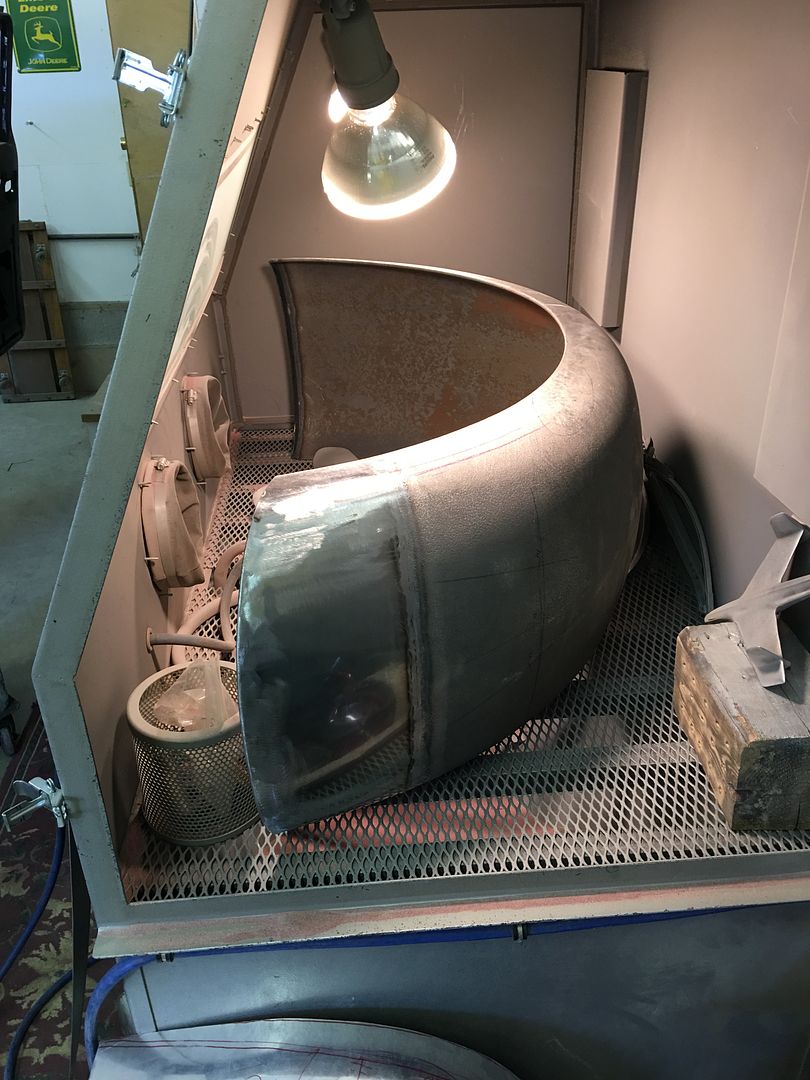
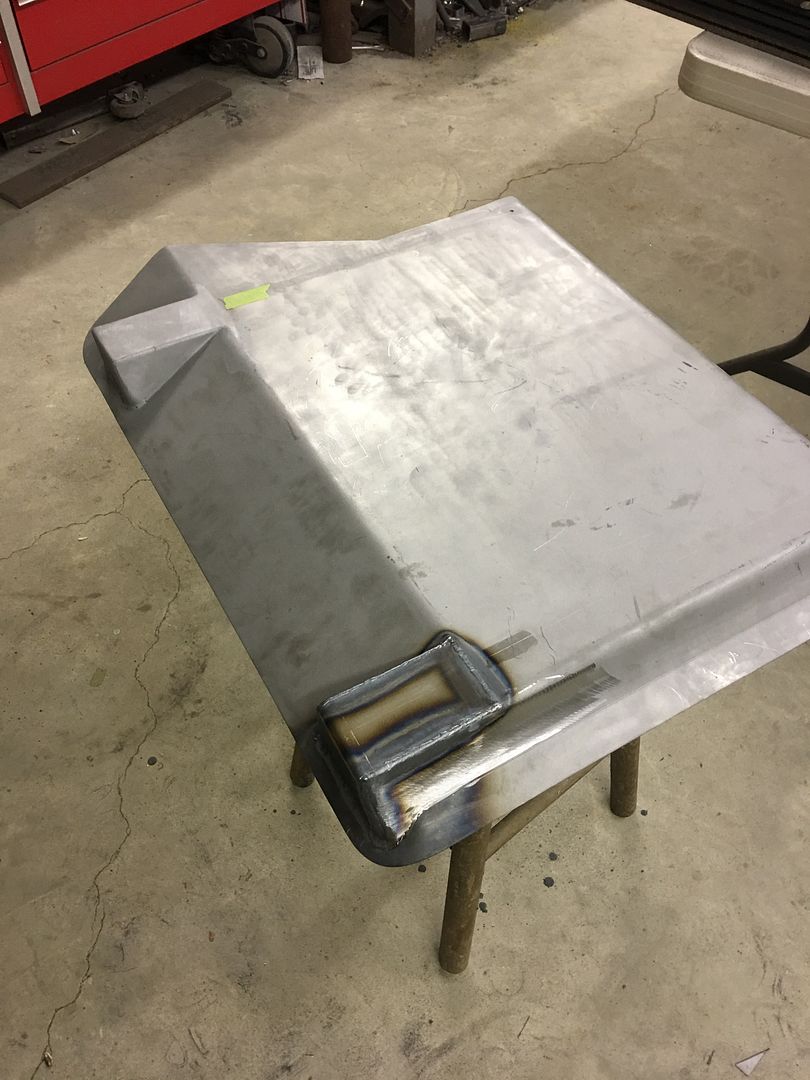
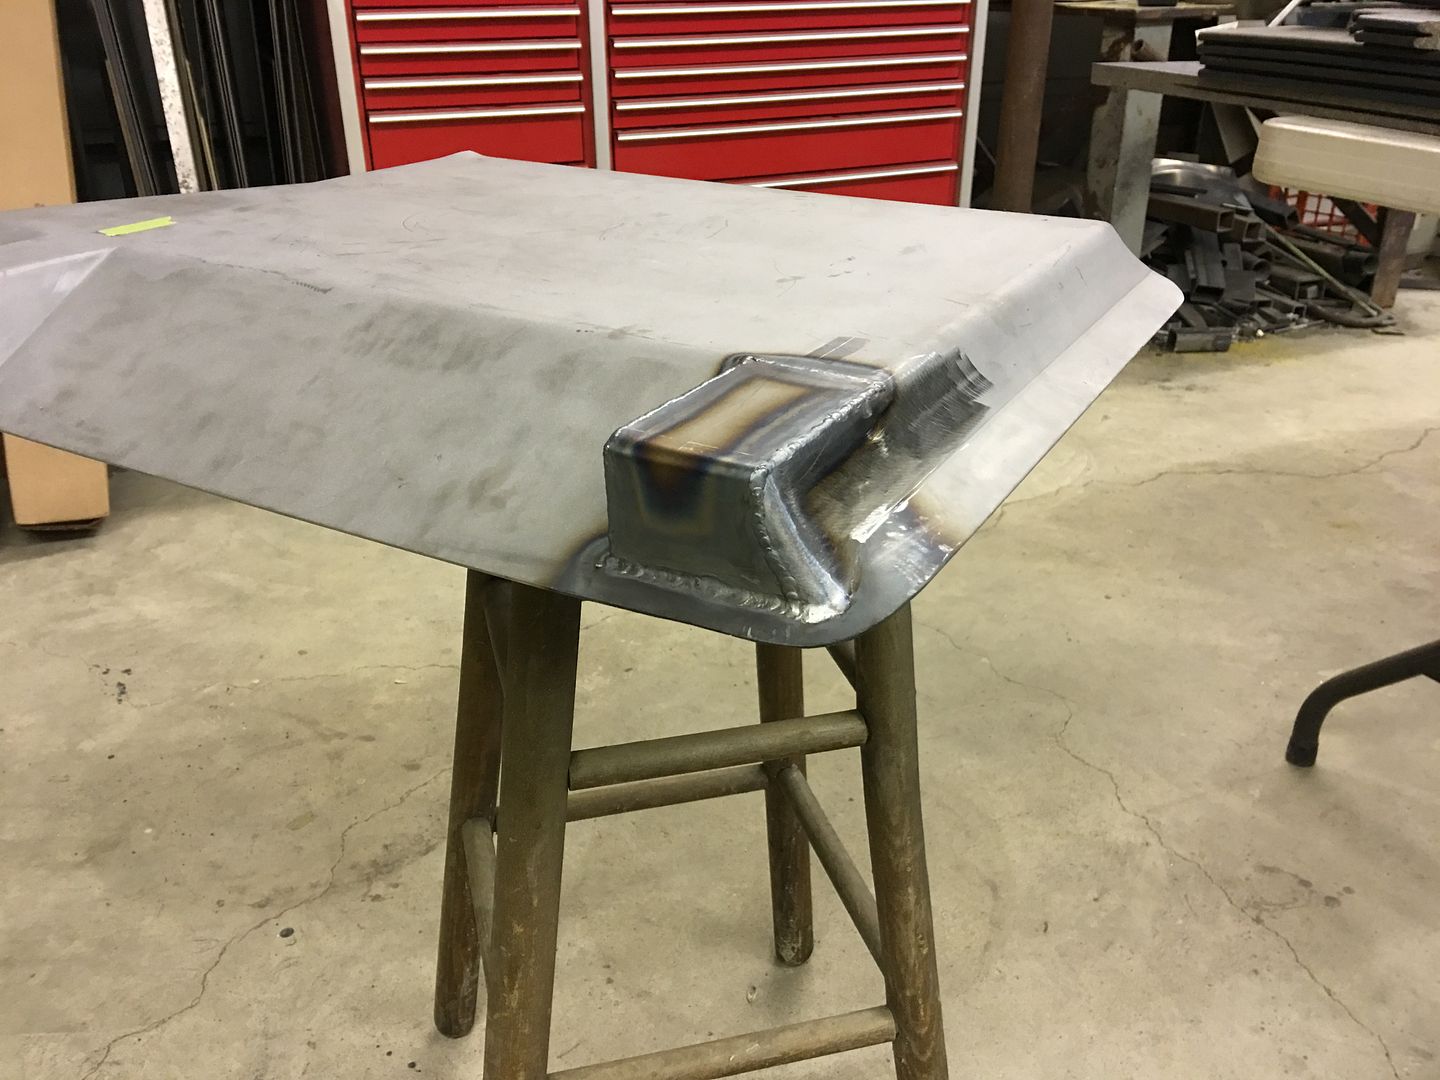
Test sample...
Robert,
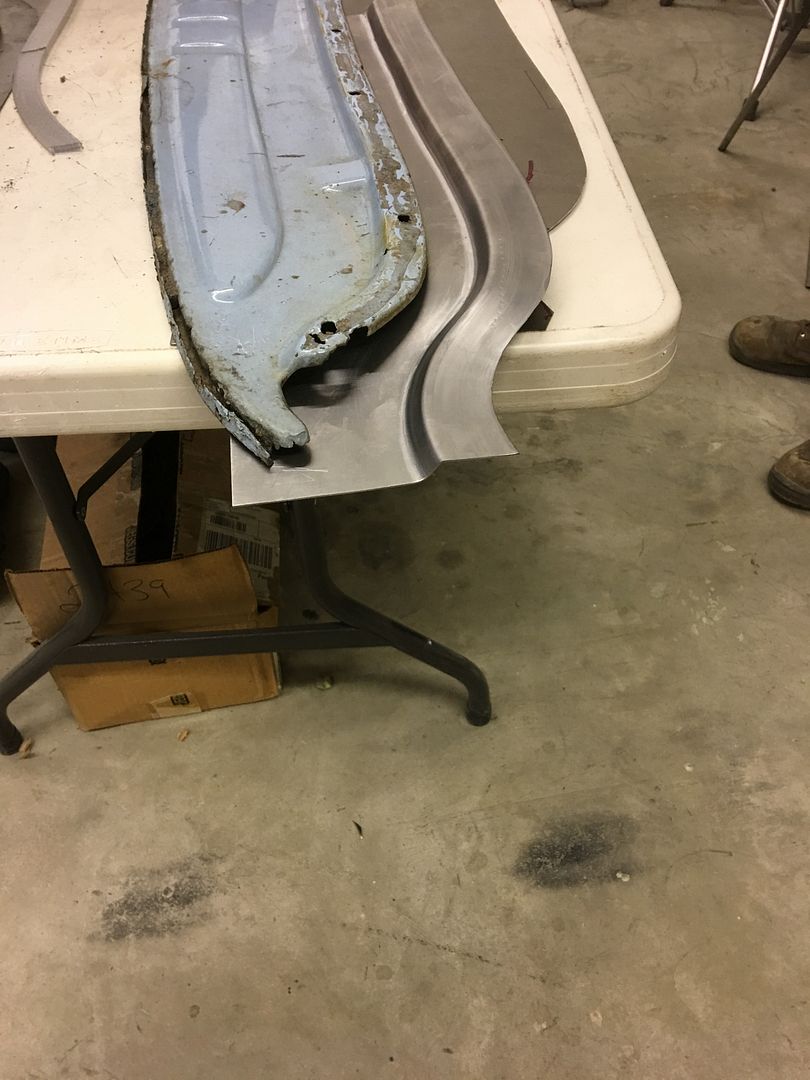
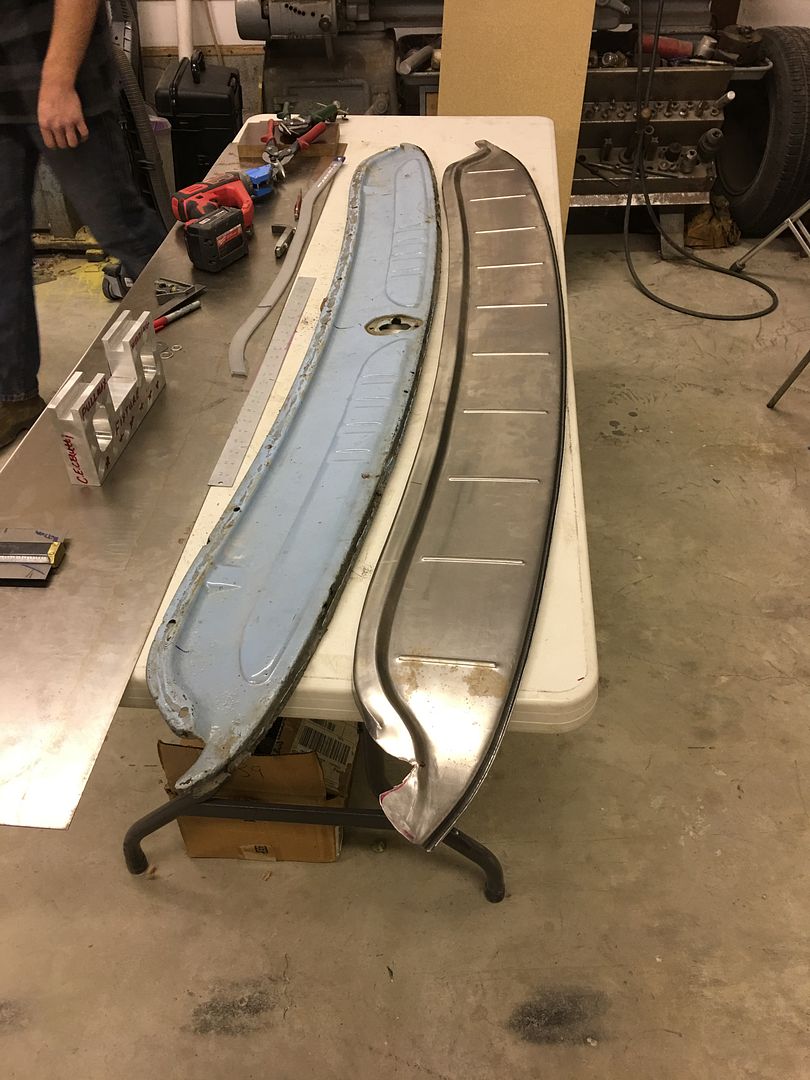
Divco parts for around the driver / passenger bi-fold doors. The longest one is an unaltered NOS leading edge structure, the other one is a little shorter as I grafted it to the existing frame work of my Divco. Short piece is above the door opening. Let me know if you need any of these parts. Also received 4 sections of NOS T-Molding and may have an extra pieces when I finish the doors.
.I'm constantly amazed at the reproductions you do. Nice work once again!
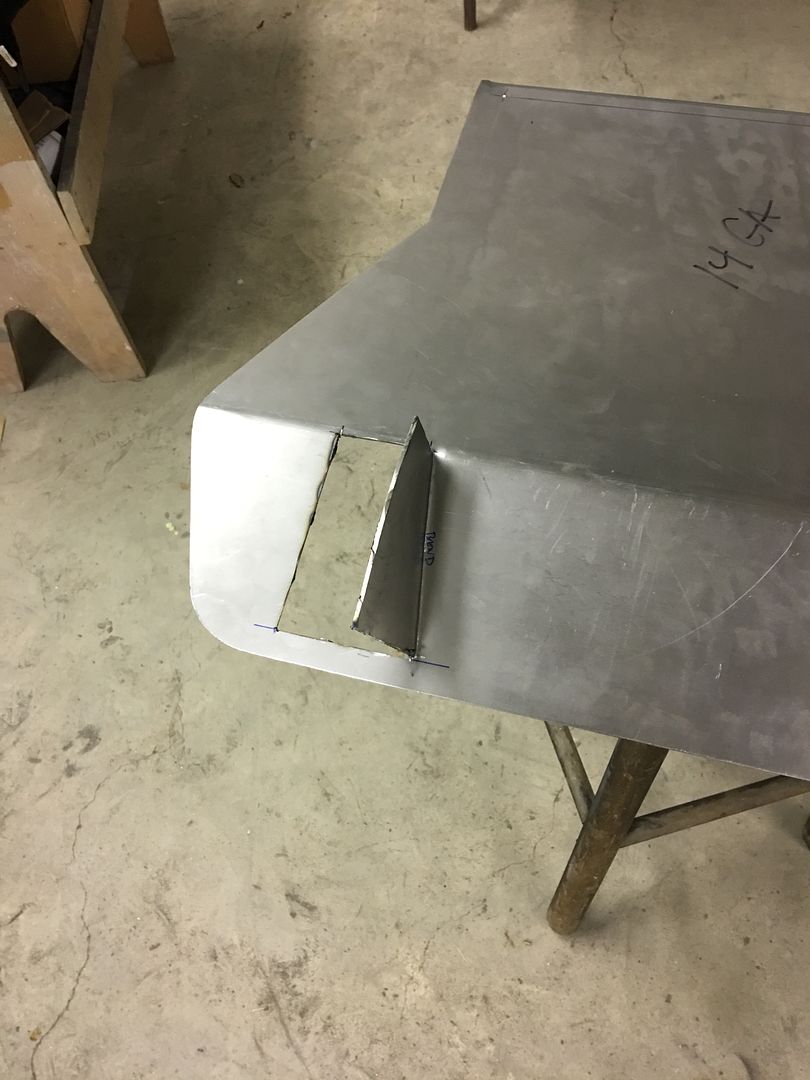
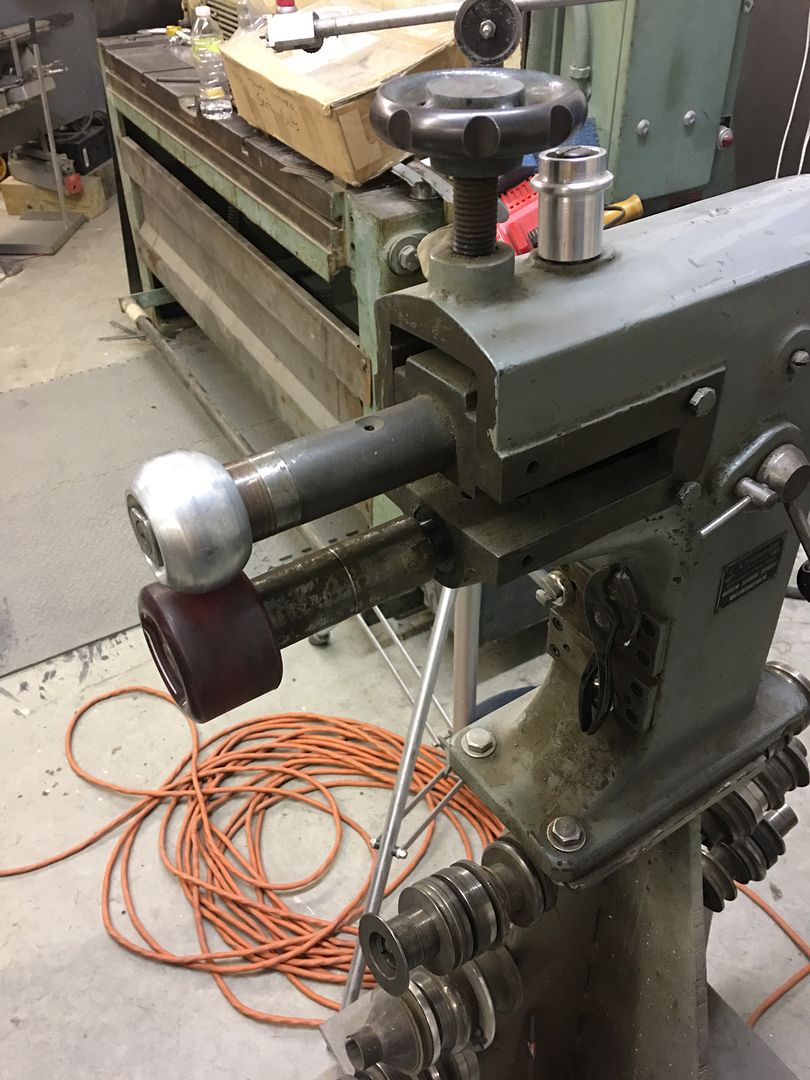
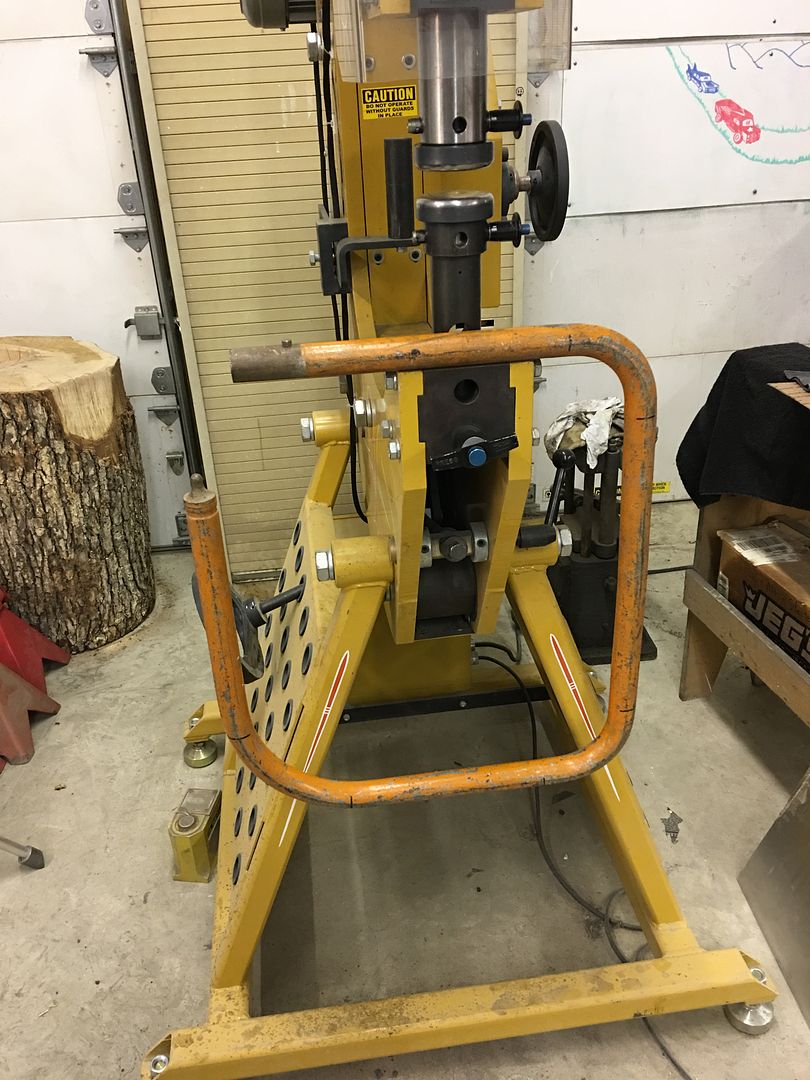
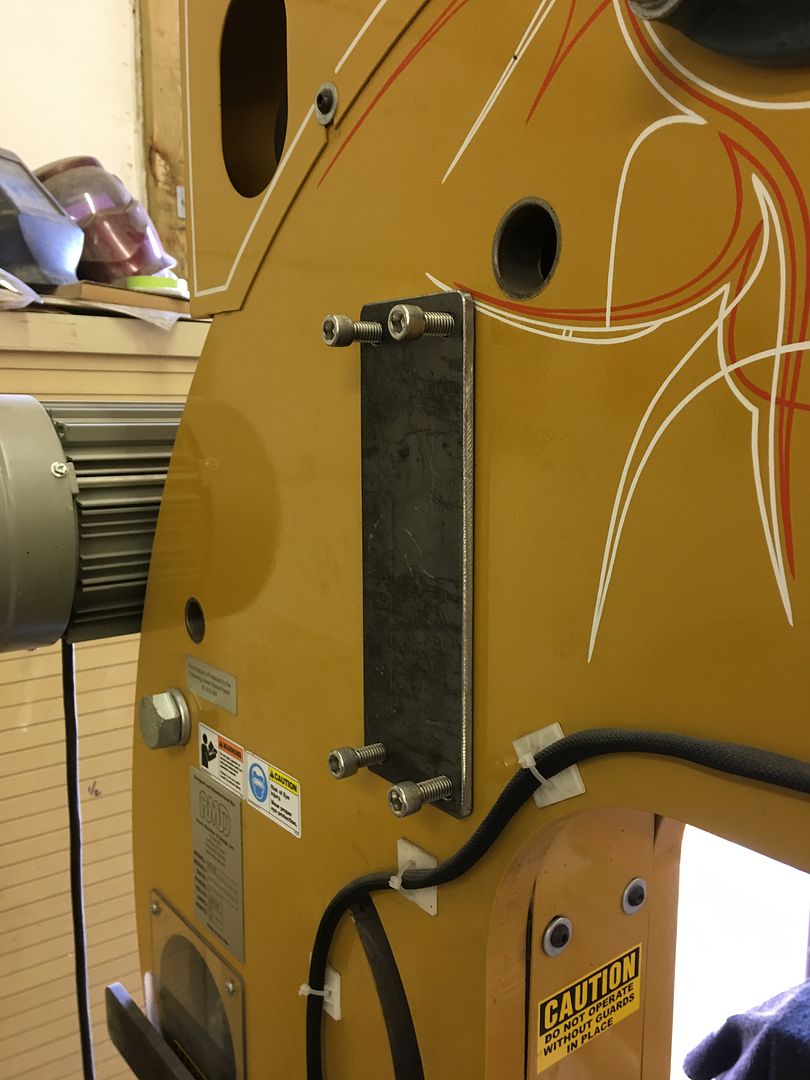
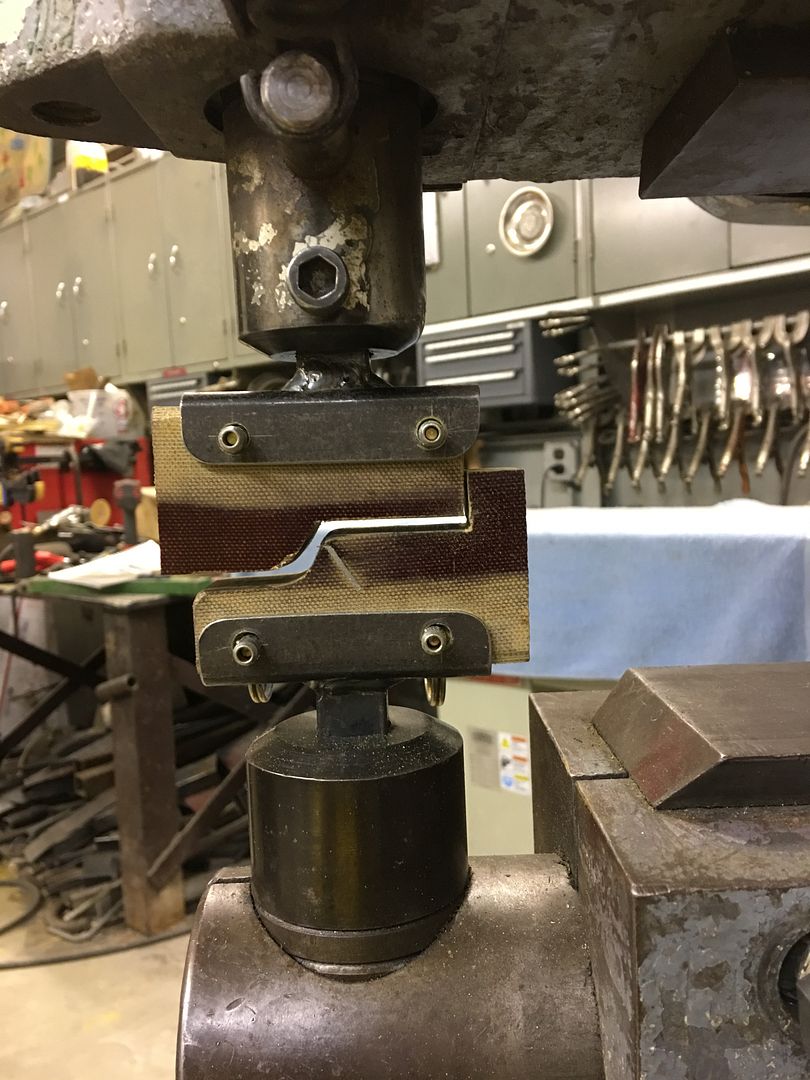
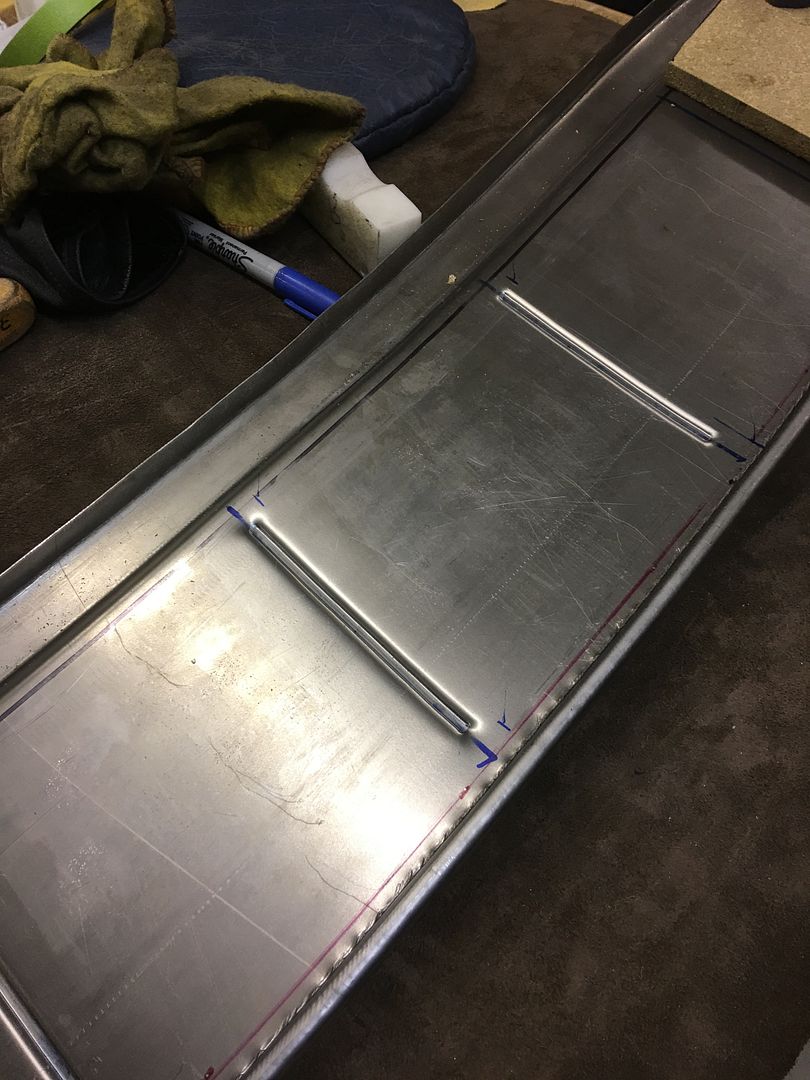
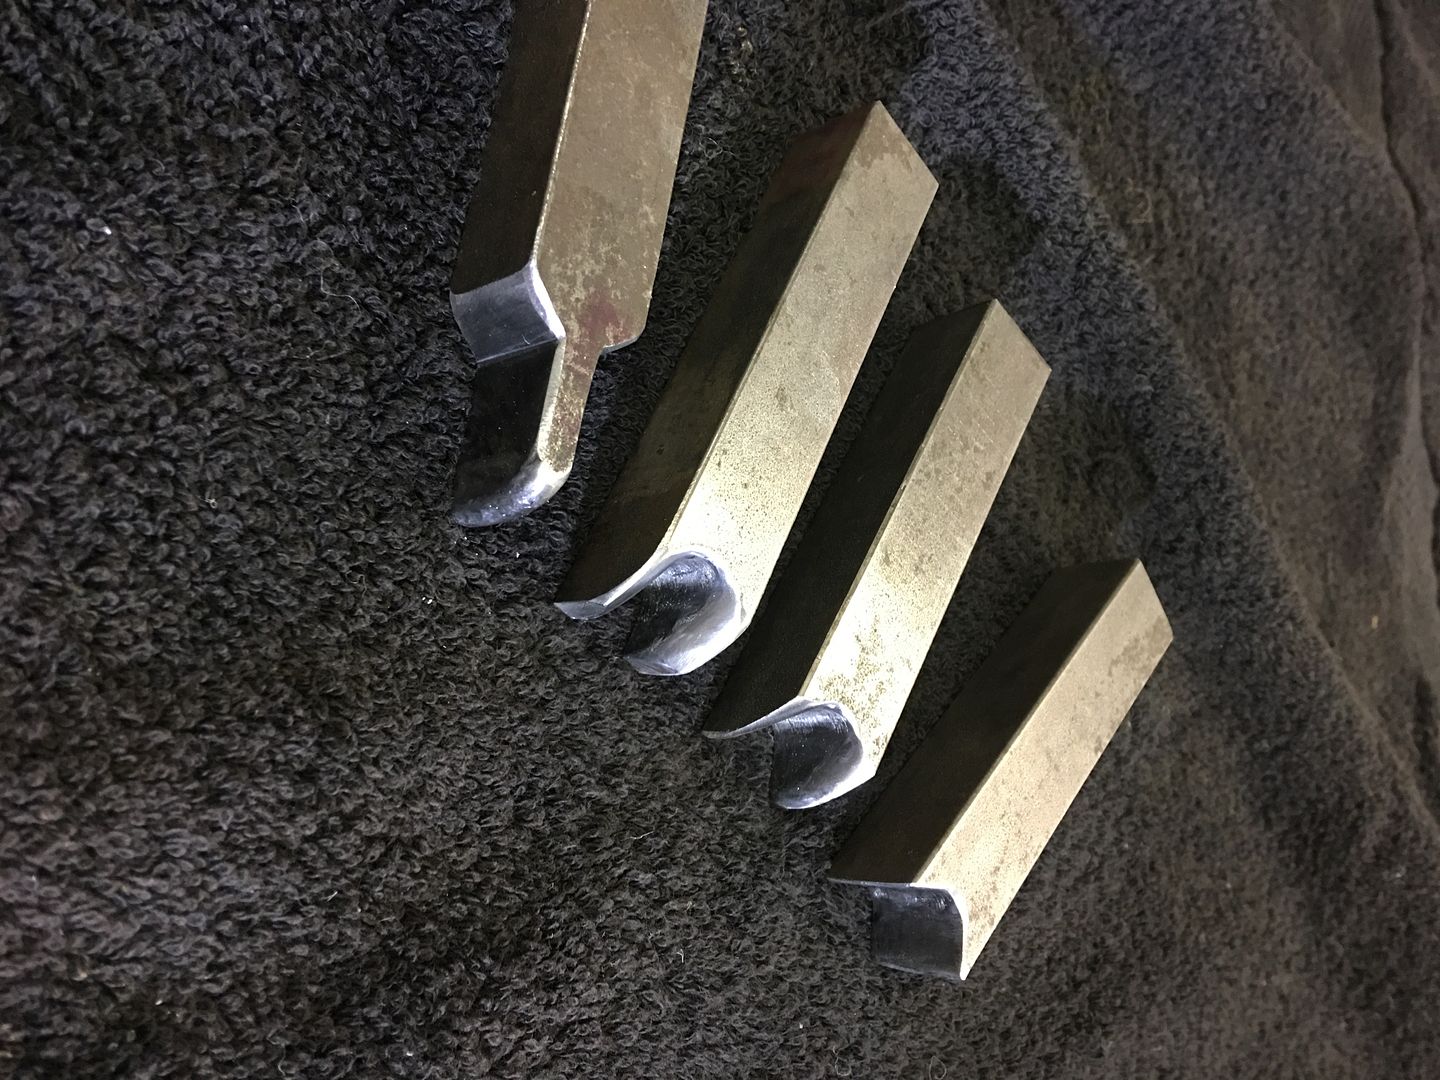
Why did you pick the pullmax to do this step profile over the bead roller? Is it easer/faster/more consistent?
The reason I ask is because I recently picked up a (cheap) bead roller and I'm trying to better understand its uses and limits.

Robert...I am not only constantly amazed by your craftsmanship and technique, but also by the fact that you take the time to show the us these things. In the old days the "guild" would have killed to prevent such secrets from being revealed.
At the very least, I would hope what I post would inspire someone to try and do better than the hack work we all have seen and that quality work is within our grasp.
As recounted elsewhere, I have been lucky enough to find a totally rust and dent free example of my "unicorn" (with much help and input from fellow GJ members) so my emphasis this year is on paint refurbishment, interior work and driving the wheels off of it.I've had the misfortune, as I'm sure most have, of buying that special car/truck you've always wanted only to find afterward that someone was very adept in bondo finishing to hide a boatload of hack work. Many hobbyists today find themselves doing more and more restoration type work as most body shops tend to shy away from it. At the very least, I would hope what I post would inspire someone to try and do better than the hack work we all have seen and that quality work is within our grasp.
I have been gathering tools for a while now for my next bucket list project....a '30's Miller/Offy Indy 2-seat inspired roadster.I will need all the advice I can get when the time comes and I know who to ask. Can you recommend any books which accurately detail the processes used in designing and fabricating a body from paper to wooden buck to metal, the way they did back in the day? Thanks!