shortykorte
Well-known member
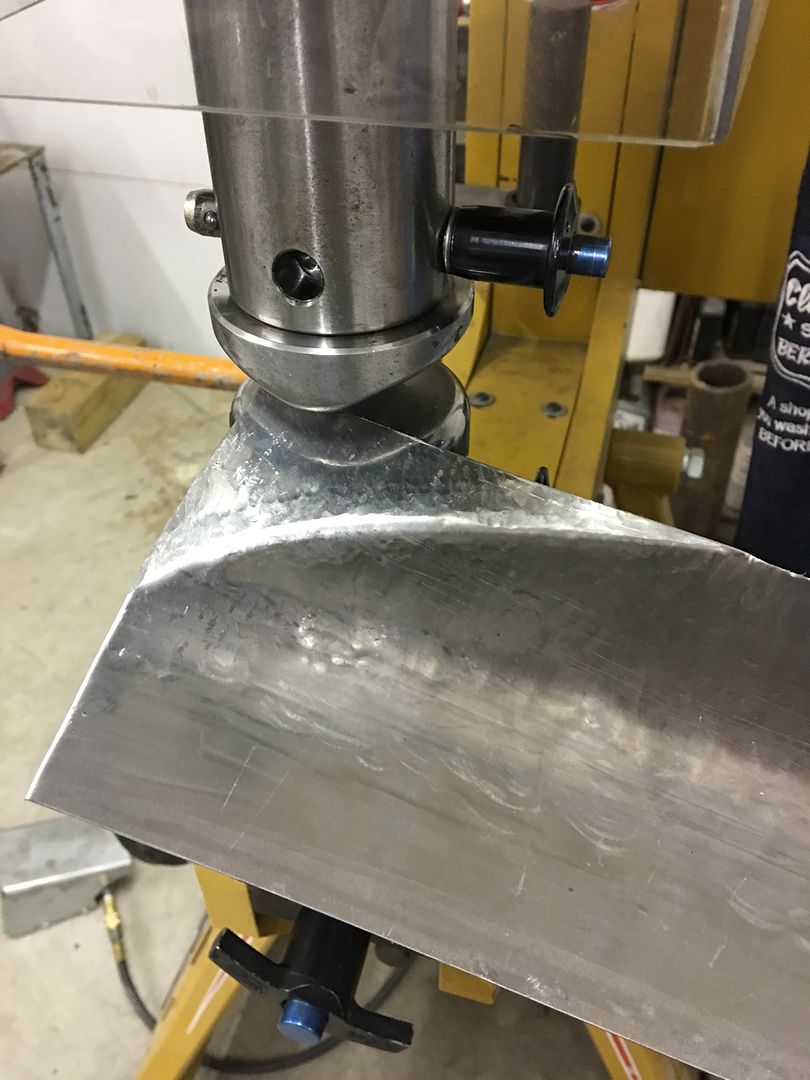
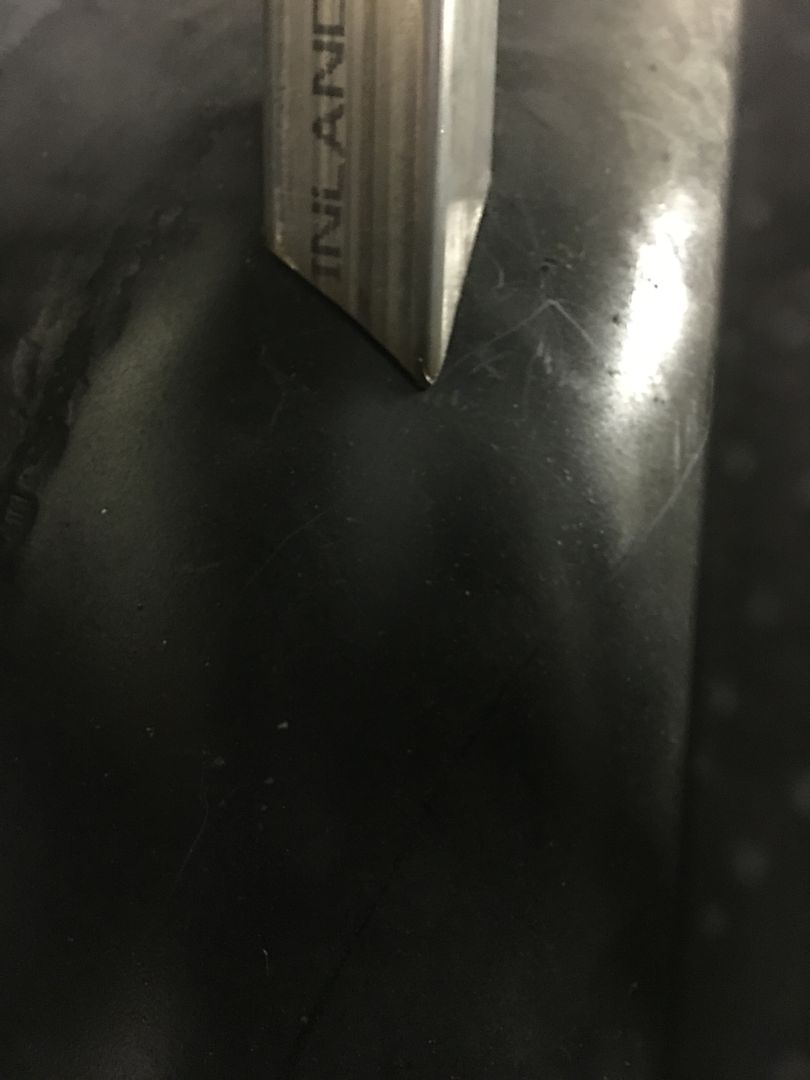
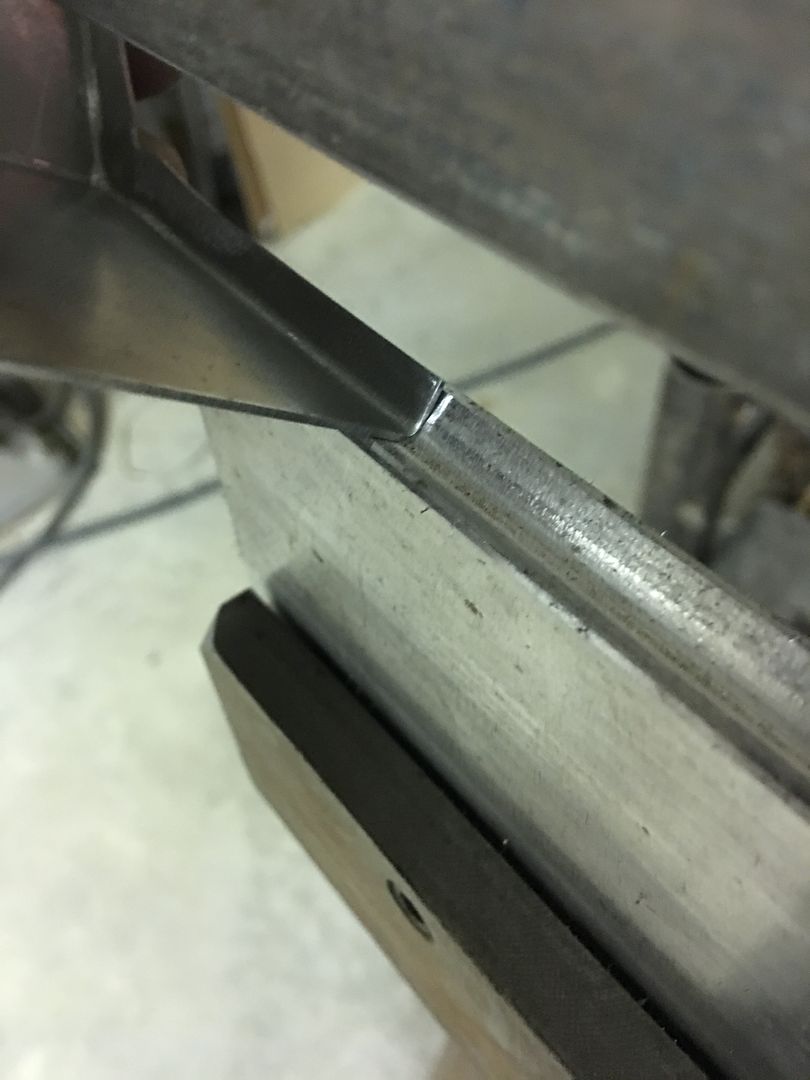
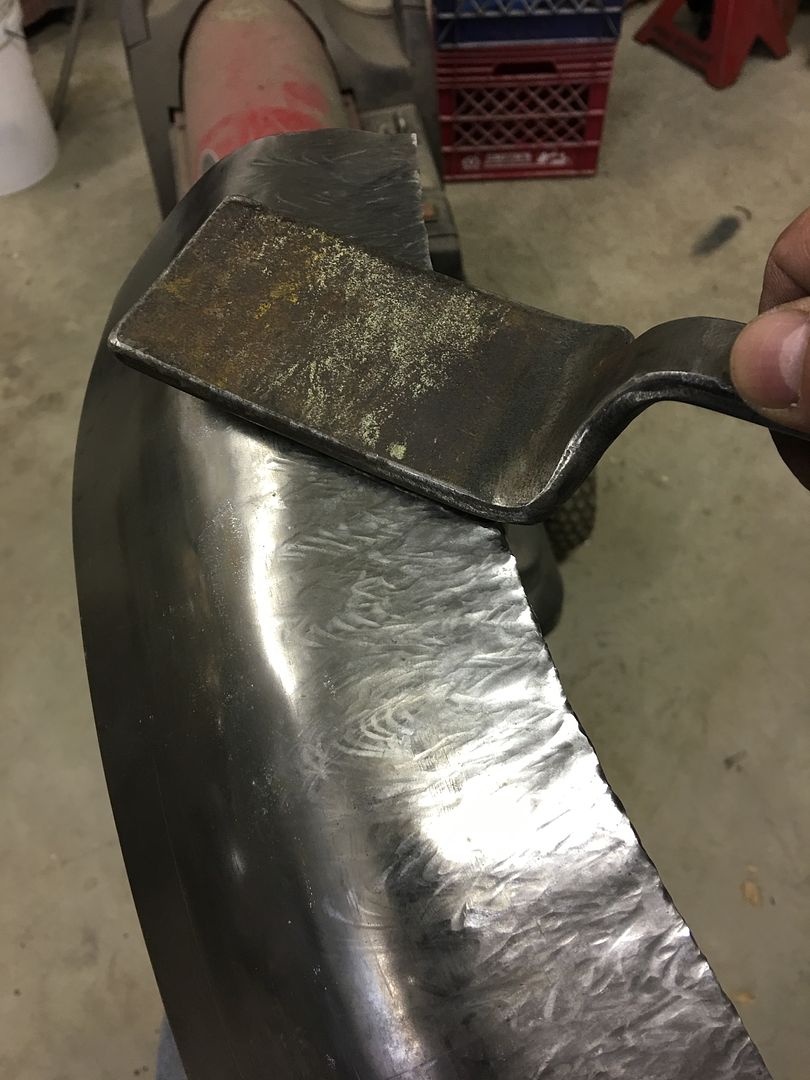
Nice tip on radiusing the corners. Thank you again for showing us great fab techniques.

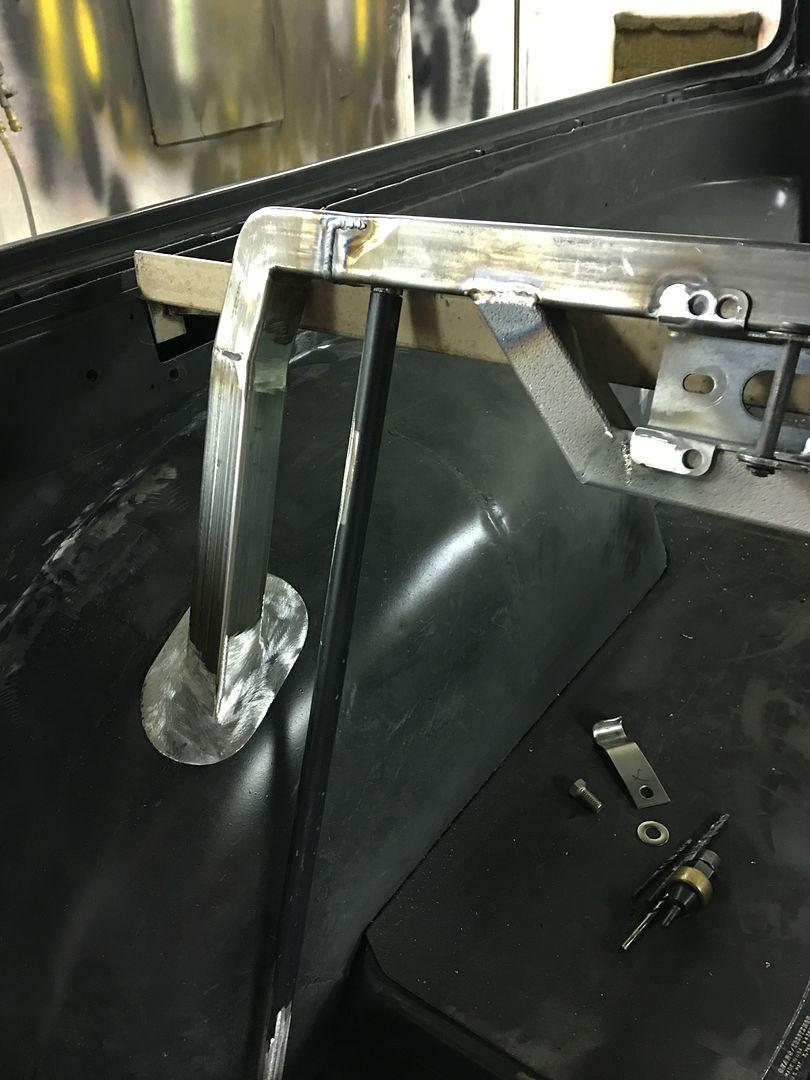
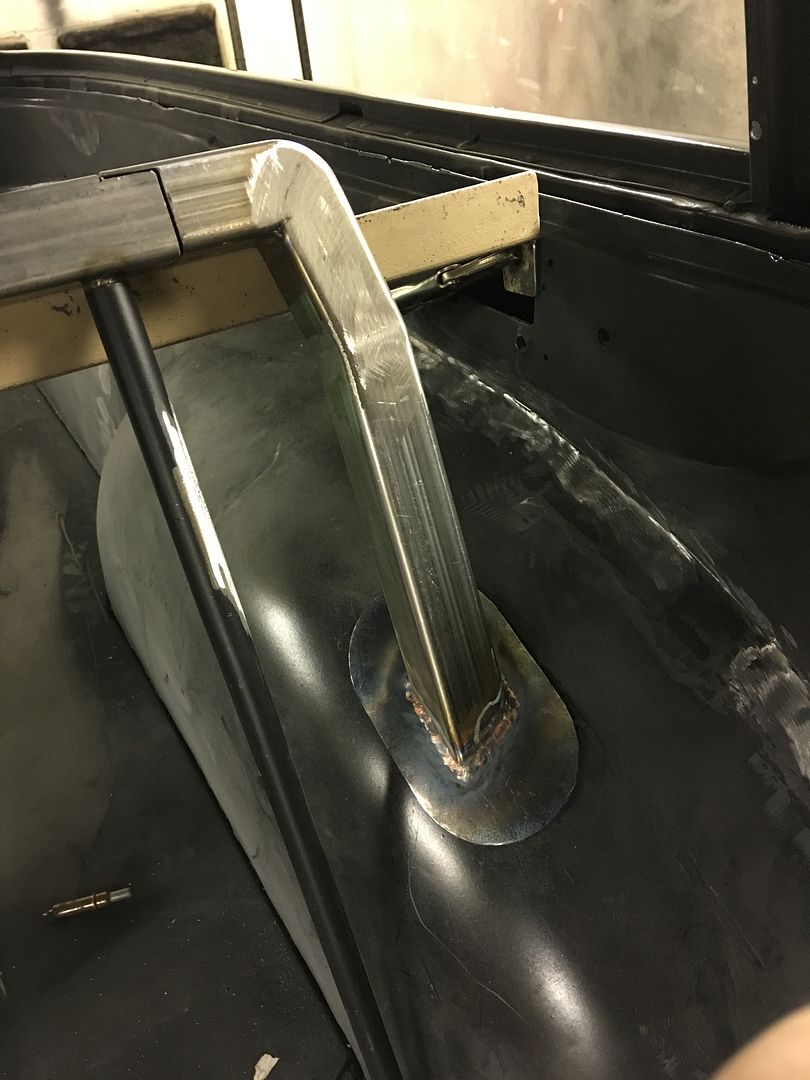
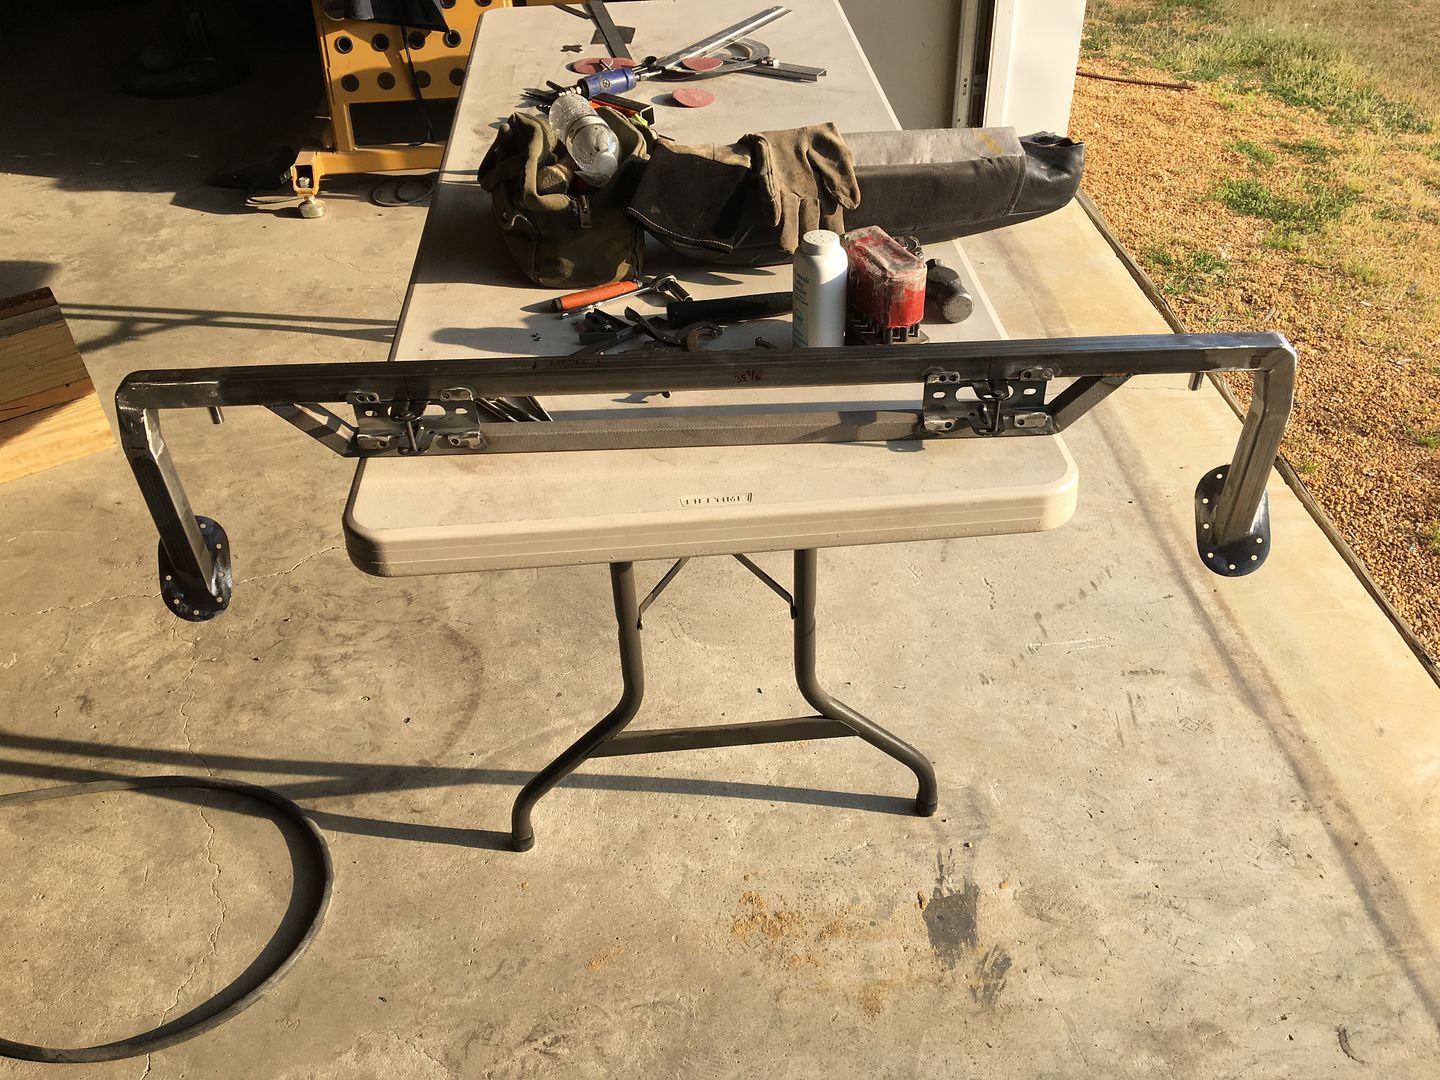
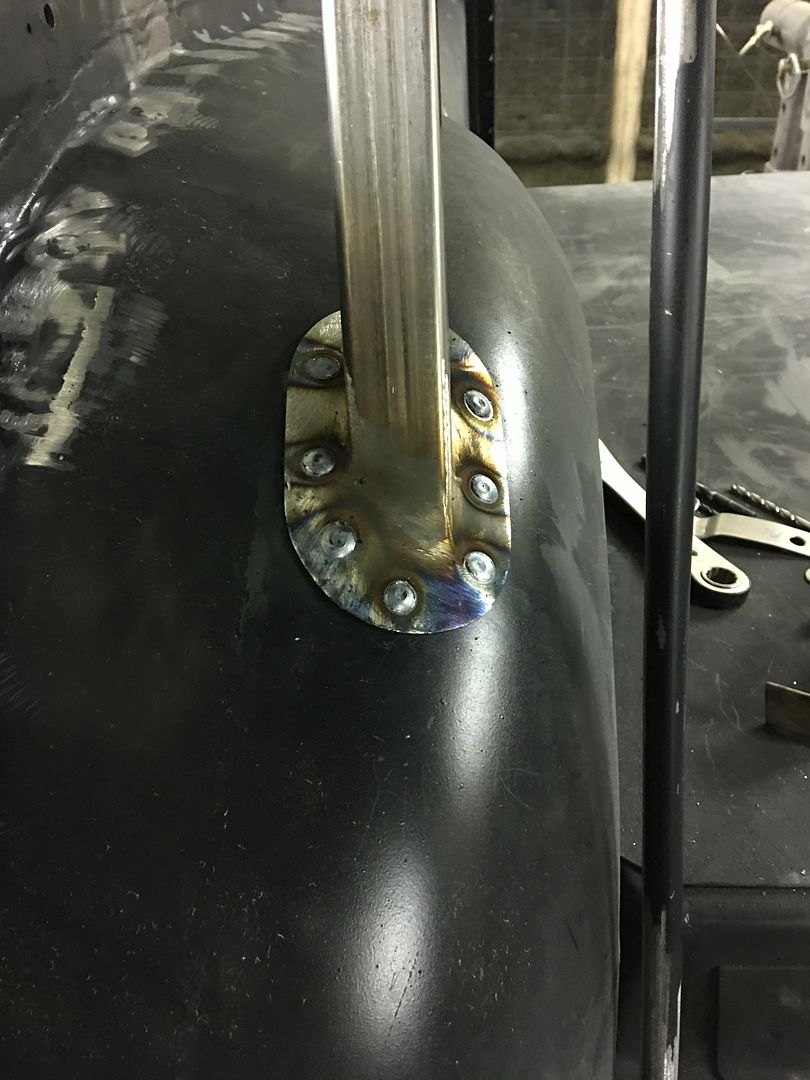
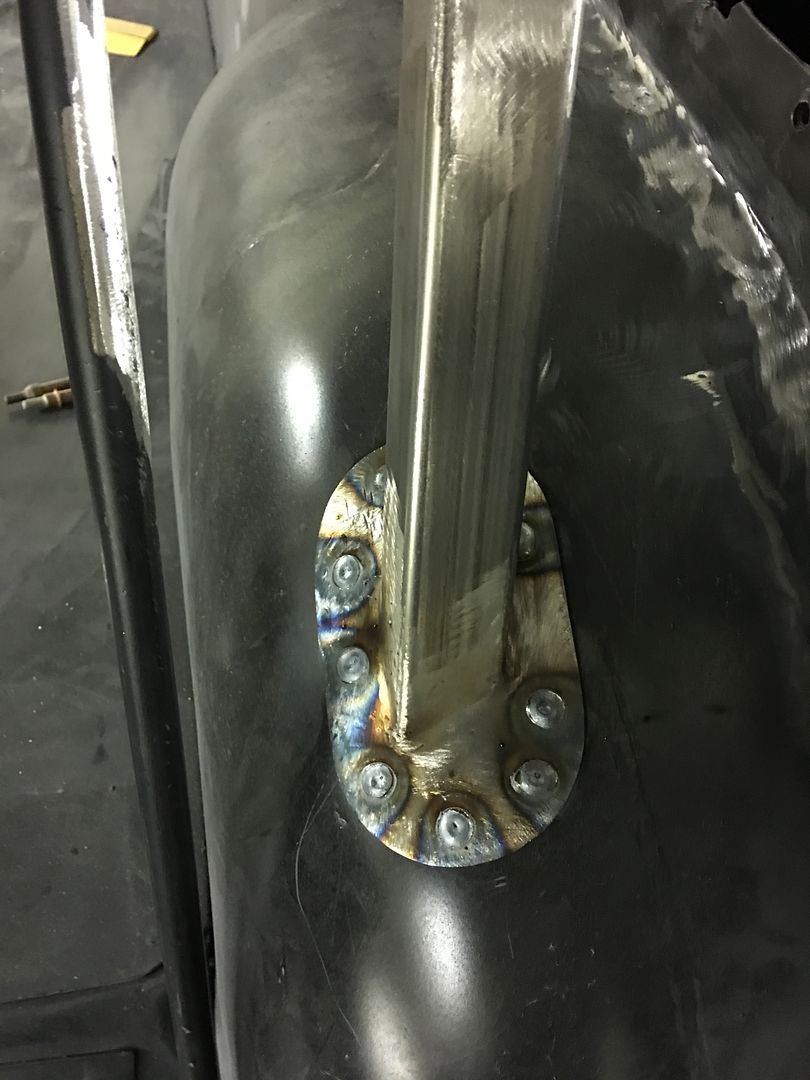
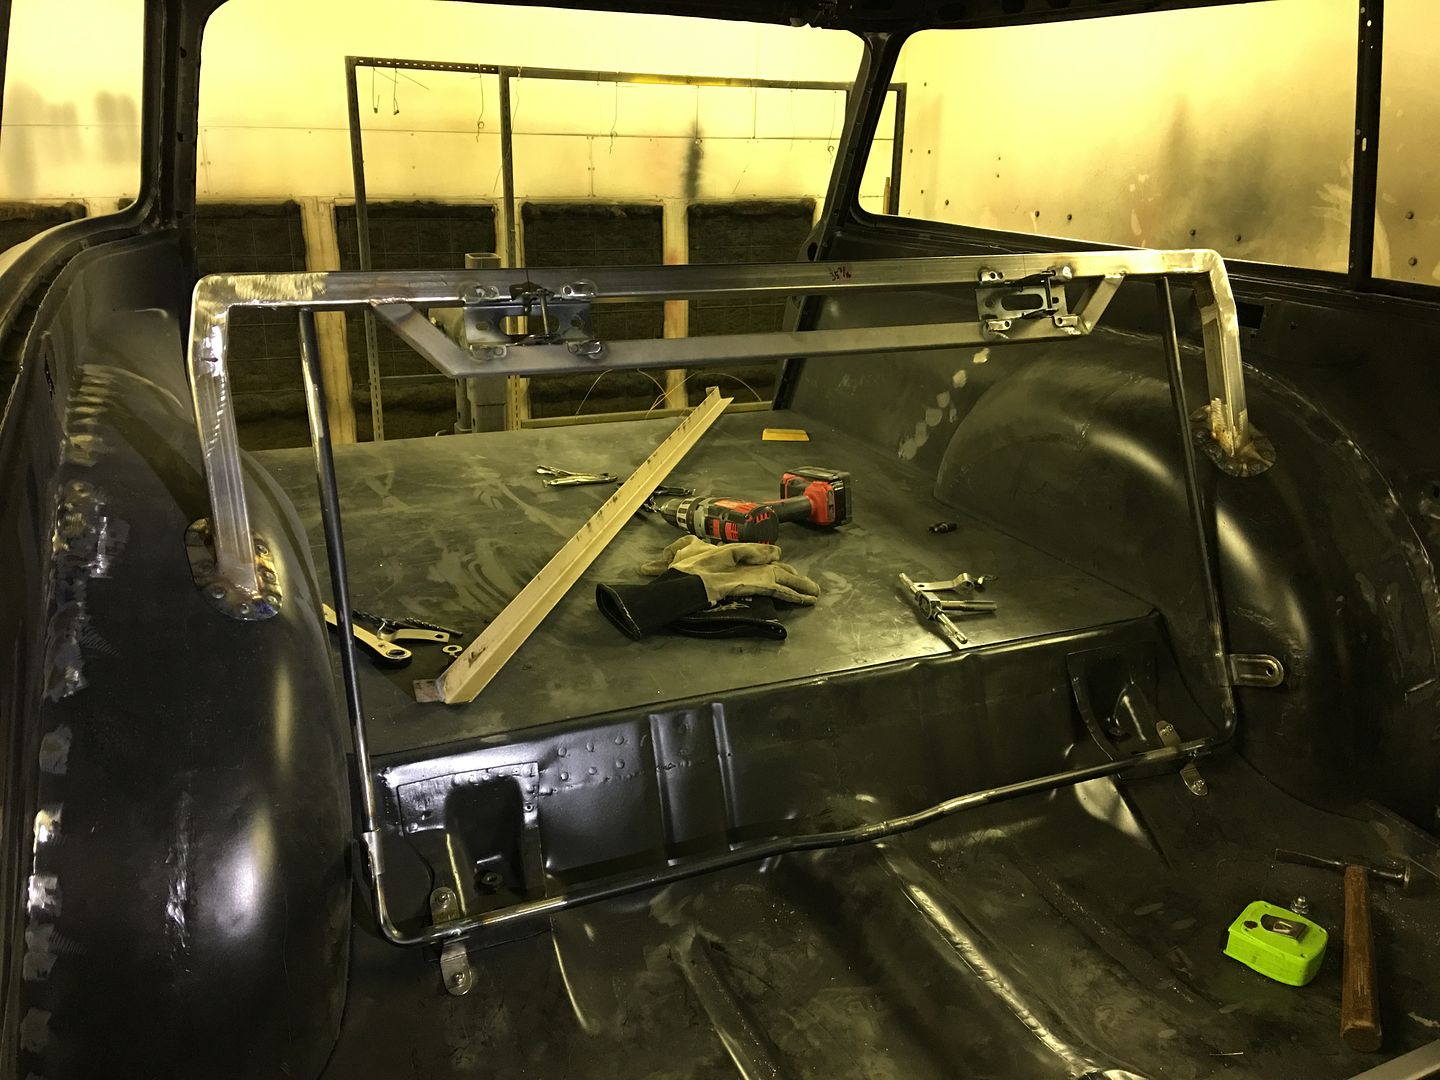
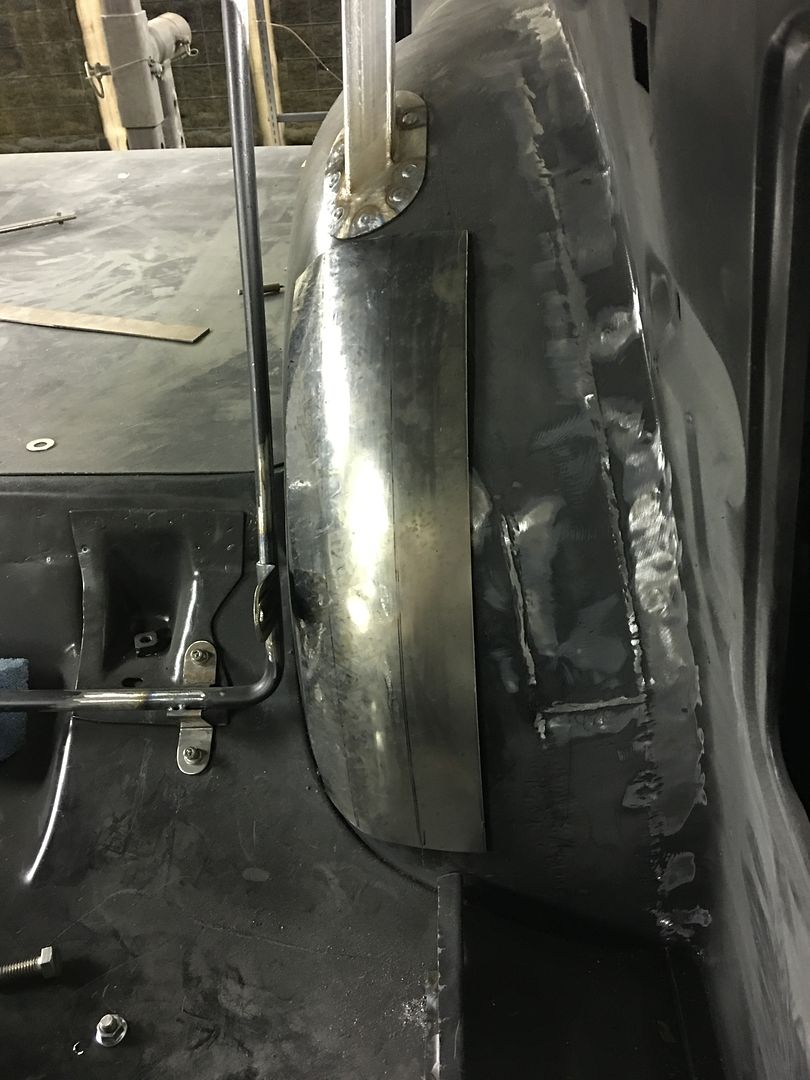
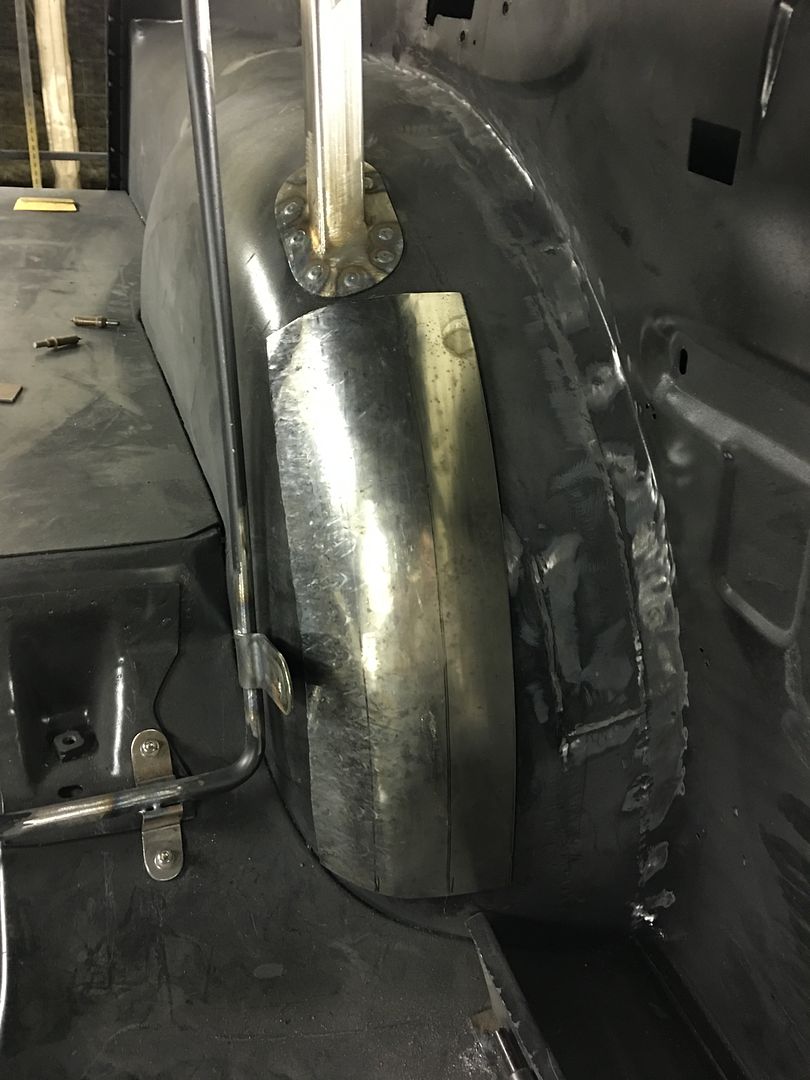
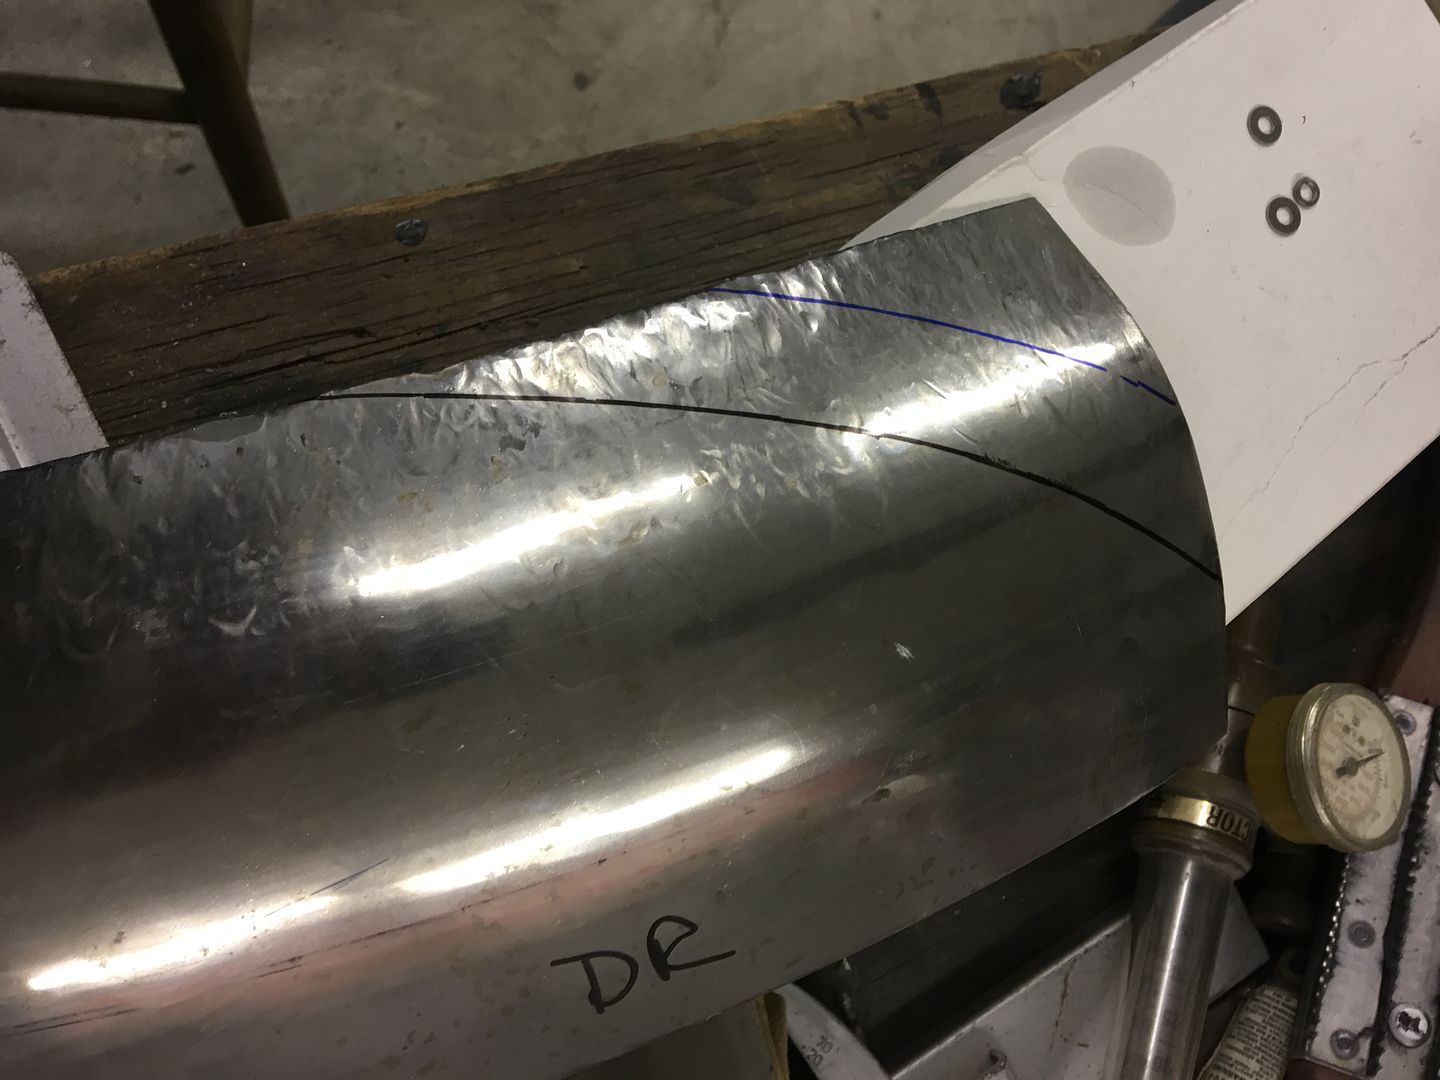
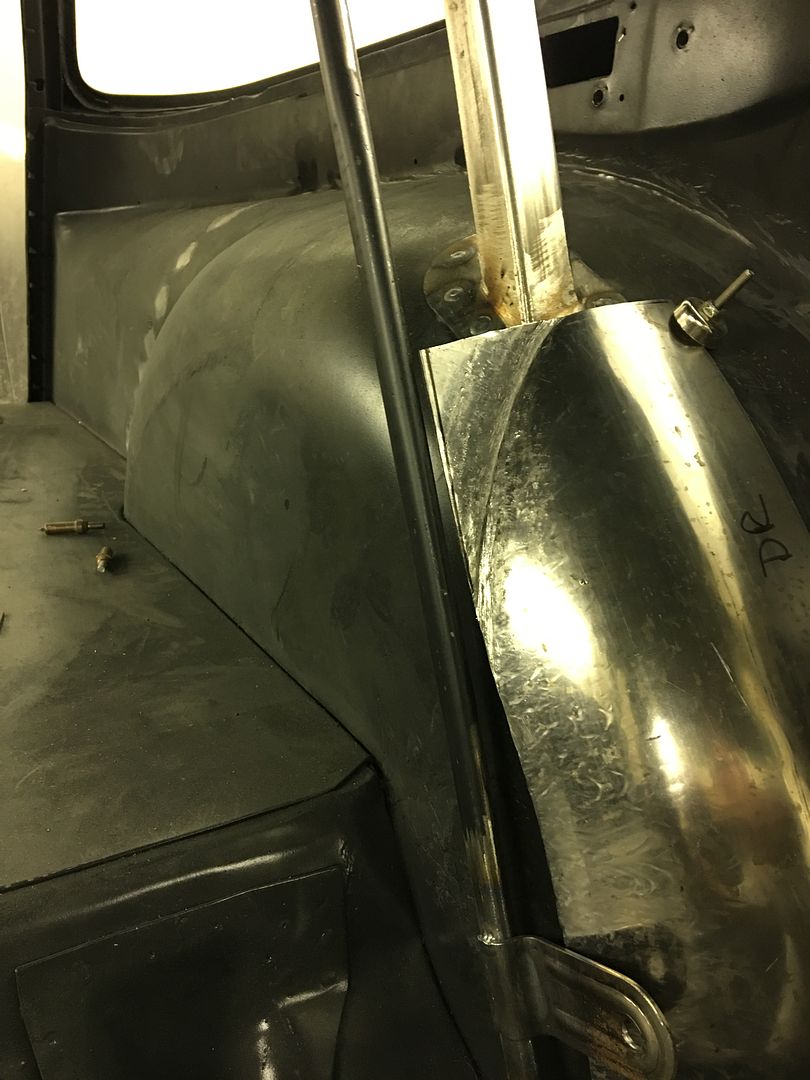
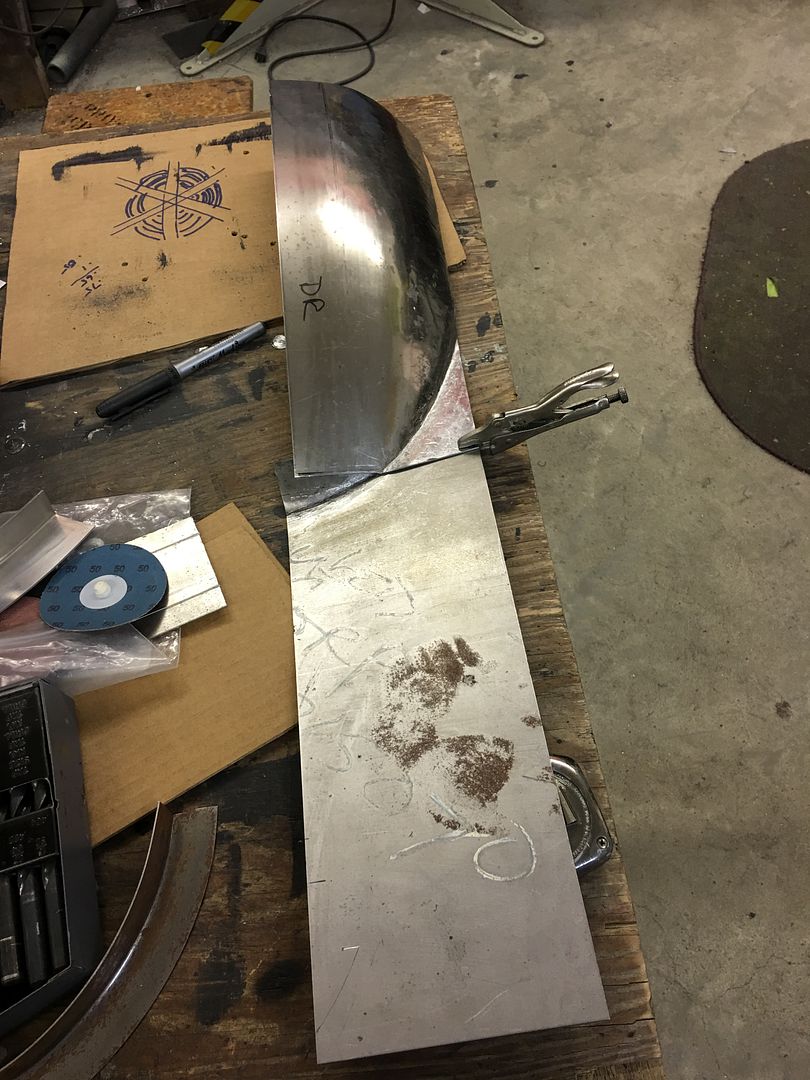
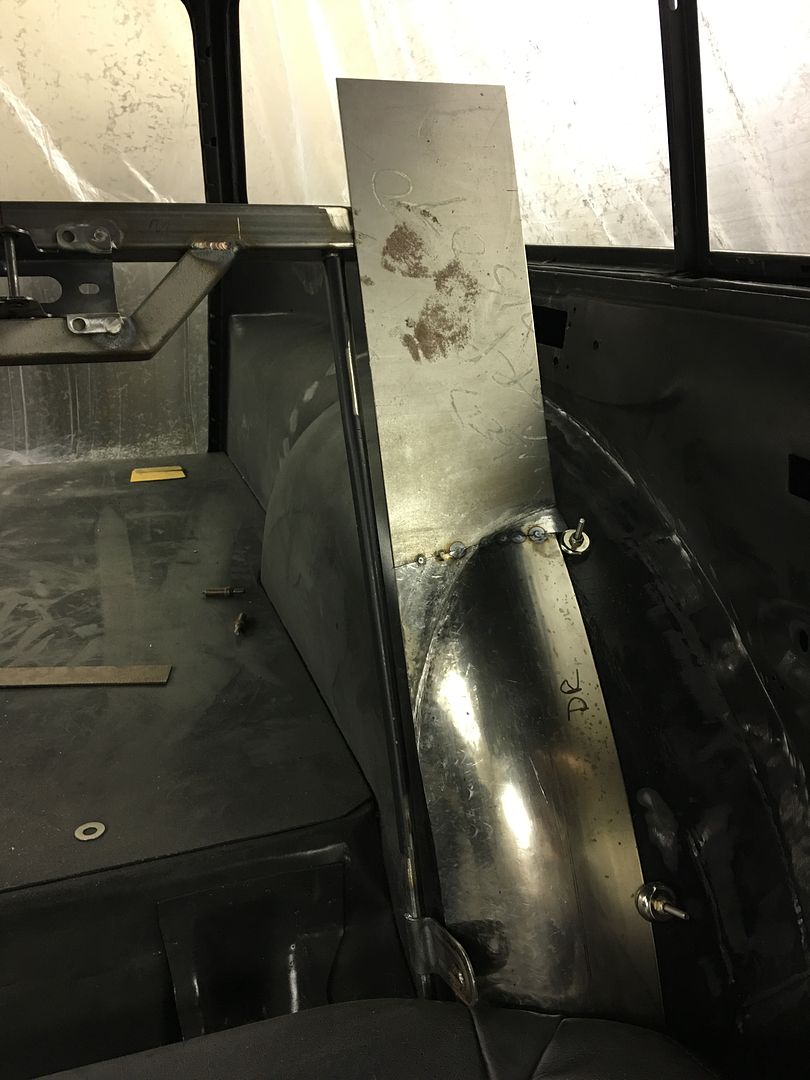
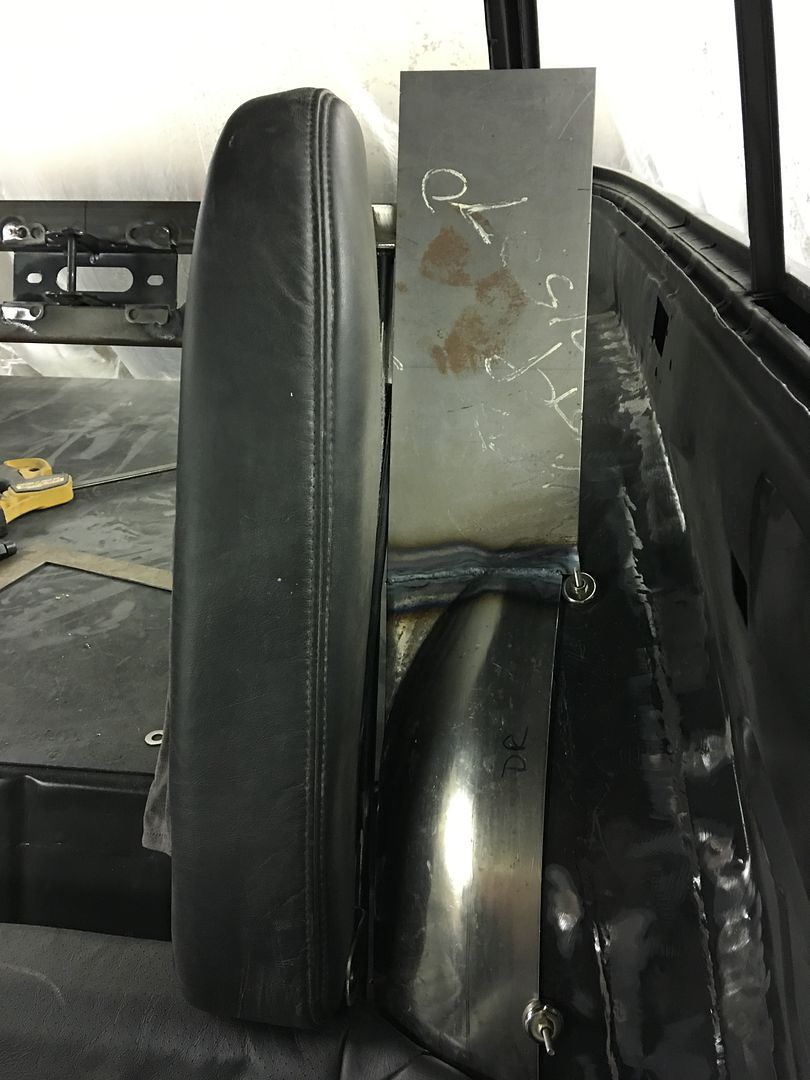
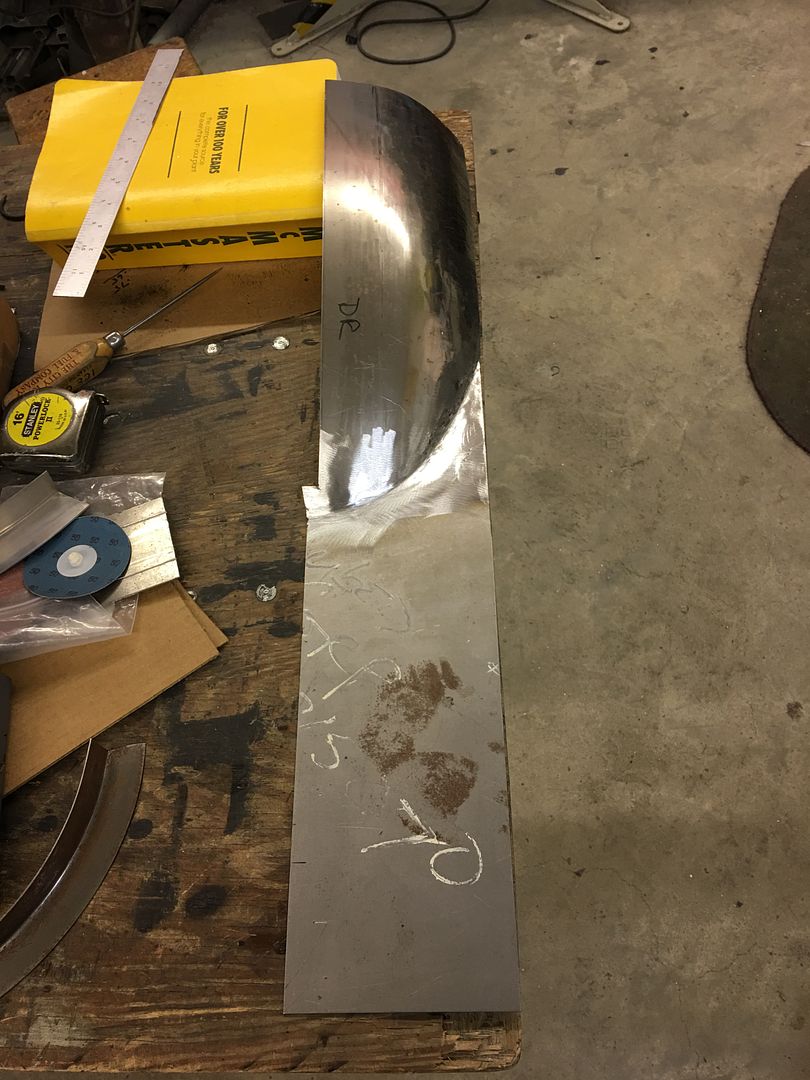
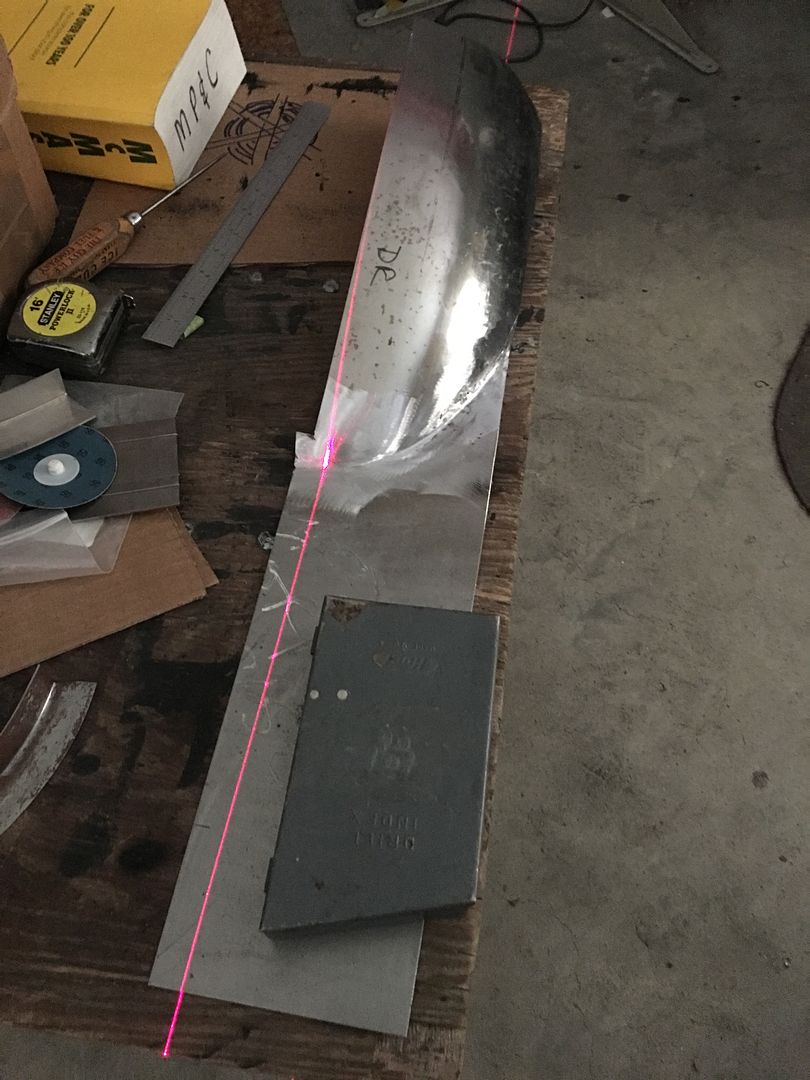
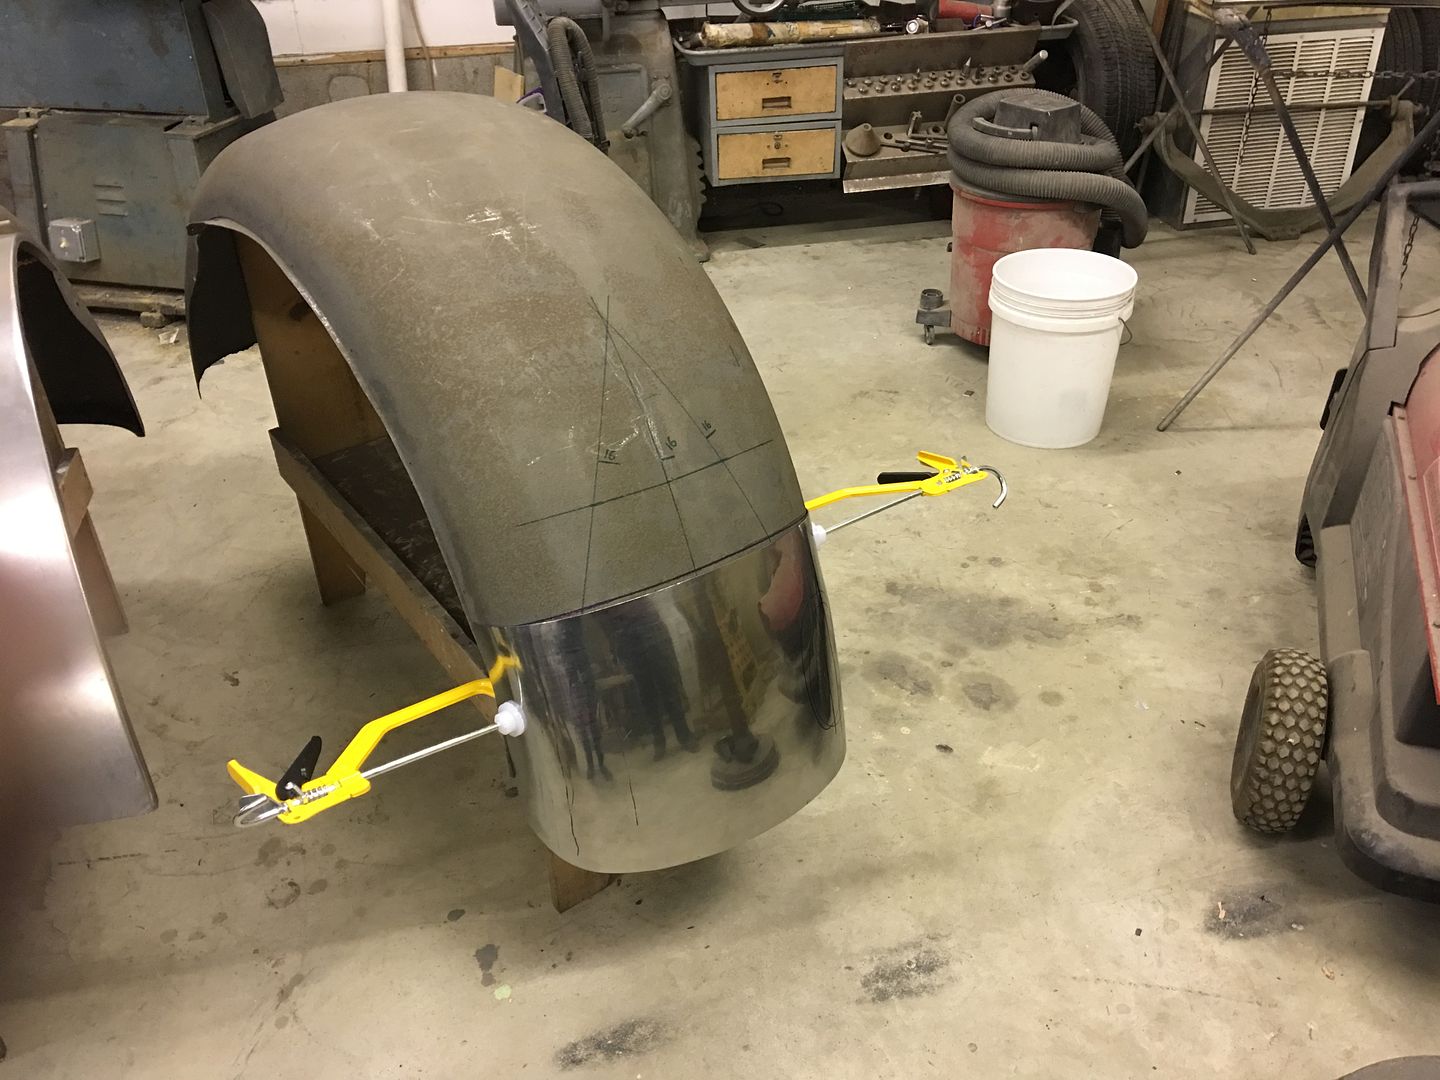
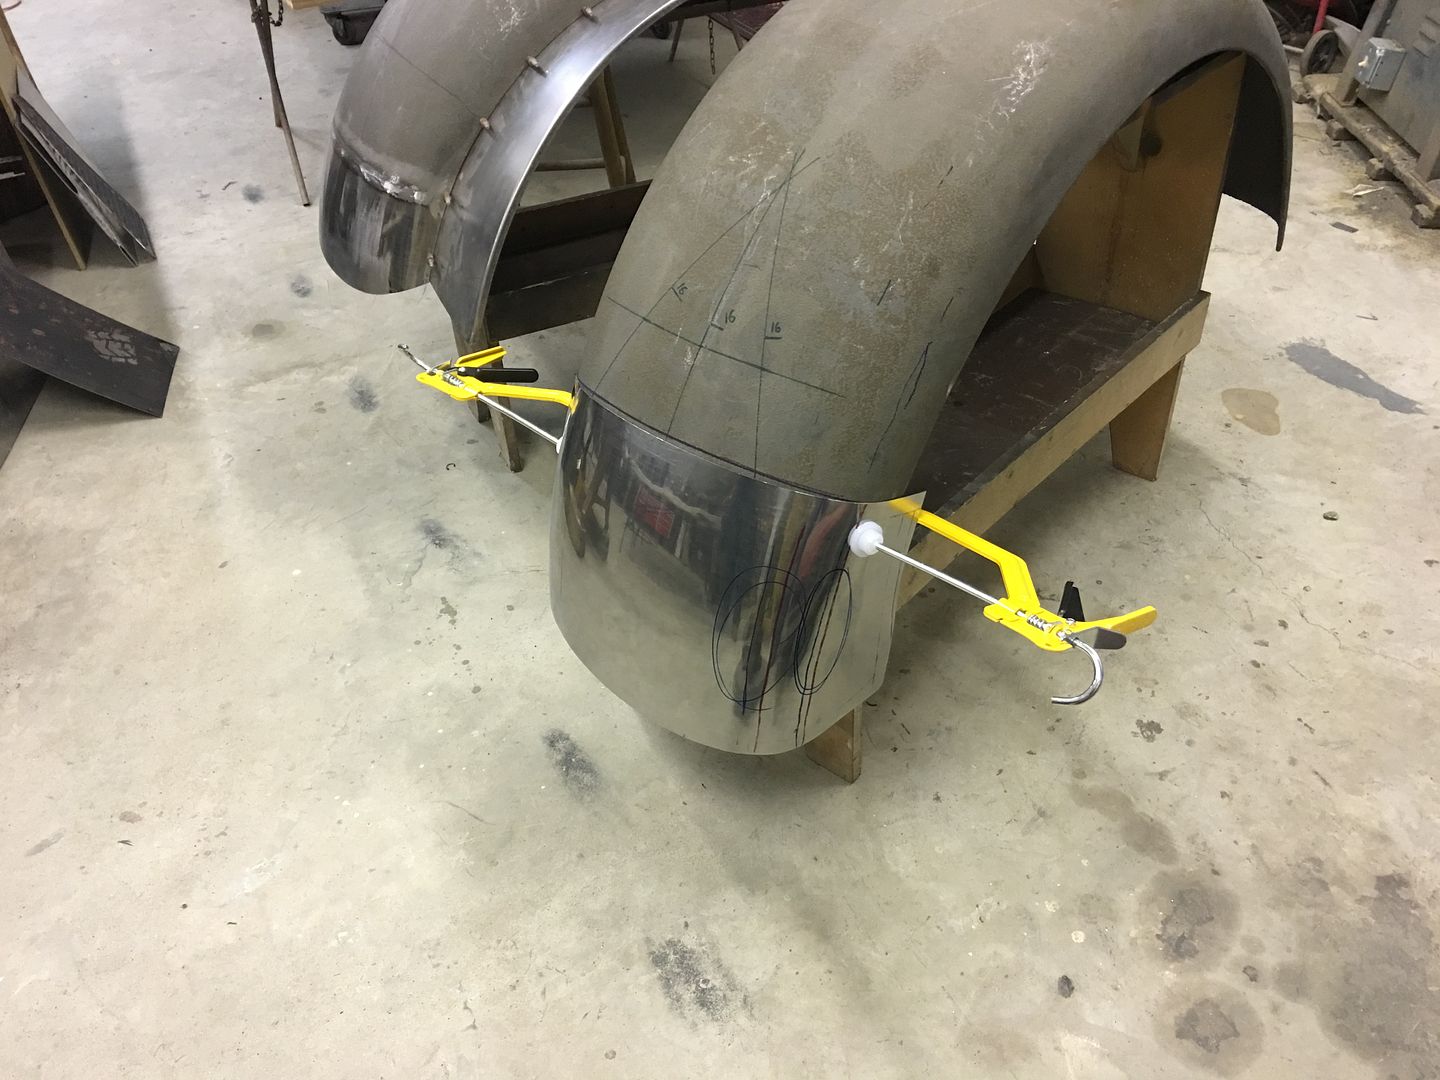
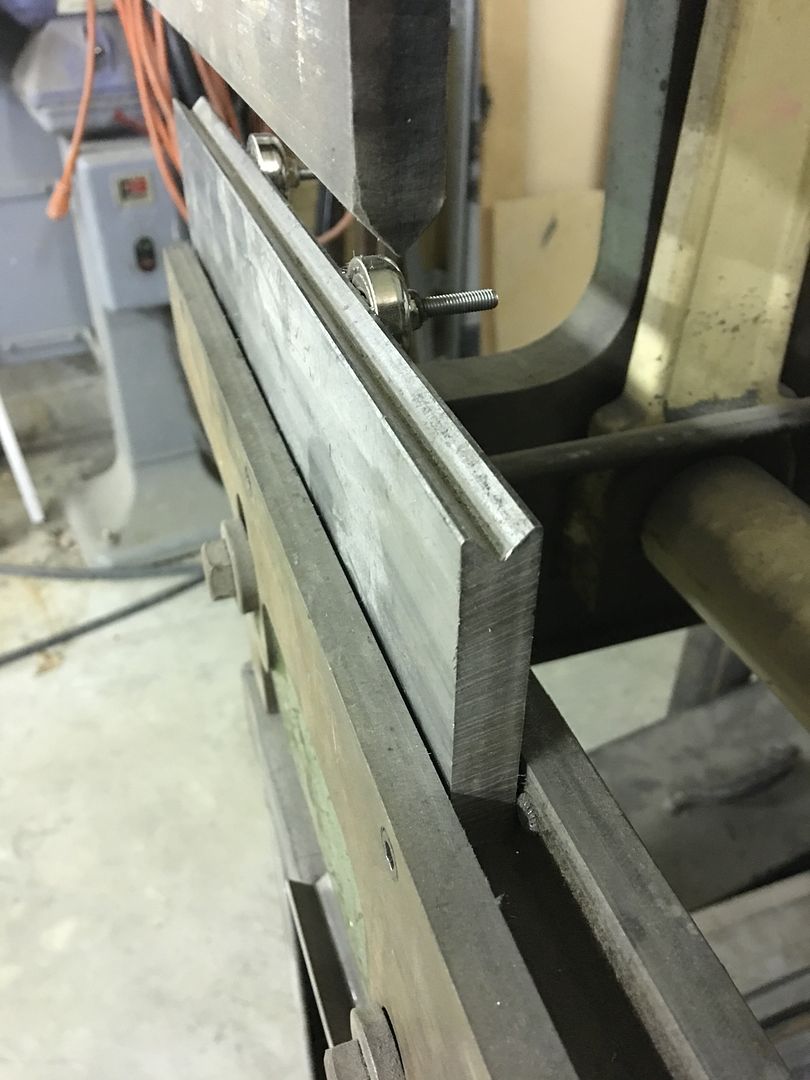
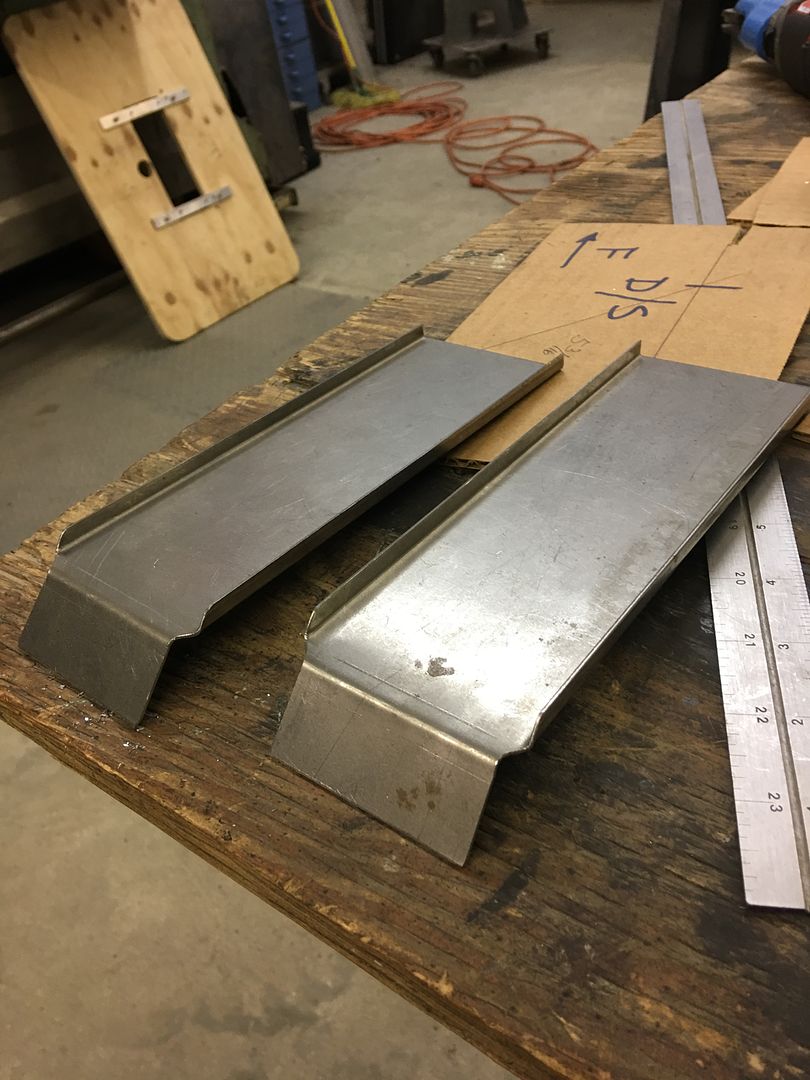
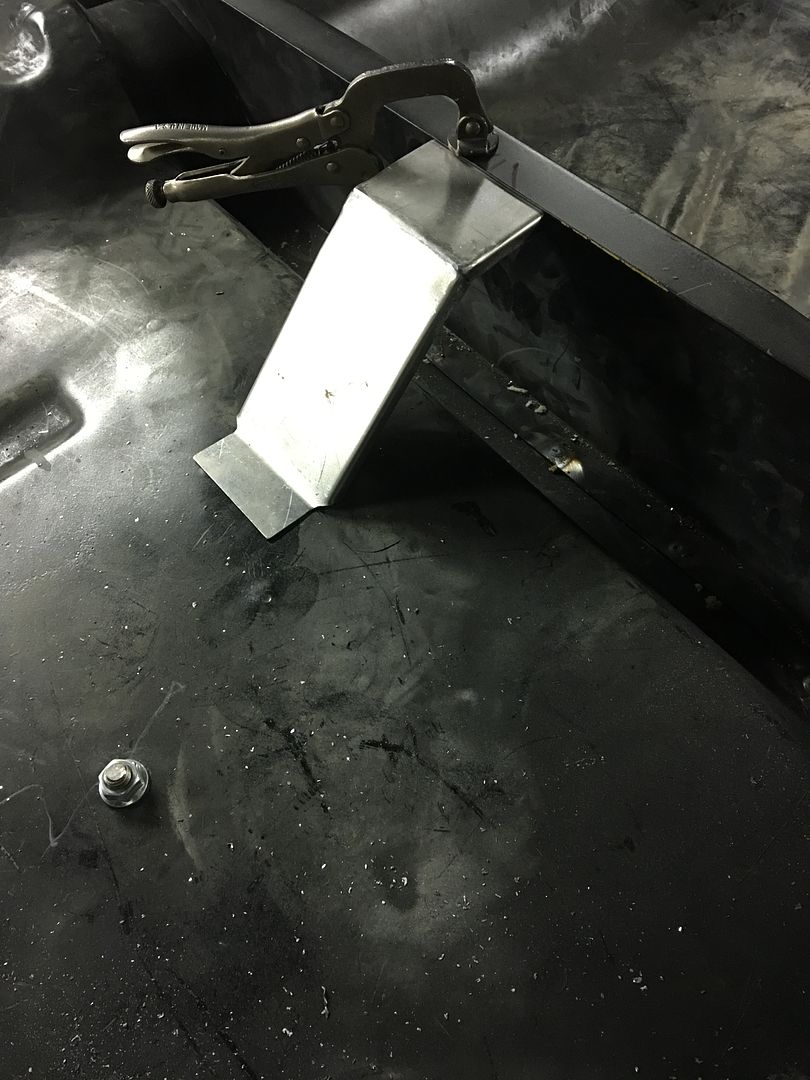
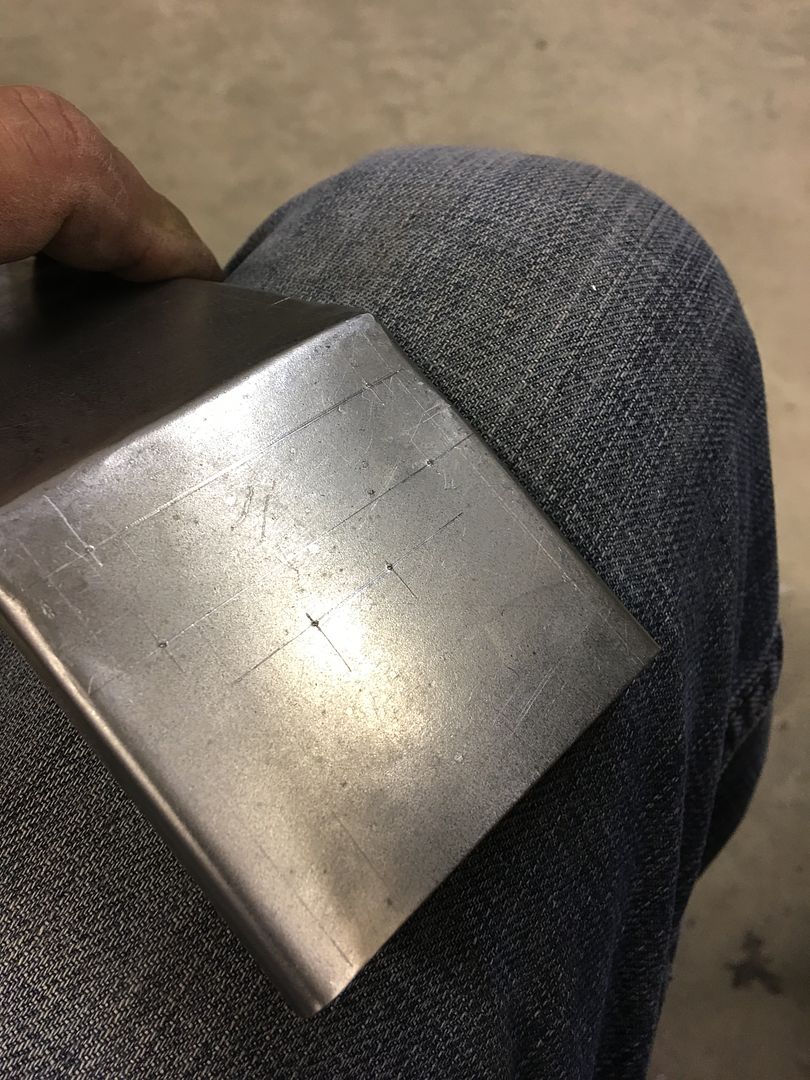
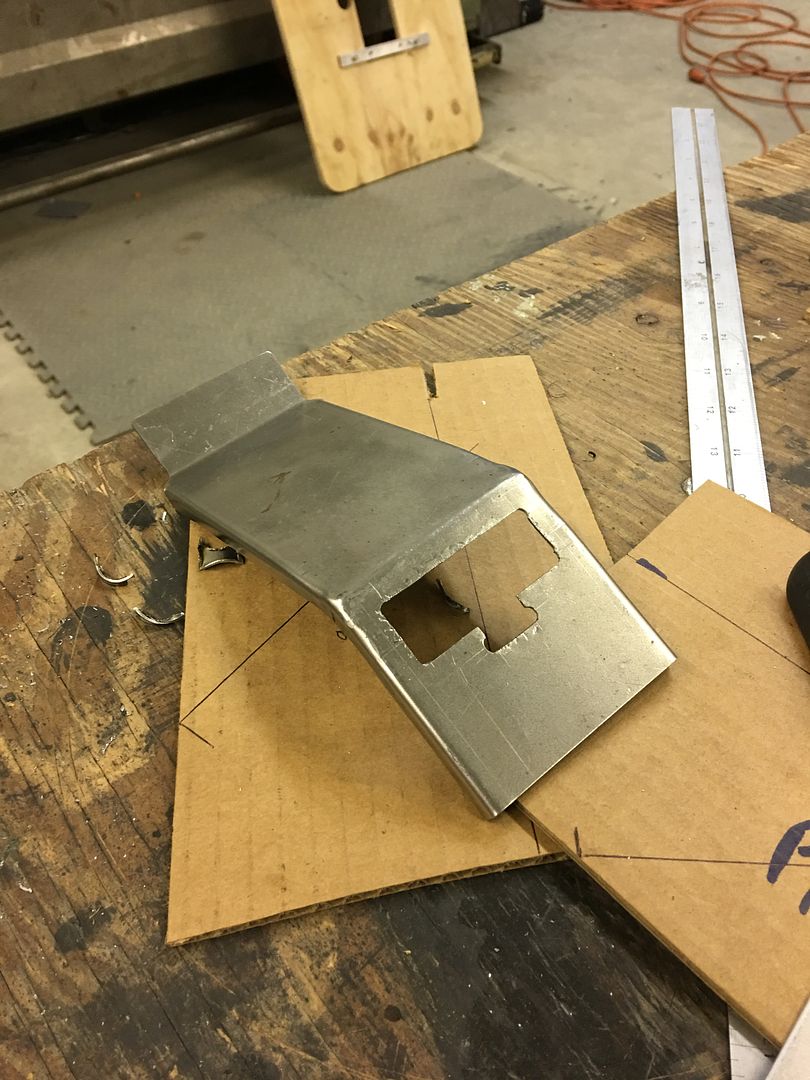
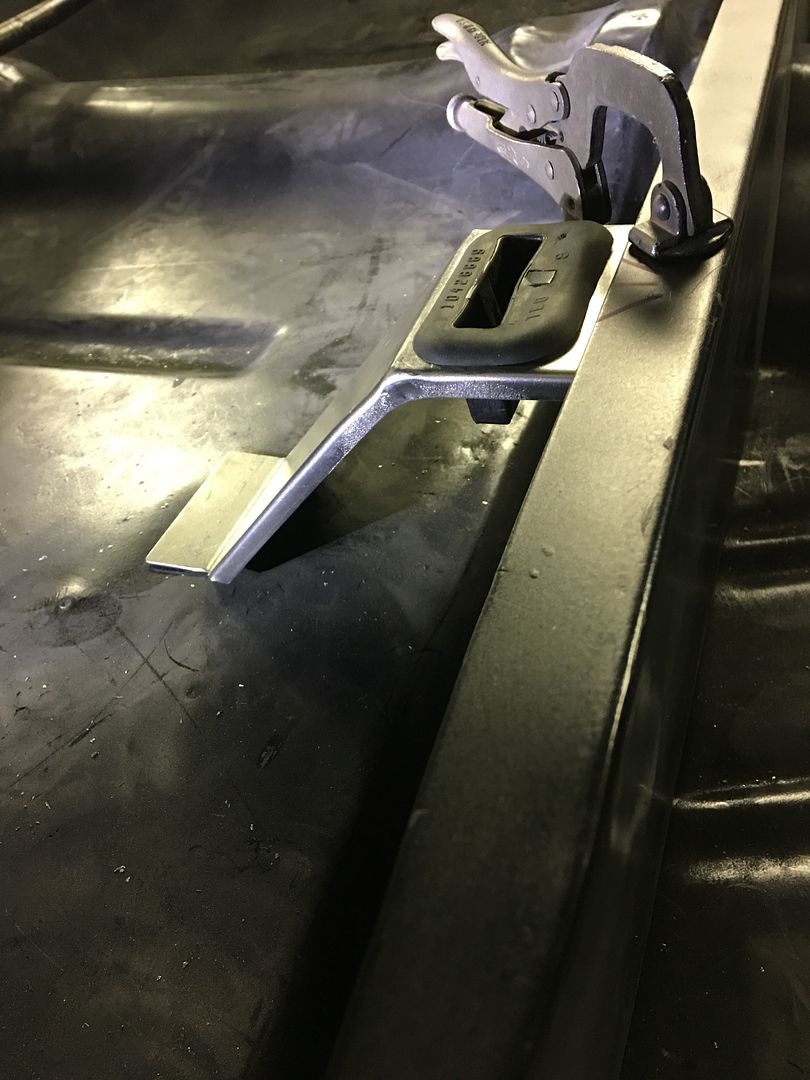
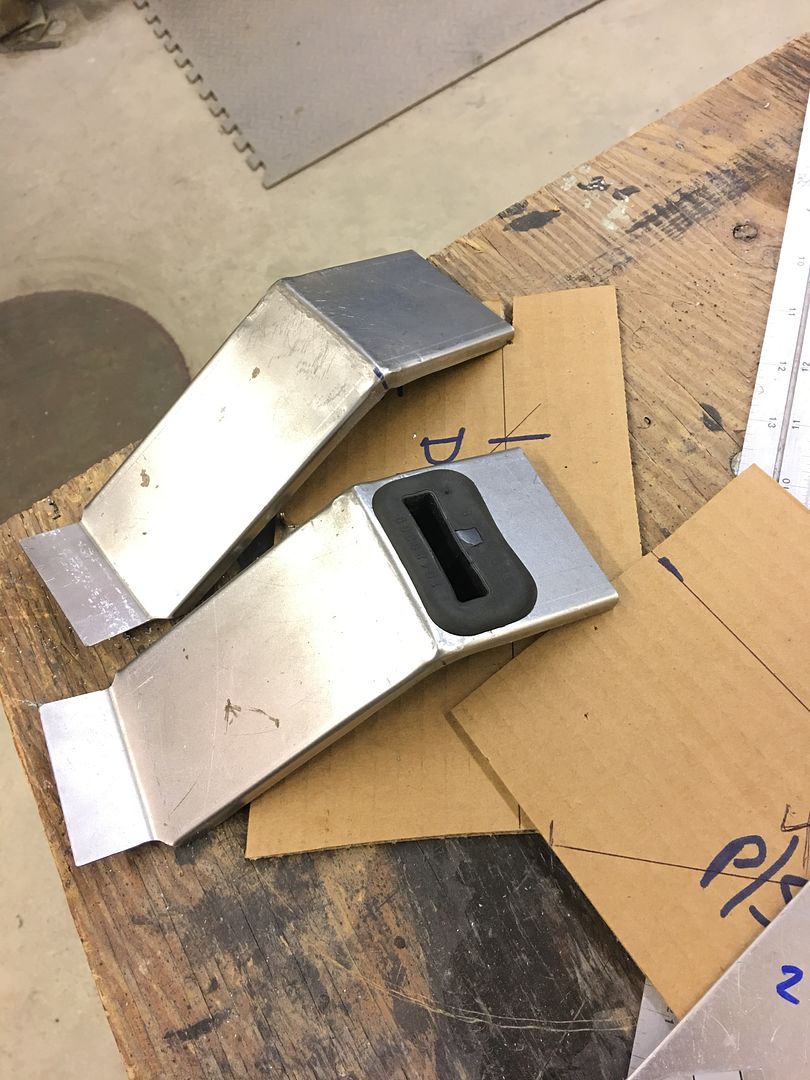
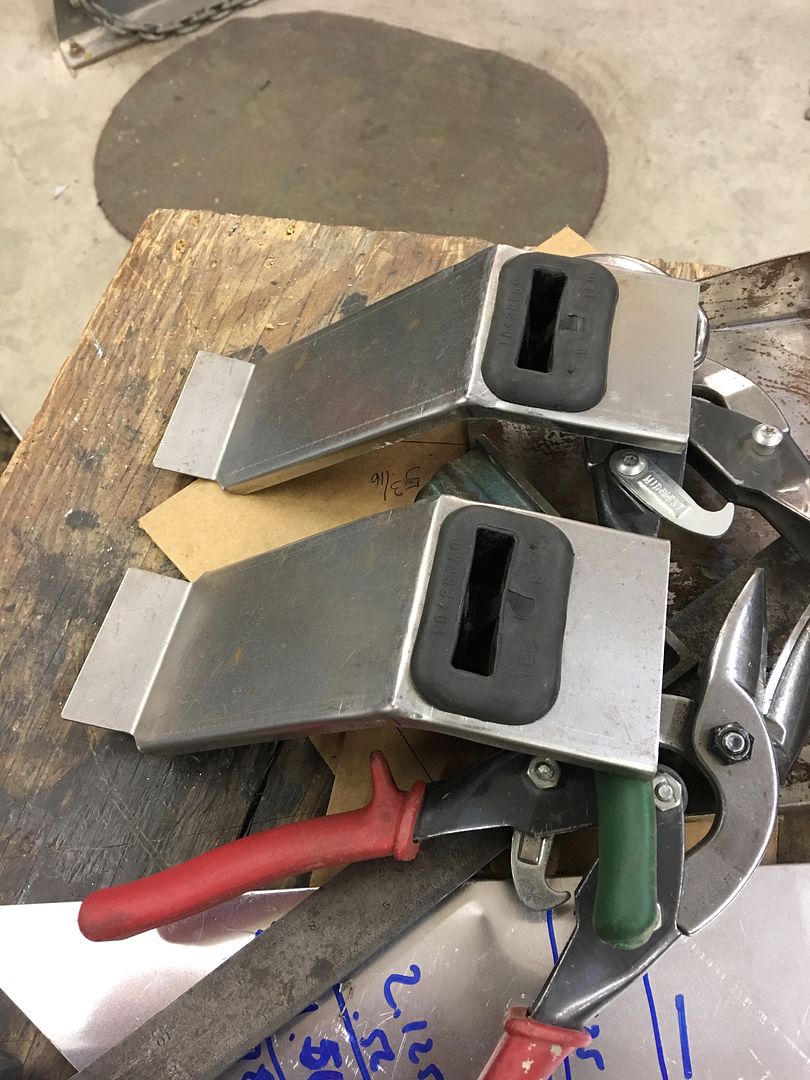
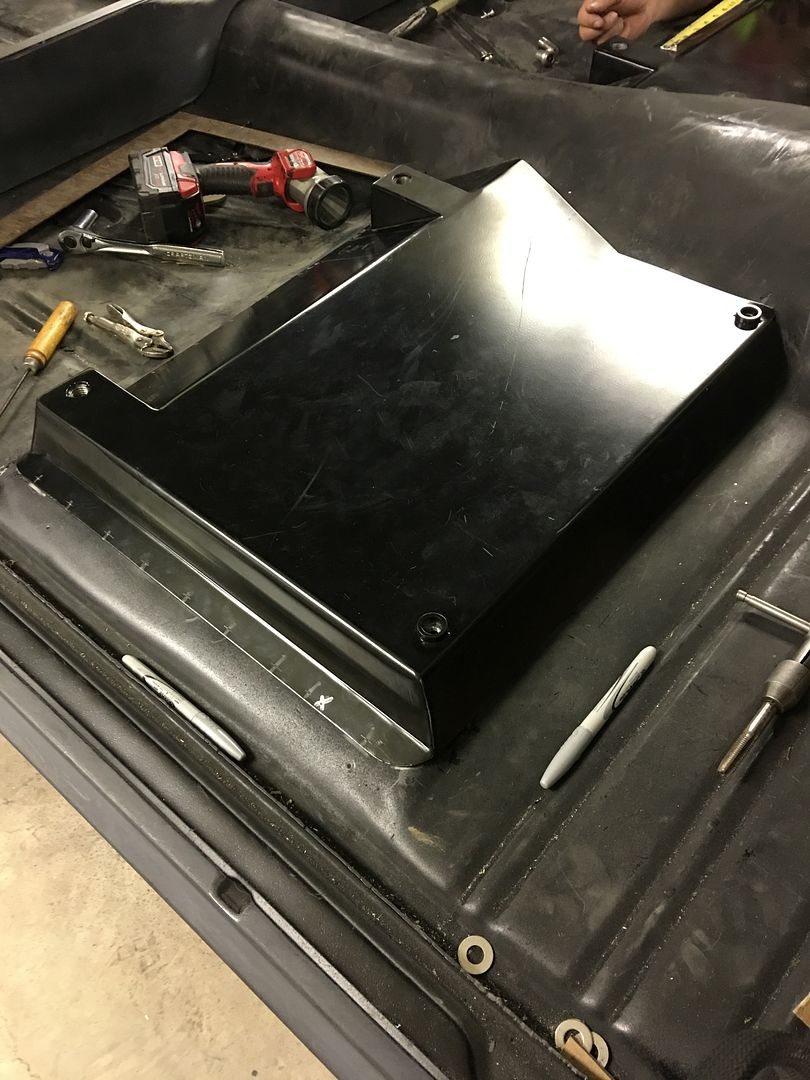
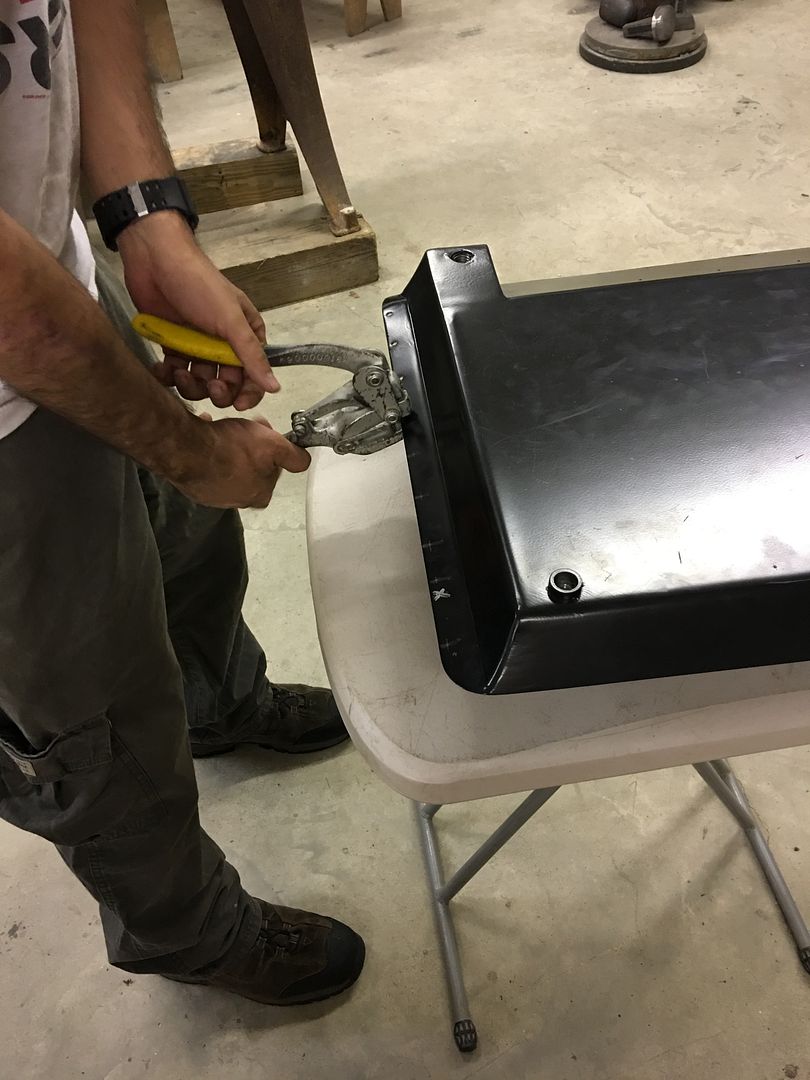
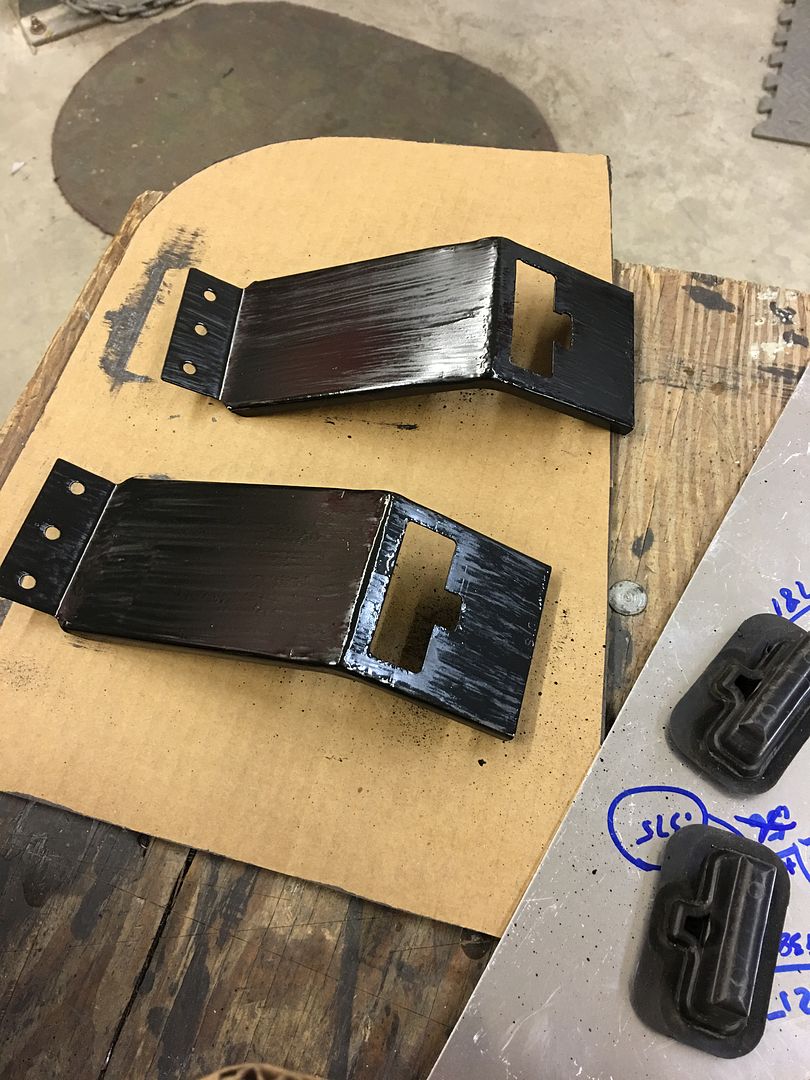
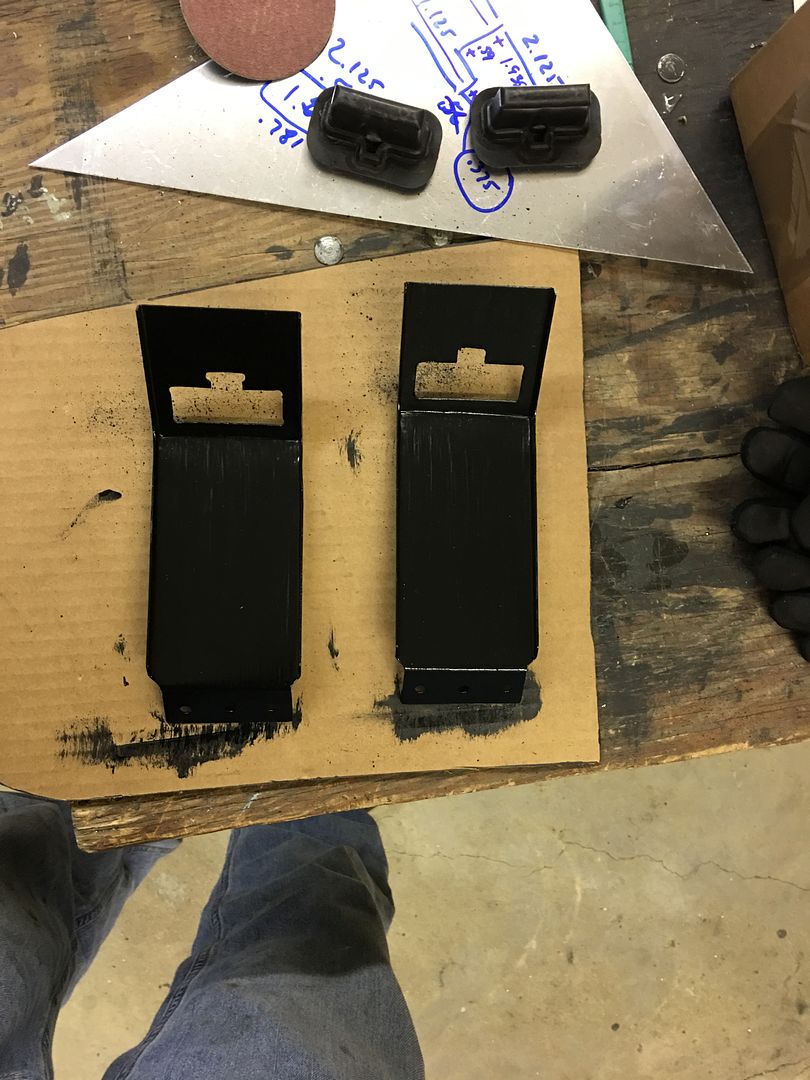
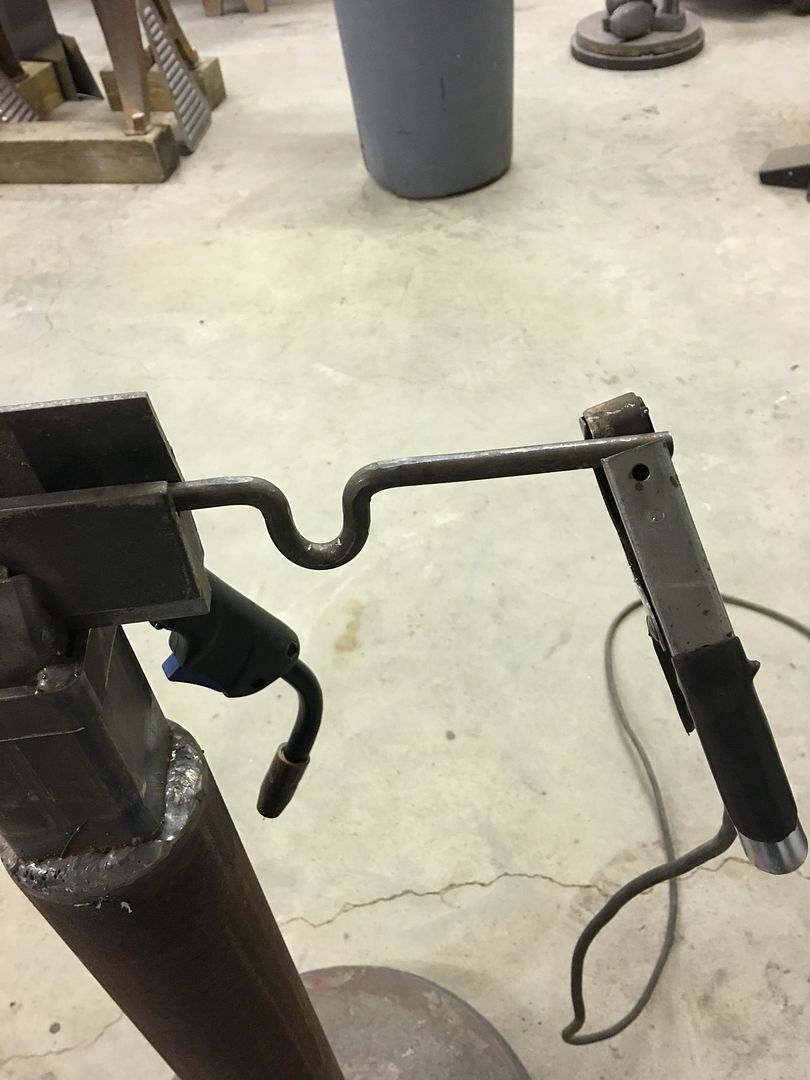
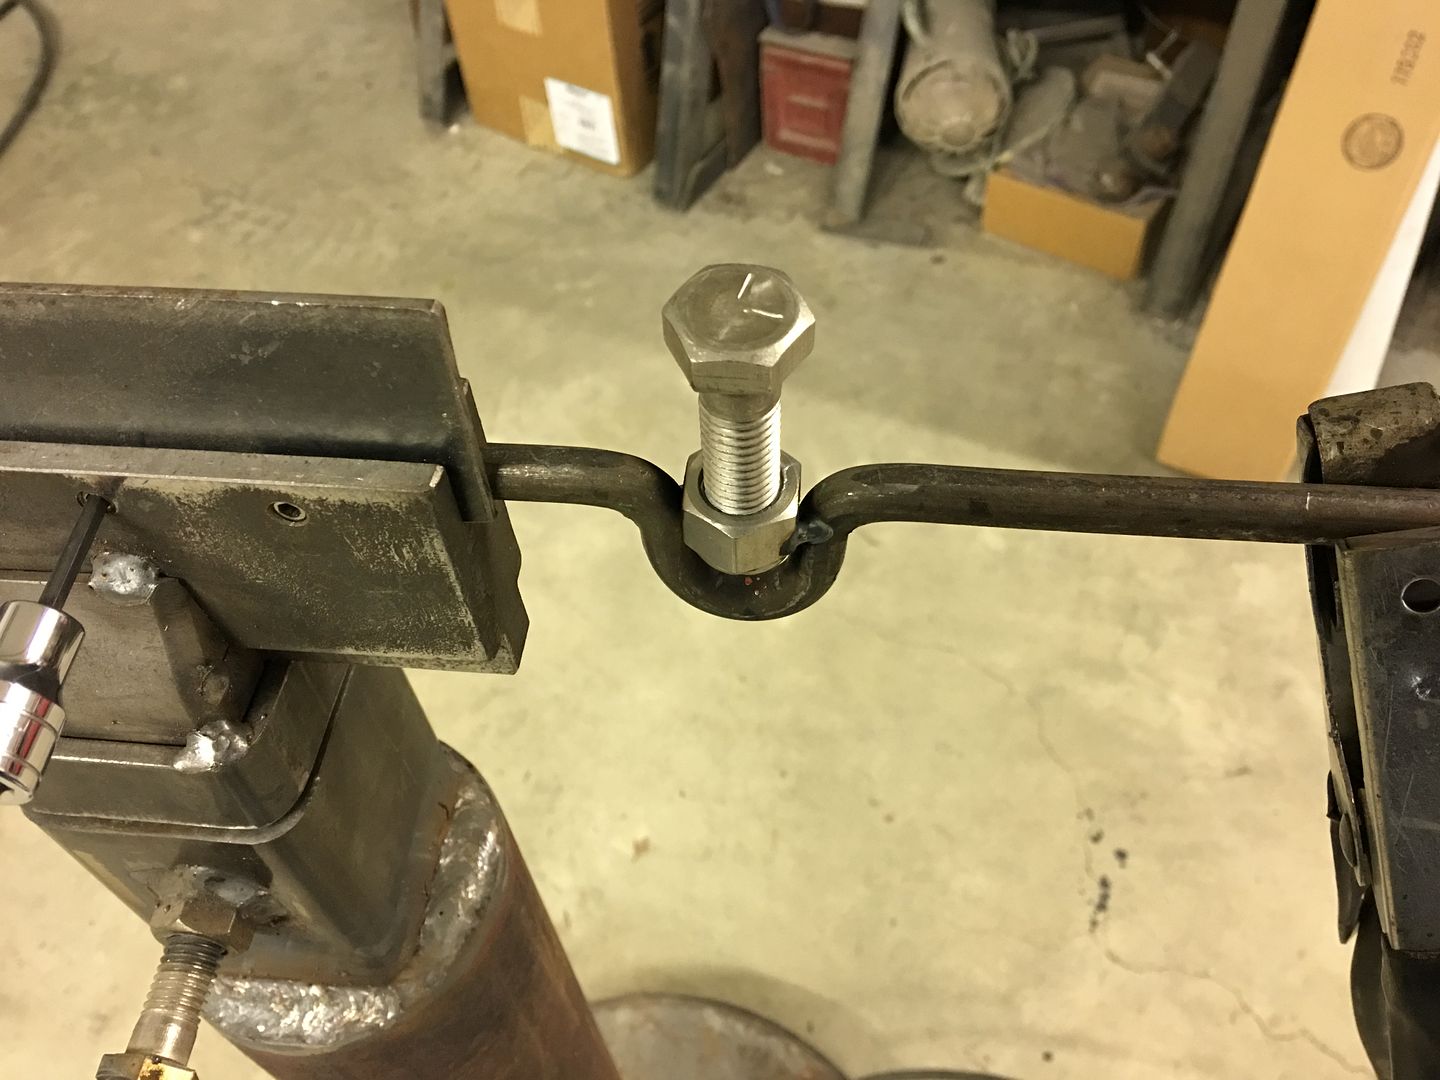
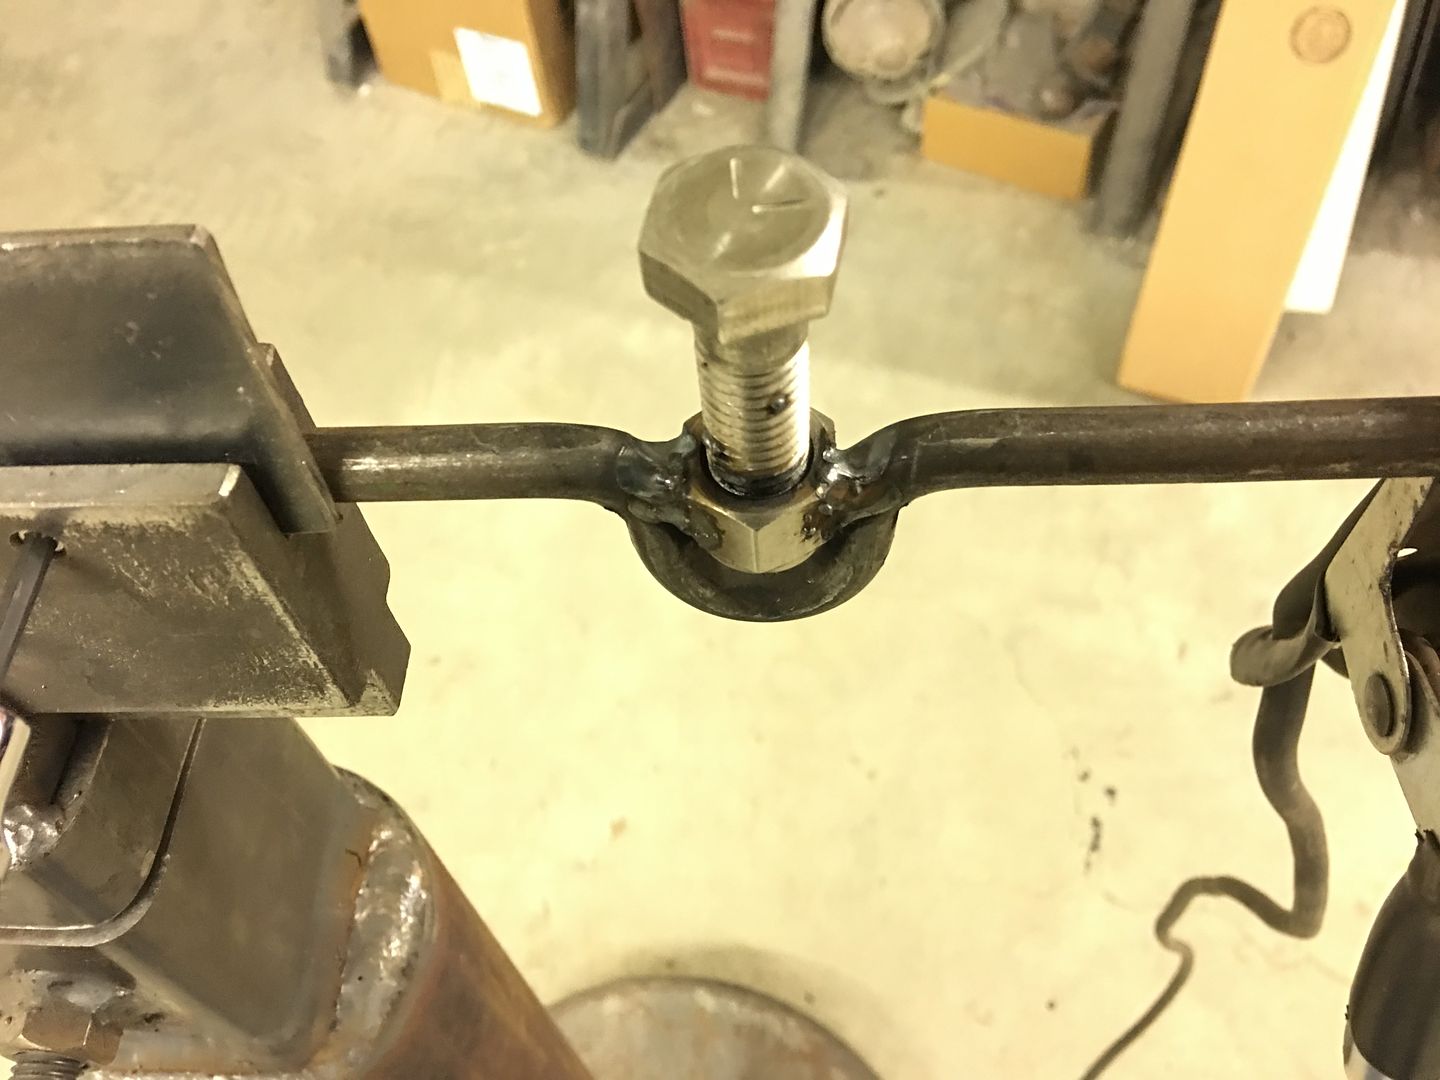
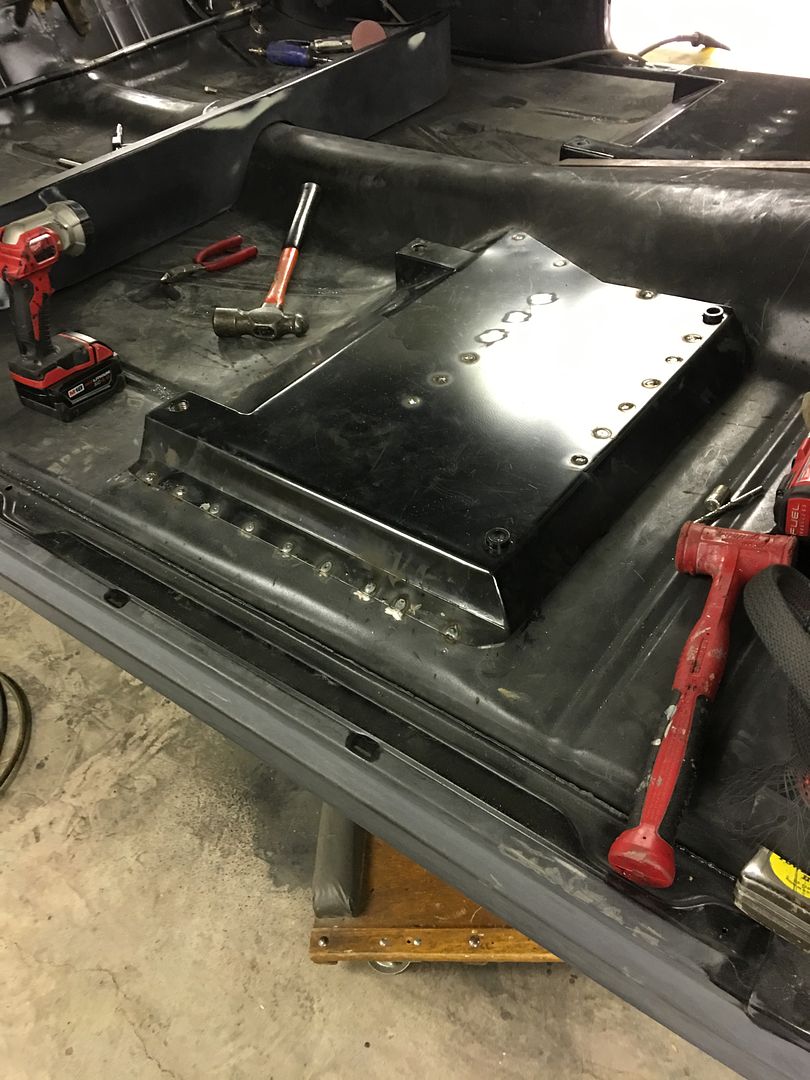
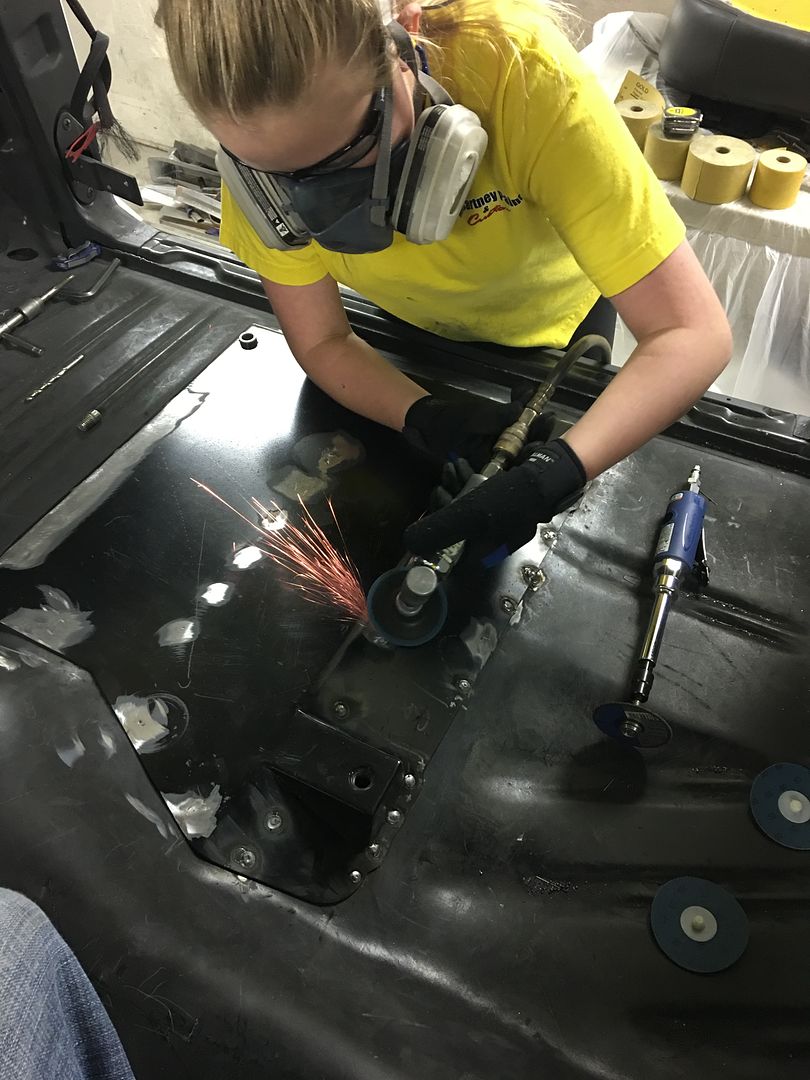
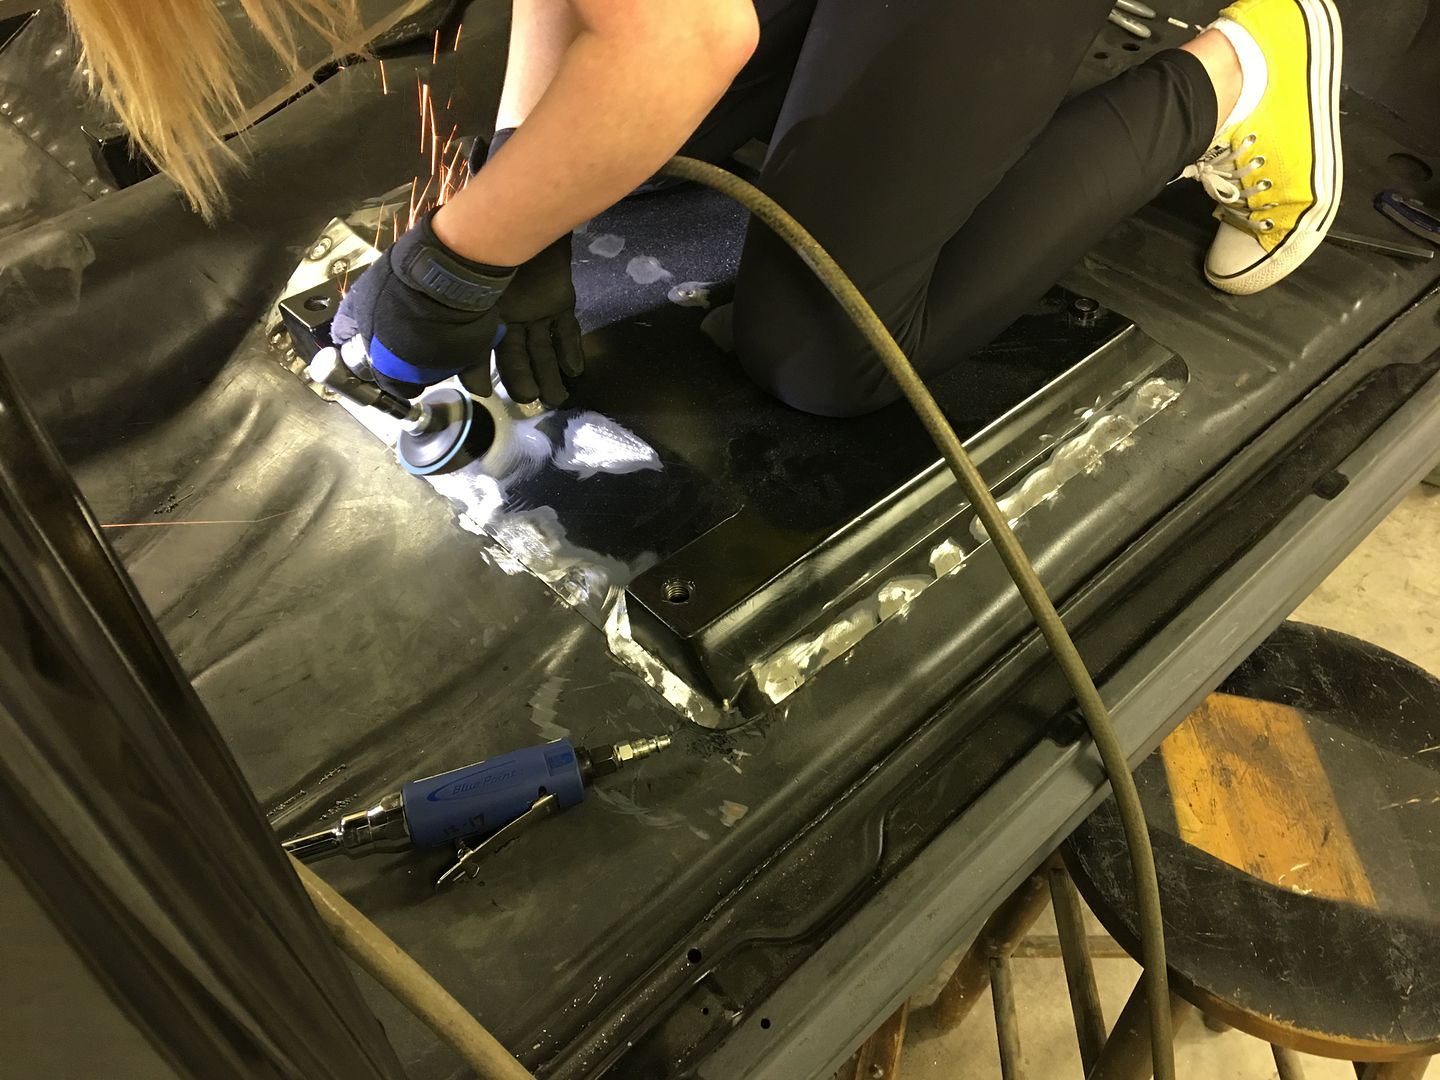
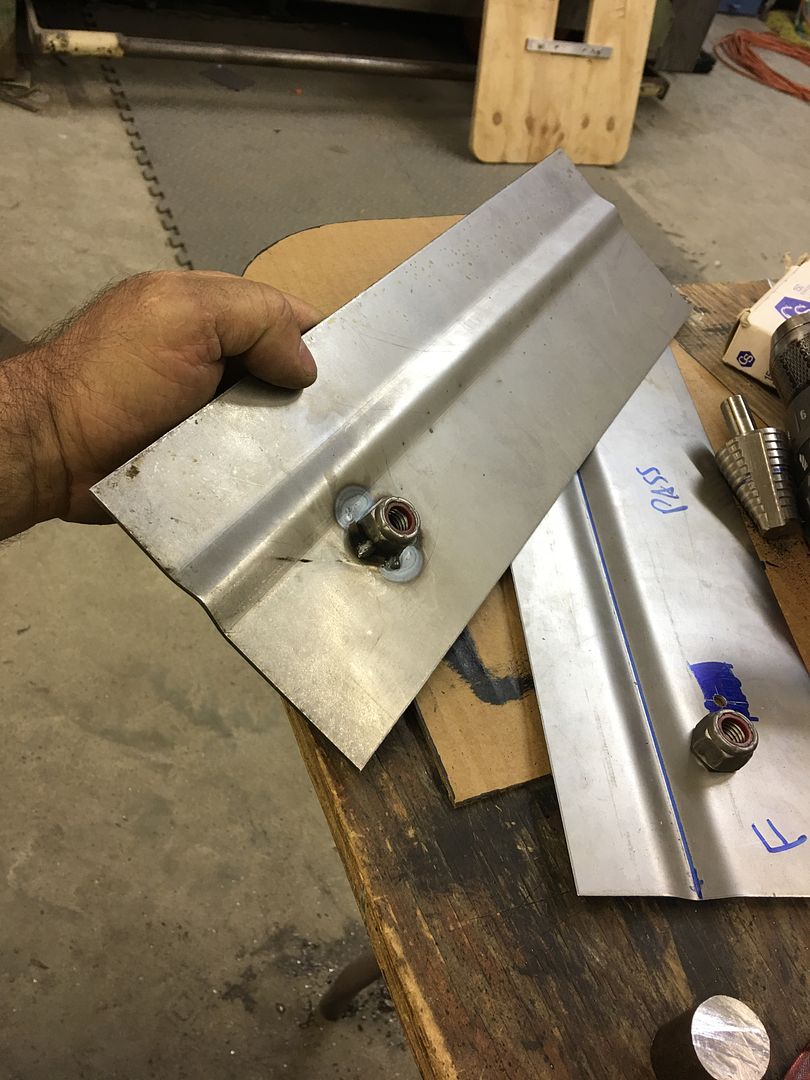
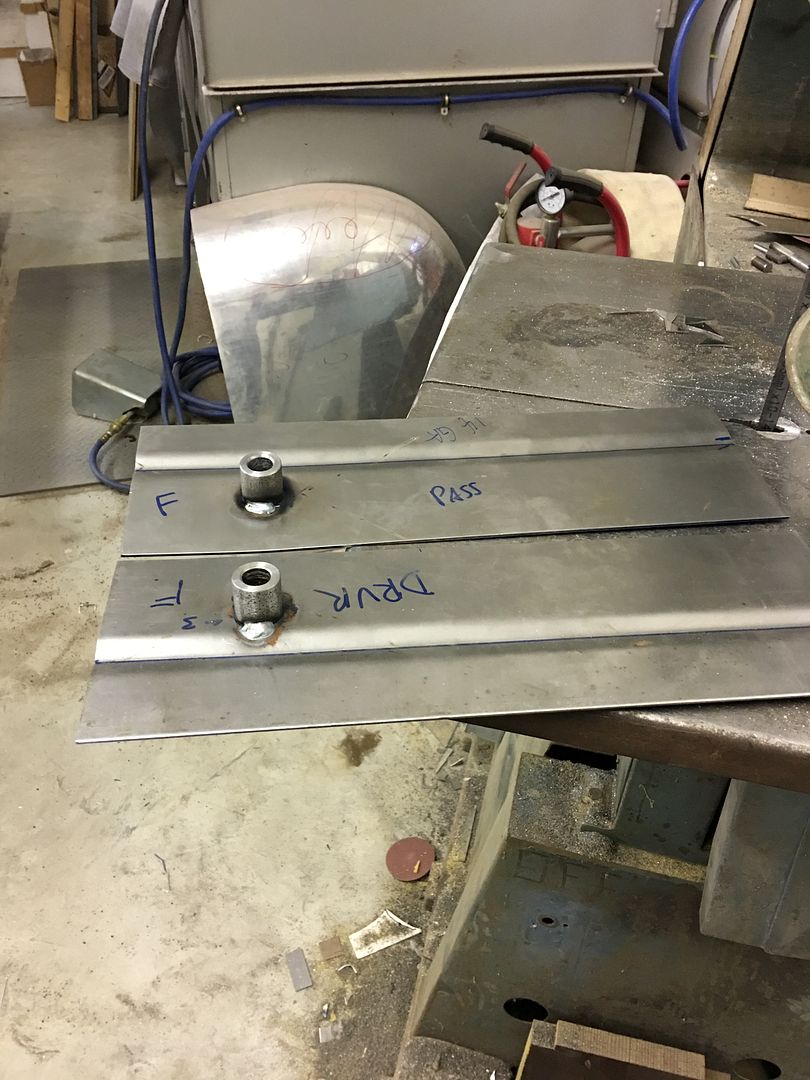
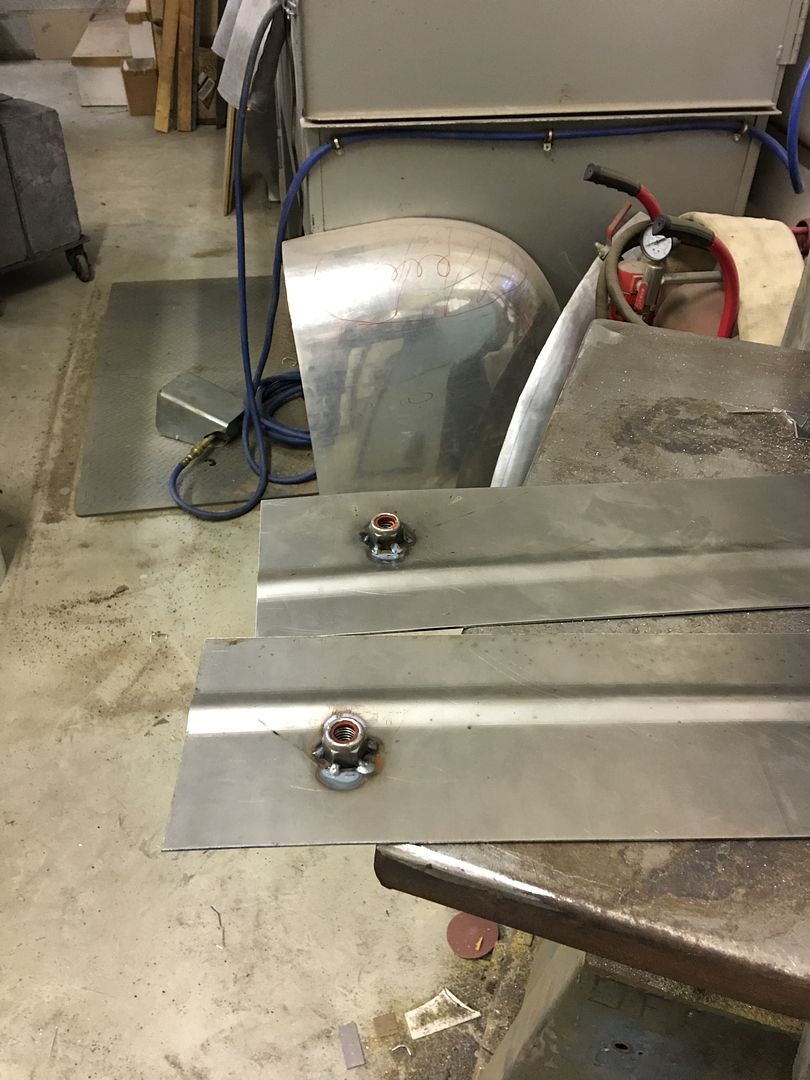
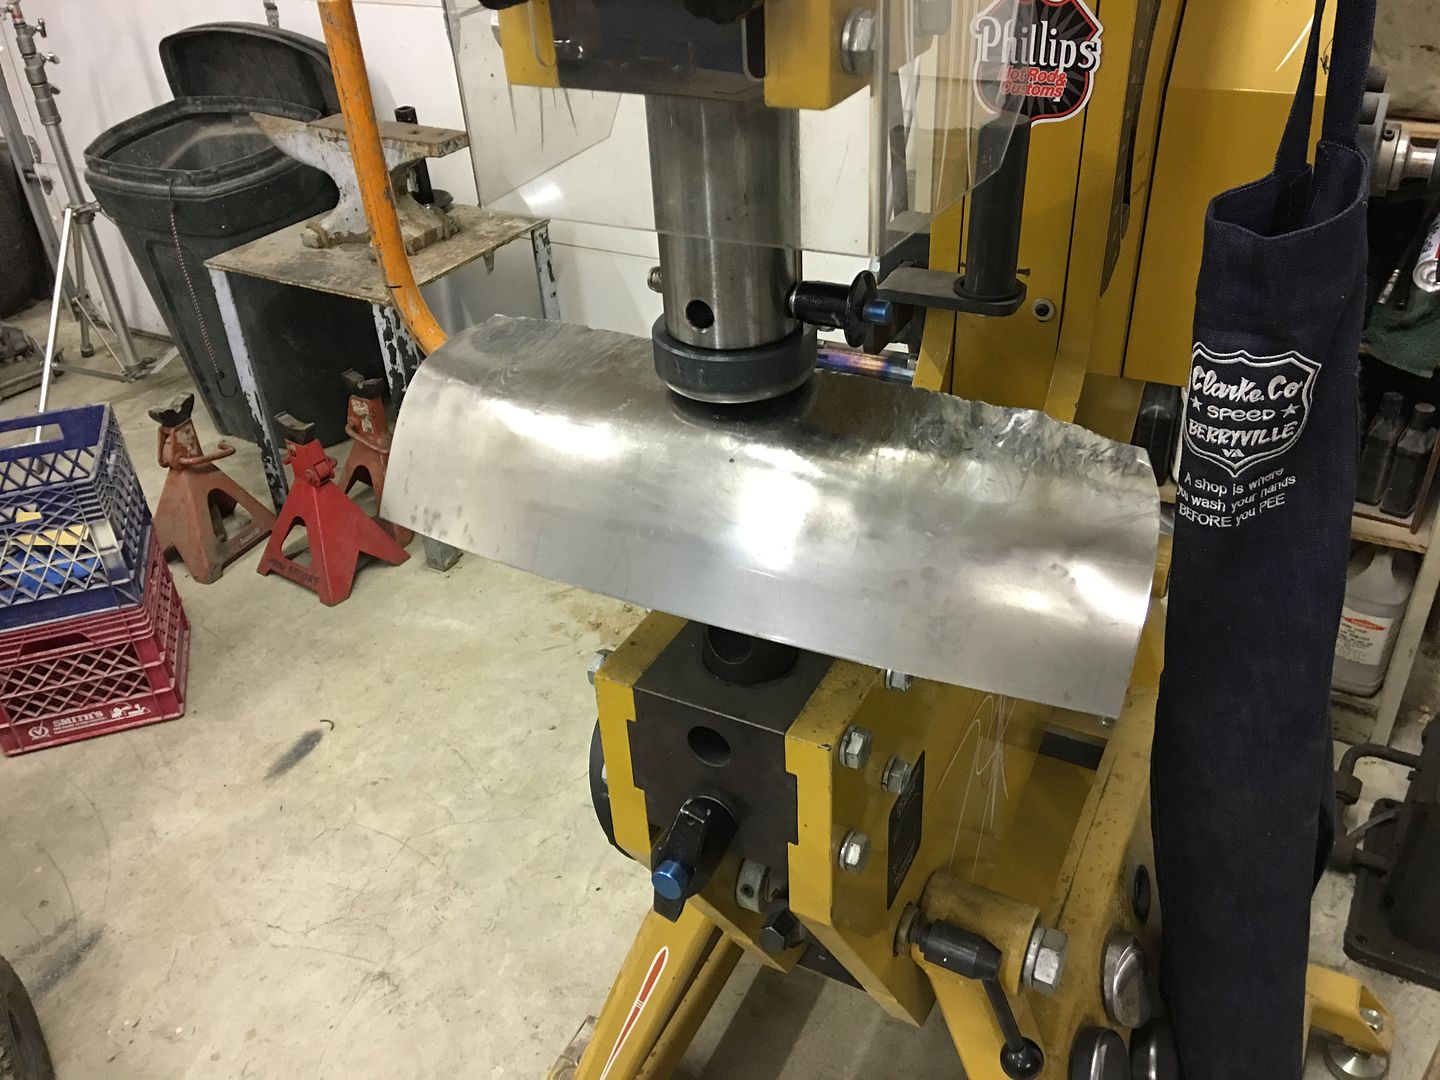
More work on the seat back bracket... Trimming the side pieces to match the wheel well...

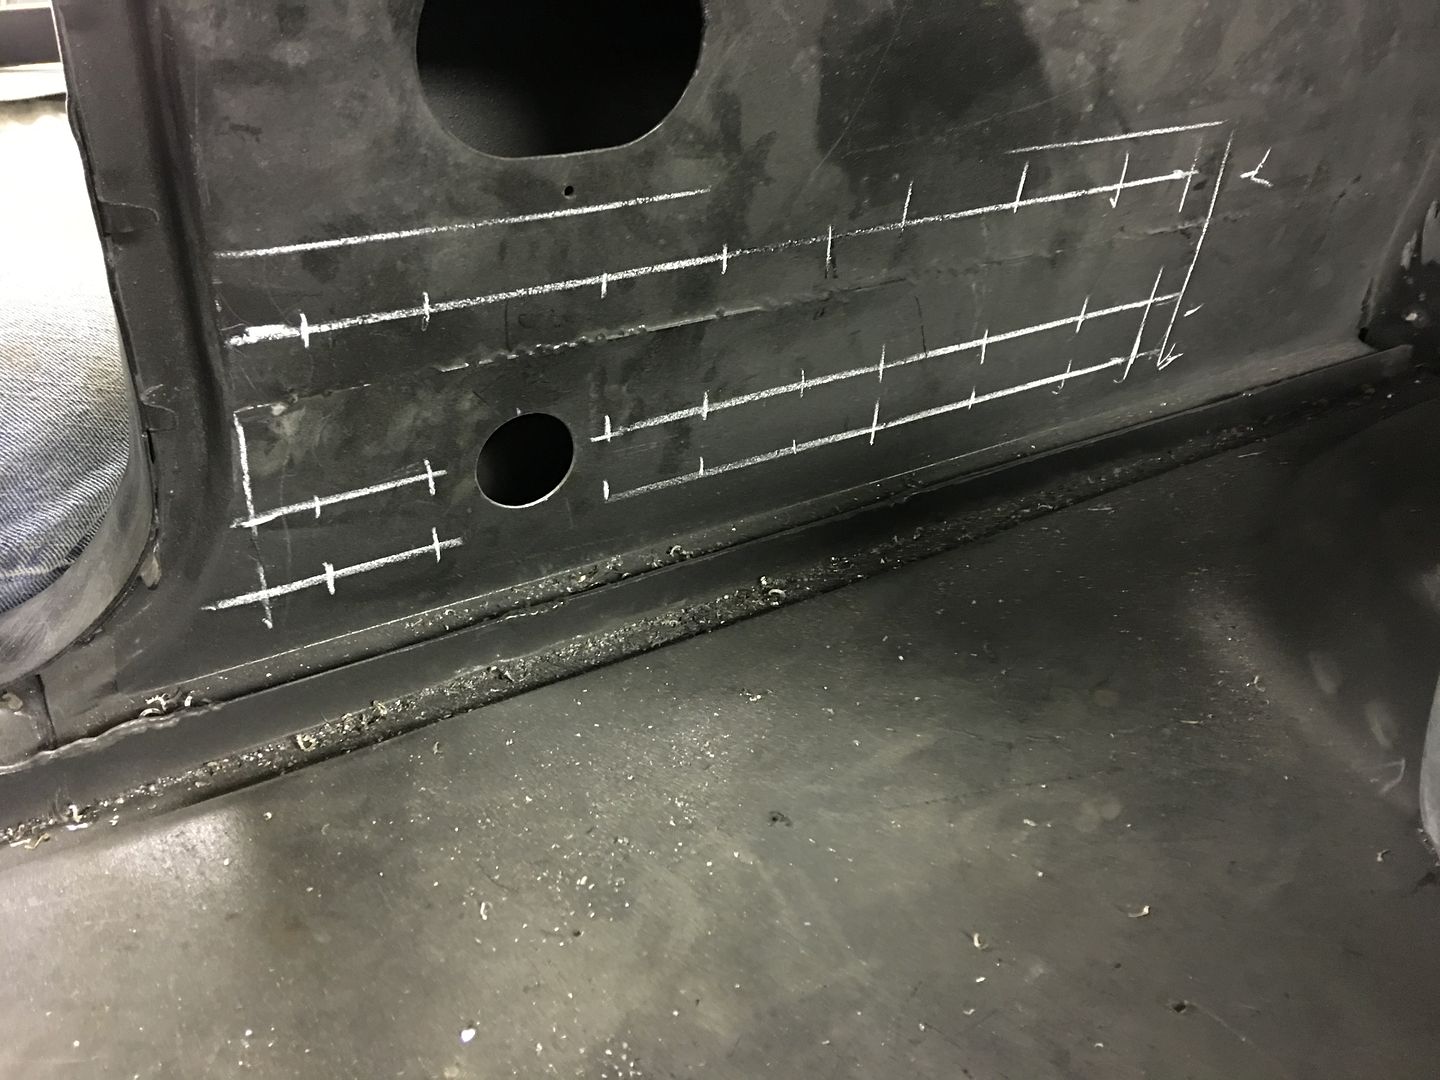
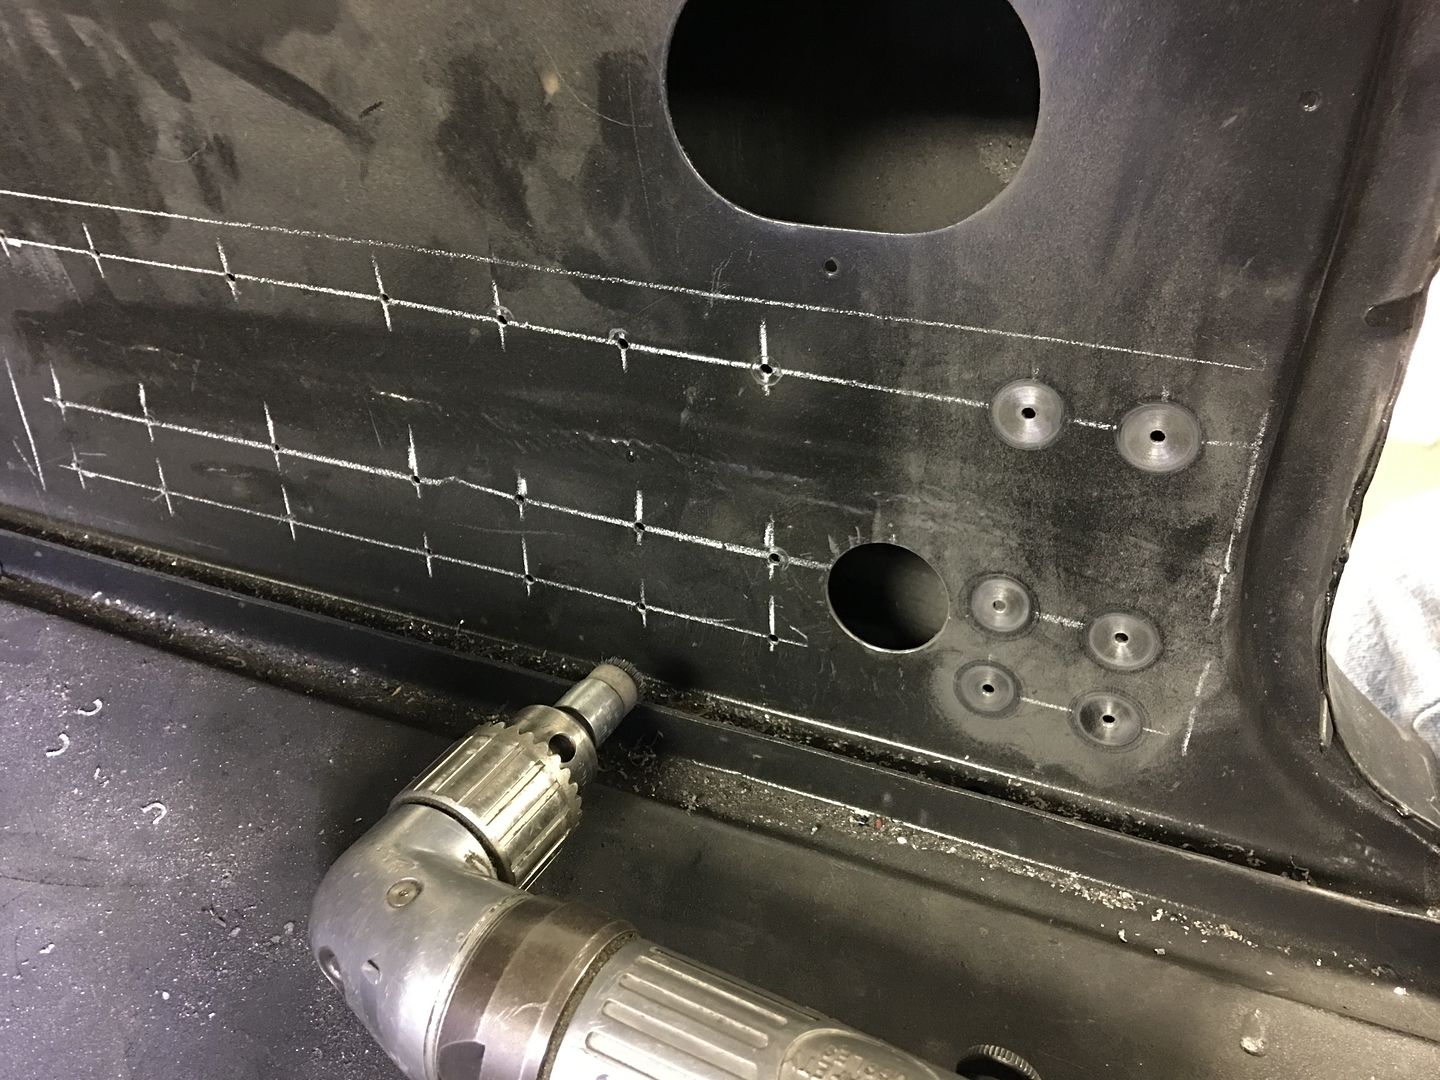
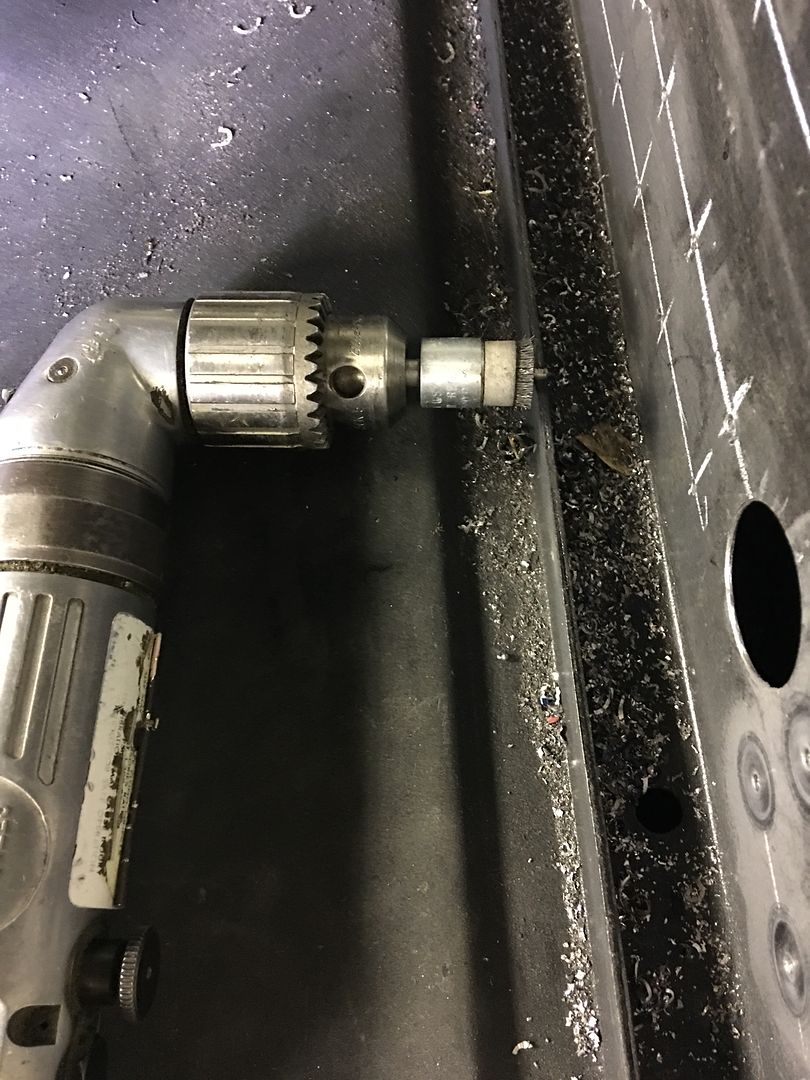
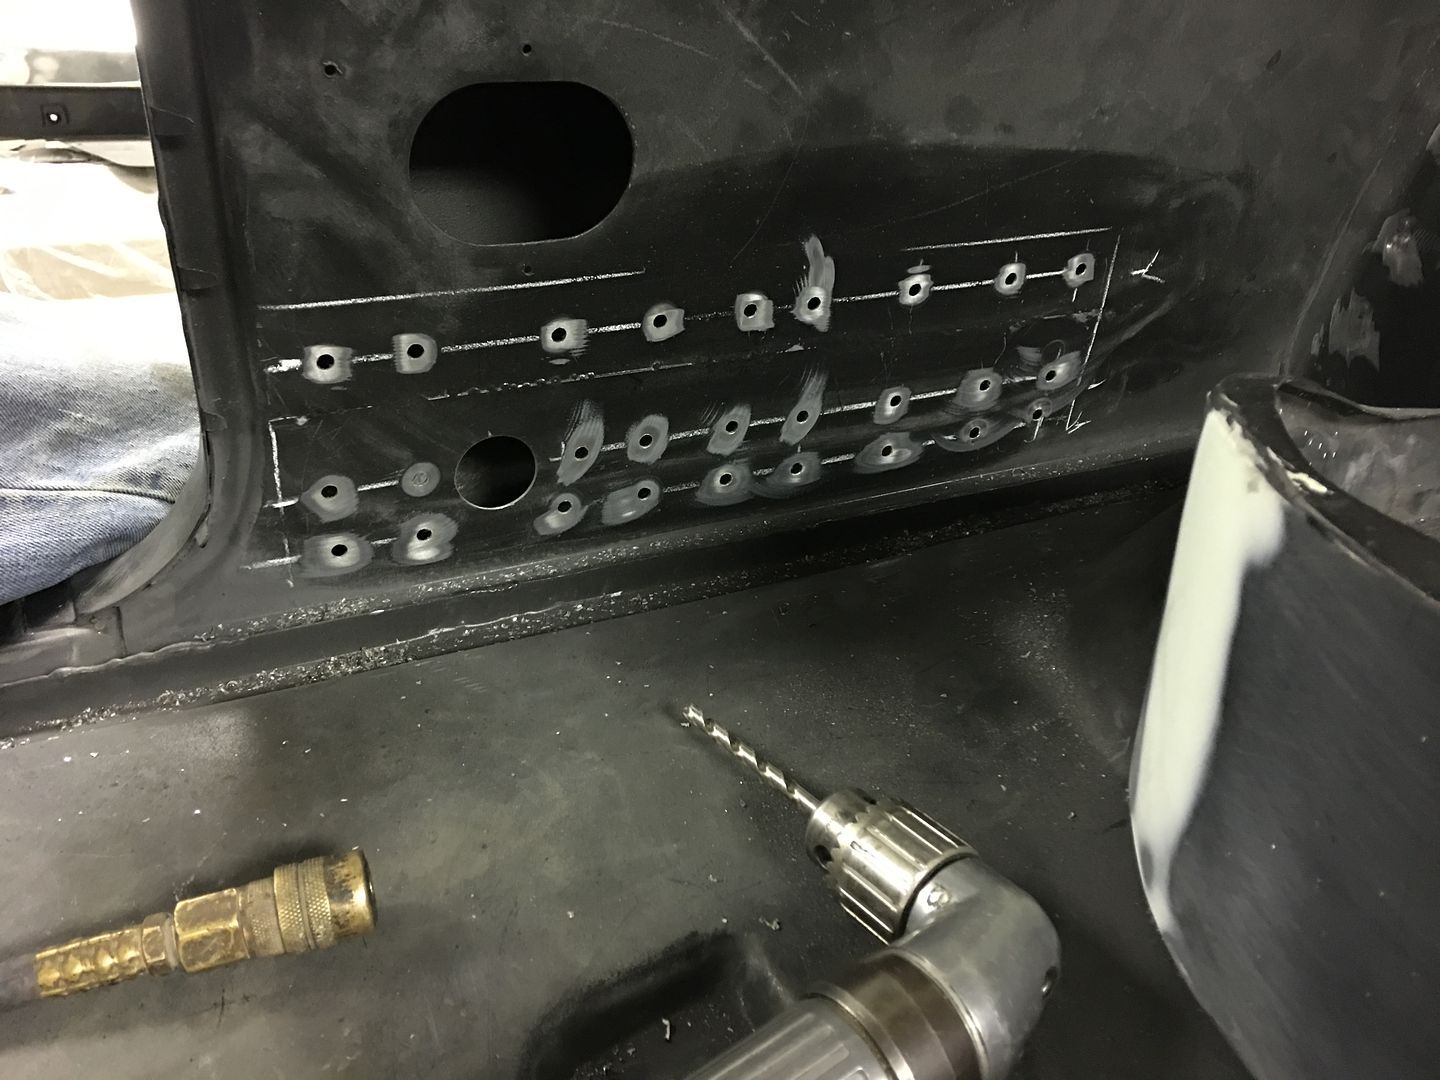
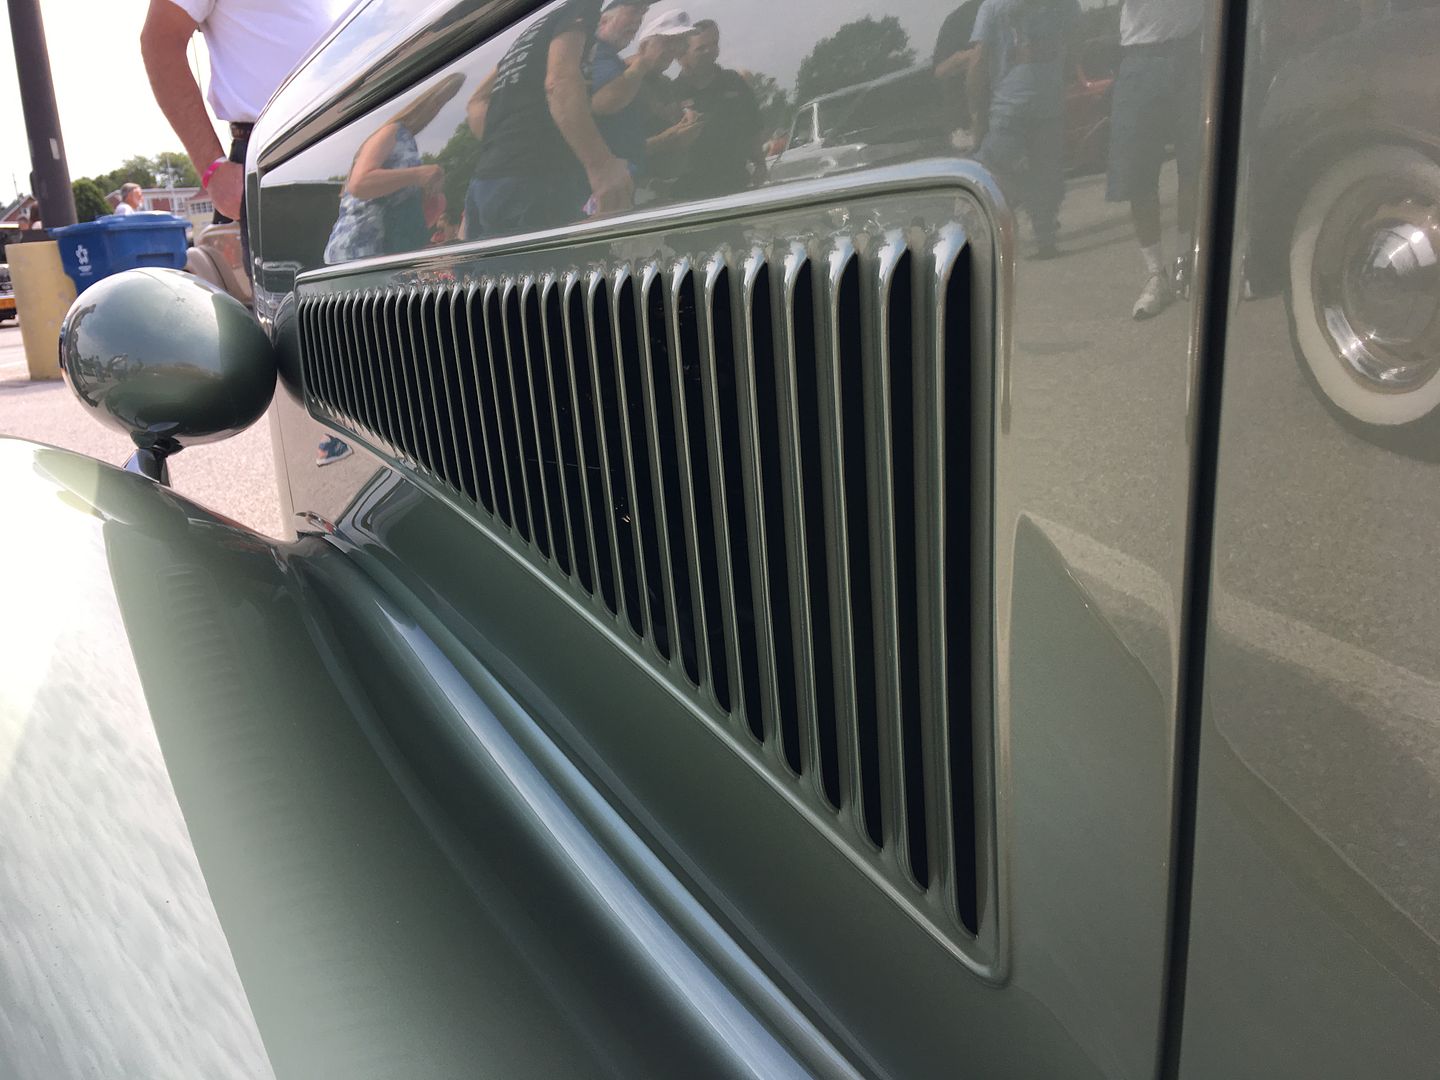
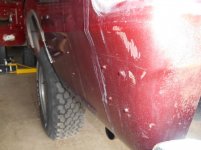
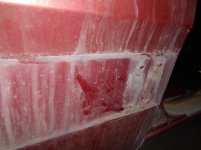
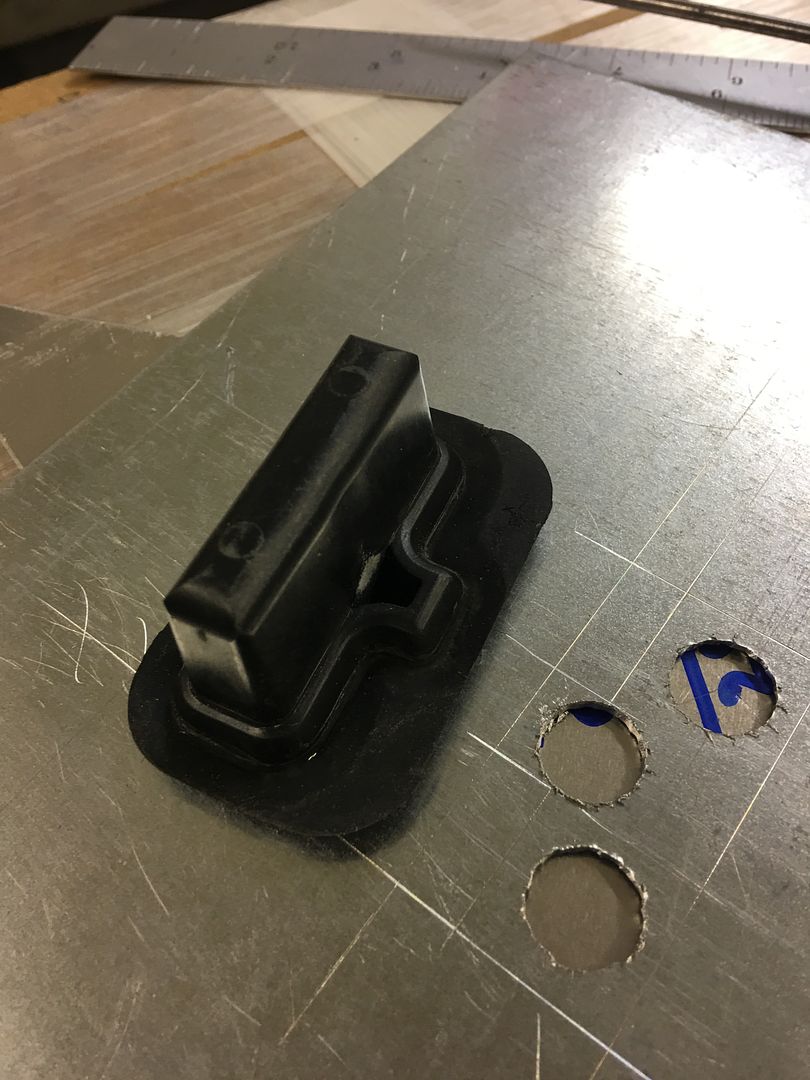
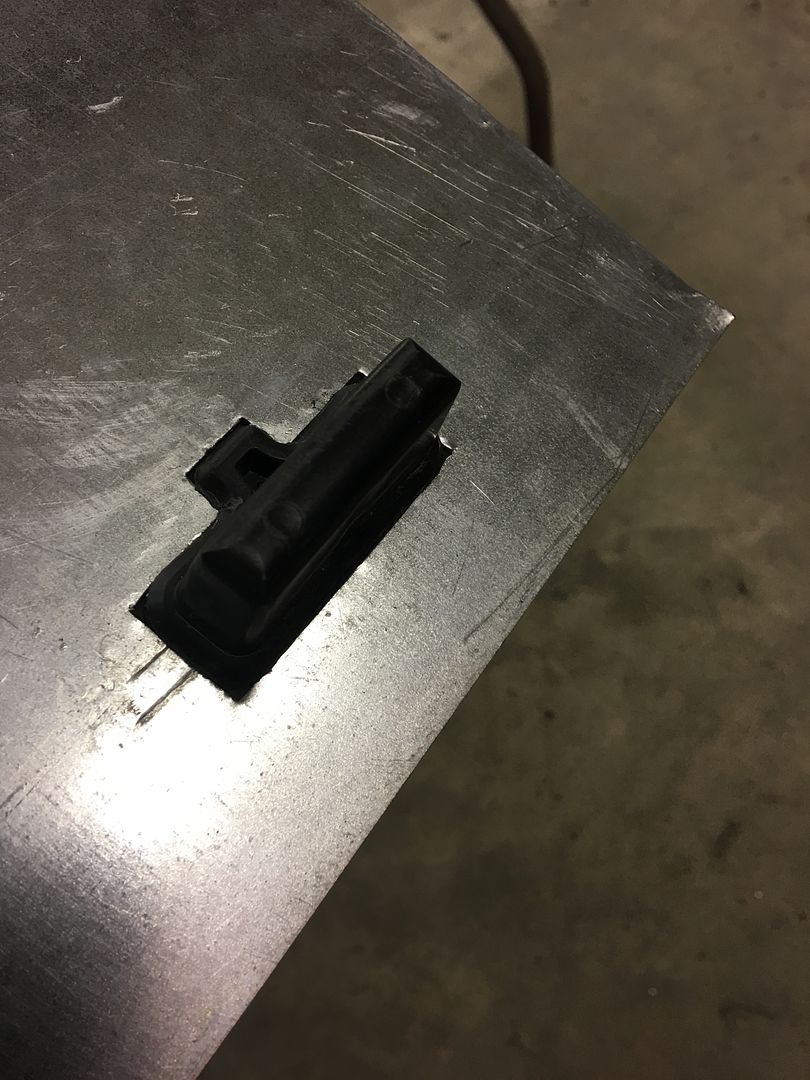
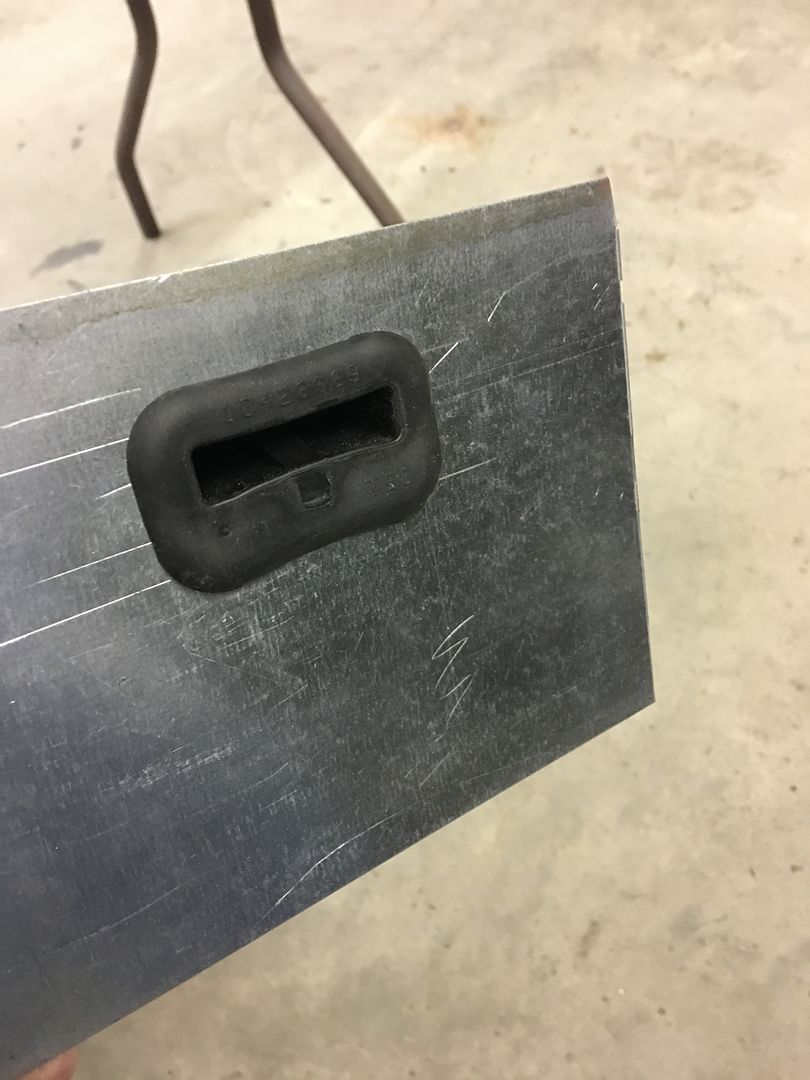
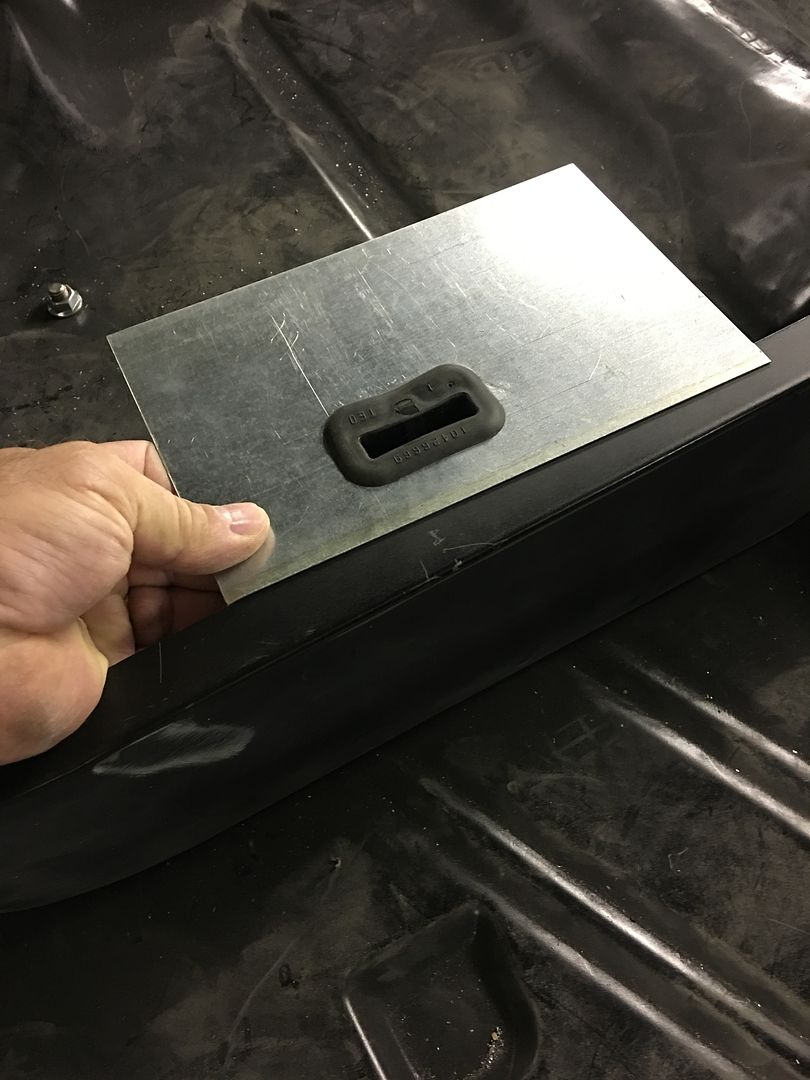
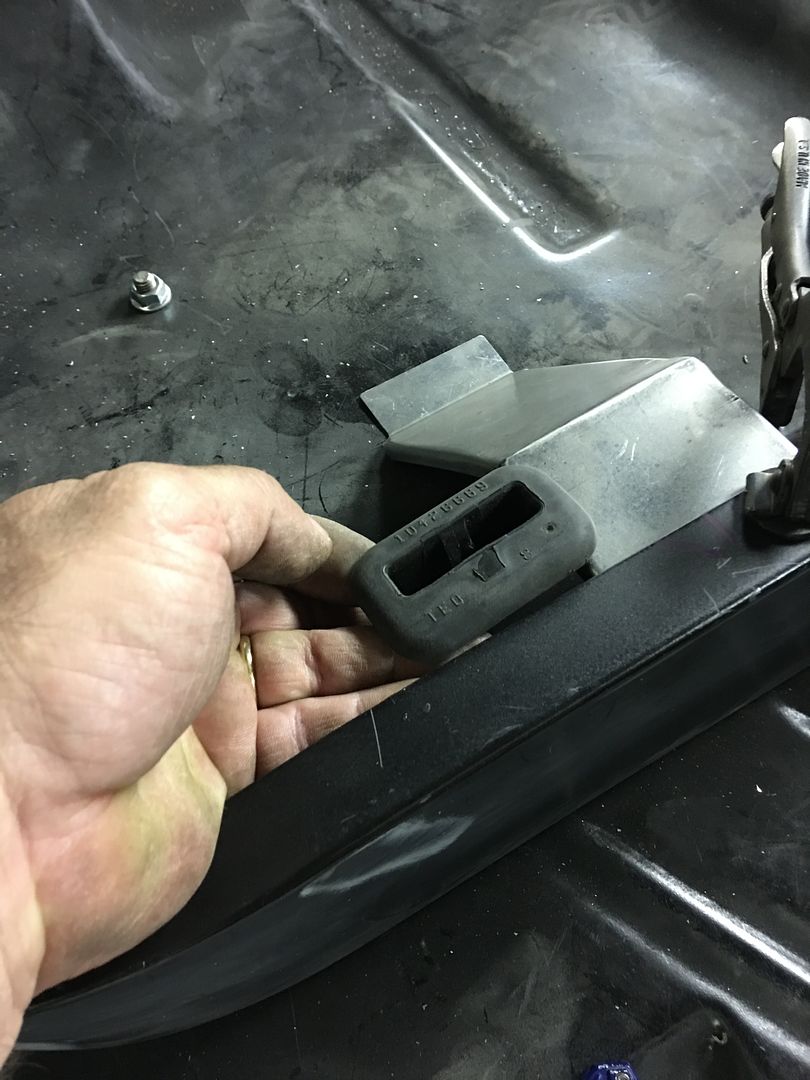
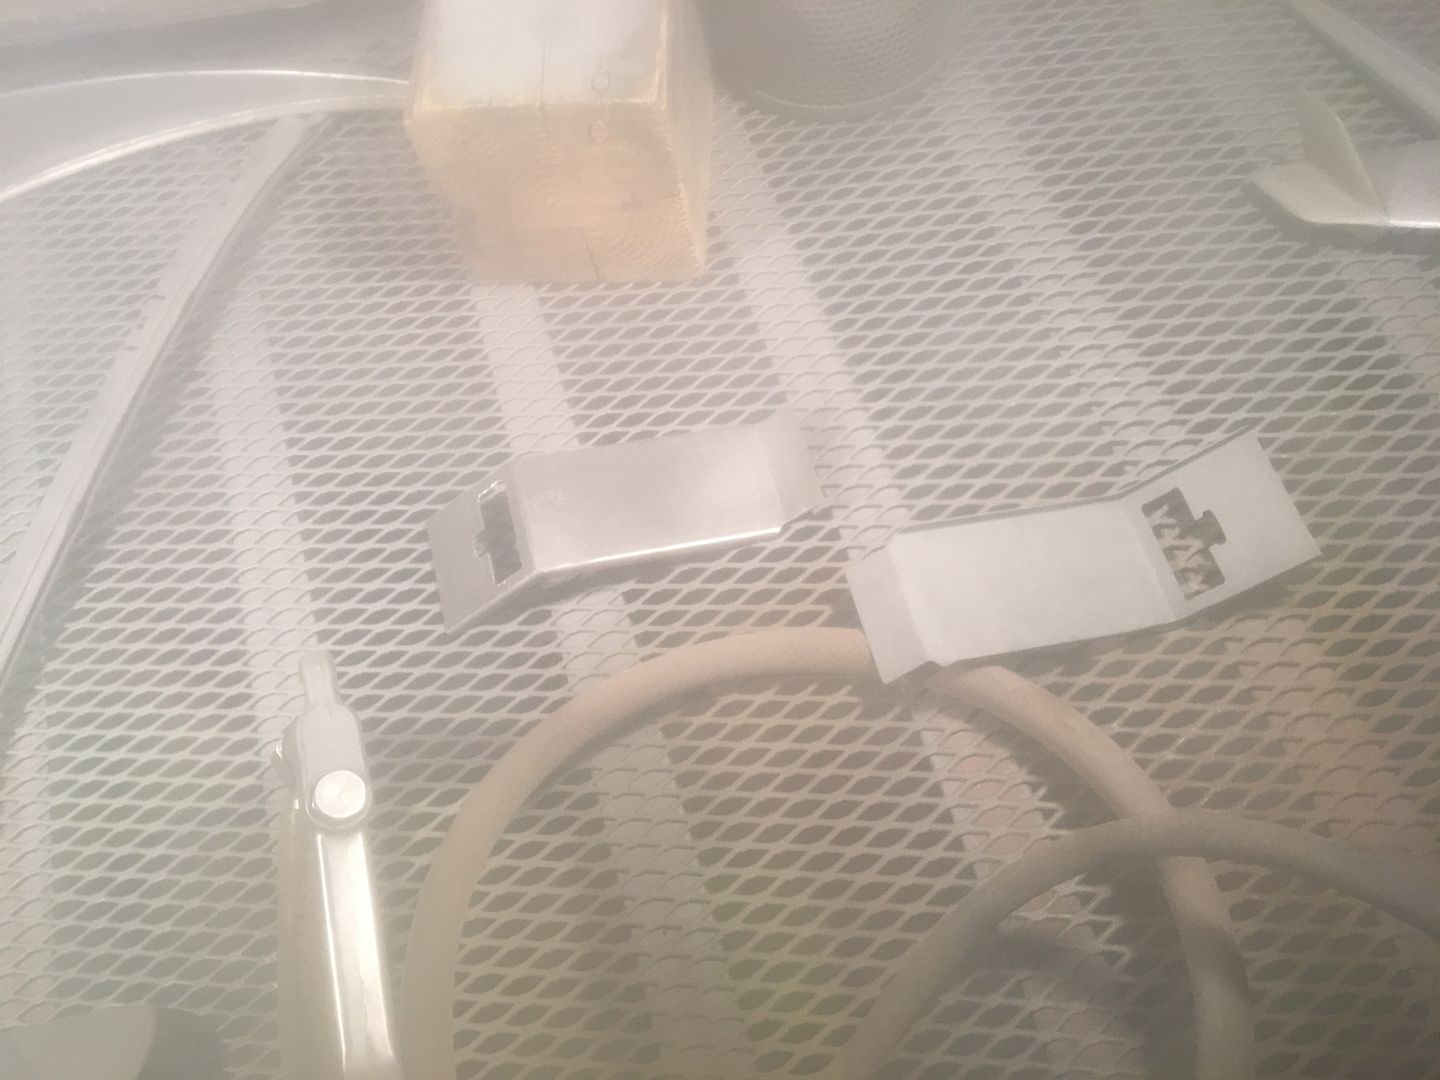
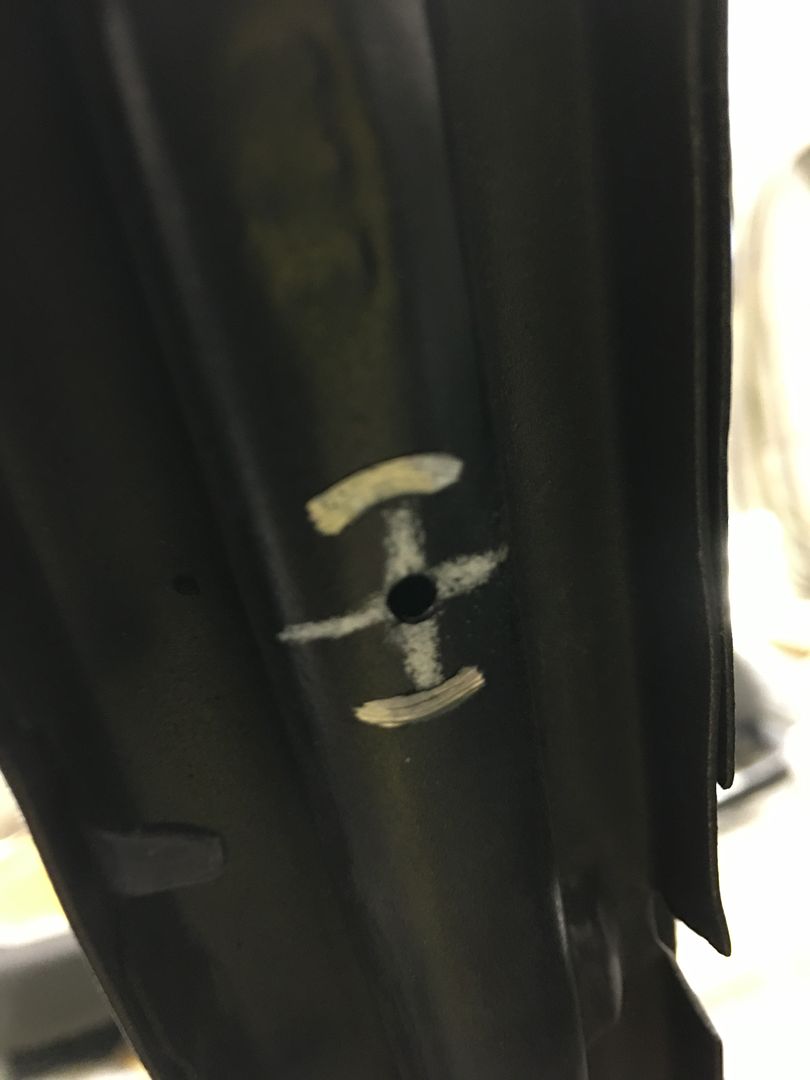
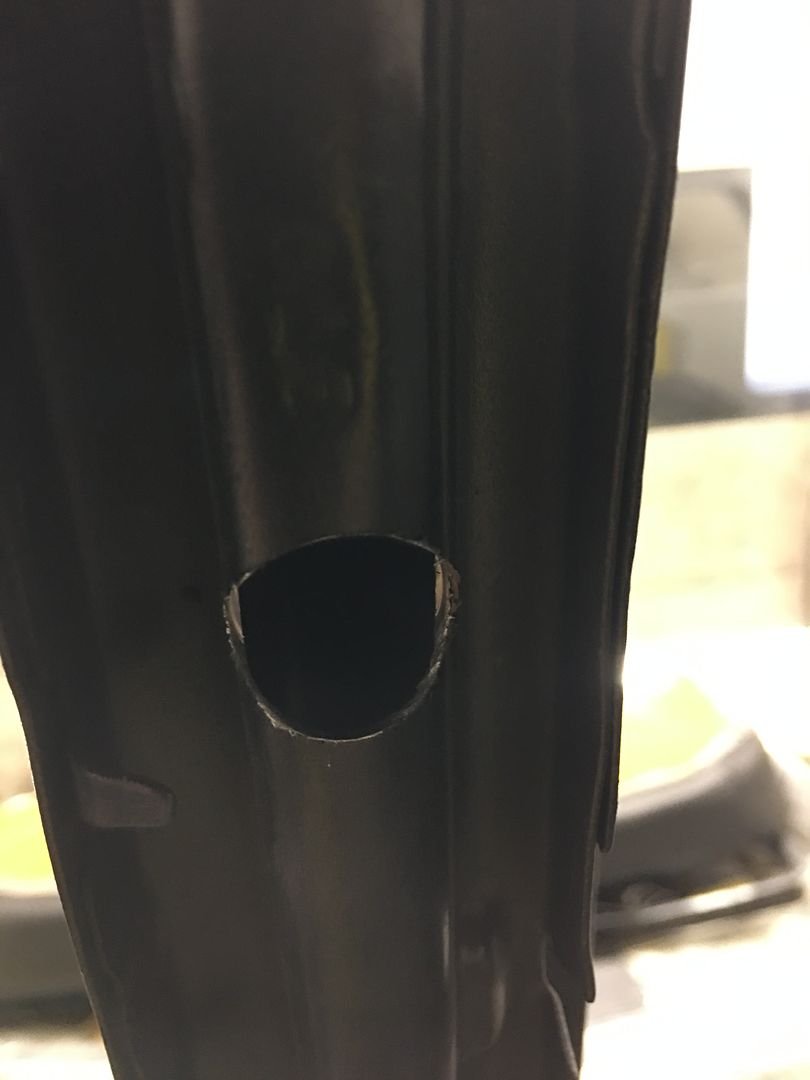
 There are a total of 78 of them on the truck. My goal is, of course, to do no damage to the sheetmetal and have a minimum of filling after.I have decided I want to remove as much of the SE trim as possible and clean up the truck.Every plastic clip is broken and it would cost around $300 just for the clips to replace them, plus the refurbishment of all the trim.I will have around 50 #8 trim screw holes to fill also.Your thoughts and advice are much appreciated!


I look at it as an "opportunity" to purchase a stud gun.
 So true!
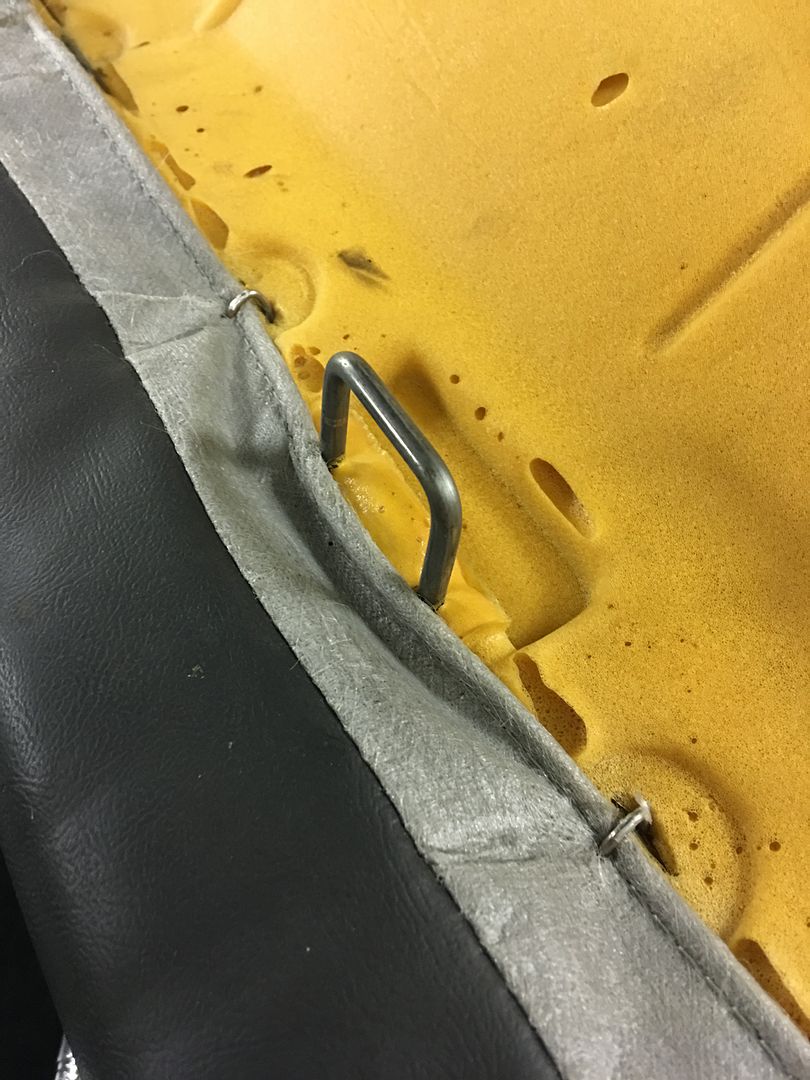


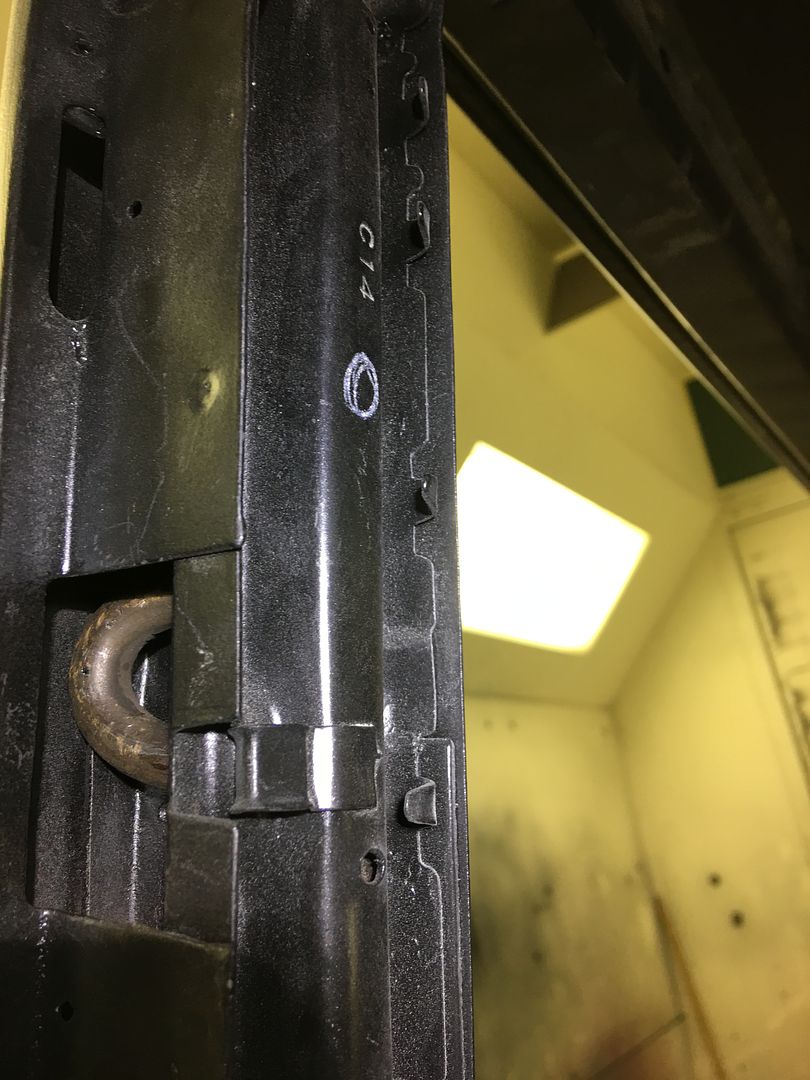
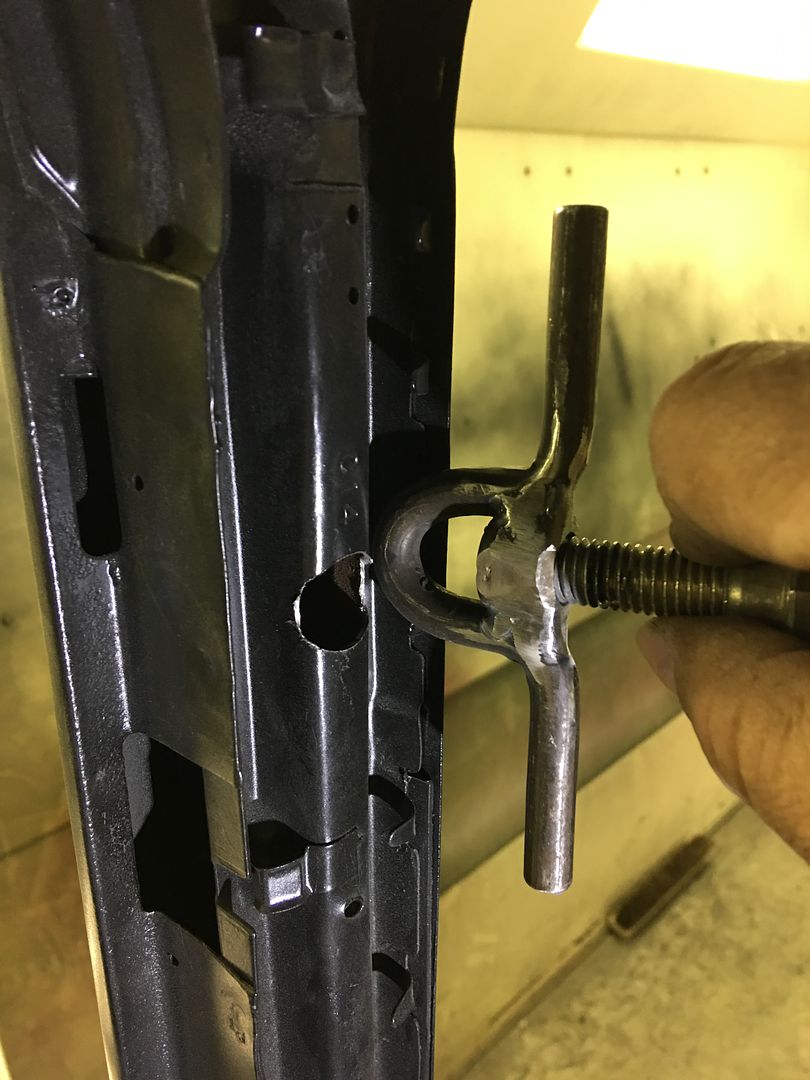


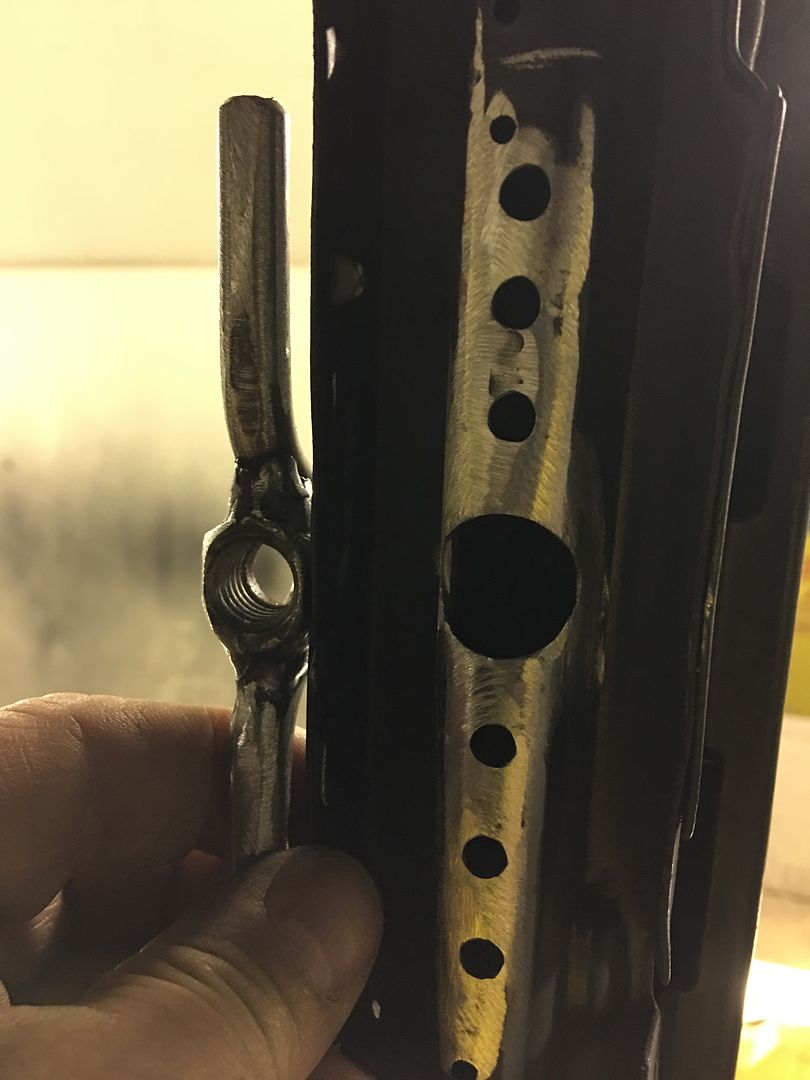
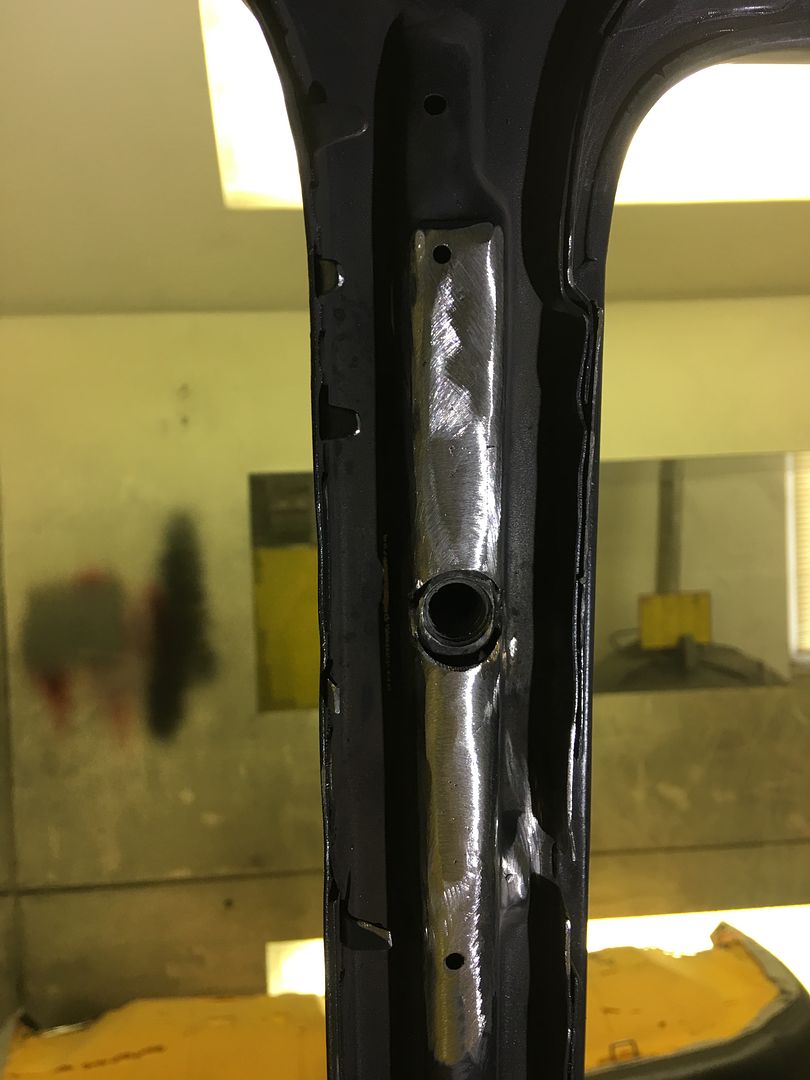
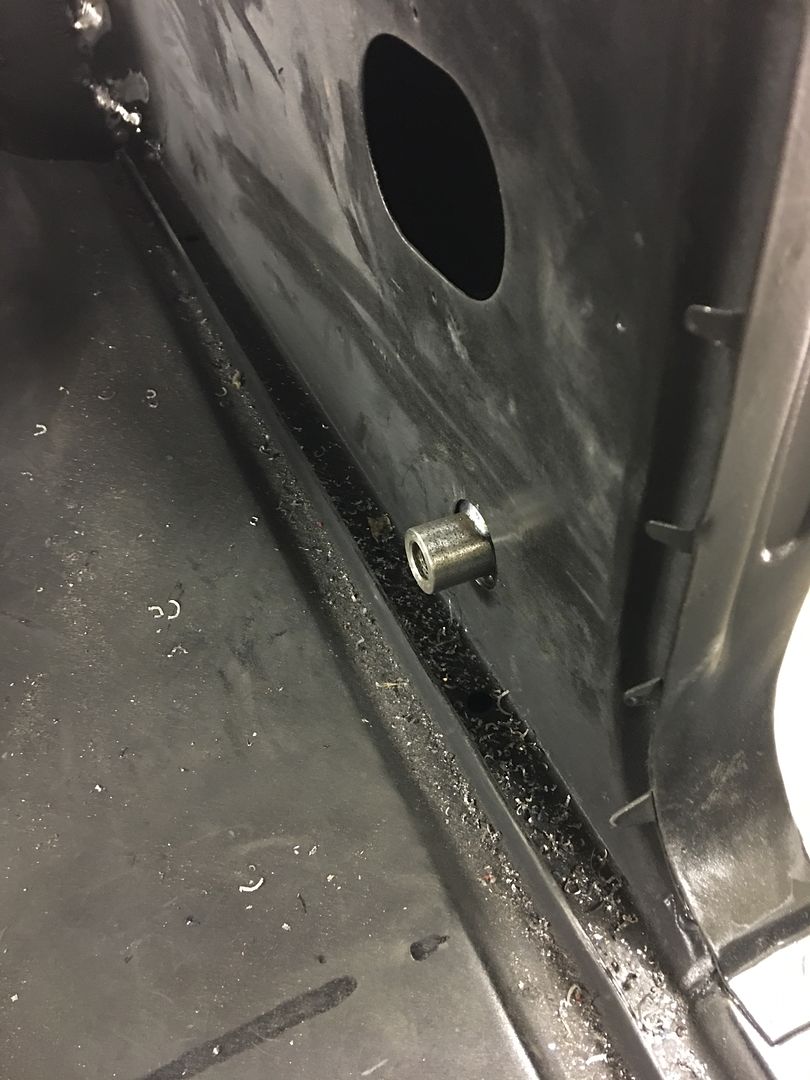
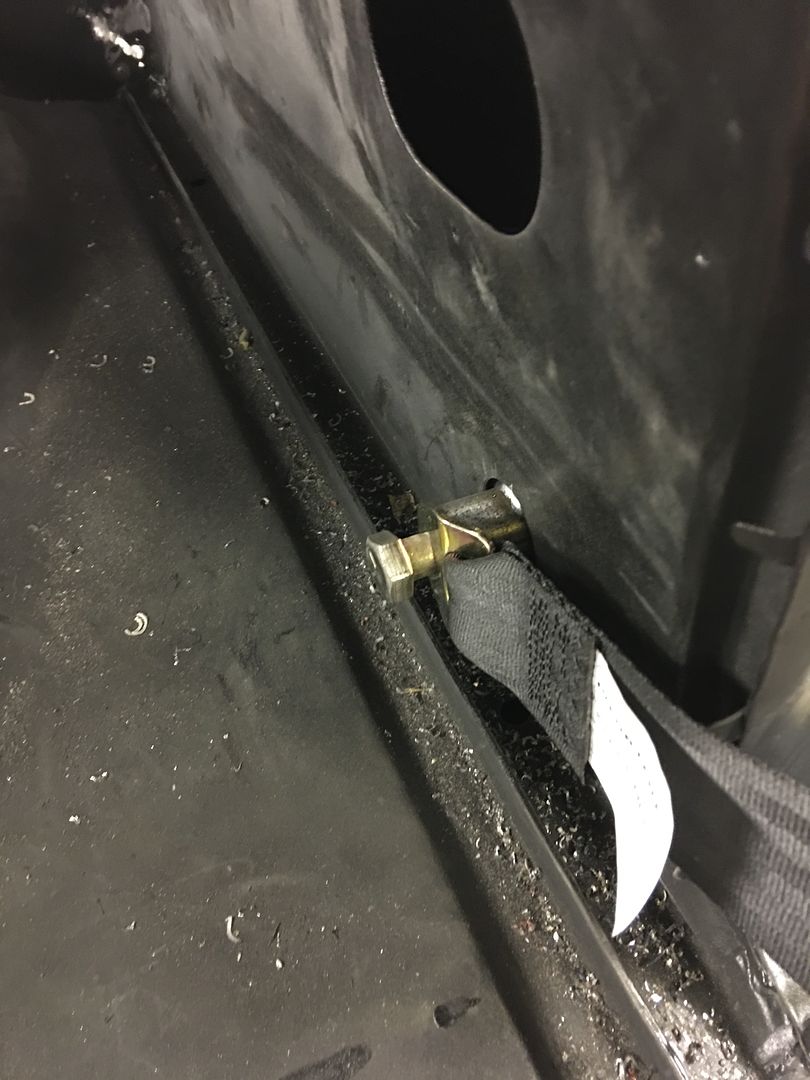
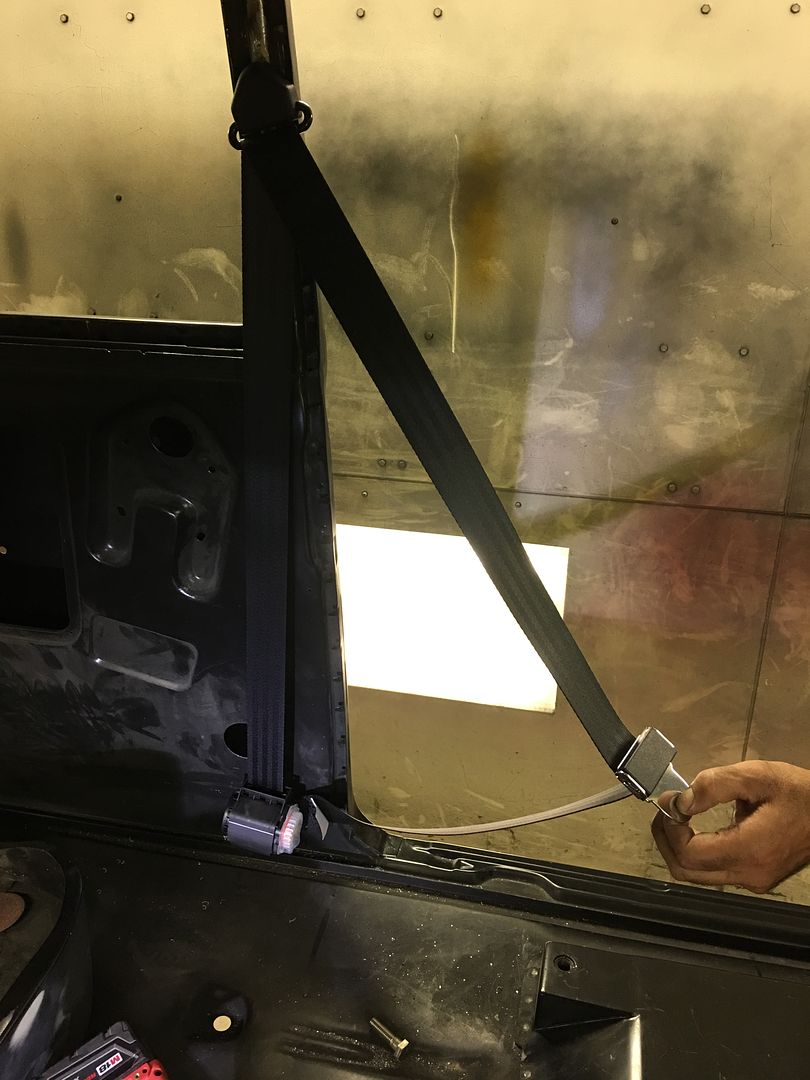
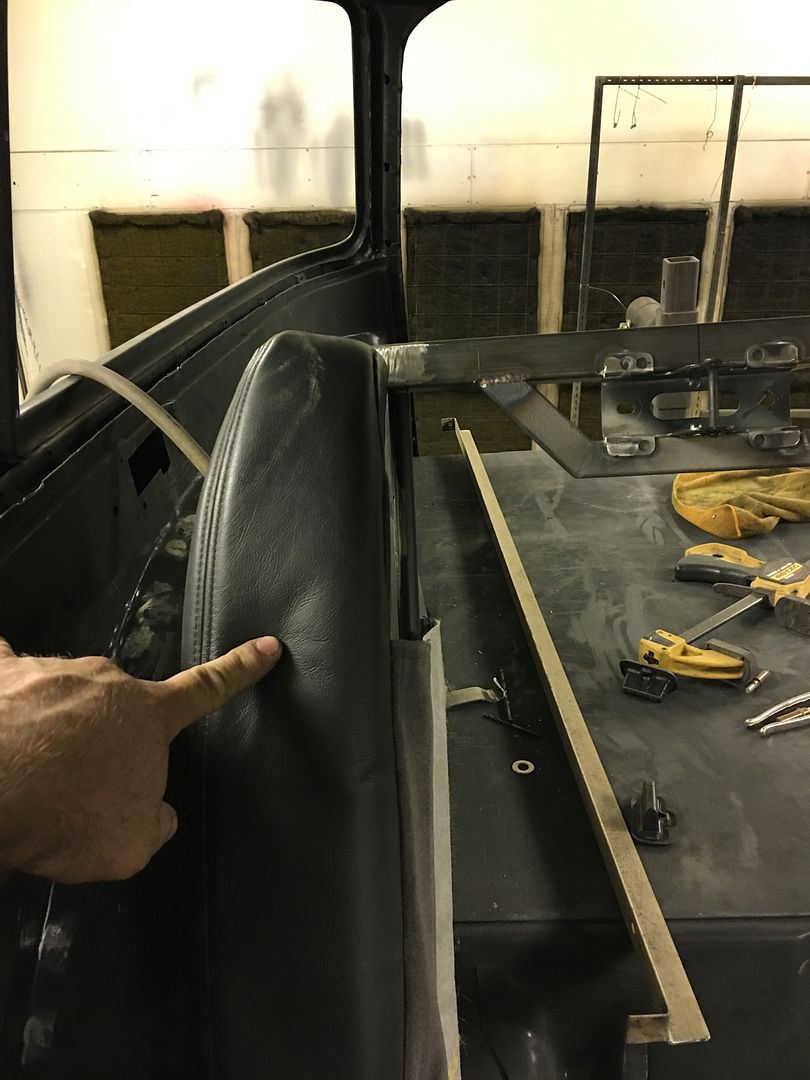
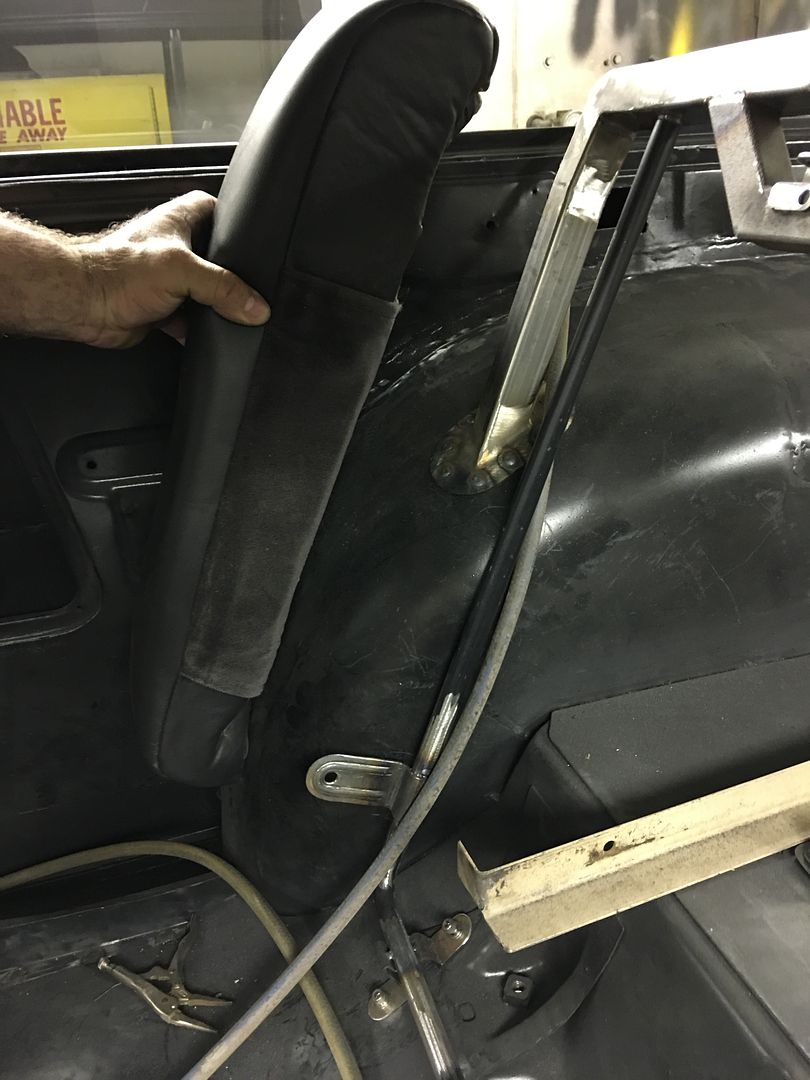


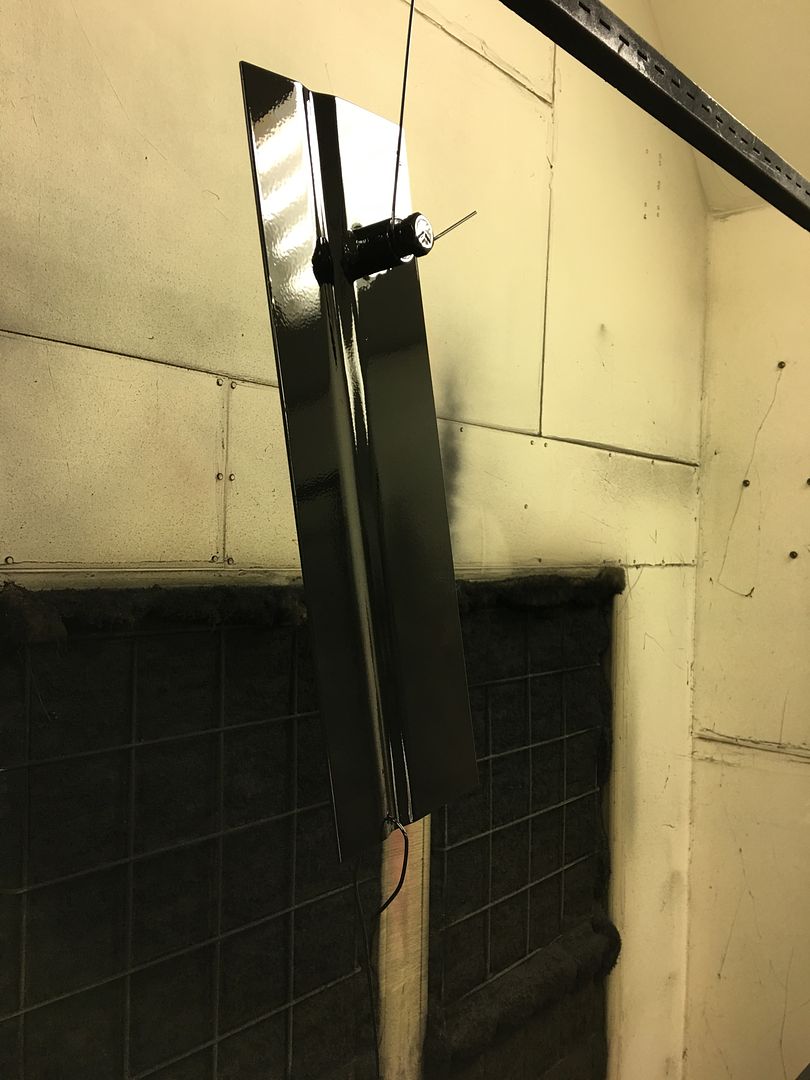
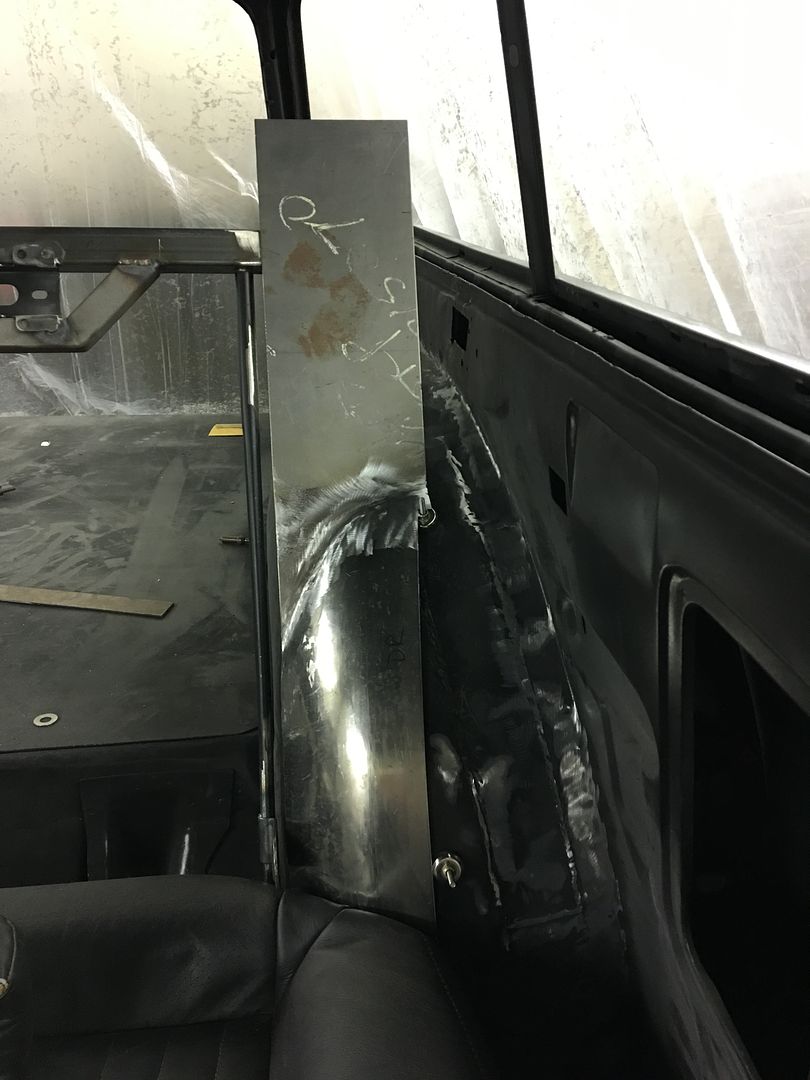
Came up through the bottom of the B Pillar inside the quarter panel. There's a flap of sheet metal covering the bottom opening, bent it down and out of the way. It was tight...