To avoid these ads, REGISTER NOW!

MP&C Shop Projects

JamieK

Well-known member
Joined
Aug 13, 2009
Messages
1,760
Location
Winston-Salem, NC
Yesterday I rode up to York PA for the final day of the Street Rod Nationals.. I went to see the Dave Thomas 35 Chevy in person, now that is was all painted in it's full glory.


IMG_3422.jpg

Gorgeous car, but what in the world is that truck in the background????
 
To avoid these ads, REGISTER NOW!
OP
M

MP&C

Well-known member
Joined
Oct 21, 2009
Messages
4,396
Location
Leonardtown, MD
That was an old International built for postal service as an armored car.. Was neat looking but quite rough..
 
Last edited:

dmcintosh

Well-known member
Joined
Jul 24, 2013
Messages
250
Location
Smyrna, DE
Morning. I've really enjoyed reading through this thread and appreciate your willingness to share your knowledge. I am starting on a project of my own, a 1966 Chevelle wagon, and will need to do plenty of sheet metal replacement. Can't say I have the expertise yet, but am working on learning all I can to do the job right.

So, my question is this. When starting a project like this, where do I start? Is there a 'proper' sequence of operations? My first thought is to start with floors and then work my way up from there, but to honest at times it all seems a bit overwhelming. Any sites/books to walk me through this process, and specifically that overall approach?

Thanks.
 
OP
M

MP&C

Well-known member
Joined
Oct 21, 2009
Messages
4,396
Location
Leonardtown, MD
Each situation may dictate a different approach, but typically I prefer to address the outer panels and door openings first. Like framing out a picture frame, with doors on hinges to check gaps prior to welding. The outer panels are what are most scrutinized, get them as close as you can first and then tackle the floor pans inside as they will be covered with carpet anyhow. If floors are done first it's possible any deviation may compromise fit of the outer panels. Again, this is not saying this approach applies to all vehicles. Just my convoluted way of thinking.

Not sure there are many step by step Restoration manuals on proper sequence for your wagon, perhaps a forum or Facebook group dedicated to that wagon would have someone willing to share some of the learning curve to point you in the right direction...

For general Metalshaping skills using primarily hand tools, a DVD by David Gardiner is about your best resource. Find them at www.metalshapingzone.com
 
Last edited:

laurie71

Well-known member
Joined
Apr 20, 2016
Messages
181
Location
Centerville, Ohio, USA
For general Metalshaping skills using primarily hand tools, a DVD by David Gardiner is about your best resource. Find them at www.metalshapingzone.com

I'd come across this before (perhaps through your shop thread Robert) but the web site looked a little broken down / unmaintained, so I used the contact form to enquire if the DVDs were still in production. I never got a response, so I never ordered.

I may take a chance and place an order anyway. In theory I should be able to get my money back from Paypal if the DVD doesn't show up.
 

Bopbop

Well-known member
Joined
May 25, 2016
Messages
180
Location
Savannah,Ga
Laurie71,
I ordered the DVD about a year ago and it took a few weeks to get it because he was on vacation. The DVD sales is a sideline business for him, his real business is coachwork.
For basic metal shaping with hand tools this is the best dvd out there.
If you go to youtube and do a search for David Gardiner metal shaping or "mindover3" you will find his work.
 
OP
M

MP&C

Well-known member
Joined
Oct 21, 2009
Messages
4,396
Location
Leonardtown, MD
I ordered from his web site and had no issue. They are shipped from U.K. So it will be a couple weeks delivery.
 

Mr onetwo

Well-known member
Joined
Apr 6, 2011
Messages
2,002
Location
Coastal Maine
Hey Robert, I just love the color on the Cody Walls 35! Do you happen to know if it is 1957 Cadillac No.96- Elysian Green Metallic?
 
OP
M

MP&C

Well-known member
Joined
Oct 21, 2009
Messages
4,396
Location
Leonardtown, MD
Not sure on the paint code but the light metallic green paint was rare back then, so if that's the code you got I would guess it's the only one. Was there a color chip with the code you looked at?
 

Mr onetwo

Well-known member
Joined
Apr 6, 2011
Messages
2,002
Location
Coastal Maine
Here is a chip of each of the colors I like.Your louvers look fabulous in paint by the way!!!
 

Attachments

  • merge_from_ofoct.jpg
    merge_from_ofoct.jpg
    77.9 KB · Views: 71
Last edited:
OP
M

MP&C

Well-known member
Joined
Oct 21, 2009
Messages
4,396
Location
Leonardtown, MD
Ok, you guys have heard me talk incessantly about the downside of using flanged seams in sheet metal repair, discussing the ghost lines that can and will occur with these type of repairs. Today I got a short video to show the effect. This car was neat as a pin, with extensive rust repair performed, in basically the same locations as the 55 we're working on. The only flaw I could find in the paint was a line in the finish where the rear tailgate repair patch was seamed. I asked the owner if he had used flanged seams in the repair, and he said yes. He did offer for me to take pictures that others may learn from it..

**** welds people!!!!!!!


.
 

shortykorte

Well-known member
Joined
Sep 1, 2014
Messages
8,034
Location
Tallahassee, Fl
Interesting and thanks for the example. When fitting the insert patch, have the pieces touching or a slight gap?


Sent from my iPhone using Tapatalk
 

RonnieJ-57

Member
Joined
Feb 11, 2015
Messages
9
Great work. I have the Gardiner DVD and he too says **** weld. However, he does say that gas weld is the best way. Can you comment. His concerns are brittle joints and thin metal.
 
OP
M

MP&C

Well-known member
Joined
Oct 21, 2009
Messages
4,396
Location
Leonardtown, MD
Thanks for the comments and questions


Interesting and thanks for the example. When fitting the insert patch, have the pieces touching or a slight gap?


Sent from my iPhone using Tapatalk


Weld process produces a slight shrink. Gaps tends to allow this shrinking process to pull the panels closer together, further risk of losing crown of the panel. My preference is to use absolute tight **** joints with no gap. Results sometimes vary, so get it as close as you can. For TIG or OA, the tighter the better, as any gap may tend to blow a hole..


Great work. I have the Gardiner DVD and he too says **** weld. However, he does say that gas weld is the best way. Can you comment. His concerns are brittle joints and thin metal.


I can't dispute that, but I personally do better at the welding part in using a TIG than the gas welding. I'd recommend to use the process that works best for your skill set. If that is gas welding, great!
 

Toothaker

Well-known member
Joined
Nov 25, 2016
Messages
1,367
Location
Wichita, Kansas
[snip] .. but I personally do better at the welding part in using a TIG than the gas welding. I'd recommend to use the process that works best for your skill set. If that is gas welding, great!

I'm sure you've answered this before, but "TIG"? I thought the sheet metal welding work you've been documenting and sharing you were doing MIG. I must not be paying attention.
 

SteveH-CO

Well-known member
Joined
Aug 29, 2014
Messages
283
Location
Southern Colorado
Neat video - didn't crack the paint or filler, but shows the line. I have only ****-welded, but I wouldn't have guessed a flange would allow/create this. Good reminder.
 
To avoid these ads, REGISTER NOW!
OP
M

MP&C

Well-known member
Joined
Oct 21, 2009
Messages
4,396
Location
Leonardtown, MD
Back to the grind, took delivery of the bus with the cracked hood this past Wednesday.


IMG_3218.jpg


After removing headlights, I ground out the cracked areas, which relieved the tension and allowed the panels to lay flat again. Epoxy was used between the outer and inner layers, clamped, and let things set up.


IMG_3811.jpg


After a couple layers added....


IMG_3815.jpg


Left this to cure in the sun for a couple days, then back at it on Saturday.


Ground smooth and hopefully the last layer added...


IMG_3833.jpg


IMG_3840.jpg


Back on the wagon, we needed to close off the back side of the rear seat.. We have some square tubing to use but needed a radius bender. The upper part of the buffer stand looks like it may work. As I've told Mike, everything is a tool..


IMG_3822.jpg


Add a welder and a piece of round stock for an anchor...


IMG_3824.jpg


First test...


IMG_3825.jpg


Four pieces needed...


IMG_3827.jpg


All TIG welded together...


IMG_3839.jpg
 
OP
M

MP&C

Well-known member
Joined
Oct 21, 2009
Messages
4,396
Location
Leonardtown, MD
Good...hopefully this little exercise will be useful to others.I found a complete set of spears for $250, but I just am not sure about attempting this.So torn as to what I want to do with the RC ultimately.

Finally cornered the Snap On guy after me being gone on vacation. The trim rivets look like they will do the trick, I believe there is only one standard size/length. :dunno:

This package contains 500, and I doubt me ever using all of them, so if the test of these works, I'll make you a deal on however many you need...


IMG_3858.jpg


The tip for installing clamps in my dent puller. The center has a spring loaded center pin, much like some of the spot weld drills..


IMG_3859.jpg


IMG_3860.jpg


Will get to our "test" hopefully on Thurs night...
 
OP
M

MP&C

Well-known member
Joined
Oct 21, 2009
Messages
4,396
Location
Leonardtown, MD
Made a set of C-pillars for a 56 wagon, they weld into the window opening and separate the fixed rear wrap around window from the roll down window for the back seat..


IMG_3871.jpg


This is where they locate...


IMG_3864.jpg


IMG_3865.jpg


IMG_3866.jpg


Meanwhile apprentice E is prepping some bus parts for paint, here working on a back bumper...


IMG_3868.jpg
 
OP
M

MP&C

Well-known member
Joined
Oct 21, 2009
Messages
4,396
Location
Leonardtown, MD
I wish they made it with the crowned face so I didn't have to cut and weld my other hammer out of neccessity. Most of the space constrained areas, like inside a quarter panel, require a crowned hammer due to the shape of the panel there. So this hammer has a more limited use over a similar crowned hammer. But I have it if needed :lol: It does have more mass around the handle hole area to make up for the missing weight of the upper portion, so it still weighs about the same as their other hammers.
 
Last edited:
OP
M

MP&C

Well-known member
Joined
Oct 21, 2009
Messages
4,396
Location
Leonardtown, MD
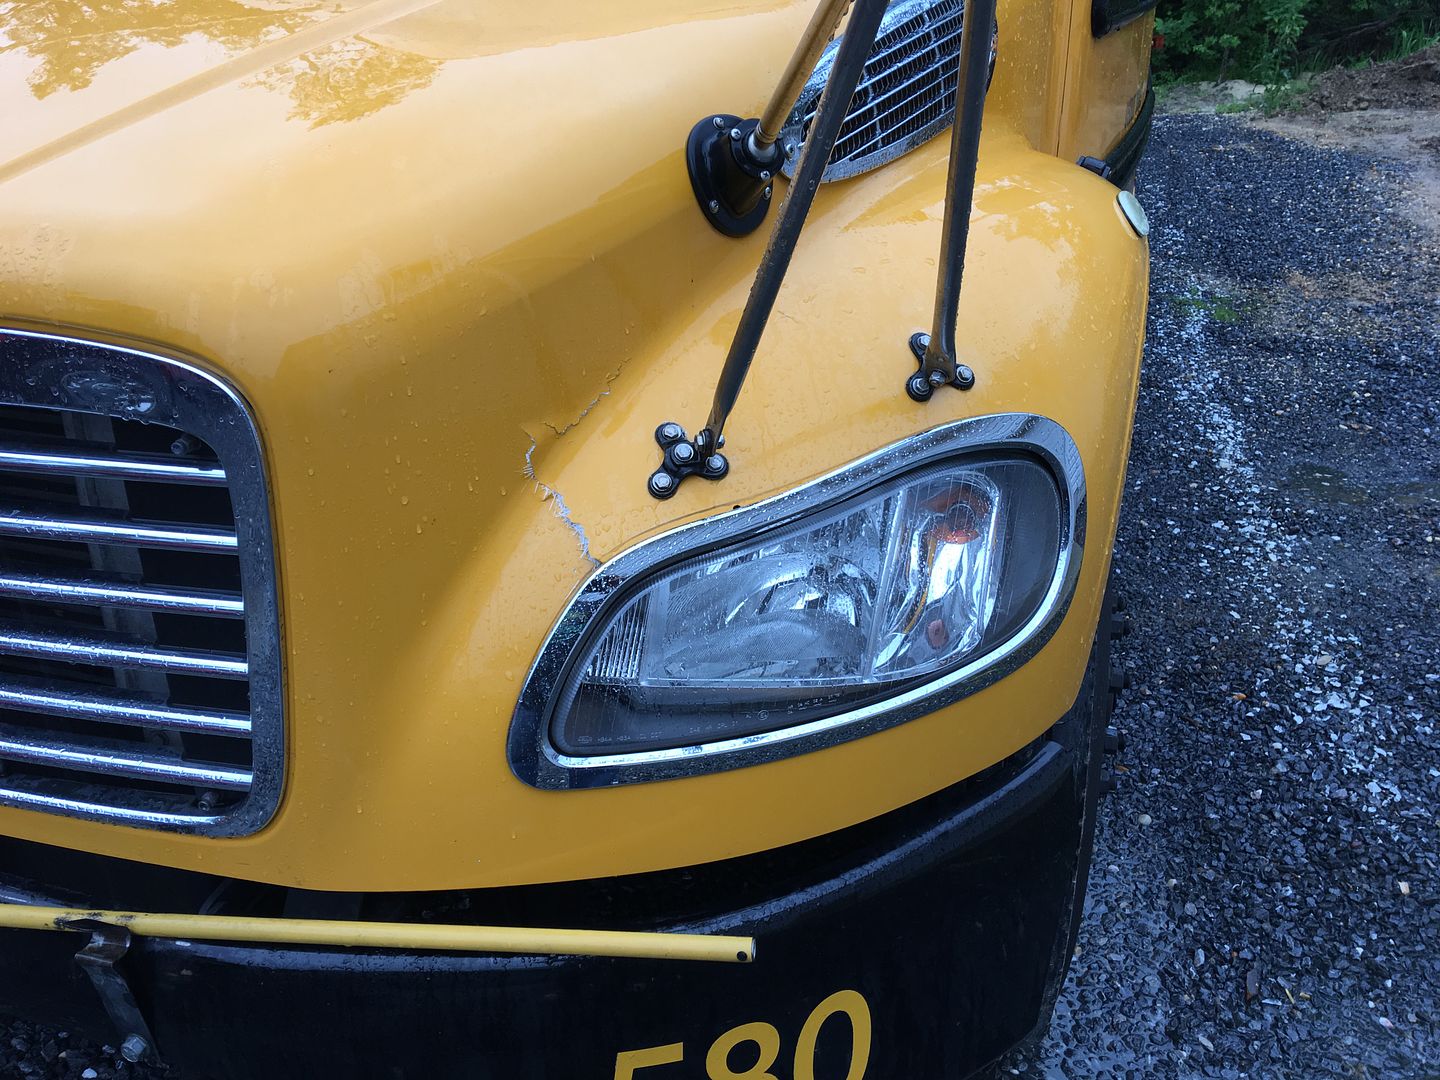
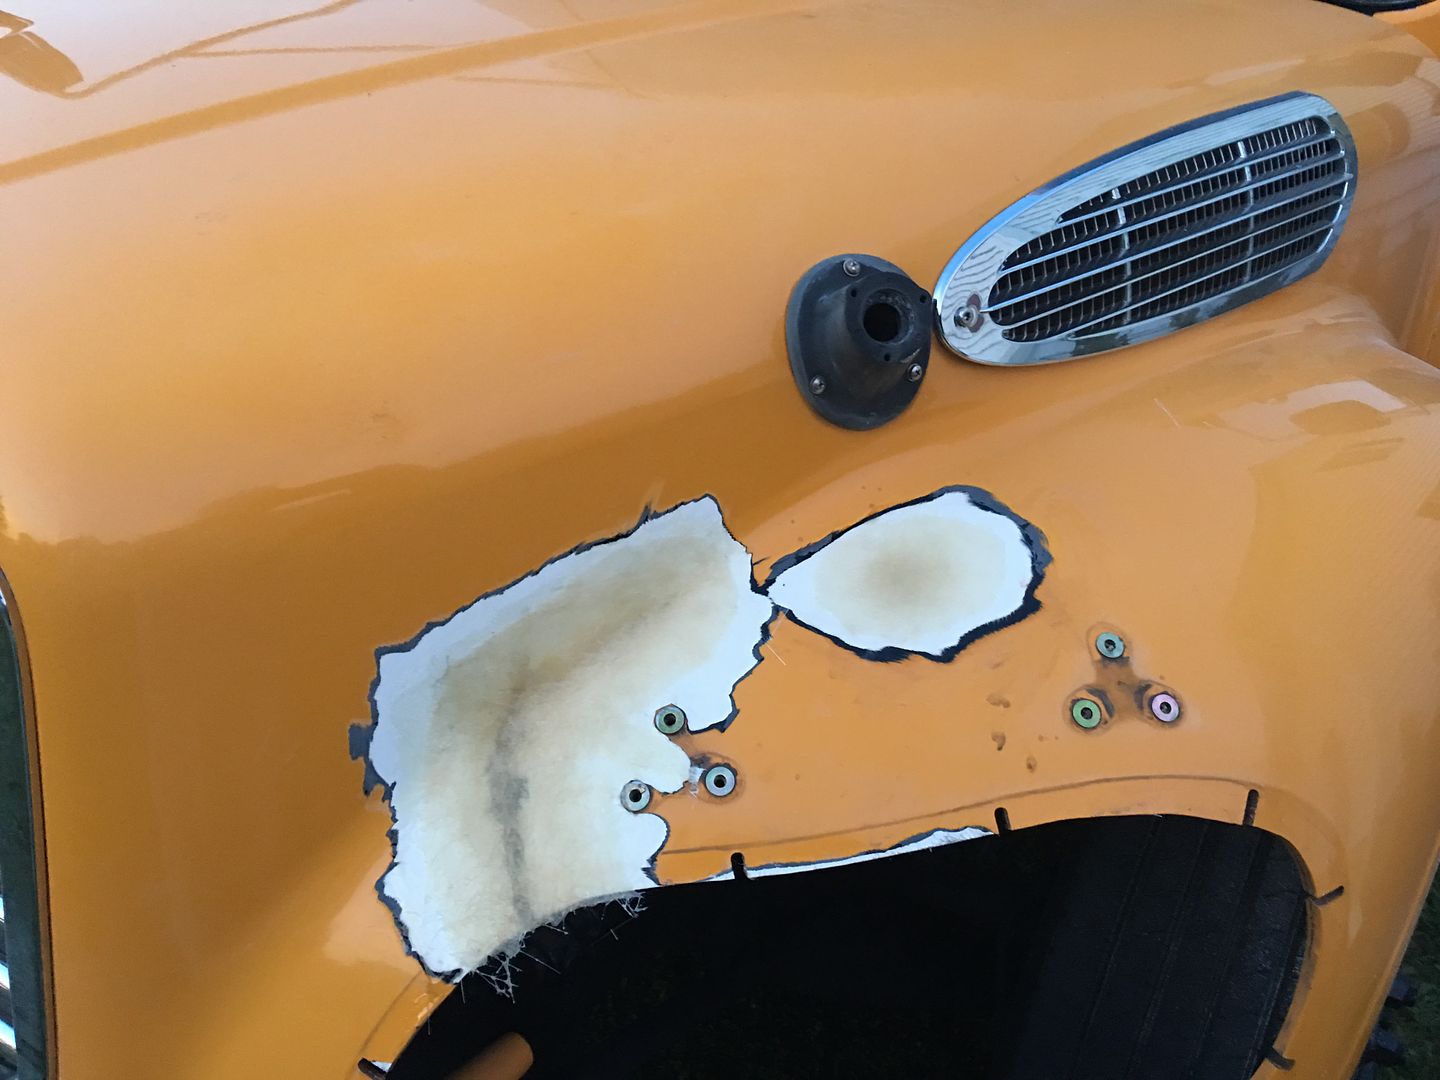
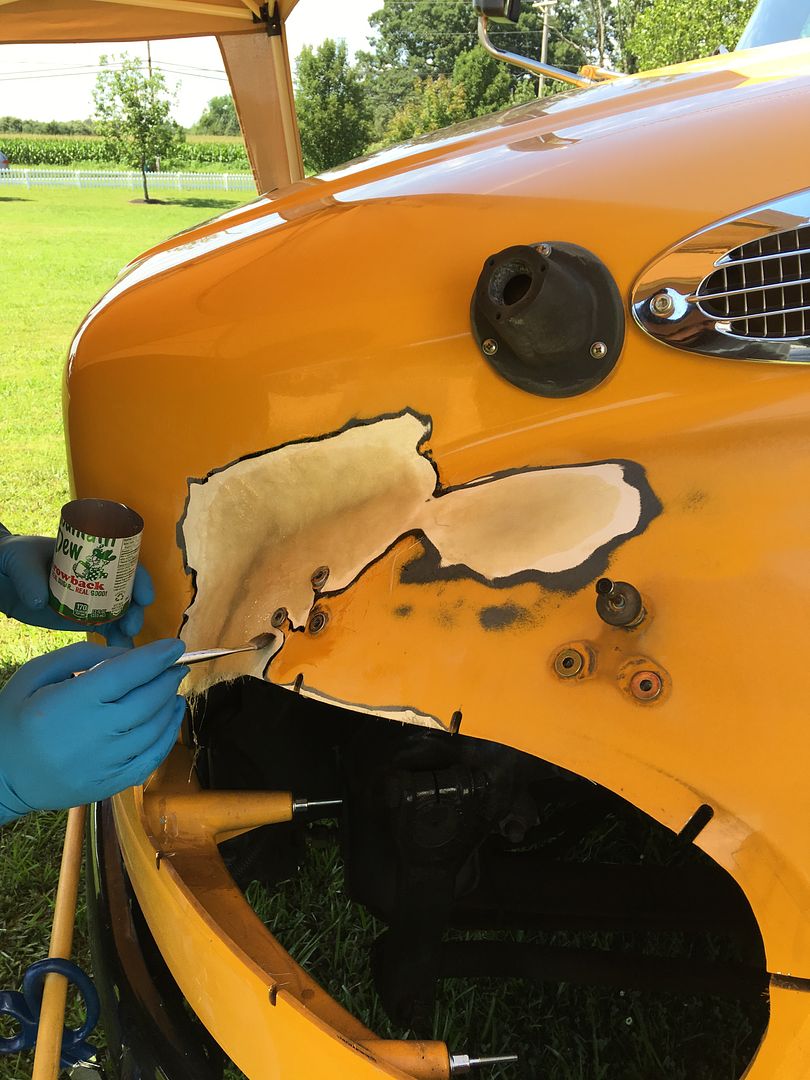
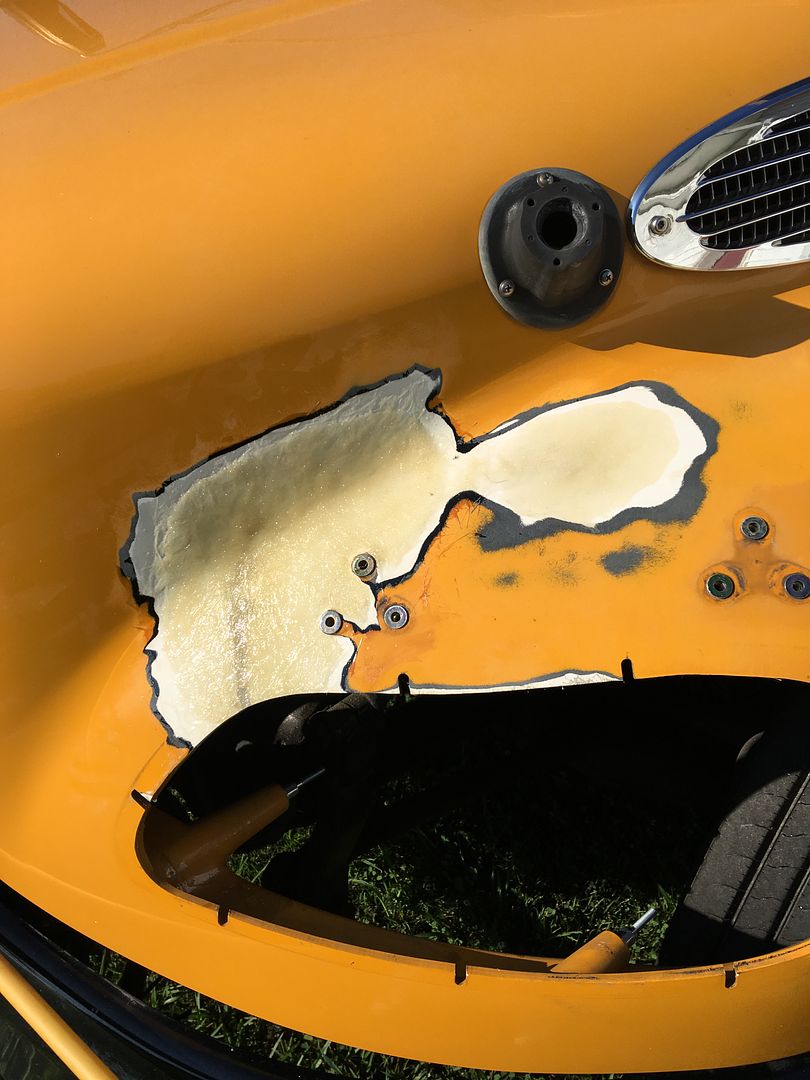
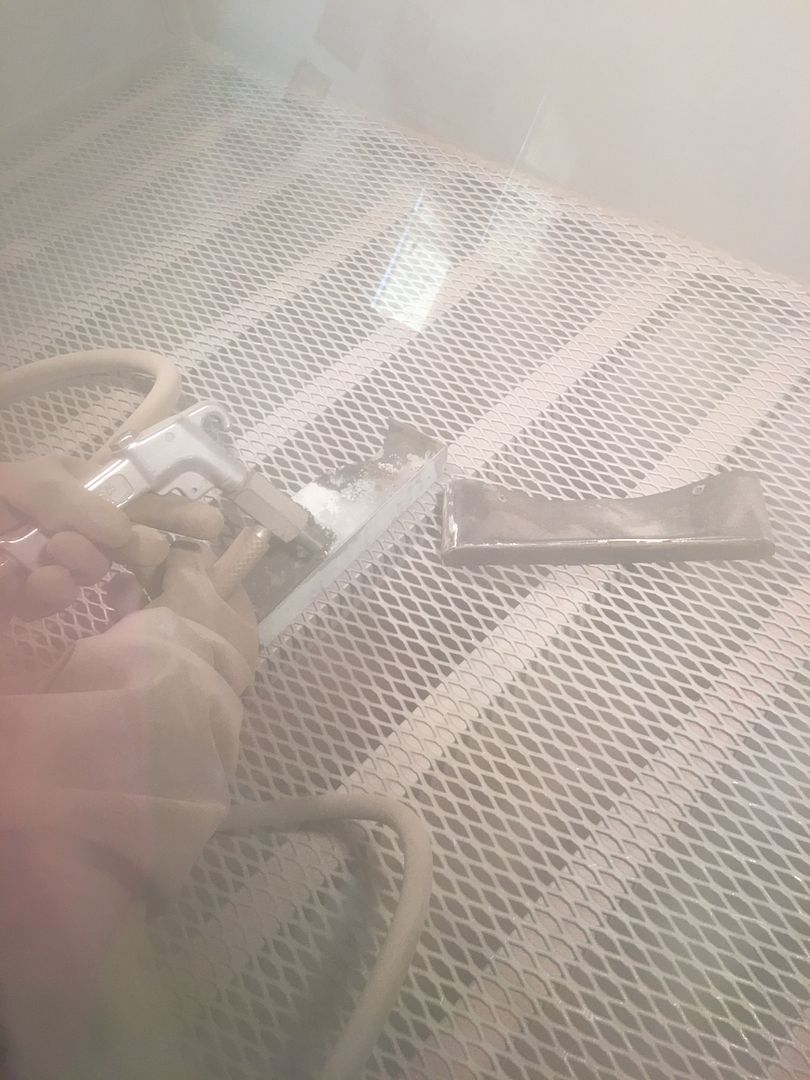
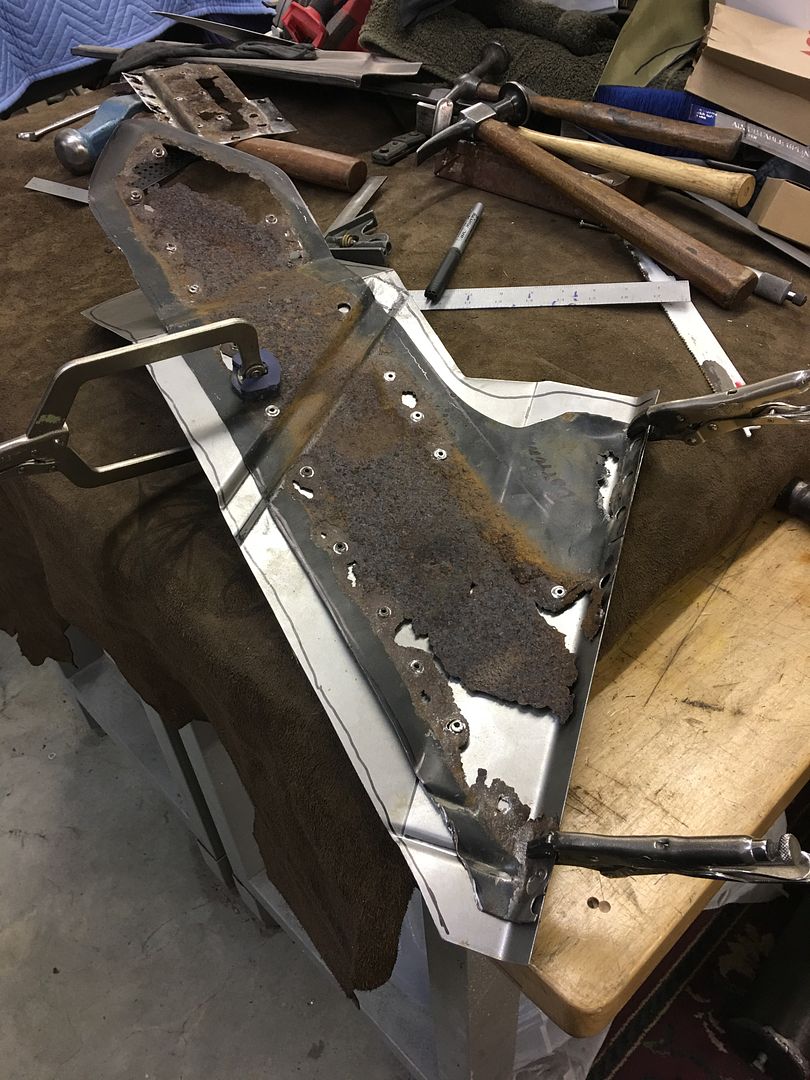
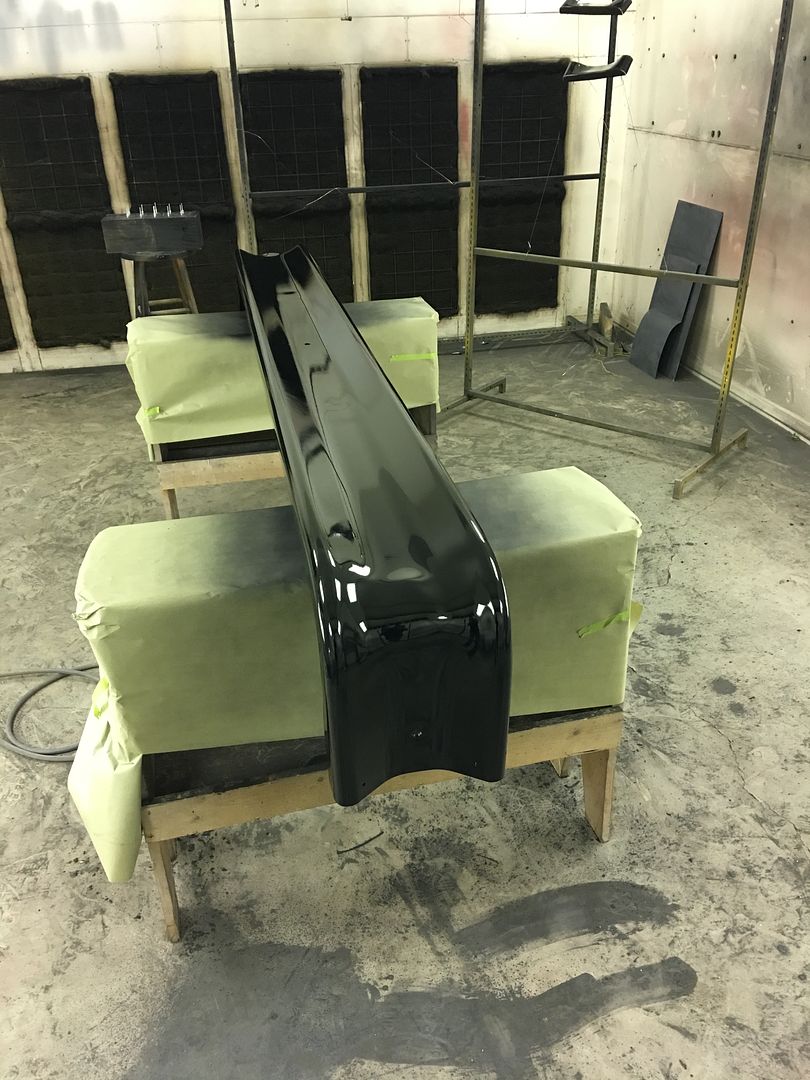
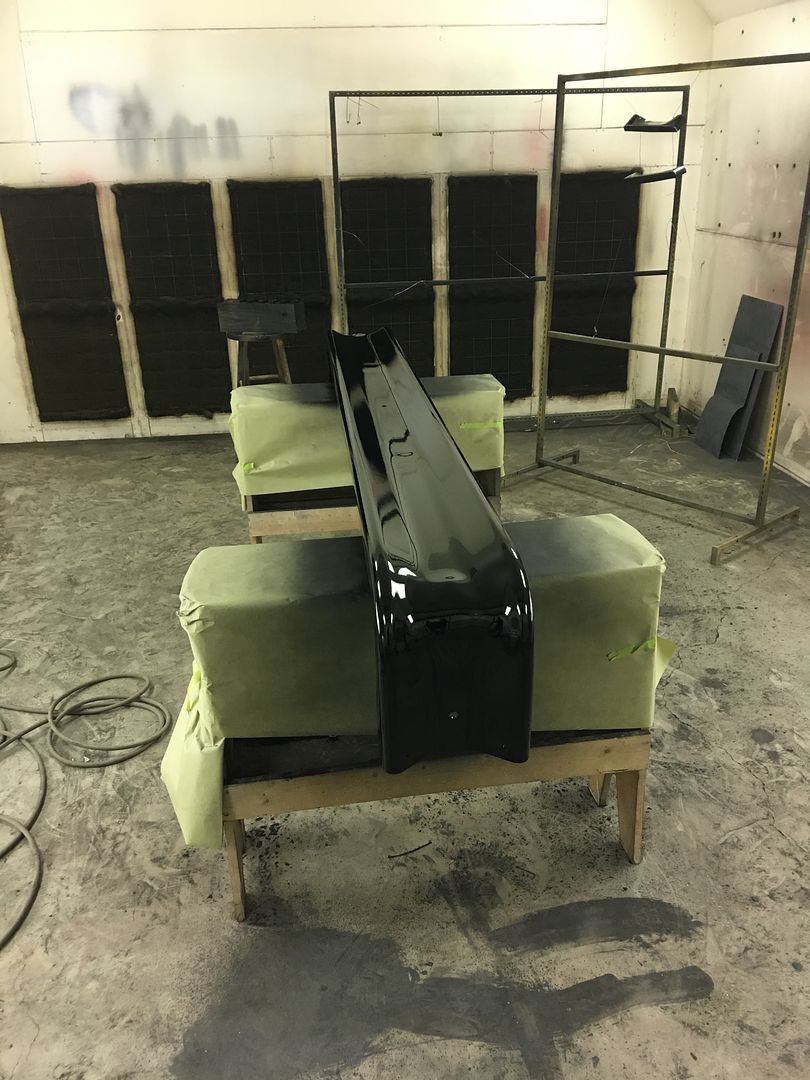
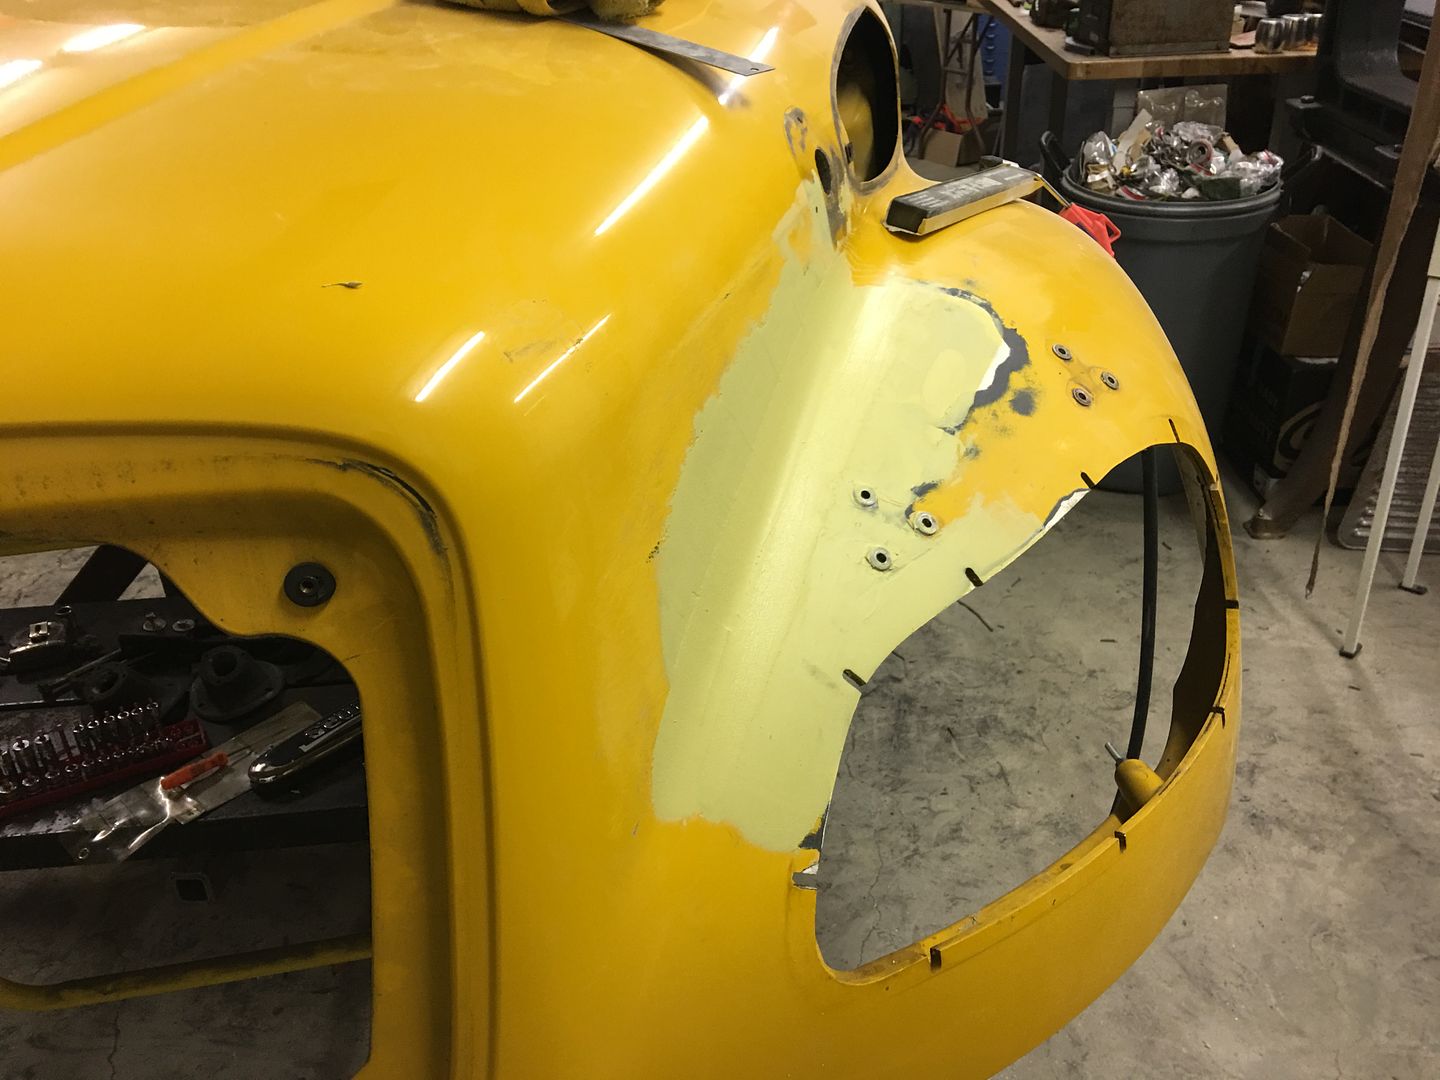
Yesterdays progress.... Apprentice E got the bus bumper end caps removed by drilling out the rivets, and then media blasted the caps so they will be ready for paint...


IMG_3898.jpg


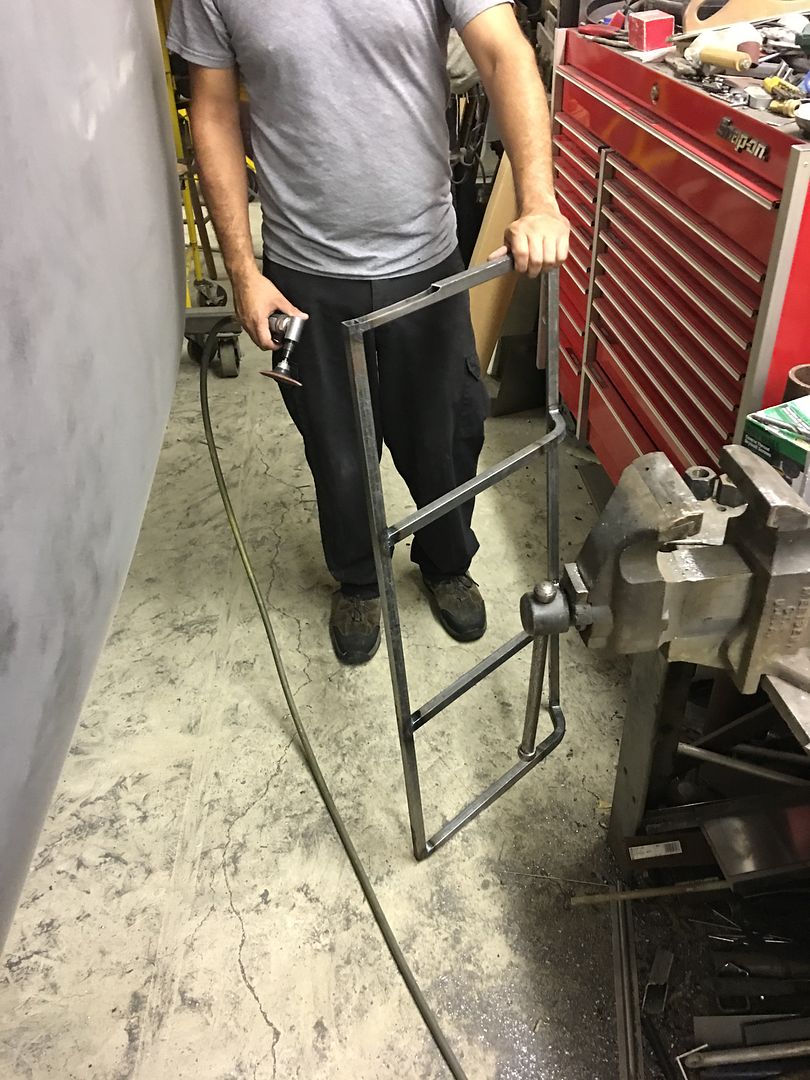
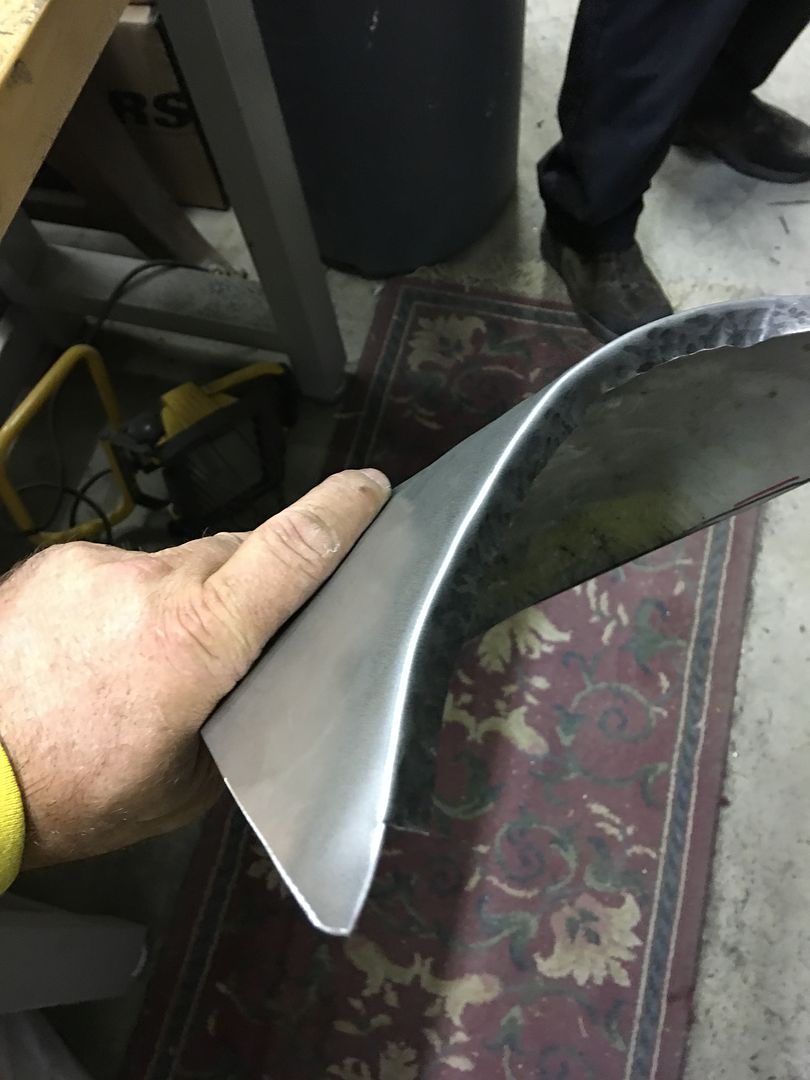
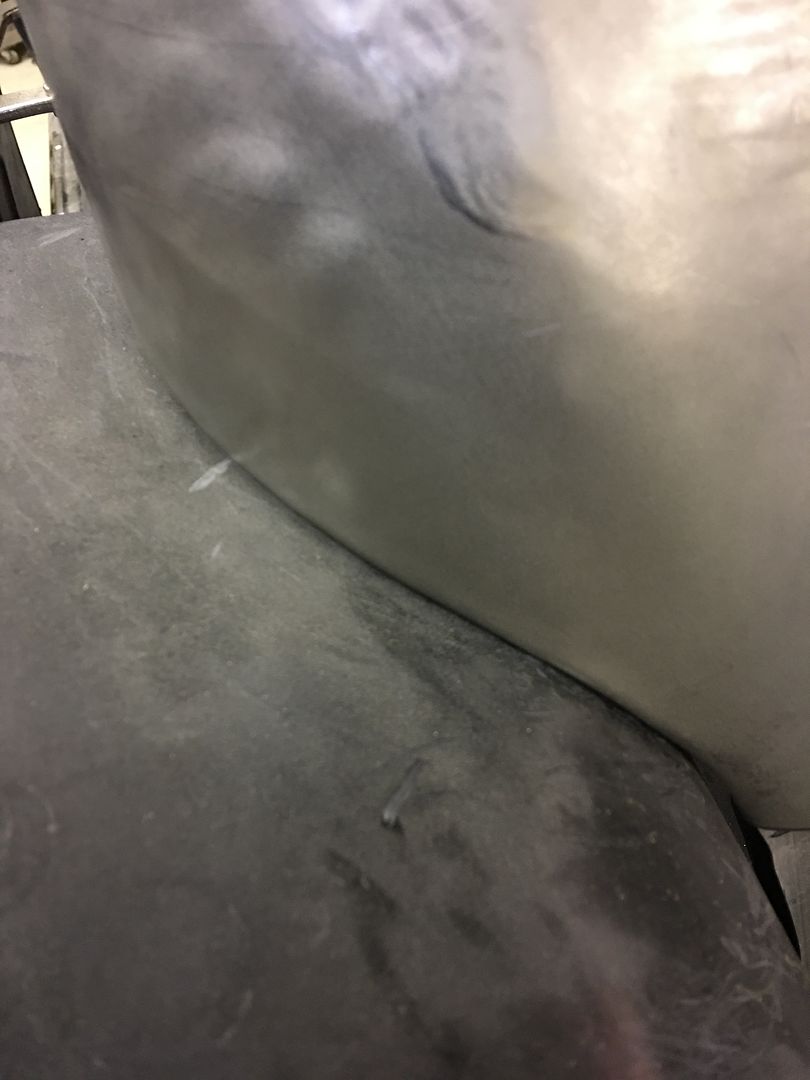
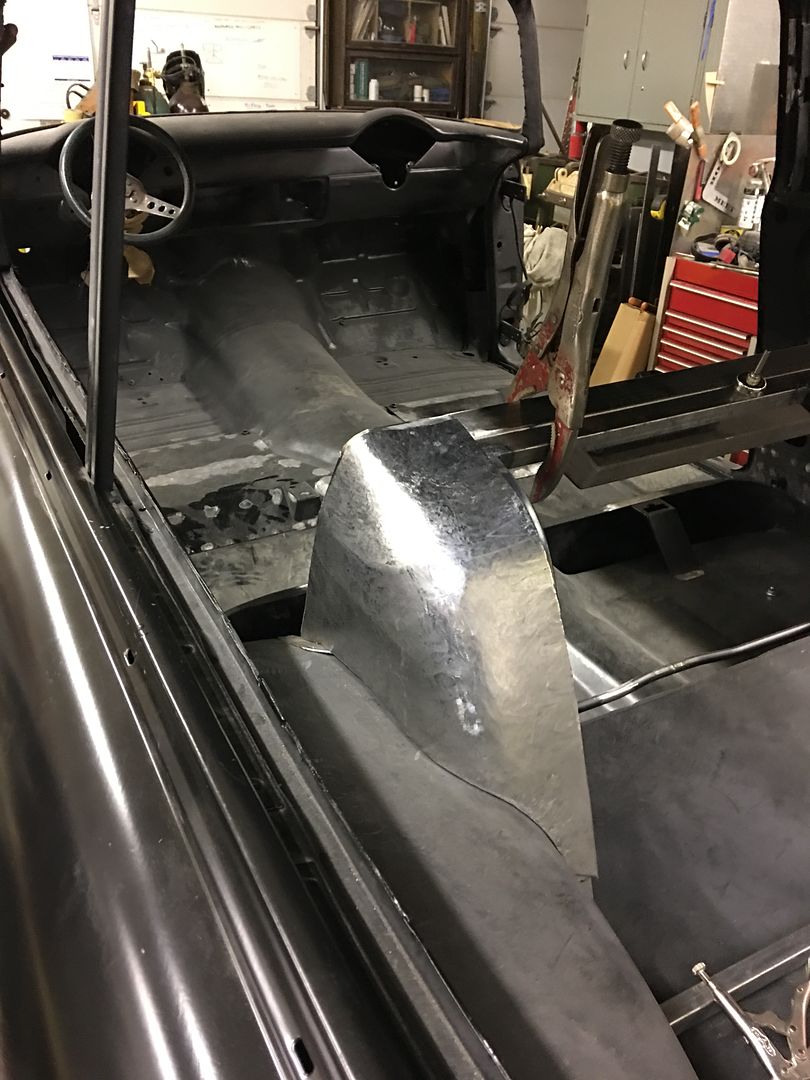
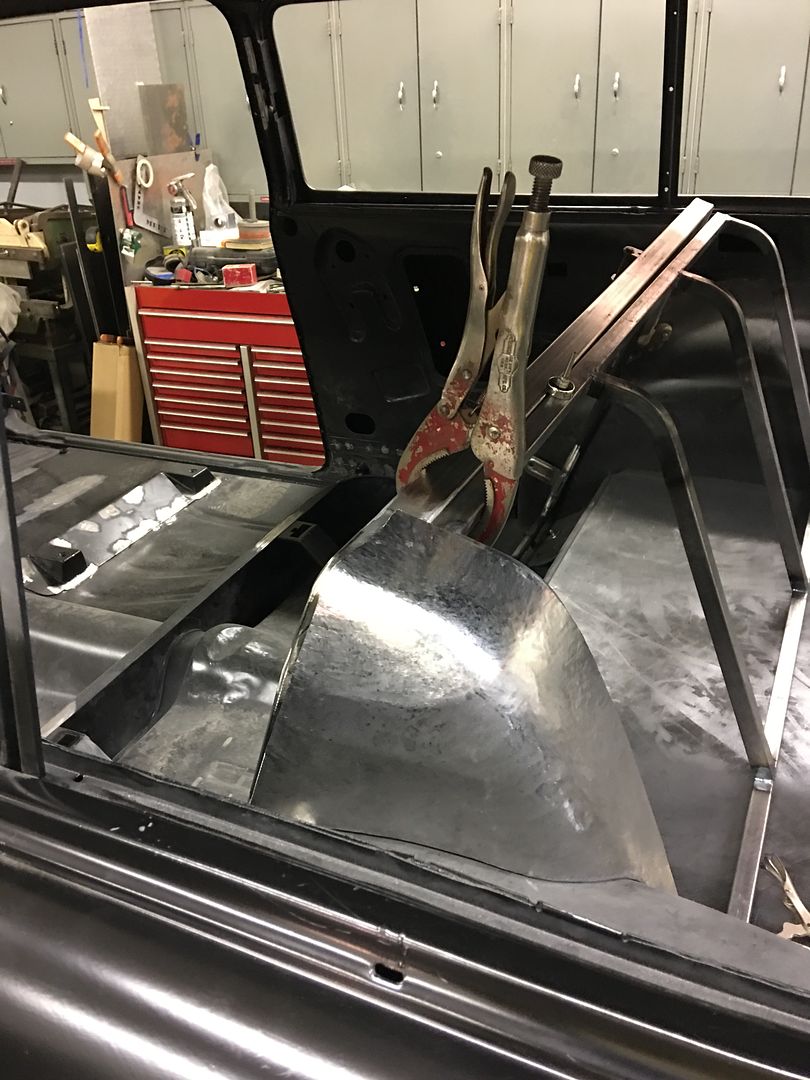
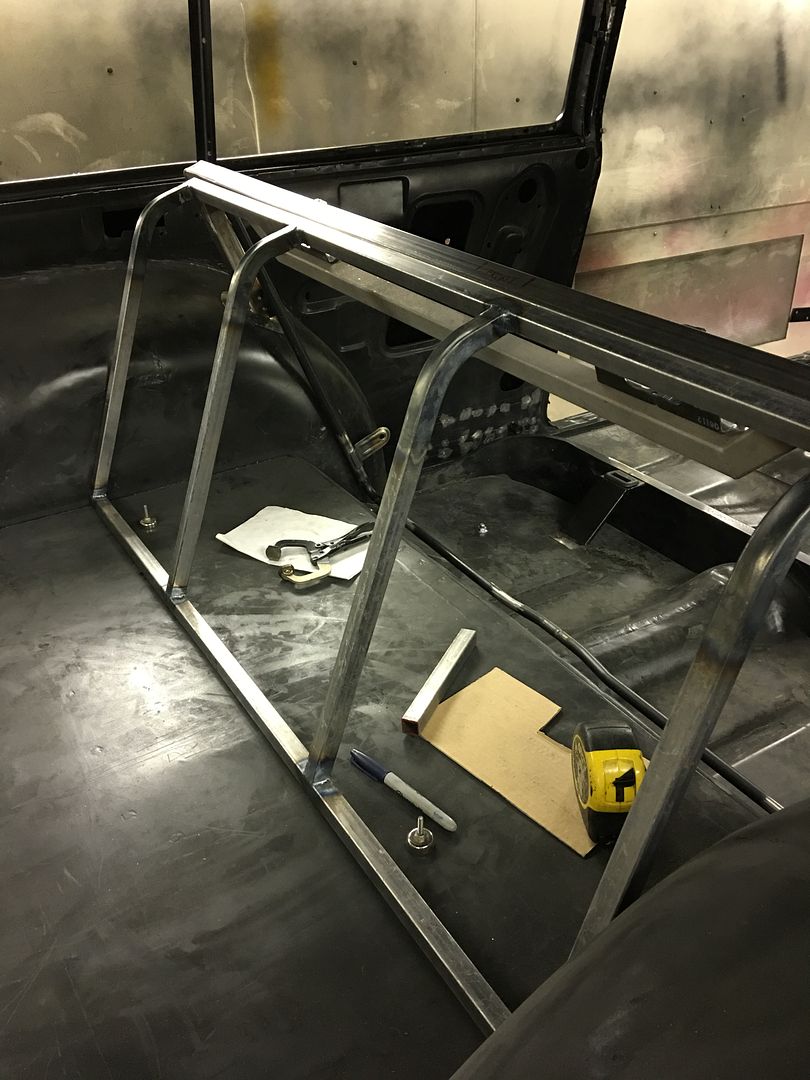
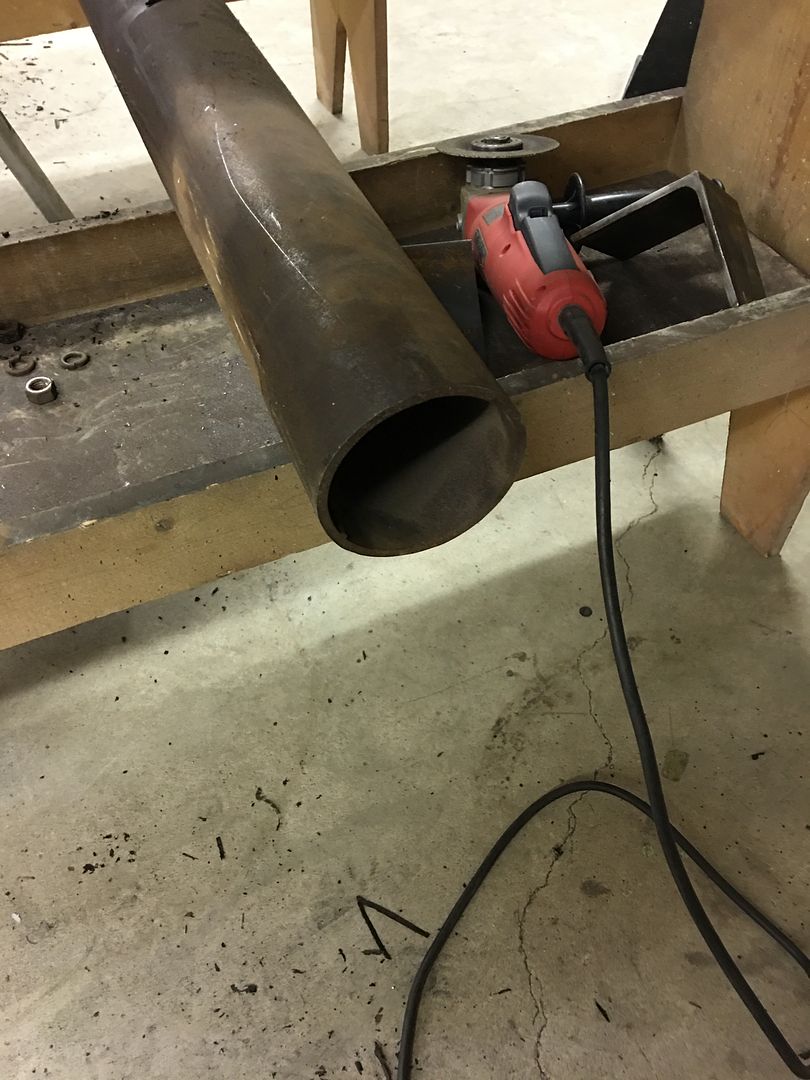
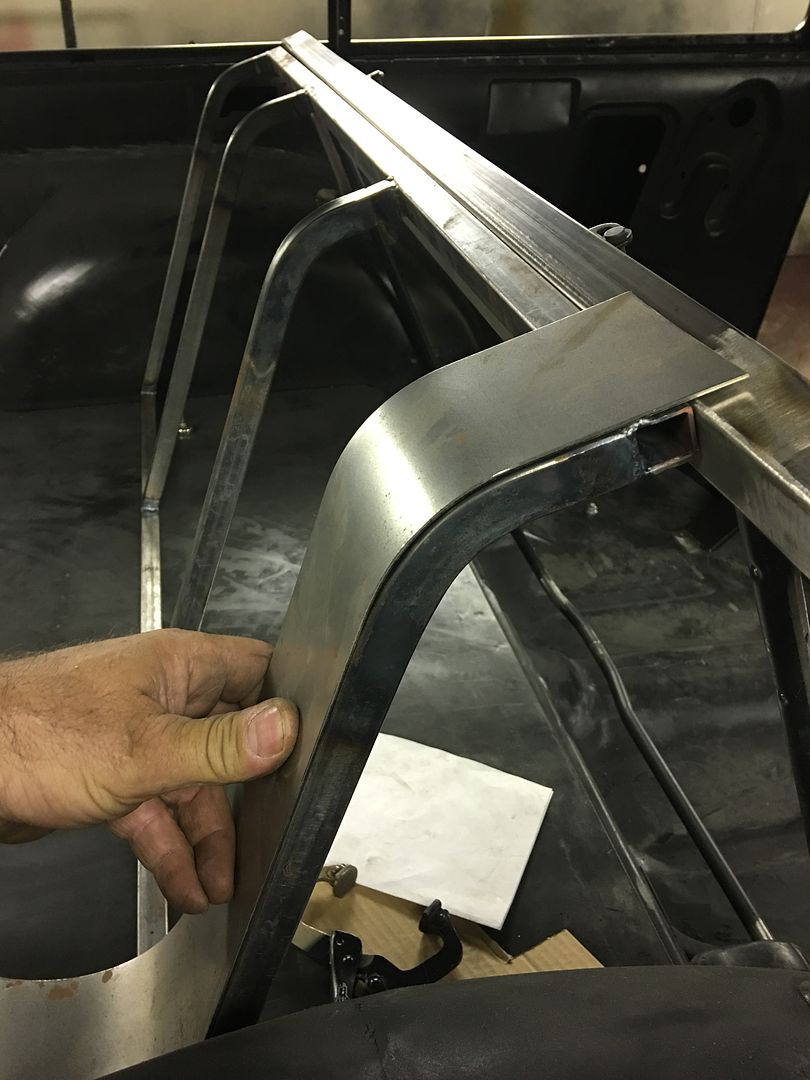
We needed some tooling for the next phase of the 55 wagon's interior fabrications, the radius we installed on the rear seat back framework will need to be duplicated onto the sheet metal covering. A trip to Hill Top welding had produced a suitable piece of 4" pipe. The Pexto shear has a t-slot along the front for it's support arms and we'll use this to bolt on a couple angle brackets to support this pipe along the front. A slight gap behind the pipe will allow us to use it as a fulcrum in adding a radius to our panel... Mike worked on adding some end caps to our radius die....


IMG_3899.jpg


IMG_3900.jpg


IMG_3901.jpg


IMG_3902.jpg


IMG_3904.jpg


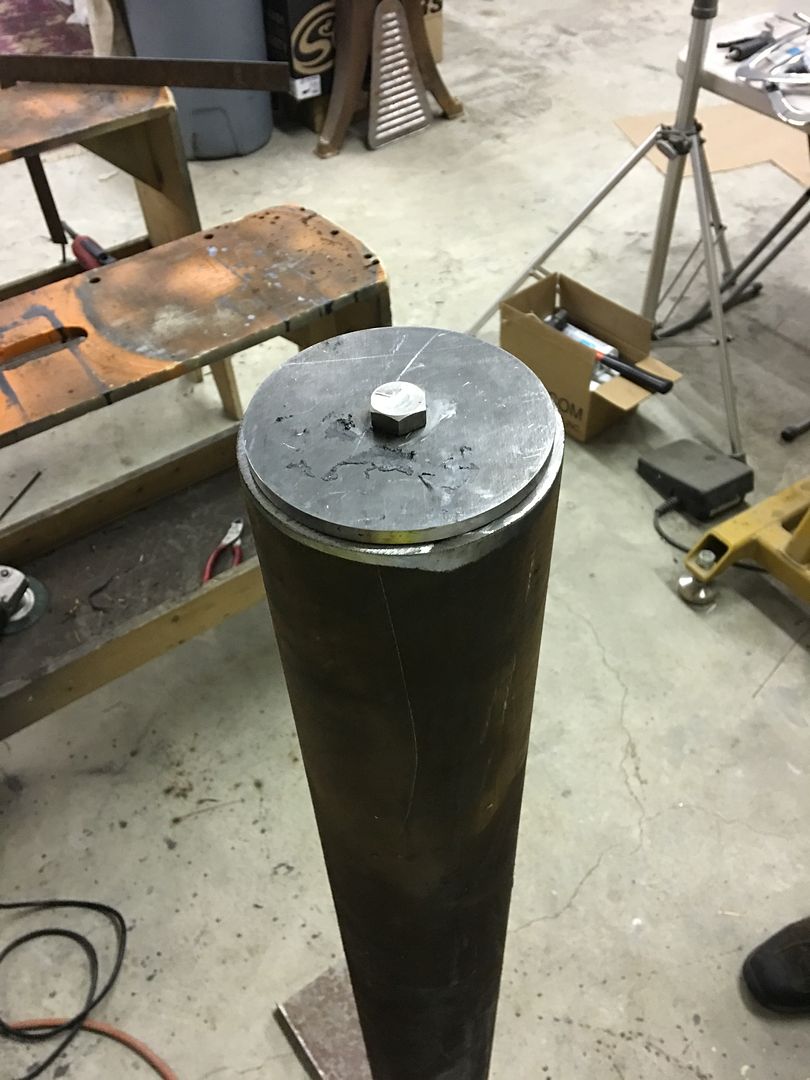
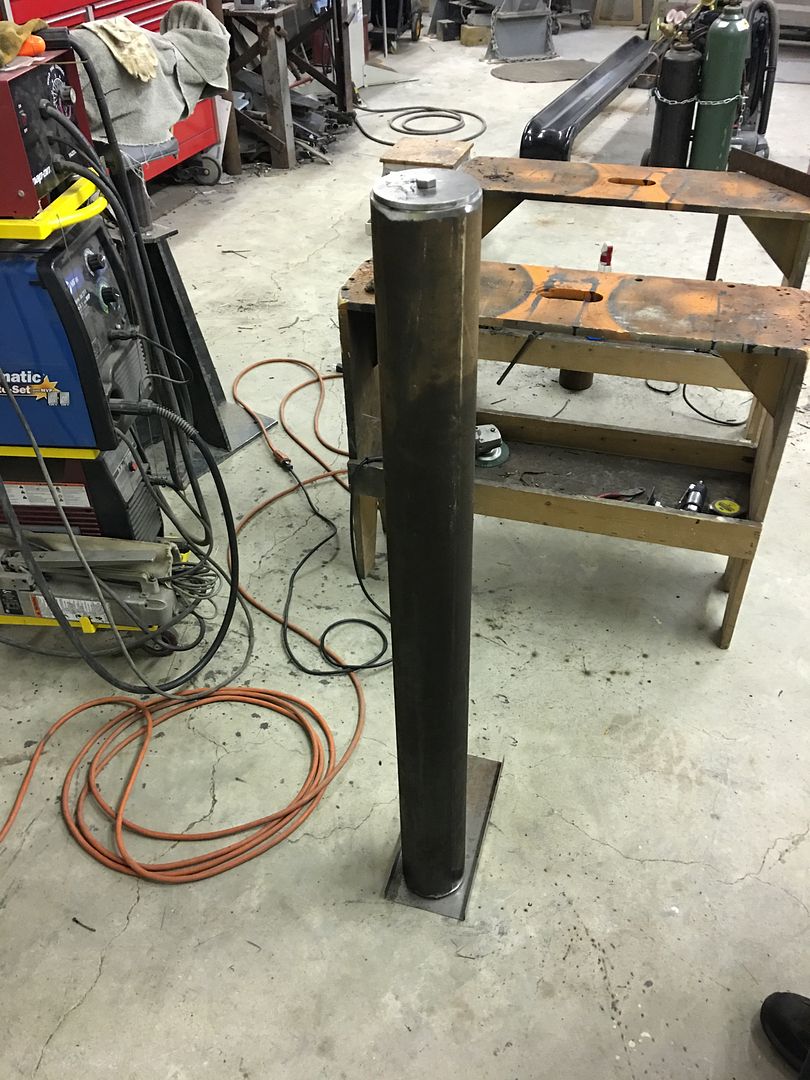
Need a ground clamp for a standing piece of pipe? set it on a flanged piece of sheet metal, instant clamp location....


IMG_3905.jpg


More to come on that....


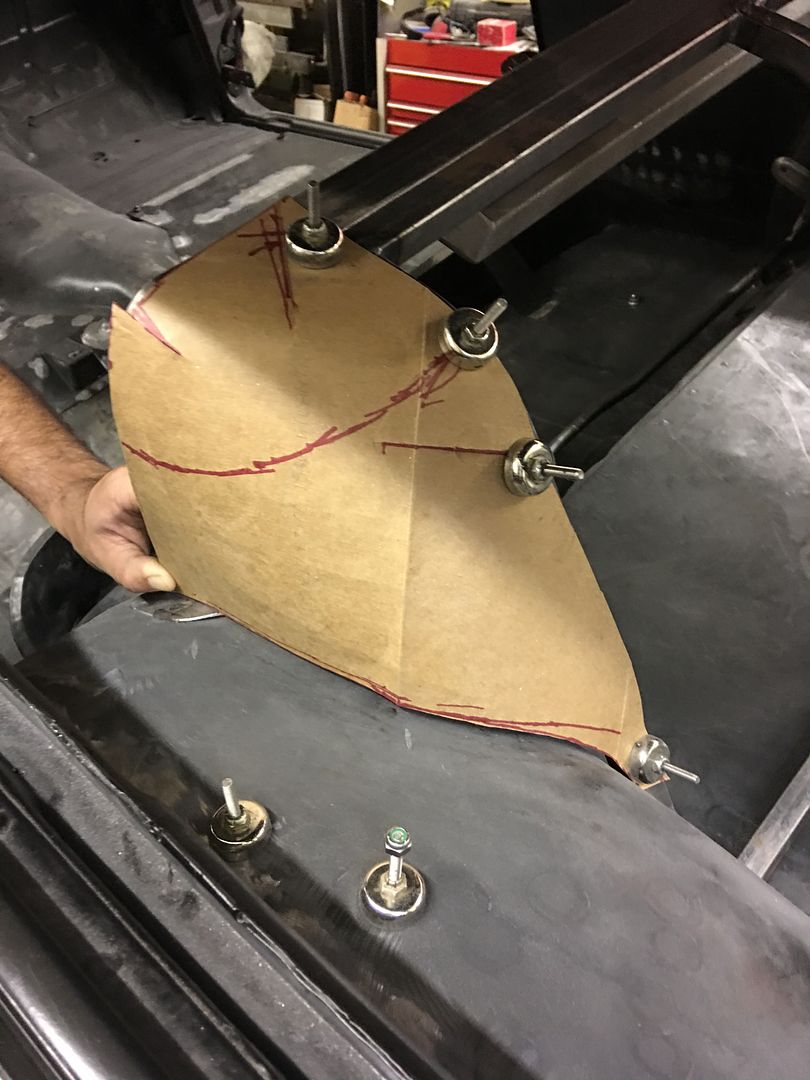
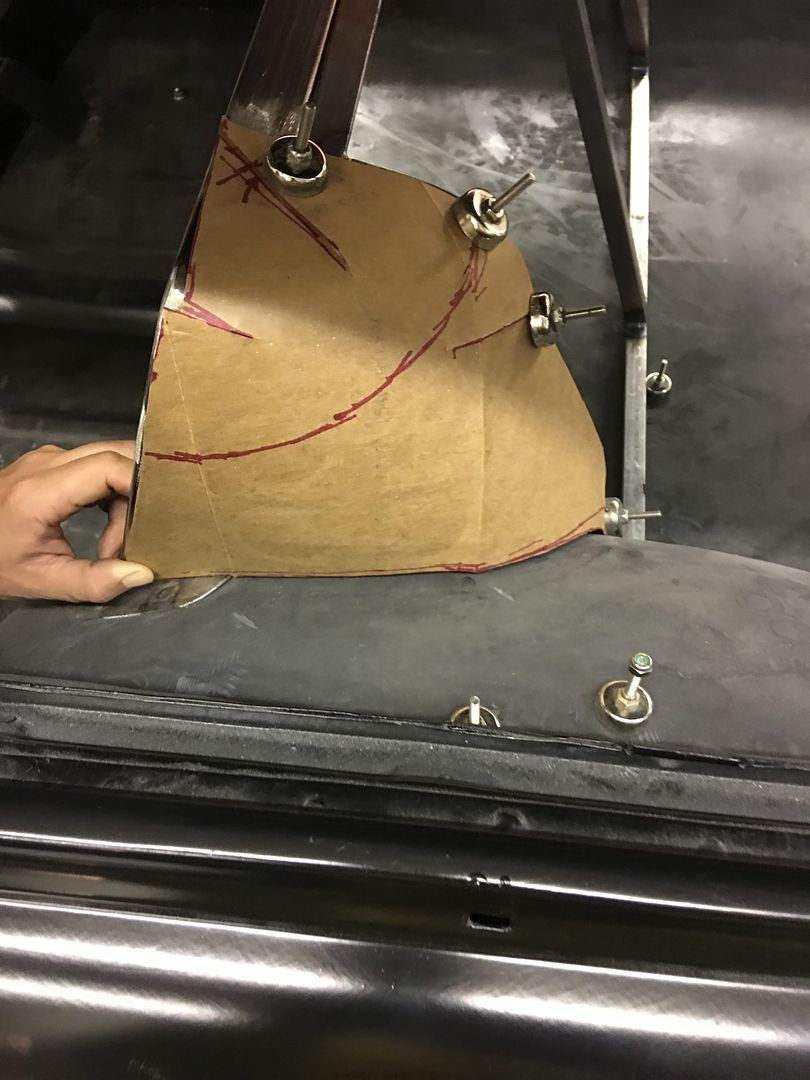
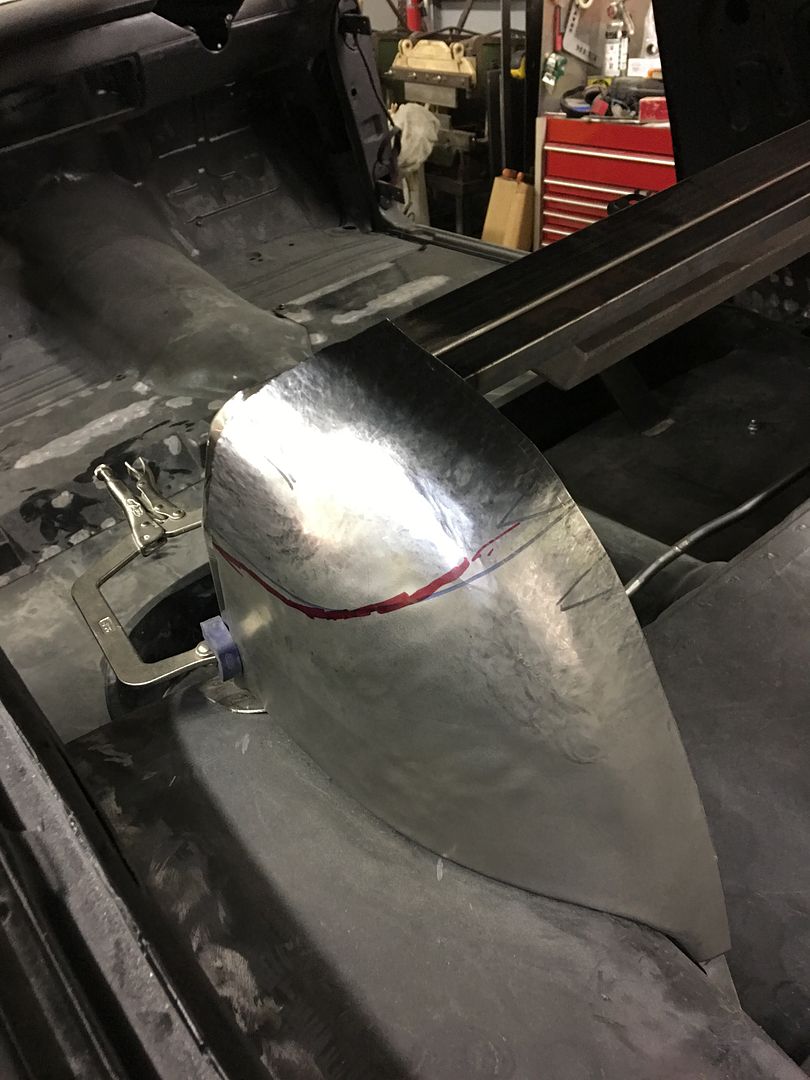
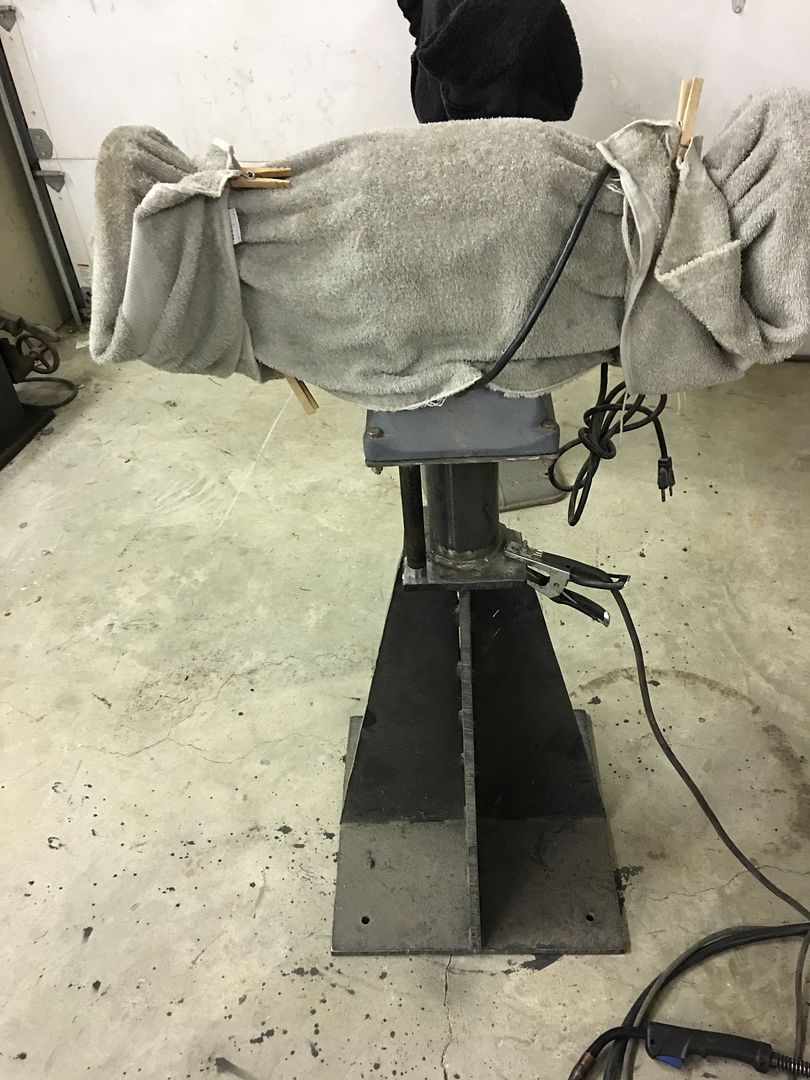
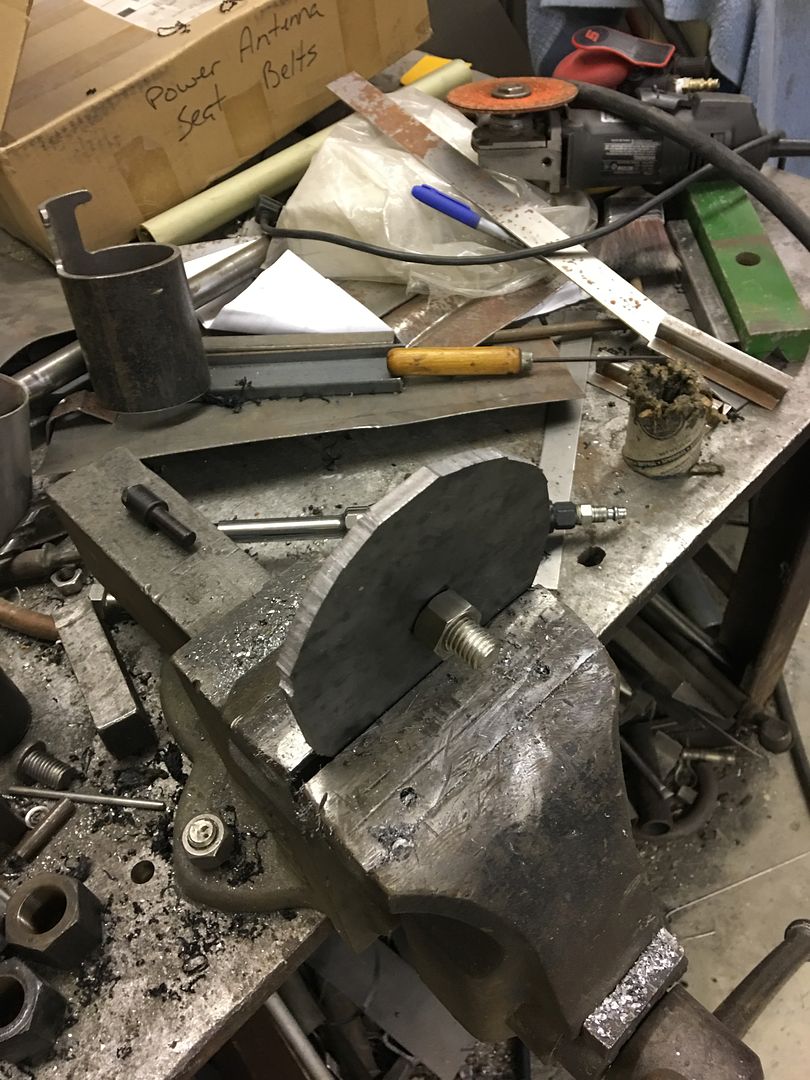
Meanwhile, our sheet metal panel will also serve to cover the rear bass speaker. Not wanting a grille showing, we plan on using upholstery cloth to conceal the speaker. Rather than a big gaping hole that would more readily show the location regardless, some slots will better support the upholstery cloth. So lets make some nibbling tooling..


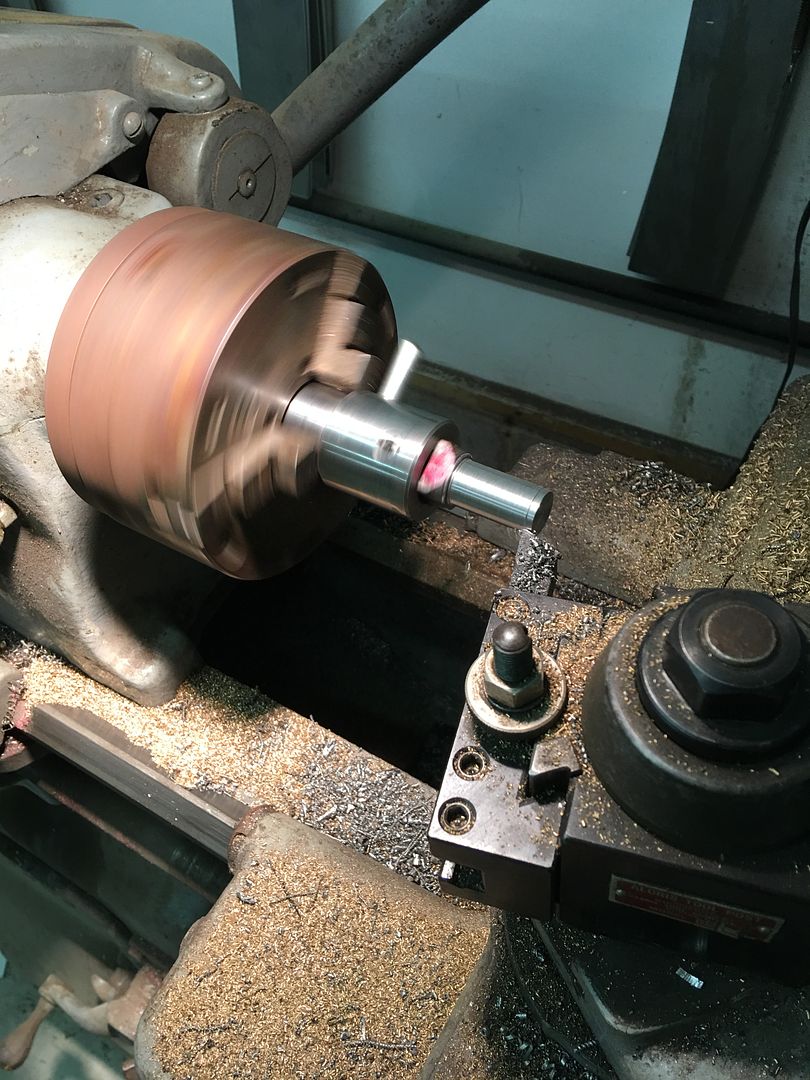
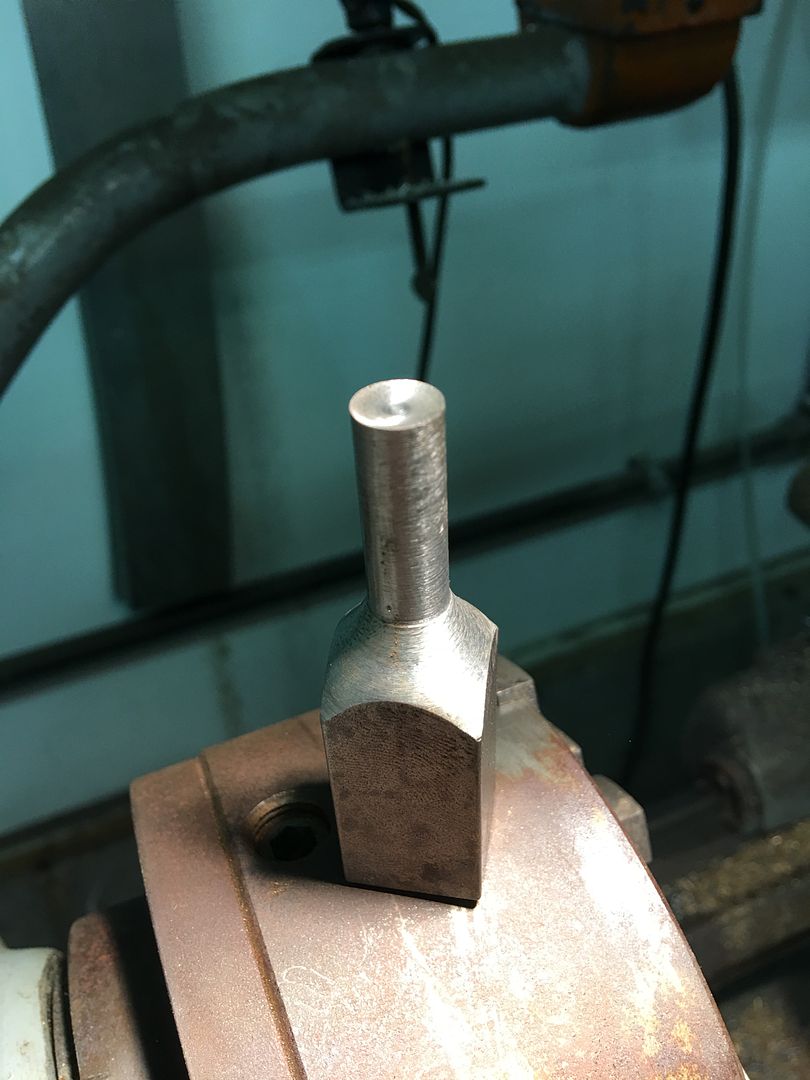
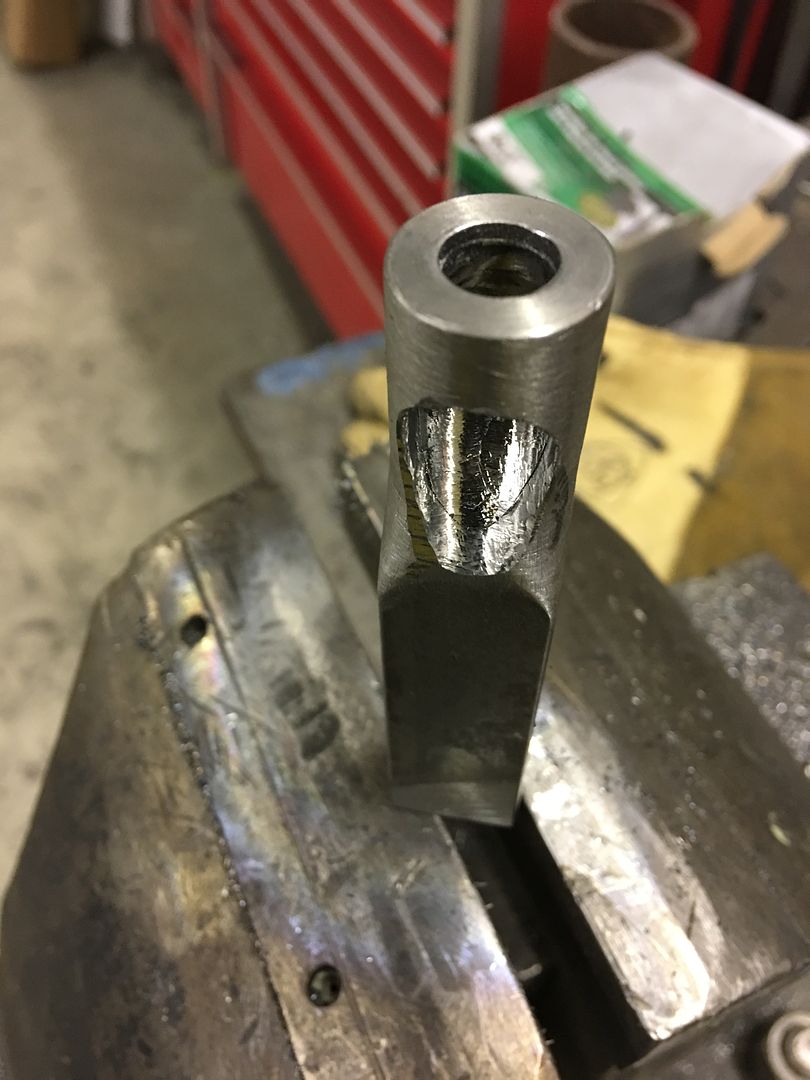
This punch will be approx. 3/8 diameter and is made of 4140 oil hardening stock so we can heat treat when complete for better tool life..

IMG_3897.jpg


End is formed slightly concave to give a better cutting edge..


IMG_3903.jpg


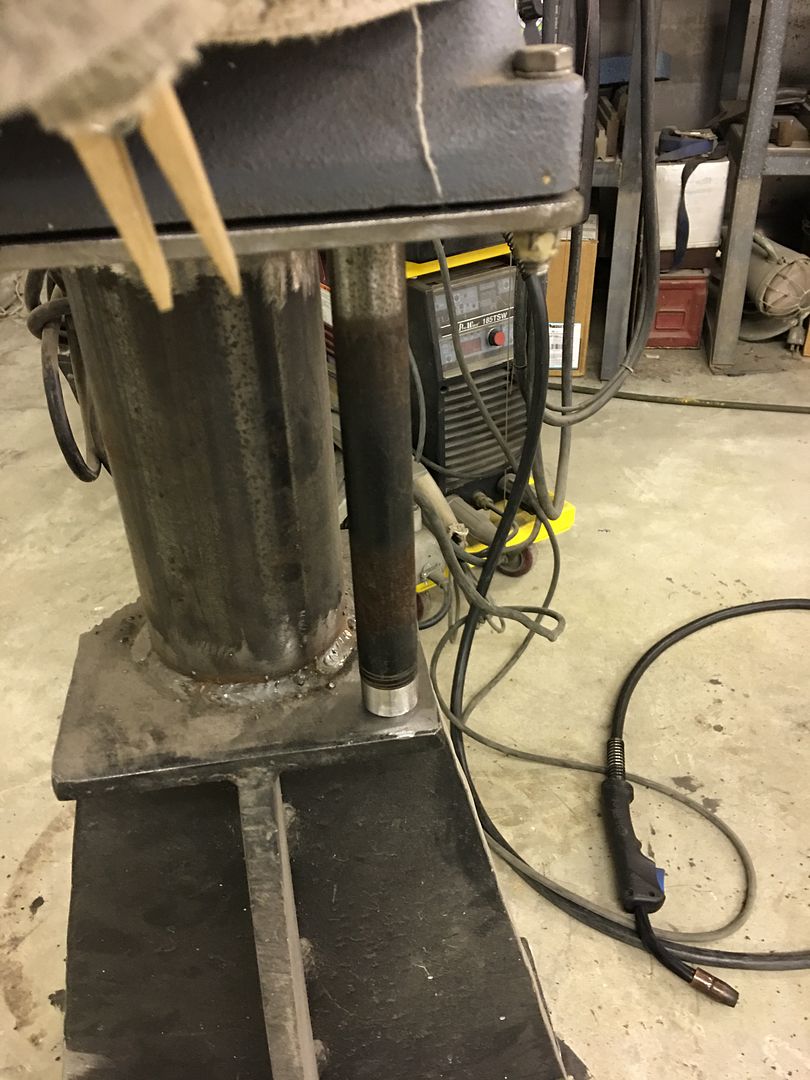
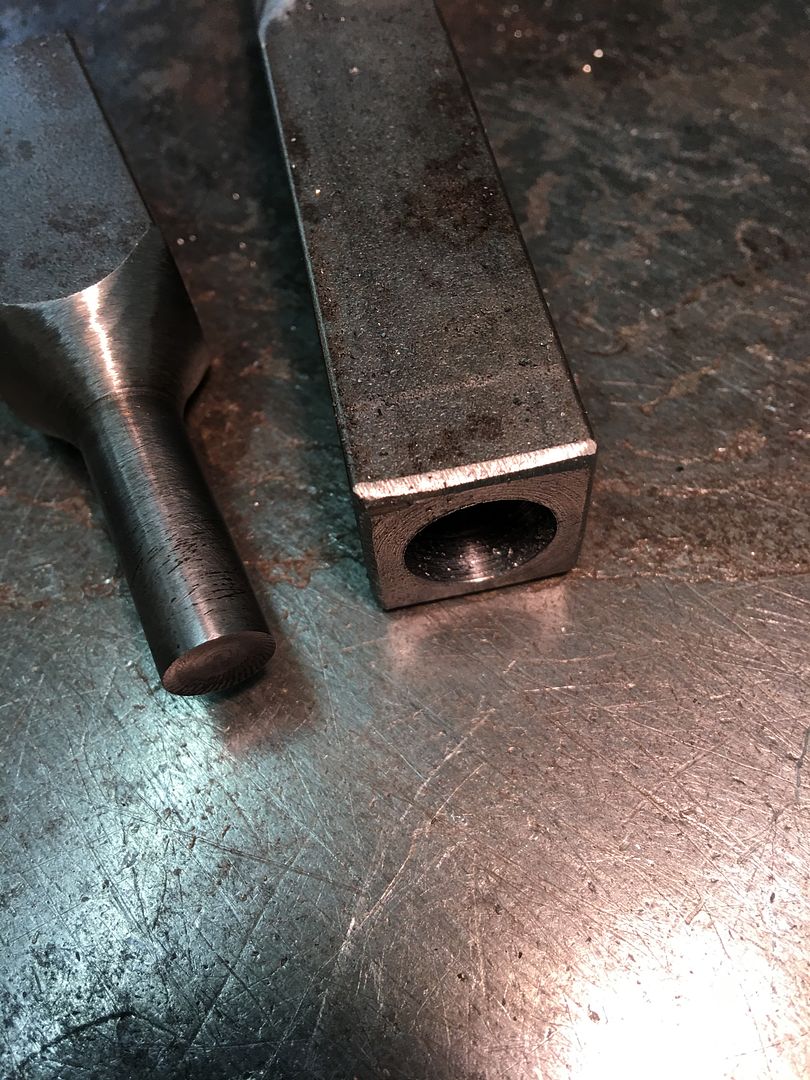
Bottom die gets a clearance hole for the 3/8 punch, then it gets bored from the bottom end using 1/2" bit to within about 1/8" of the top surface. This will allow better gravity flow of any chips passing through our bottom die..


IMG_3908.jpg


IMG_3910.jpg


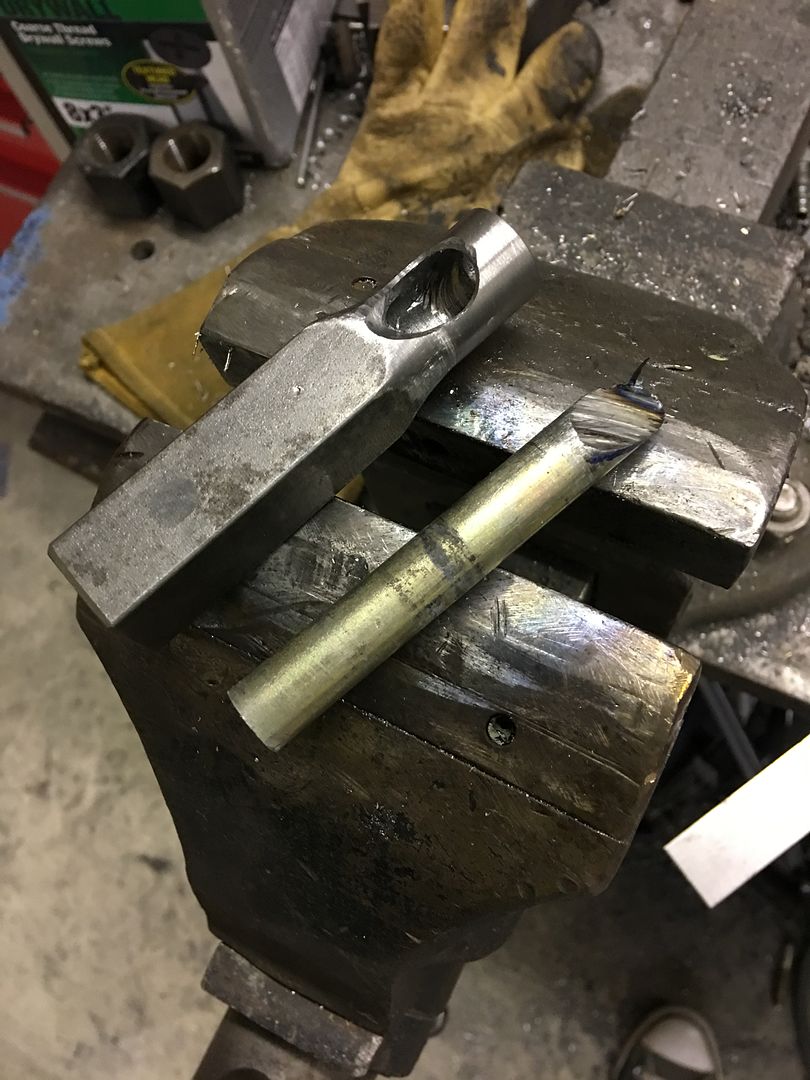
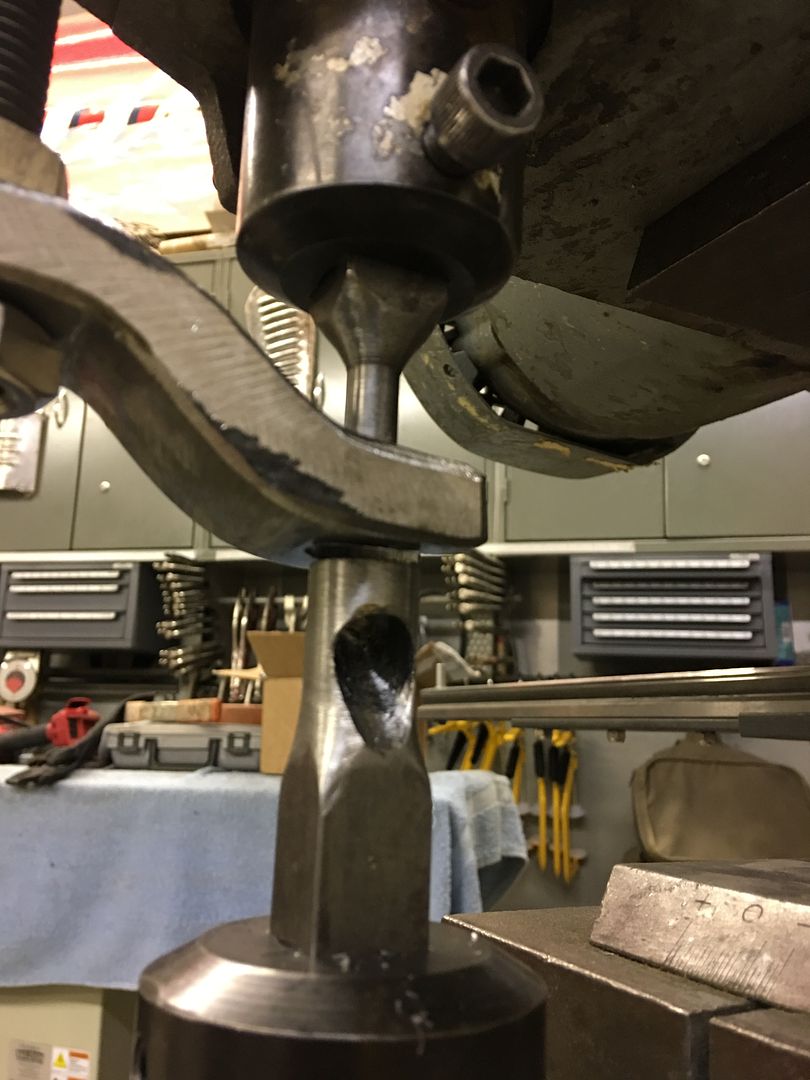
Then we'll need an exit chute, so a 1/2" angled hole is drilled through the side and a 1/2" plug made to fill the remainder...


IMG_3912.jpg


The plug bottom gets chamfered and welded into the bottom die, then a ball end die grinder is used to fine tune the exit chute...


IMG_3913.jpg


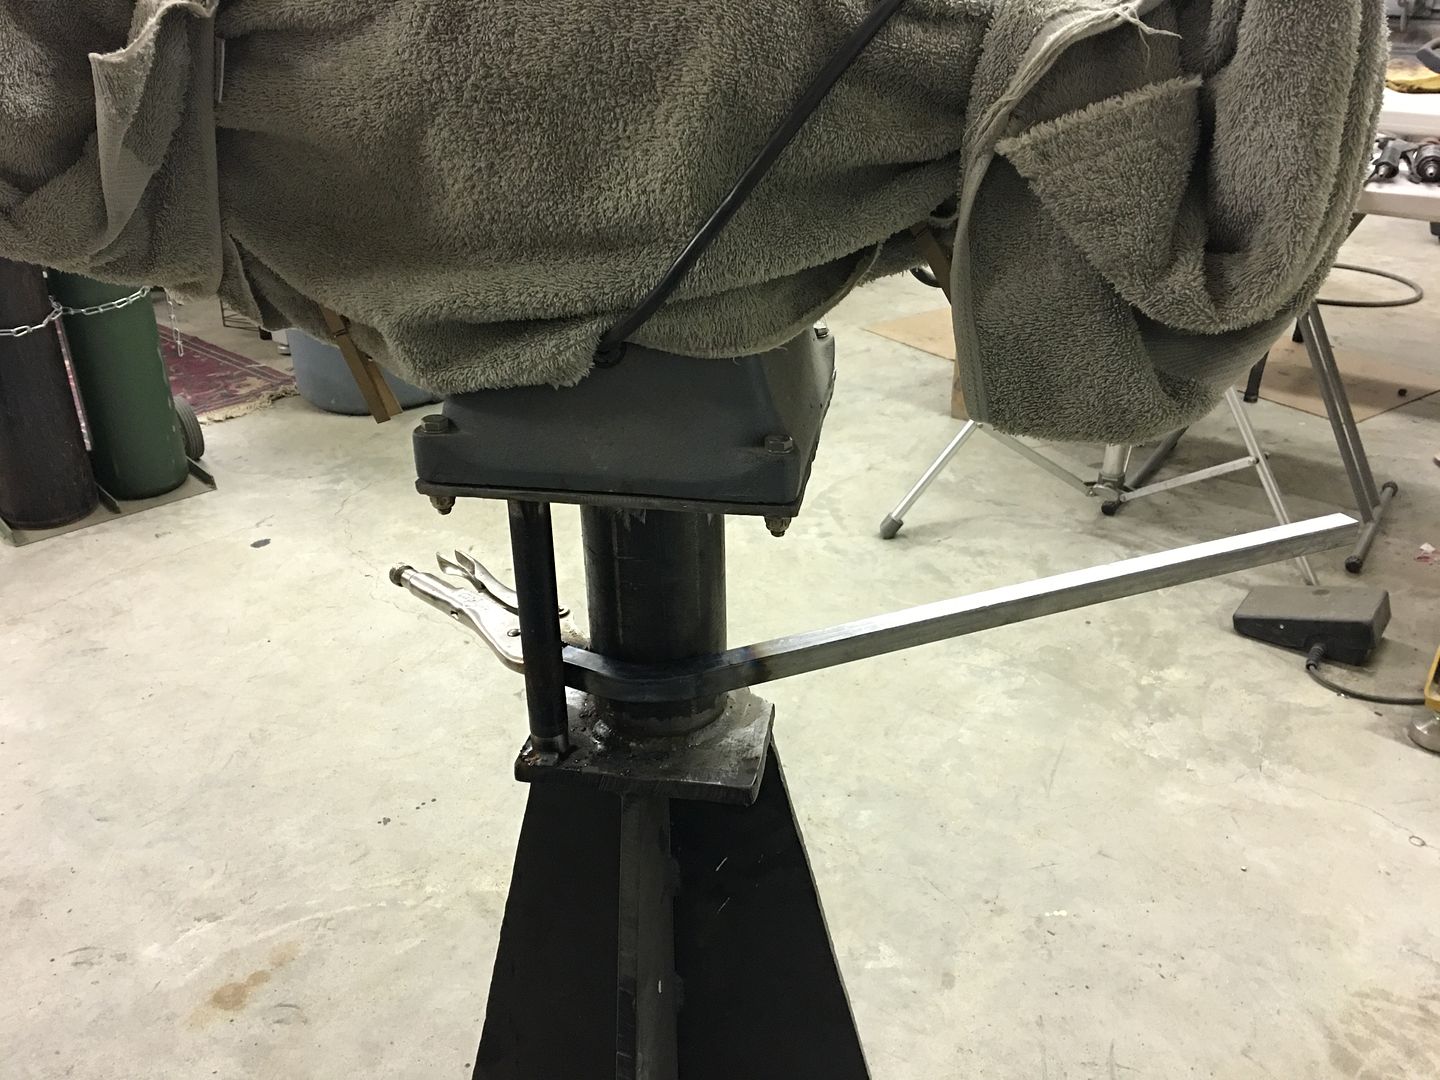
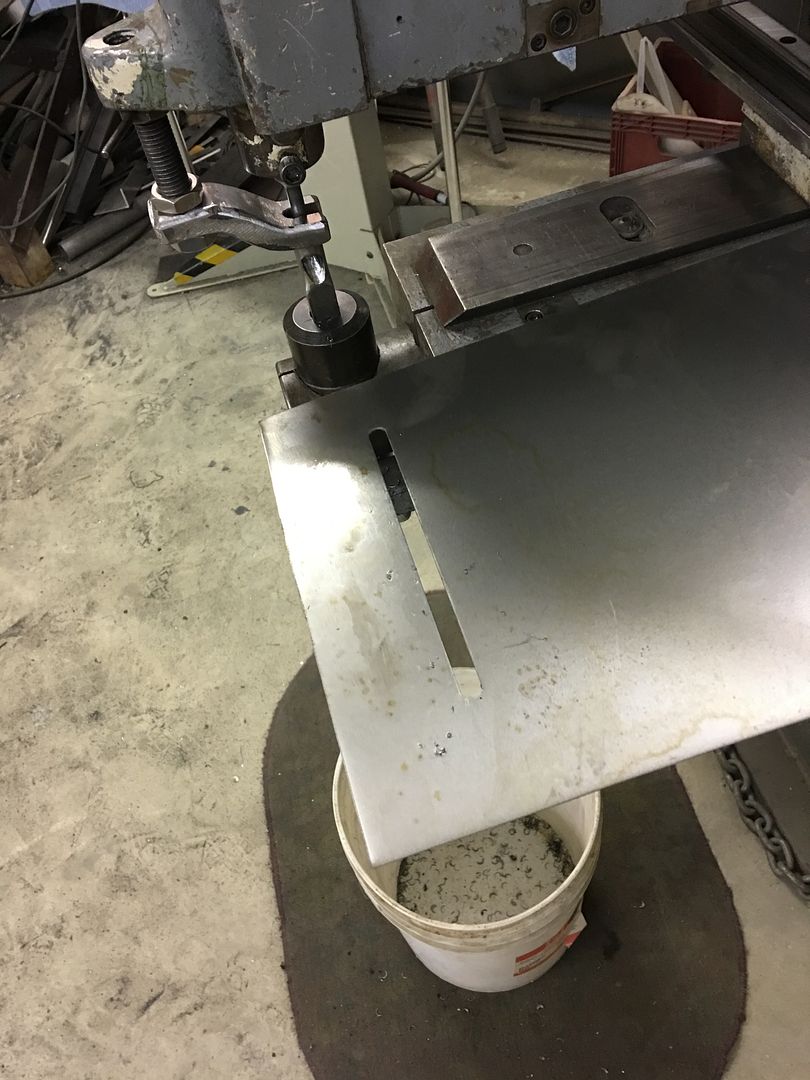
A "shoe" is formed to hold down the workpiece, as otherwise the punch tends to lock onto the panel after the first punch and raise it in the air, thus preventing any material feed...


IMG_3925.jpg


An action video....


Our test slot.... this may work yet!


IMG_3924.jpg
 
OP
M

MP&C

Well-known member
Joined
Oct 21, 2009
Messages
4,396
Location
Leonardtown, MD
Today I got the pipe and brackets that Mike made up added to the front of the Pexto Shear. The top of the pipe is set up the same height as the surface of the shear, so no interference in using the shear. The pipe is 49" long so it can be used for a full sheet if we have enough oomph to bend it. Here the finished product:


Sometimes you get lucky, here's the radius from our 4" pipe as matched to our seat back...


IMG_3938.jpg


Also made up some patch panels for my brother in law's El Camino. He brought some parts over that he had cut out, so we fabbed up some new parts, here's a sample...


IMG_3936.jpg
 

xtremek

Well-known member
Joined
Apr 13, 2012
Messages
11,603
Location
St. Johns, Mi
I don't know which is cooler, your sheetmetal work, or the fab skills you have for making tools required for such sheetmetal work.
 
OP
M

MP&C

Well-known member
Joined
Oct 21, 2009
Messages
4,396
Location
Leonardtown, MD
Thanks, my MacGyver skills in action.. :lol:


Well time to relocate the wagon out of the paint booth so we can get some bus parts painted and on the way out the door..


IMG_3941.jpg


started with two coats of SPI epoxy on the bumper and end caps, the rivets were media blasted and will get black urethane only..


IMG_3942.jpg


In between coats the hood was removed and started stripping all the bolt on items. The fiberglass repair was sanded once more and prepped for a layer of Evercoat Kitty Hair.. starting to get crowded in here..


IMG_3943.jpg


IMG_3944.jpg


A couple coats of the black urethane and we'll let it set a couple days...


IMG_3946.jpg


IMG_3947.jpg


This shows the prep on the new hardware, media blasted using 80 grit garnet abrasive, then it gets Urethane only. Primer has shown to have too much build and results in chips from the Phillips bit, media blast and urethane only has shown to hold up the best.


IMG_3949.jpg
 
OP
M

MP&C

Well-known member
Joined
Oct 21, 2009
Messages
4,396
Location
Leonardtown, MD
OK, now for the official trim rivet weld test....


IMG_3956.jpg


applied heat until the HAZ was the same diameter as the rivet head..


IMG_3957.jpg


IMG_3958.jpg


IMG_3959.jpg


video version installing the trim clip...


Video of the destruction test....


As much as it took to remove that I think it would hold finely.. :D
 
OP
M

MP&C

Well-known member
Joined
Oct 21, 2009
Messages
4,396
Location
Leonardtown, MD
Time to do some sanding on this hood....


IMG_3948.jpg


IMG_3962.jpg


Applying some 3M platinum....


IMG_3964.jpg


IMG_3965.jpg


Missed getting a picture of the sanding part there, and then sprayed a coat of SPI epoxy, will add another coat tomorrow morning..


IMG_3966.jpg


IMG_3967.jpg
 

GRN96WS6

Well-known member
Joined
Dec 23, 2012
Messages
2,194
Location
SOMD
Figured you'd have to repaint the entire hood or it wouldn't match, but I guess for a twinkle who cares.
 
OP
M

MP&C

Well-known member
Joined
Oct 21, 2009
Messages
4,396
Location
Leonardtown, MD
A couple more coats of epoxy tonight, block it all out and then the entire thing will get sprayed yellow.. Yeah, a bit too much fade for blending. I'll add some flattening agent this time to tone down the gloss..
 

Mr onetwo

Well-known member
Joined
Apr 6, 2011
Messages
2,002
Location
Coastal Maine
OK, now for the official trim rivet weld test....


IMG_3956.jpg


applied heat until the HAZ was the same diameter as the rivet head..


IMG_3957.jpg


IMG_3958.jpg


IMG_3959.jpg


video version installing the trim clip...


Video of the destruction test....


As much as it took to remove that I think it would hold finely.. :D

For you to take the time to do this test, as busy as you are, is amazing!Kudos and many thanks to you Robert!!!!!:bowdown::beer: I hope this little demonstration is useful to someone besides me!:D
 
OP
M

MP&C

Well-known member
Joined
Oct 21, 2009
Messages
4,396
Location
Leonardtown, MD
Glad to help. If you can find someone local to install them for you (and need some) let me know..


More back seat work on the 55. Mike is trimming up our brackets to give us a bit more clearance around the wheel wells so the upholstery can wrap around our panel...


IMG_3974.jpg


....and I worked on taking some patterns of the rear corners...


IMG_3969.jpg


IMG_3970.jpg


Transferred the pattern to some 18 gauge cold rolled steel and started some shrinking on the Baileigh power hammer..


Test fit....


IMG_3980.jpg


Bottom edge gets hemmed so the upholstery cloth has less chance of cuts...


IMG_3979.jpg


IMG_3981.jpg


IMG_3982.jpg


IMG_3983.jpg


IMG_3984.jpg


IMG_3985.jpg


A bit more cleanup work, but I'm real pleased with how this is turning out..


.
 

shortykorte

Well-known member
Joined
Sep 1, 2014
Messages
8,034
Location
Tallahassee, Fl
Just dawned on me that we get a front row seat to some sweet customized fab work that way better than the tv shows. Again thank you for taking the time to share your knowledge and skills.


Sent from my iPhone using Tapatalk
 
OP
M

MP&C

Well-known member
Joined
Oct 21, 2009
Messages
4,396
Location
Leonardtown, MD
Now if I could get them done in a week's episode... :lol:


Stopped by John's shop today, he had dropped off the front fenders to his painter after the Macungie show for media blasting and a epoxy primer to protect them until we can get the hood resolved. Then he'll get all the new parts painted blue at one time...


Here's the newly installed fenders with an epoxy finish..


IMG_3994.jpg


IMG_3996.jpg
 
To avoid these ads, REGISTER NOW!
Top Bottom