Divcod
Well-known member
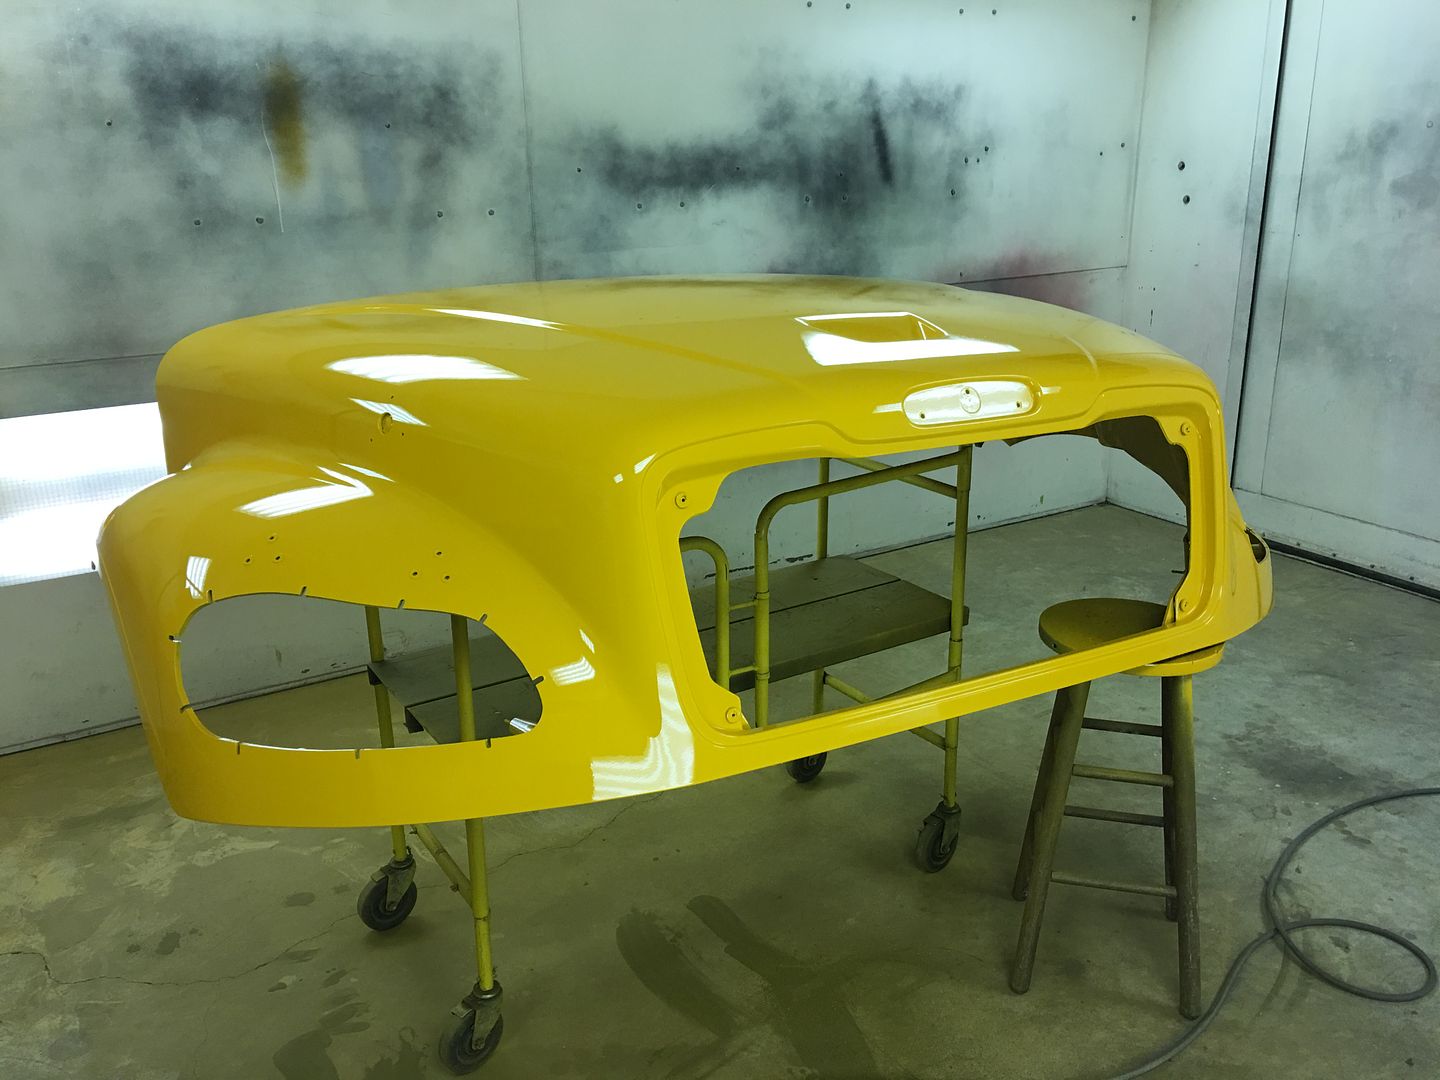
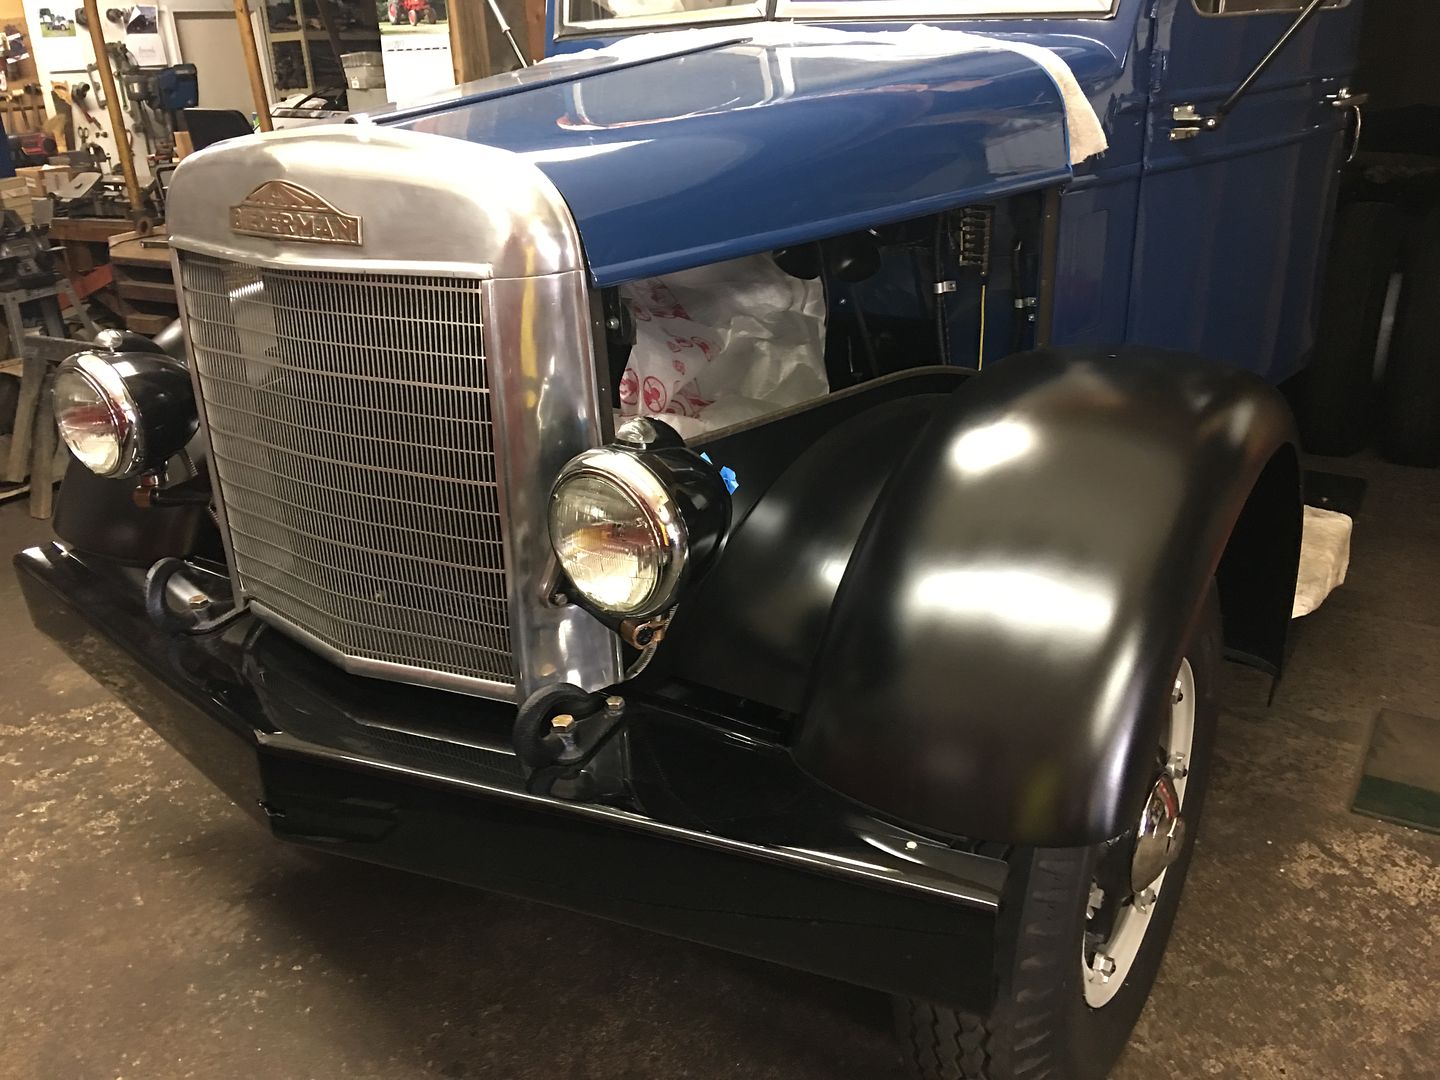
Robert, The fenders turned out great. Finish of the epoxy on the fenders and when you paint are smoother and higher gloss than I am able to achieve. What size of nozzle and air pressure are you using?Now if I could get them done in a week's episode...
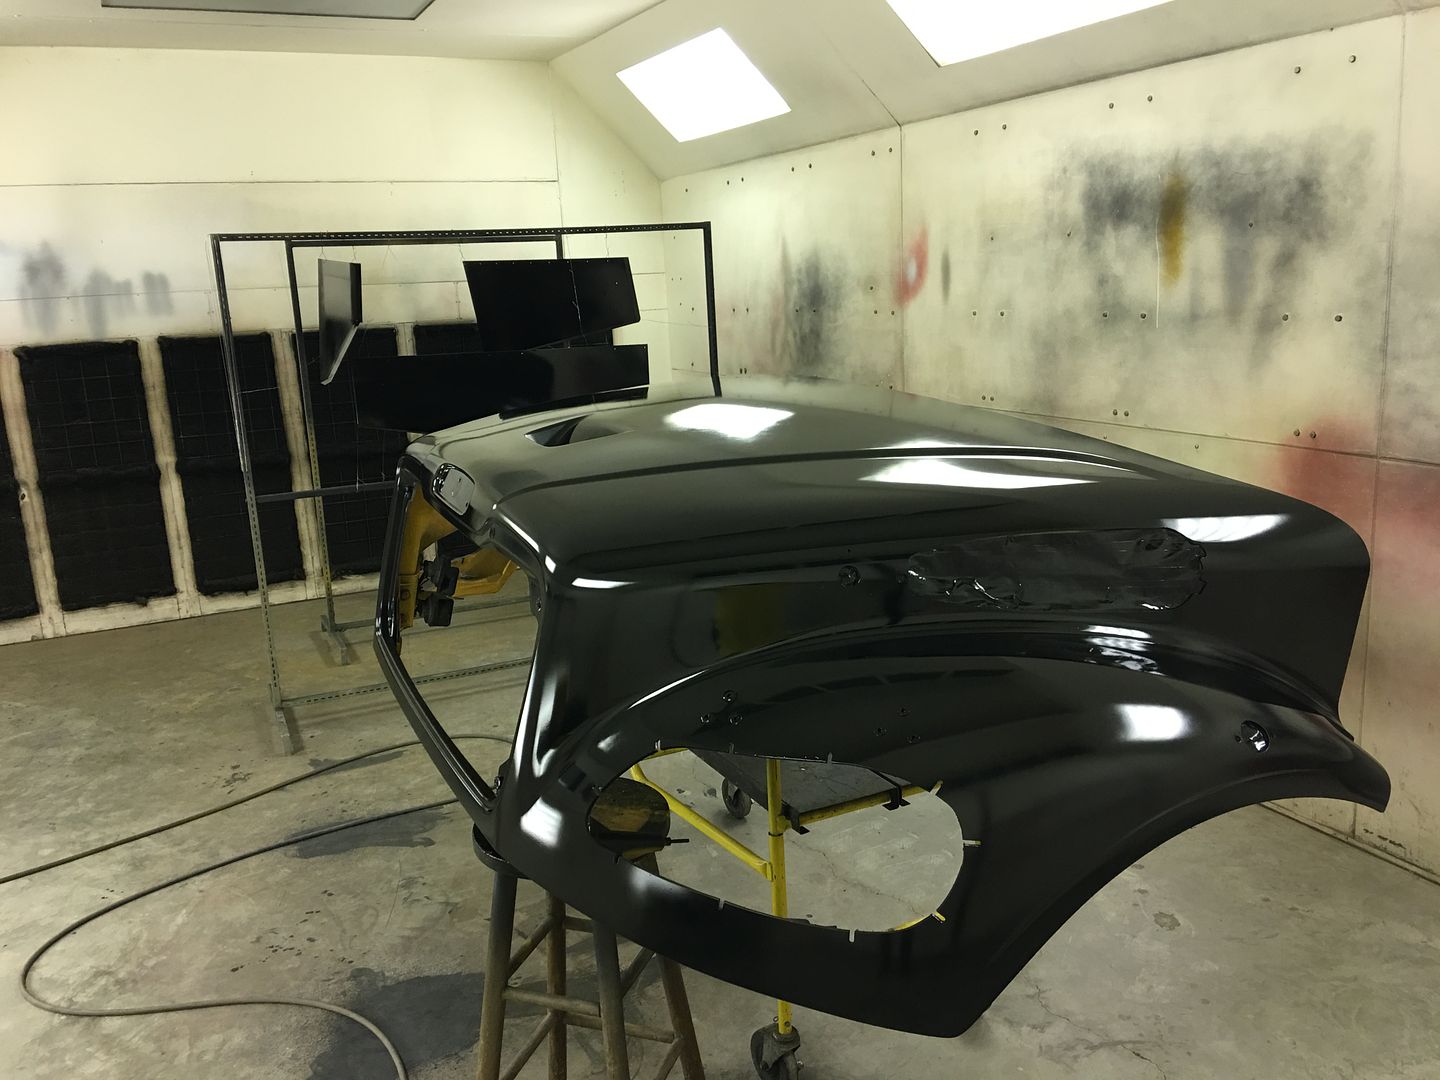
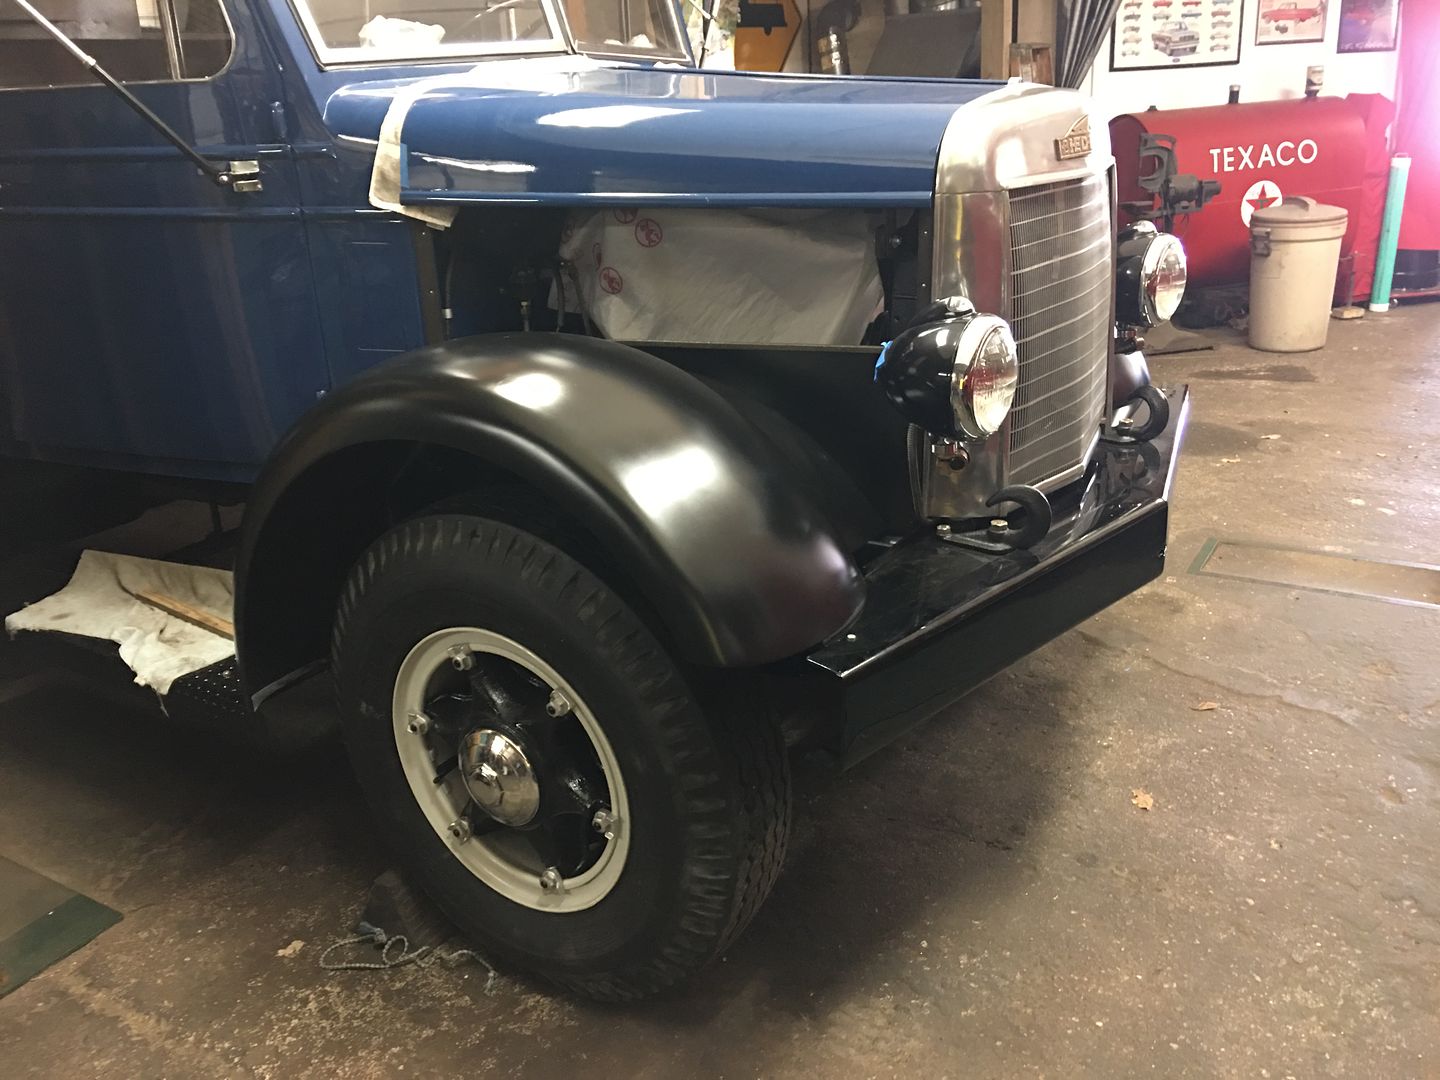
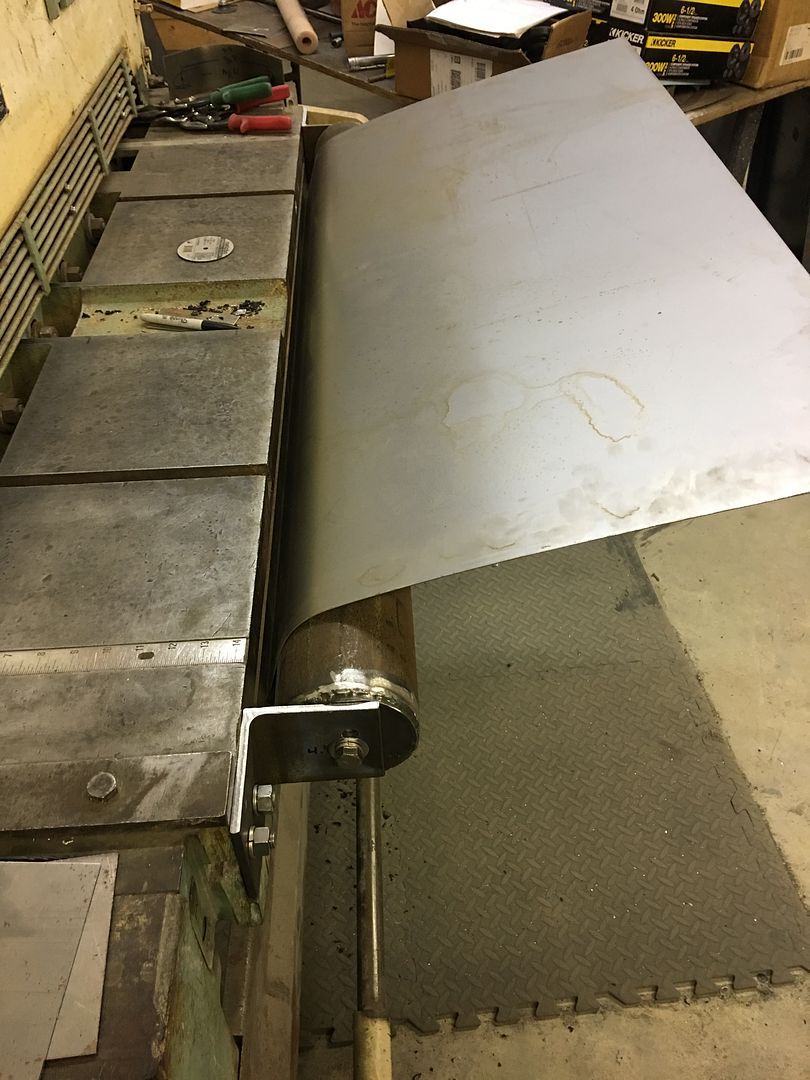
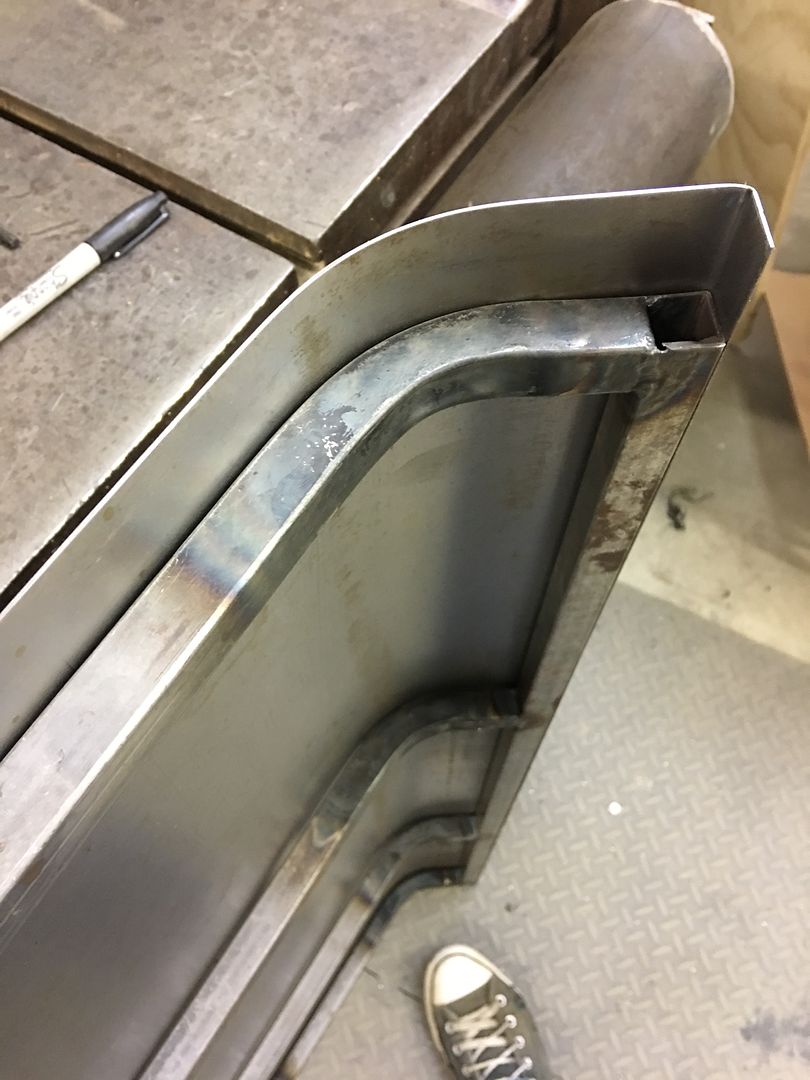
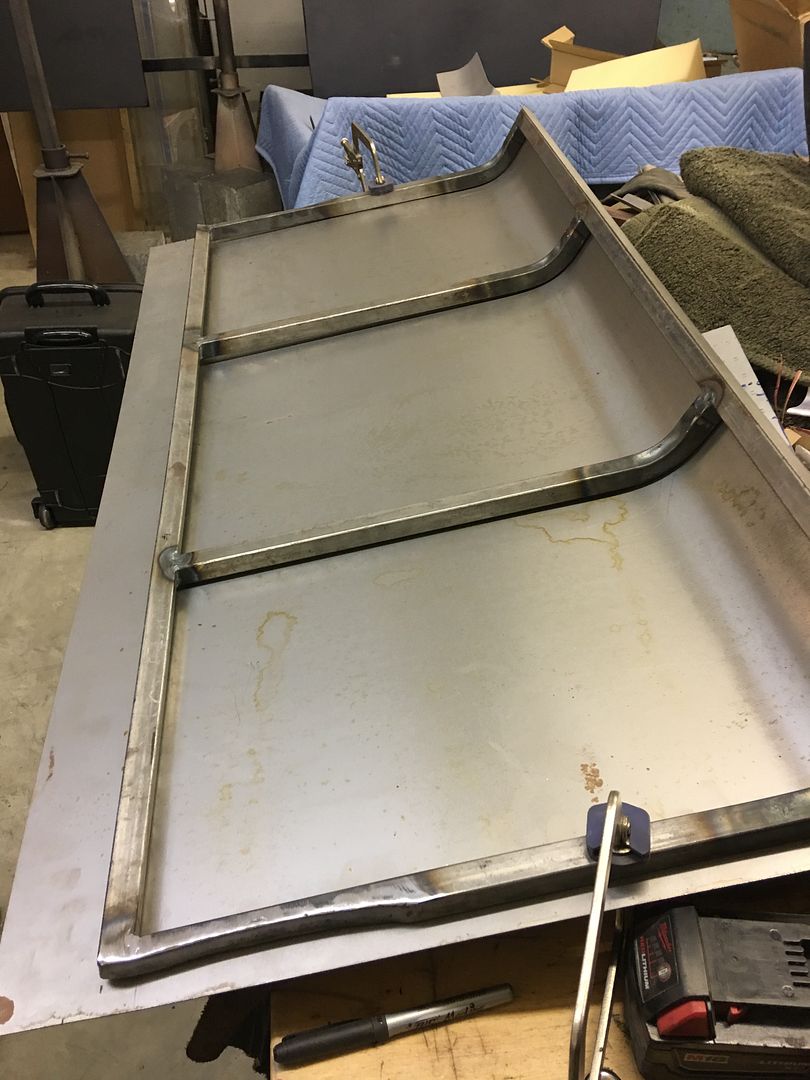
Stopped by John's shop today, he had dropped off the front fenders to his painter after the Macungie show for media blasting and a epoxy primer to protect them until we can get the hood resolved. Then he'll get all the new parts painted blue at one time...
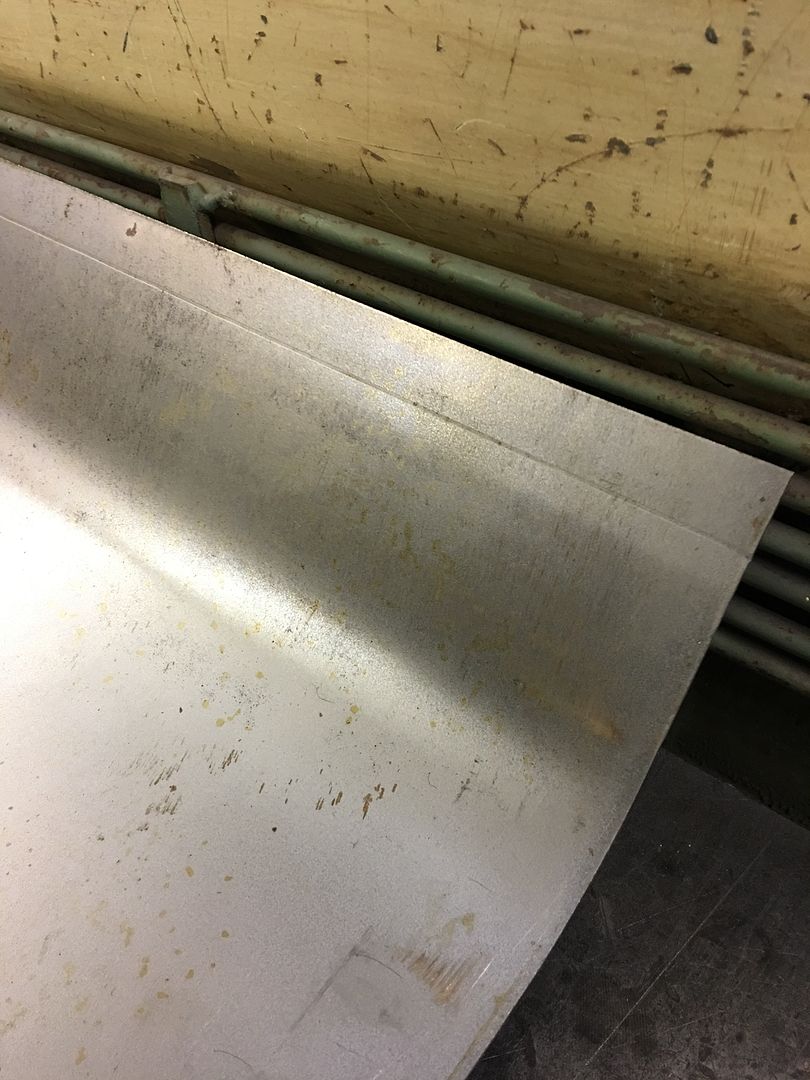
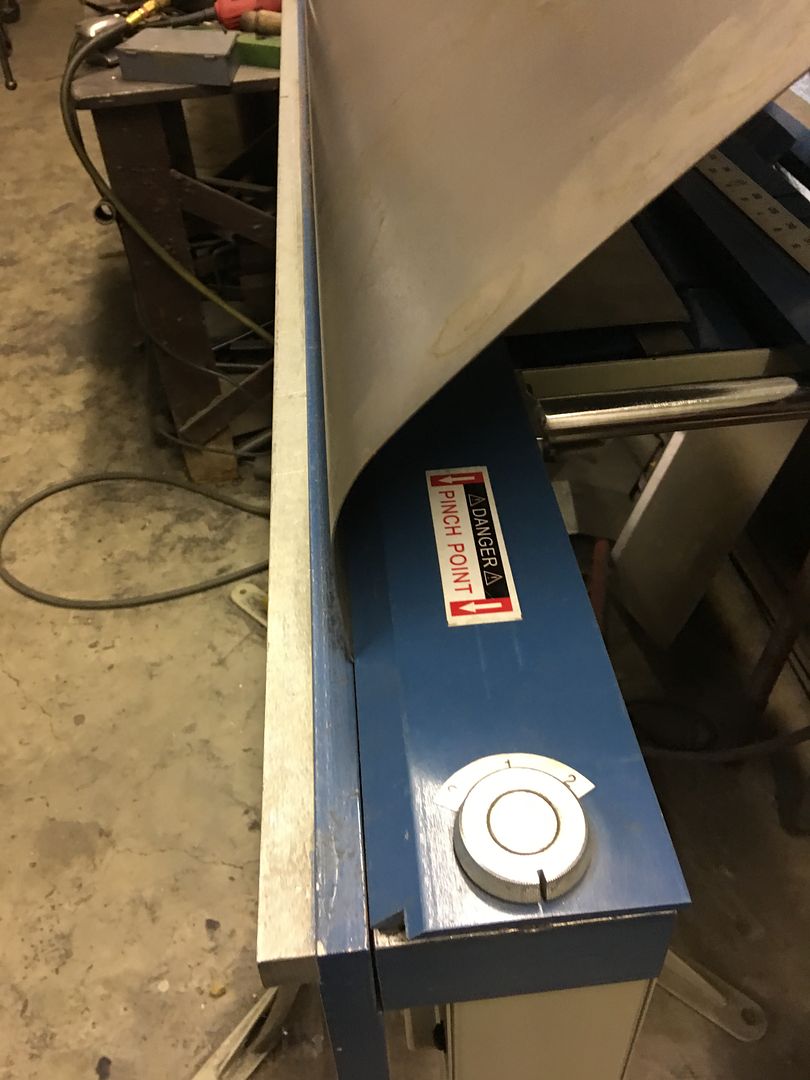
Here's the newly installed fenders with an epoxy finish..

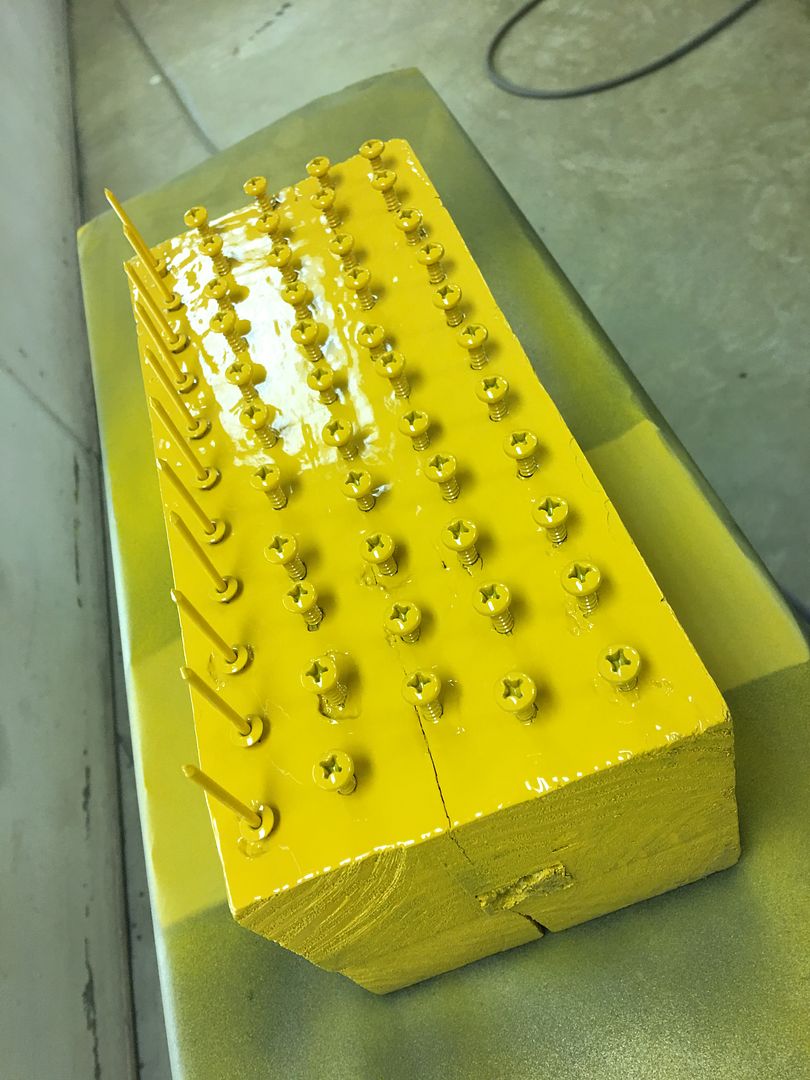
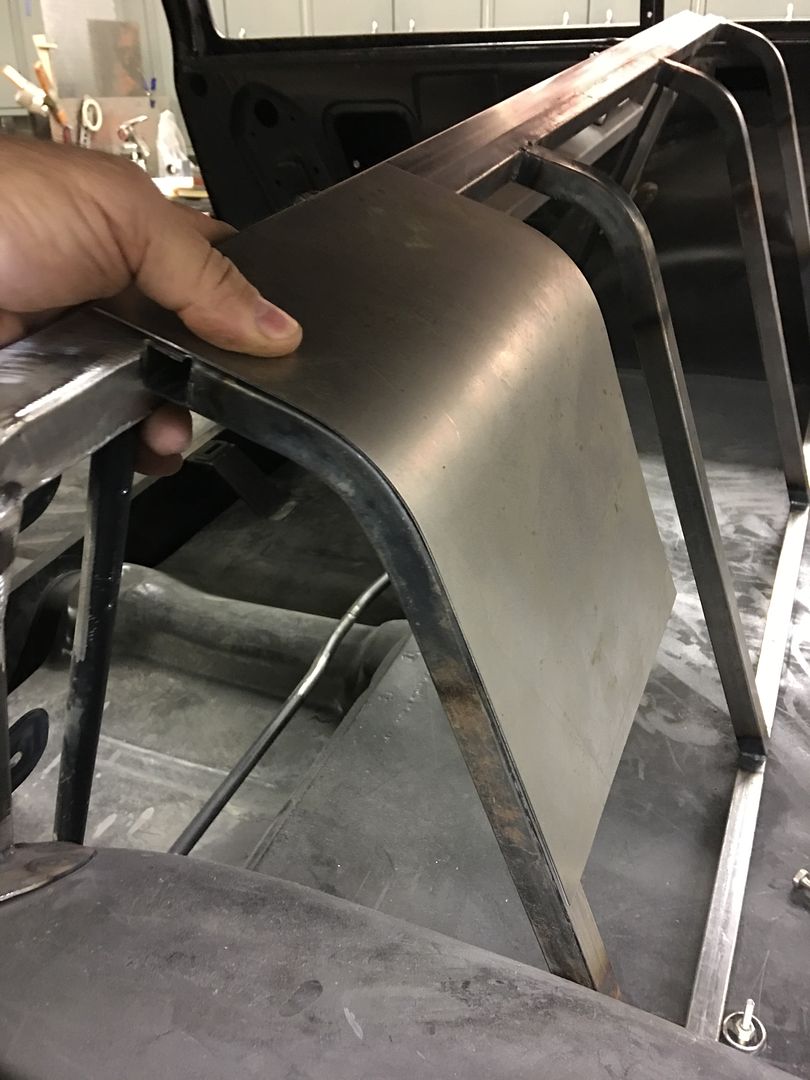
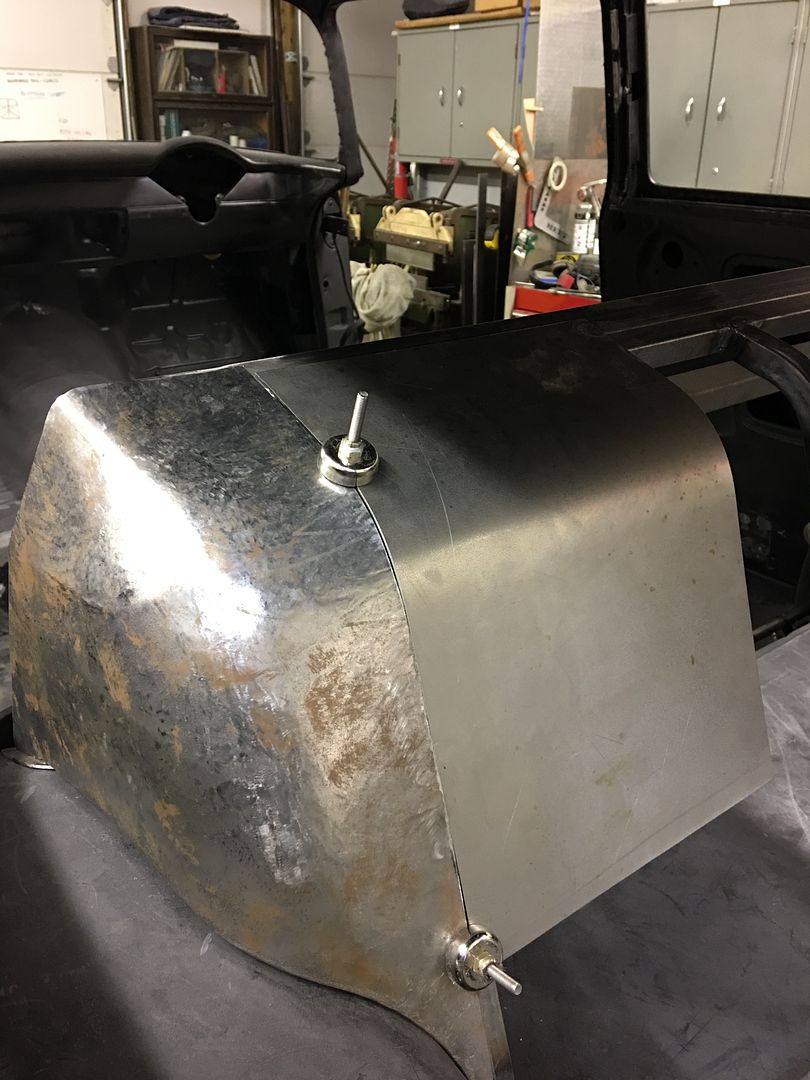
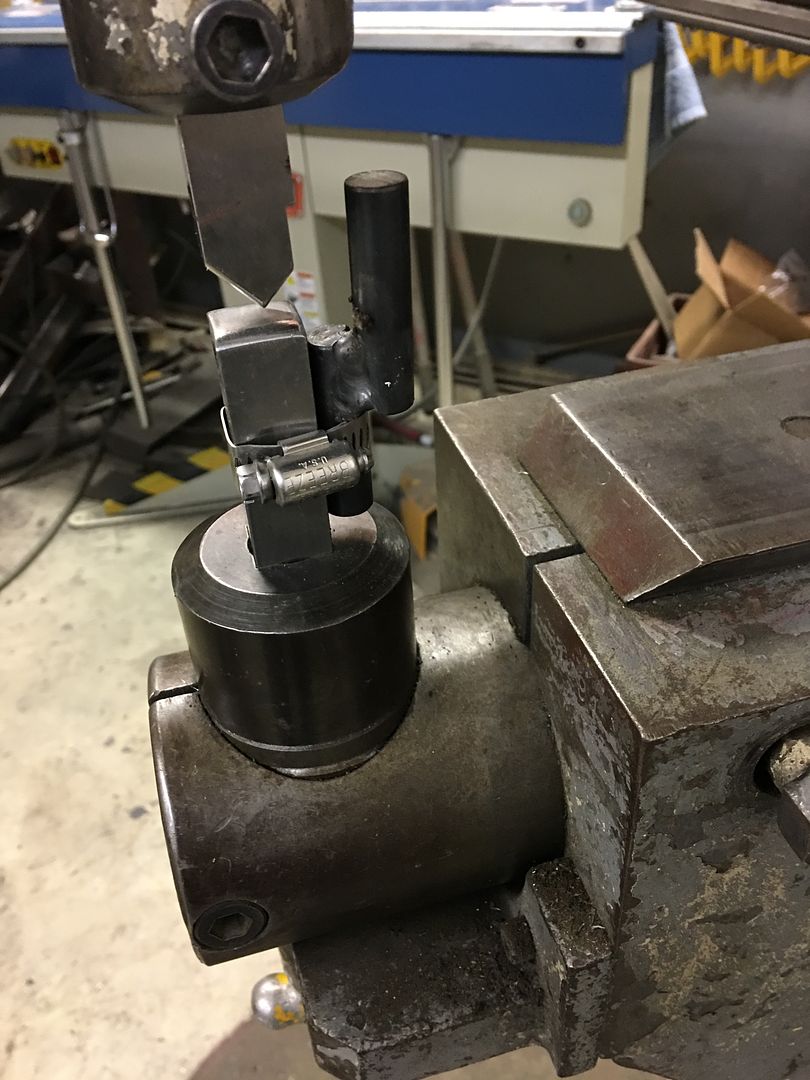
Changed the paint line fittings to high flow as been told standard fitting increase air velocity resulting in decreased atomization. Any suggestions would be appreciated.

")