To avoid these ads, REGISTER NOW!

MP&C Shop Projects

OP
M

MP&C

Well-known member
Joined
Oct 21, 2009
Messages
4,396
Location
Leonardtown, MD
Lowered price and shipping offered!!


Year end sale, last chance for a tax deduction for the year.

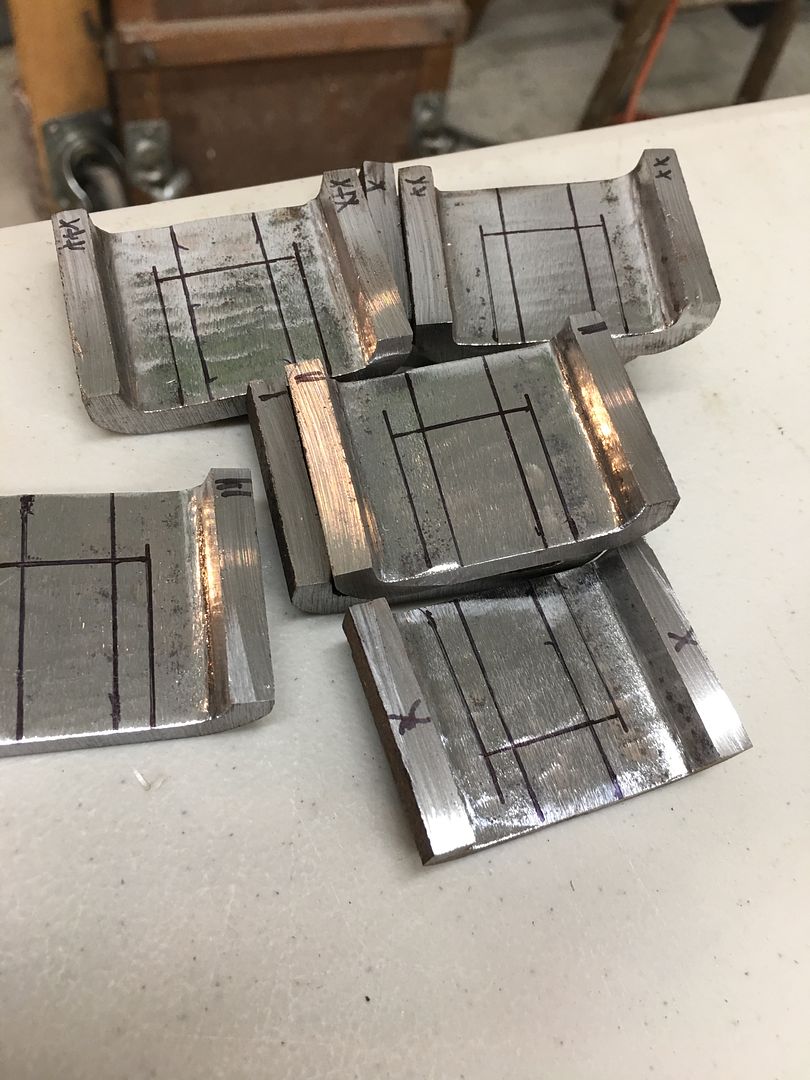
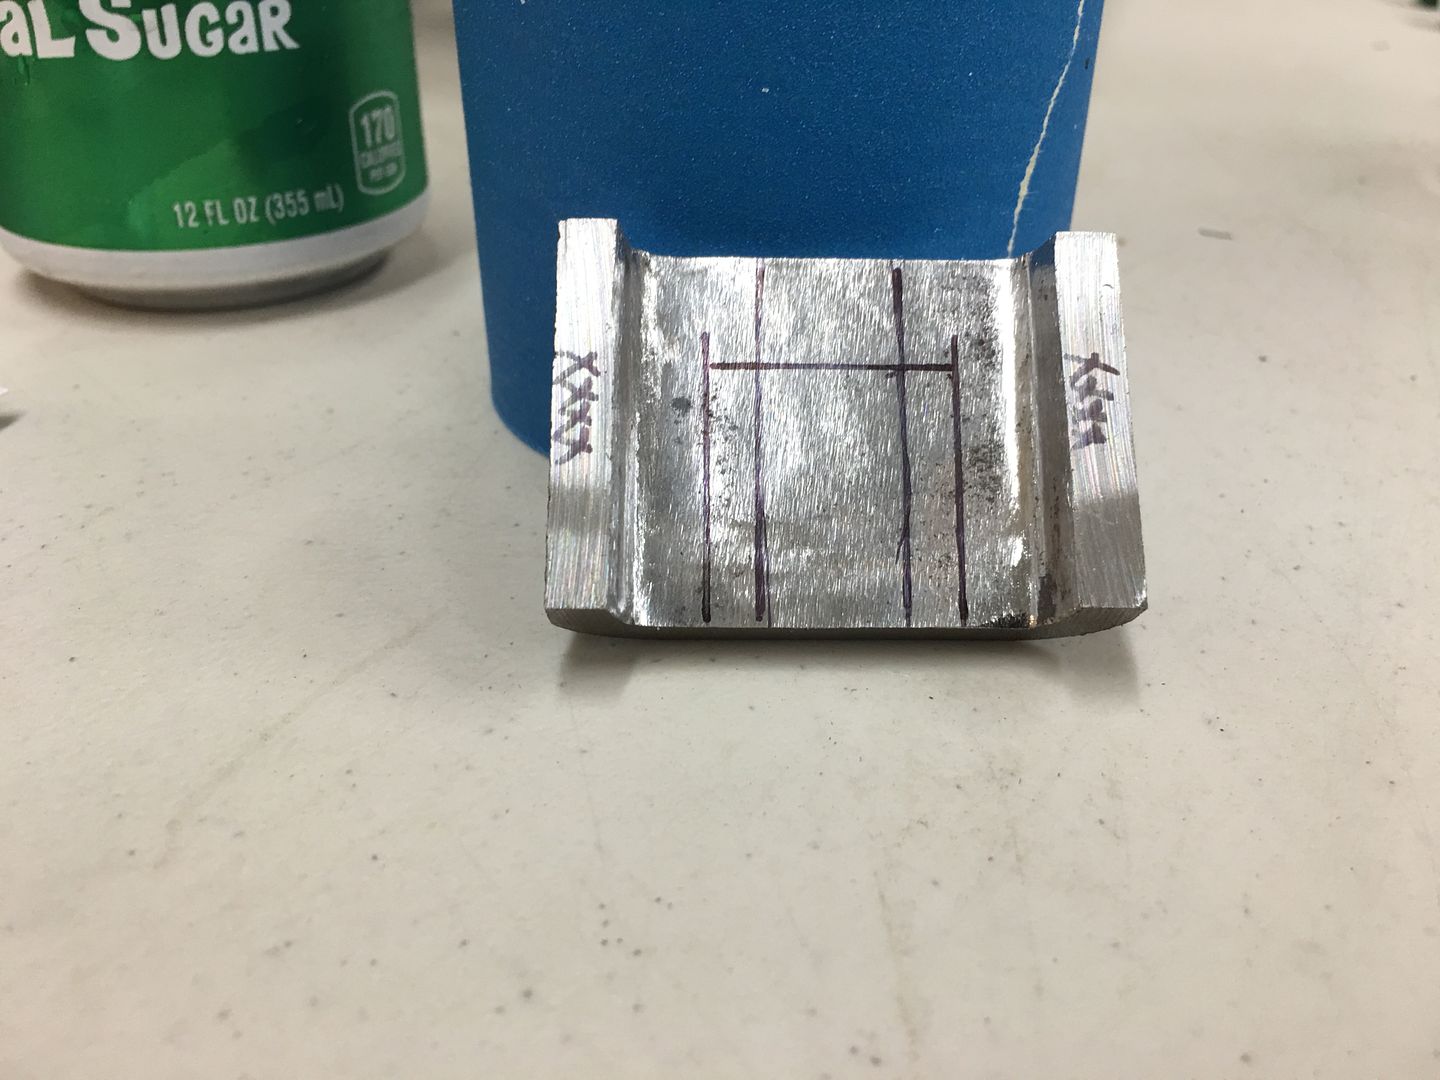
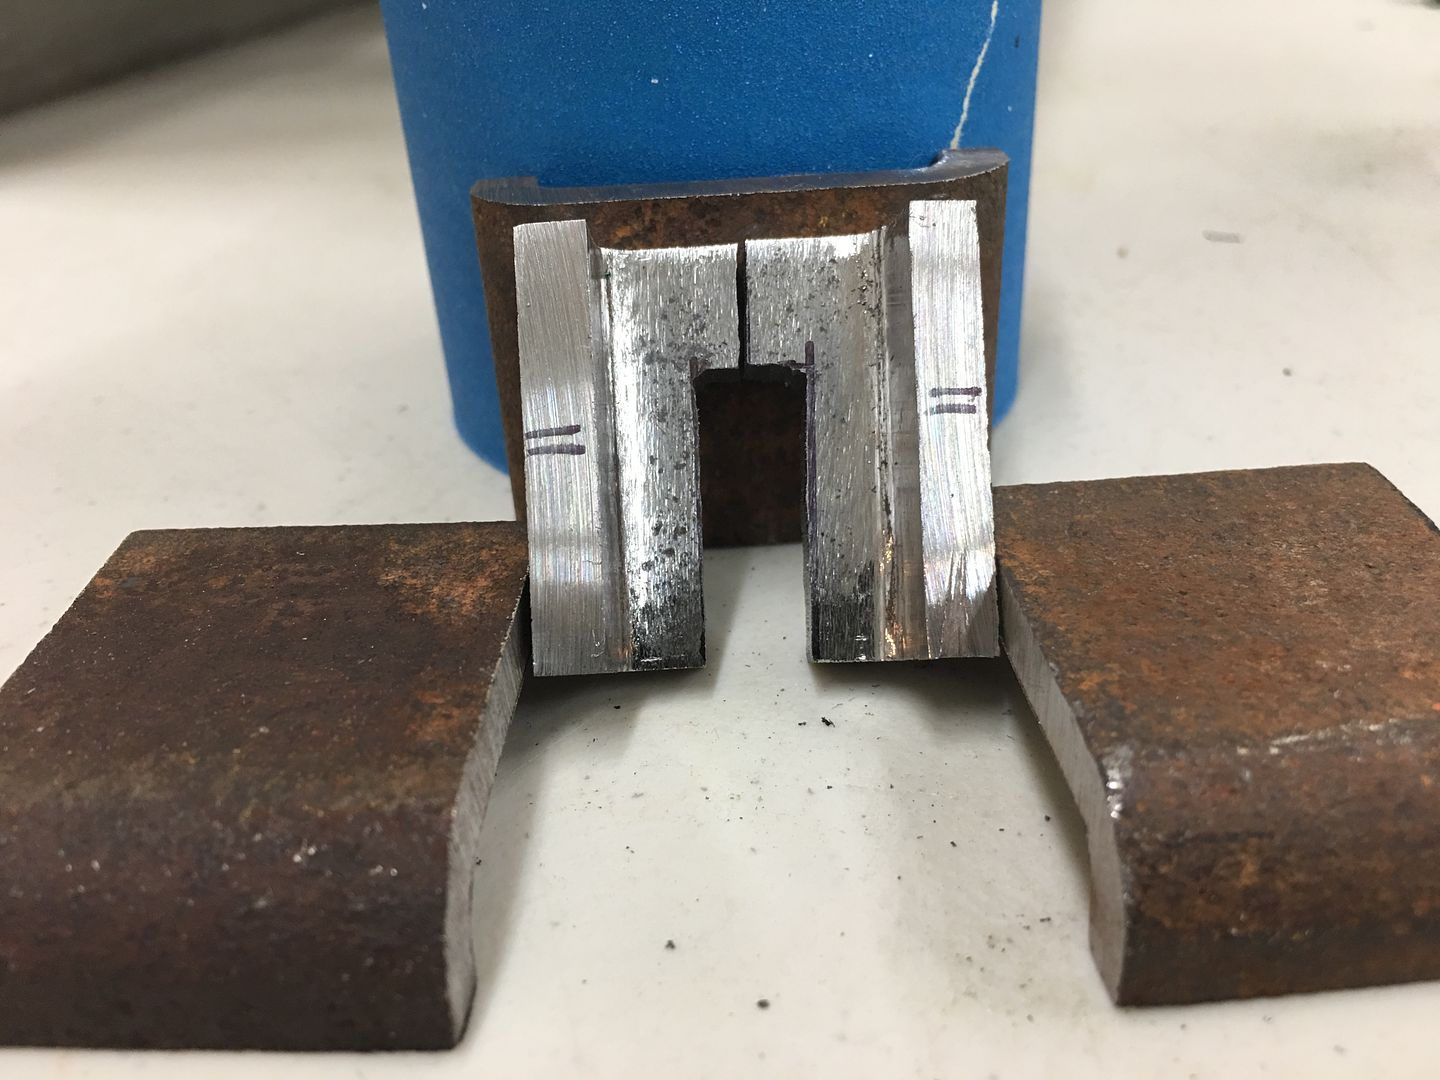
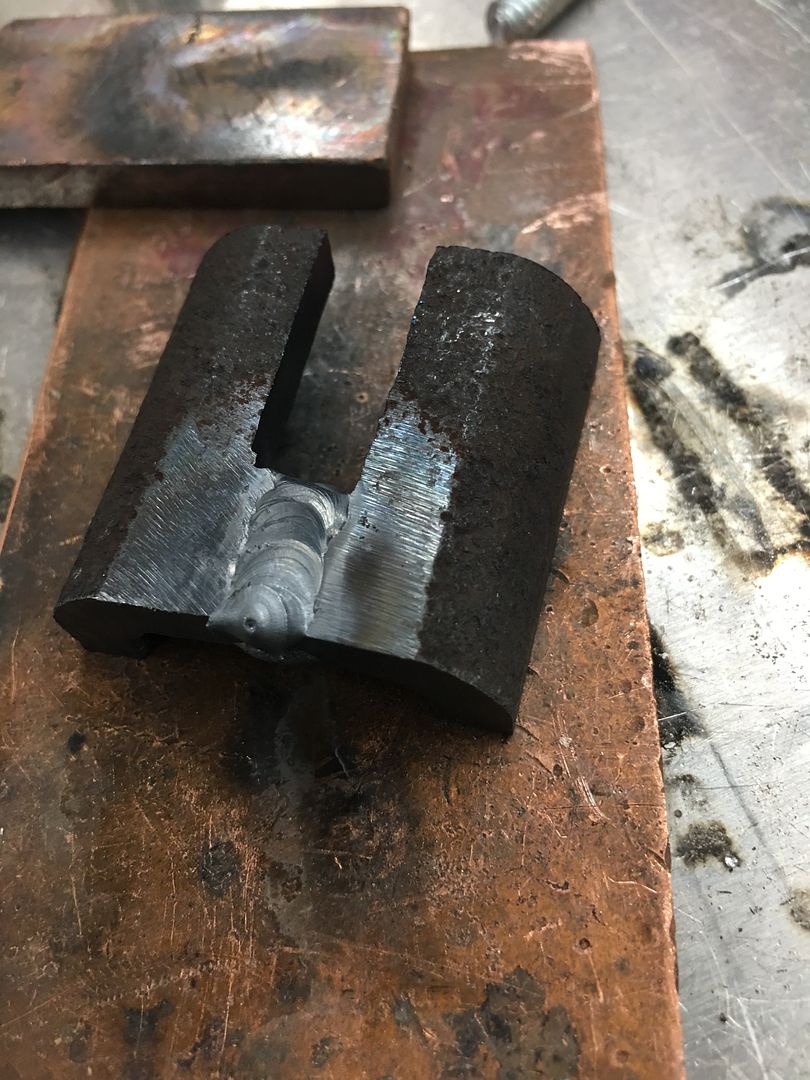
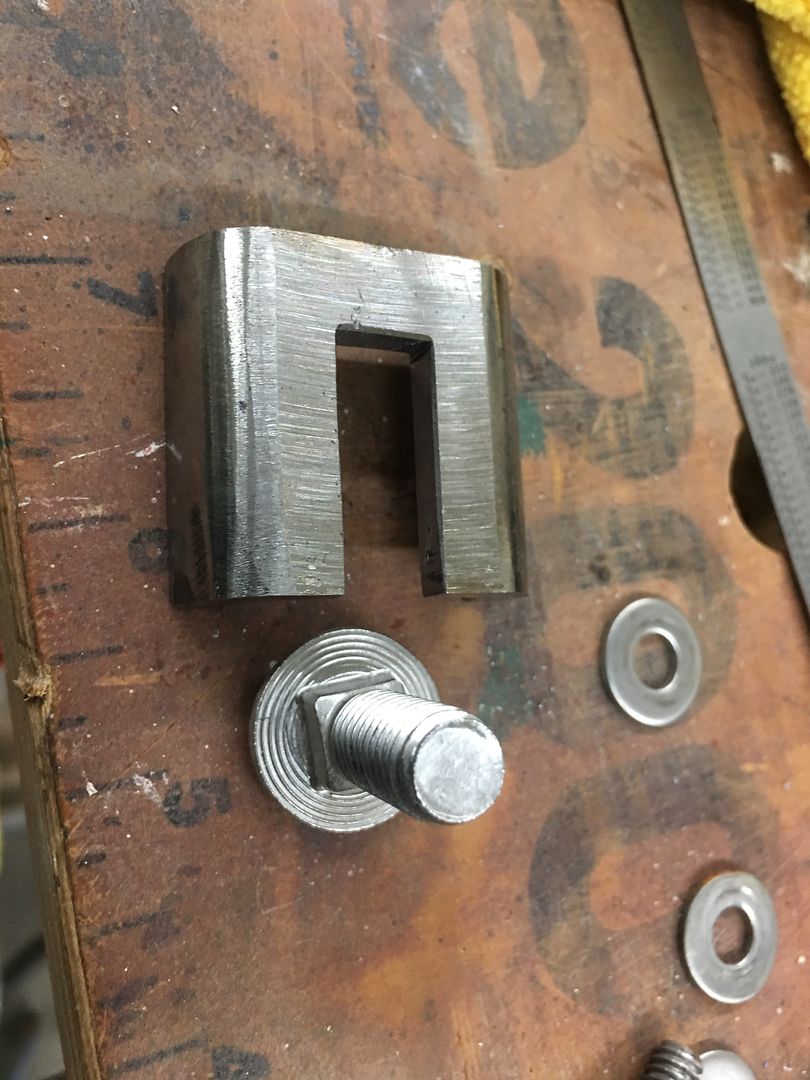
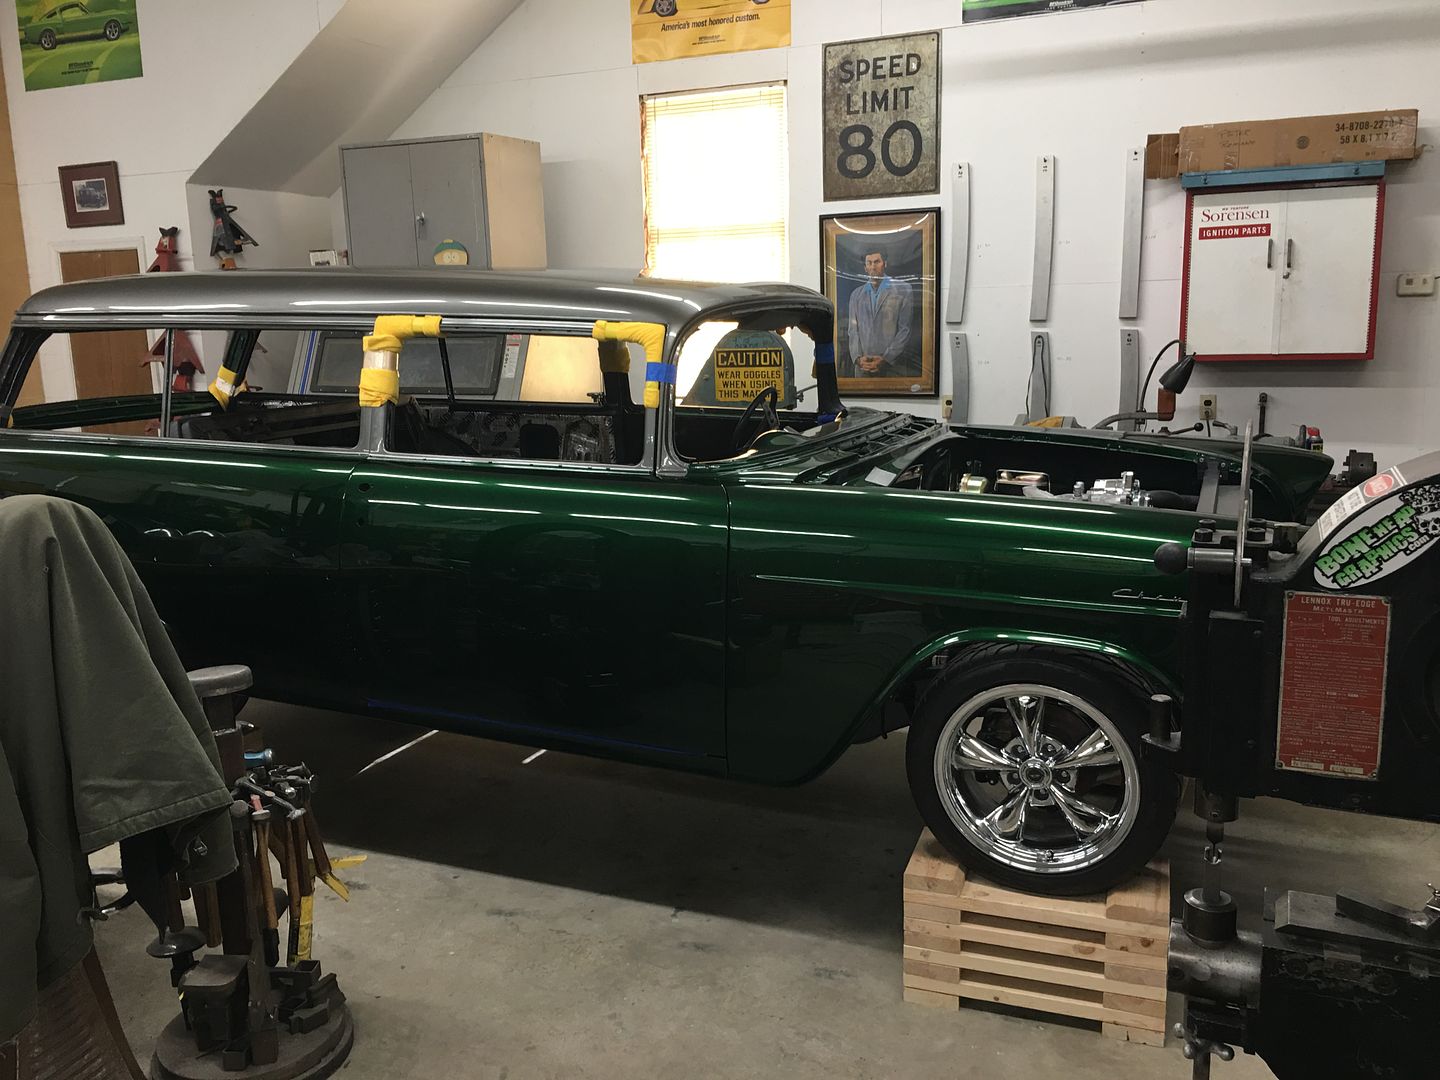
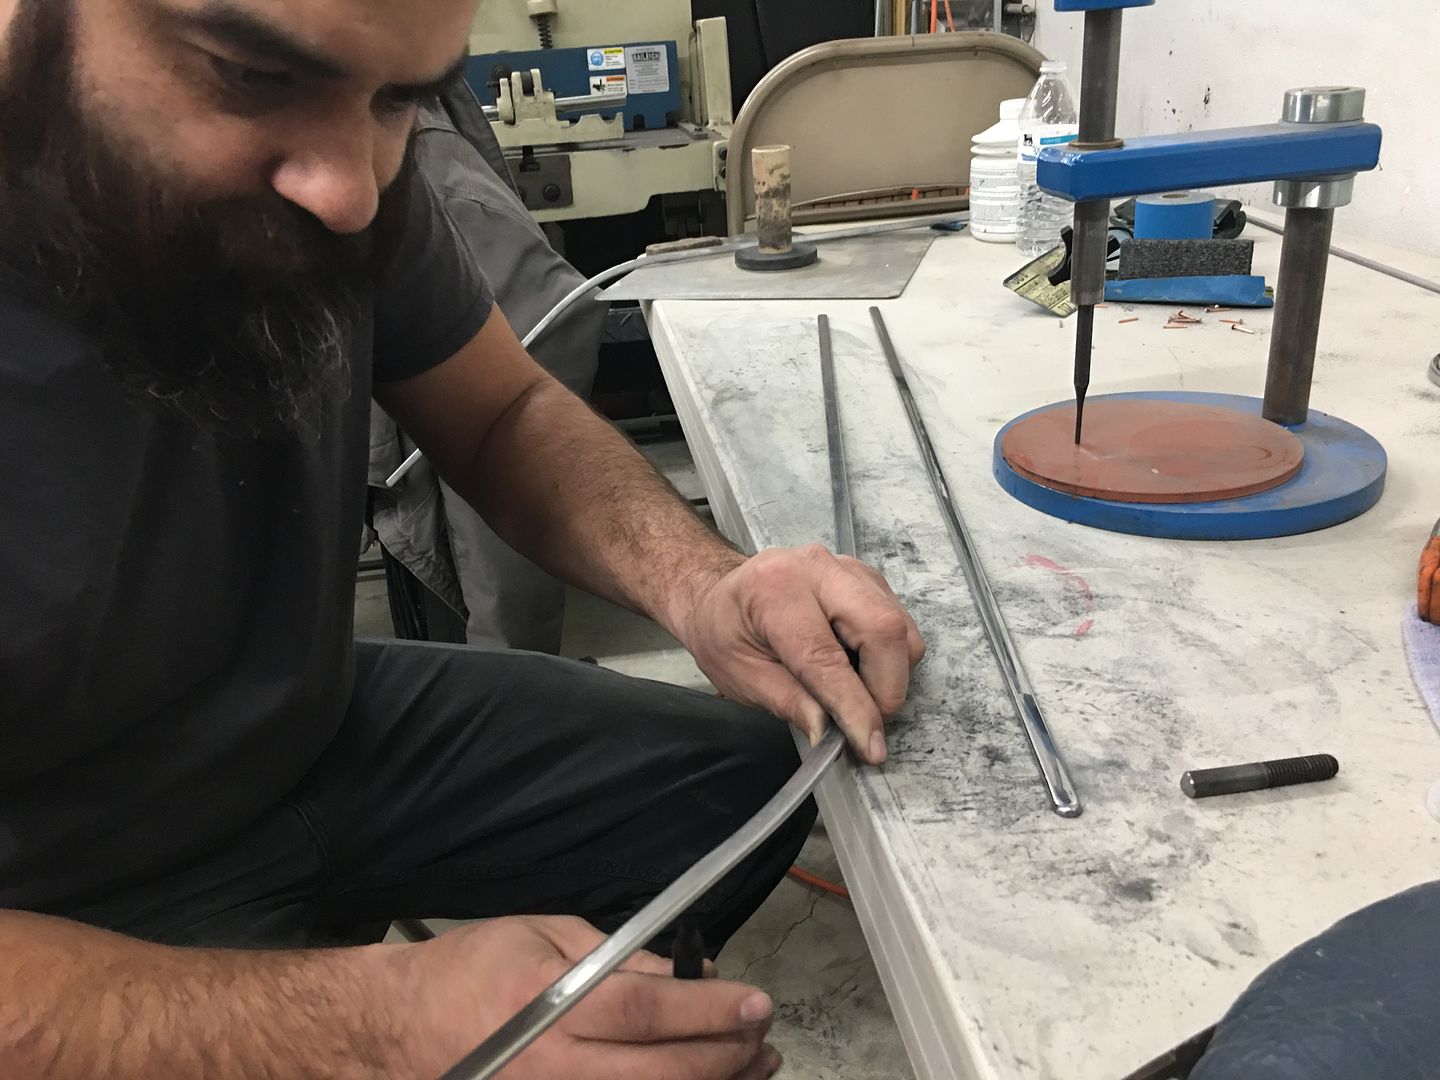
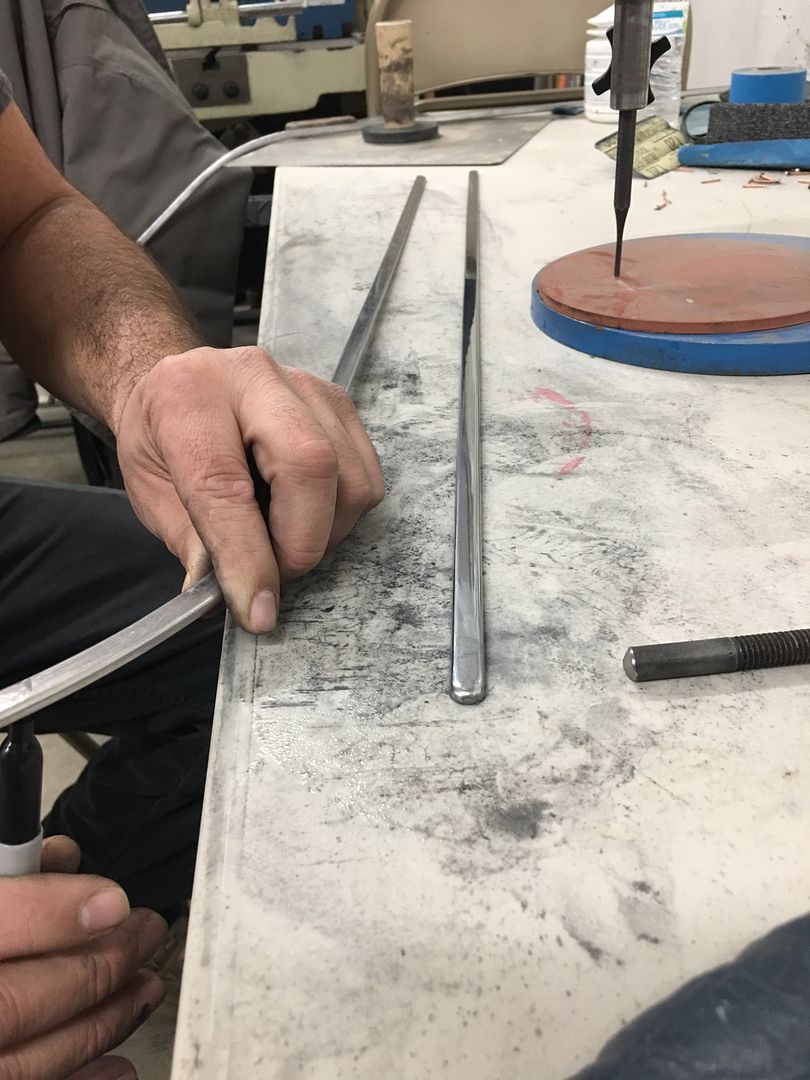
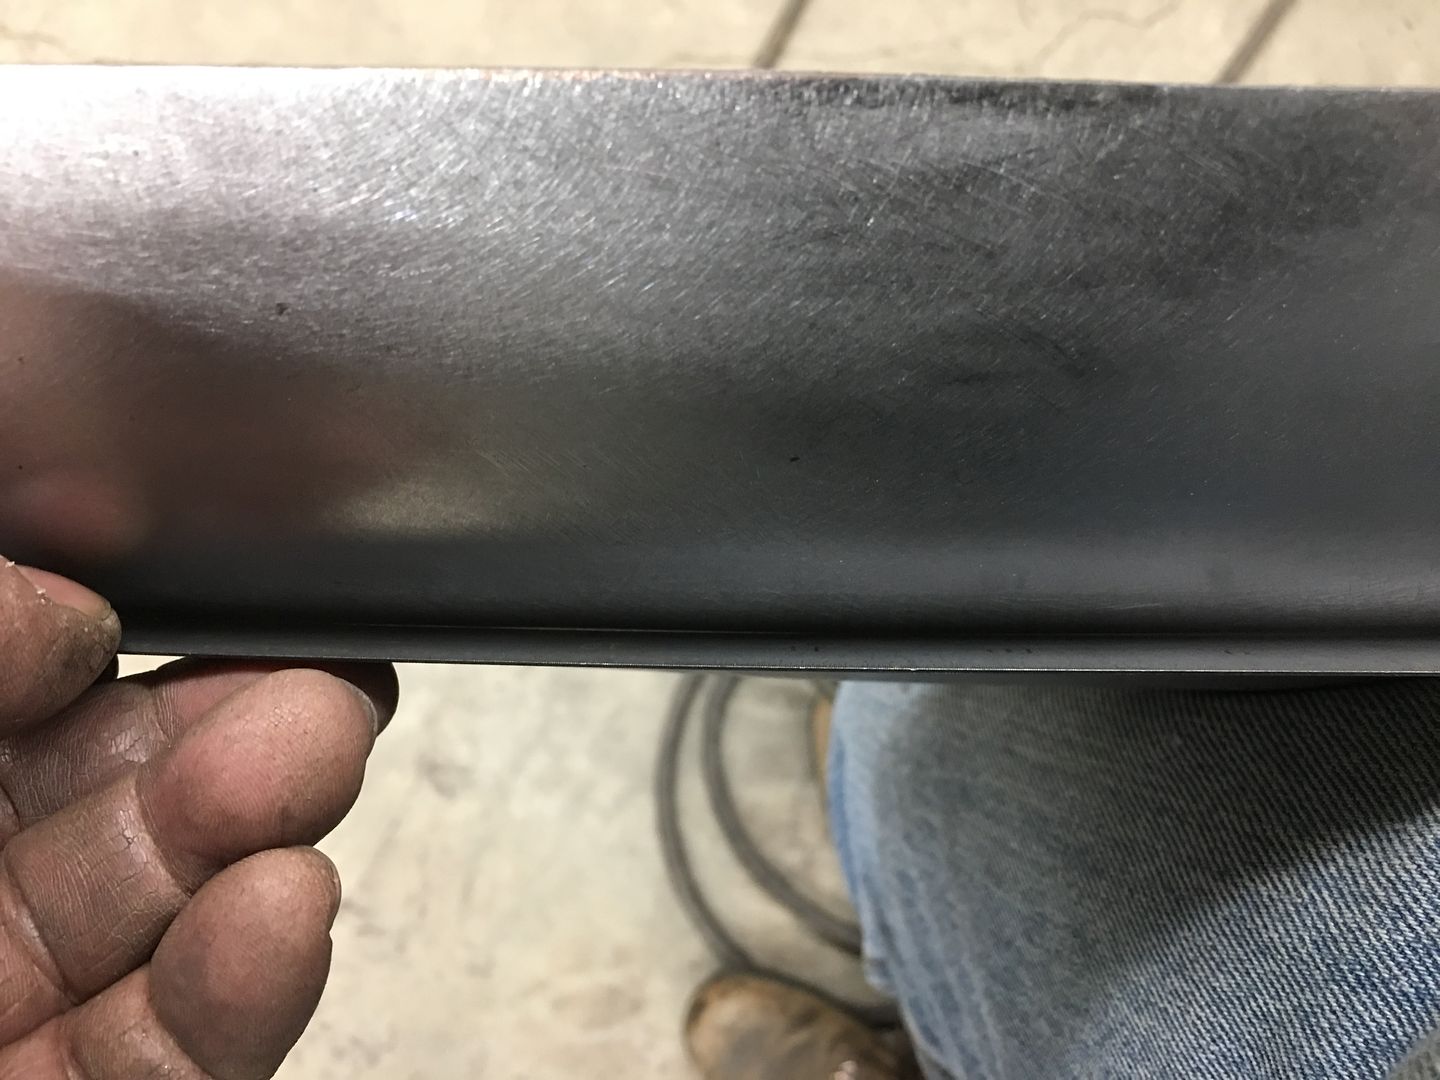
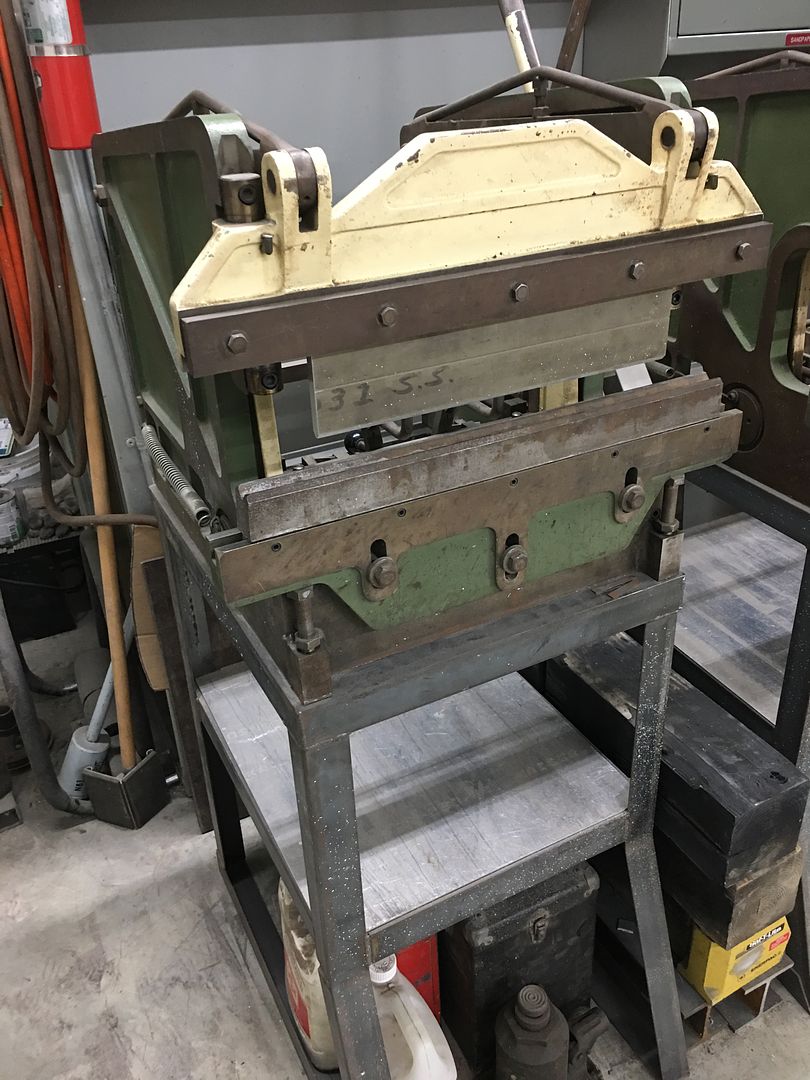
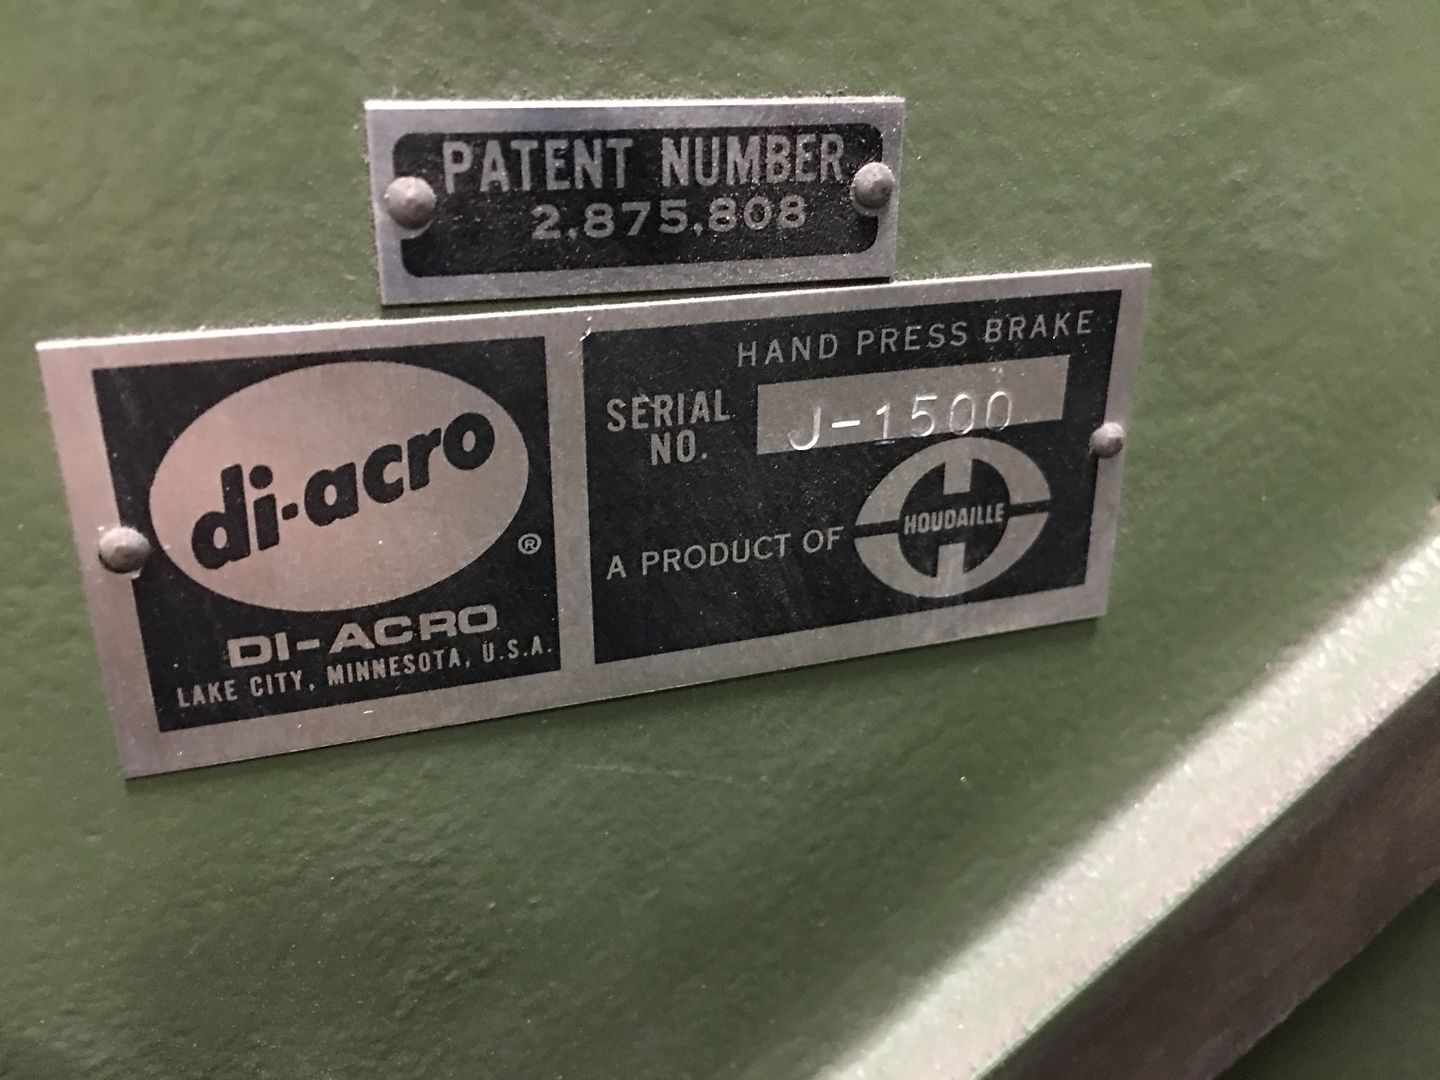
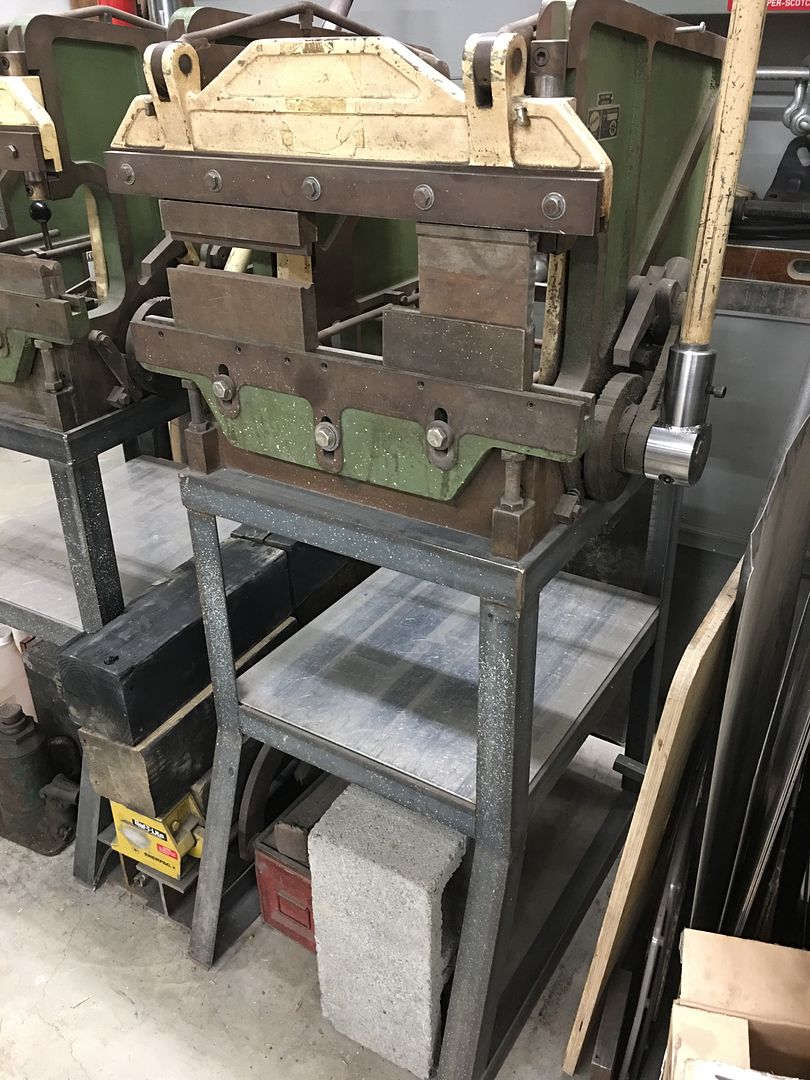
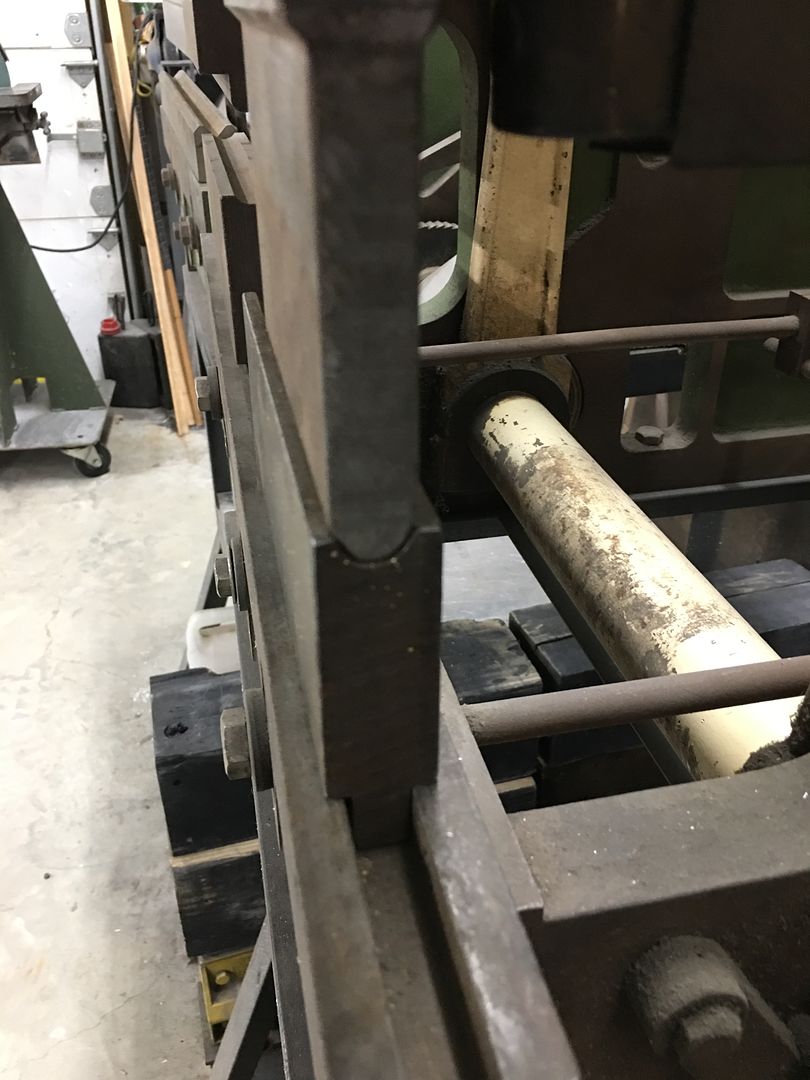
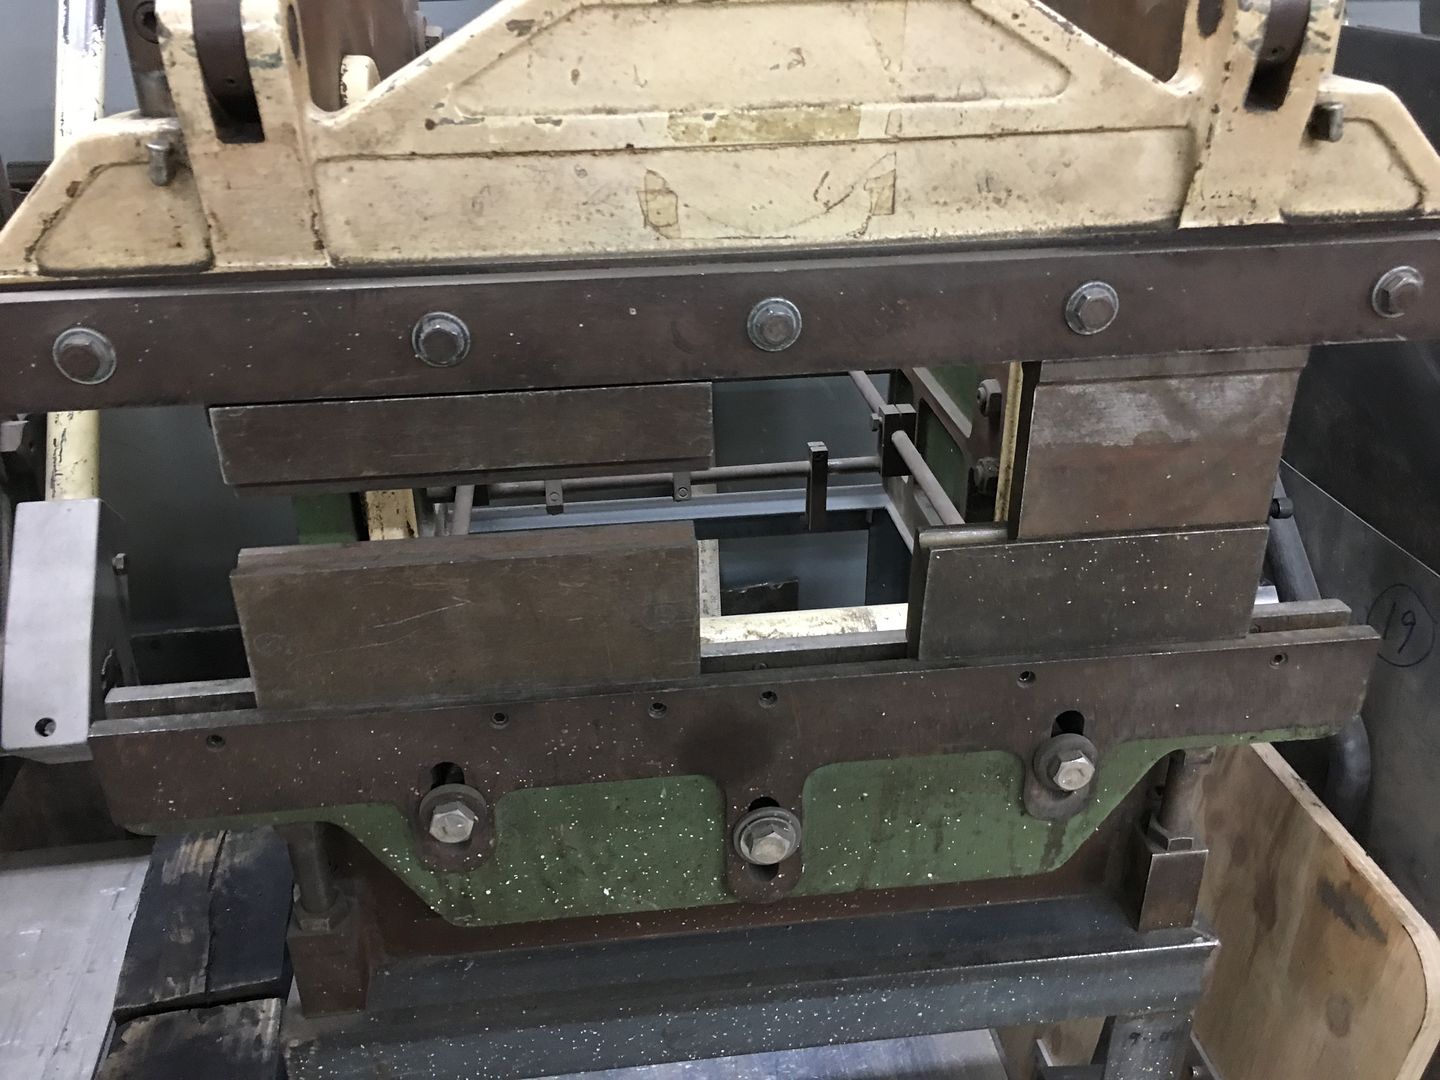
Diacro 16-24 MANUAL press brake, 8 ton, SN J-1500. Comes with the home-made stand you see it on, and the dies that are installed. This one has the fully functioning back gauge, a must have for repeat bends. None of the junk laying under or next to it is part of the dealio. Modestly priced at 1900, less than half of what similar ones are on eBay for. Stand has a full shelf for storage of dies. These brakes are 24” wide and rated at 16 gauge capacity. Ideal for a small shop or home garage where space is a premium.

I would prefer the buyer come and kick the tires, and we can load onto your truck/trailer. Located in Leonardtown Maryland. We can help prep for shipping if needed, buyer pays all shipping costs. I also have a second one if someone would like a package deal..


IMG_8521.JPG


IMG_8522.JPG


IMG_8524.JPG


IMG_8525.JPG


IMG_8526.JPG


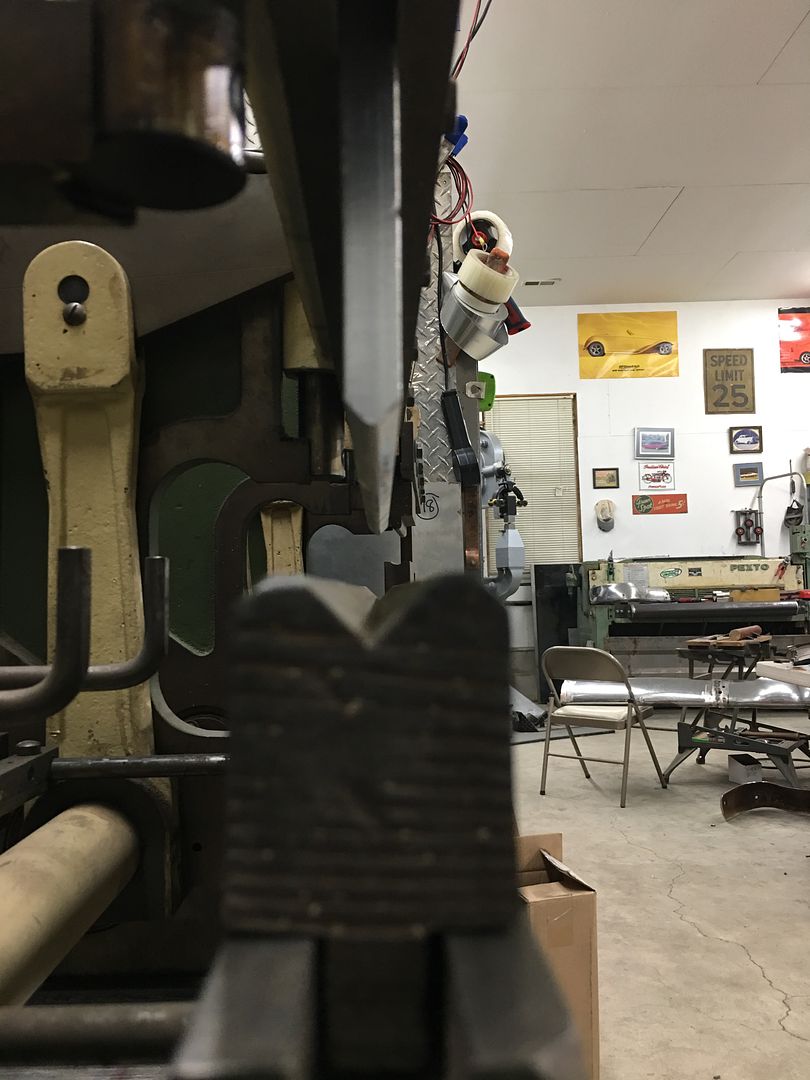
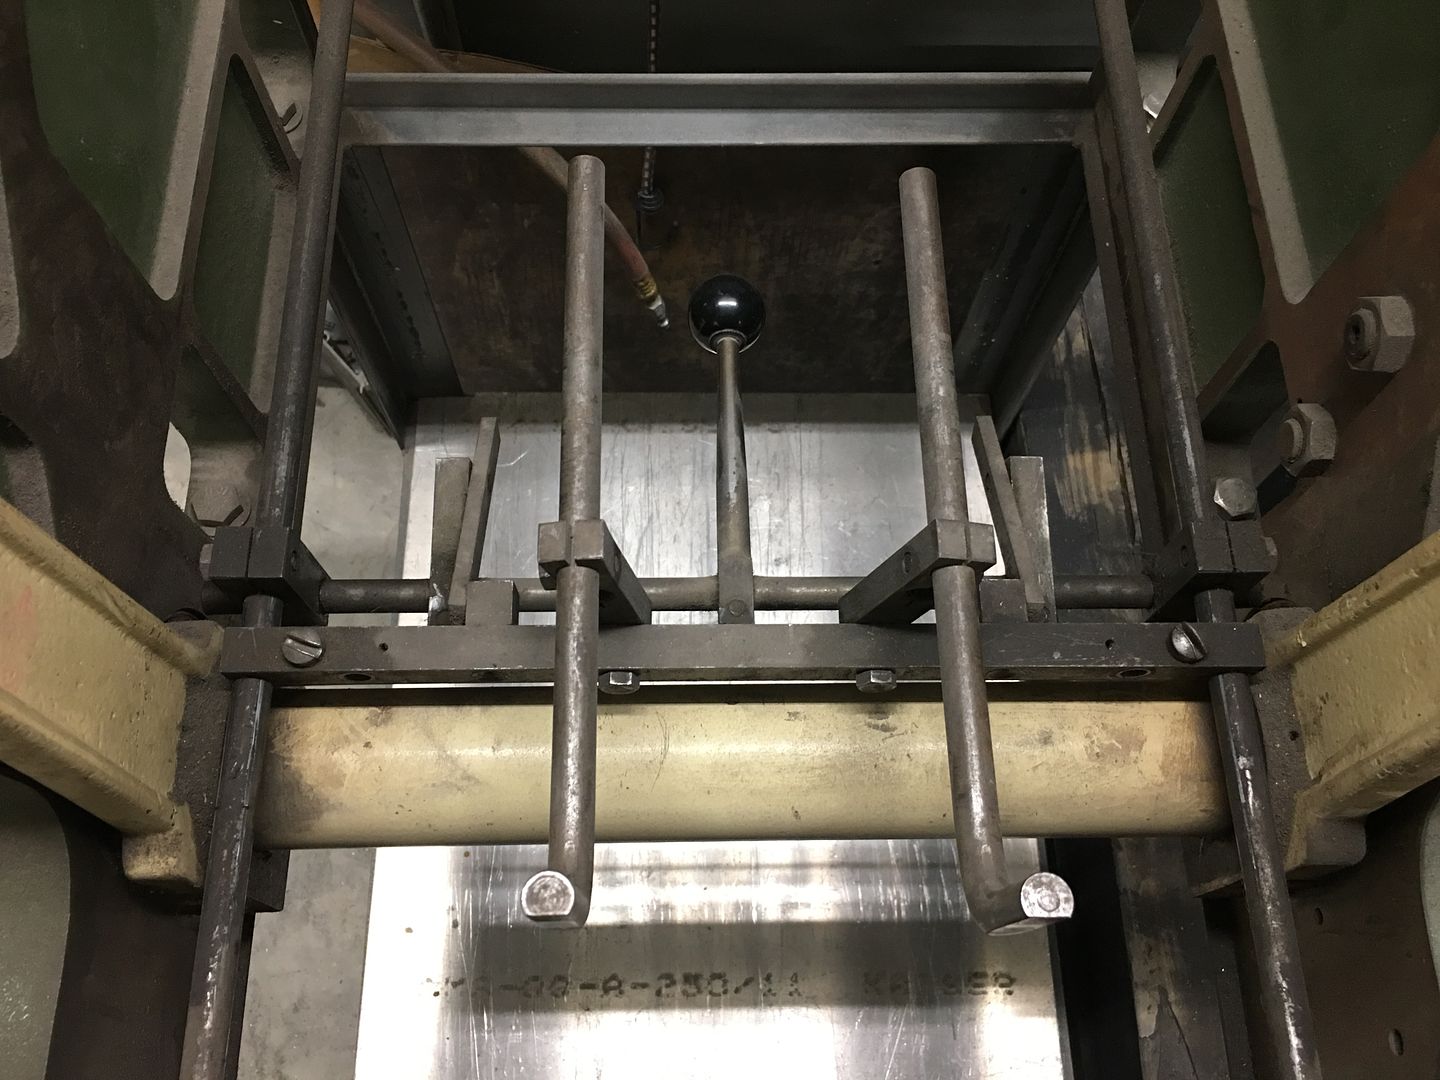
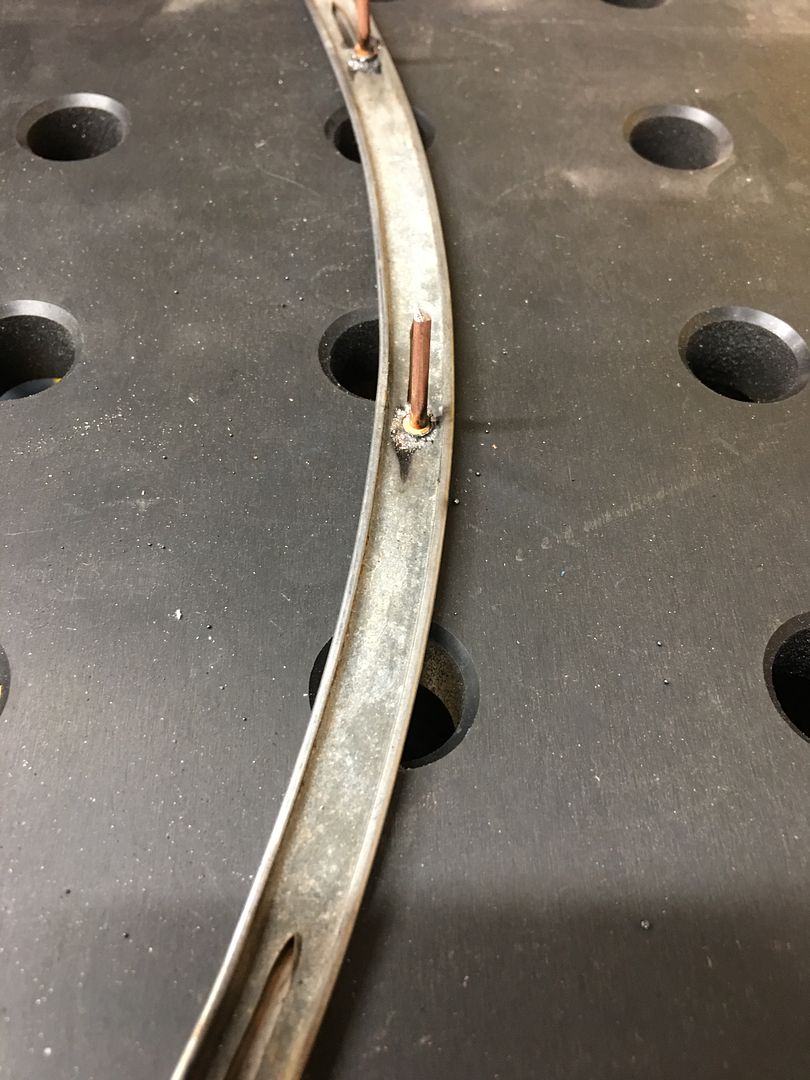
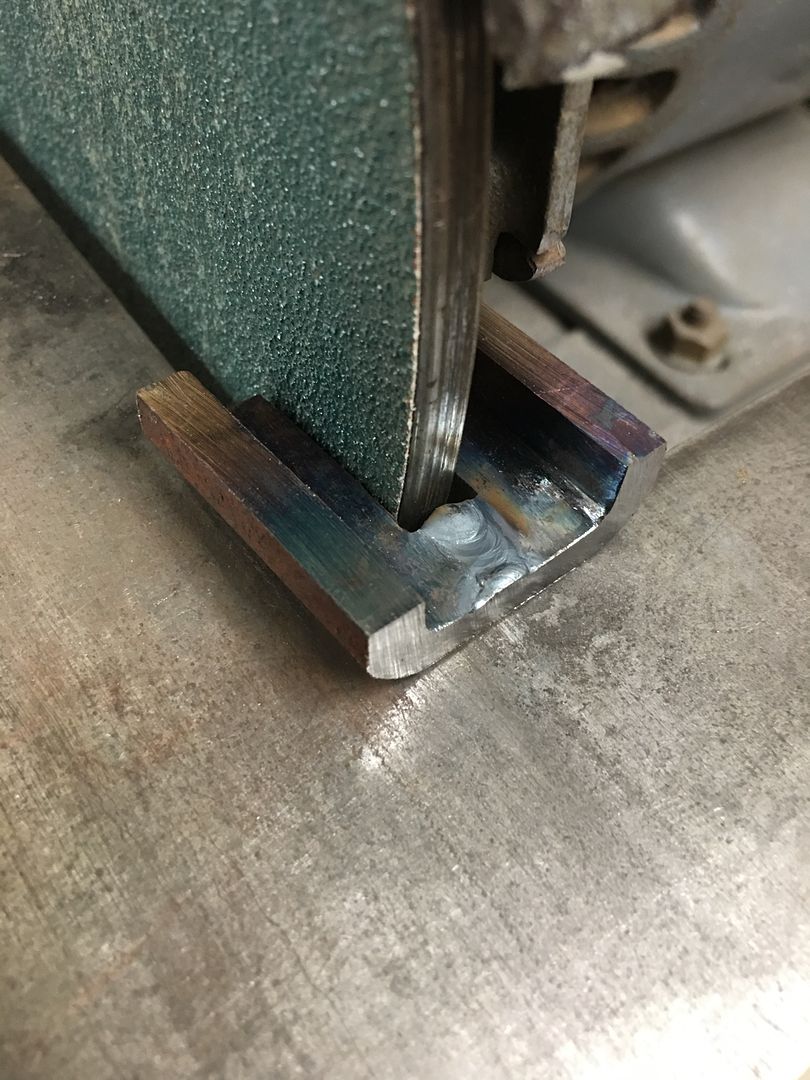
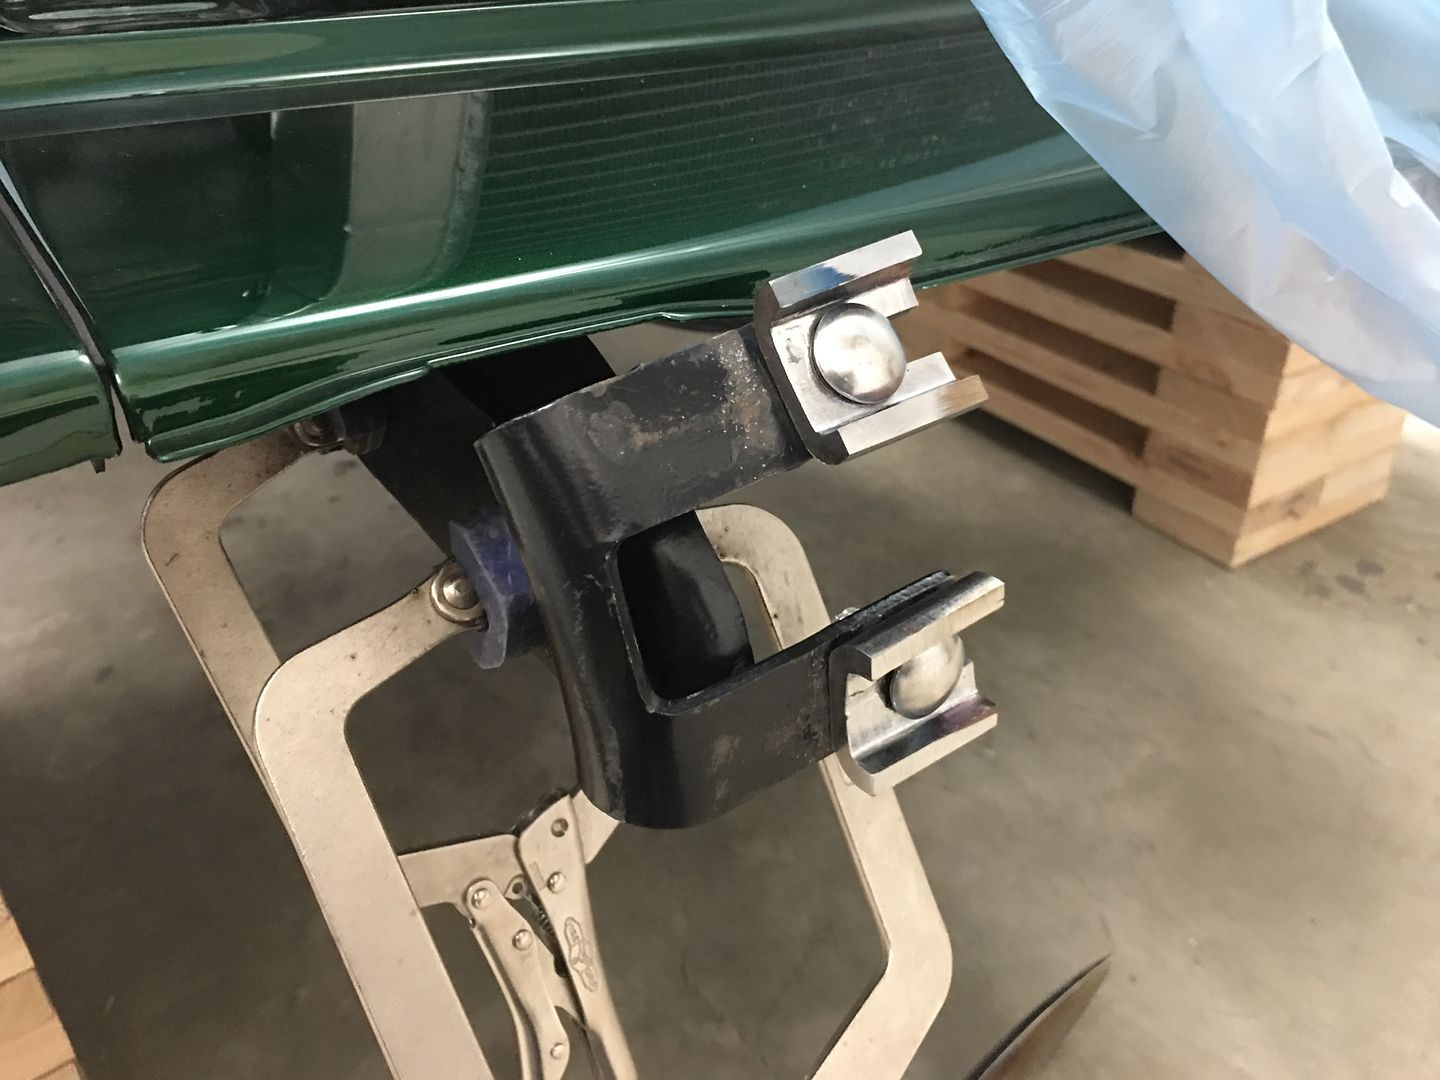
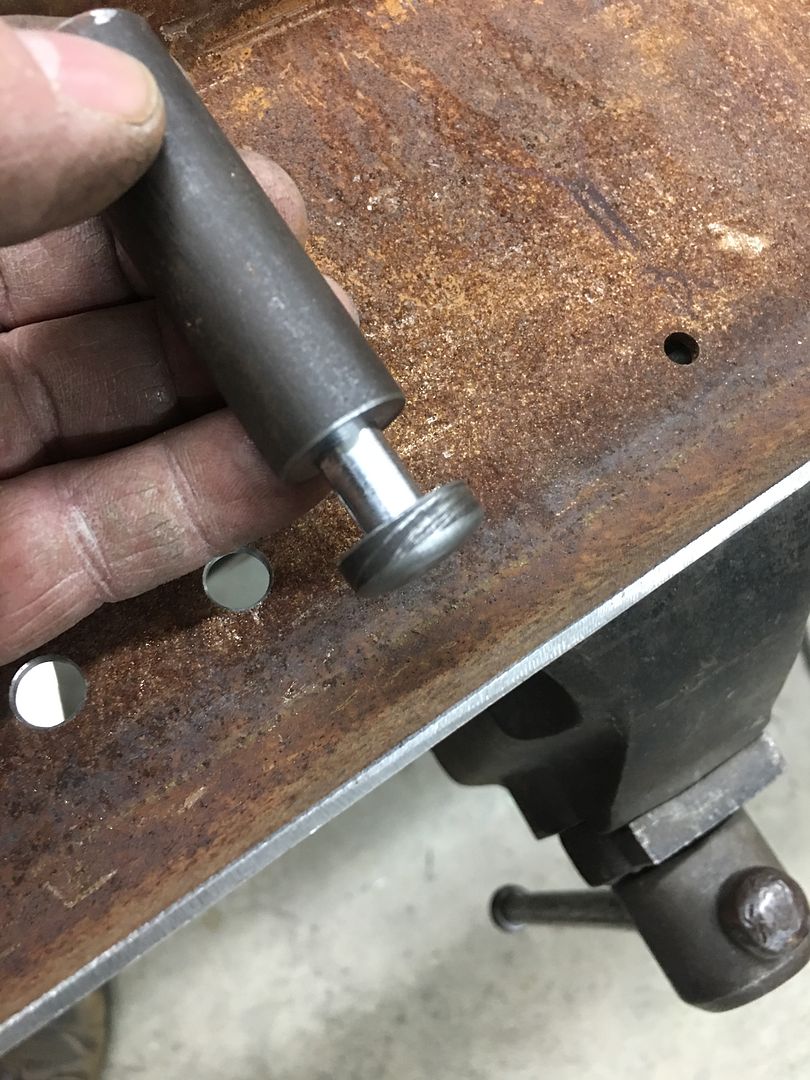
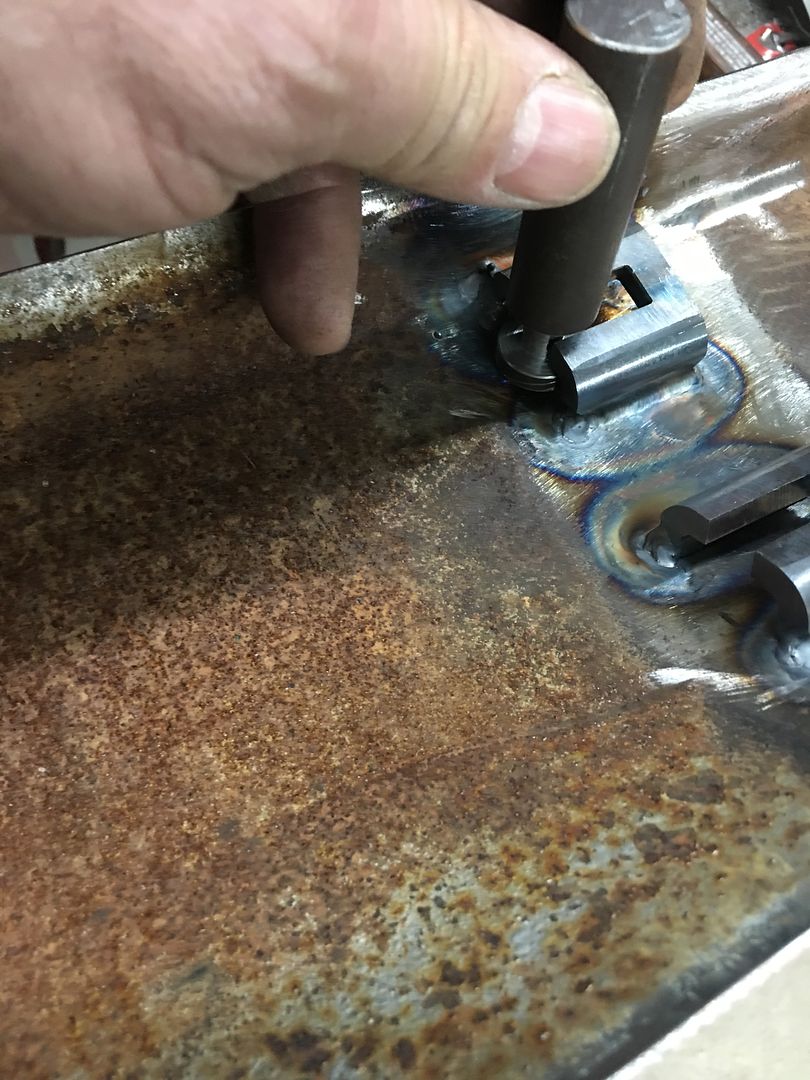
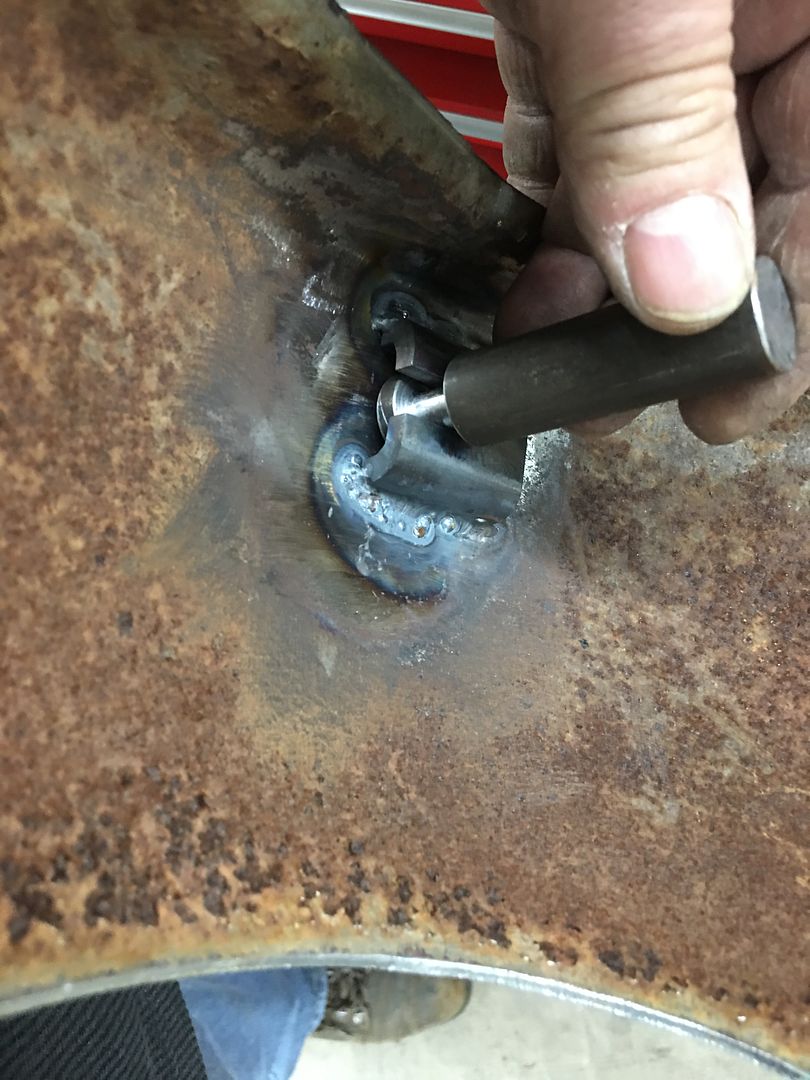
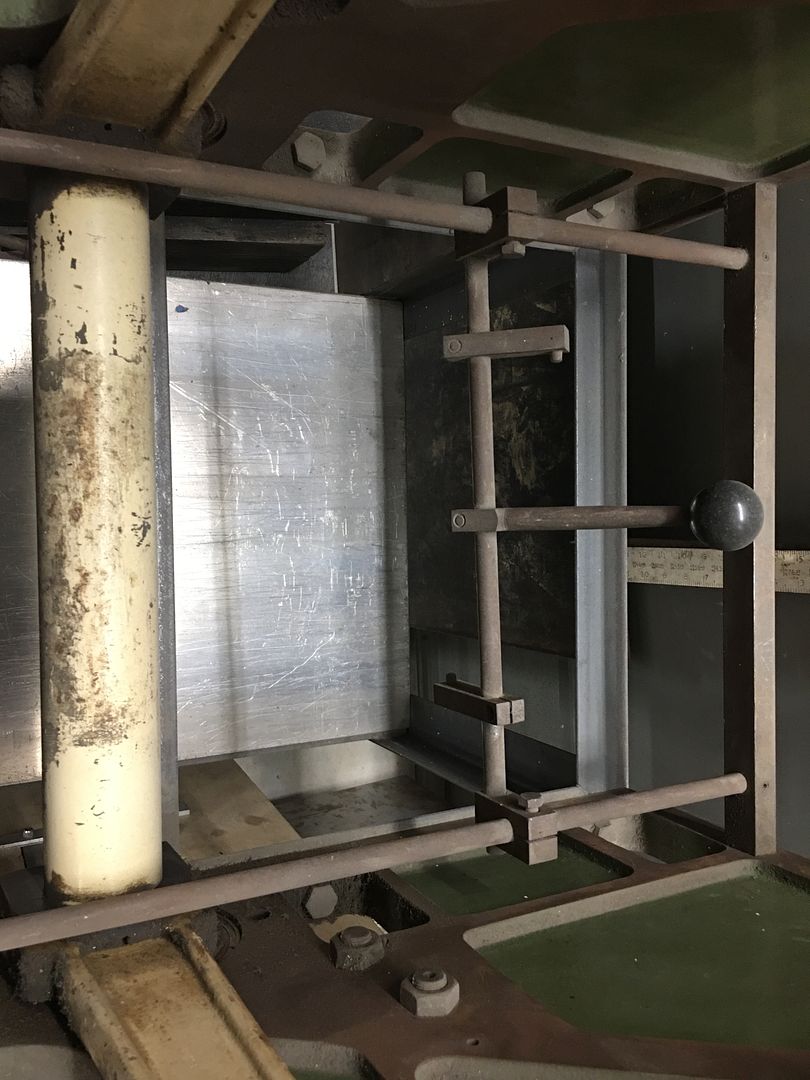
Back gauge in operation:


Second machine….


Year end sale, last chance for a tax deduction for the year.


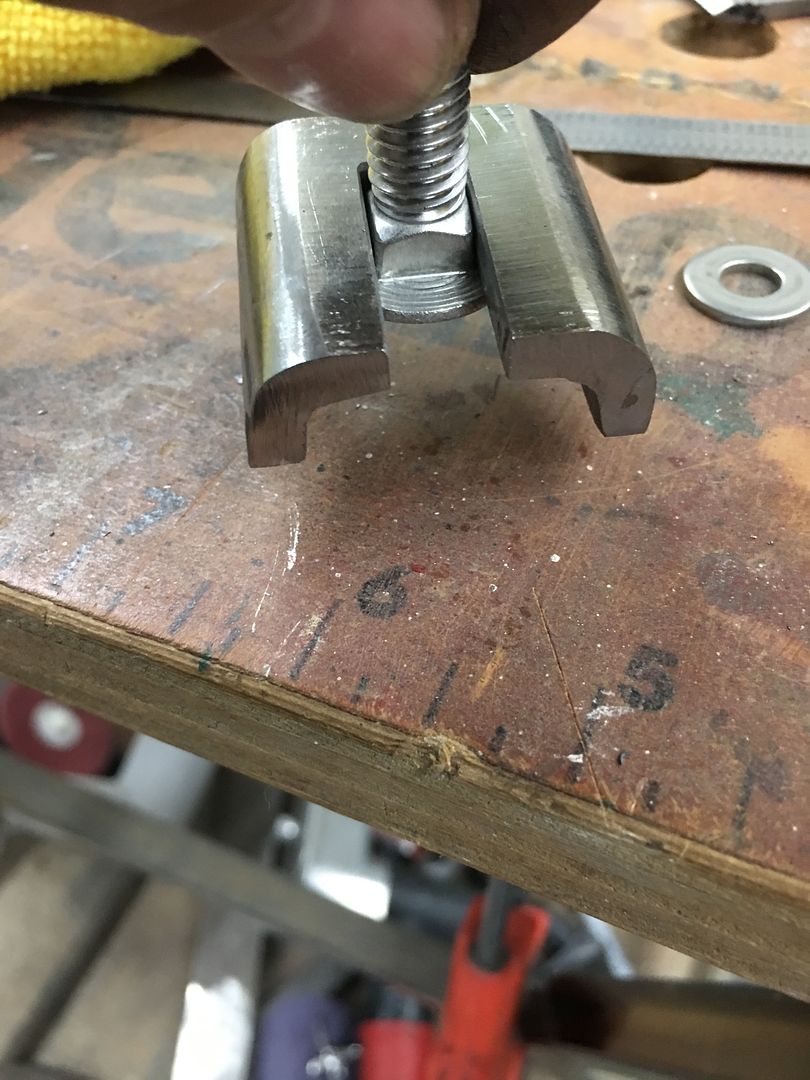
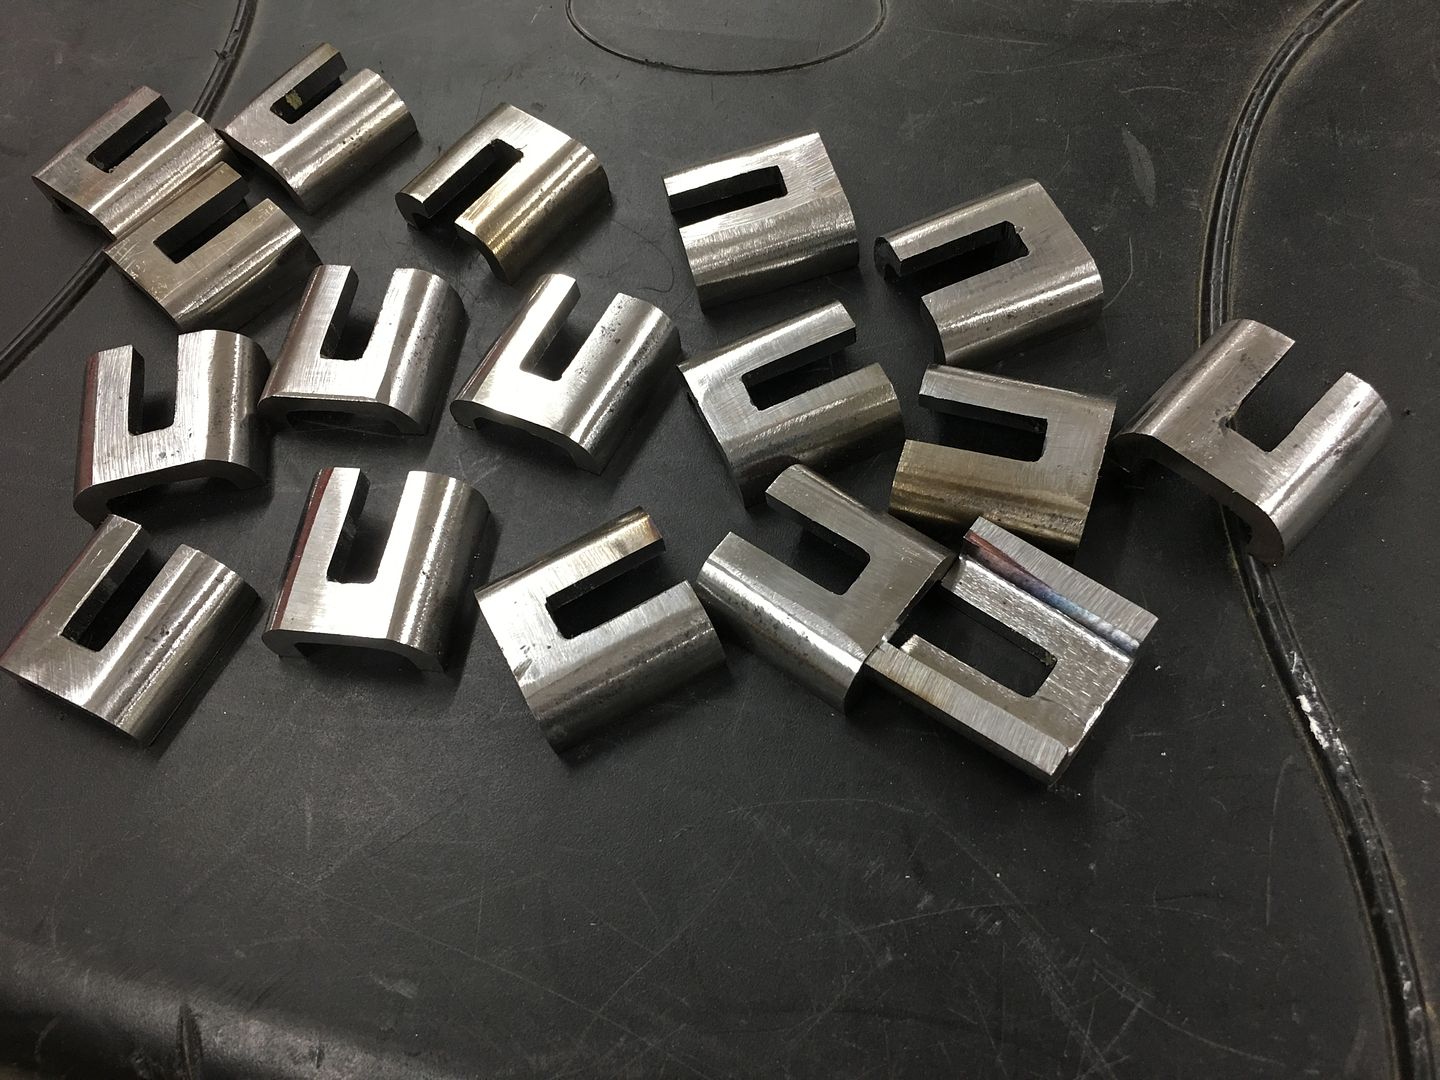
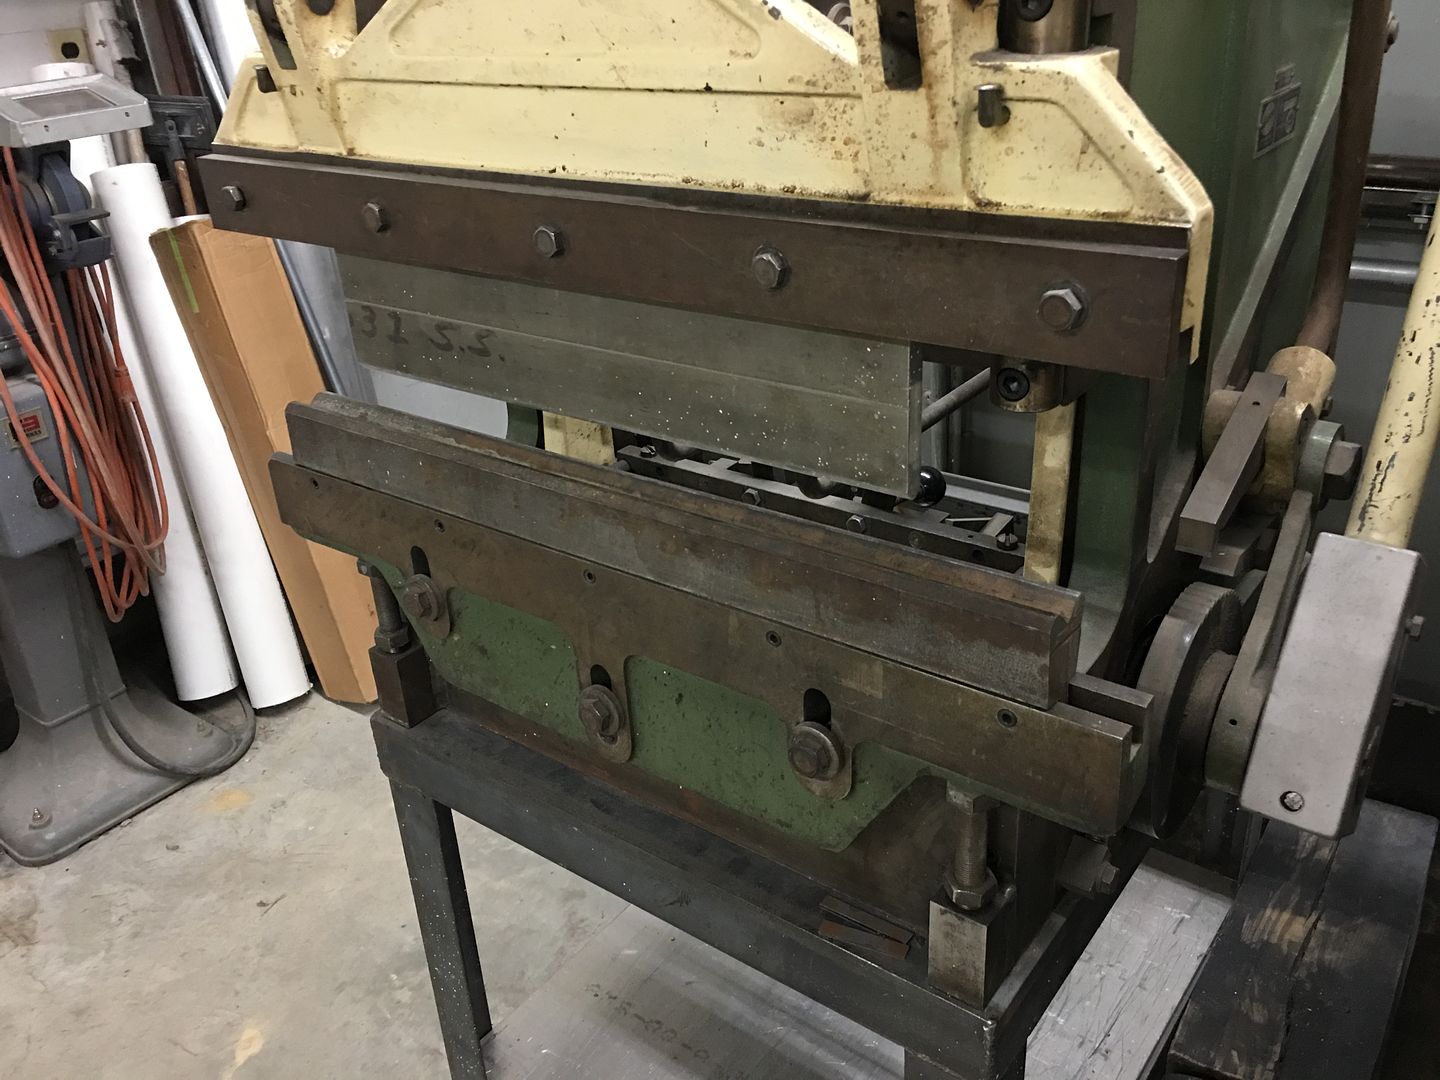
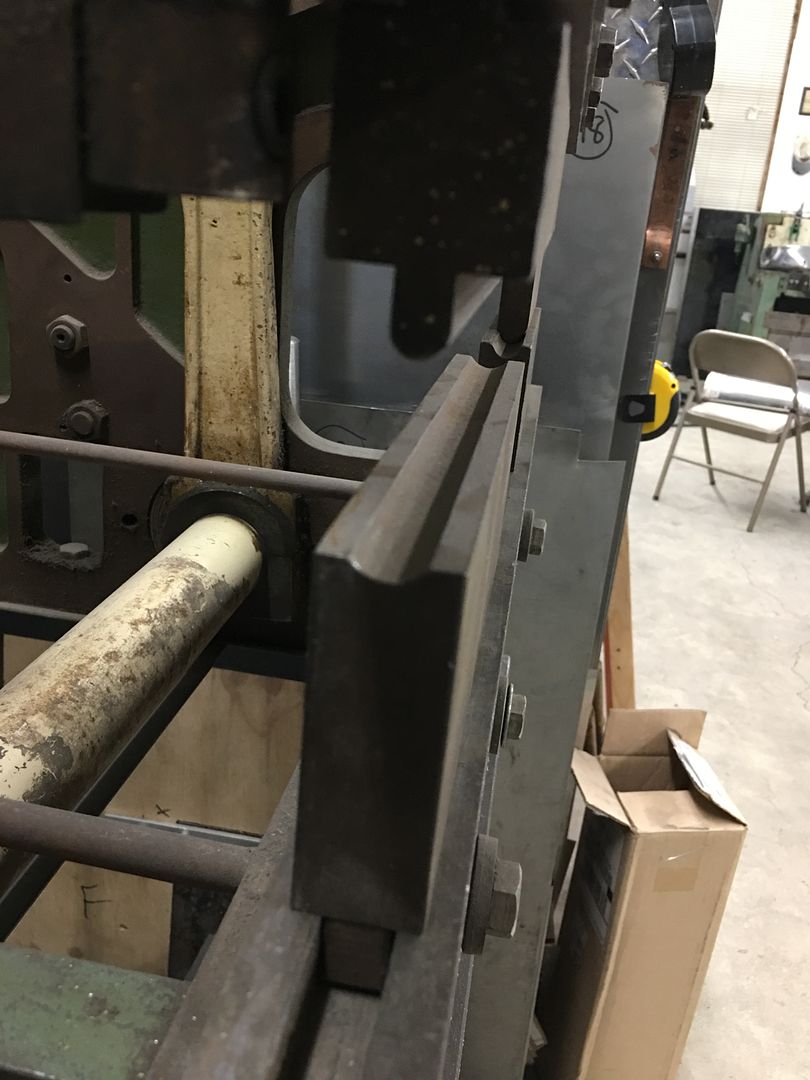
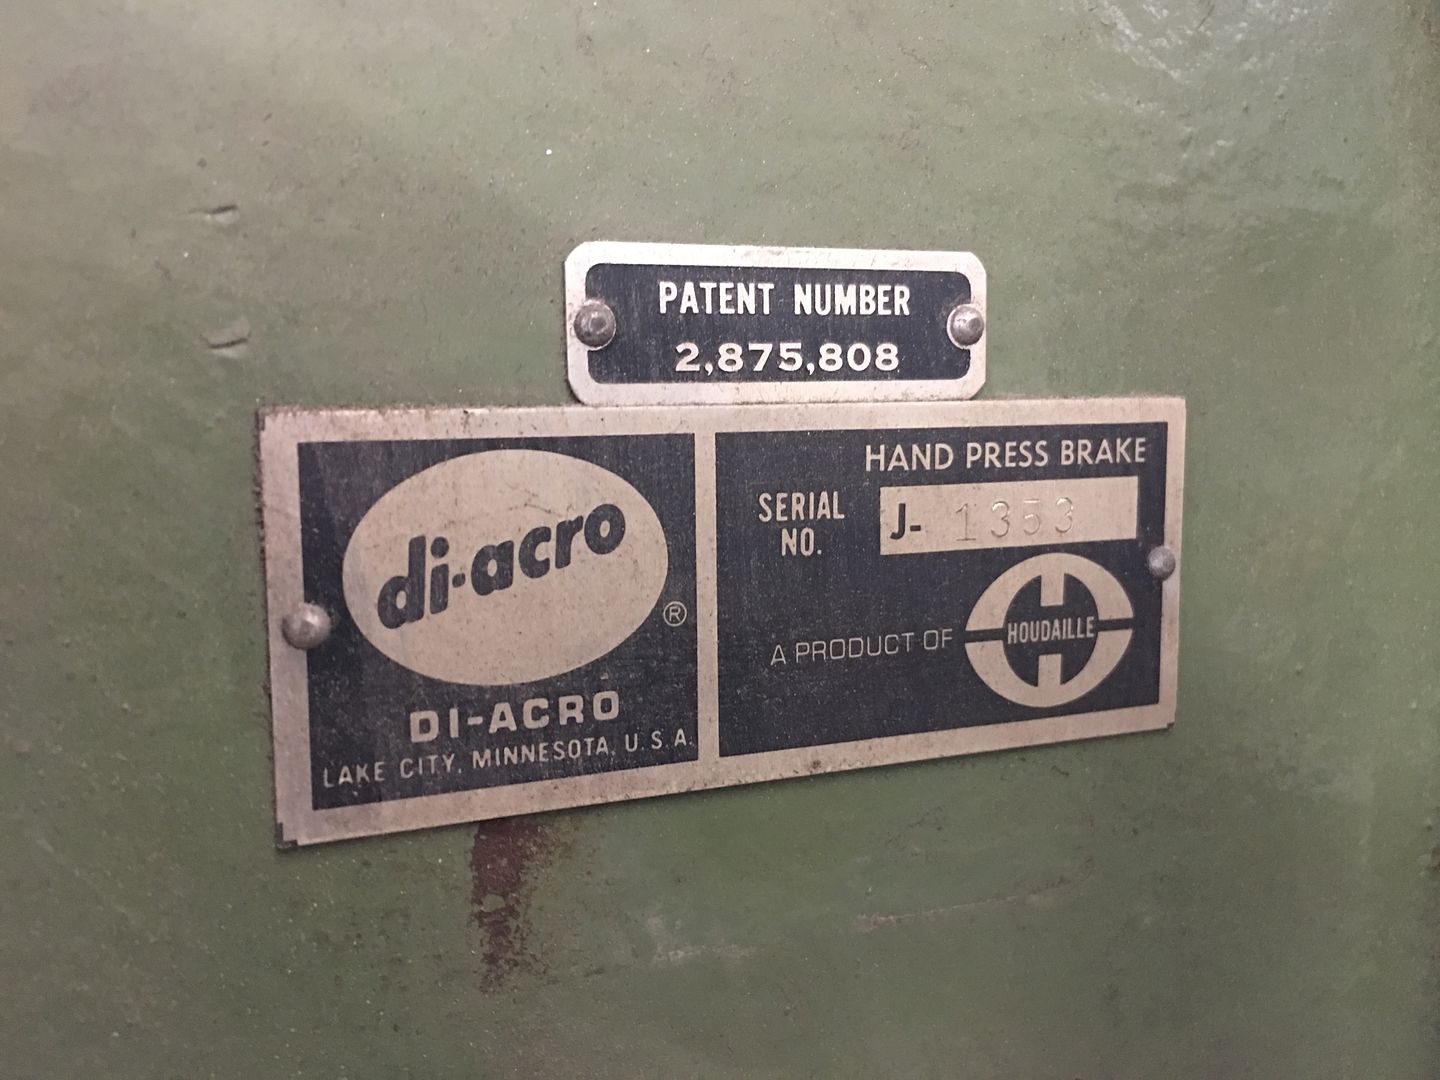
Diacro 16-24 MANUAL press brake, 8 ton, SN J-1353. Comes with the home-made stand you see it on, and the dies that are installed. These are two sets of radius dies. Yes they are different heights, we just installed both to better display what goes with the machine. This brake is missing some parts of the back gauge. None of the junk laying under or next to it is part of the dealio. Modestly priced at 1600, less than half of what similar ones are on eBay for. Stand has a full shelf for storage of dies. These brakes are 24” wide and rated at 16 gauge capacity. Ideal for a small shop or home garage where space is a premium.


I would prefer the buyer come and kick the tires, and we can load onto your truck/trailer. Located in Leonardtown Maryland. We can help prep for shipping if needed, buyer pays all shipping costs. I do have two available if someone would like a package deal.


IMG_8535.JPG


IMG_8530.JPG


IMG_8531.JPG


IMG_8532.JPG


IMG_8533.JPG


IMG_8536.JPG
 
To avoid these ads, REGISTER NOW!

bradpac

Well-known member
Joined
Sep 8, 2013
Messages
721
Location
Central TX
hmm, I wonder what it would cost to ship one of those to Texas.... You don't see much equipment like that down here.
 
OP
M

MP&C

Well-known member
Joined
Oct 21, 2009
Messages
4,396
Location
Leonardtown, MD
Glad to help!! :D


Well we are about to get started on some automotive electrical work when the wagon returns from Upholstery, and in an attempt to limit/eliminate any need for **** splices, I was looking around for various automotive "W" crimp terminals that were available. I found a gem of a store, www.repairconnector.com that carries much of the old style crimp on terminals, as well as some of the newer stuff. We do have some new light fixtures going in, and to help in eliminating excessive connections (ie: **** splices) I found they carry the replacement terminals for lamp base sockets.. (and terminals for fuse blocks, and.....)


Some of the terminals we just picked up from Repair Connector

IMG_8610.jpg


Typical replacement light housing has pigtails that will require some type of splice...

IMG_8619.JPG


New lamp base terminals from Repair Connector

IMG_8615.JPG


IMG_8616.JPG


These terminals will help us get rid of some splices..

IMG_8617.JPG


If you have a need to repair/replace any of your automotive electrical wiring, give them a look, they may have something you can use..
 
OP
M

MP&C

Well-known member
Joined
Oct 21, 2009
Messages
4,396
Location
Leonardtown, MD
Wagon update, we stopped by Norris Upholstery on Saturday to check on the progress and go over some door panel design ideas. Getting closer!


IMG_8722.JPG


IMG_8723.JPG


IMG_8712.JPG


IMG_8713.JPG


IMG_8714.JPG


IMG_8716.JPG


IMG_8718.JPG


IMG_8719.JPG


Back in the shop, Mike and I got the assembly line action going on the hidden bumper brackets. These weld to the back side of the bumpers for hidden fastening and the slot allows for slight adjustment side to side. This idea was shared with me by Laszlo Nobi.


IMG_8731.JPG


IMG_8729.JPG


IMG_8730.JPG


IMG_8732.JPG


IMG_8733.JPG


IMG_8734.JPG
 
OP
M

MP&C

Well-known member
Joined
Oct 21, 2009
Messages
4,396
Location
Leonardtown, MD
Thanks guys! Mike that's my **** retentive nature showing.. :willy_nil

Just to show what we have in store when the wagon leaves, here’s our next project. What started as a 99% rust free/dent free vehicle took a turn for the worse when shear force winds from a nearby passing tornado blew the barn it was parked inside on top of it. Now we have damage on just about every panel, so some good dent removal experience ahead.


2014-02-26_017.jpg


2014-02-21_001.jpg


2014-02-21_003.jpg


2014-02-21_006.jpg


2014-02-21_007.jpg


2014-02-21_010.jpg


2014-02-21_011.jpg


2014-02-21_012.jpg


2014-02-21_004.jpg


2014-02-21_005.jpg


This is the extent of the rust on this one, rather sparse compared to what I usually run into.. I guess the dents will make up for it..


2014-02-26_018.jpg


With a nod to local history, it will be painted up like the trucks from the local Leonardtown Dairy that used to exist many years ago. One of their original trucks still exists (rather poor condition) and may be a good reference for the hand painted lettering. Most pictures available show the sides but we need to capture the lettering on the rear of the truck as well.


IMG_8673.JPG


IMG_8672.JPG


IMG_8671.JPG
 
Last edited:

aggierailroad

Well-known member
Joined
Jan 8, 2012
Messages
581
Location
Houston, TX
We just started buying milk from a local dairy that I worked on equipment at as a teenager. They got everything they needed to produce and package themselves. Pretty cool to get milk in a real glass bottle that has a refundable bottle. I love supporting the little guy here, even if it's a bit more (but surprisingly not that much more!). Would be rad to see them restore a truck like this!
 

nonhog

Well-known member
Joined
Nov 6, 2007
Messages
2,449
Location
Arizona (Tucson)
That milk truck damage reminds me of the 49 GMC I use to have, very similar damage. Looking forward to it. Heck I get a kick out of watching the Bus repairs!
 
OP
M

MP&C

Well-known member
Joined
Oct 21, 2009
Messages
4,396
Location
Leonardtown, MD
Thanks for all the comments guys and following along with us... Mike, I must be using the wrong buffing compound, it's not budging!!


Busy weekend, Norris Upholstery is in the process of getting the door panels done..


IMG_8725.JPG


We plan on using the original stainless that was used on the door panels but some of the factory "nails" that get folded over were very fatigued and in some cases, gone..


IMG_8790.JPG


To try and fix these we needed a machine that would weld on new nails, which were originally .06 diameter. Using a dent puller stud welder would require resistance welding, which means heat generated. Not good. We have a local sign shop, A&A MetalWorks, that has a Capacitive Discharge stud welder that does not produce the same type of heat.. He did not have the small studs needed so I picked up some of the type that fits the dent puller. Since a collet was needed, Allen dropped off one of his larger collets and Mike became more fluent on a worn out South Bend this weekend, making a collet so we could do a trial run... Here's a collet for a 1/4-20 stud, our sample...


IMG_8788.JPG


Mike in action....


IMG_8791.JPG


IMG_8796.JPG


Our fabricated collet, borrowing some parts from the sample...


IMG_8798.JPG


Testing out the welder, we did have to reshape the ends of the studs to have a point, much like the 1/4-20 sample above, but here are the results.. As you can see there is no appreciable heat introduced into the panel, no heat mark, no distortion. A stress test performed using pliers showed the metal would pull inward and the stud still did not release..


IMG_8832.JPG


IMG_8835.JPG


Welder in action:


With our trial run complete and deemed a success, Allen is ordering some 14 gauge pins to fit his machine so we won't need to modify them. The size goes up about .01, from .06 to .074, but they seemed plenty malleable to bend over for trim retention. I'll add, these CD stud welders work on steel, stainless, or aluminum.


Needing to put a fork in our bumper bolt brackets, the inside slots needed cleanup work and the 12" disc sander seemed ideal for doing such. But some clearance was needed on the machine..


IMG_8772.JPG


IMG_8774.JPG


IMG_8776.JPG


IMG_8778.JPG


All ready for welding..


IMG_8840.JPG


Lastly, we visited the last known remaining milk truck from the Leonardtown Dairy. It had been sold to a local waterman, who used its refrigeration capability to store crabs and oysters. Needless to say, it wreaked havoc on what remained of the truck, the lower sides had been patched over with galvanized sheet metal long ago. It did give us enough details to capture what we need for lettering/sign painting the Divco.


IMG_8800.jpg


IMG_8799.jpg


IMG_8804.JPG


IMG_8811.JPG


IMG_8829.JPG
 
To avoid these ads, REGISTER NOW!

jimkinney

Well-known member
Joined
Jan 3, 2009
Messages
298
Location
Florida's Space Coast
Learned something new, never heard of a CD stud welder. I will remember that, I hope.

You might suggest Mike lose the sweat jacket with the loose sleeves, when working on the lathe. Would hate to hear he got it snagged, safety first.
 
OP
M

MP&C

Well-known member
Joined
Oct 21, 2009
Messages
4,396
Location
Leonardtown, MD
Thanks for the comments guys! Jim, I don't know why he was so bundled up, I had the torpedo heater aimed right at him...
 

WoodsTruck

Well-known member
Joined
Jan 12, 2013
Messages
1,019
If a CD stud welder was not available could some of the new metal epoxies have been a fair substitute to attach the pins?
 
OP
M

MP&C

Well-known member
Joined
Oct 21, 2009
Messages
4,396
Location
Leonardtown, MD
the trim width is ~1/4", so as long as that provides enough surface area for adhesion, it should be good. The void behind the stainless is minimal, so that would be a consideration..
 

Bowtie4life

Well-known member
Joined
Apr 17, 2020
Messages
129
Location
Washington DC
Thanks for all the comments guys and following along with us... Mike, I must be using the wrong buffing compound, it's not budging!!


Busy weekend, Norris Upholstery is in the process of getting the door panels done..


IMG_8725.JPG


We plan on using the original stainless that was used on the door panels but some of the factory "nails" that get folded over were very fatigued and in some cases, gone..


IMG_8790.JPG


To try and fix these we needed a machine that would weld on new nails, which were originally .06 diameter. Using a dent puller stud welder would require resistance welding, which means heat generated. Not good. We have a local sign shop, A&A MetalWorks, that has a Capacitive Discharge stud welder that does not produce the same type of heat.. He did not have the small studs needed so I picked up some of the type that fits the dent puller. Since a collet was needed, Allen dropped off one of his larger collets and Mike became more fluent on a worn out South Bend this weekend, making a collet so we could do a trial run... Here's a collet for a 1/4-20 stud, our sample...


IMG_8788.JPG


Mike in action....


IMG_8791.JPG


IMG_8796.JPG


Our fabricated collet, borrowing some parts from the sample...


IMG_8798.JPG


Testing out the welder, we did have to reshape the ends of the studs to have a point, much like the 1/4-20 sample above, but here are the results.. As you can see there is no appreciable heat introduced into the panel, no heat mark, no distortion. A stress test performed using pliers showed the metal would pull inward and the stud still did not release..


IMG_8832.JPG


IMG_8835.JPG


Welder in action:


With our trial run complete and deemed a success, Allen is ordering some 14 gauge pins to fit his machine so we won't need to modify them. The size goes up about .01, from .06 to .074, but they seemed plenty malleable to bend over for trim retention. I'll add, these CD stud welders work on steel, stainless, or aluminum.


Needing to put a fork in our bumper bolt brackets, the inside slots needed cleanup work and the 12" disc sander seemed ideal for doing such. But some clearance was needed on the machine..


IMG_8772.JPG


IMG_8774.JPG


IMG_8776.JPG


IMG_8778.JPG


All ready for welding..


IMG_8840.JPG


Lastly, we visited the last known remaining milk truck from the Leonardtown Dairy. It had been sold to a local waterman, who used its refrigeration capability to store crabs and oysters. Needless to say, it wreaked havoc on what remained of the truck, the lower sides had been patched over with galvanized sheet metal long ago. It did give us enough details to capture what we need for lettering/sign painting the Divco.


IMG_8800.jpg


IMG_8799.jpg


IMG_8804.JPG


IMG_8811.JPG


IMG_8829.JPG

Can't wait to see the lettering that's going on the milk truck!!!
 
OP
M

MP&C

Well-known member
Joined
Oct 21, 2009
Messages
4,396
Location
Leonardtown, MD
Congrats on a little bit more room in the shop.


That space is already taken! :D


Time for a wagon update, all of our mounting holes in the bumpers are filled, and the three pieces assembled into one..


IMG_8854.JPG


IMG_8896.JPG


IMG_8902.JPG


We picked up the wagon from upholstery, still needs door panels done so we need to finish stainless trim for them.. Boy that sunlight is like turning on a light switch!!


IMG_8873.JPG


IMG_8869.JPG


How our brackets will work....


IMG_8875.JPG


video explanation of our next modification...


With brackets clamped in place the "weld locations" are found by starting with centerline of the bumper, adjusting to actual offset of the car, and locating the spacing needed.


IMG_8939.JPG


Jared and I add some tweaks to fine tune ear placement and test our tig welds at the same time..


IMG_8936.JPG


In the meantime, Mike is doing some cleanup of the door stainless, bumping up dings, filing, and taking to a Trizact 5000 finish. Then we'll get the studs welded on and final polish..


IMG_8938.JPG


IMG_8937.JPG
 

xtremek

Well-known member
Joined
Apr 13, 2012
Messages
11,603
Location
St. Johns, Mi
Some pretty good penetration on those welds. Glad to see I'm not the only one to brute force things into shape sometimes.
 

iajonesy

Well-known member
Joined
Feb 8, 2009
Messages
2,467
Location
Iowa
Robert, I am not really a GREEN guy, but that color sure pops in the sunlight. I also am going to steal your idea for the adjustable bumper mounts. Keep up the great thread.

Mike
 
OP
M

MP&C

Well-known member
Joined
Oct 21, 2009
Messages
4,396
Location
Leonardtown, MD
Thanks Guys!!


Back to our door panel stainless, the correct studs came in for the CD stud welder, and tests have shown them to provide the solution we need..


IMG_8938.JPG


These studs have much less mass at the end, for a lesser capacitive charge needed.


IMG_8951.JPG


IMG_8952.JPG


Tested on a piece of 19 gauge steel, note the back side has no discoloration whatsoever. Allen used a pair of Vise grips to give it a twist test to see if the weld would release. Where the one that is cut got too close to the cutters, the others did not release, and in fact distorted the shape of the metal because they held so well. The one pin shows a good 90* bend, which is what will be used to hold the stainless onto the door panel per the same design as original.


IMG_8967.JPG


IMG_8968.JPG


IMG_8969.JPG


And now for the next wrench thrown in our bumper modifications.. Welding causes shrinking, so TIG welding the slotted brackets onto the back side of the bumper invariably causes flat spots on the front side of where the brackets reside.. So some quick work on the South Bend to make a purpose built punch so we can do some metal bumping on the bumper..


IMG_8965.JPG


IMG_8966.JPG


IMG_8984.JPG


IMG_8985.JPG


IMG_8986.JPG


….or the motion picture visual....


And after a bit of metal bumping, we have the area down to less than a 1/32 depression, which should be just fine for the copper stage of plating..


IMG_8992.JPG


Note the minimal gap behind the straightedge. One down, three to go...


IMG_8993.JPG
 

xtremek

Well-known member
Joined
Apr 13, 2012
Messages
11,603
Location
St. Johns, Mi
DANG!!!!!!!!!!!! That's amazing work. I'm surprised your ego isn't the size of Alaska. Maybe that's why you do such good work.
 
OP
M

MP&C

Well-known member
Joined
Oct 21, 2009
Messages
4,396
Location
Leonardtown, MD
Thanks, I've done my fair share of making scrap as well. I just keep doing the best I can and try to improve as I go...
 
To avoid these ads, REGISTER NOW!
Top Bottom