Okay, got another Mrcool installed - this time a 12K btu unit for the master bedroom and east wing of the house. Since this is appears to be the defacto thread on MrCool mini splits on the internet I thought I would chronicle this installation - it was a doozy. LOL
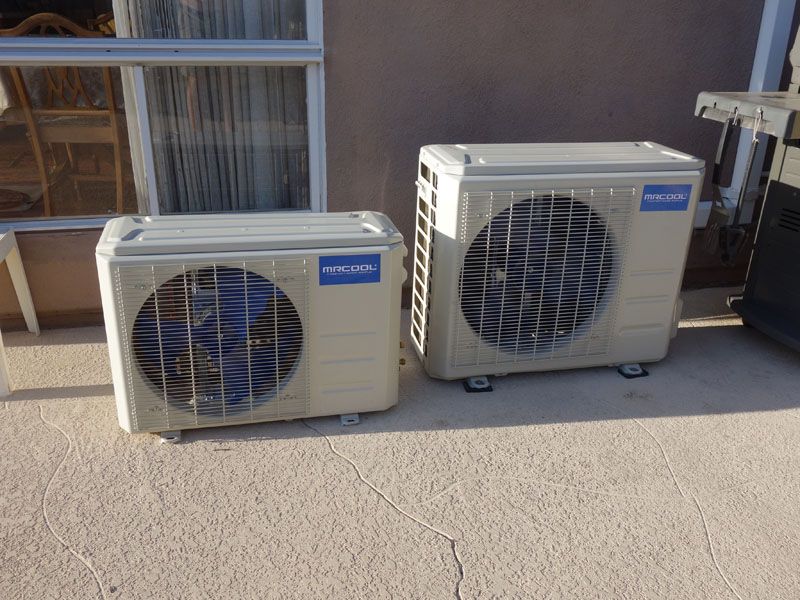
First, here is a comparo of the outside condenser part of the unit - my original 24K unit, and the new 12K to the left. It weighs half of the other one! The inside unit is 11" less in width. Like a 'mini-me'.

I had been contemplating on upgrading the 6K window air in the back office to a 10K unit - would have cost about $300. The smaller unit actually does a pretty good job keeping things cool back there, but on really hot days our bedroom just never quite cools off. So a bigger unit made sense, but gee, a mini split is just so much nicer - it works better, heats AND cools, and is soooo quiet. So I have been shopping 9-12K btu mini's that could be connected to 110-120v since I have power at the outdoor location where I would install one.
Ingrams sells a LOT of units - I don't think anyone doubts that. So they have a lot of damaged and returned goods. They have a 'scratch and dent' section and I was perusing recently and saw a dented DIY condenser for really cheap, and a refurb air handler for also a really good deal - the combo about $500 under regular price. They said full warranty - guaranteed to work, just some cosmetic flaws so they couldn't sell them as brand new items. So I pulled the trigger on a 12K 115v unit. It was too good of a deal to pass up.
Unfortunately the picture they showed of the condenser didn't convey the entire damage. My guess is this one fell off a truck or pallet, the whole end was caved in:

And the air handler was scratched on the front face, and the copper lines were exposed behind the unit. I thought I was getting a new unit that had been refurbed, but it was actually a 'return'. I was highly suspect. But some GEL-GLOSS plastic polish restored it to like-new, and I wrapped the lineset with closed cell neoprene and commercial grade duct tape - good to go.
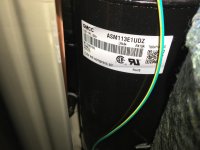
Next I removed the end panel off the condenser and straightened the whole thing out, and the lip of the bottom pan of the unit. Even the insulation around the compressor had been jogged out of place - it was sitting up too high, not down around it like it was designed. Rearranged everything, inspected the piping from the valves, everything looked good inside, reassembled - good to go.


Now time for installation. Since my location puts the condenser right below the air handler on each side of the outside wall, I ended up with about 15 extra feet of lineset. I inquired with MrCool.com on this, and also did a lot of research about coiling or looping AC linesets. Everybody said no, if you're going to coil them make the loops horizontal.
So I had been racking my brain for a solution, and finally came up with a shelf to hold the excess lineset in combination with a weather shield over the condenser. To the big-box home improvement store I went, plans in mind and a materials list for what I needed. Half inch exterior plywood, a 2x8, some trim, roofing, flashing, and a host of stuff to put it together. This is what I came up with:


I also fished up romex from the adjacent 110 receptacle and installed a cut-off switch and waterproof box for the connection pigtail. 20a outlet circuit for this part of the house with nothing else on it - will carry the 9amps for the mini split just fine.
The stucco on this old house is about an inch thick. Drilled through and installed the wall sleeve, fed the line set through, and hung the inside unit. Coiled up the excess line set and fed it out through the bottom of my storage box and down to the condenser.
All told this took about 20 hours to complete, from fixing the damage to installing with the lineset storage box. Finally finished up the paint trim last night. Sorry, no interior pics - it is uneventful.
")


 Mr. Cool DIY wasn't around when I got mine, so I used the "professionals" to get a warranty. Had to loan them tools, & they made a minor mess of the line run, but the system has been working fine for 3 to 4 years.
