ejm1961Tbird
Well-known member
I will when I make some more progress on it.
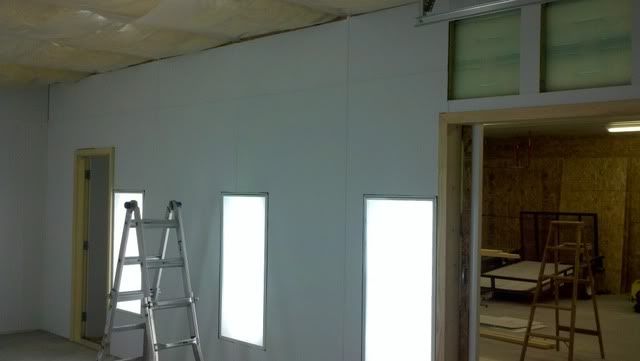
Thanks much, I'm looking forward to learning more about your paint room!

I will when I make some more progress on it.


They are 3 2x6's laminated together, the lower part that goes into the ground is pressure treated. Another benefit from this type of post is at the top it creates a pocket for the truss to slide into.


So if I am looking at this correctly, when they put the laminated post in the ground the three 2x's are staggered. I am assuming that they don't worry that the heights are all exact from one post to another post. Correct? But when they put the longer laminated post onto them, they build them on site and set the center 2x6 all at the correct height at every post? Are the bottom laminated post that go into the holes...are they premade or made on site? Do they try to keep the concrete in all the holes at the same depth or is everything controlled from the post dimensions cut at the correct lengths from hole to hole?
I like the idea of the laminated post. For one I hear the pressure treatment goes all the way through vs. a 4x6 or 6x6, and the the laminated post stay straighter and won't twist like a square solid post will. It looks like a little more work, but a better job.


I haven't had much time to work on it the last few weeks because John Deere thinks I need to work 11hr shifts 6 days a week right now. The first 3 1/2 months of the year are always a ***** for us trying to get everything built in time for spring deliveries.
.

Not sure, the paint room side will be covered with a white wall panel as previously discussed, but on the shop side I'm still undecided. After everything is done and things slow done a bit I may, if so it'll probably will be a grey/white two-tone with a Ford blue stripe.I like this. Are you planning to paint the interior walls at some point?
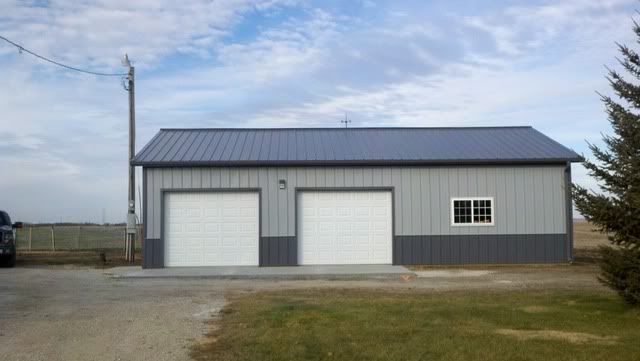
$23,600 refer to post #25 I discussed the options and broke down the costMind if I ask how much just the 30x45 shell cost you from Morton, not including the slab?
Great looking barn!! Working on a project exactly like yours, can you show any closeups of how you did your wiring? Run romex on top of exterior girts? drill through post and pull wire through post. Also what 2x4 or 2x6 interior wall framing?? Thanks for posting this build!


Sweet, another early Bronco guy... I've got a couple of those myself... What part of Iowa are you in? My inlaws are just south of Iowa City.
Yeah I was wondering where you were from too. I saw you work for Deere, wasn't sure if maybe that was Moline/Davenport. Im in Fulton, IL; just across from Clinton, IA
oh great looking build by the way.