To avoid these ads, REGISTER NOW!

My Attached Add-On Garage Build

D45

Well-known member
Joined
Mar 21, 2014
Messages
4,842
Location
NW INDIANA
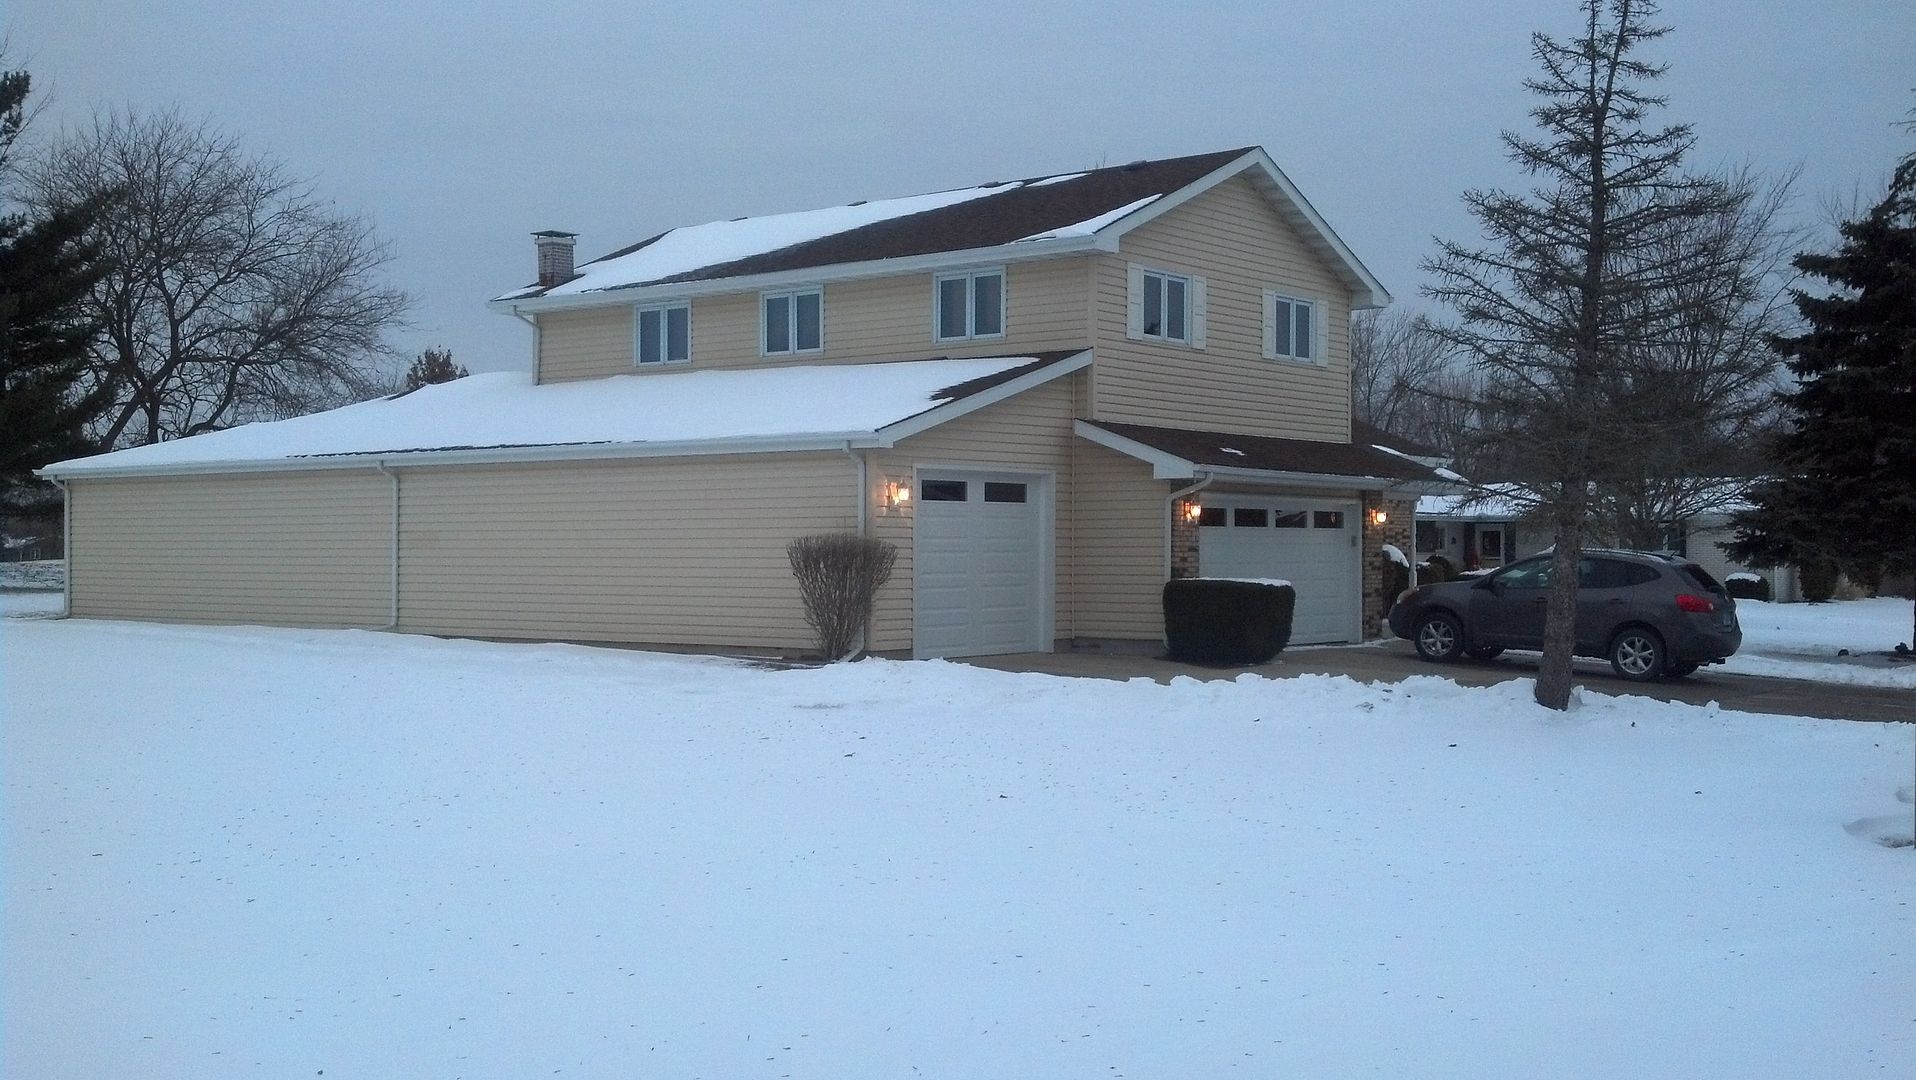
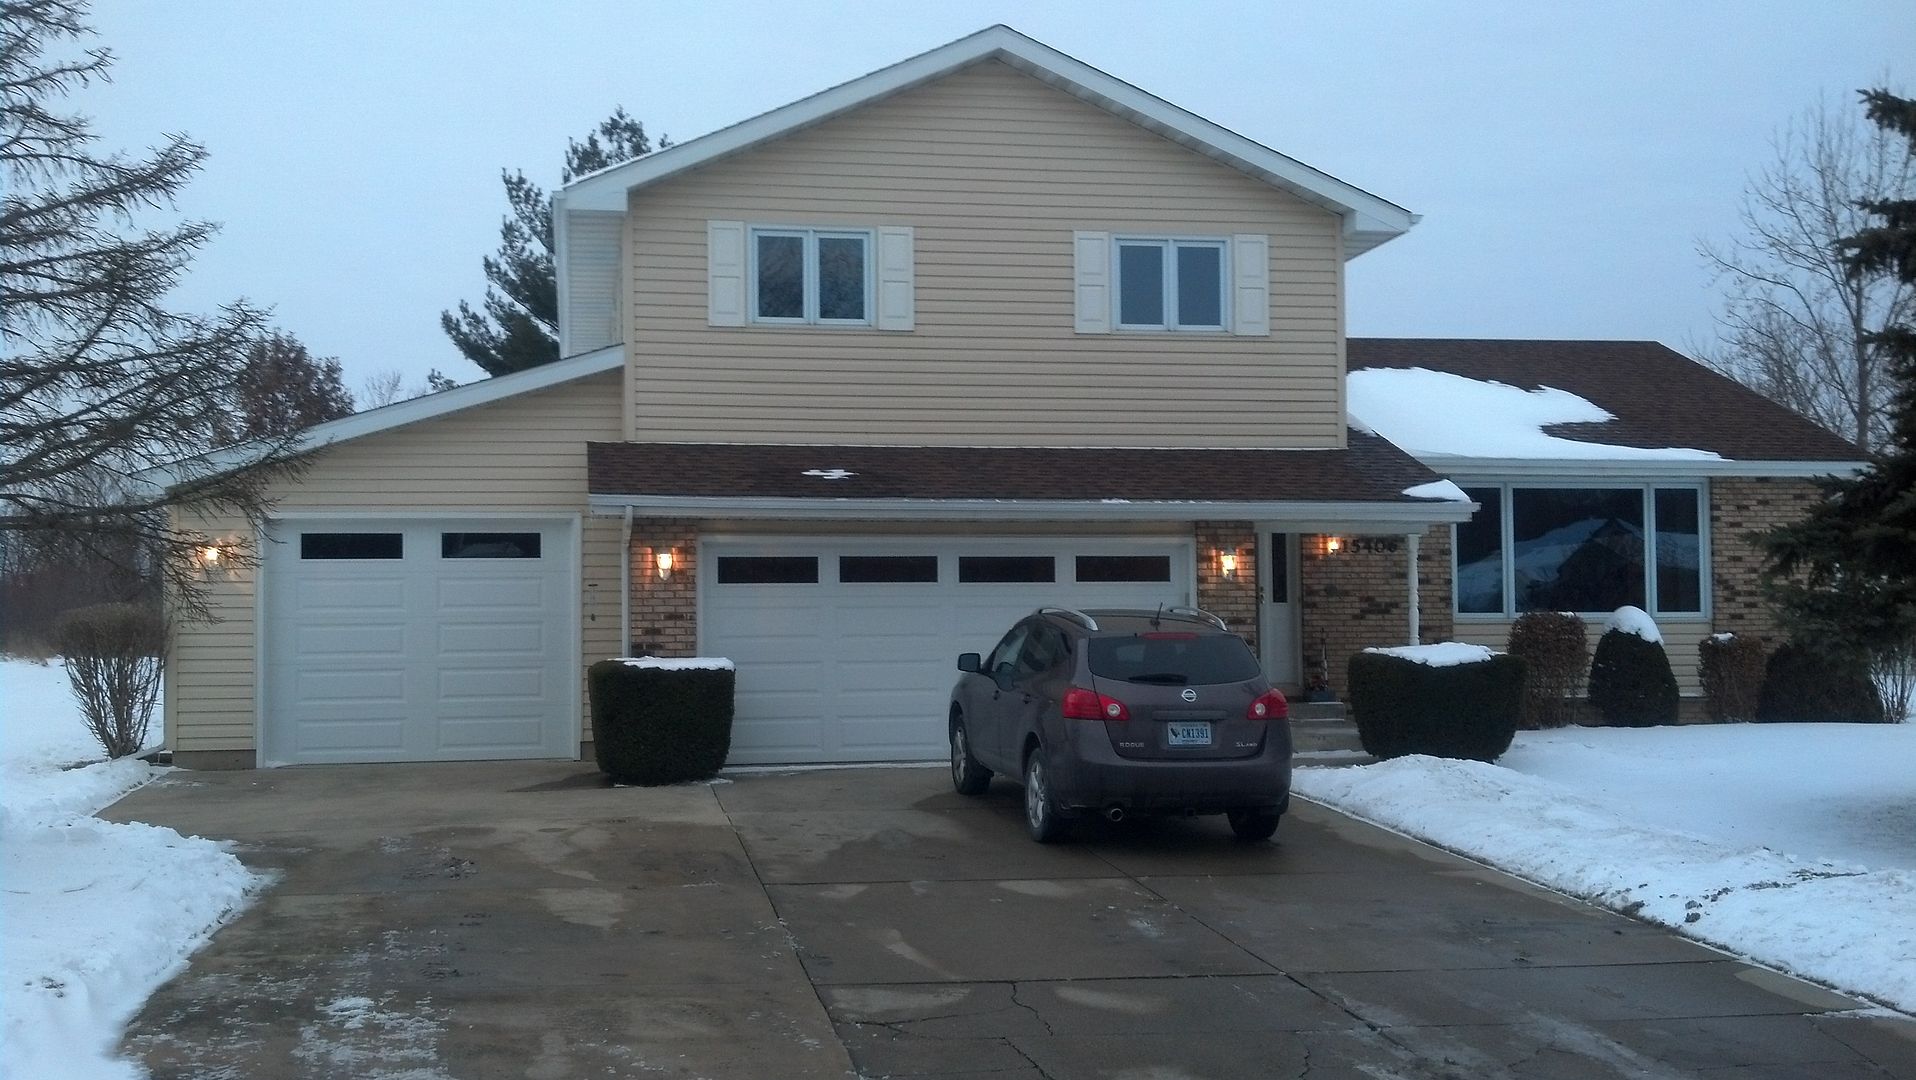
I have an attached 20'x24' garage for vehicles.....my company vehicle stays on the street, always

61' x 15' according to the survey

I get 65' x 18', but what ever

100 AMP sub panel,with 60 amp breaker feeding it from the main 200 amp house panel.......4 of the 6 breaker slots are used

The garage is about half wired with outlets, more to come for sure

The shop lights all need to be replaced.....old school T12s

Ceiling joist are about 110" tall

IMG_20140104_161219_701_zpslvtzuvis.jpg


IMG_20140104_161151_306_zpser2pnzj4.jpg


18b89012-c36d-4aff-ac11-0189cf72b8da_zpsc6440628.png


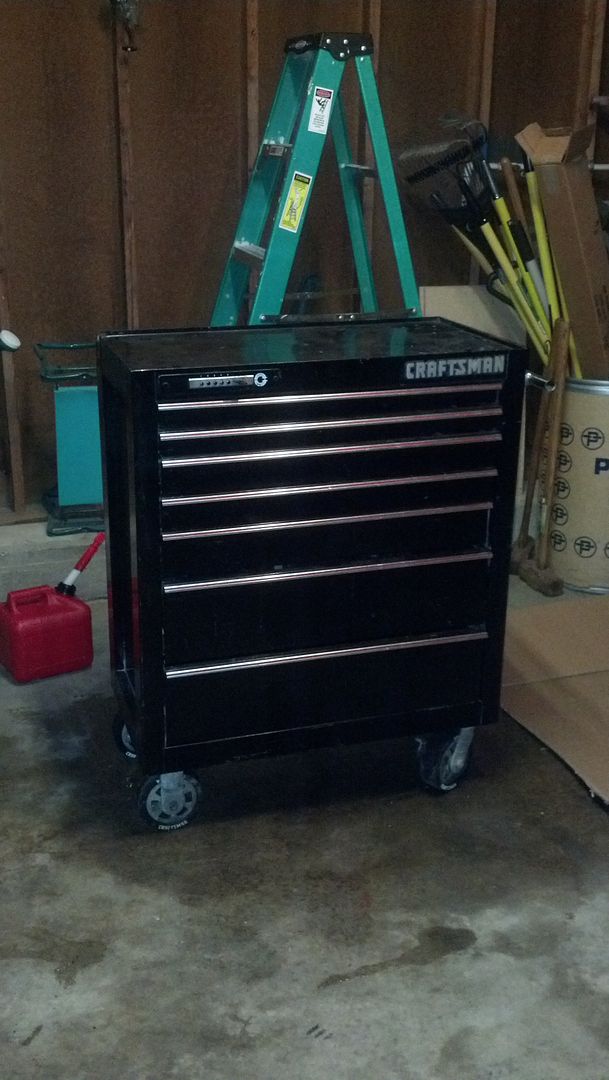
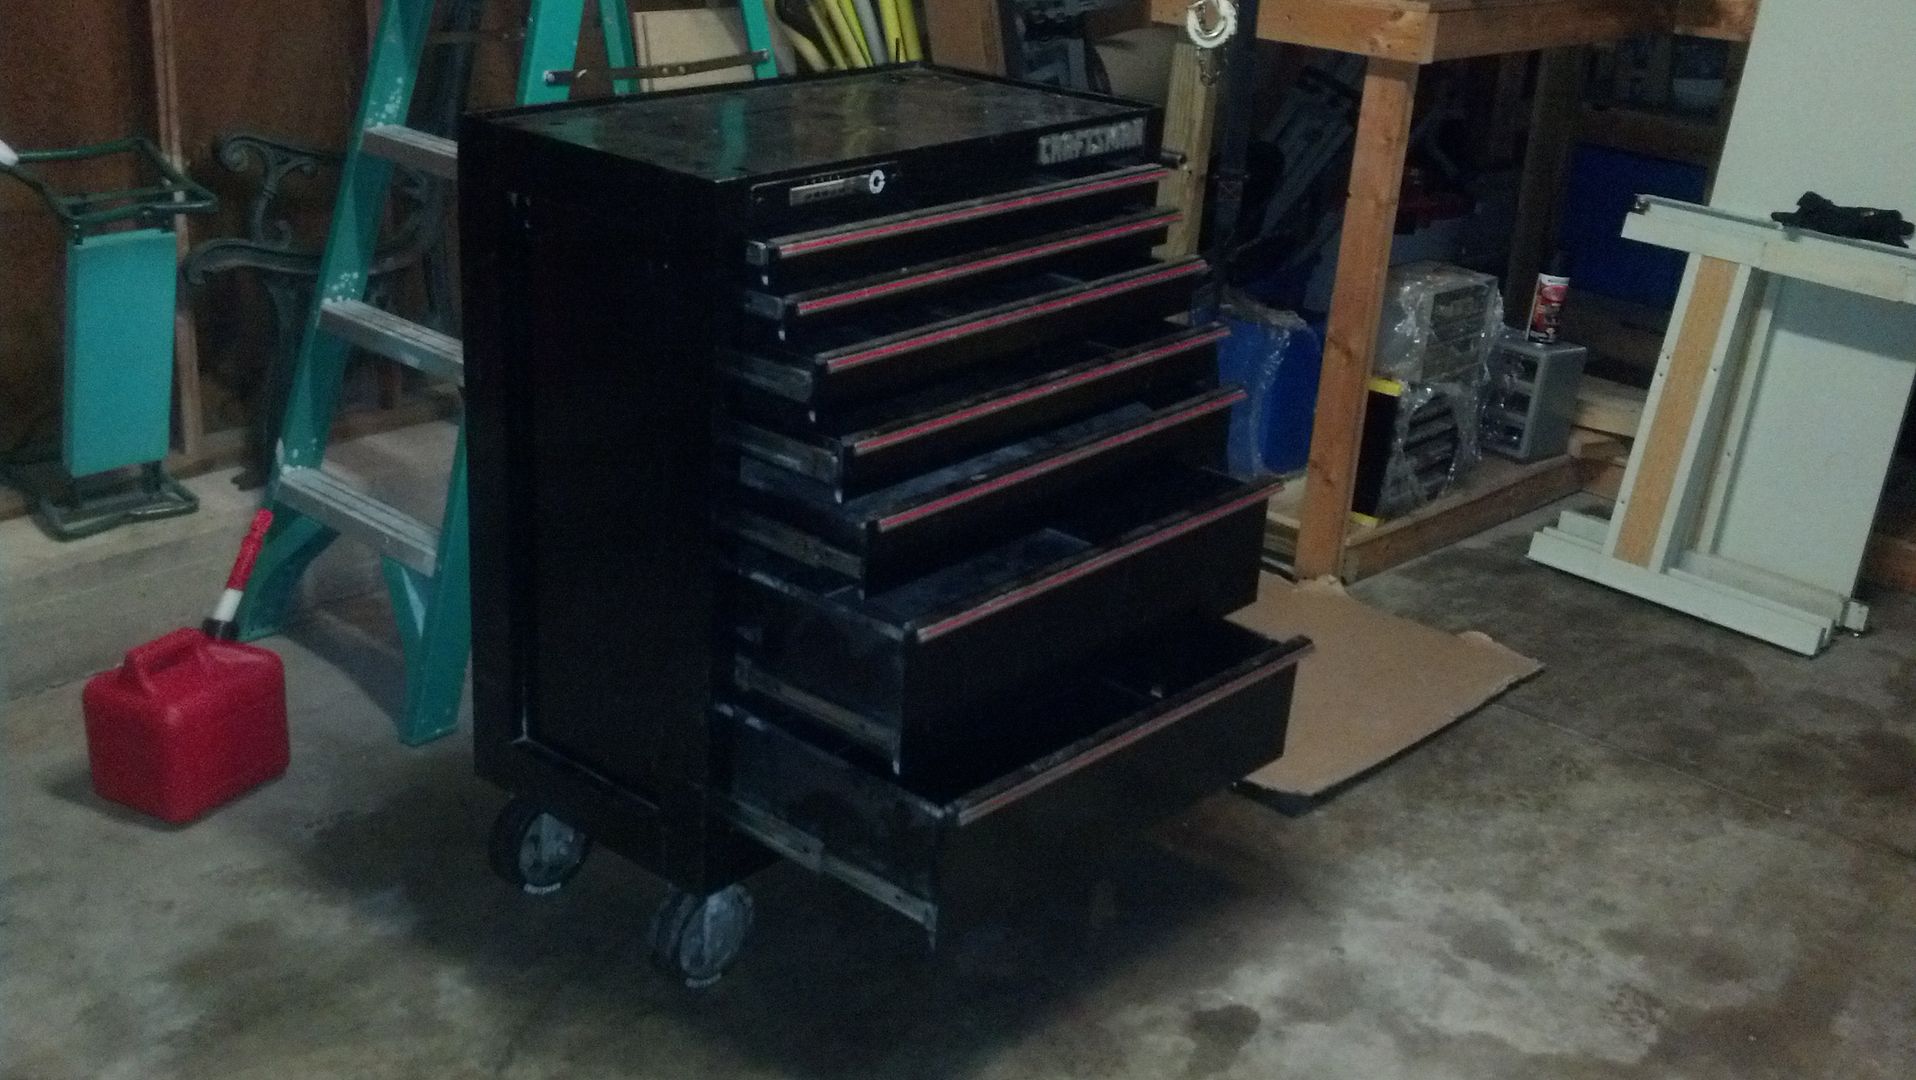
Air compressor, 3 tool boxes (6' tall), band saw, drill press, welder, ladders, etc

I definitely need an attached work bench with 4-5 wall mounted cabinets

I also have a 3'x4' rolling table

Looking for layout suggestions..........I will be adding rolls of paper faced R13 insulation in one week

Still need to decide on wall panels.....NOT DRYWALL!!

I am leaning towards ribbed/corrugated metal sheetings
 
To avoid these ads, REGISTER NOW!
OP
D

D45

Well-known member
Joined
Mar 21, 2014
Messages
4,842
Location
NW INDIANA
The "Shop" area was built by the previously owner, which was built onto the side of the house

The shop area has the front 8' tall garage door and a rear 8' tall door on the backside.......both doors are the nicer double walled insulated doors, not just the cheapo thin aluminum open channel type

The shop is divided into two sections, separated by a sliding barn door style door. The rear area will soley be used for the outside lawn, yard, and landscaping tools and items for the pool


3196722_34_zps03367e76.jpg


$100 find on CL

IMG_20140111_192233_985_zpsstbk5fjz.jpg


IMG_20140111_192333_475_zpswytzs1lq.jpg


IMG_20140111_192333_475_zpswytzs1lq.jpg
 
OP
D

D45

Well-known member
Joined
Mar 21, 2014
Messages
4,842
Location
NW INDIANA
I am ready to start insulating in two weeks for my 10 day vacation

I have 78 studs (2x4) at 8'3" tall (cavity) and then another small section of 9 studs at
3'3" tall (cavity)

I am really leaning towards R-13 paper faced rolls , since they are $9.19 each

Does this make sense:

673 linear feet needed

1 roll of R13 is 32' long
 
OP
D

D45

Well-known member
Joined
Mar 21, 2014
Messages
4,842
Location
NW INDIANA
I bought a decent used drill press off CL for $100!!!

It will definitely work for my needs and the price was great

It looks like the PO only used it for small jobs and only work working

The motor looks brand new and there was not any dust or debris inside

The belts looked to be in great shape

Craftsman 137.229150
15"
5/8"
1 HP
12 Speeds
250 - 3100 RPM
0-45 degree table tilt

Motor is very quiet and other than some minor surface rust its good to go!

I had to buy new "worm gear" tooth strip on the column, which adjusts the platform up and down...........because it was broke in half and was only half of its original length.

This part was only $30

Came with the chuck key and two allen wrenches

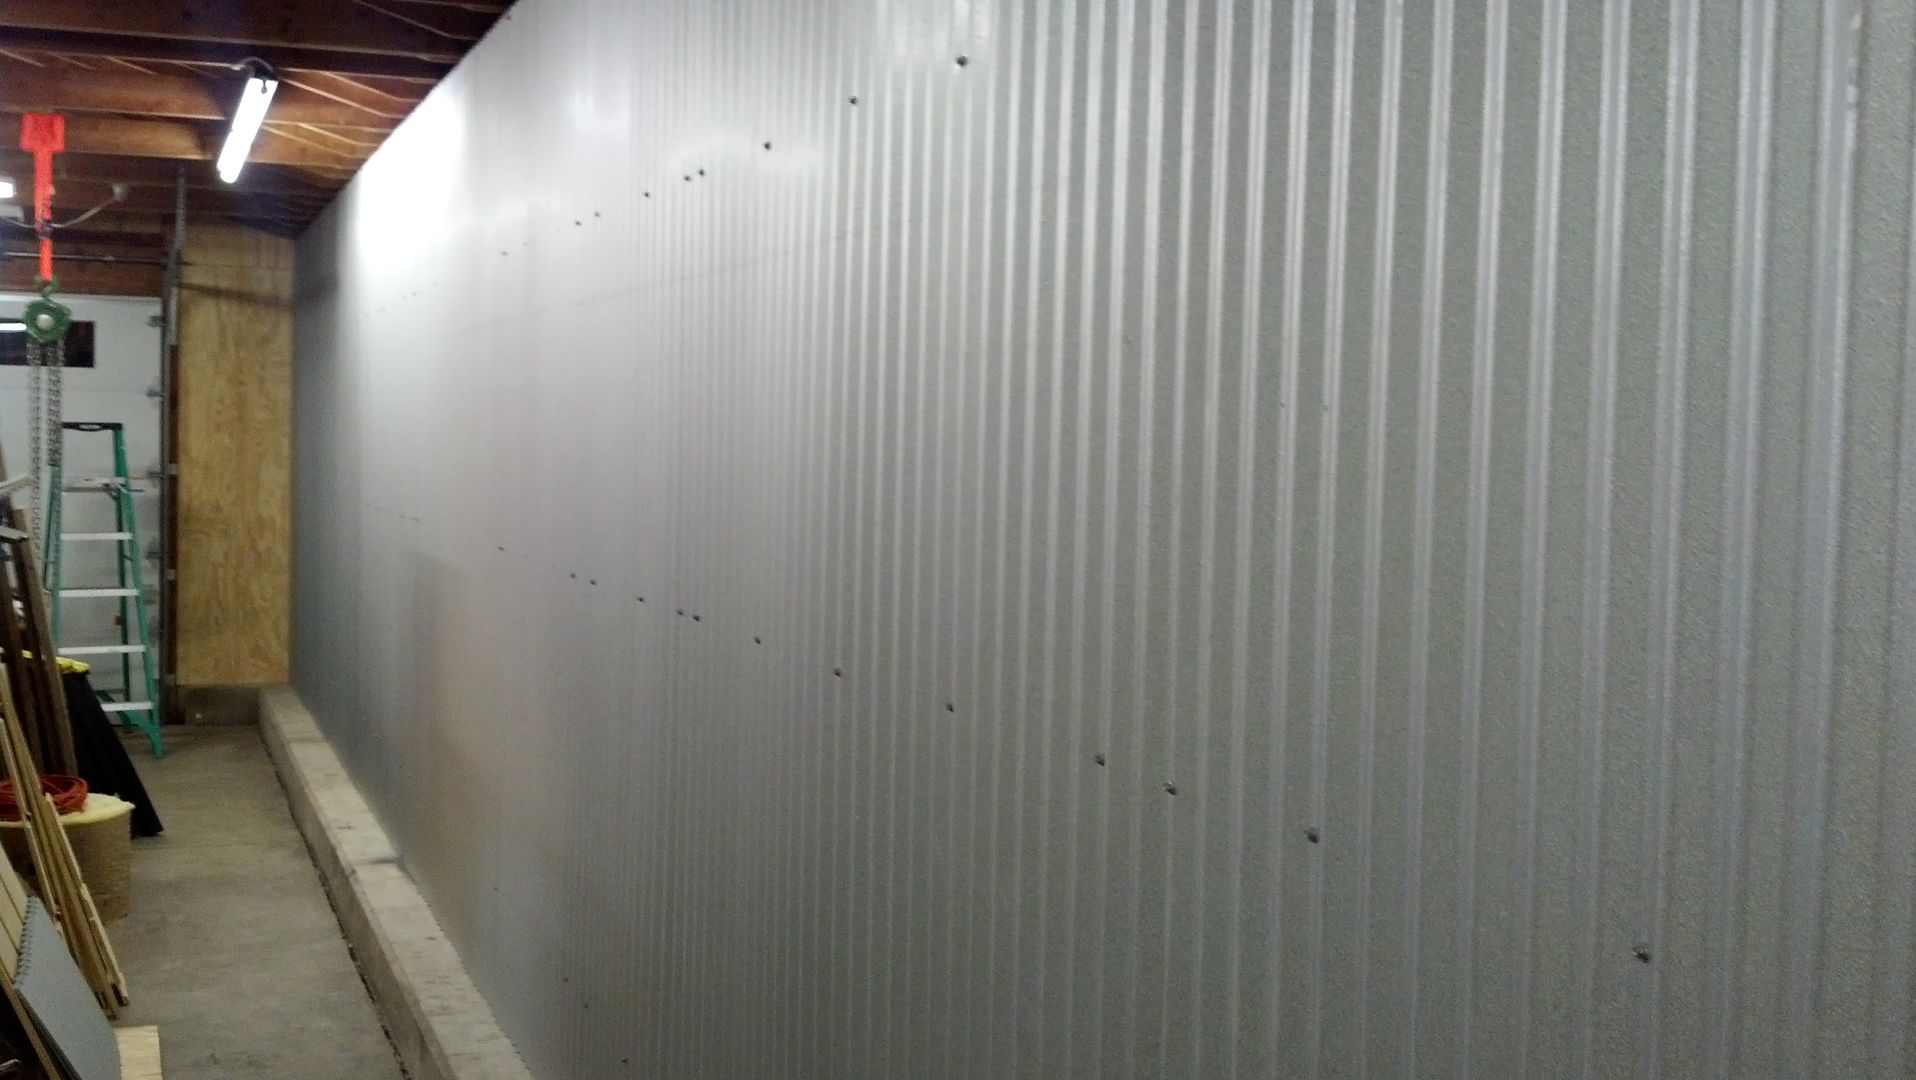
The metal panels are all installed, needed 16 sheets for the main 45' long wall

I am very pleased with how this turned out for $700.....the metal panels look great and are unique. With the self tapping screws for the corrugated panels, the install was cake.

I have 16" OC studs, and the 24 gauge metal panels are very rigid....no flex

The panels are dipped also, not raw steel........so they are a tad shiny and have a smooth feel

I used OSB for the back 12x15 section of the shop, which I painted with 3 coats of white primer
 
OP
D

D45

Well-known member
Joined
Mar 21, 2014
Messages
4,842
Location
NW INDIANA
Made a rolling, locking caster cart for my old 110v compressor and plumbed in a ball valve for the drain (best thing I've ever done)

IMG_20140718_183730_437_zps9zqonocn.jpg


IMG_20140718_183738_730_zpsnuxaye65.jpg


This hoist is bad ***

Even came with the owners manual from 1974

Sealed, Oil bath lubricated motor with actual bearings

The 1/4" cable has seen better days, but that's a simple and easy fix

Total weight is only 40 pounds

Lifts 1,200 on a single line

Gear reduction is 533:1

IMG_20140725_203619_394_zpsg7kldk0a.jpg


IMG_20140725_203721_951_zpsnzgx3guq.jpg
 
OP
D

D45

Well-known member
Joined
Mar 21, 2014
Messages
4,842
Location
NW INDIANA
Bought a cool hoist on CL for $60

1/3 HP and 1,200 capacity

00P0P_ljyQaLztGww_600x450_zpsd0679e16.jpg


00d0d_3bbDkYsnc8z_600x450_zpsea99a19d.jpg


00B0B_isUAXtC9QCn_600x450_zps4e67fa58.jpg


01414_kiTfls62tMC_50x50c_zps620445bd.jpg


00202_kFzkAaotS3B_600x450_zpsd777b1f8.jpg


Here is the link to my 10x12 shed build

http://www.garagejournal.com/forum/showthread.php?t=244568

When it is all done, within the next 2-3 weeks.......I can clear about 1/3 of the junk out of my garage

All the hunting, yard work, lawn care stuff, pool items will be out of the garage and into the shed

Here are some more pics of the attached additional garage, cool idea by the previous owner

IMG_20141013_181608_142_zpsloppdeix.jpg


IMG_20141013_181627_184_zpse6zbfdzf.jpg


IMG_20141013_181640_089_zpsfgrfog6b.jpg


IMG_20141013_181646_208_zpsmgsevjlf.jpg


IMG_20141013_181705_191_zpsoyuwchvv.jpg


IMG_20141013_181710_699_zpsrz8ifqqi.jpg


This is taken from inside the enclosed patio......this is the door leading down (2 steps) into the additional garage/shop

IMG_20141013_181732_401_zpslcxnxuza.jpg
 
OP
D

D45

Well-known member
Joined
Mar 21, 2014
Messages
4,842
Location
NW INDIANA
Here are some pics from inside the sop, showing the front and back section, both of which have their own insulated garage doors and openers

I like the sliding door feature too

It is a complete disaster!

Main shop:

IMG_20141013_181816_322_zpsmnf8limz.jpg


IMG_20141013_181820_719_zpszyewvazb.jpg


IMG_20141013_182040_511_zpsrfaxamai.jpg


IMG_20141013_182054_728_zps6gb0czdi.jpg


IMG_20141013_182107_828_zps4hek5ttx.jpg


IMG_20141013_182116_010_zpsm6yb5vjy.jpg


The sliding door that separates the garage into two sections

Looking from the main shop area into the smaller area:

IMG_20141013_181959_472_zpsyse9q1ay.jpg


IMG_20141013_182014_311_zpshashpm8k.jpg


IMG_20141013_182025_236_zpsicthe32i.jpg


Looking from the small area to the door, which leads into the large shop area:

IMG_20141013_181929_263_zpsd4klqet9.jpg


Some pics of the small area, which is also packed full

IMG_20141013_181849_770_zpssakjchrv.jpg


IMG_20141013_181900_561_zpsmdeiyfnu.jpg


I painted the wall siding that I installed in the enclosed patio (and the common wall in the garage, and in the garage surrounding the garage door.

Yes, I insulated behind the siding panels

Sherwin Williams was able to scan and color the pre-existing red about perfectly

They also tinted the primer I used


Before and after


IMG_20141013_181732_401_zpslcxnxuza.jpg


IMG_20141020_183312_162_zpsbklbegol.jpg


IMG_20141020_183317_217_zpsfybrbmot.jpg


IMG_20141020_183337_838_zpslwh868zi.jpg


IMG_20141020_183353_766_zpsouufh15b.jpg


IMG_20141020_183408_842_zpsgcafjzko.jpg


IMG_20141020_183434_782_zpsygajevvm.jpg
 
OP
D

D45

Well-known member
Joined
Mar 21, 2014
Messages
4,842
Location
NW INDIANA
My shop is basically wired with white coated Romex

What is the diff between the white coated Romex and the yellow coated Romex?

I would love to redo it with conduit, but that's not cost effect for me

Most of the Romex was ran poorly, across the ceiling beams and all over the place

I would love to redo it this winter, using longer pieced of wire that was hidden ontop of or on the sides of the exposed ceiling boards


I got sick of walking around and moving 5 ladders, so I built a rack for all of them tonight

Tucked up high on the wall for the two extensions ladders and I added hooks for the 8' and 10'

Much better now........there is also a smaller 4' ladder hanging on the wall, its just hidden


Tomorrow I am going to start hanging cabinets and building more shelves

Self drilling 3" Grip Right screws with T25 Torx head and my impact driver is soooooooooooooooooooooo nice

IMG_20141213_213447_387_zpsfbm91qzl.jpg


IMG_20141213_220756_133_zpsq3czmmaz.jpg
 
OP
D

D45

Well-known member
Joined
Mar 21, 2014
Messages
4,842
Location
NW INDIANA
I started on the two, 12 foot long sections for the storage shelf

Did not get too far, had to watch the little one

I left about 12" of space between the last shelf and the wall, for a quad outlet

I also spaced the two out about 18" from each other, again, for a quad outlet

I need to get some OSB this week, and find another 2 hours to finish the shelves

IMG_20141221_165438_313_zps6w7rlz8m.jpg


IMG_20141221_165429_824_zpscaolp4lu.jpg


IMG_20141221_165406_692_zpssouf6zlf.jpg
 
OP
D

D45

Well-known member
Joined
Mar 21, 2014
Messages
4,842
Location
NW INDIANA
IMG_20150103_170512_887_zpsnpakiwsu.jpg


IMG_20150103_184616_988_zpsvr2cri65.jpg


IMG_20150103_170432_950_zps4bhan5xn.jpg


IMG_20150103_170504_564_zpsrq8xhjry.jpg


IMG_20150103_184612_149_zps58ann9mi.jpg


Finished the storage shelves..... made a corner work area, hung a dry erase board and started going through everything that's been in storage for 2 years

IMG_20150103_184637_577_zps9qlnxkte.jpg


Started clearing off the work bench, installed some homemade cabinets, and of course the shop stereo


IMG_20150110_154606_967_zps2h8plozv.jpg


IMG_20150110_155014_962_zpsbevckm2k.jpg


IMG_20150110_160105_342_zpsav4mtnbs.jpg


IMG_20150110_160110_811_zpsioonuxxm.jpg


IMG_20150110_160116_449_zps6xbsdwbv.jpg
 
OP
D

D45

Well-known member
Joined
Mar 21, 2014
Messages
4,842
Location
NW INDIANA
My next big plan is to get the rear area done and organized, then tackle installing a new subpanel, light T8 fixtures and all new wiring
 

GDPossehl

Well-known member
Joined
Sep 23, 2014
Messages
450
Location
Atlanta, GA
Lots of great space there. Looks like it's coming together nicely with a little organizing. Insulating that ceiling will make it a nice comfortable work space.
 
OP
D

D45

Well-known member
Joined
Mar 21, 2014
Messages
4,842
Location
NW INDIANA
The common wall with the house and other attached garage is obviously already insulated

It was the outer, exterior wall of the shop that I needed to finish off

Everything is insulated and stapled.............I bought 25 rolls of paper faced
R-13

IMG_20140404_194851_604_zpsj6a2z137.jpg


I opted for rolling galvanized steel sheets cut to length of 102" each

24 gauge and in stock

dcebd2c3-77f1-48ce-92aa-b062993ab554_300_zps8rxmx17t.jpg


15 sheets was $600!!!!!.......I need 31 total sheets


I bought a 5 lb box of self tapping screws made just for panels...... another $22

The metal shop cut the panels to length of 102" tall for me.....so no seams and gaps!!

I just overlapped one ridge so again.... no seams or gaps

This increased the temp inside the shop by 15 degrees this winter, compared to last
 

ambenz

Well-known member
Joined
Dec 12, 2010
Messages
4,258
Location
NW Chicago Suburbs
Nice digs D45, ready to make it your own!
Soooo, what kind of wheels are you puttin in the shop or, is this going to be a place dedicated to woodworkin, welding, or fabricating?
 
OP
D

D45

Well-known member
Joined
Mar 21, 2014
Messages
4,842
Location
NW INDIANA
I also bought a scrap piece of 3/16" steel (4 feet long) for only $30........to line over a portion of my plywood workbench.

I had the sheet countersink drilled so I can use screws to secure it down to the top......I will be able to beat on parts on this sheet and not have to worry about damaging the bench

I plan on mounting a vise also....just not sure where yet, as I have three to use. I only had to pay $50 for all 3

I also picked up a cool paper roll dispenser and 12 rolls for FREE

IMG_20150113_205823_398_zps3a4ky6nk.jpg


IMG_20150113_210131_089_zpszrhxpfdc.jpg


IMG_20150114_111853_677_zpspmpt9f1i.jpg
 
OP
D

D45

Well-known member
Joined
Mar 21, 2014
Messages
4,842
Location
NW INDIANA
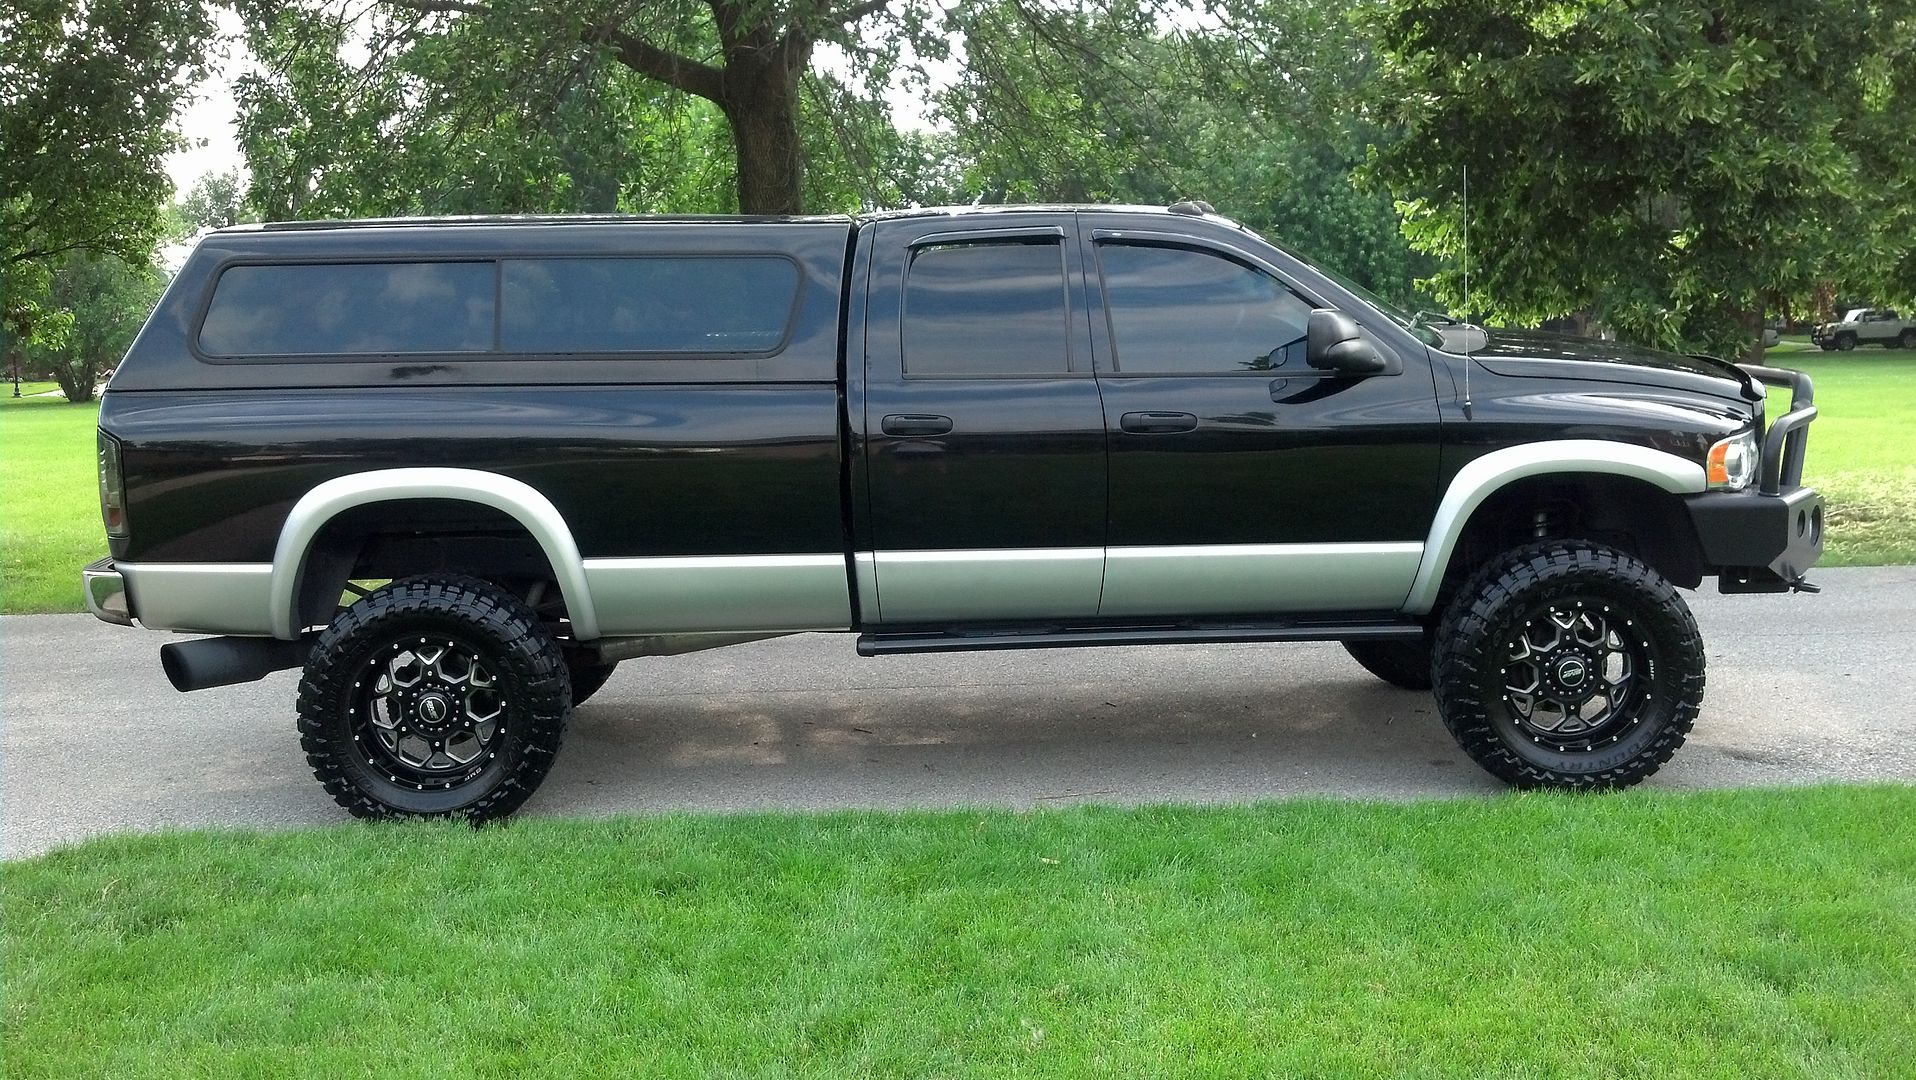
Since the main entry door is 8' tall, I will be using it to store my truck inside, until I can get a hot rod (60's era)


Truck2_zps0509cd02.jpg
 
OP
D

D45

Well-known member
Joined
Mar 21, 2014
Messages
4,842
Location
NW INDIANA
Insulating that ceiling will make it a nice comfortable work space.

How would I do that........I want the ceiling open, so I can access the rafters for hanging/storage

I would assume just install rolls, similar to the way I did the walls? I have seen some roof insulation jobs that look bad, because over time the insulation sags

I like the look of the open ceiling, with the wood being able to be seen

I am sure the insulation would help drastically with heat loss/retention, but not sure I want to go that route..........just yet. Things may change

I am sure spray foam would also be an option
 
OP
D

D45

Well-known member
Joined
Mar 21, 2014
Messages
4,842
Location
NW INDIANA
I am starting to make and hang some shelving in the back 12x15 section of the garage, which will made with 2x6s and some 3/4" OSB

These shelves will span the Southern 12" long wall and will be 36" deep..........these will be HD built shelves, for larger, heavier and bulkier items

It will clear up a lot of floor space
 
OP
D

D45

Well-known member
Joined
Mar 21, 2014
Messages
4,842
Location
NW INDIANA
Started clearing off the work bench, installed some homemade cabinets, and of course the shop stereo


IMG_20150110_154606_967_zps2h8plozv.jpg


IMG_20150110_155014_962_zpsbevckm2k.jpg


IMG_20150110_160105_342_zpsav4mtnbs.jpg


IMG_20150110_160110_811_zpsioonuxxm.jpg


IMG_20150110_160116_449_zps6xbsdwbv.jpg
 
To avoid these ads, REGISTER NOW!
OP
D

D45

Well-known member
Joined
Mar 21, 2014
Messages
4,842
Location
NW INDIANA
Scored this heavy duty wood shipping crate for free............just added some scrap plywood on the bottom for reinforcement and bought some 210 pound rated swivel casters and some lag screws

I had 4 various bins full of scrap wood, that I just cant seem to part with

I like the fact that these cheap *** casters use bolts, rather than rivets..........so they cant be replaced if needed

Rolls and works perfectly

IMG_20150627_103752885_zpsbsf7ckmz.jpg


IMG_20150627_103846392_zpslvsiyf0b.jpg


IMG_20150627_110312015_zps7ne3lwtp.jpg


IMG_20150627_110914335_zpshz6hpgeu.jpg


IMG_20150627_112118065_zps6jqlv0ei.jpg
 
OP
D

D45

Well-known member
Joined
Mar 21, 2014
Messages
4,842
Location
NW INDIANA
I know the roof isn't leaking, the water is coming from the ground up

Hopefully its a drainage issue?

IMG_20150615_212039113_zpsf1rhh61g.jpg


IMG_20150615_212110671_zps0qjbvrdl.jpg


The garage floods like this every time theres a good hard down pour
 
OP
D

D45

Well-known member
Joined
Mar 21, 2014
Messages
4,842
Location
NW INDIANA
I believe the rock surrounding the garage is lower, thus why is pools so bad and holds a lot of water

I am thinking about removing the rock and surrounding timbers, hauling in some dirt to raise the ground up 4-6" to prevent water from pooling and holding around the shop
 
OP
D

D45

Well-known member
Joined
Mar 21, 2014
Messages
4,842
Location
NW INDIANA
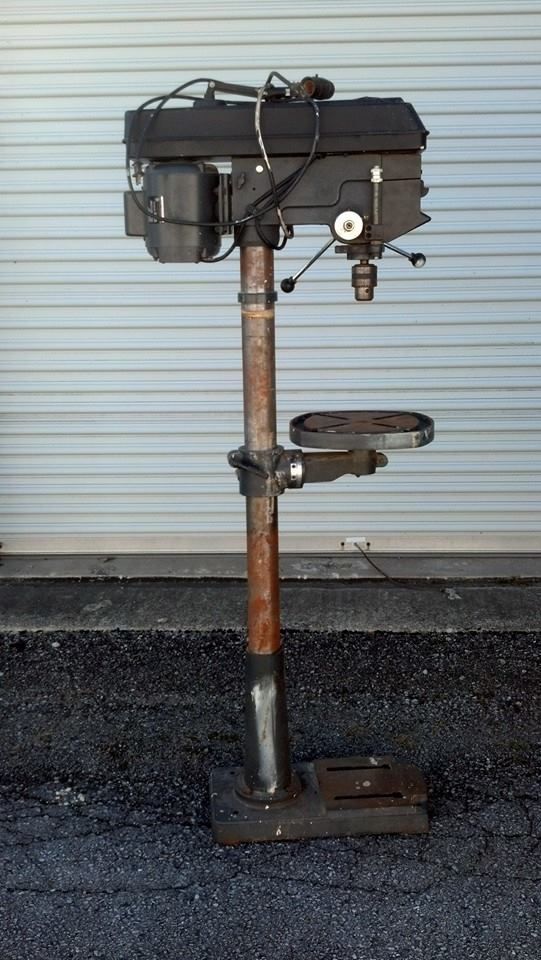
I found a drill press on Craigslist for $100

It will definitely work for my needs and the price was great

It looks like the PO only used it for small jobs and only work working

The motor looks brand new and there was not any dust or debris inside

The belts looked to be in great shape

Craftsman 137.229150
15"
5/8"
1 HP
12 Speeds
250 - 3100 RPM
0-45 degree table tilt

Motor is very quiet and other than some minor surface rust its good to go!

I bought a new "worm gear" rack tooth strip on the column, which adjusts the platform up and down...........because it was broke in half and was only half of its original length. Cost was $30

I also had to buy a new rack collar ring for $13, which uses an allen bolt to secure the rack to the column

The drill press came with the chuck key and two allen wrenches

The DP has been great, I mean GREAT

I think I am going to slow the RPMs down and order one of the Rogue Fab kits, just not sure which one I should get:


https://www.roguefab.com/category.php?category=DPRKS

This is how it came, I will get some new pics up shortly
1382789_647270218659132_1844487249_n_zps08236823.jpg


I took everything off the column and used some wool and put some metal polish on it, looks killer

I took the base and column shaft holder off and hit it with some HD Rustoleum, looks NEW

I want to get a new chuck on the press though, and not sure if I want to go key-less or not............I have read a lot that the chuck arbor is another potential source of run out

Albrecht keyless

or

Jacobs Super-Chuck 14N
 
OP
D

D45

Well-known member
Joined
Mar 21, 2014
Messages
4,842
Location
NW INDIANA
I bought "industrial" Teflon coated bulbs, 60W......they are much thicker and vibration resistant

This press has a sunk in bulb socket and also the external light kit

I am glad it has two bulbs to help light up the drilling table

I also just bought an old vintage Wilton press vise for $35


IMG_20150718_215353486_zpsftcjlhyc.jpg


IMG_20150718_215406225_zps72dzzjyk.jpg


IMG_20150718_215416430_zpsiw3ssayz.jpg


IMG_20150718_215608707_zps6kixhub1.jpg


Was almost dry inside and pretty dirty
IMG_20150718_222441533_zpshucmrho1.jpg


IMG_20150718_222455490_zpskasj0tyn.jpg


IMG_20150801_083704091_zpspxficaia.jpg


IMG_20150801_083654112_zpsi0gejko1.jpg
 
OP
D

D45

Well-known member
Joined
Mar 21, 2014
Messages
4,842
Location
NW INDIANA
Onto another repair........I scored this pressure washer for $20

The seller said it was leaking fuel bad and he did not want to mess with it.....I figured a hose, clamp or simple gasket

The fuel hose from the tank to the carb was dry rotted, so I spent $3 on a new piece of hose and re-used the old clamps.......also splurged $3 for a new air filter.

Still leaked gas!

I traced the leak to a several bad cracks all around the gas tank seam..........I thought about patching it, but for $30 I just bought a new gas tank.

Easy and somewhat very cheap fix

Starts with two pulls and runs smooth

Works great too......I might change the oil, if I feel like it

6.0 HP Briggs Quantum Motor
2300 PSI


IMG_20150801_153049909_zpscqf2bdq6.jpg
 
OP
D

D45

Well-known member
Joined
Mar 21, 2014
Messages
4,842
Location
NW INDIANA
I bought a Square D QO 100 Amp, 20 Space/20 Circuits panel and about 12 various 10a, 15a, and 20a breakers

This will replace my current 100amp 6 spacer panel, so I can add more outlets and spread to load out evenly

Hopefully, the complete garage rewire will take place within a month and I will also have 12 LED shop lights hung at the same time
 

GDPossehl

Well-known member
Joined
Sep 23, 2014
Messages
450
Location
Atlanta, GA
I have that exact same pressure washer. You'll probably have to replace the water valve on it at some point. Mine is bad and I haven't gotten around to fixing it yet. I've read it's a common problem
 
OP
D

D45

Well-known member
Joined
Mar 21, 2014
Messages
4,842
Location
NW INDIANA
Got some concrete work done

IMG_20150901_191857350_zpsbkhhuzw9.jpg


IMG_20150901_191850533_zps8rzflbjm.jpg


IMG_20150901_191808245_zps2eqfiv1a.jpg


IMG_20150901_191811870_HDR_zps2hf6rtpu.jpg


IMG_20150901_191820386_zpsy6qxntbl.jpg


IMG_20150901_191831395_zpsupdkhwzw.jpg


Lower driveway apron, upper driveway near the garage, small sidewalk, about 50" into the garage, and re-skimmed the3 porch with a two part bonding agent
 
OP
D

D45

Well-known member
Joined
Mar 21, 2014
Messages
4,842
Location
NW INDIANA
After all the concrete was removed, most of the underlying sand was washed away and not supporting anything

Gravel was added and they used the wire mesh and #6 concrete

Also paid to have the tall curb cut down

IMG_20150902_100422216_zpsq03eokzo.jpg


IMG_20150902_100431867_zpss0m0f06i.jpg


IMG_20150902_111327599_HDR_zps7kexfsqa.jpg


IMG_20150902_120414898_zpsg9jqqbju.jpg


IMG_20150902_120418421_zpsqkepbhqd.jpg


IMG_20150902_120421464_zps6kvp9453.jpg


IMG_20150902_124356773_HDR_zpsydxcovi9.jpg


IMG_20150902_124404545_HDR_zpsuzc9tbmj.jpg
 
OP
D

D45

Well-known member
Joined
Mar 21, 2014
Messages
4,842
Location
NW INDIANA
The front porch was not cracking, falling apart, or sinking

The concrete guys said it was not necessary to demo the porch

The re-skim turned out GREAT

IMG_20150905_083845898_zpsawurnjoa.jpg


IMG_20150905_083853788_zps3nbnxgom.jpg


IMG_20150905_083902820_zps0mhwnoam.jpg
 
OP
D

D45

Well-known member
Joined
Mar 21, 2014
Messages
4,842
Location
NW INDIANA
I think this white storm door was ordered too short, by the previous owner

Could I buy a taller one and install it? Absolutely, but I want to fix it for CHEAP

I also thought about installing a new door, that have better insulation and better security..............but again, I want something CHEAP

With the u-channel "sweep" adjusted all the way down, the gap at the bottom is still about 1-1/2"

I feel that I loose some heat from the garage, so I am having a taller piece of white aluminum trim custom bent for $10

My plan is to glue in a piece of foam and have a rubber seal glued in place


IMG_20141020_183317_217_zpsfybrbmot.jpg


IMG_20141020_183337_838_zpslwh868zi.jpg


IMG_20141020_183353_766_zpsouufh15b.jpg


IMG_20141020_183408_842_zpsgcafjzko.jpg
 
OP
D

D45

Well-known member
Joined
Mar 21, 2014
Messages
4,842
Location
NW INDIANA
Took down some old shelving, which the PO hand made from 3/8" steel

I had to add some welds to a few and hit them all with a new coat of paint

IMG_20160327_211711537_zpsqlitii4e.jpg


IMG_20160327_211738206_zpscq7ve8kj.jpg


IMG_20160327_211727926_zpsz55tinui.jpg


The local Sears Hardware is going out of business, and savings upto 75% off

Needless to say, I spent about $500 on misc junk!
 
To avoid these ads, REGISTER NOW!
Top Bottom