I borrowed a lot of ideas from this forum. Hope this helps someone else.
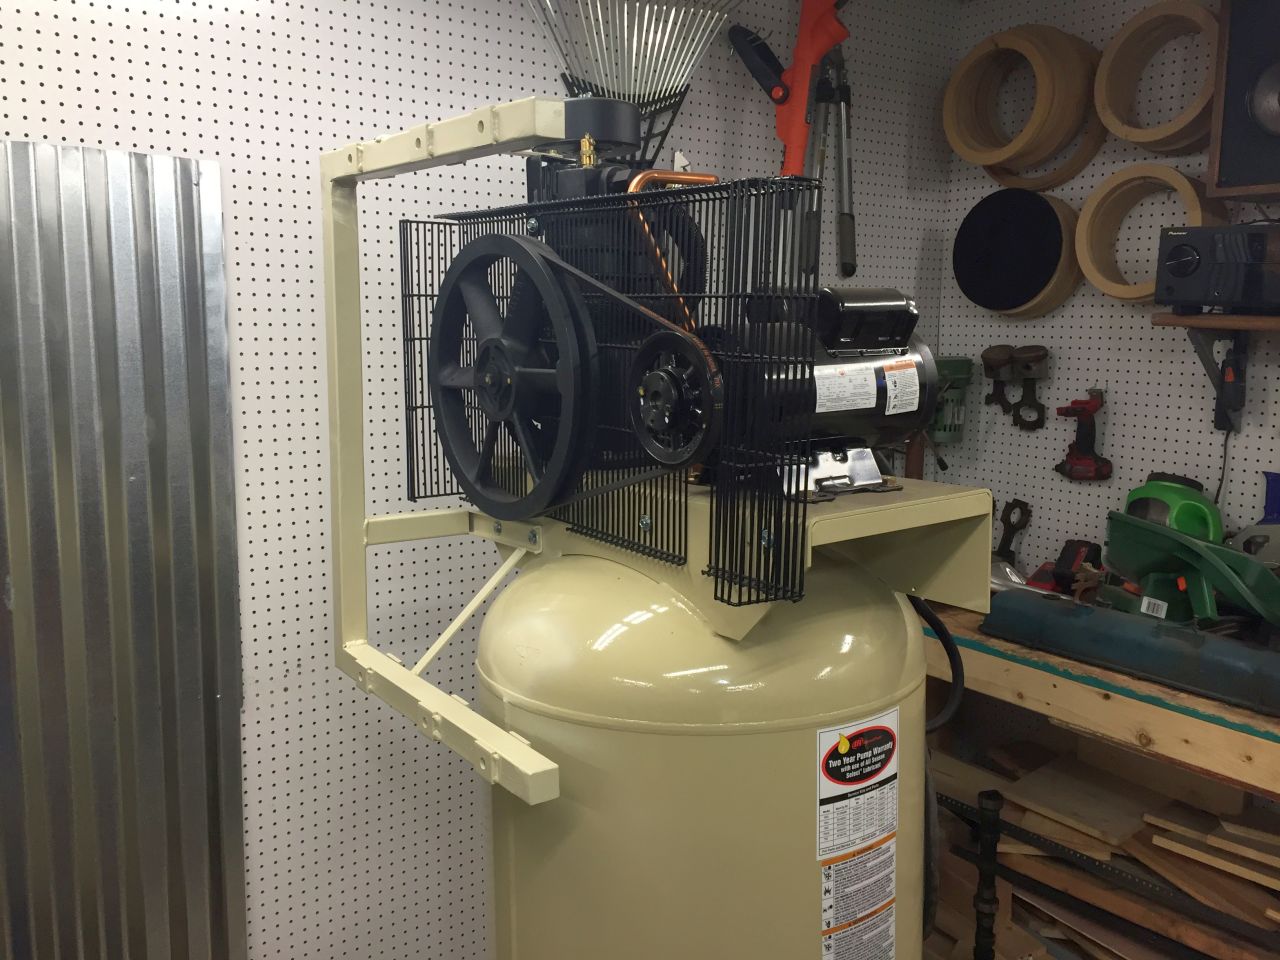
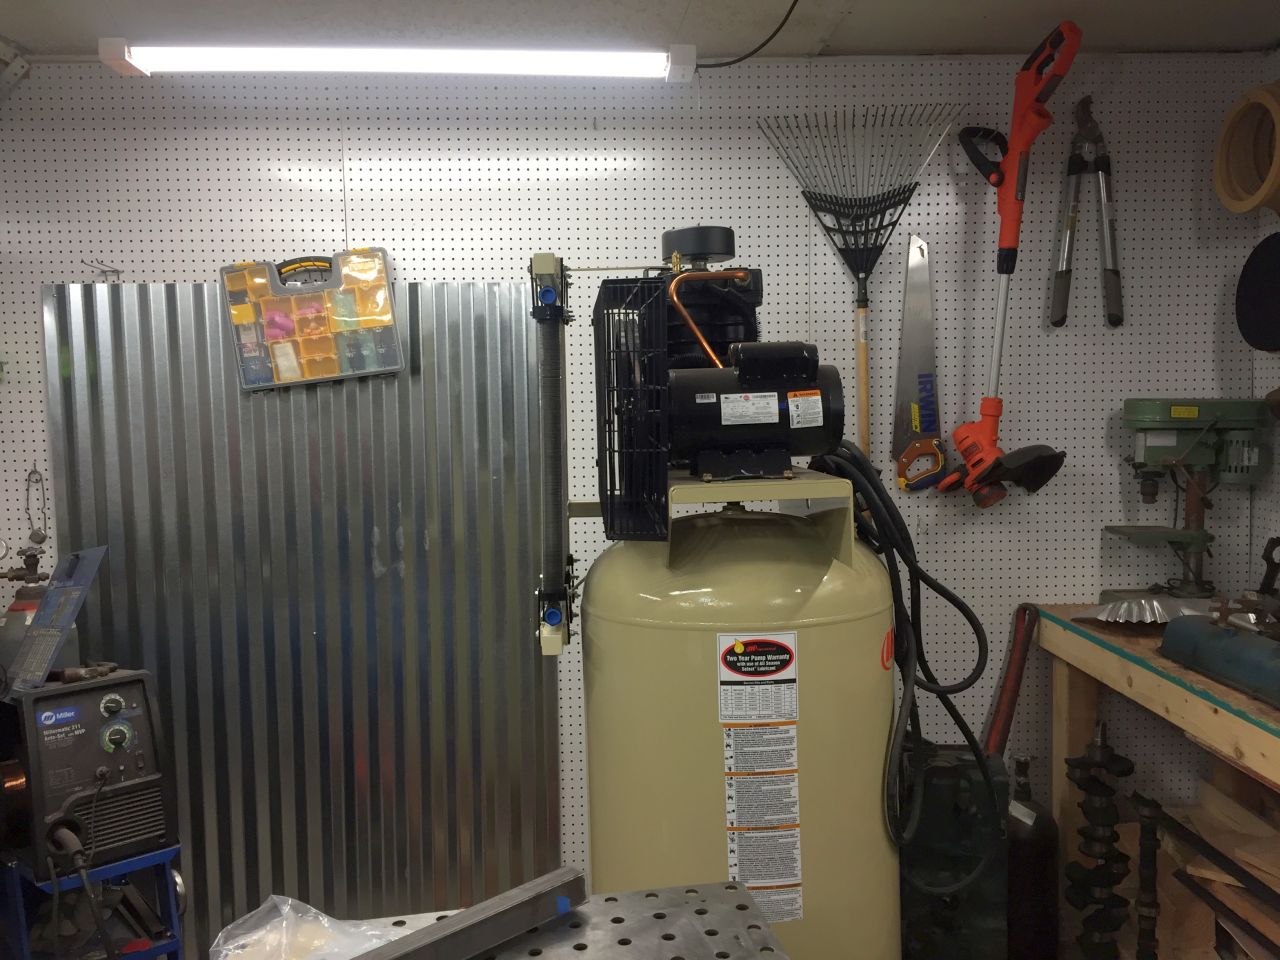
I wanted to install an aftercooler on the compressor because I'm going to do some sand blasting and I eventually want to paint the Jeep myself. For those that don't know, the idea is that the aftercooler lowers the temperature of the air leaving the pump to the point where you can extract the moisture from the air before it enters the tank. This turned into a much larger project than I expected.
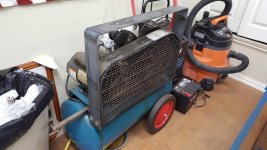
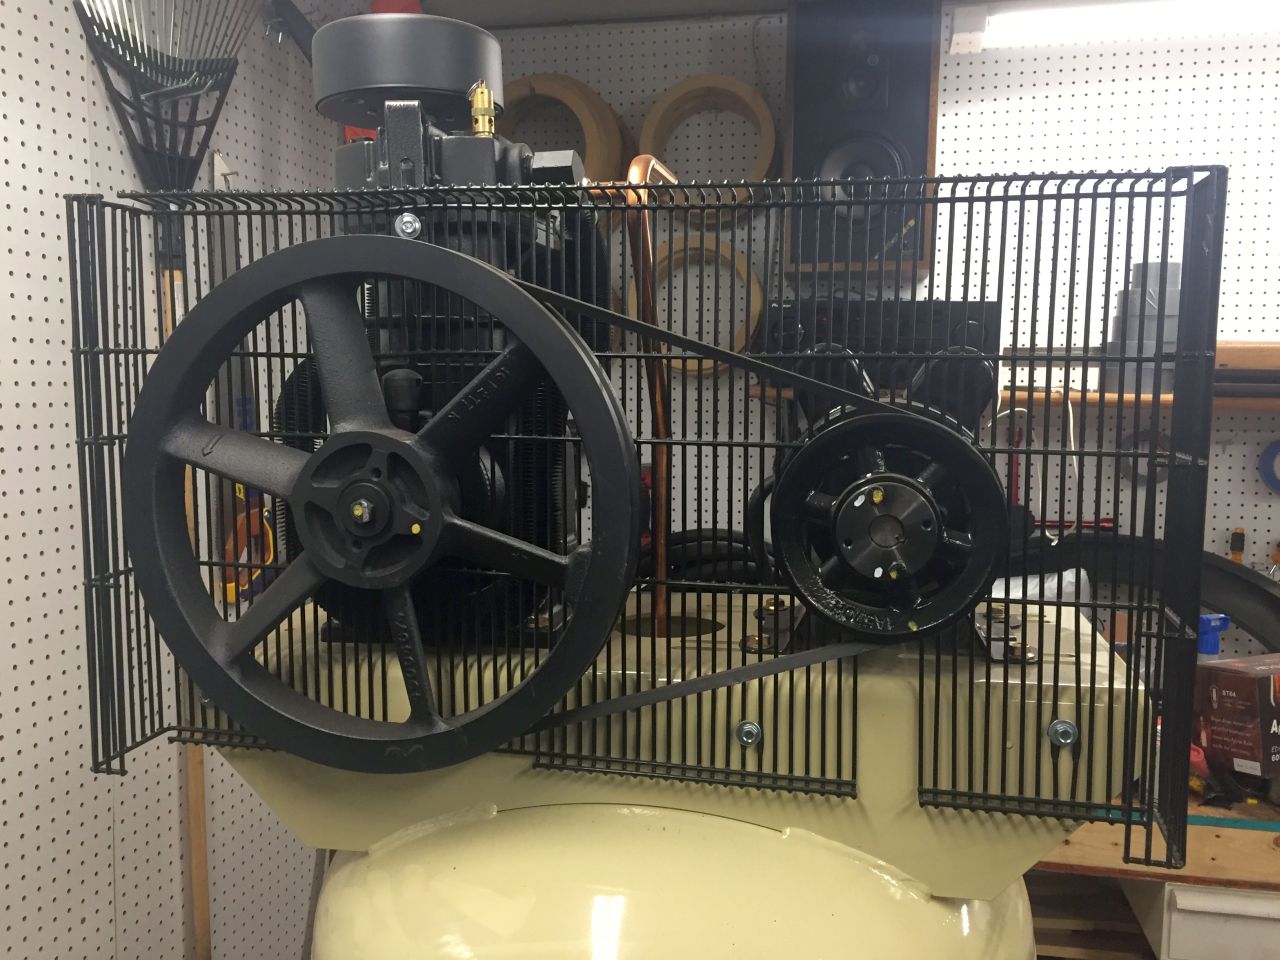
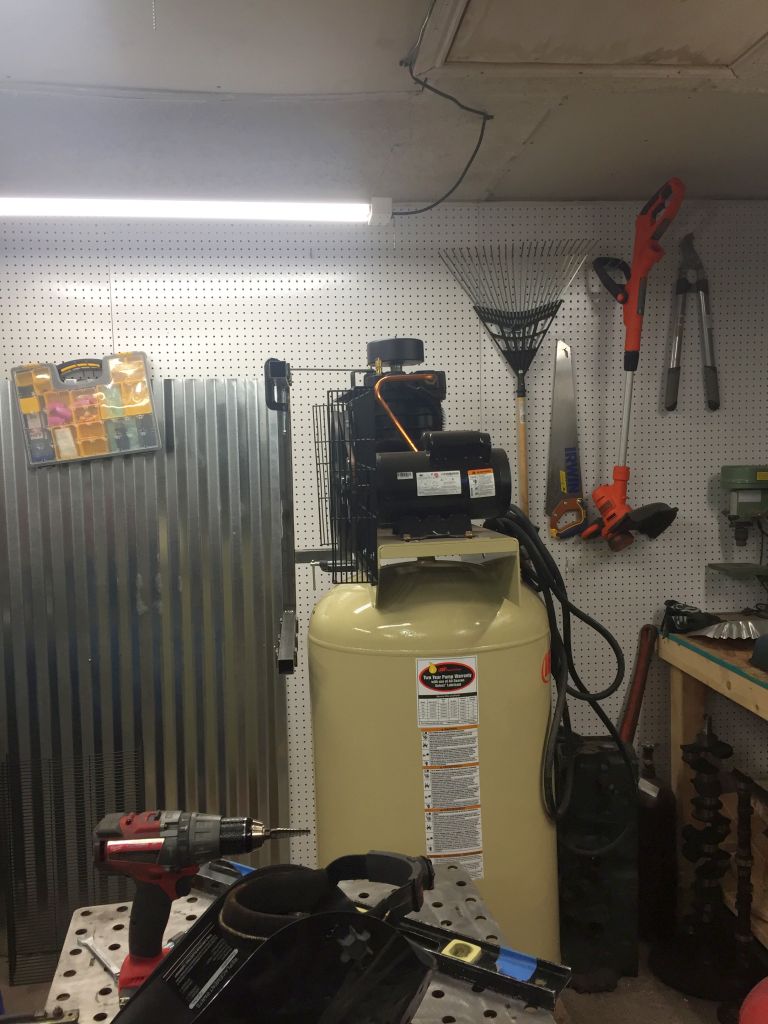
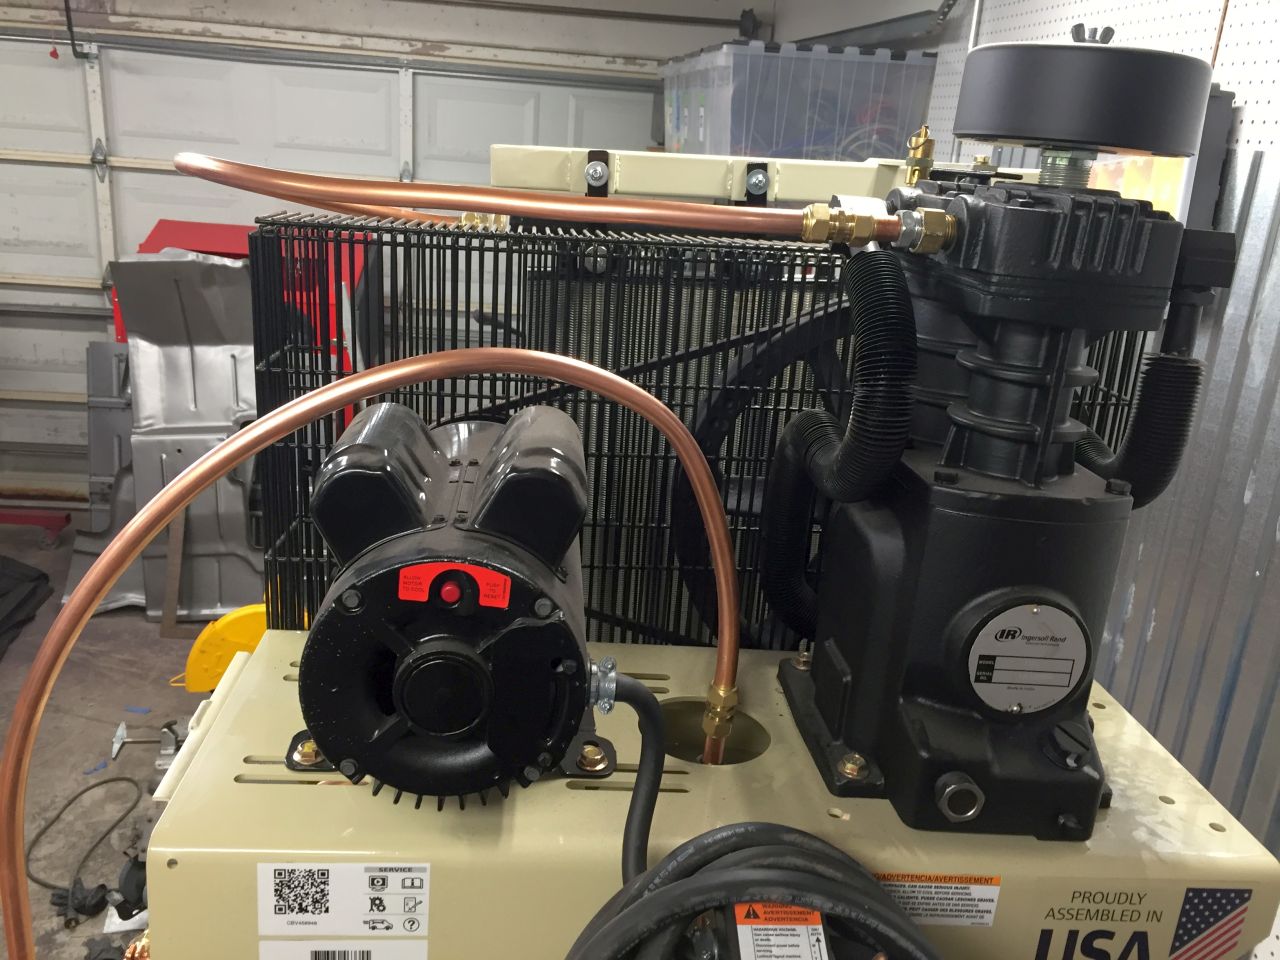
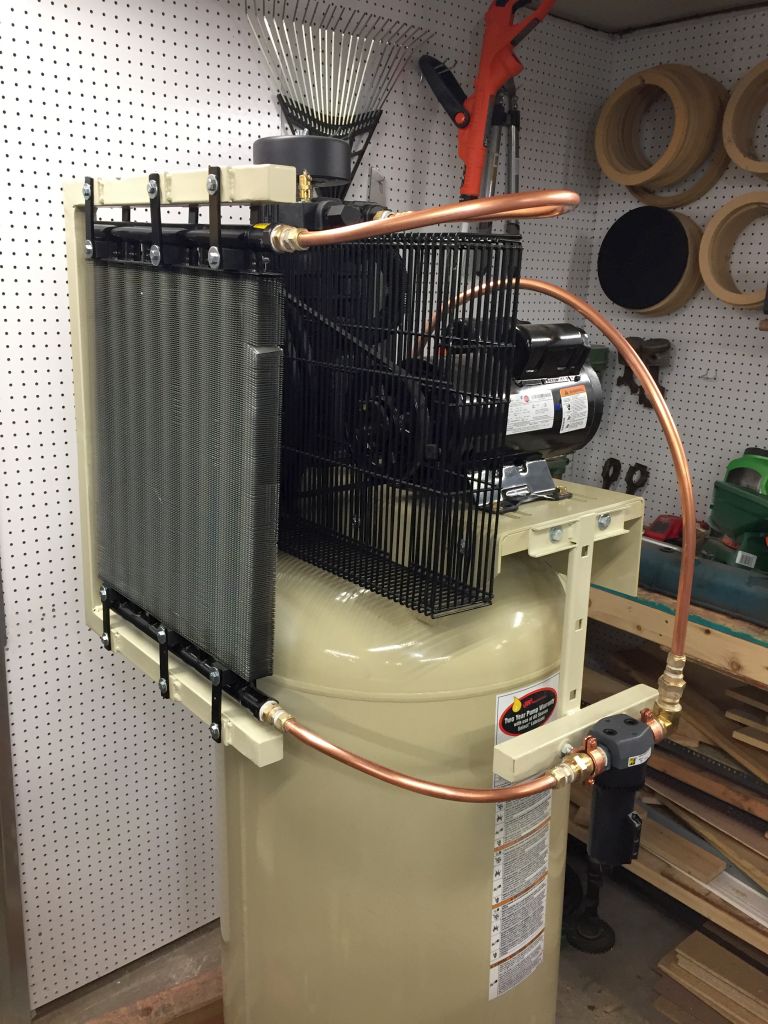
The compressor is an 80 gallon two stage from Tractor Supply. The model number is TSN45.
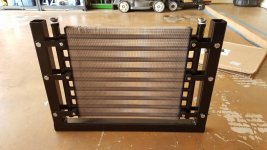
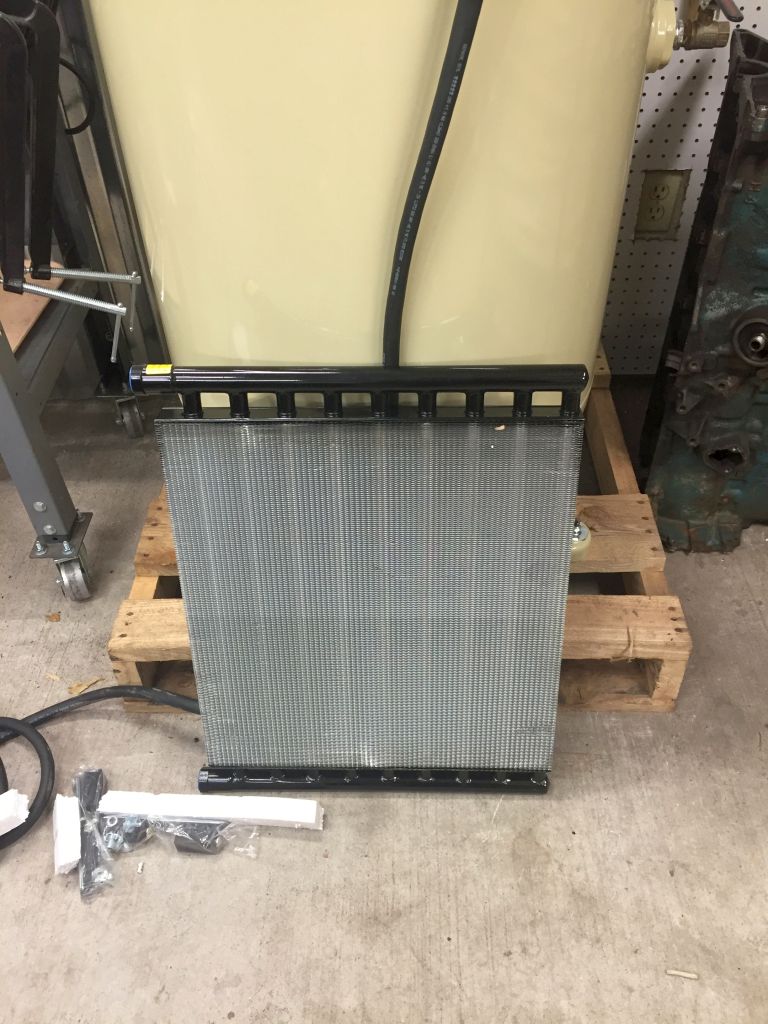
Here is the cooler I bought. It's a Hayden 1290 heavy duty oil cooler. I've seen some people use the 1260 on compressor setups. This one didn't cost much more; I figured bigger would be better.
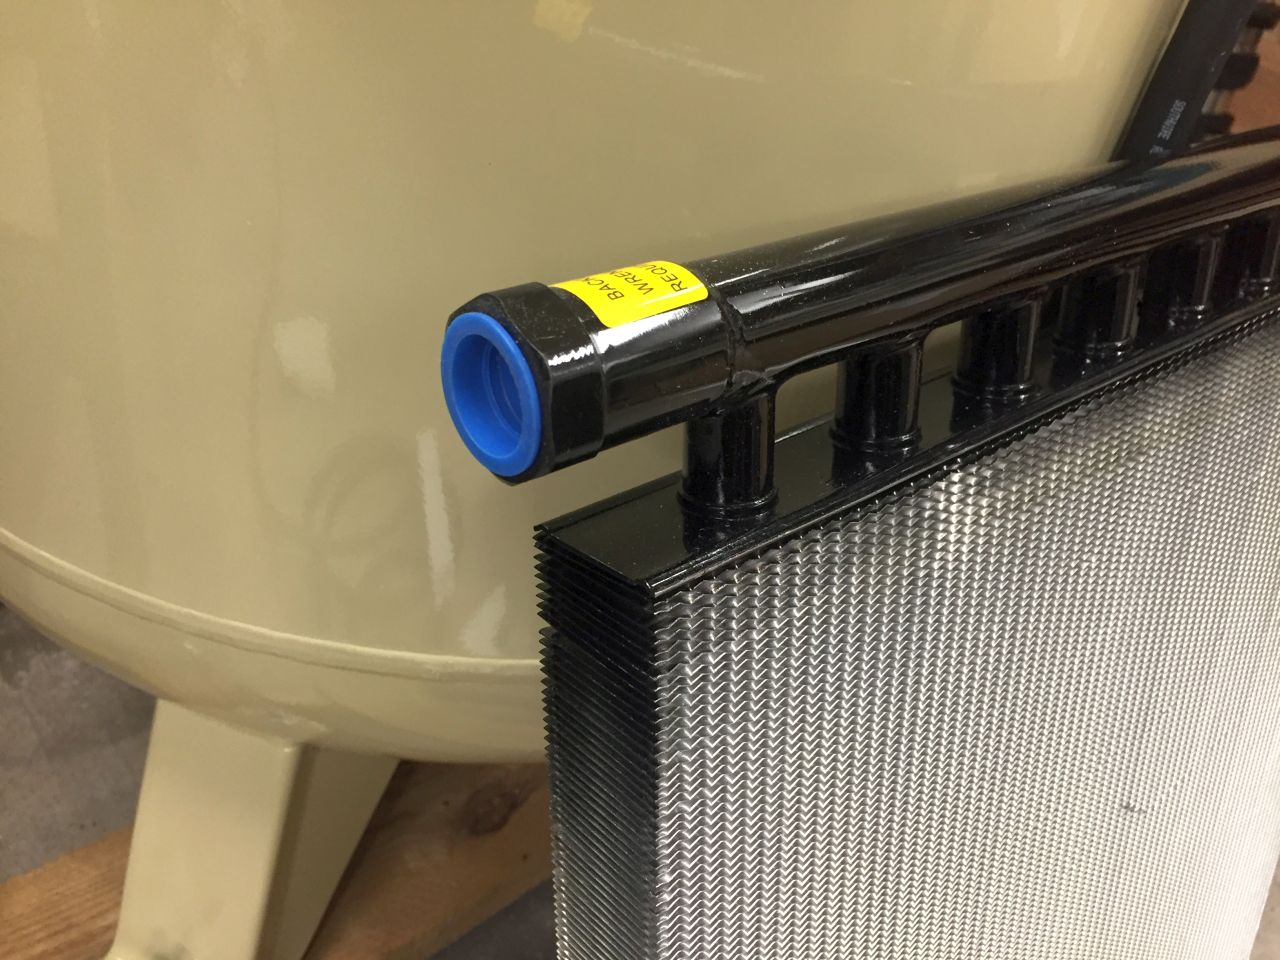
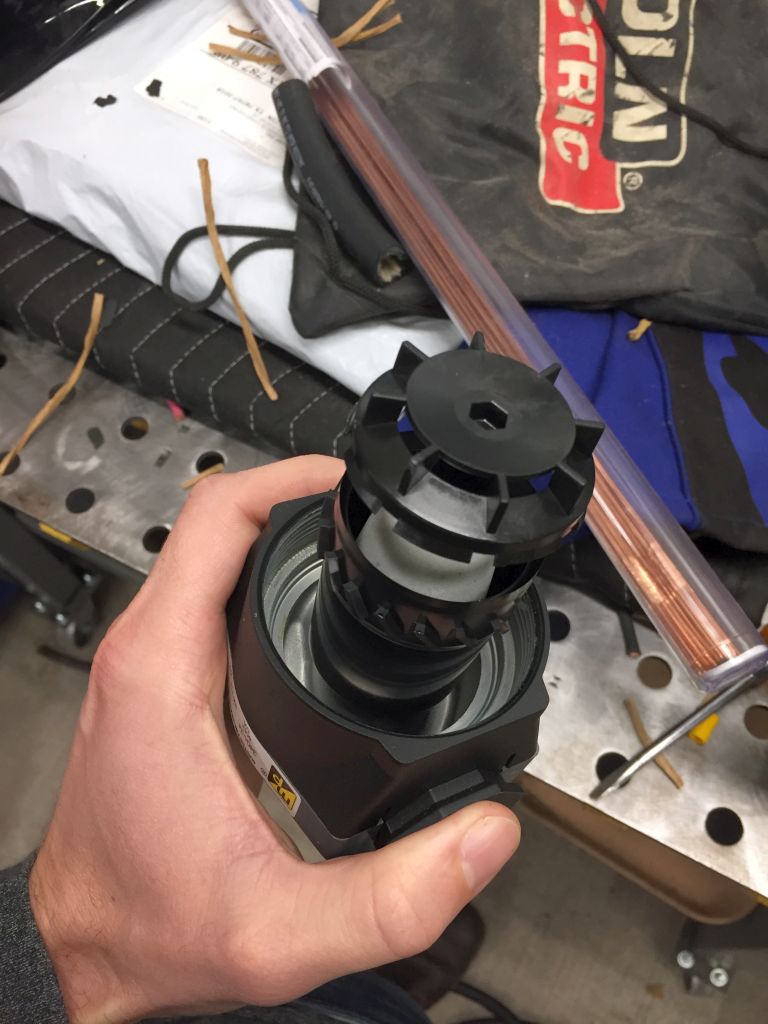
It has 3/4" NPT fittings. A lot of the coolers that are available have 1/4" fittings. The compressor has 1/2" fittings. I was worried that a cooler with smaller fittings might interfere with air flow.
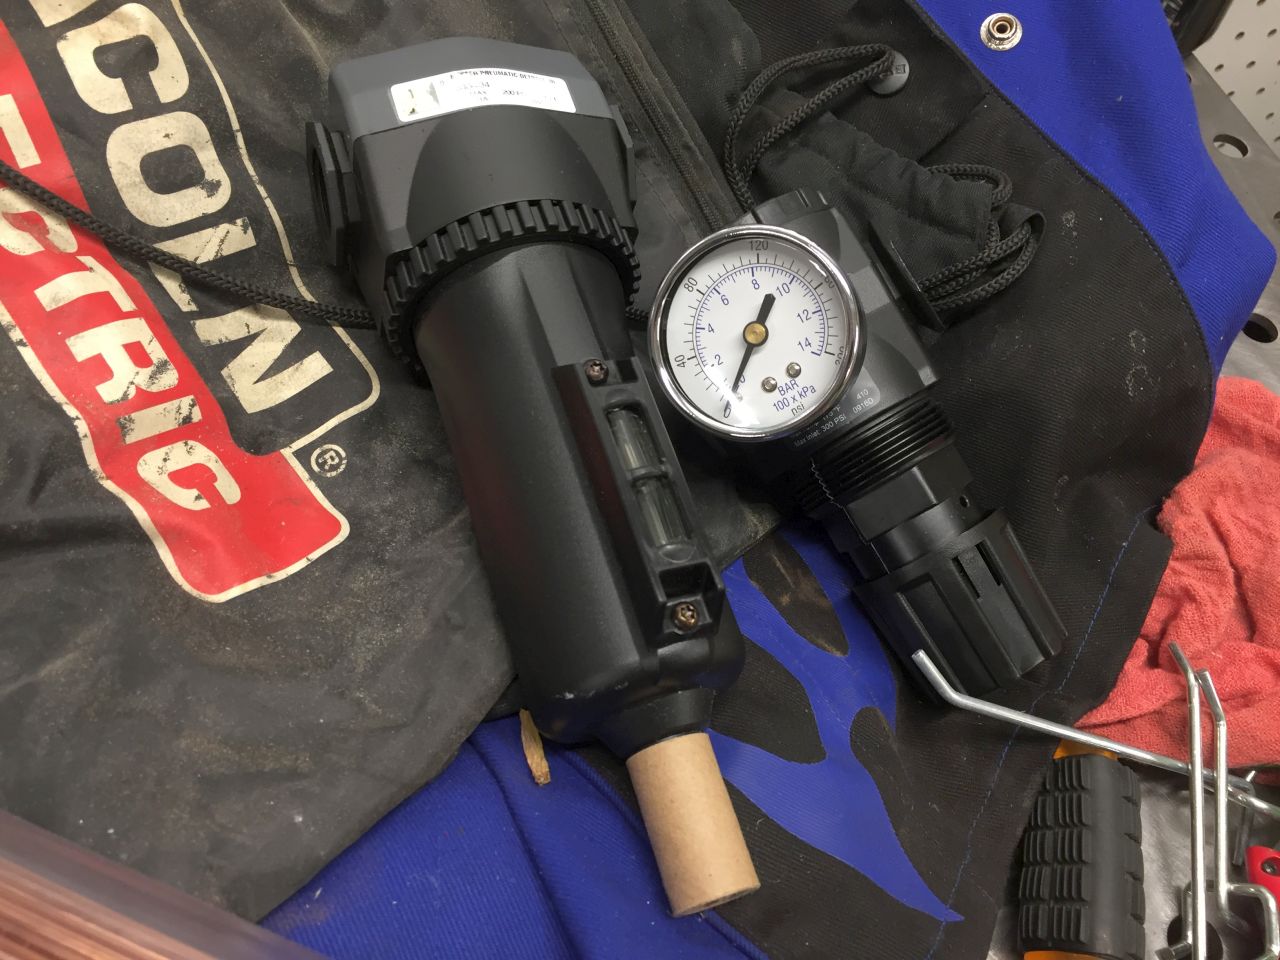
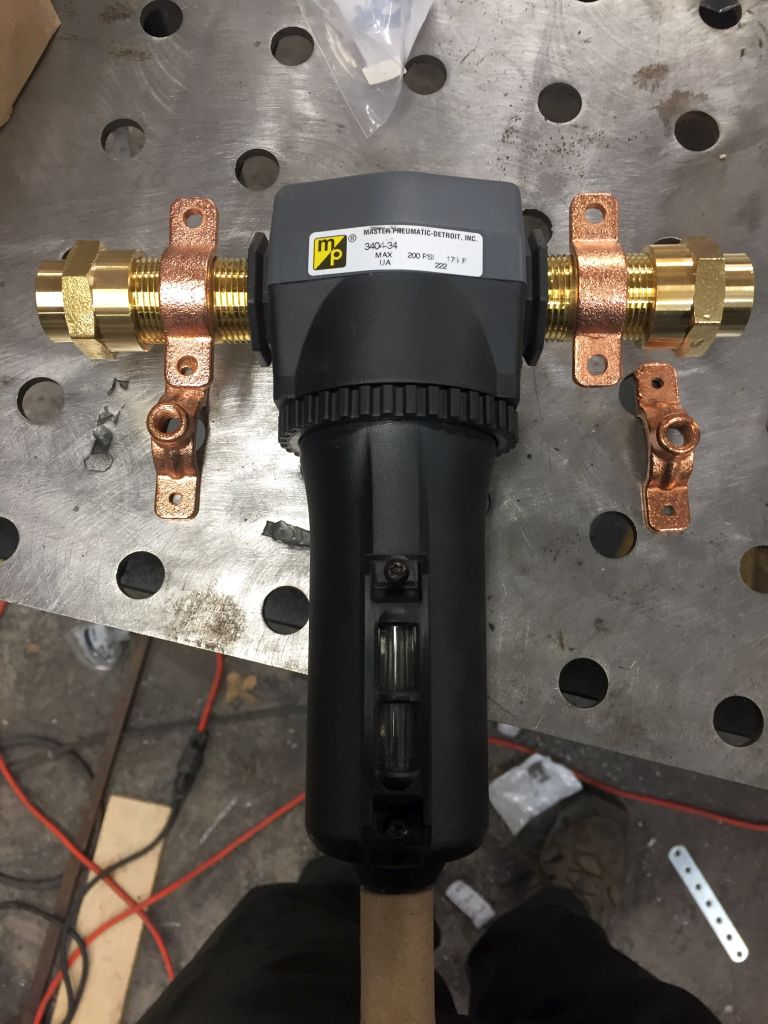
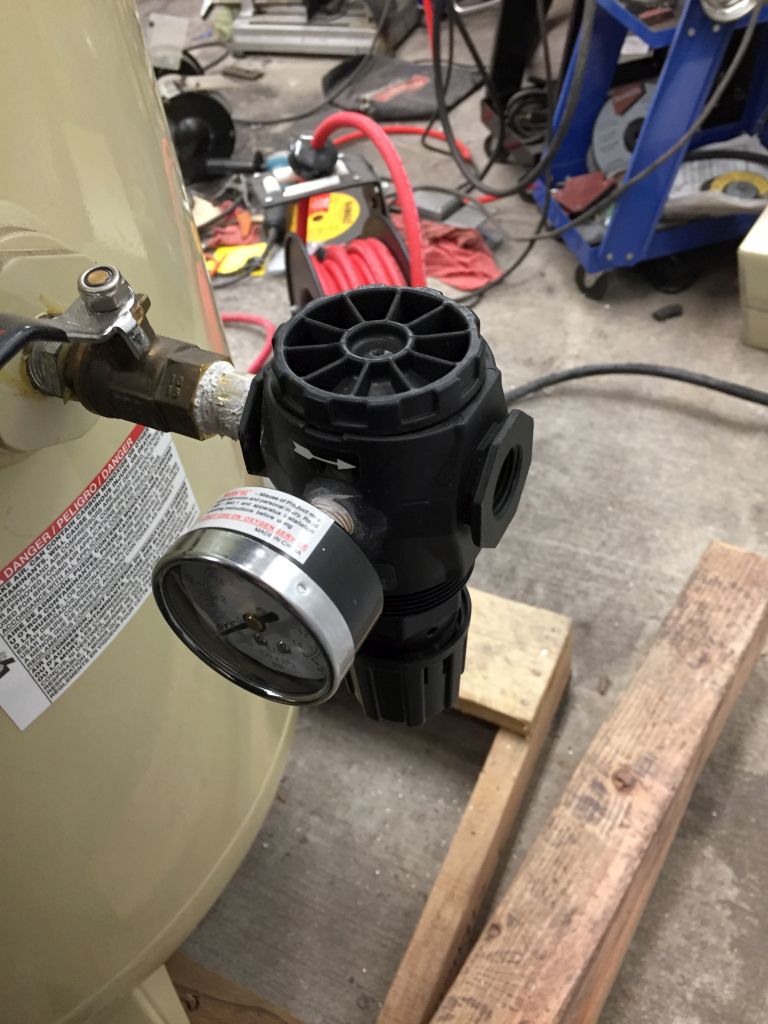
I also bought a 3/4" auto drain filter from TP Tools. Bonus regulator shot. It's mostly metal, seems to be of decent quality. I can't tell you how well it works yet.
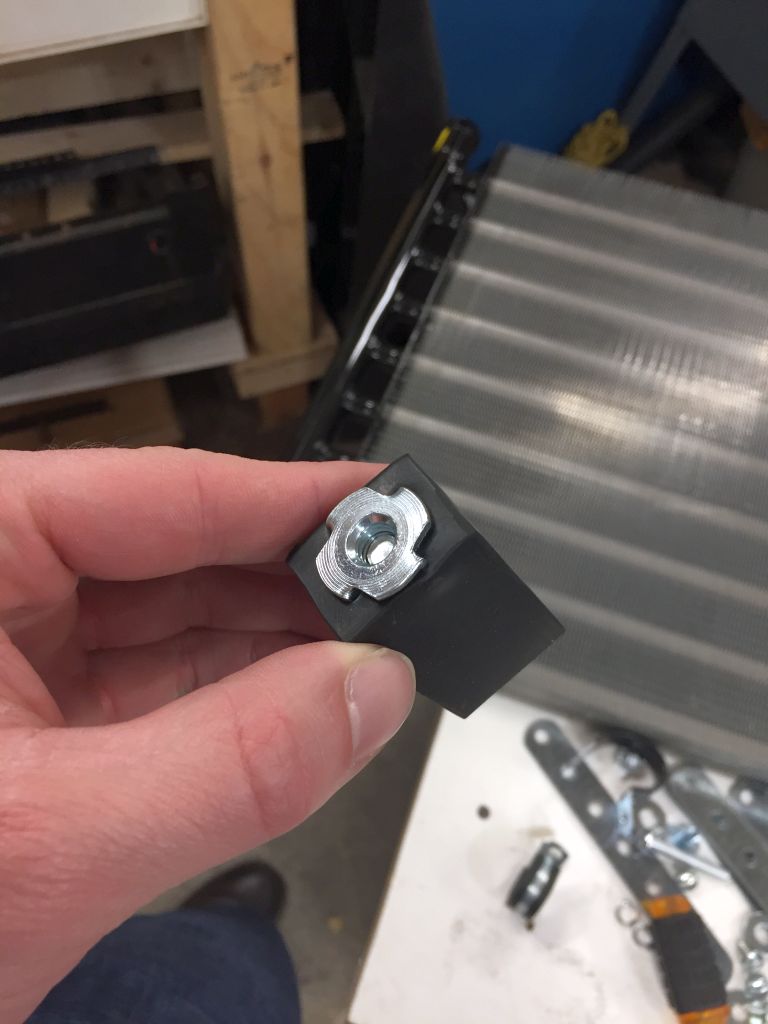
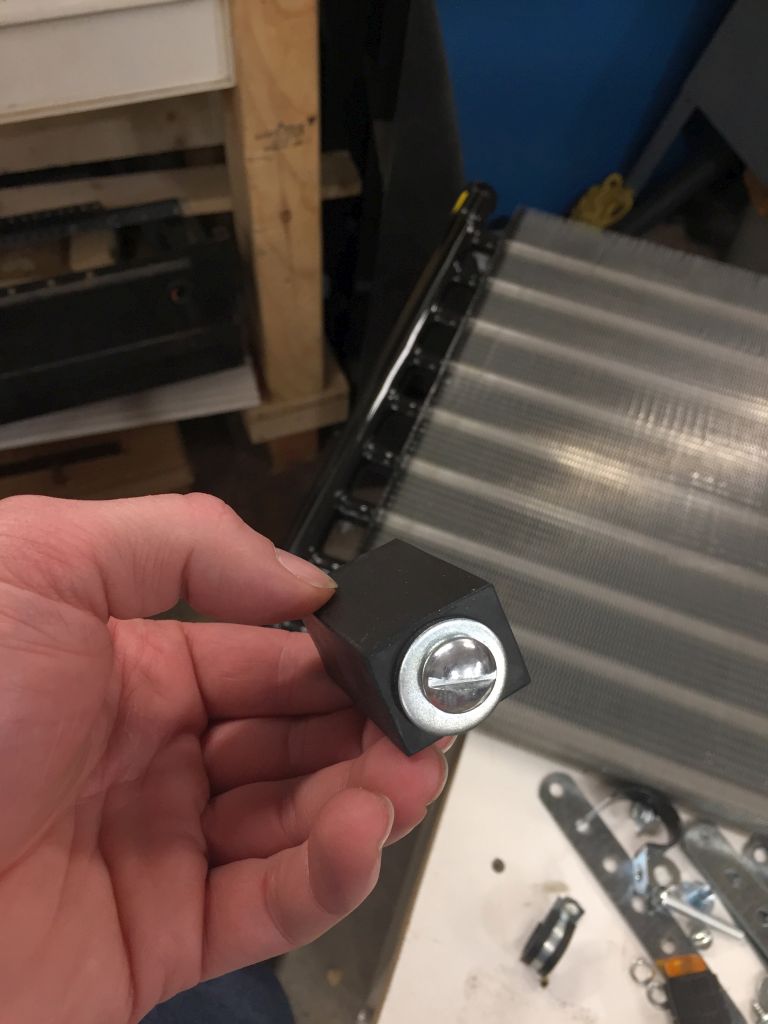
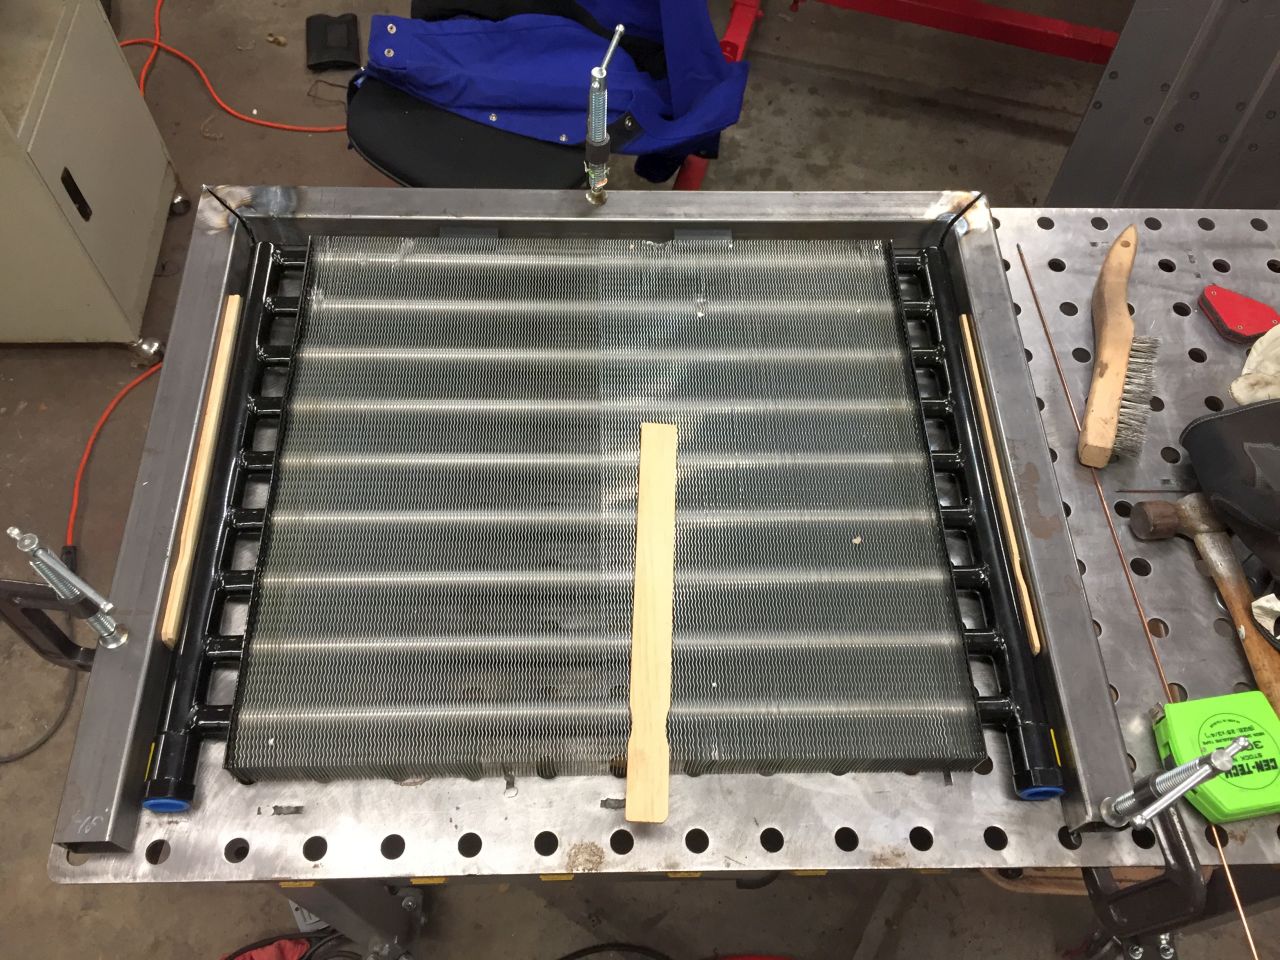
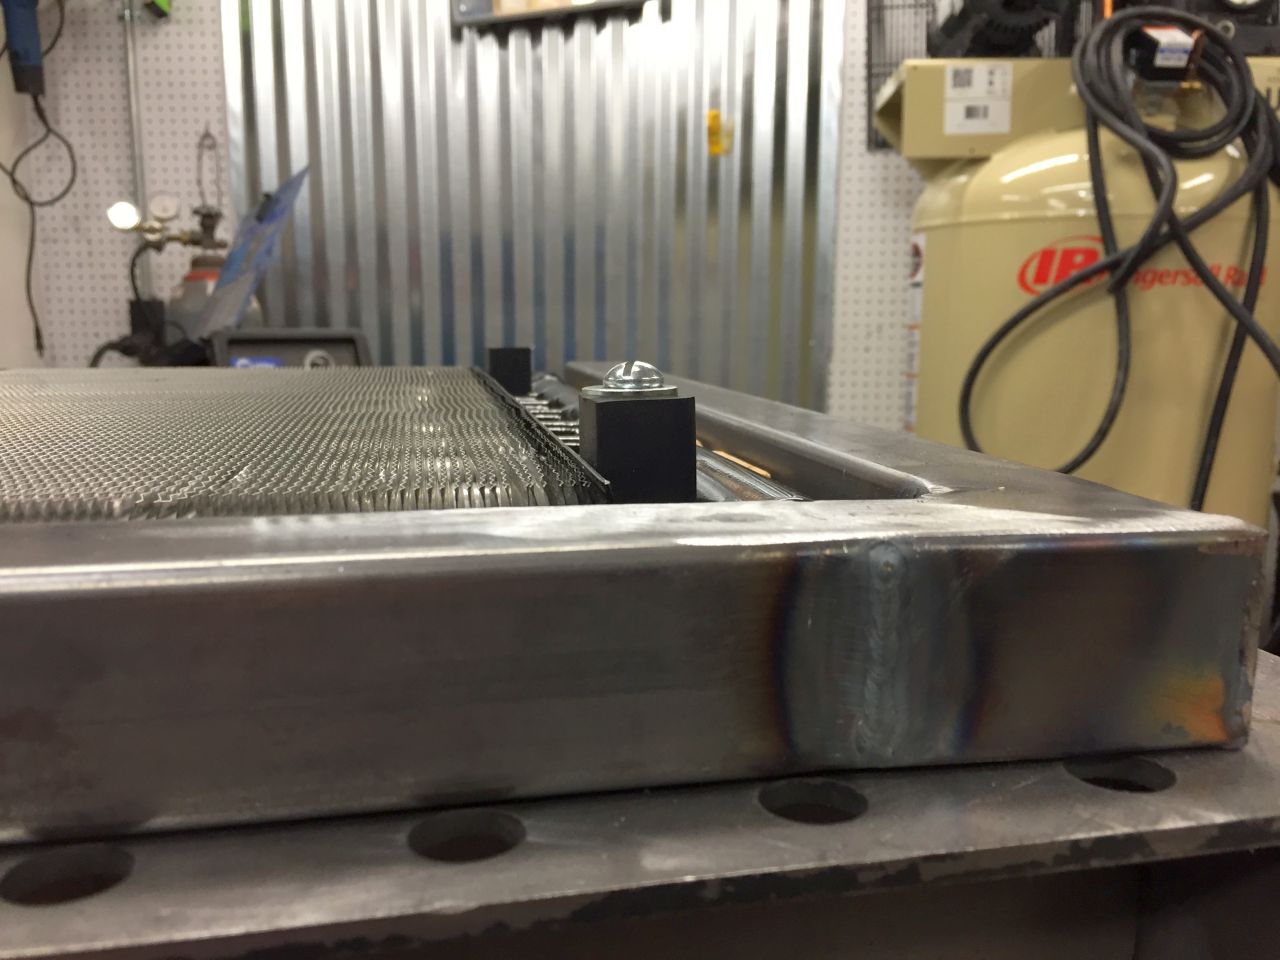
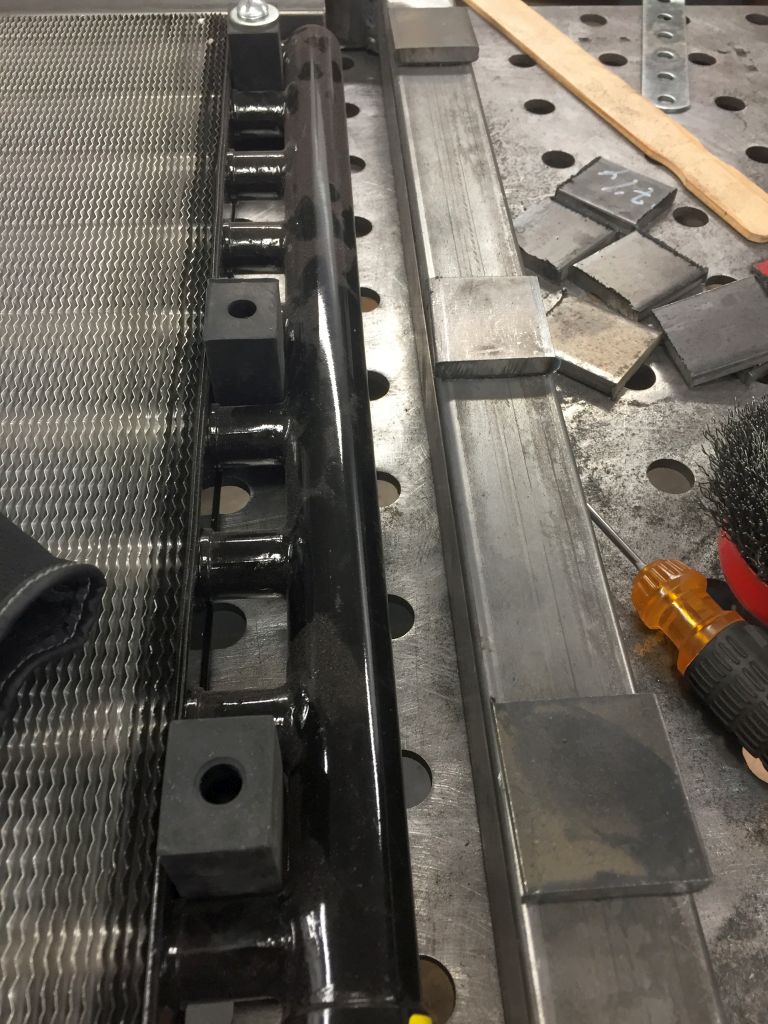
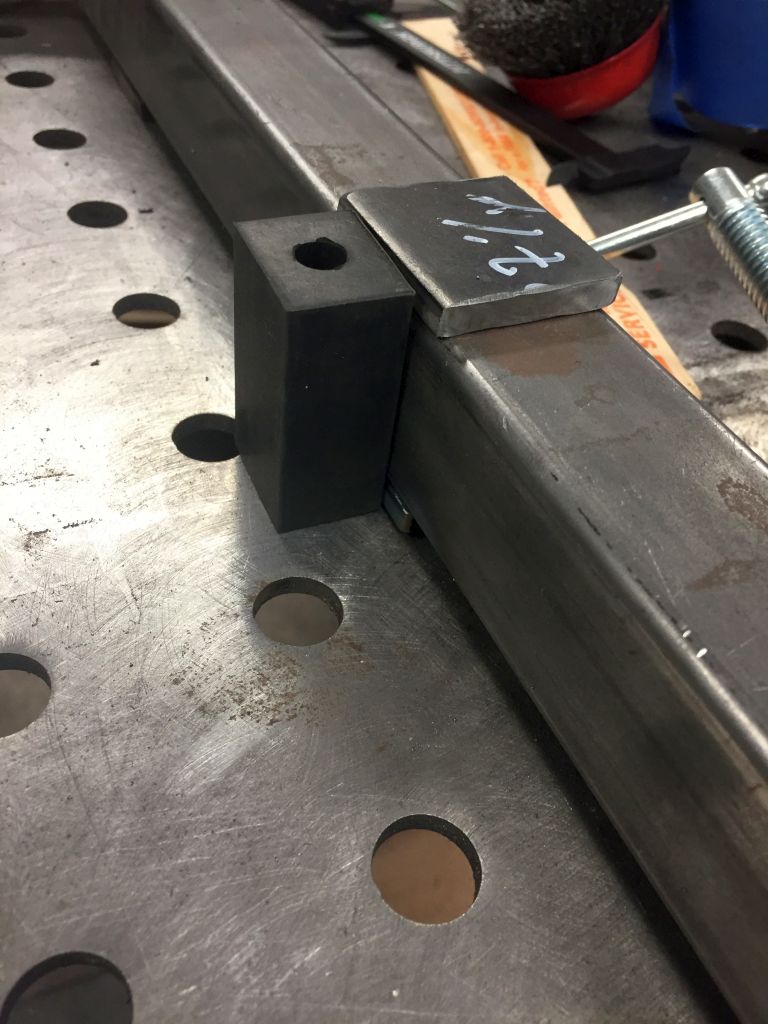
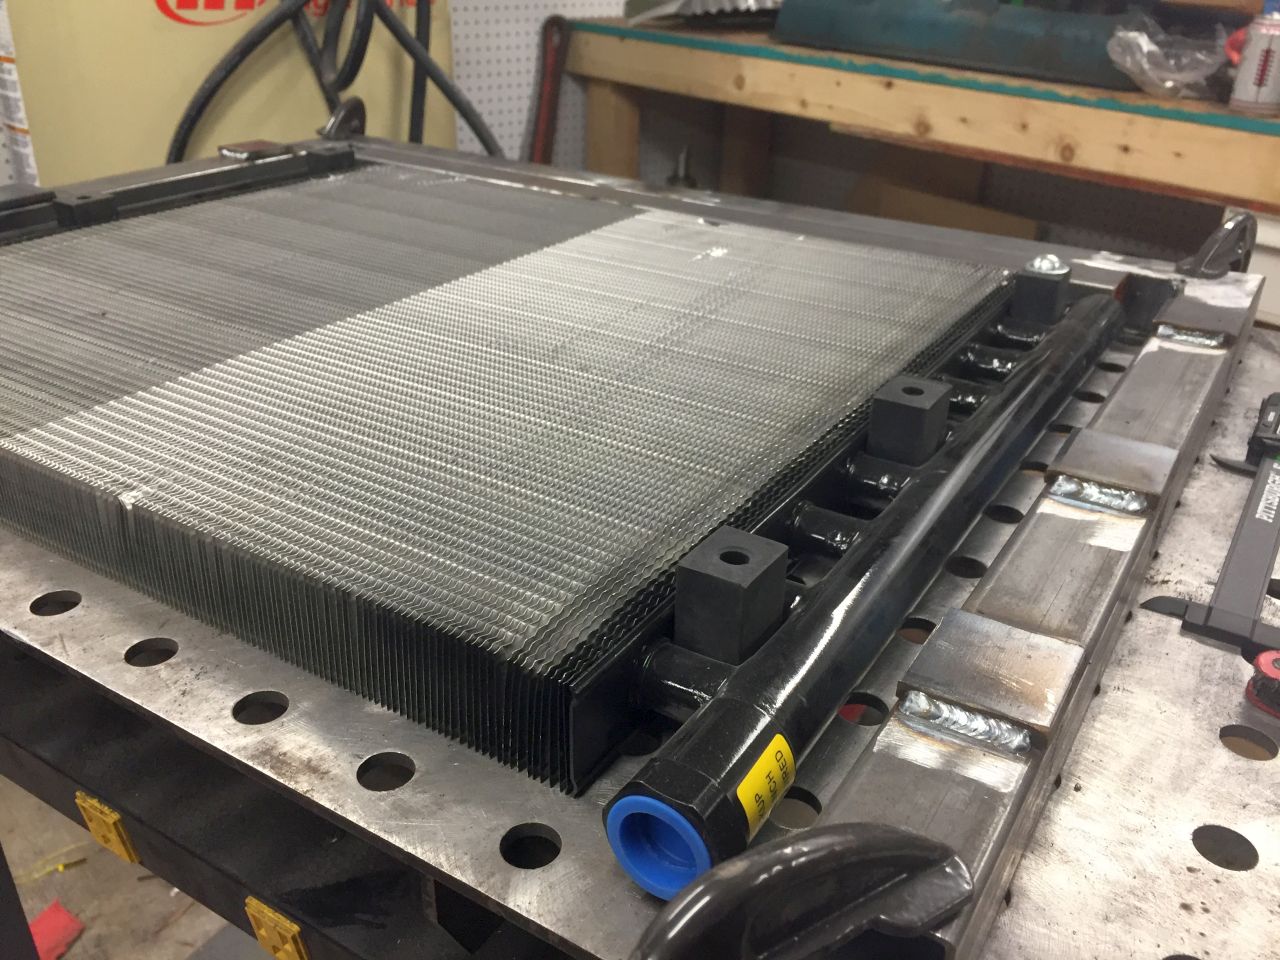
These rubber things are how you're supposed to mount the cooler.
They came with T-Nuts and a screw. When you tighten the screw it pushes in on the rubber and causes it to expand. This makes them snug up to the cooler.
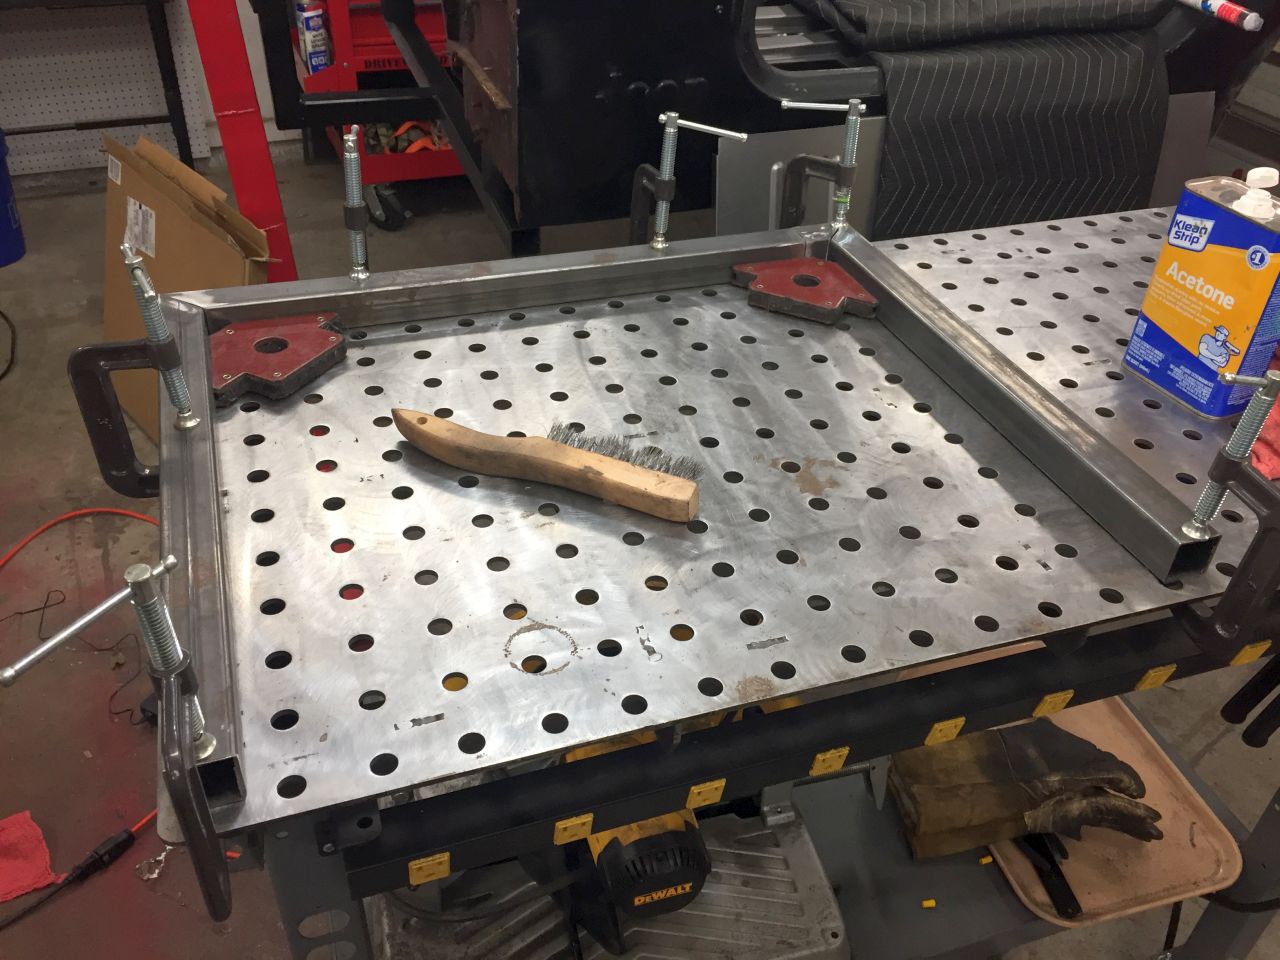
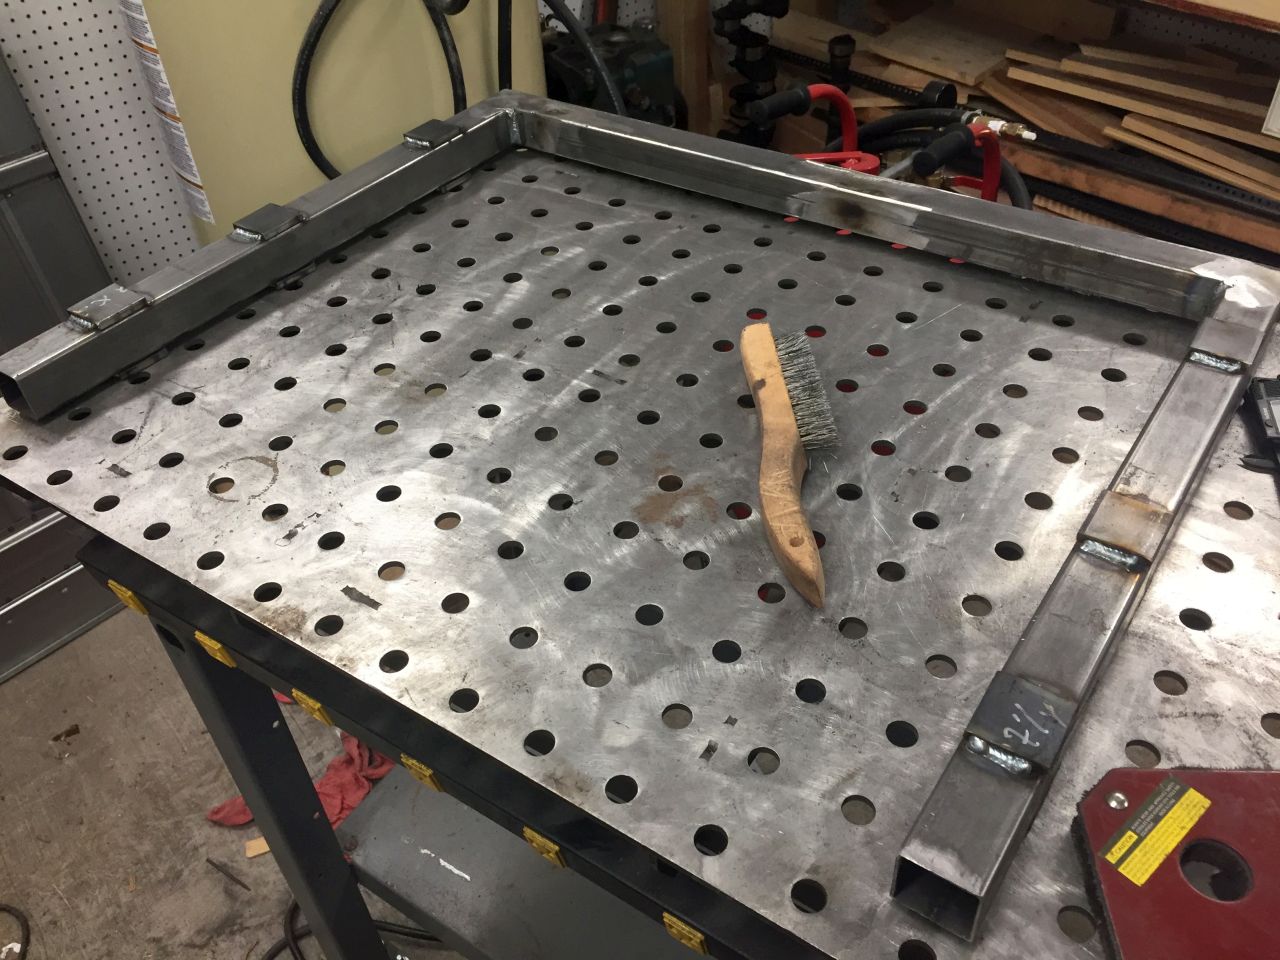
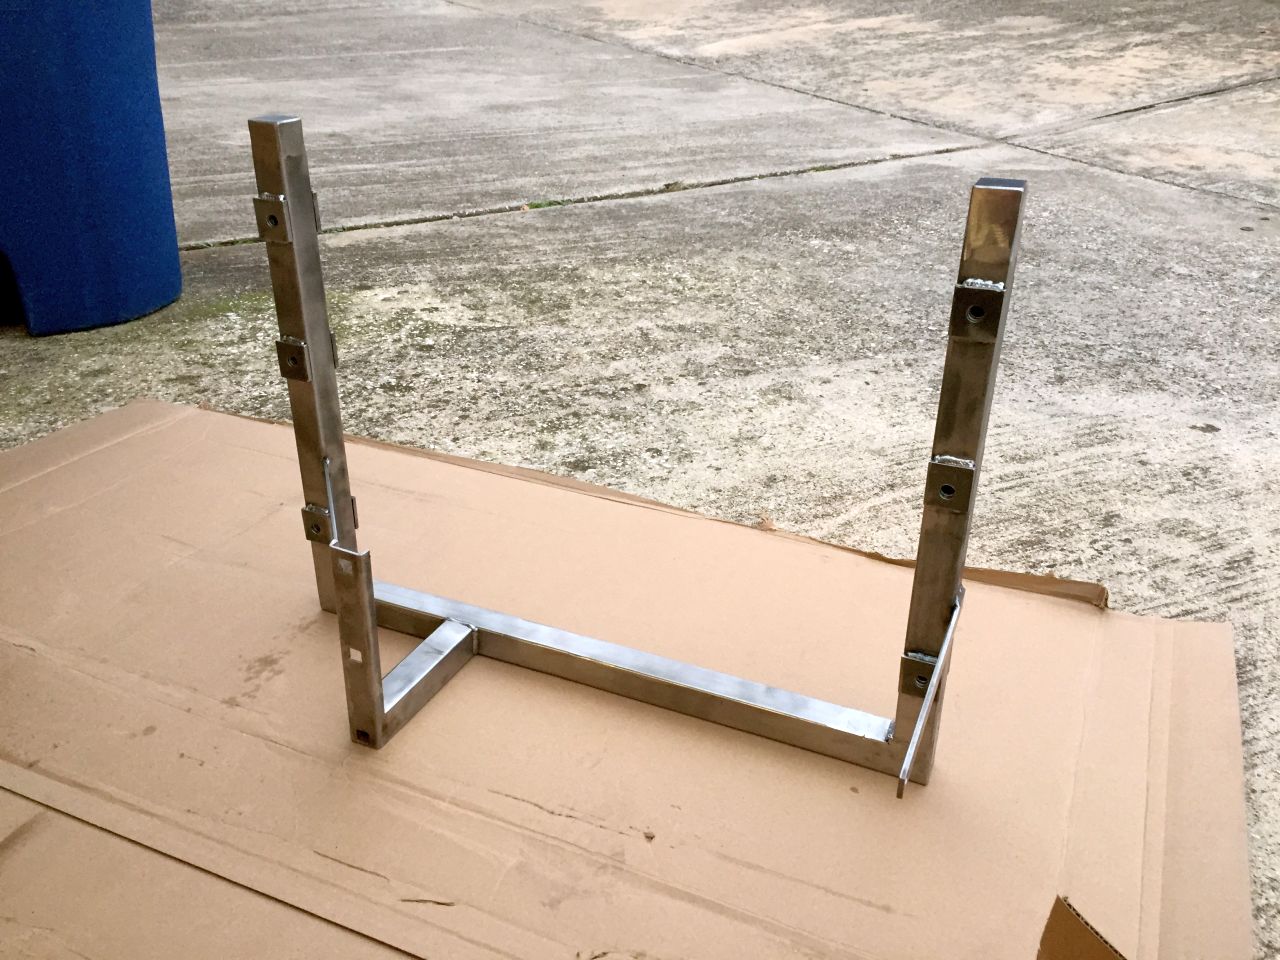
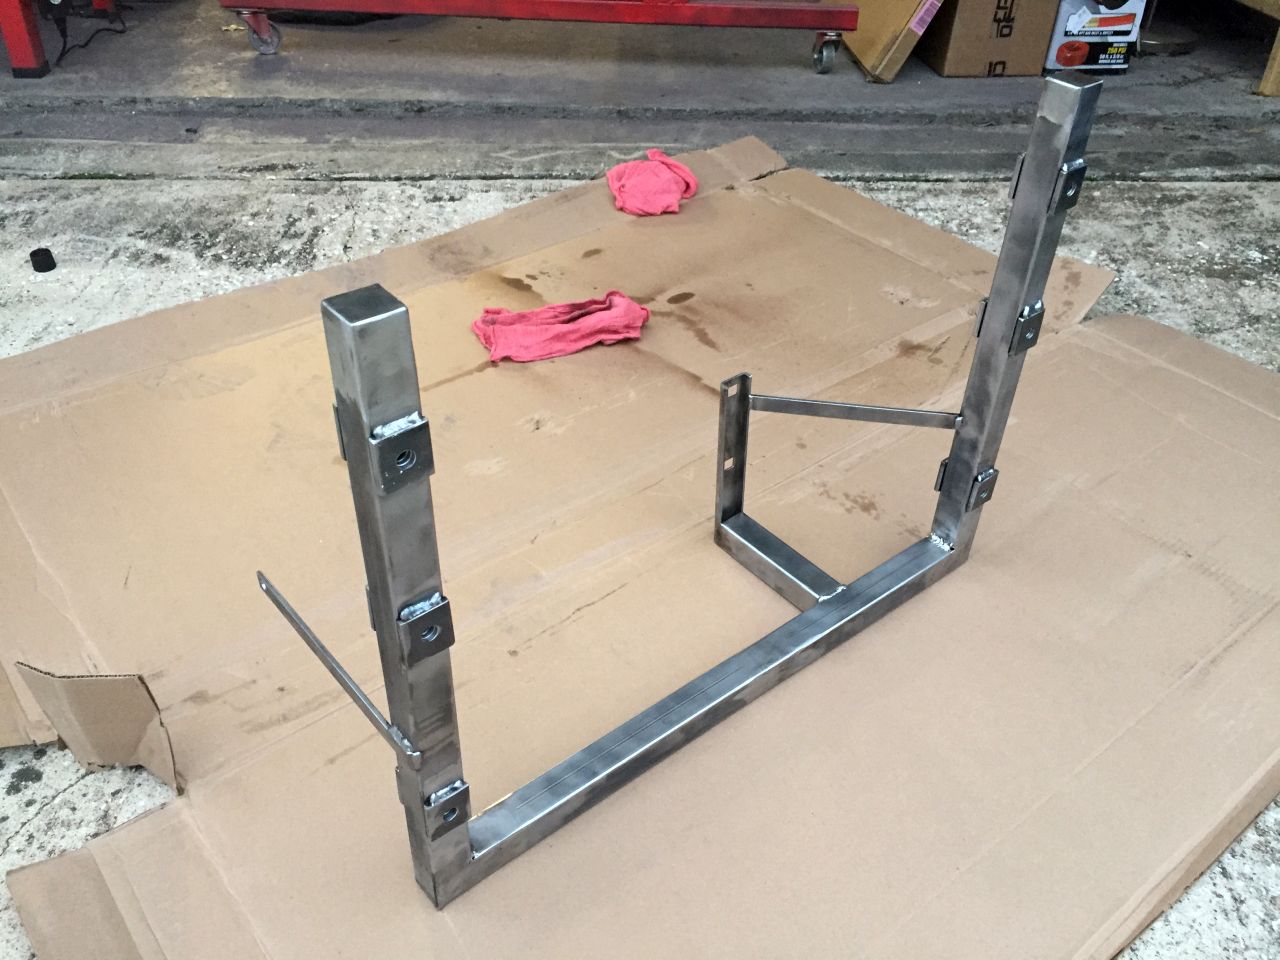
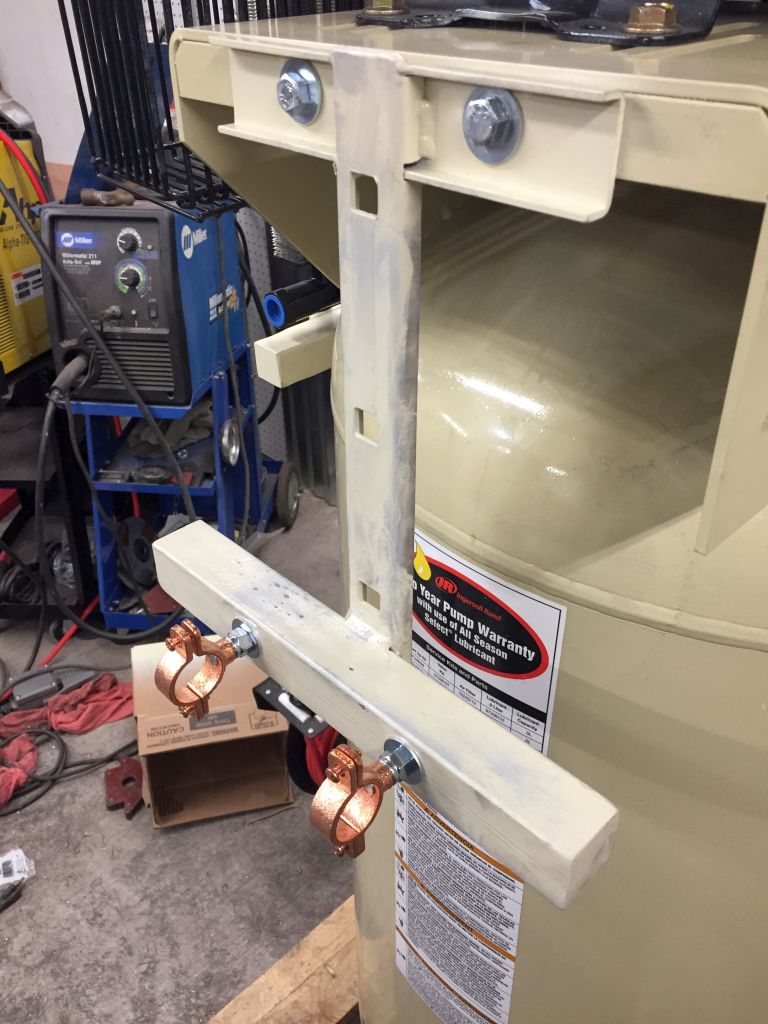
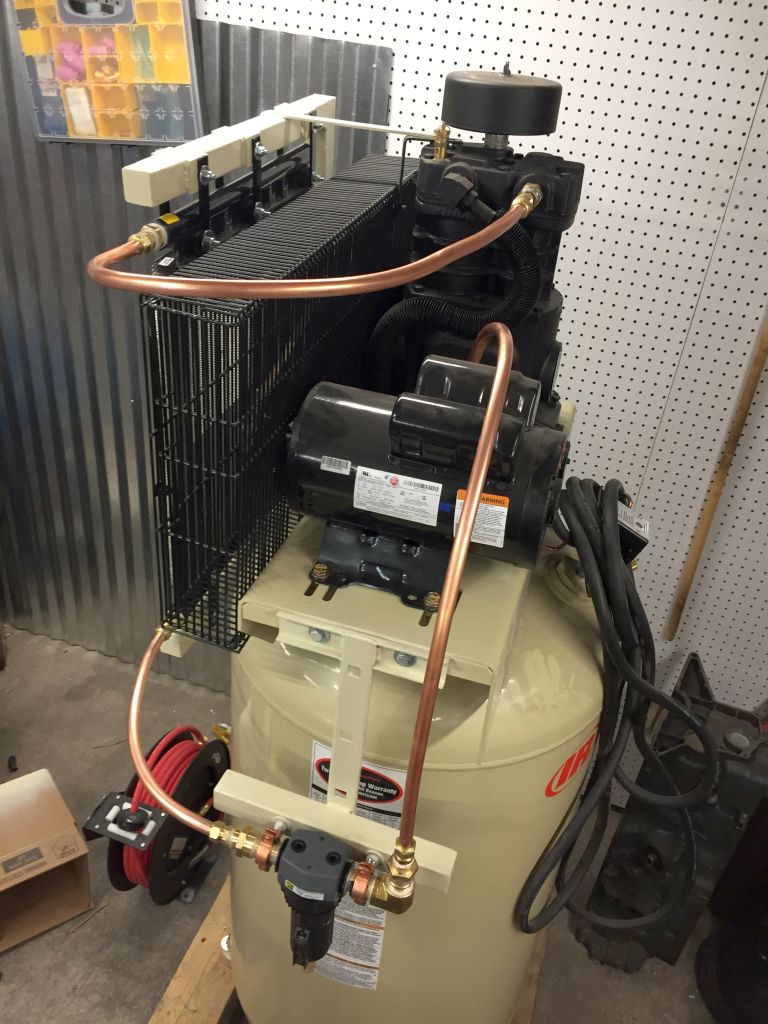
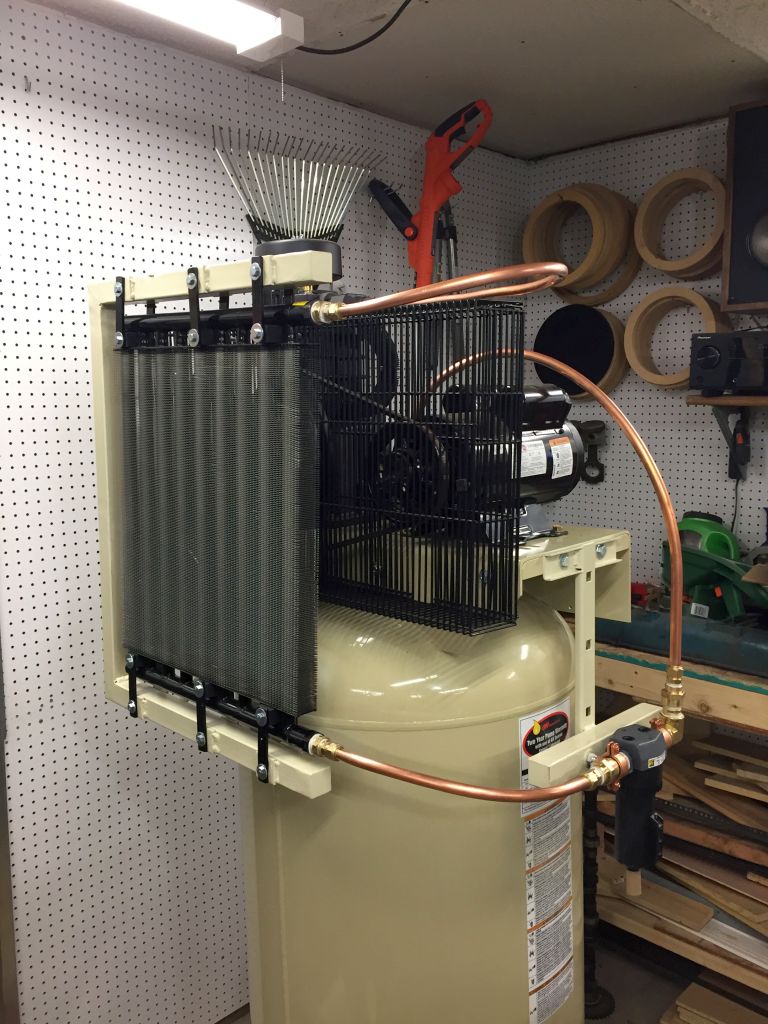
I wanted to have the cooler and filter mount to the compressor so that it is one self contained unit. I figured I needed a frame.
I ended up widening it more than what is shown below. I didn't like the idea of needing to mount it with a lot of precision, but this gives you an idea of how it went together.
The frame is the same height as the cooler. I feel like this gives it some level of protection, but I think I'm going to eventually need to make a grill.
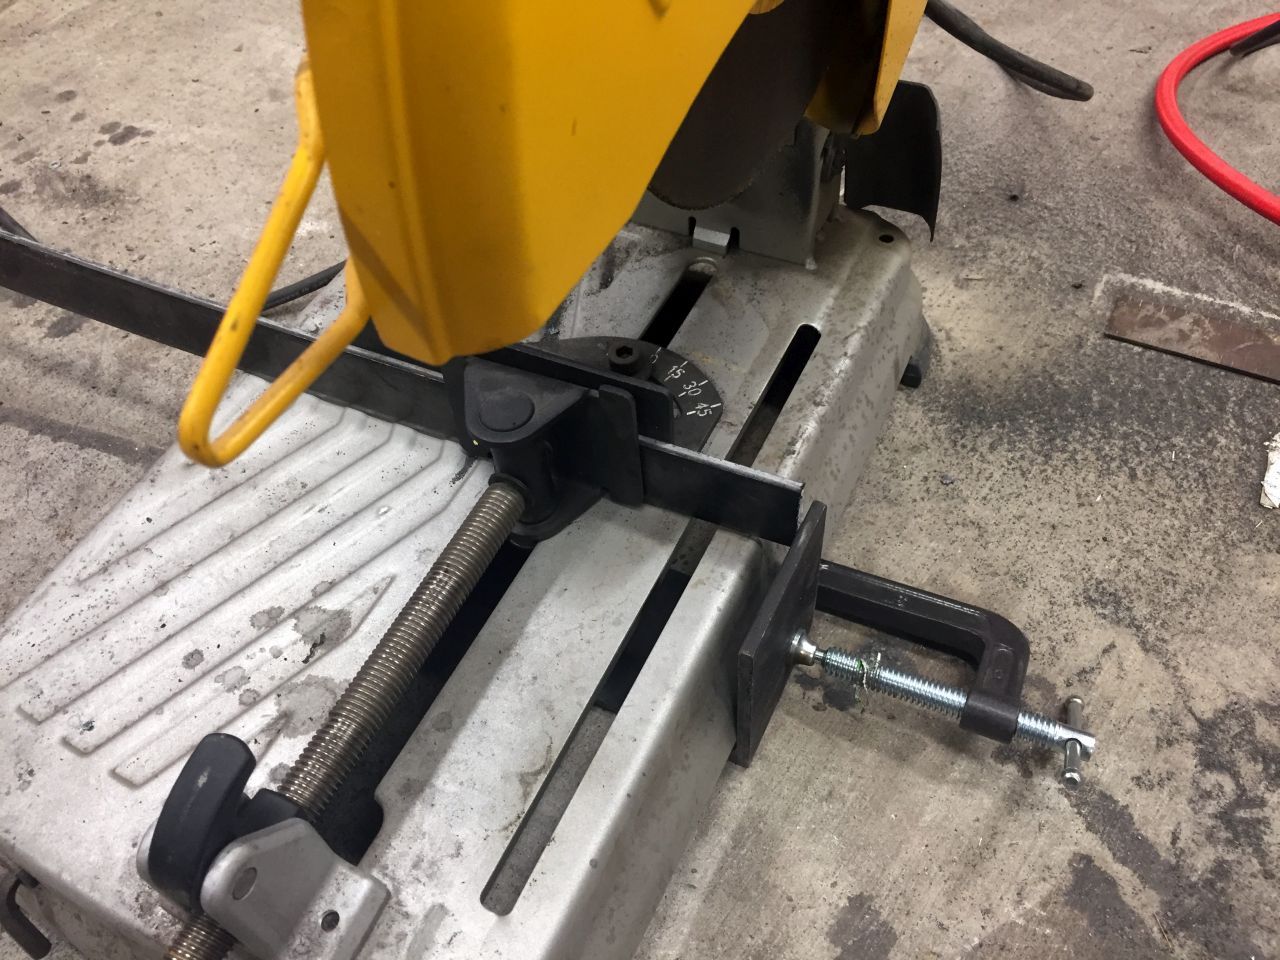
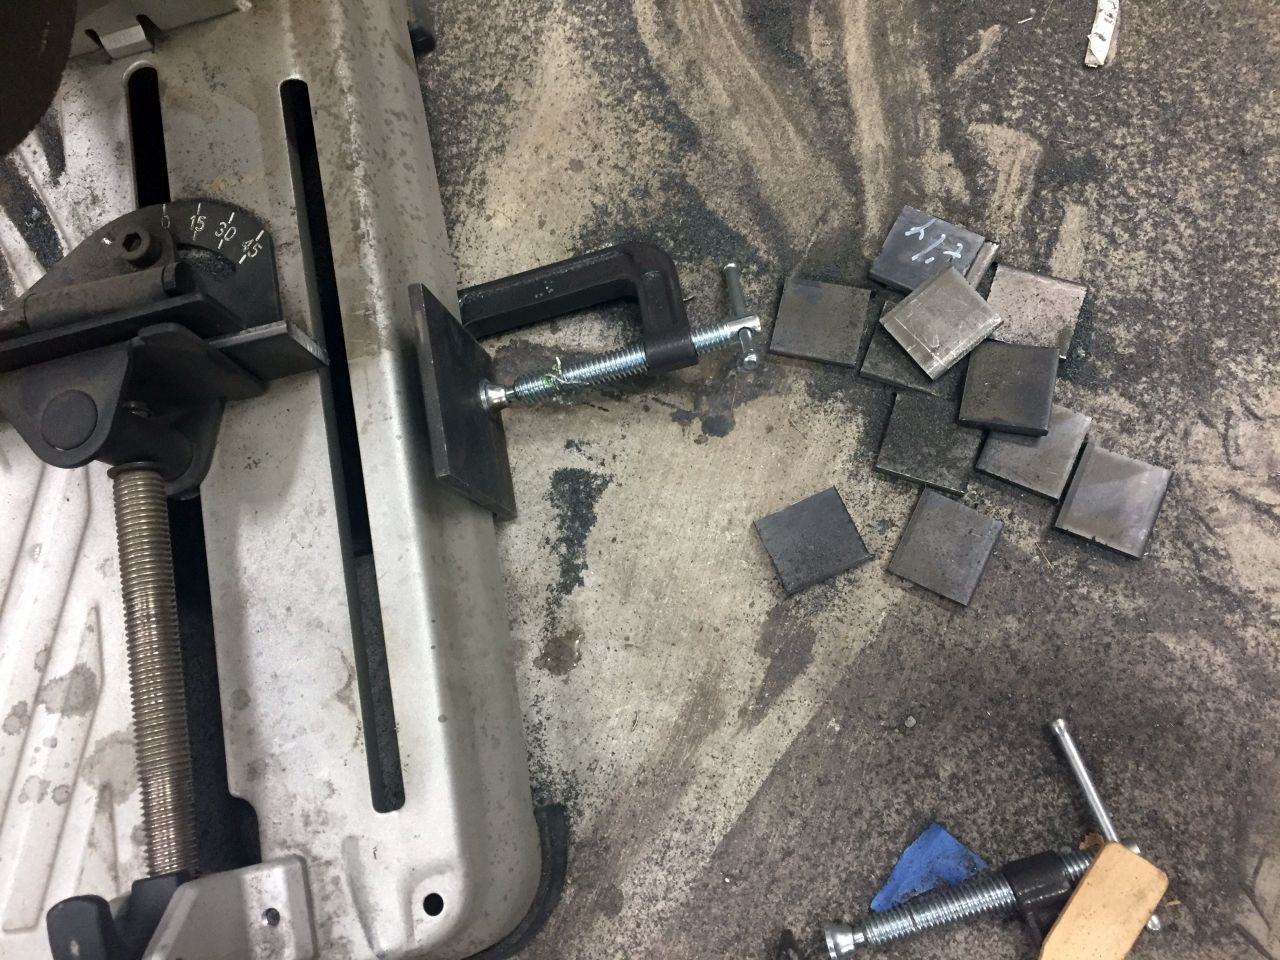
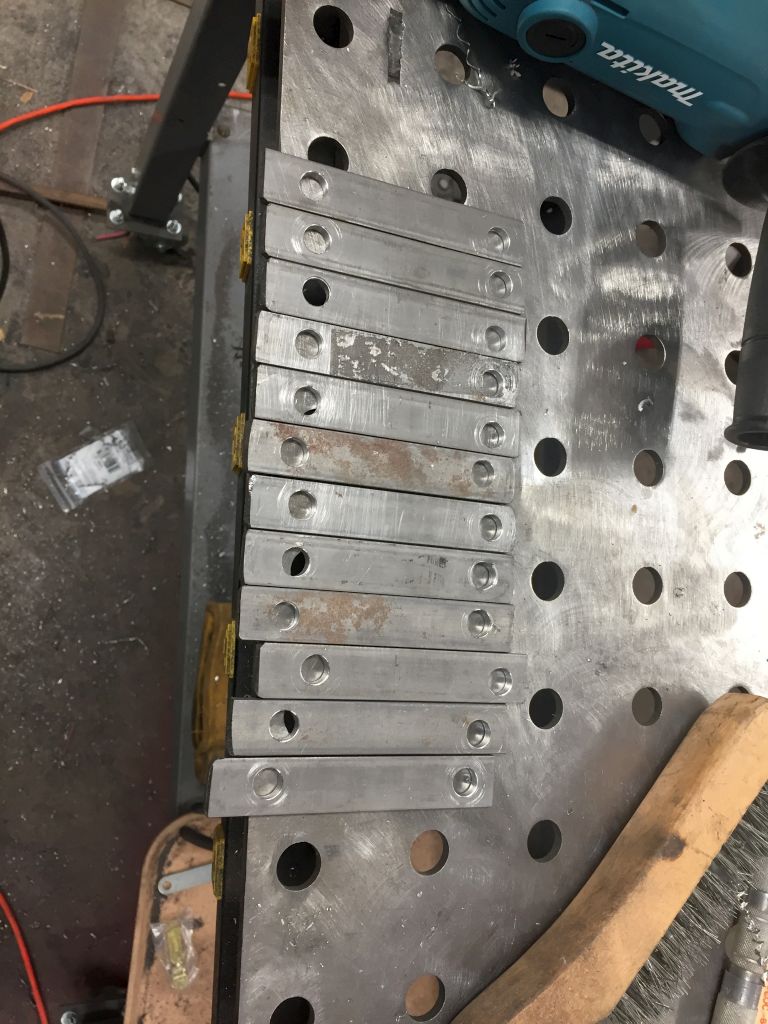
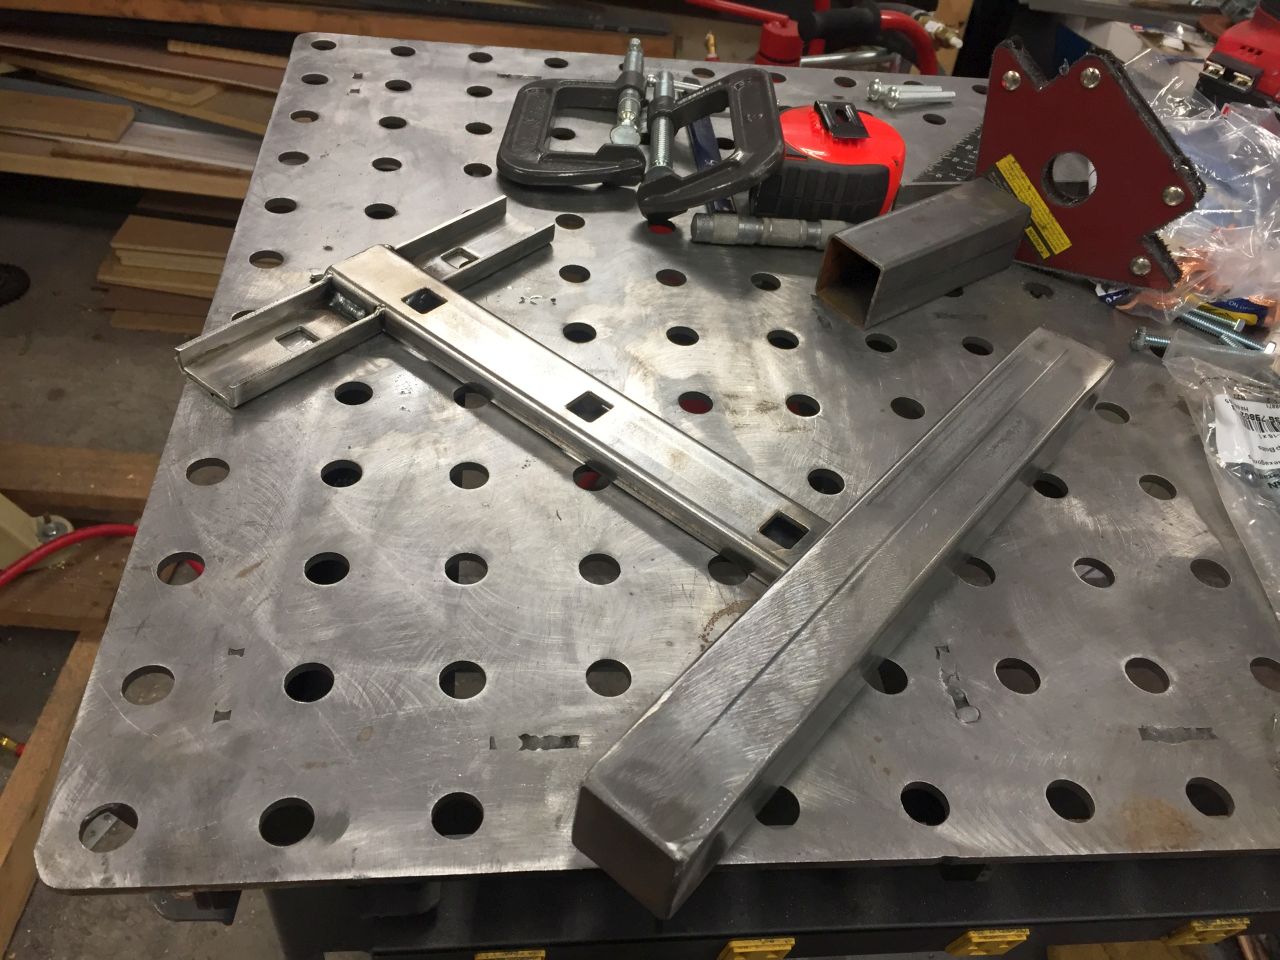
I needed to make some risers for the mounts. Step 1 was a jig.
Step 2 was cut them all out.
Step 3 was line them up and attach them.
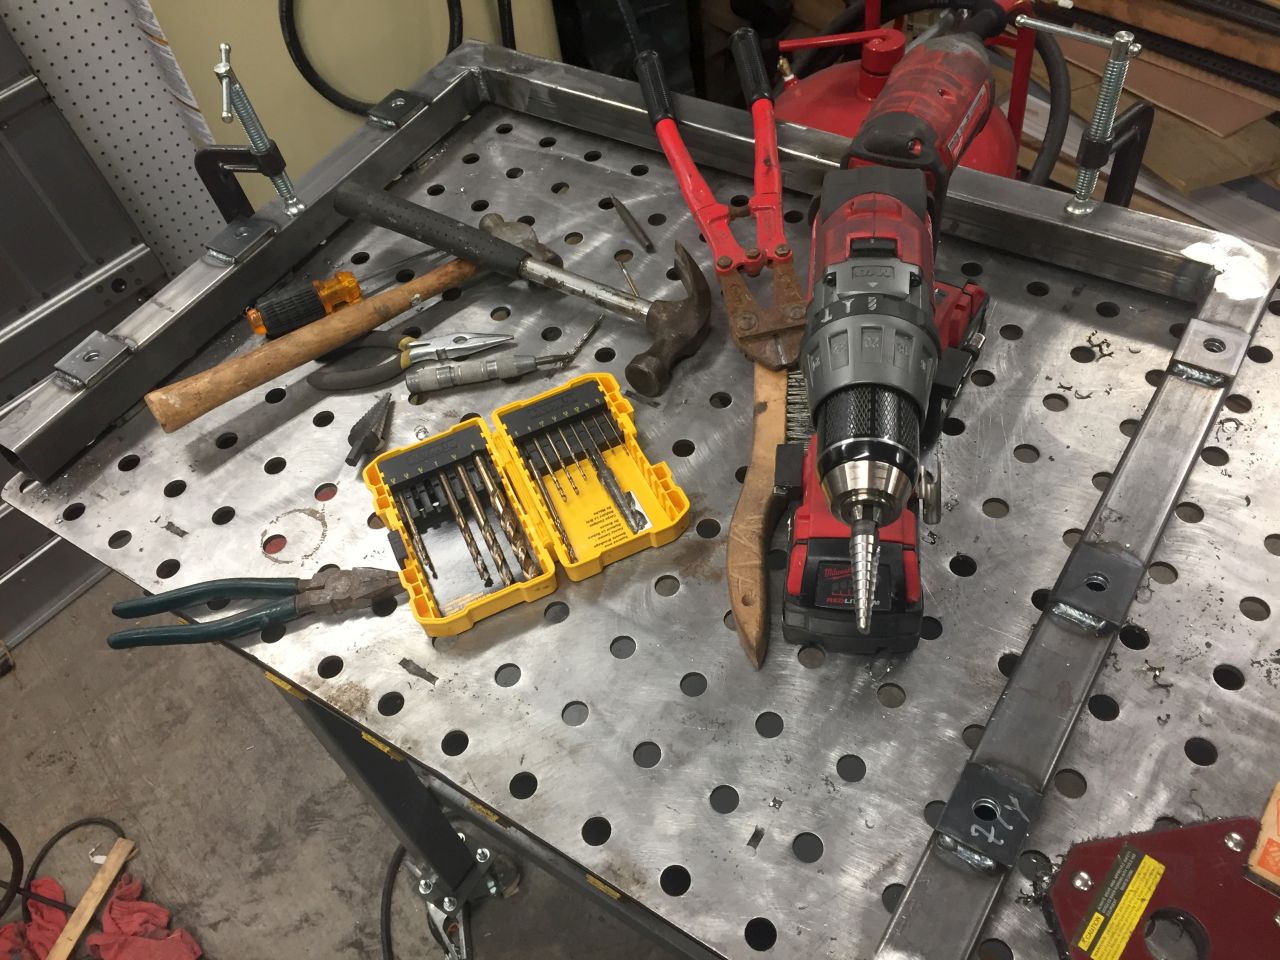
The next step was to curse a lot and drill holes (slowly).
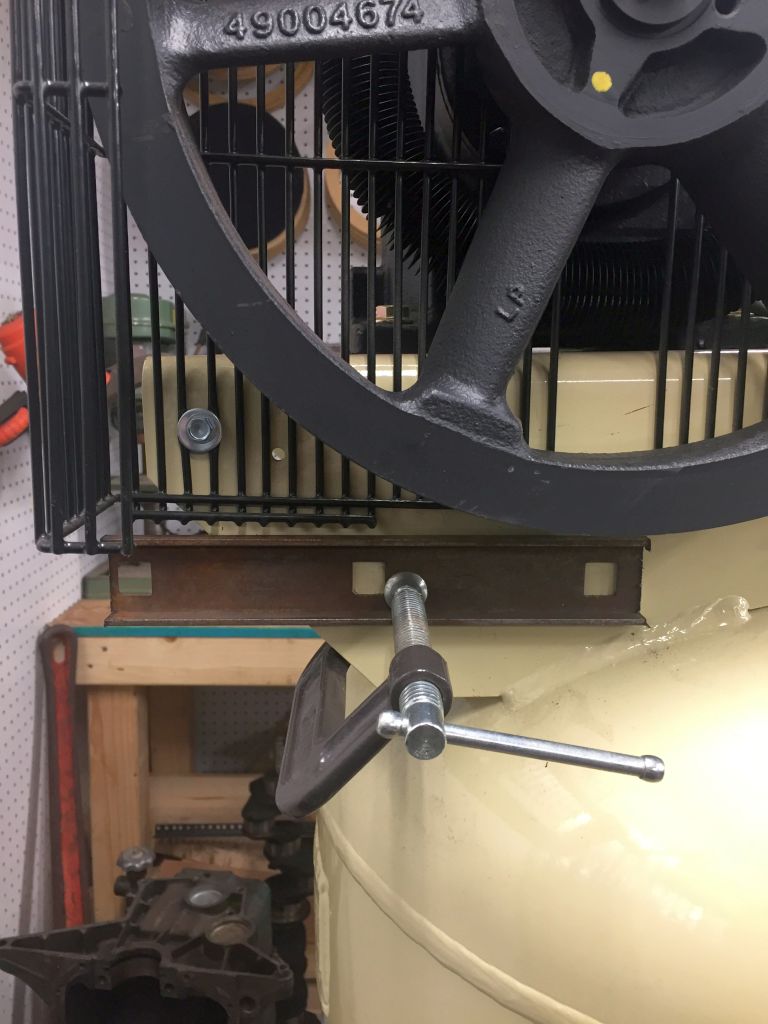
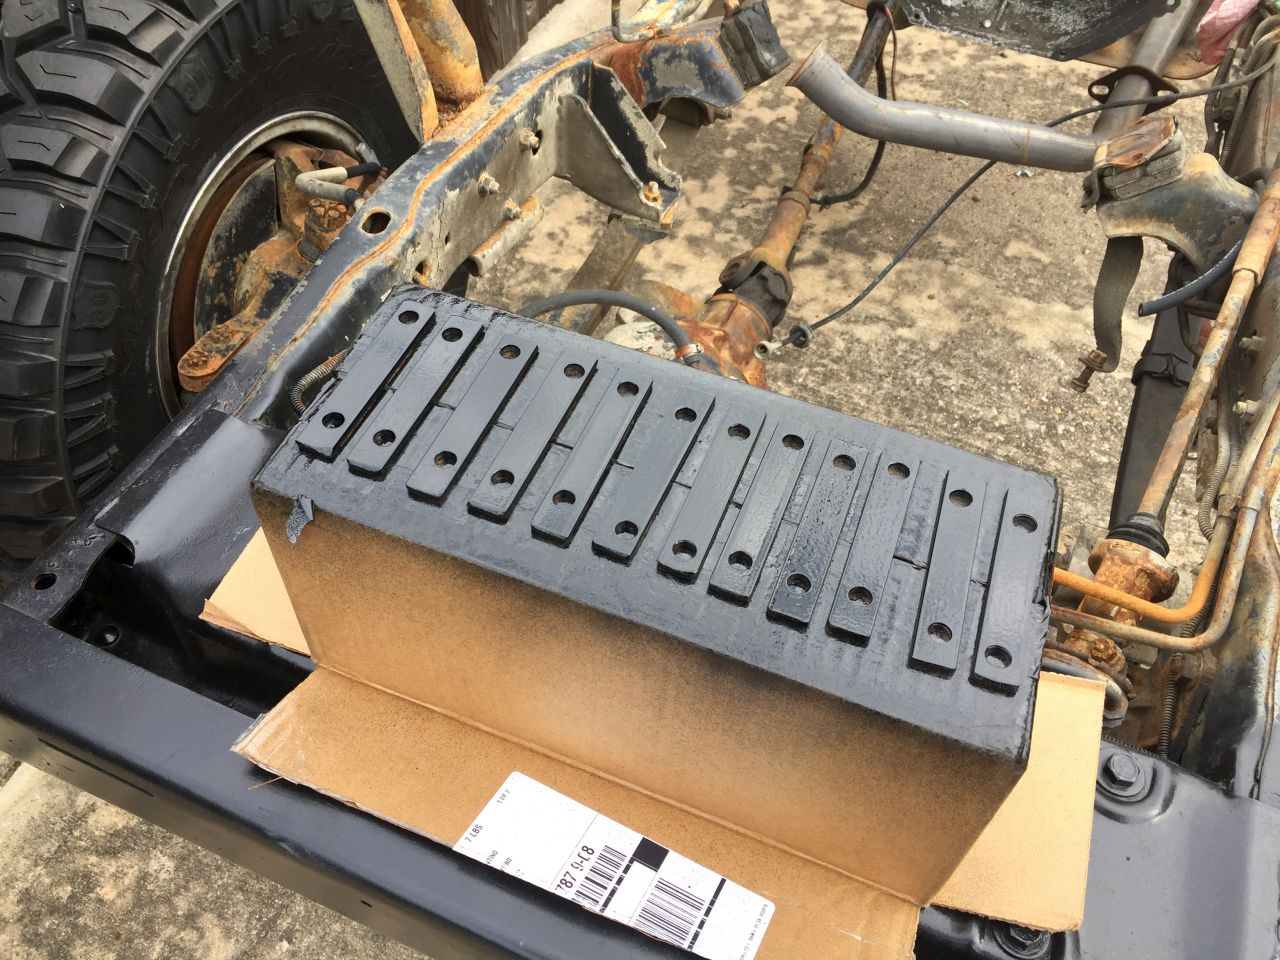
Next I had to figure out somewhere on the compressor to mount this monstrosity.
Looks about right.
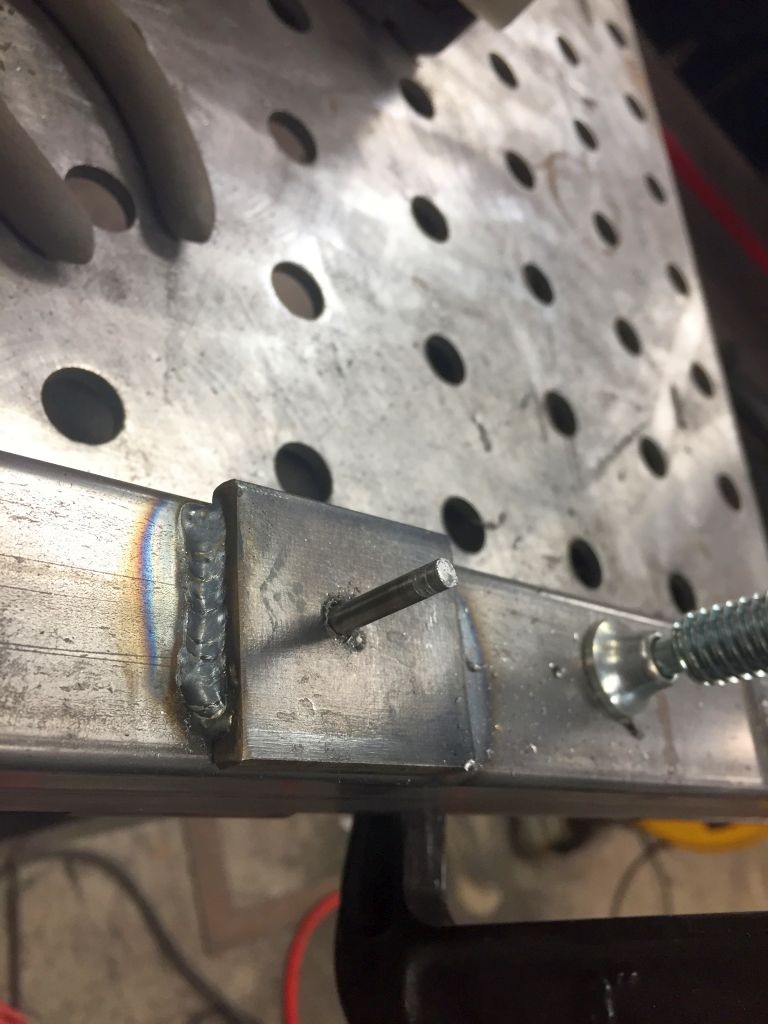
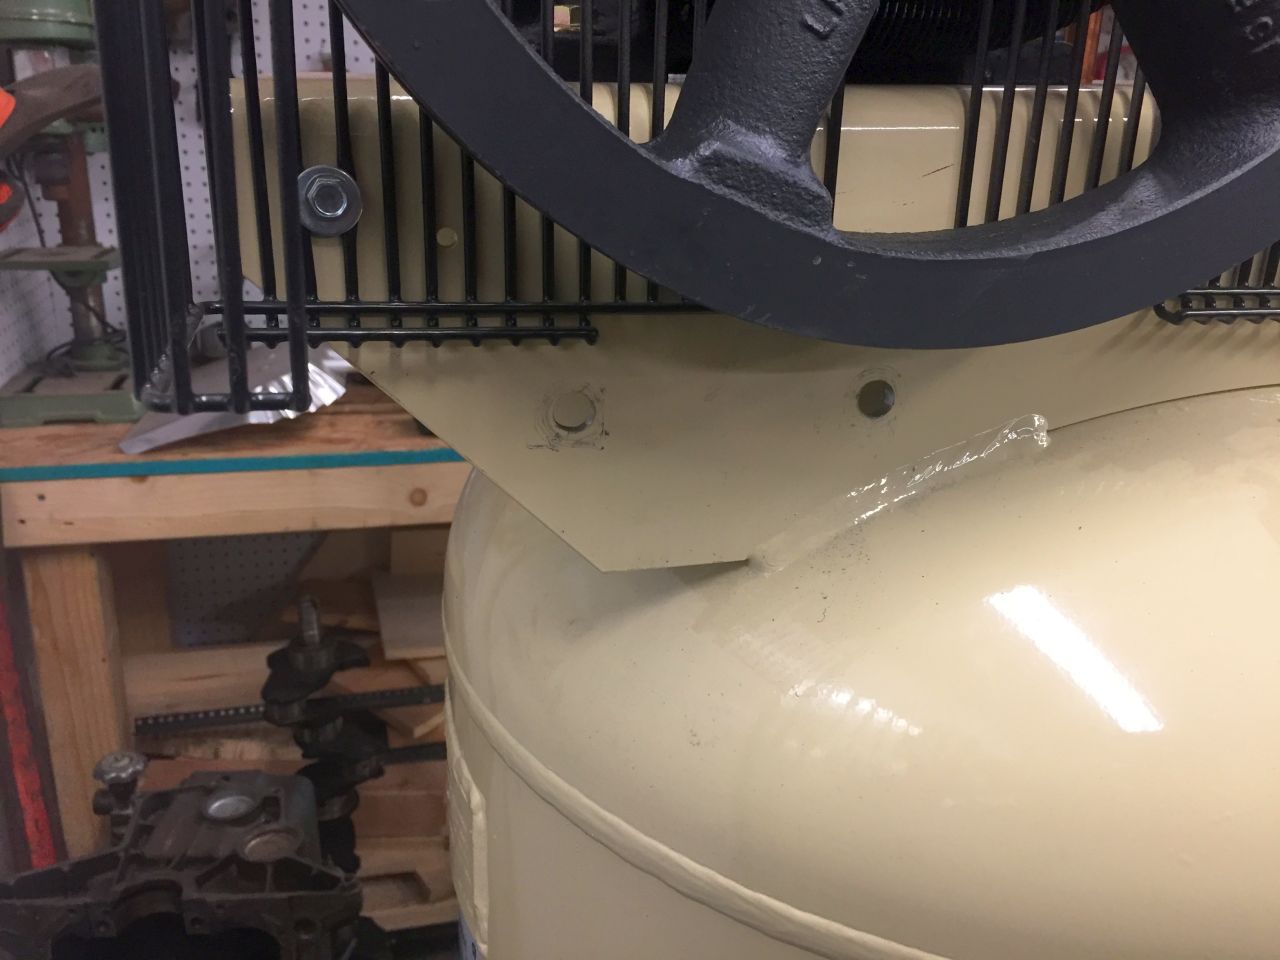
Drilled it.
This is the point where I started to get a sense of scale.
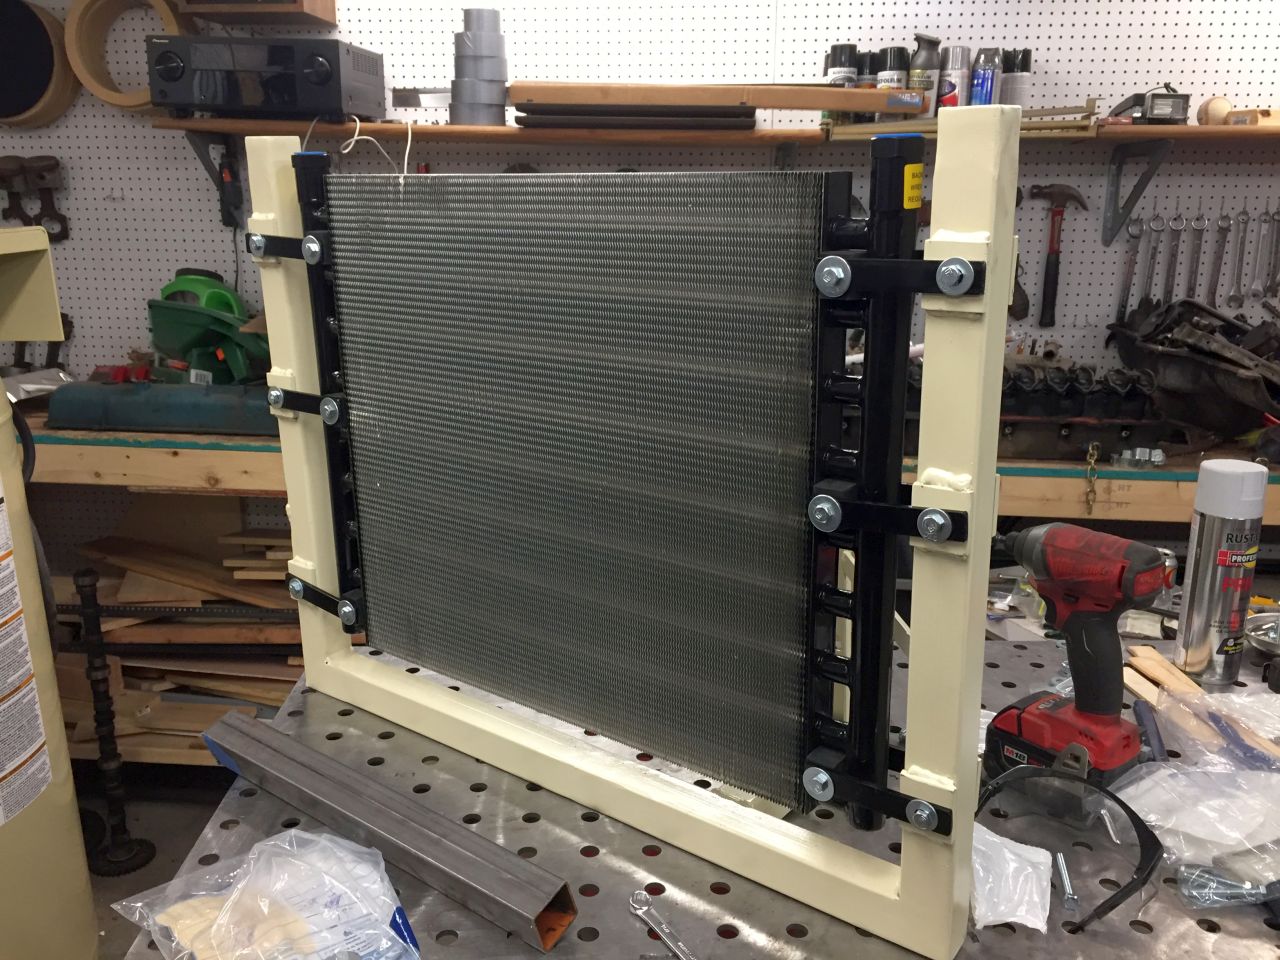
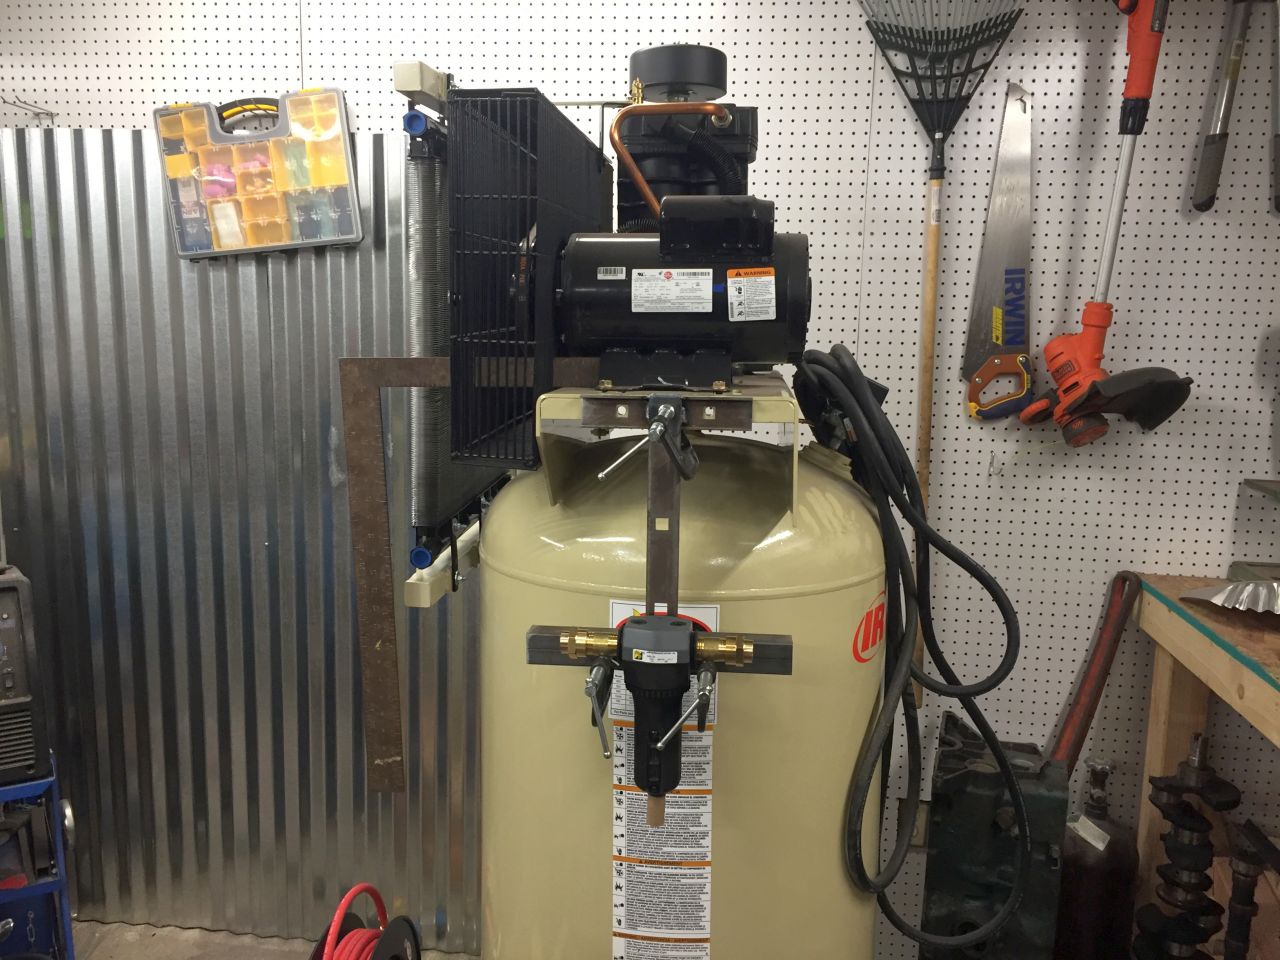
I added a top support that attaches to a bolt on the top of the pump. It shares the mounting point with the belt guard.
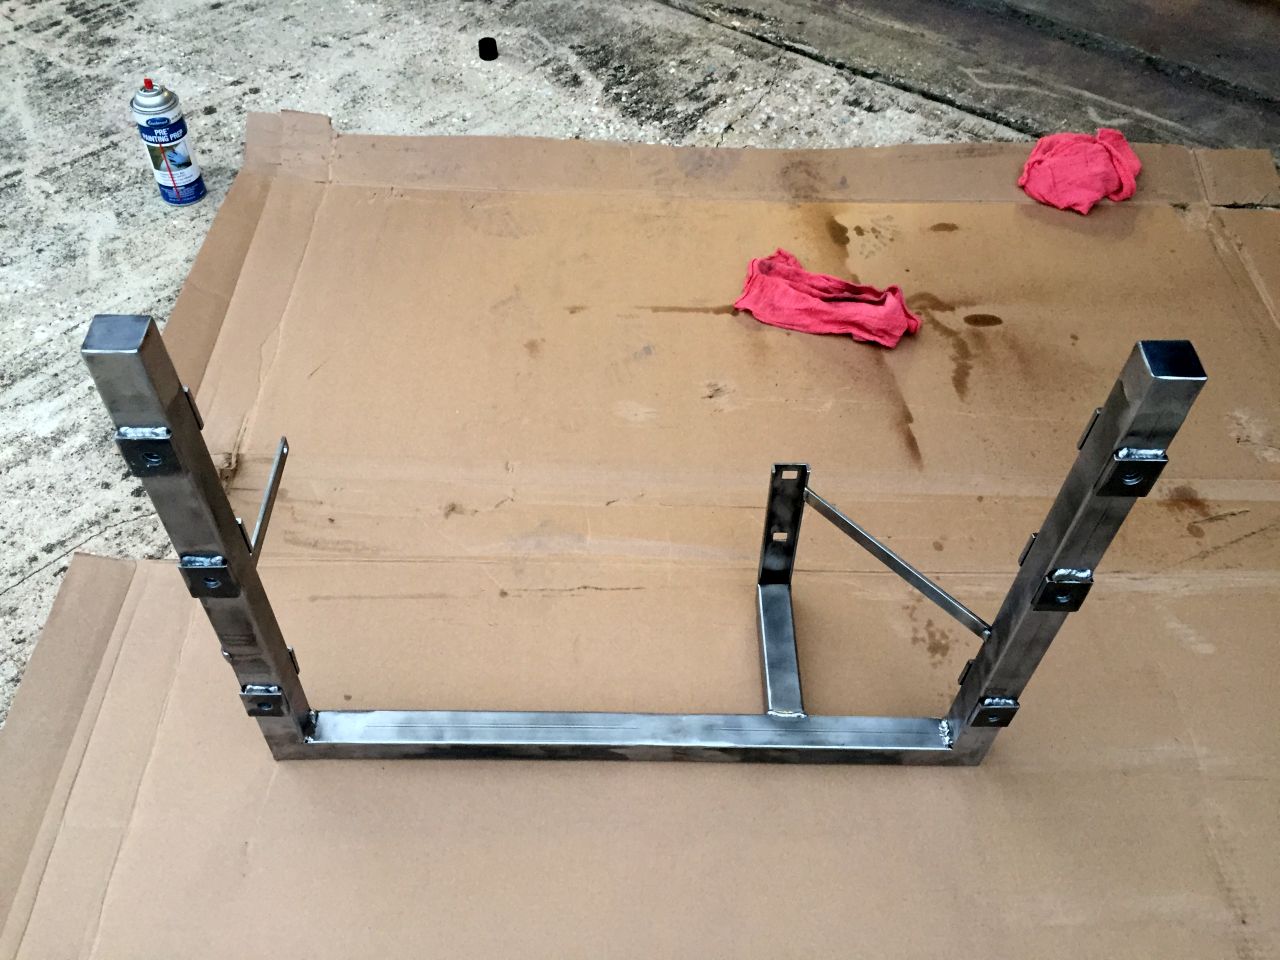
Here it is after being completely welded up and wire wheeled.
Rustoleum tan is a decent color match.
And now we need another jig to cut out the actual mounting brackets. I should have done the first jig on the table. It was much better.
Chopped and drilled.
And painted. It was very cold out.
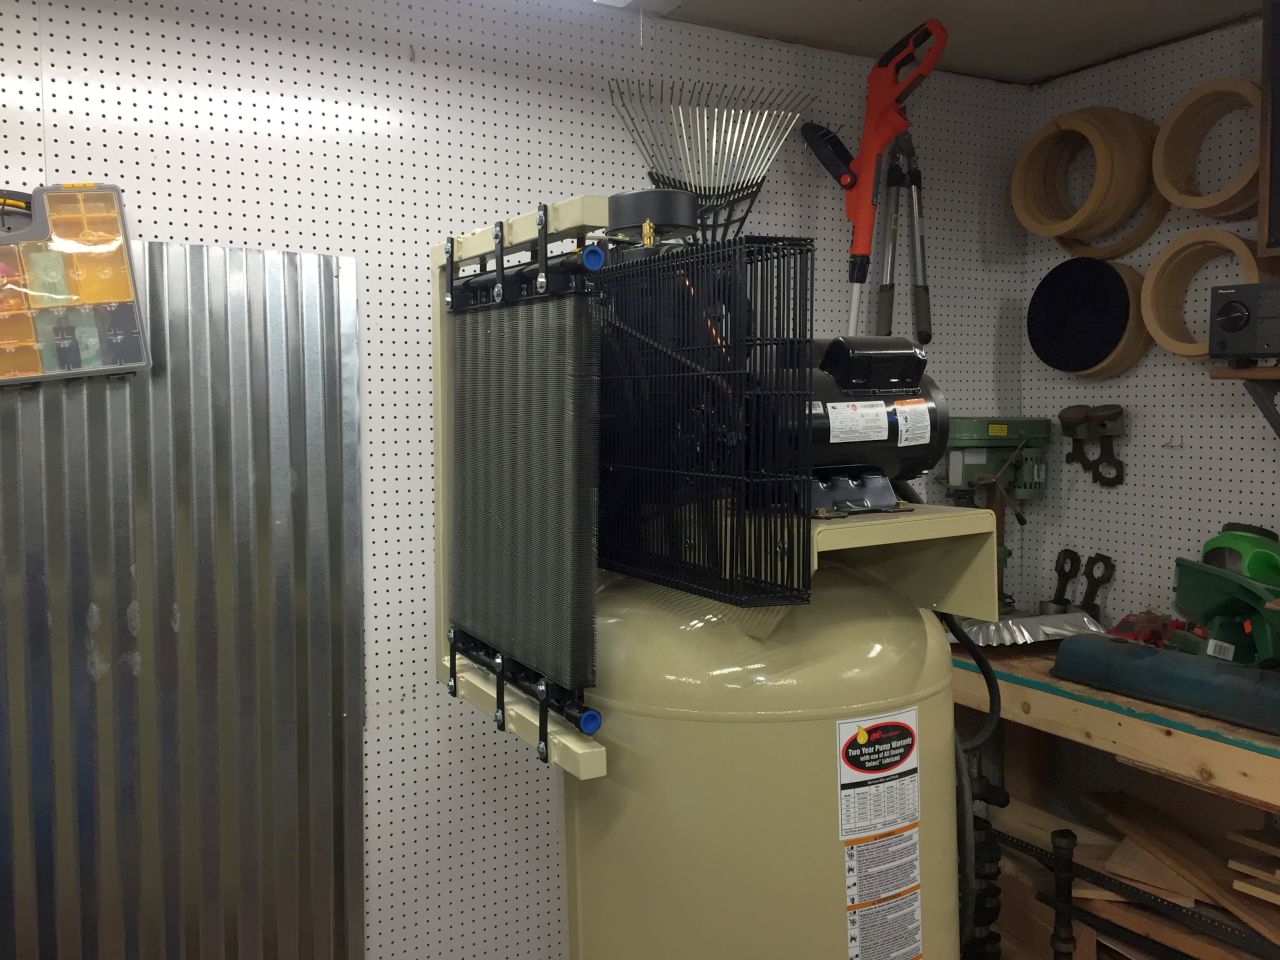
Now it's starting to look like something.
It didn't tip over!
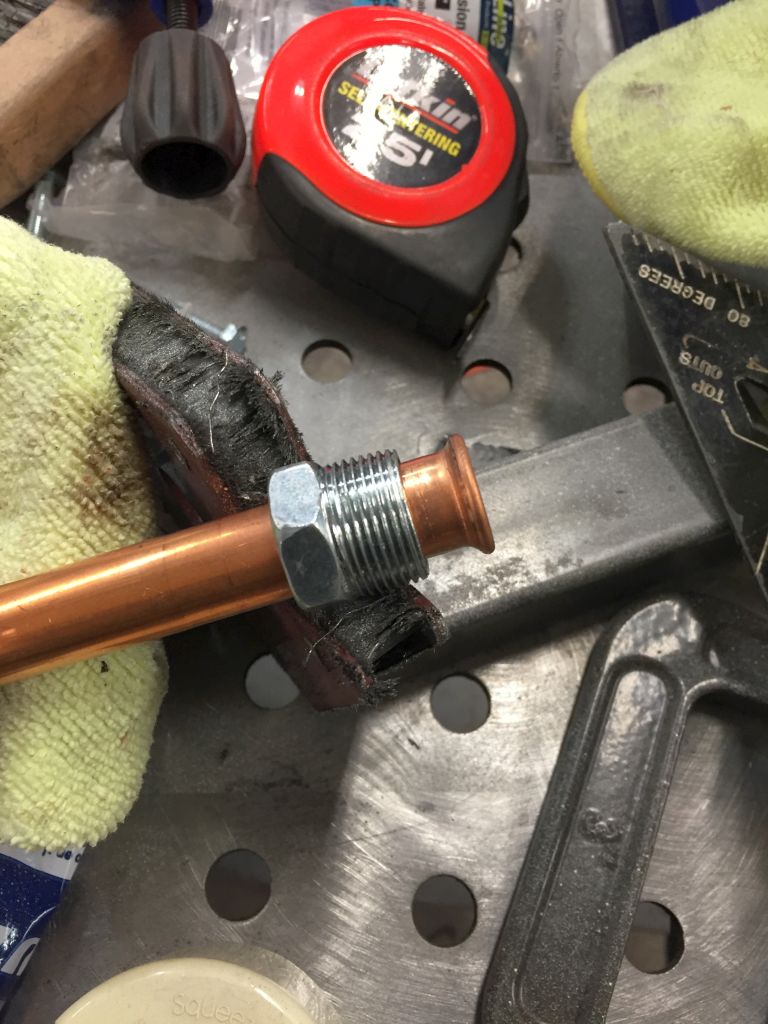
Moving onto the filter. I ended up spending a small fortune on brass fittings for this project. If I were to do it again I'm not sure I would have used copper tubing. I also would have bought a filter with 1/2" fittings in order to cut down on the number of adapters I needed.
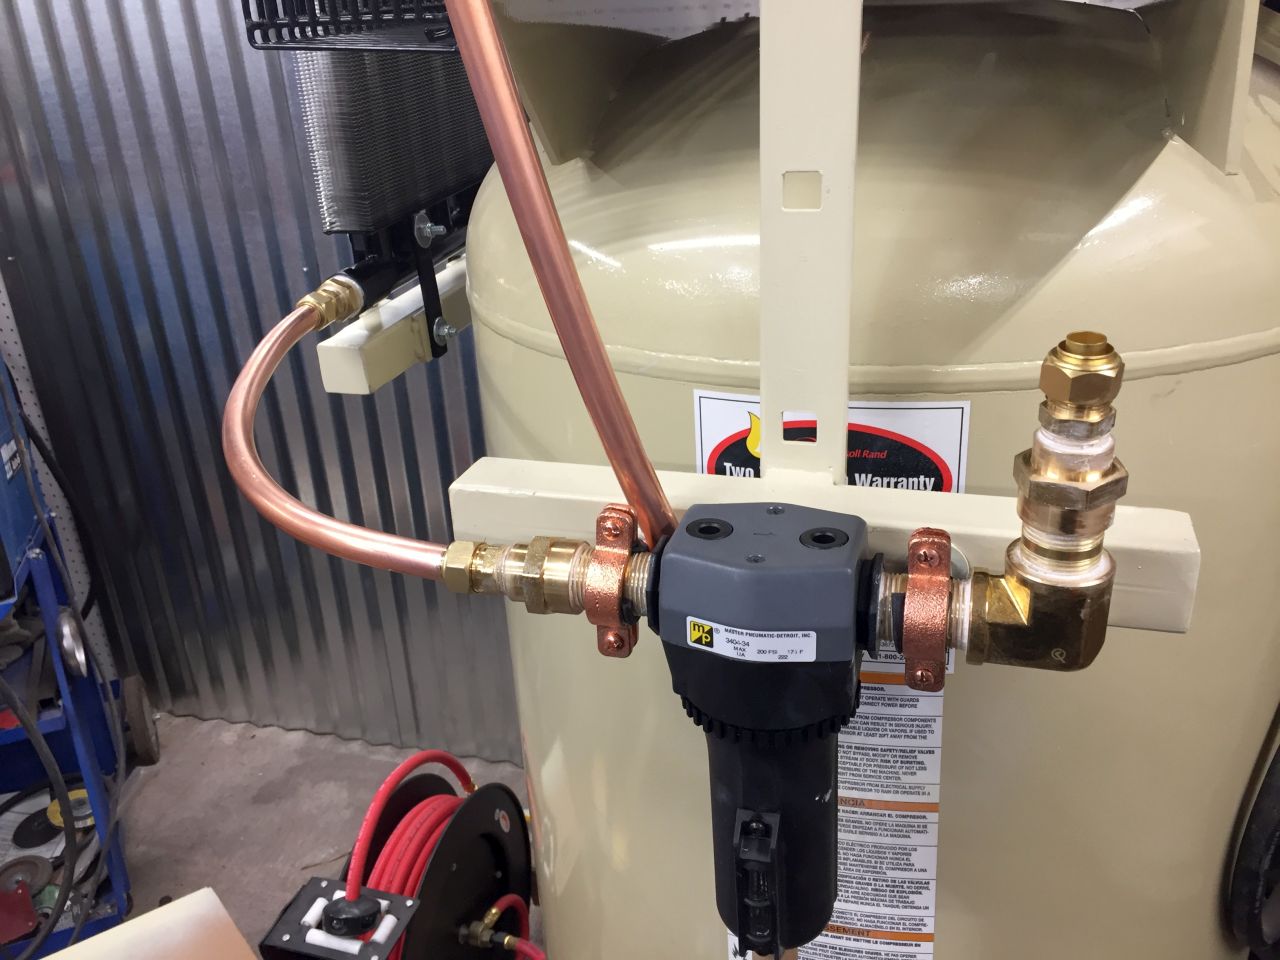
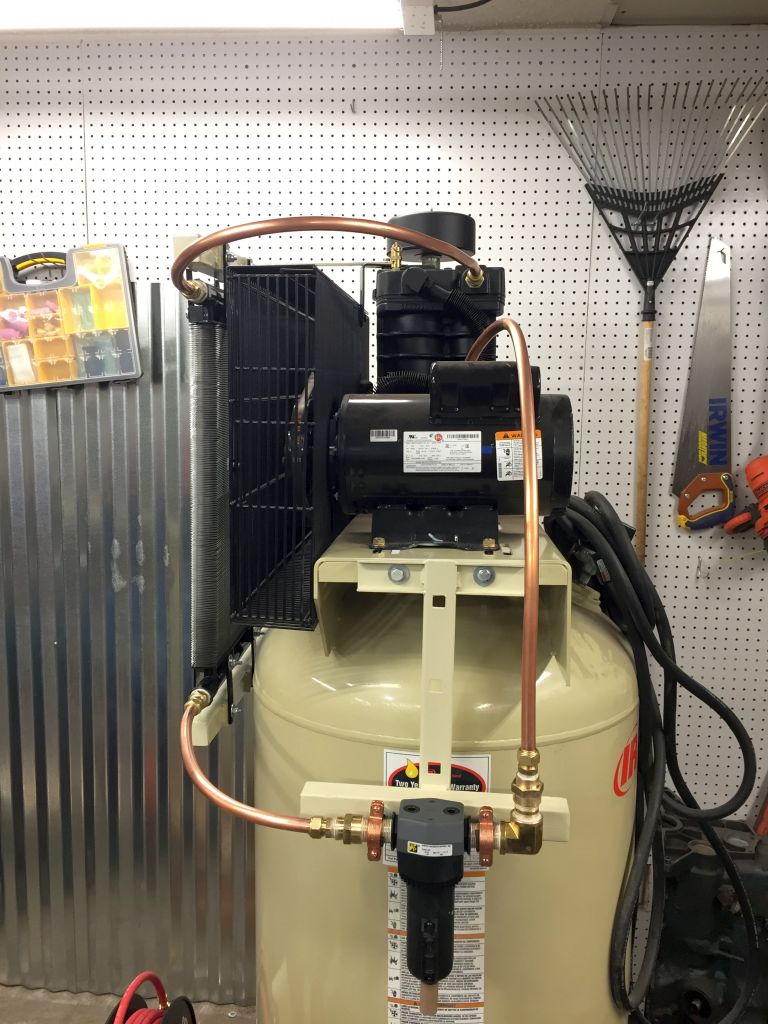
Here's where I'm going with this thing. Hopefully all of the condensation drains into the filter because it is the lowest point in the system.
Cleaned up bracket.
It apparently takes a while for paint to dry when its 35 degrees outside. Had a little whoopsy.
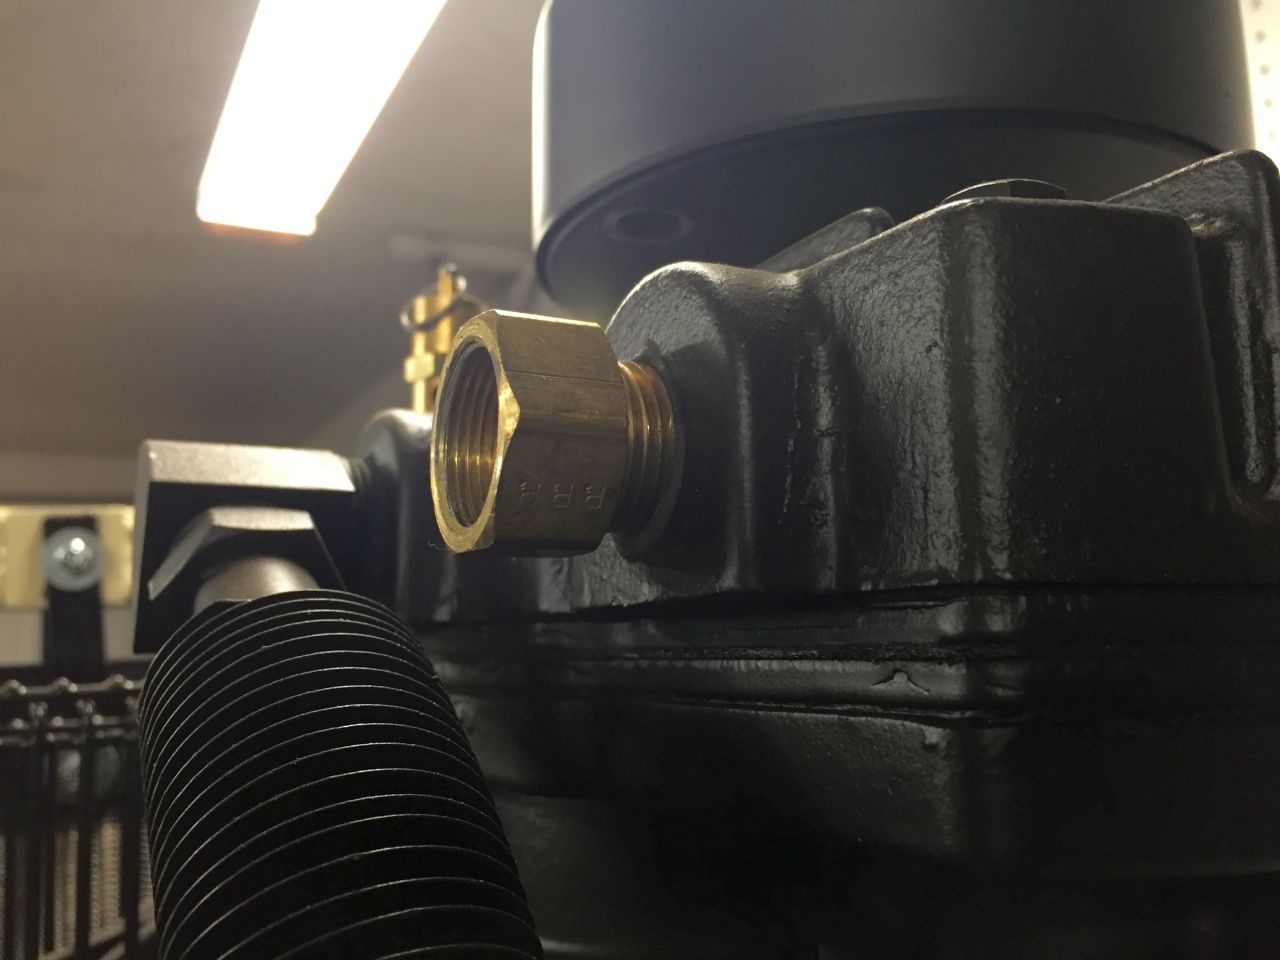
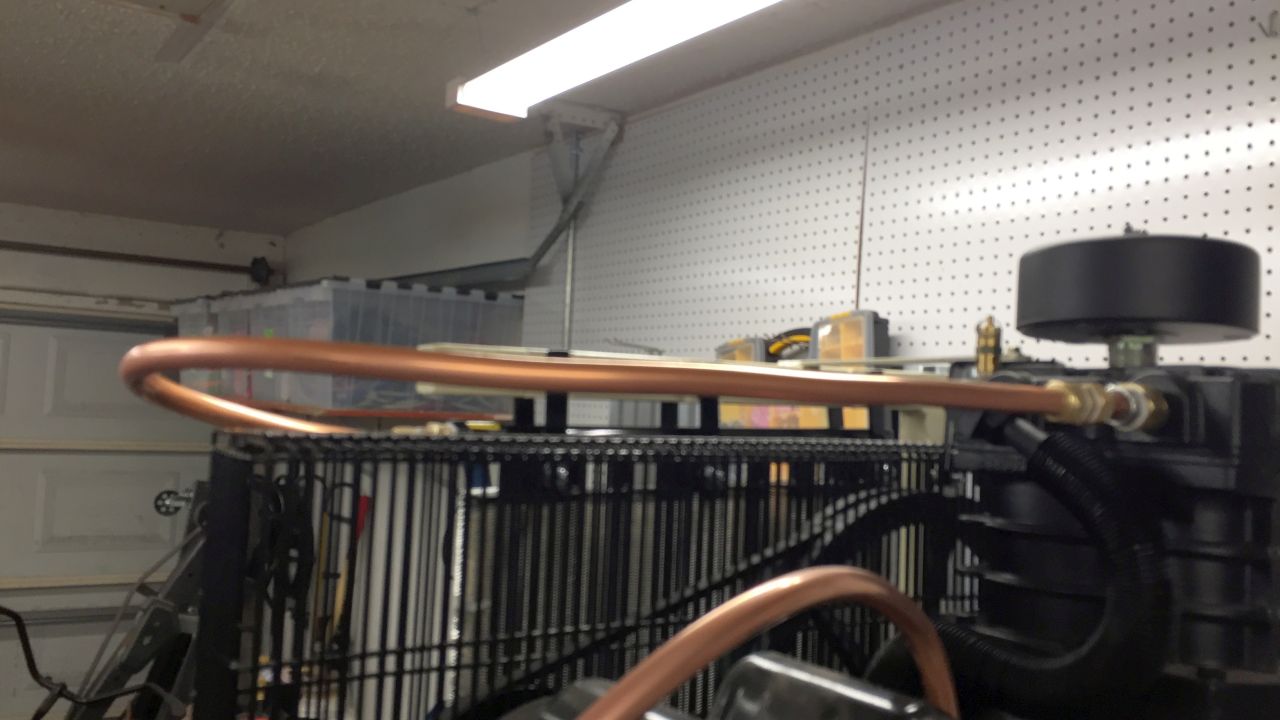
Next step was to hook up all the copper tubing. The factory copper uses flared ends (see the picture below). I used compression fittings to attach the copper tube to the cooler and the filter.
I also ended up using compression unions to attach the new tubing to the old flared ends. It seemed less risky than trying to get the fittings out of the pump and tank. They both have some sort of hardened sealant on them.
I originally purchased parts to have the pipe exit straight forward from the front. When I subsequently realized I needed an elbow, it resulted in the mess of adapters you see here.
And here's what it shaped up to look like. I tried to bend the tubing so that everything drains into the filter. Looking at the pictures, it seems I may need to play with the angle of the pipe coming from the pump to make sure it's not draining into the pump. Also, the first time I fired it up, the compression fittings were leaking like sieves. I took them apart and added some thread sealant goop and they seem to be air tight now.
After working all day to finish, I realized after the store closed that I didn't have a 1/2" to 1/4" fitting to go from the regulator to the hose.

Some good news though: it seems to be working. The tube that comes directly out of the pump heats up to be far too hot to touch while the tube coming out of the cooler is cold. I'll get a temp gun and take some actual measurements later.


 Who's stocking their "tool inventory" with HF? I didn't realize I needed an American made air dryer to do consistently good fabrication... damn my inconsistent fabrication from my HF Air Dryer!!!! What do I know, I actually have experience with this unit that cost barely over $200 and works perfect at keeping air dry unlike you.