To avoid these ads, REGISTER NOW!

My first car jack - hein werner ws

mattblast

Well-known member
Joined
Jan 30, 2013
Messages
786
Location
Bridgewater, NJ
I have been looking for a nice jack for a while - OK since I joined this forum and saw what others have done to bring old jacks back to life. Over the last few months I just missed two jacks at estate sales (the guy right before me snagged them). Well, last weekend was good - found a sale in North New Jersey where they had a jack for $20. Got them down to $15, plus they threw in a US made metal toolbox full of tools. Not a bad deal.

The jack worked fine, but left a puddle of hydraulic fluid wherever it was used.
Name tag is all beat up and shows only the serial number, so I didn't know what I got until later.

Here is it after taking the pump out.


I never rebuild a hydraulic pump and didn't want to learn on this one as parts are hard to come by. So I am sending it off to Hiball to rebuild. That will take about 10 days. Gives me enough time to tear the rest down, blast it, and paint it.

Here is the worn tag


The lift arm pin is rusted in place. I tried to torque it, then press it with a 12t shop press, but it wouldn't budge.


A shot from the bottom


Put a 24in pipe wrench on it after a soak in PB blast and letting it sit in the sun to heat up. Not only would it not turn, but I ended up destroying the threads.


This is the point in a project when I think I should have just left it alone and it would have been fine, but I like my restore projects to be perfect and don't mind an adventure.

This morning I found a local machine shop. Stopped by on the way to work and they led me to the back room full of bridgeports, shapers, and what looked like a 6ft tall arbor press. They tried to free the pin, but it wouldn't budge. Then they moved to the hydraulic arbor and applied even more force. Still no go. Not wanting to harm it, they decided to drill it out. Should have it back in a few days. They will also make me a replacement pin. Not sure on the cost - I'll report back when I pick it up.

The two parallel links that are riveted to the side plates were very tight. So tight that one took two arms to move. I used the dremel to cut off the head, the pressed the rivet out. The dremel was handy for that, but I did use 3 or 4 small cut off wheels to get both rivets.

Here are is the rivet removed, and the side almost fully blasted. Just have to go back and hit the spot I couldn't get with the bar in the way.


I'm thinking of replacing the rivet with a shoulder bolt. The side plate could be threaded, then the shoulder bolt would allow the parallel link to move freely. Any other suggested of how to re-attach these?
 
Last edited:
To avoid these ads, REGISTER NOW!
OP
M

mattblast

Well-known member
Joined
Jan 30, 2013
Messages
786
Location
Bridgewater, NJ
Re: My first car jack - hein werner hs

Here is the pump blasted and ready for rebuild. It will be sent out later this week


There are some stains you can see where the fluid leaks - from the piston around the nut, and by the drain hole.
 

zkling

Well-known member
Joined
Jan 23, 2007
Messages
16,939
Got them down to $15, plus they threw in a US made metal toolbox full of tools. Not a bad deal.

Let me be the first to say YOU ****. :thumbup: :drool:

Sounds like your hydraulic unit is in great hands. Will probably come back better than when it left the factory. :lol_hitti Hiball is the resident jack expert as you are probably already aware.

Got any pictures of the tool box and tools? :dunno:

Again GREAT deal.
 
OP
M

mattblast

Well-known member
Joined
Jan 30, 2013
Messages
786
Location
Bridgewater, NJ
Here is the rest of the haul from the weekend.

I spent another $20 at the sale for everything in the photos, plus 4 Nicholson files and some old pliers.


Contents of toolbox


And this is why I was at the sale, 45mins away - to buy this small parts organizer


It weights about 40lbs! Full extension draws. The top two are adjustable. Plus it had another 40lbs of hardware in it, most of which is getting recycled.

Most sales I go to I find a bucket or bin to use to put stuff in. Here is what I used here, nice metal milk carton


The previous sale (45mins away in opposite direction) had a bridgeport mill. No room for one, but I figured they would have lots of machine tools. All I came out of there with was two big rolls of brillo (made in Brooklyn NY), plus a few odds and ends for $15. Would have passed, but after all that driving I had to buy something.

<a href="http://s855.photobucket.com/user/mattscher/media/3E41F3F1-946B-42F2-8006-315969F088F3-31992-00000CE34552FBFA_zps09b7e59d.jpg.html" target="_blank"><img src="http://i855.photobucket.com/albums/ab112/mattscher/3E41F3F1-946B-42F2-8006-315969F088F3-31992-00000CE34552FBFA_zps09b7e59d.jpg" border="0" alt=" photo 3E41F3F1-946B-42F2-8006-315969F088F3-31992-00000CE34552FBFA_zps09b7e59d.jpg"/></a>

And crossed one item off my list at an estate sale on Friday which I hit during my lunch break. They were asking $20 for this, but sold it to me for $10. Then I picked up another $15 of some romex and soft copper tubing. Overpaid on the rest of it, but did so well on the polishing lathe that I didn't complain. It also included a dust hood and a box of small grinders and wire wheels to put into the chuck.

<a href="http://s855.photobucket.com/user/mattscher/media/1CBEEC61-8097-4957-ACB3-45038A41E732-31992-00000CE3B44E8245_zpsc578e693.jpg.html" target="_blank"><img src="http://i855.photobucket.com/albums/ab112/mattscher/1CBEEC61-8097-4957-ACB3-45038A41E732-31992-00000CE3B44E8245_zpsc578e693.jpg" border="0" alt=" photo 1CBEEC61-8097-4957-ACB3-45038A41E732-31992-00000CE3B44E8245_zpsc578e693.jpg"/></a>
 
OP
M

mattblast

Well-known member
Joined
Jan 30, 2013
Messages
786
Location
Bridgewater, NJ
The machine shop tried again with the press and had it under 8t of force for the day. Still it didn't budge. Got the call today that to drill it out and make a new pin would be at least $200. Anyone know any low cost machine shops in central NJ that could drill this out for me at a lower cost?
 

Hiball

Well-known member
Joined
Apr 30, 2009
Messages
14,031
Location
Missery
The machine shop tried again with the press and had it under 8t of force for the day. Still it didn't budge. Got the call today that to drill it out and make a new pin would be at least $200. Anyone know any low cost machine shops in central NJ that could drill this out for me at a lower cost?

Ugh at $200... I would try soaking that entire end of the lift arm in some lube to see if that will loosen things up, Maybe some of that ATF/acetone/? Mystery oil people seem to rave about. I dont recall but did you try some light heat while on the press? Good luck.
 

LXCam

ALLIANCE MEMBER
Joined
Apr 23, 2013
Messages
19,171
Location
AZ
The machine shop tried again with the press and had it under 8t of force for the day. Still it didn't budge. Got the call today that to drill it out and make a new pin would be at least $200. Anyone know any low cost machine shops in central NJ that could drill this out for me at a lower cost?

That's kinda of messed up. I'm sure these guys have put a fair amount of effort to help you out and that cost covers all those costs. Its a drag its that much thouh. Good luck with your project
 

4BT

Well-known member
Joined
Apr 21, 2011
Messages
884
Any chance at chasing the "destroyed" threads and re-assembling? They might no look pretty afterwards but I'm sure they are still serviceable.
 

tininjun67

Member
Joined
Apr 4, 2005
Messages
22
Location
selma, tx
I've been dragging an old jack like that around for the last 20 years. Some day I'm going to rebuild it. You stole that buffer!
 
OP
M

mattblast

Well-known member
Joined
Jan 30, 2013
Messages
786
Location
Bridgewater, NJ
Success! Got the pin out of the casting and can proceed with this restore. It didn't make sense to put in $200 for a machine shop to drill out the pin so I brought it to a friend of mine who had experience with a similar stuck steel pin in an iron casting. He tried to convince me that the pin could be removed very simply by filling the grease fitting with grease and using a dowel to drive the grease into the joint. He used to to remove a pin from an old rusted press, but my pin was very tight and not budging.

To my surprise, he gave it a try and it worked!

Out of curiosity he checked the electrical continuity between the casting and the pin. There was none which confirmed it was rust causing it to stick (rust doesn't conduct very well).

Next he filled one of the two grease fittings with grease and used a drill bit the same size (upside-down) to drive the grease in. I've never seen someone use a drill bit as a punch before. It didn't seem to do anything.

So he drilled a hole in the bottom of the casting and threaded a brass fitting. Filled that with grease and put a cap on it. As he tightened the cap the grease was forced down into the joint. Clever to use hydraulic pressure to free a hydraulic jack. Finally rusted grease worked out of both ends and then all he had to do was hammer the pin out.

The pin is covered in rust and cannot be used. I need to make a new one as OEM parts are no longer available. Anyone have a metal lathe that wants to help me out on this?

OAL - 7.75"
Center portion - 6.75" x 0.8735" (diameter measured after wire brushing rust off)
Threaded portion - 0.5" x 0.75" threaded 3/4-16


Driving grease in with a cordless drill


Needed some more torque


Success! Grease made its way through.


Heavily pitted pin


Hole in bottom of jack that I will put a cap into to seal


Top view - he tapped both grease fittings trying to free the pin. This actually works out well as I can now use standard zerk fittings on the rebuild.


There is some light rust that formed on the parts since I blasted them, so I will touch them up with the blaster and prime them this weekend (maybe sooner if the weather holds).
 
OP
M

mattblast

Well-known member
Joined
Jan 30, 2013
Messages
786
Location
Bridgewater, NJ
In case you were wondering why the shaft is drilled and tapped, it was in an attempt to pull it out of the casting. Since pushing with a press didn't work maybe pulling it would.

Made a spacer


Drilled and threaded shaft


Use a threaded rod and spacer in an attempt to pull shaft out


Would have been nice if this worked, but it didn't.
 
To avoid these ads, REGISTER NOW!

OldNeons

Well-known member
Joined
Dec 27, 2011
Messages
462
Location
Midwest
Nice work- way to stick with it. A lesser man would have given up on that old jack :)
Just a thought, but have you considered powder coating the jack components? Nice durable finish. I'd take the Guido tag off toolbox and put it on the jack - ha ha.
 
OP
M

mattblast

Well-known member
Joined
Jan 30, 2013
Messages
786
Location
Bridgewater, NJ
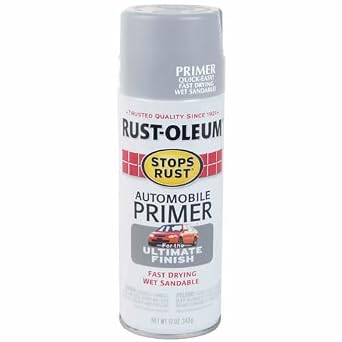
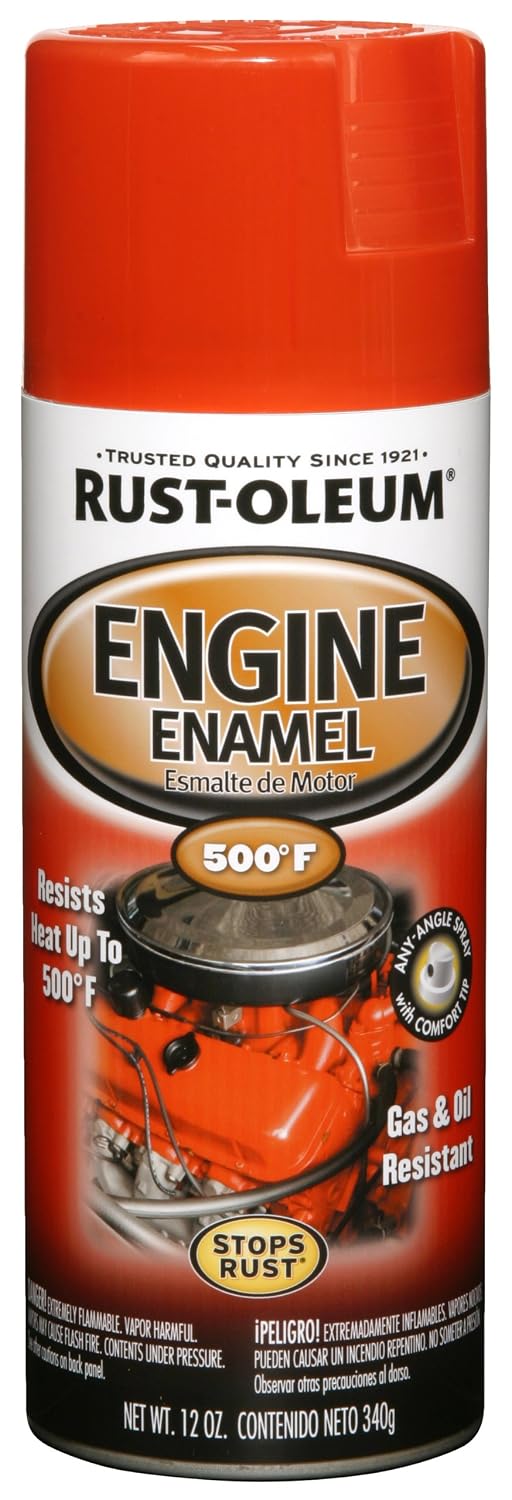
Used almost a full can of primer and another full can of paint.

Used this for Primer:
41sySyzLAFL._SX342_.jpg

http://www.amazon.com/gp/product/B000V69Q58/ref=oh_details_o02_s00_i00?ie=UTF8&psc=1

And this for Paint:
81ZH7l3uOiL._SL1500_.jpg

http://www.amazon.com/gp/product/B003CT4AGG/ref=oh_details_o02_s00_i01?ie=UTF8&psc=1

Paint went up in price in the few weeks since I purchased it - was $6.83.

Still need to paint the casters, handle and some small parts. Hope to get to that tomorrow.

Here are some photos of the progress

Hanging below deck, blasted and ready to prime


This is the first house with a deck - makes spray painting very easy


And here is a shot with two light coats of primer and two coats of paint. I'll let it hang overnight to cure.


ChevyEFI

Well-known member
Joined
Sep 2, 2012
Messages
8,762
Location
Phoenix, AZ
If the pin werent already de-threaded and drilled & tapped,

would a proper chroming be a valid way to resurface the pin? Just curious.
 

Engineer61

Well-known member
Joined
Oct 26, 2012
Messages
225
Location
Colorado
If the pin werent already de-threaded and drilled & tapped,

would a proper chroming be a valid way to resurface the pin? Just curious.

Sure, first you would have to get all the rust off and then turn it in a lathe to get a smooth surface, then hard chrome it back to size. Don't chrome the threaded ends, and don't do decorative chrome which puts a heavy layer of soft copper on first, followed by nickel and then an extremely thin layer of chrome for looks. The soft copper layer won't withstand the forces on that pin and will distort, cracking the chrome and nickel off and cause problems.
 
OP
M

mattblast

Well-known member
Joined
Jan 30, 2013
Messages
786
Location
Bridgewater, NJ
Progress has been slow. I painted the main parts over a month ago and the paint was soft even a week later. My fingernail would leave a dent in the paint. So I ignored the parts and let them continue to hang under the deck. Well, last week I inspected them and the paint finally cured. Is it normal for this paint to take so long to cure? I've never had to wait so long before.

This week I painted the rest of the parts (other than the handle and the pump), and found a source for a replacement main pin. Voris Hydraulic had a few in stock they salvaged off of old units and they sold me one in good condition for $22.42 (where do they come up with these prices?)

Next weekend I'll be able to reassemble the frame and if all goes well then I'll send the pump out to Hiball for a rebuild. The pump has been drained and packed and sitting in the corner of the dining room for over 2 months now. My wife will be surprised when I finally ship it.
 
OP
M

mattblast

Well-known member
Joined
Jan 30, 2013
Messages
786
Location
Bridgewater, NJ
I put a lot of time into the jack over the weekend. It has been so long since I took it apart that I had to study it a while and move parts around to figure out where everything goes. Ended up putting it together almost all the way, minus the big cast lift arm and main pin, then realized I had to take it all they way apart again to get the pin to fit inside the sides. I ended up damaging the paint in a few places trying to take it apart again - good think I have an extra can of paint for touch up work.

It is all back together now minus the pump but I'm facing a major issue and am not sure if this is fixable. Not sure if I put something in wrong, or if the casting got bent somehow during pin removal. When I connected the two parallel links to the saddle holder, the hole to pin it was off by 1/8in. I managed to force it by grinding a ramp on one of the pins and driving it in, but that racked the frame so that the wheels don't all touch the ground at the same time.


The right wheel is off the ground about 1/8in.

The links are on the pin and I had to put a clamp on so they won't slide off. The arm stays up on its own due to the tension of the twisted frame.


Any ideas what I need to do to correct this?

Also - do the parallel links get welded to the pin (where I have the clamp holding it right now)? If I do that then the pin will rotate in the saddle holder as the lift goes up and down. Right now it rotates where the link connects to the pin.


I'm tempted to weld it and let it be twisted, but don't want to do anything that may make it unusable.
 

pop pop

Well-known member
Joined
Apr 1, 2010
Messages
2,859
Location
Virginia
I believe that the pins are retained by "C" clips. Are there groves in the end of the pins? I'll check mine tomorrow to verify. You're probably tweeked by removing and reinstalling the rivits on the small arms. I would not worry too much. It will probably work itself out when loaded a few times.
 

AmIEvil

Member
Joined
Apr 30, 2014
Messages
6
I've got the same Jack - Hein Werner WS 1 1/2 Ton and that first picture you posted of the hydraulic unit is where I have mine torn down to. I just cannot get it apart from there! Has anyone ever been able to get it torn down?
 
To avoid these ads, REGISTER NOW!
Top Bottom