To avoid these ads, REGISTER NOW!

New Build 32x56x14 Pole Barn, lower MI

shawn20630

Member
Joined
Oct 29, 2011
Messages
22
Location
Lower MI
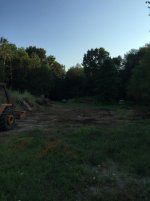
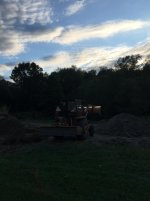
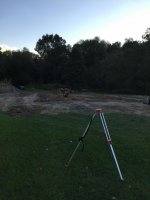
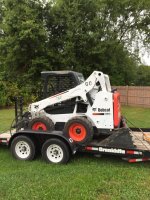
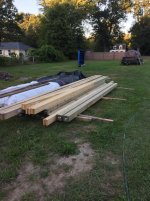
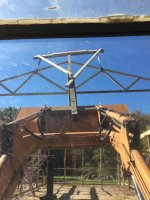
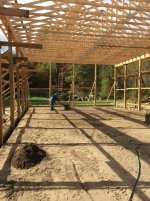
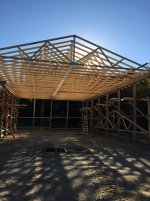
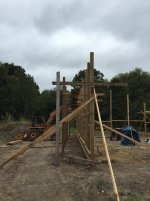
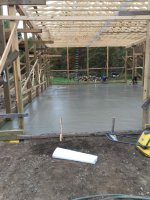
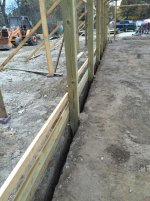
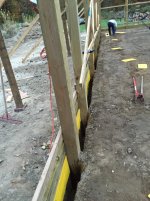
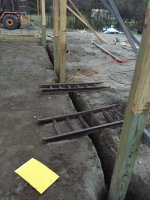
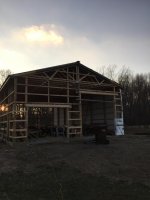
Finally got to start the build for my pole barn late this year, currently about 3 months into it. Gained a lot of experience and information from reading posts and the forums on here over the last few years. My barn is being built by just me with the help of my dad and a few friends through-out different points within the build. Hope I might be able to help some other people with my experience and things I learn along the way.

Some quick barn specs:
- started out with plan for 30x46x12 ended going with 32x56x14
2 garage doors 10x8 and 12x12 commercial doors
No windows yet will add in the summer
2ft on center trusses, 5/8 osb, metal rood
3ft wainscot
concrete floor- only thing that is contracted out

Will be posting more pics as I get time through-out the month.
Justed wanted to get the thread started before I finished the barn
 

Attachments

  • 600.jpg
    600.jpg
    145.1 KB · Views: 49
  • 604.jpg
    604.jpg
    141.9 KB · Views: 41
  • 610.jpg
    610.jpg
    136 KB · Views: 36
  • 617.jpg
    617.jpg
    141.5 KB · Views: 35
Last edited:
To avoid these ads, REGISTER NOW!
OP
S

shawn20630

Member
Joined
Oct 29, 2011
Messages
22
Location
Lower MI
Pictures from the start of build, first task moved a few hundred yards of ill to raise ground level and make a good base. Then laid out everything and rented bobcat to dig 18" round holes. Would highly recommend the skidsteer with auger only took about 2.5 hrs to do all the holes.
 

Attachments

  • 686.jpg
    686.jpg
    145.7 KB · Views: 55
  • 685.jpg
    685.jpg
    153.4 KB · Views: 39
  • 682.jpg
    682.jpg
    144.6 KB · Views: 37
  • 675.jpg
    675.jpg
    152.7 KB · Views: 41
OP
S

shawn20630

Member
Joined
Oct 29, 2011
Messages
22
Location
Lower MI
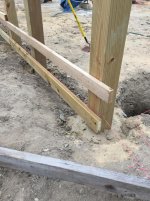
Here is some pictures of pole install, lifted each one with tractor and set in holes. Probably in total poured about 110 80lb bags of cement, made a base in each hole 6-8" thick by 18" round. Used a 1/2"x 12" long piece of rebar in each pole to prevent uplift. I then in cased that in a 1 1/2 bags of cement. Corner poles i poured 2 bags.
 

Attachments

  • 738.jpg
    738.jpg
    144.1 KB · Views: 59
  • 727.jpg
    727.jpg
    138.3 KB · Views: 50
  • 723.jpg
    723.jpg
    145.1 KB · Views: 56
  • 722.jpg
    722.jpg
    148.2 KB · Views: 58
  • 718.jpg
    718.jpg
    144.4 KB · Views: 54
  • 689.jpg
    689.jpg
    148.7 KB · Views: 54

jbmatth

Well-known member
Joined
Jun 3, 2013
Messages
5,686
Location
Northern Ok.
What are your planned uses for this barn? It is coming along nicely and I'm looking forward to the progress.
JB
 

theoldwizard1

Well-known member
Joined
Feb 22, 2011
Messages
43,216
Location
SE MI
Headed out to Bellevile to visit a buddy this afternoon. He is on the far west side next to the park.
 
OP
S

shawn20630

Member
Joined
Oct 29, 2011
Messages
22
Location
Lower MI
What are your planned uses for this barn? It is coming along nicely and I'm looking forward to the progress.
JB
Planning on using the barn as my overall workshop, like to get it insulated, run electric. First project ia a 1967 f100 project that i got enough parts for 3 trucks, will be putting the truck body onto a 2003 crown vic frame.
 
OP
S

shawn20630

Member
Joined
Oct 29, 2011
Messages
22
Location
Lower MI
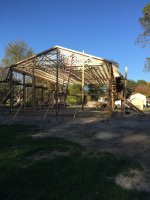
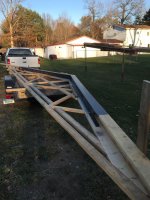
Here im getting the truss carriers prepped with truss blocks. Also put on grade boards and built a temporary scaffold on both sides of the building. This helps a lot with working on the soffit and installing the roof. 3 hours of work saves a lot of trips up and down the ladder.
 

Attachments

  • 764.jpg
    764.jpg
    142.4 KB · Views: 66
  • 758.jpg
    758.jpg
    144.3 KB · Views: 70
  • 739.jpg
    739.jpg
    149.6 KB · Views: 64
  • 734.jpg
    734.jpg
    145.4 KB · Views: 61
  • 733.jpg
    733.jpg
    144.9 KB · Views: 64
OP
S

shawn20630

Member
Joined
Oct 29, 2011
Messages
22
Location
Lower MI
This I s when I got the truss carriers installed and started on the trusses. Took us two days to set all the trusses except for the last one in the front. Left the 4 posts out in the front of the barn so we could drive these straight in. For lifting these I used a 4x6x18 beam with some bracing to lift these trusses into place. Used large hooks so I could hook up and then lower after they were set to release them, didn't have to have someone go up a ladder to unhook each time.
 

Attachments

  • 789.jpg
    789.jpg
    148.9 KB · Views: 60
  • 795.jpg
    795.jpg
    146.5 KB · Views: 90
  • 786.jpg
    786.jpg
    144.1 KB · Views: 66
  • 782.jpg
    782.jpg
    139.1 KB · Views: 68
  • 774.jpg
    774.jpg
    150.1 KB · Views: 78
  • 772.jpg
    772.jpg
    130.1 KB · Views: 71
  • 788.jpg
    788.jpg
    139.3 KB · Views: 96
OP
S

shawn20630

Member
Joined
Oct 29, 2011
Messages
22
Location
Lower MI
Just some more pictures, about when we started leveling everything and getting it compacted for laying the concrete. Me and my dad did all the prep work, i spent 4 days digging the 24" deep rat wall all the way around the barn. Had to pick the first 12" because the fill was so compact and rocky. Made a really good base but was hard to dig.
 

Attachments

  • 826.jpg
    826.jpg
    147.8 KB · Views: 64
  • 825.jpg
    825.jpg
    148.9 KB · Views: 76
  • 814.jpg
    814.jpg
    153.8 KB · Views: 64
  • 805.jpg
    805.jpg
    146.3 KB · Views: 57
  • 792.jpg
    792.jpg
    146.3 KB · Views: 61
  • 761.jpg
    761.jpg
    142.4 KB · Views: 57
OP
S

shawn20630

Member
Joined
Oct 29, 2011
Messages
22
Location
Lower MI
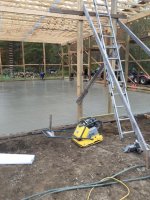
We got the last 4 poles installed in the front, we then were ready for concrete. with the barn being 14ft high and not having the garage door framed in yet, they were able to pull the cement trucks right in the barn. Only took maybe a few hours to get all the cement down 31 yards. I used fiber reinforced cement, no rebar have always used fiber reinforced cement for my other additions on my garage and have never had any problems.
 

Attachments

  • 862.jpg
    862.jpg
    148.5 KB · Views: 93
  • 848.jpg
    848.jpg
    145.7 KB · Views: 86
  • 845.jpg
    845.jpg
    147.5 KB · Views: 89
  • 833.jpg
    833.jpg
    149.4 KB · Views: 78
  • 831.jpg
    831.jpg
    149.1 KB · Views: 80
  • 835.jpg
    835.jpg
    145.9 KB · Views: 79

86turbodsl

Well-known member
Joined
Jul 1, 2005
Messages
6,558
Location
Michigan
Wow, thats a really interesting way to drill for poles. Just a 4' deep trencher? Pull a straight line and drop a pole anywhere you want. I like it.
 
To avoid these ads, REGISTER NOW!
OP
S

shawn20630

Member
Joined
Oct 29, 2011
Messages
22
Location
Lower MI
Wow, thats a really interesting way to drill for poles. Just a 4' deep trencher? Pull a straight line and drop a pole anywhere you want. I like it.
Yea for the poles i have to say using the skidsteer you have to be careful not to drill the holes at an angle. Before we dug we went along the string measure out the centers and then used a stake to make like a pre-punch hole so i knew where to put the center of the auger. Worked out great only had to shave one hole cause it was off a bit.
 

86turbodsl

Well-known member
Joined
Jul 1, 2005
Messages
6,558
Location
Michigan
I always have to shave my holes. The auger rarely goes straight enough.

Sent from my SM-N910T using Tapatalk
 
Last edited:
OP
S

shawn20630

Member
Joined
Oct 29, 2011
Messages
22
Location
Lower MI
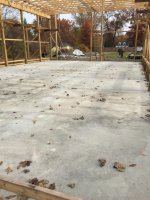
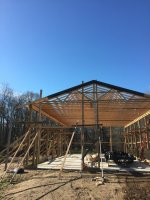
Basically got the concrete done 2 days before we went on our family vacation to Disney world for a week. Felt like i got over a big hurdle once the concrete was poured. Next big task was to get the roof finished before any snow starts falling and piling up.
 

Attachments

  • 861.jpg
    861.jpg
    149.4 KB · Views: 64
  • 870.jpg
    870.jpg
    138.5 KB · Views: 67
  • 923.jpg
    923.jpg
    149.9 KB · Views: 72
  • 924.jpg
    924.jpg
    146.6 KB · Views: 59
OP
S

shawn20630

Member
Joined
Oct 29, 2011
Messages
22
Location
Lower MI
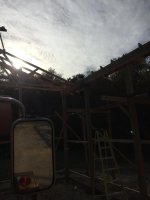
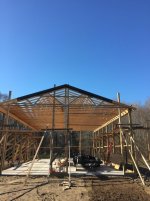
So after the concrete was in and done it was time to put up the last truss so we could get started on the roof sheeting and overhangs. You may notice i have already trimmed out the 6" overhang on the truss before hanging. This saved a lot of work by doing on the ground, wish i would of had time to do the back one before hanging it. I also put the cross 2x4s in the truss for the metal to screw to.
 

Attachments

  • 1182.jpg
    1182.jpg
    145.5 KB · Views: 32
  • 1183.jpg
    1183.jpg
    145 KB · Views: 36
  • 1158.jpg
    1158.jpg
    148 KB · Views: 39
  • 1157.jpg
    1157.jpg
    142.7 KB · Views: 32
OP
S

shawn20630

Member
Joined
Oct 29, 2011
Messages
22
Location
Lower MI
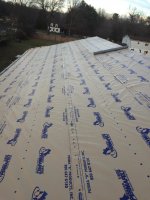
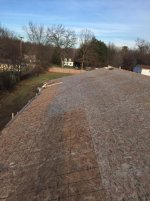
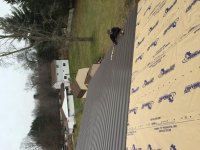
It took me and my dad about 2 weekends to finish all the roof sheeting and lay down the paper. Took a while because of morning frost had to wait for it to melt by around 11-12. Basically used the tractor to lift up the 4x8 sheets to the scaffolding that i built on the side, and we just tossed it on the roof from there. Took about 68 sheets of 5/8" OSB. Only other thing i did was used SS staples on the roof cause i didnt know how long it be till i would be putting the steel up.
 

Attachments

  • 1228.jpg
    1228.jpg
    140.5 KB · Views: 34
  • 1227.jpg
    1227.jpg
    140.9 KB · Views: 36
  • 1223.jpg
    1223.jpg
    148.9 KB · Views: 37
  • 1219.jpg
    1219.jpg
    146.4 KB · Views: 34
  • 1216.jpg
    1216.jpg
    153.2 KB · Views: 37
OP
S

shawn20630

Member
Joined
Oct 29, 2011
Messages
22
Location
Lower MI
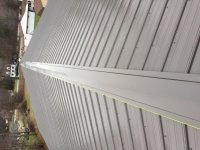
So haven't added any updates for a bit been a busy month. I did get the roof steel installed before the temperature dropped and got cold out. Took about a weekend and 4 people, went pretty smoothly. Pre drilling 1/8" holes for the fasteners worked great had nice straight lines and fasteners were easy to install. Basically did 16" on center for screw rows, first 3 rows were around 18" to offset where the 4x8 sheets of OSB meet. I just temporally fastened the cap, have to come back when it warms up and install vent and finish the ends.
 

Attachments

  • IMG_1953.jpg
    IMG_1953.jpg
    144 KB · Views: 35
  • IMG_1893.jpg
    IMG_1893.jpg
    148 KB · Views: 35
  • IMG_1889.jpg
    IMG_1889.jpg
    145.5 KB · Views: 34
  • IMG_1956.jpg
    IMG_1956.jpg
    145.2 KB · Views: 37
  • IMG_1880.jpg
    IMG_1880.jpg
    149.6 KB · Views: 38
  • IMG_1857 - Copy.jpg
    IMG_1857 - Copy.jpg
    148.1 KB · Views: 38
OP
S

shawn20630

Member
Joined
Oct 29, 2011
Messages
22
Location
Lower MI
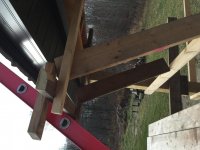
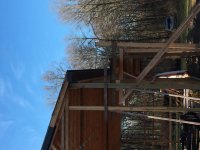
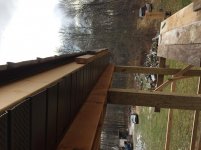
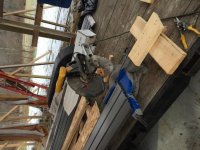
Next task was to finish soffit on the sides so that I could start disassembling all the scaffolding. Took about a day to finish alum soffit for both sides. I used a new blade turned backwards with a little WD40 to cut soffit, worked great. Also built a temp ladder support so I could finish facia and soffit.
 

Attachments

  • IMG_1945.jpg
    IMG_1945.jpg
    141.7 KB · Views: 41
  • IMG_1994.jpg
    IMG_1994.jpg
    141.6 KB · Views: 43
  • IMG_1985.jpg
    IMG_1985.jpg
    142 KB · Views: 44
  • IMG_1936.jpg
    IMG_1936.jpg
    144.5 KB · Views: 44
  • IMG_1932.jpg
    IMG_1932.jpg
    145.3 KB · Views: 48

duwem

Well-known member
Joined
Aug 28, 2013
Messages
451
Location
Eastern WI
All pole buildings I have seen the trusses attach to the poles, at 8, 9, 10 spacing. Why did you put so many trusses up?

Also, the ones I have seen they put purlins on and then the steel. What is the thought with putting down plywood?
 
OP
S

shawn20630

Member
Joined
Oct 29, 2011
Messages
22
Location
Lower MI
My trusses are set at 2ft on center, makes it easy for installing insulation and ceiling. The 5/8" OSB with felt under the metal keeps out rain noise and prevents condensation from forming on bottom side of metal. The OSB has a perm felt layer on top of it, you can also install this vapor barrier using purlins, I have done this on smaller buildings but find it difficult. But traditional pole barn building is trusses set at 8' with purlins set in between, and then metal installed. My method is basically what you would do if you were to install shingles, to support the extra weight, although I used steel.

hope this somewhat explains it, I may of missed something
 

86turbodsl

Well-known member
Joined
Jul 1, 2005
Messages
6,558
Location
Michigan
Nice job! You couldn't ask for a better year to put up a pole barn in SE mich! Keep the pics coming!
 

soapii

Well-known member
Joined
Nov 29, 2011
Messages
342
Location
SE Michigan
Great looking place! My good friend lives on Huron Drive on the water, very nice area. Congrats on the build.

--Joe
 
OP
S

shawn20630

Member
Joined
Oct 29, 2011
Messages
22
Location
Lower MI
Thanks, yea its been good year to build, after the December I've taken most of January off, really cold and work has been busy. I be back out there this coming weekend getting the back wall metal put up. Yea that tractor is my third one, had to keep upgrading, kept bringing home heavier and heavier equipment & stuff. I've used it quite a bit on building this barn though.
 
OP
S

shawn20630

Member
Joined
Oct 29, 2011
Messages
22
Location
Lower MI
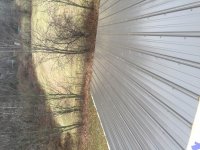
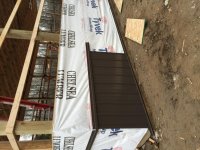
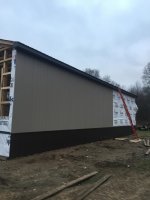
Just about the last major thing we did was finish off one of the 56' long walls at the end of December. I also predrilled these panels before installing, makes installation very easy, went up about as fast as me and my dad could carry them out. Took about a whole Saturday to finish this wall, figure the 3 other sides may take a 2 day weekend each roughly when I get back to them.
 

Attachments

  • IMG_2049 - Copy.jpg
    IMG_2049 - Copy.jpg
    145.8 KB · Views: 34
  • IMG_2114.jpg
    IMG_2114.jpg
    138.7 KB · Views: 45
  • IMG_2054 - Copy.jpg
    IMG_2054 - Copy.jpg
    144.7 KB · Views: 28
  • IMG_2090.jpg
    IMG_2090.jpg
    139.8 KB · Views: 35
  • IMG_2076.jpg
    IMG_2076.jpg
    132.4 KB · Views: 33
To avoid these ads, REGISTER NOW!
Top Bottom