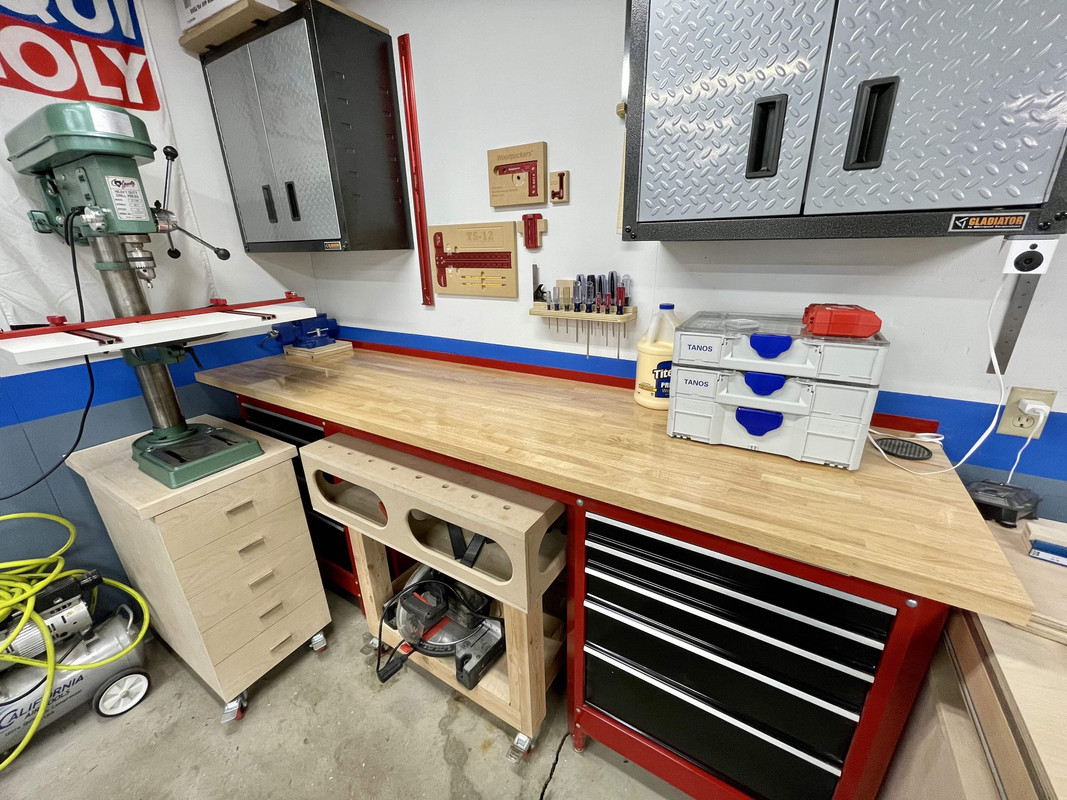
MFT Extension Wings
A new project to share. Part of my MFT design intention was to accept extension wings loosely based on
Timothy Wilmots' design.
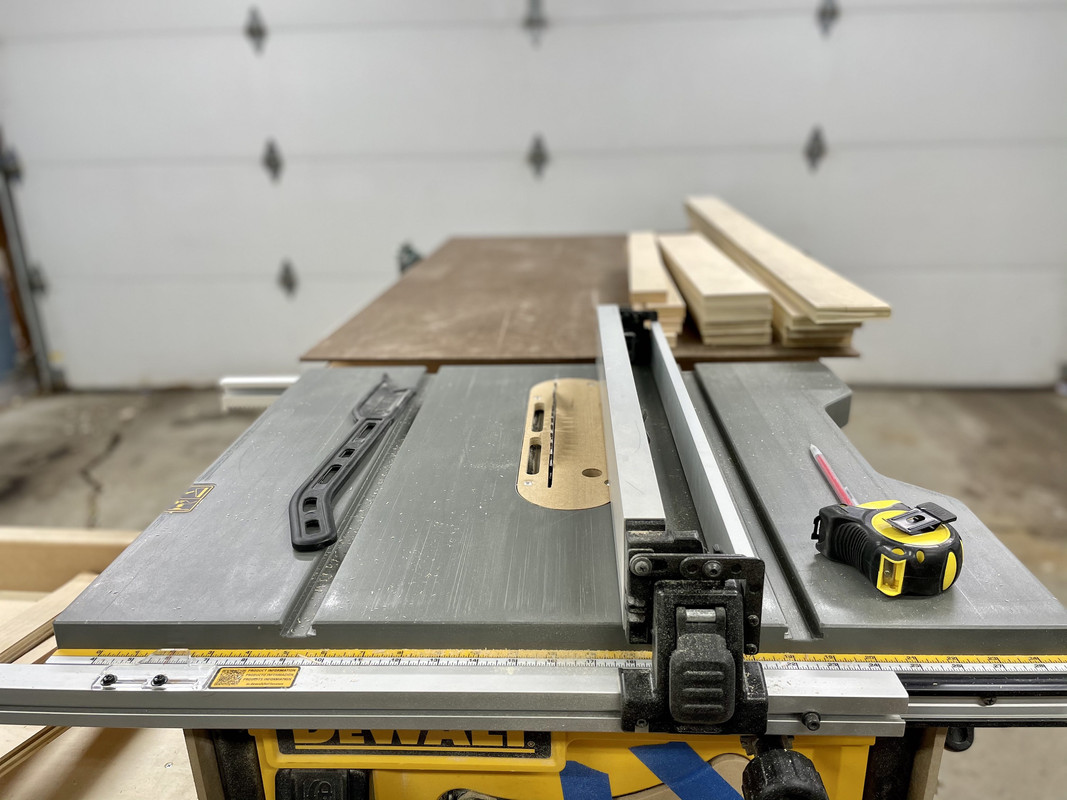
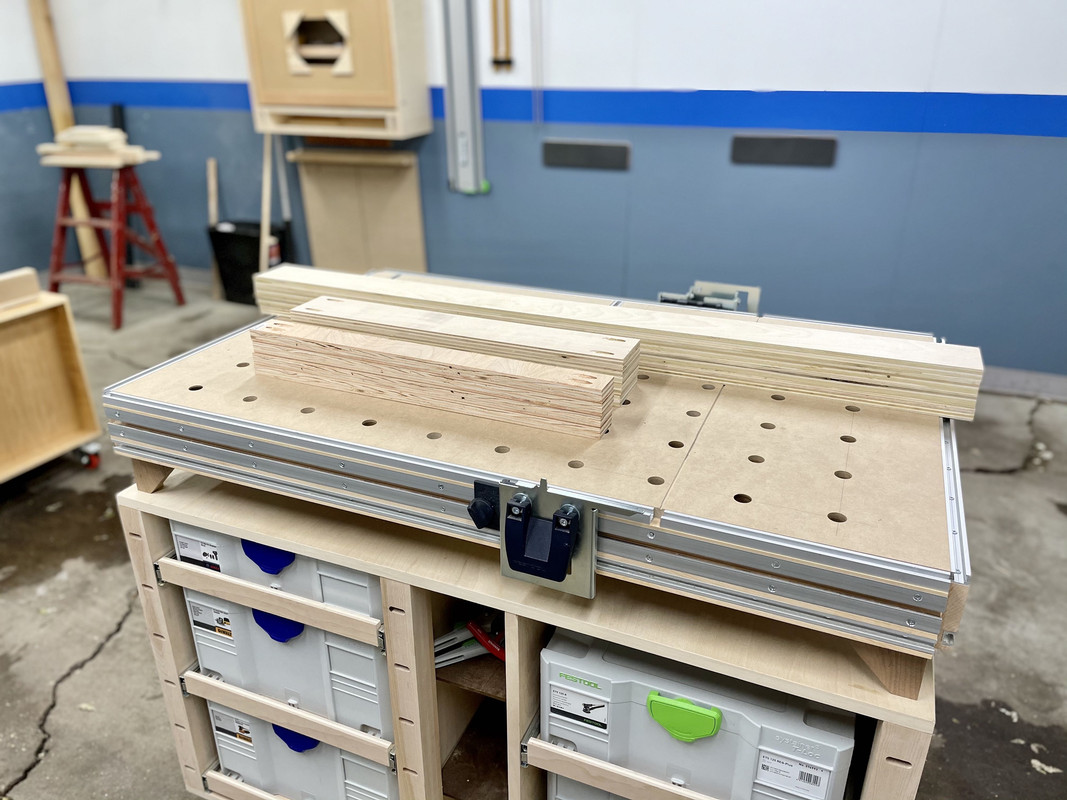
I tried to build entirely out of materials on hand. I started by ripping some 3/4" plywood on the table saw. This will make the frames.
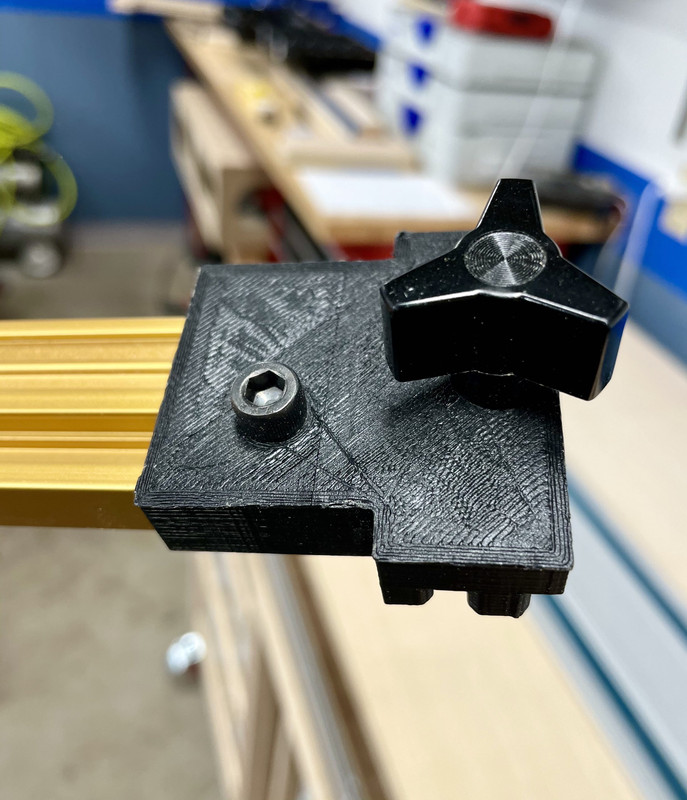
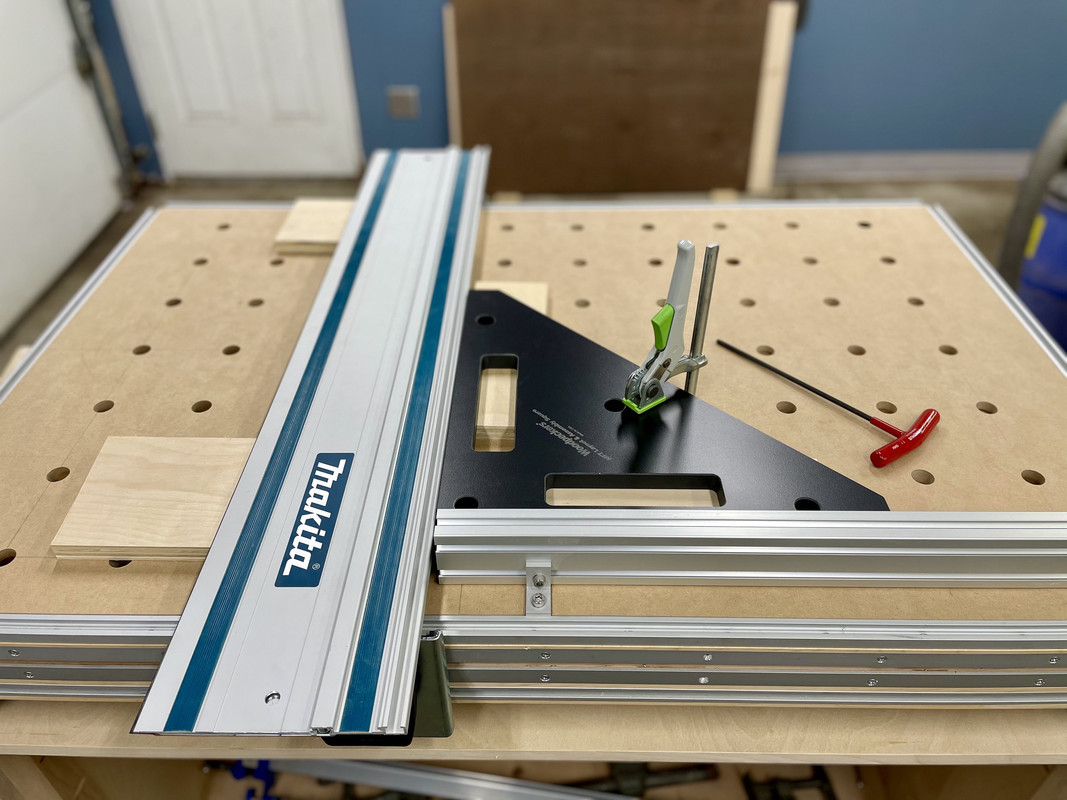
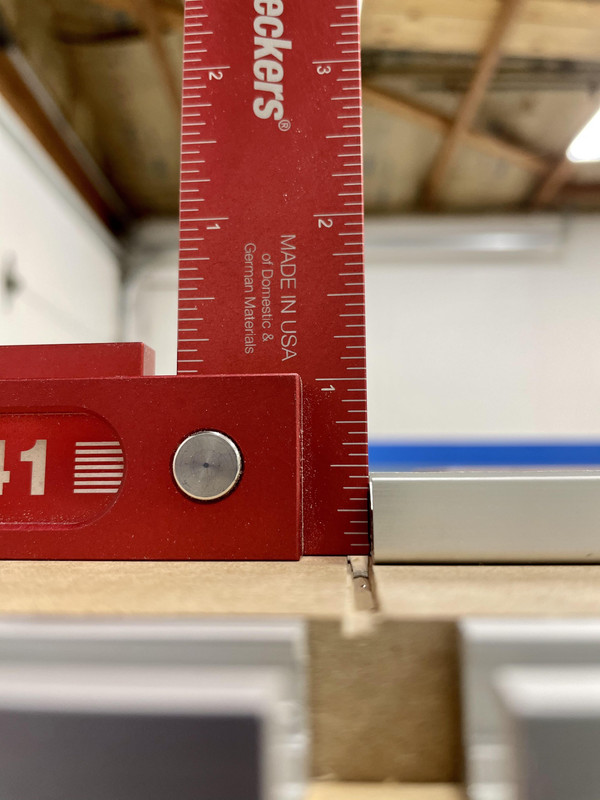
Then I crosscut it to length with the MFT. No real reason other than I wanted to practice setting it up, for which I got a new implement to test - the
Woodpecker's MFT Square:
Because I
don't rely on the hole pattern in any way, I need a reliable method to square the fence to the guide rail, every single time I use it. I've found bigger really
is better for this. (We're talking squares here for any of you with their minds in the gutter).

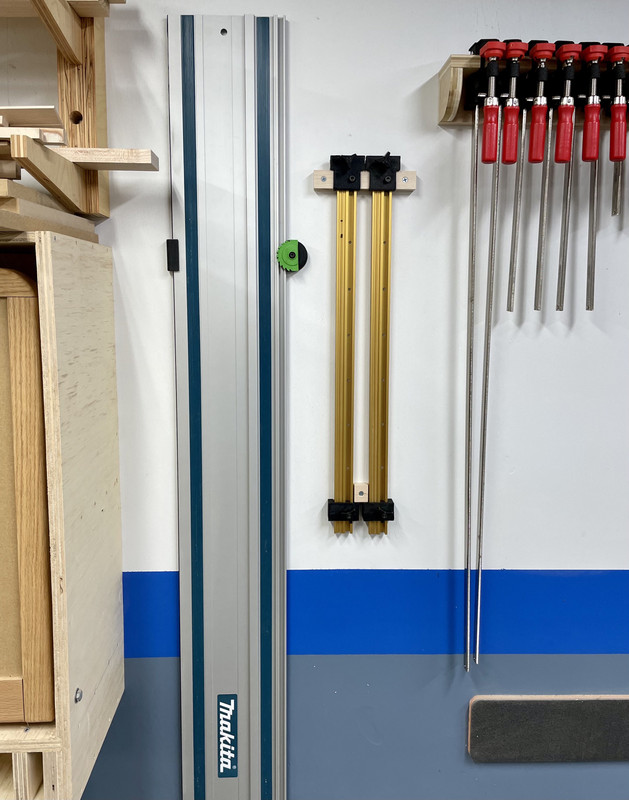
I figured I will use it often, and having a large reliable square will be very helpful. It's 3/4" solid phenolic so very dimensionally stable, which is super important in my space with the drastic temperature and humidity swings.
After all the pieces are dimensioned they got pocket holes:
Every time I do pocket holes I swear I'm gonna cough up for a big boi K4 or K5 jig, and then later can't stomach the $100-$130. Someday...
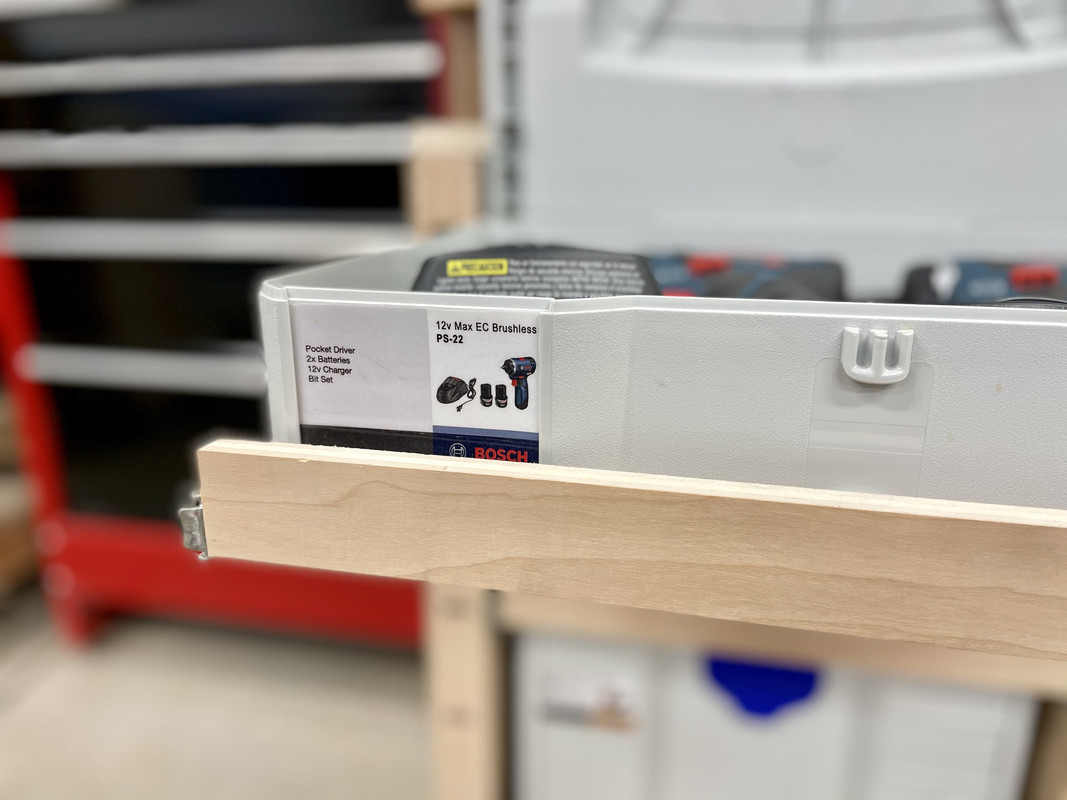
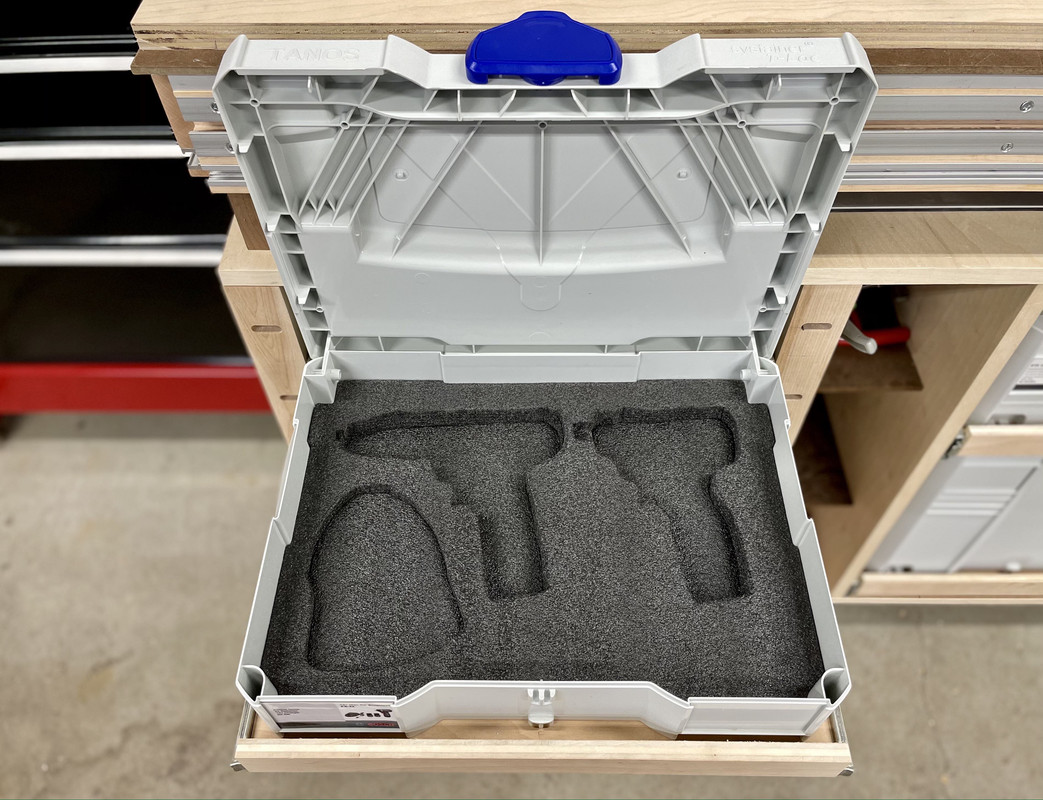
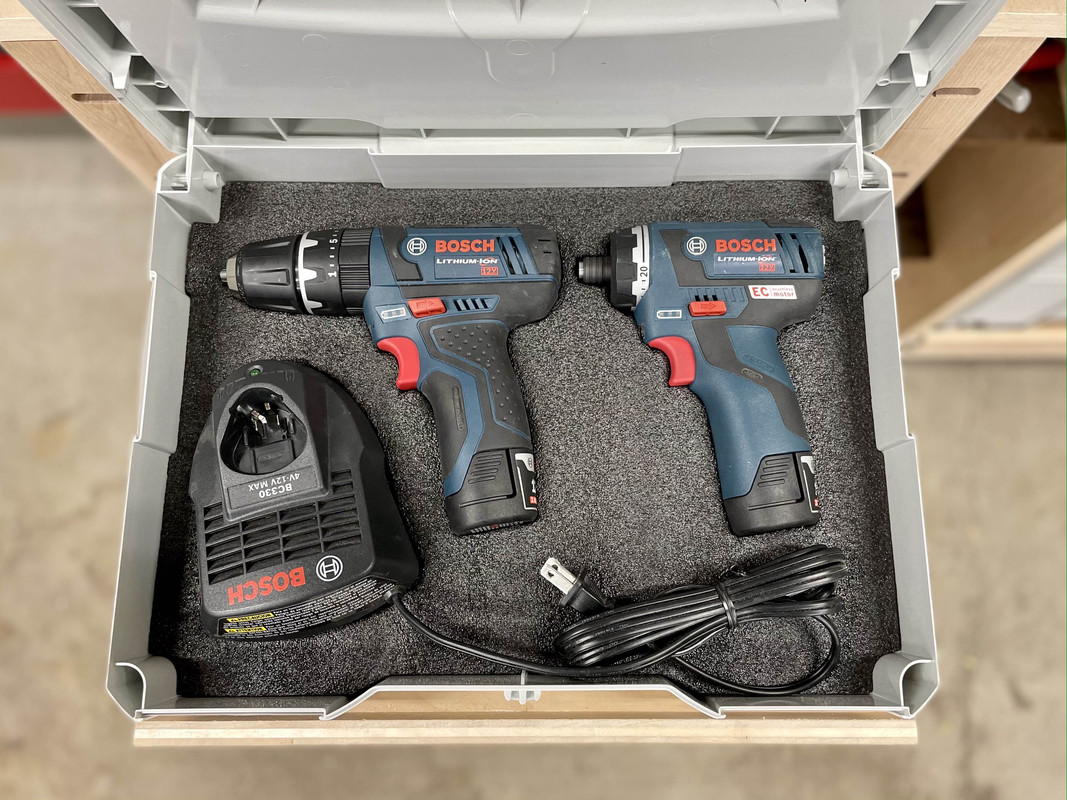
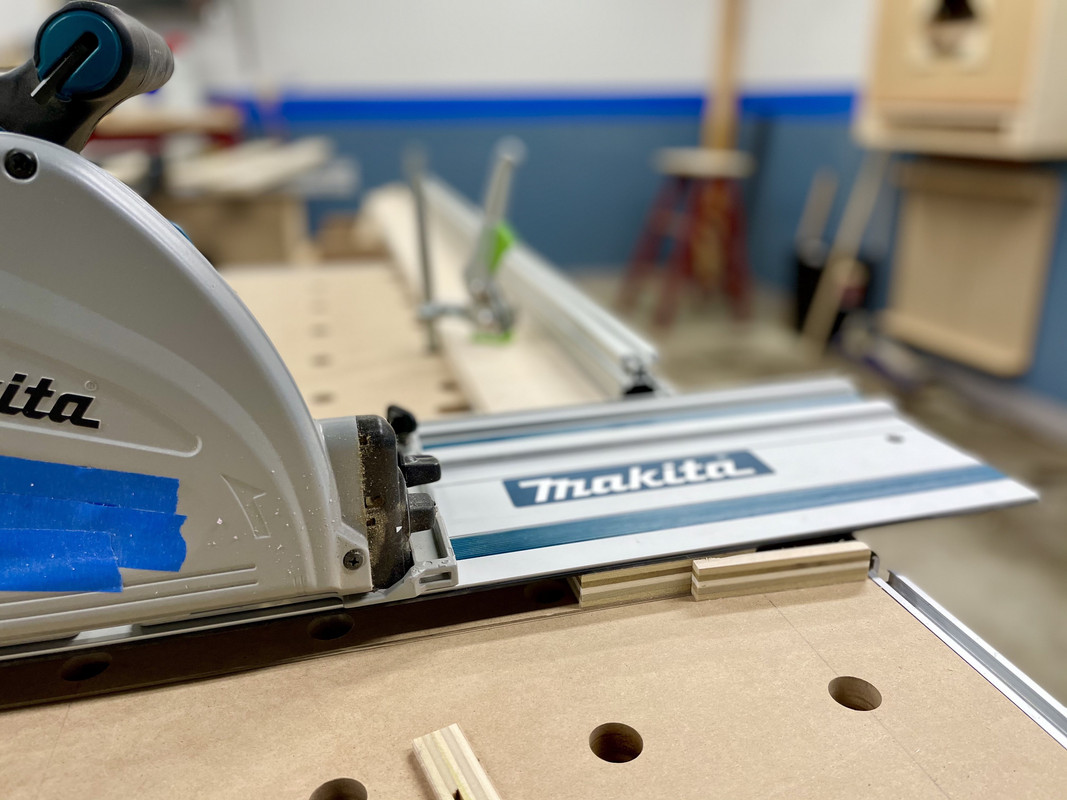
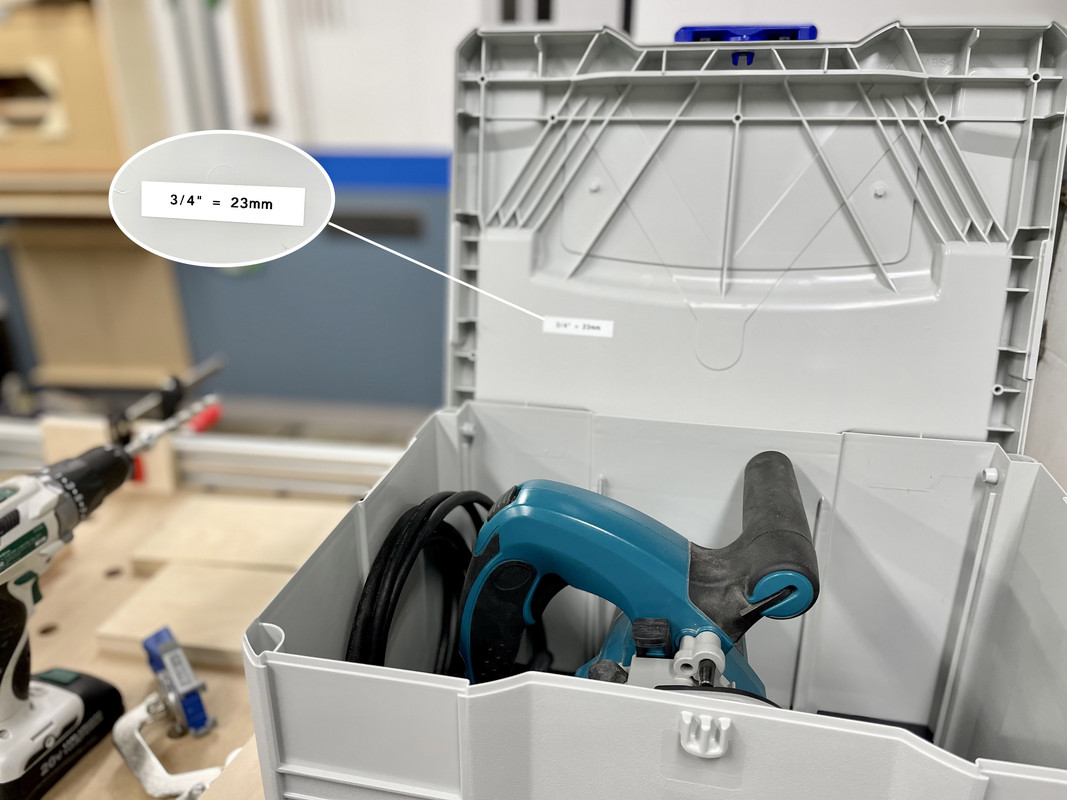
Just an aside, the Makita saw depth scale is in metric, and I always forget the metric equivalent for common plywood thicknesses. This time I broke out my label maker and added a cheat code to the inside of the Systainer case:
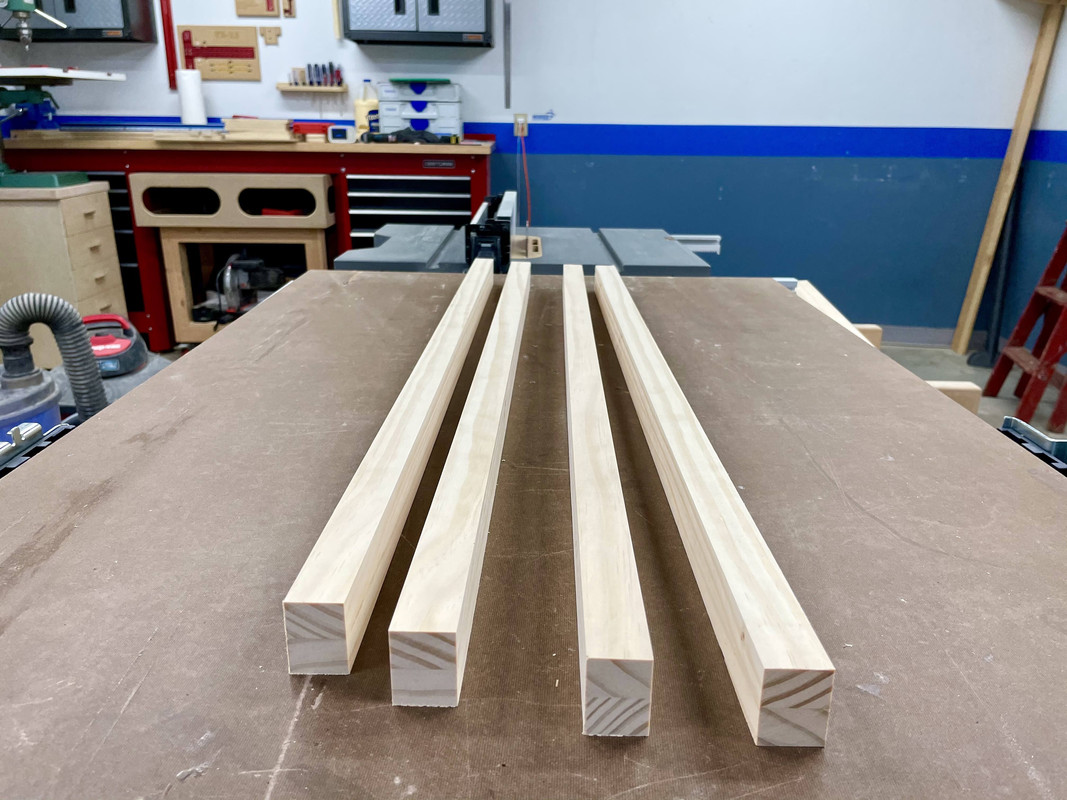
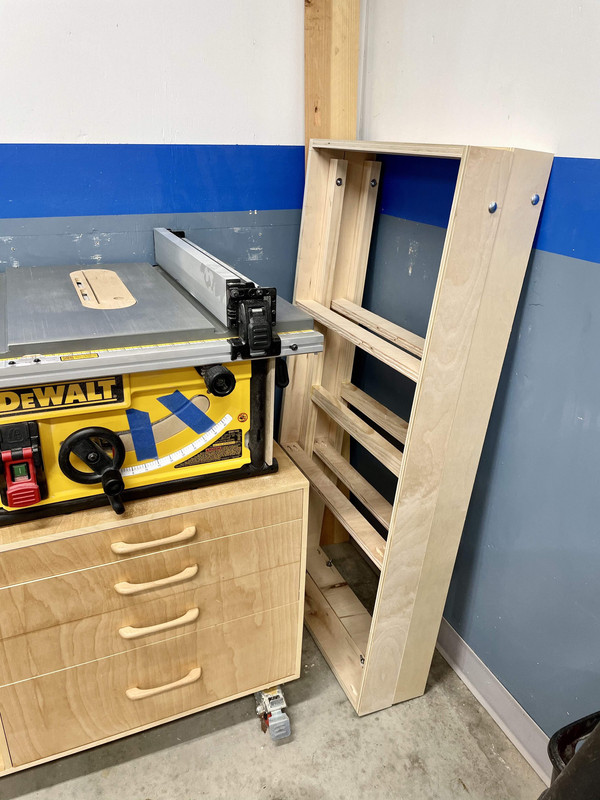
Next are the folding legs, for which I found some long pine boards. I used biscuits and glue to laminate them together for extra thickness and stability.
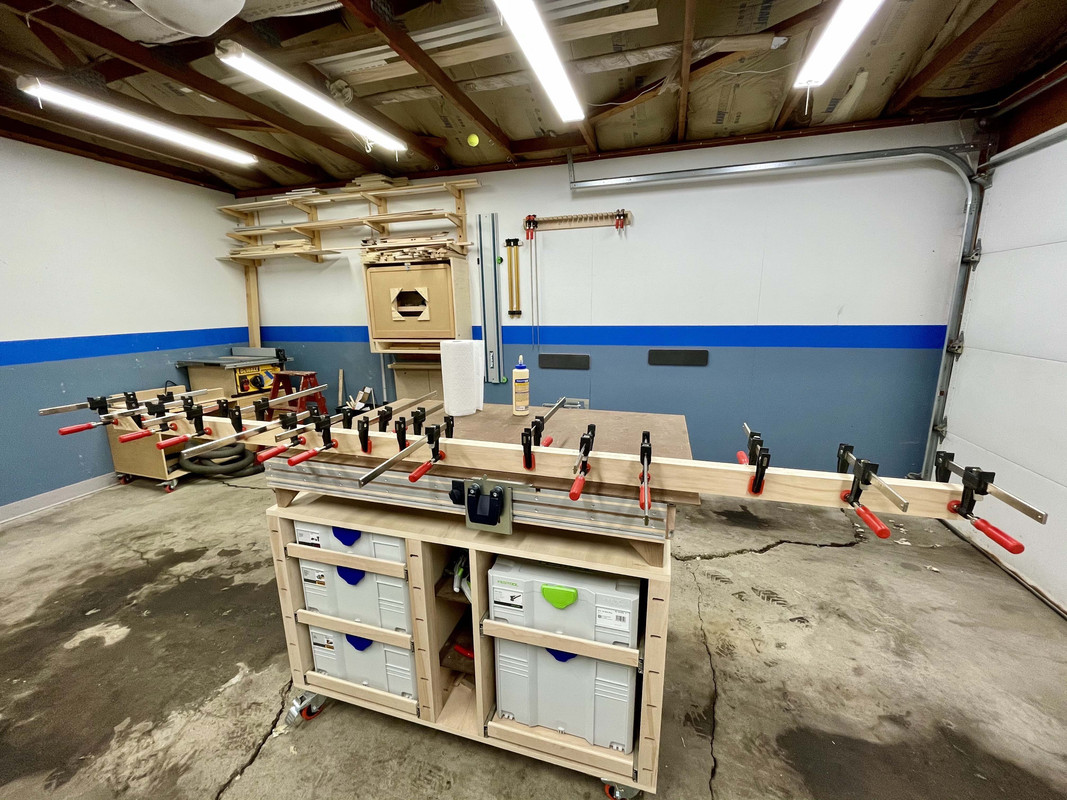
What's that saying about clamps again?
I've been slowly adding to my collection of Bessey F-clamps, here I used every last one.
Tidied the legs up on the table saw and cut them to rough length:
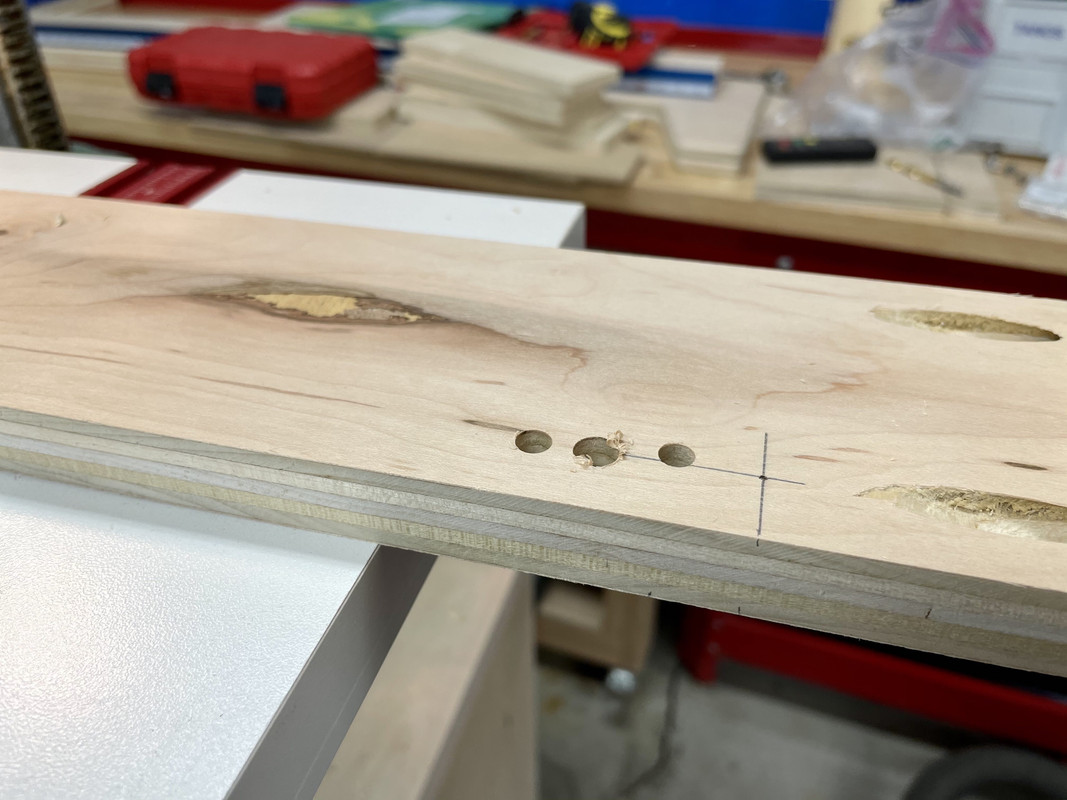
After some layout I drilled some through holes and Forstner recesses for carriage bolts and nuts:
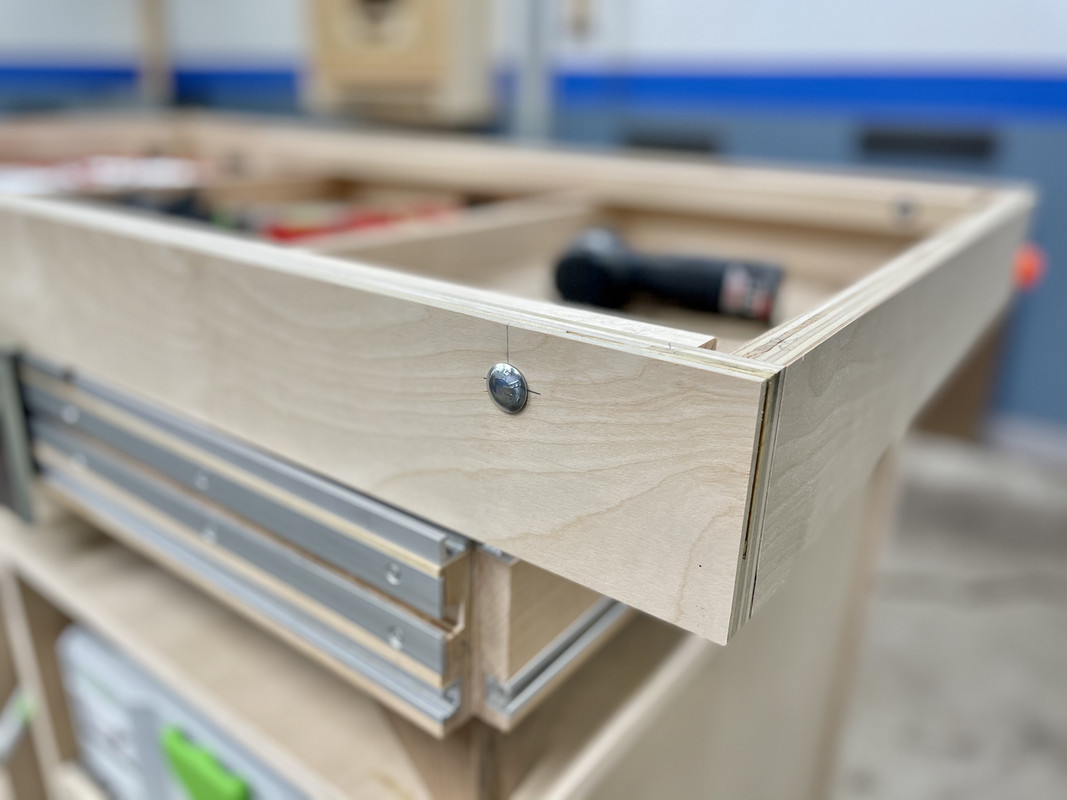
And attached to the frames (which have since been pocket screwed together):
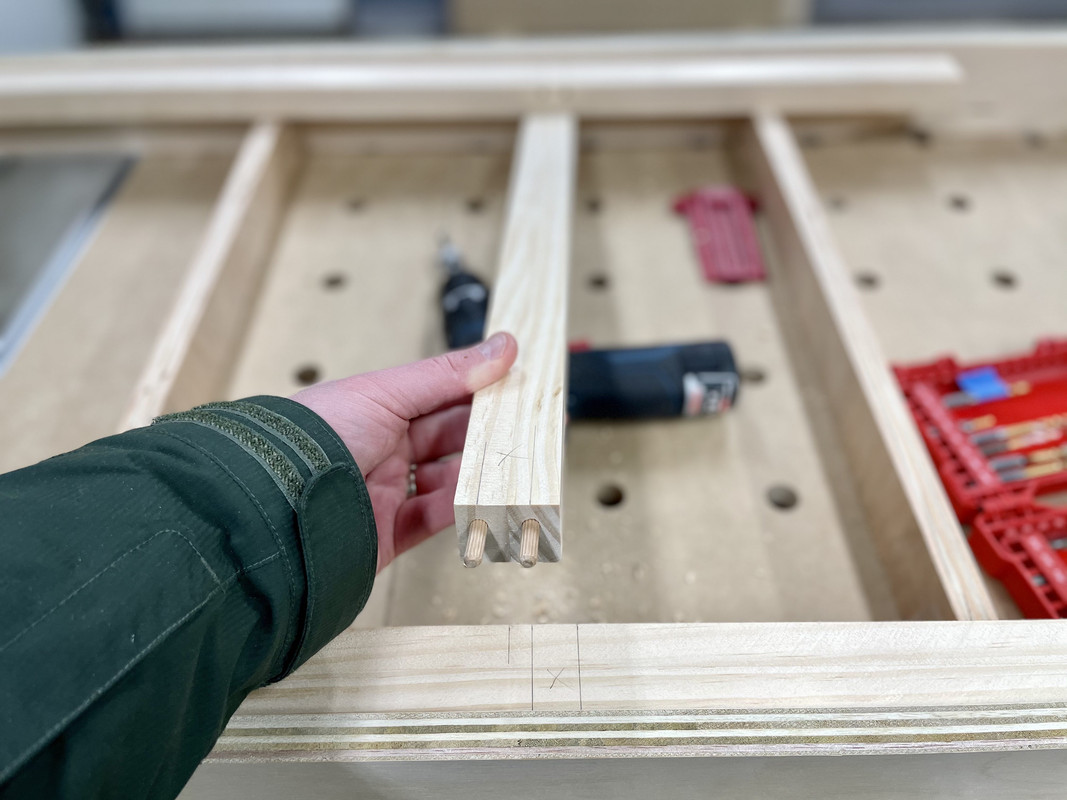
Finally, the legs receive a cross brace for which I used dowels:
I've probably said this before, but I like dowels for joinery, I just don't like any of my doweling jigs. They never seem to give perfect results.
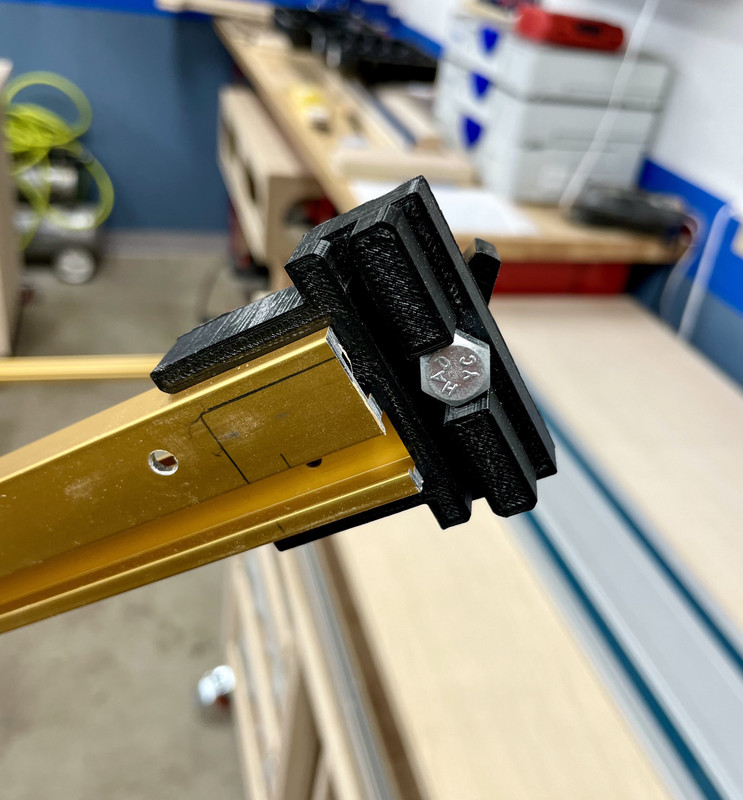
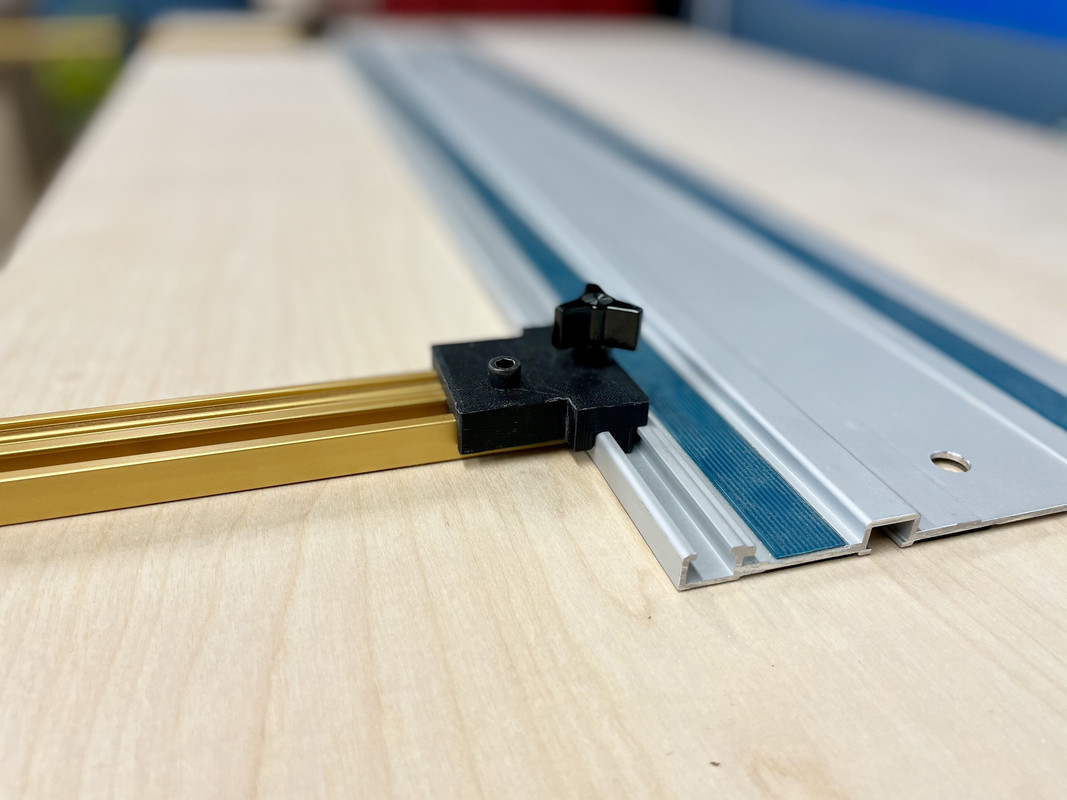
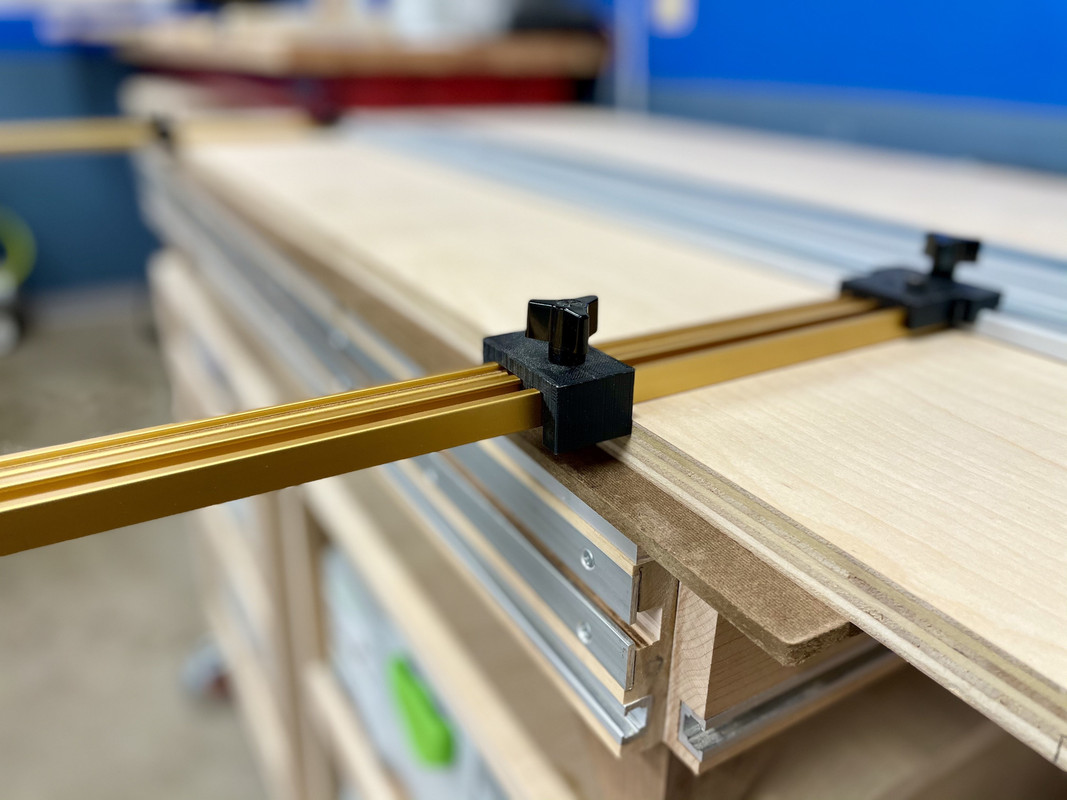
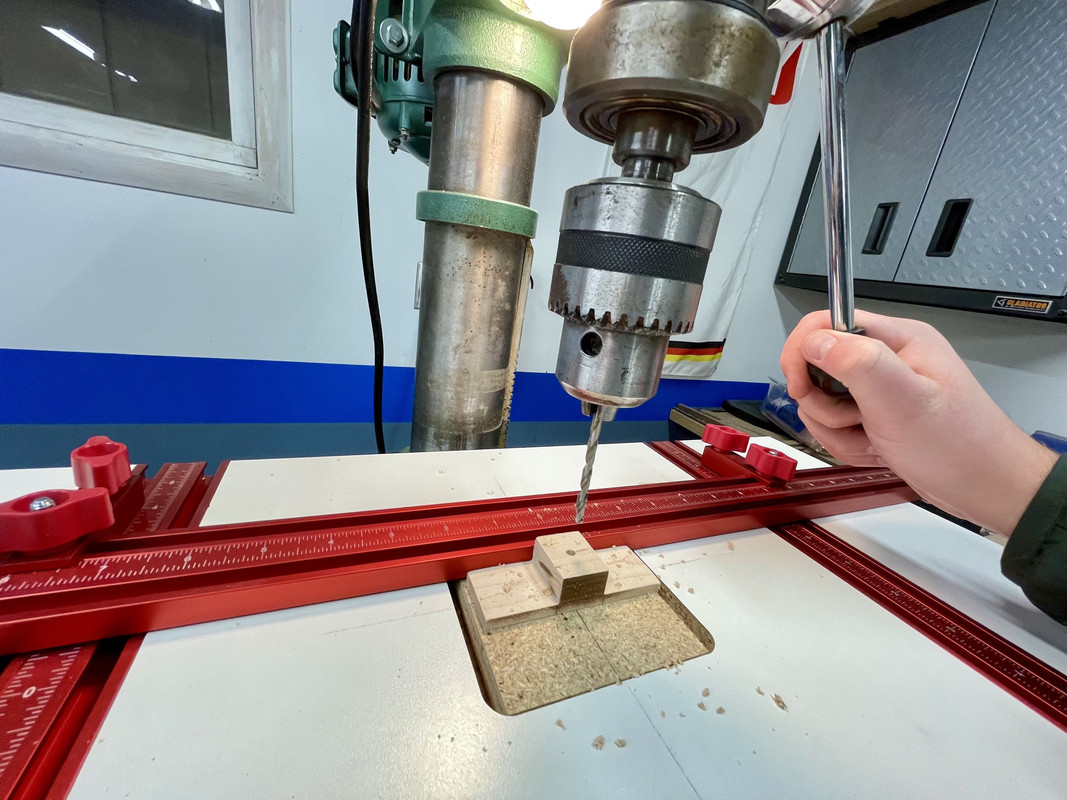
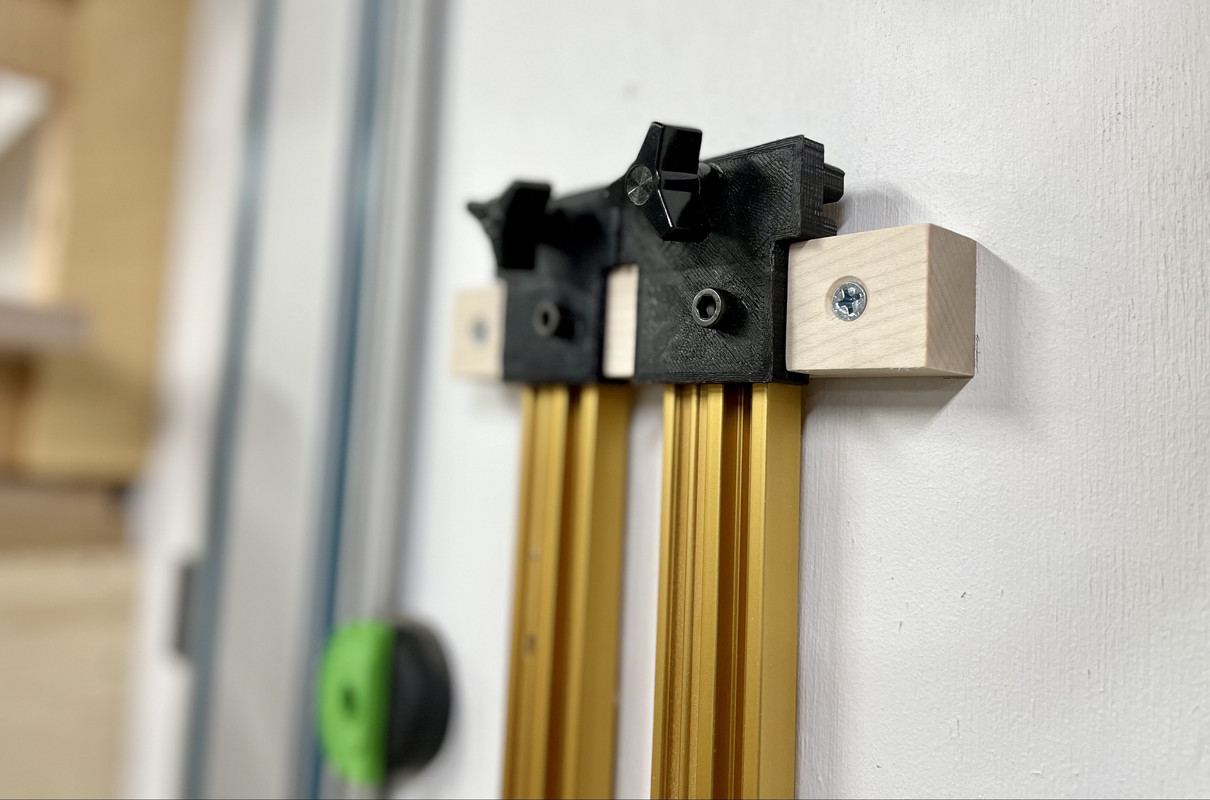
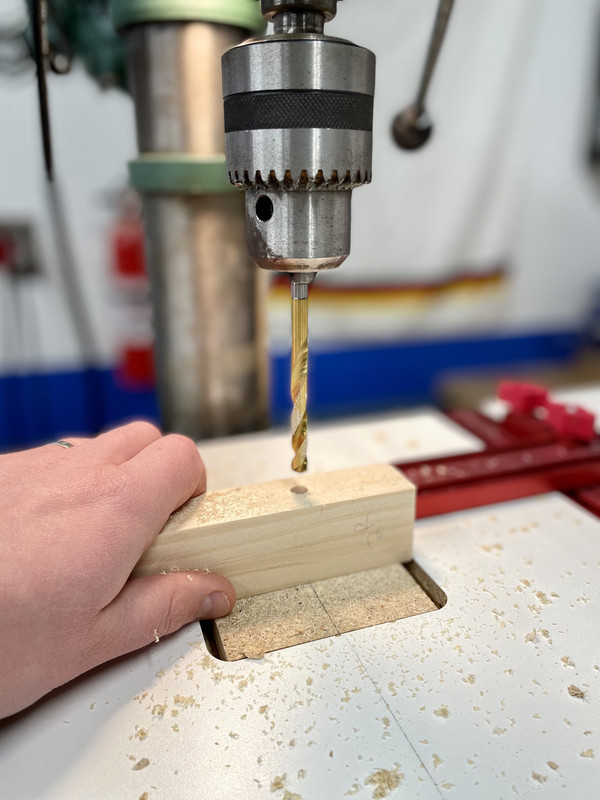
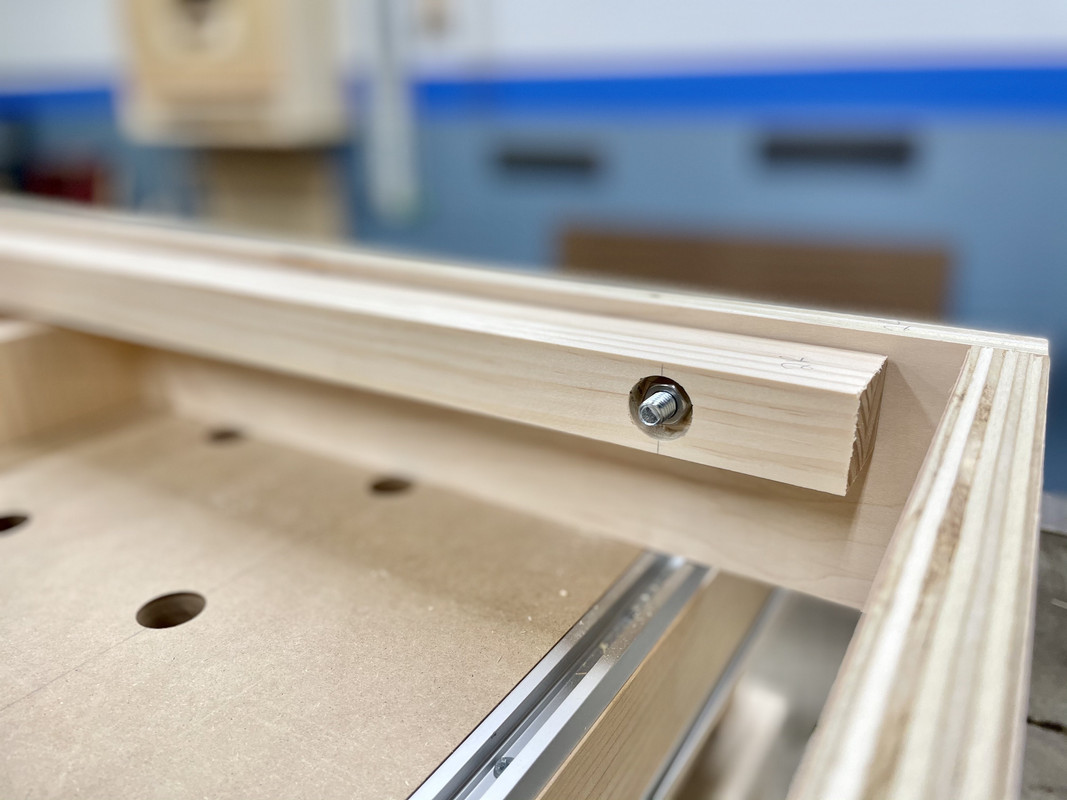
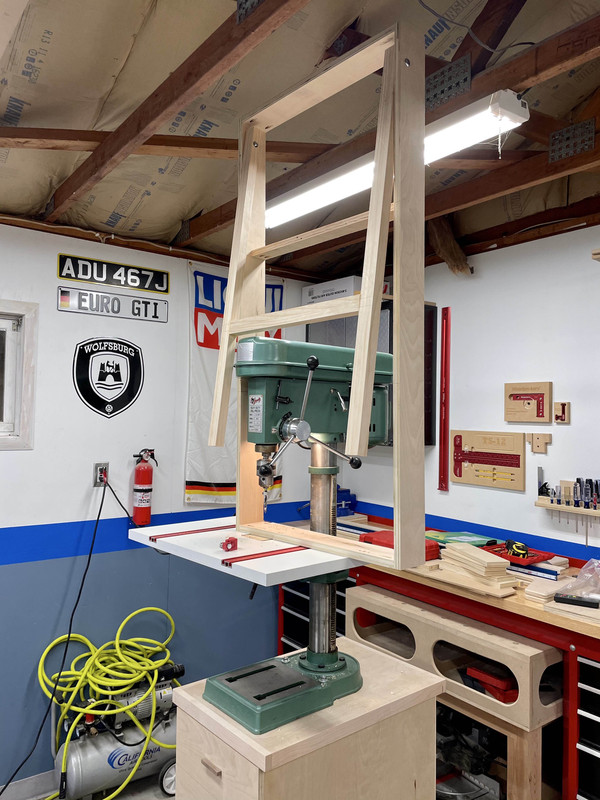
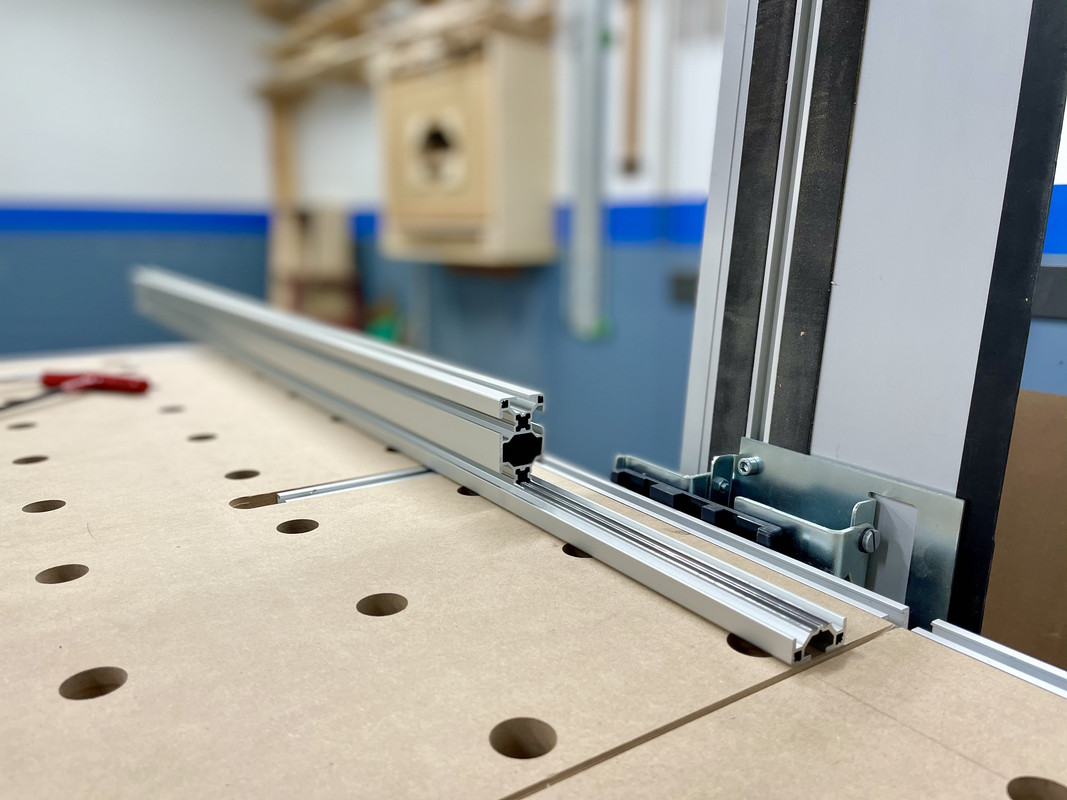
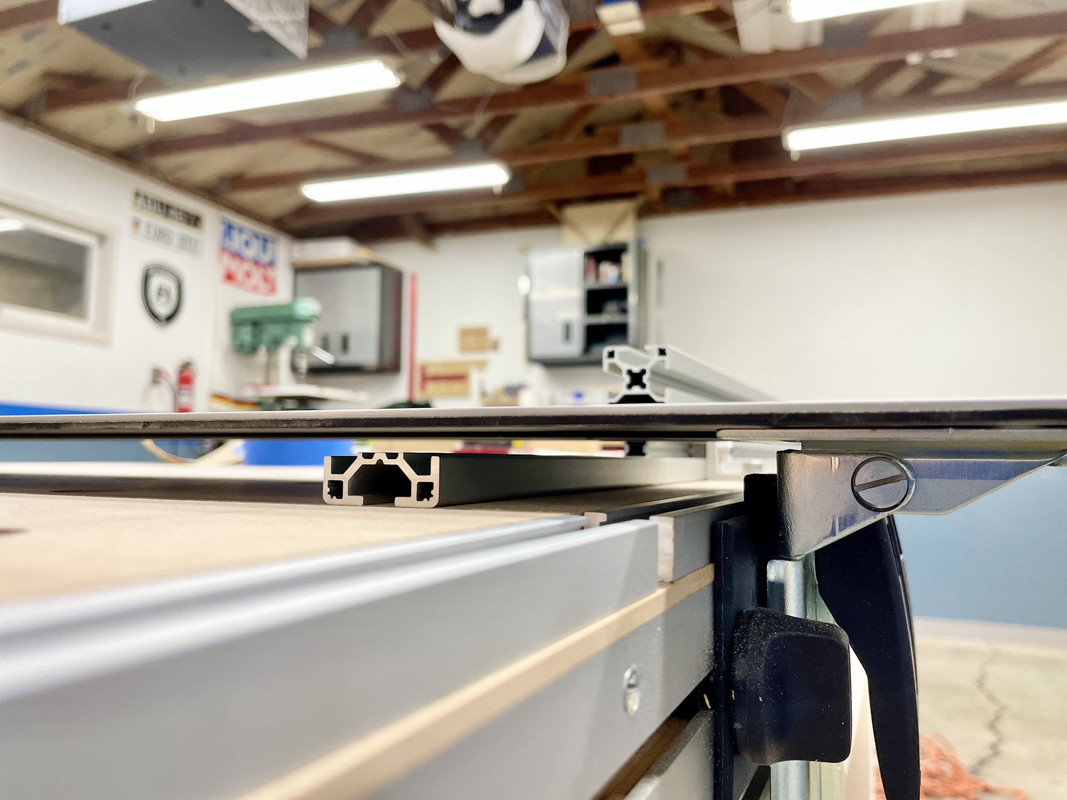
Here's where things get silly. To attach to the MFT T-track I needed to place two 1/4 20" hex bolts at just the right spot to make the surfaces flush. I tried drilling by hand and it was off. So I unscrewed one of the frame stretchers and placed the hole assembly on the drill press.
And used the wrong size drill bit.
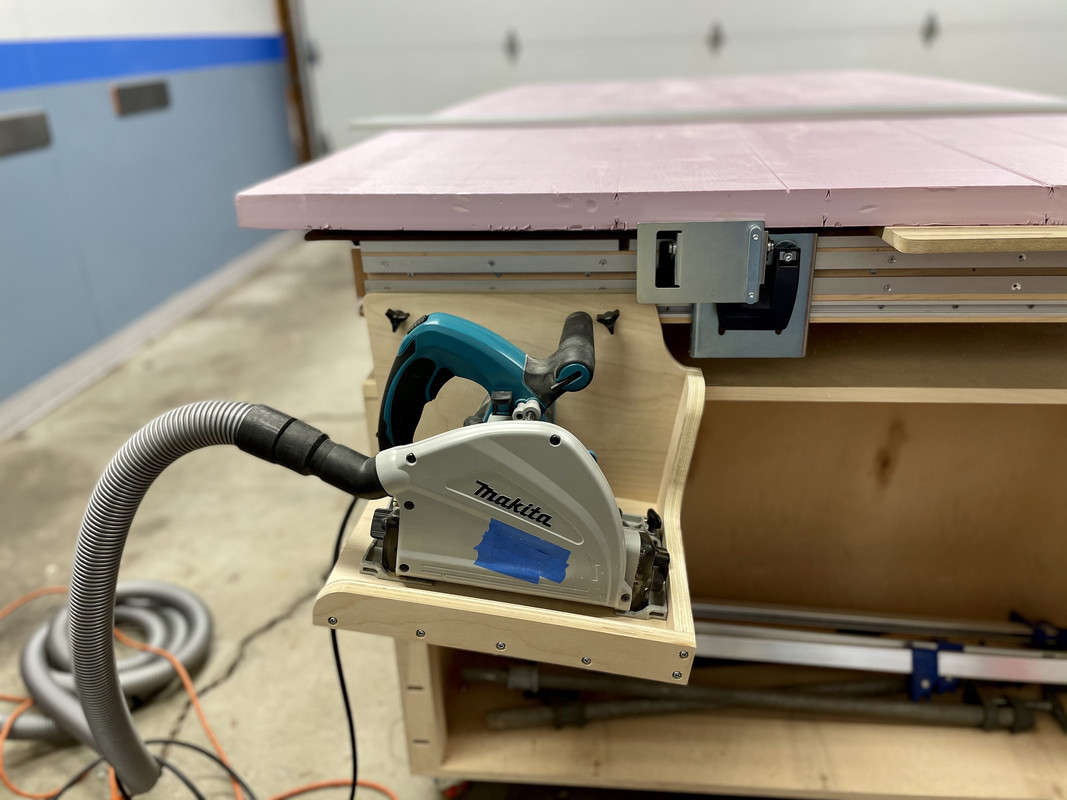
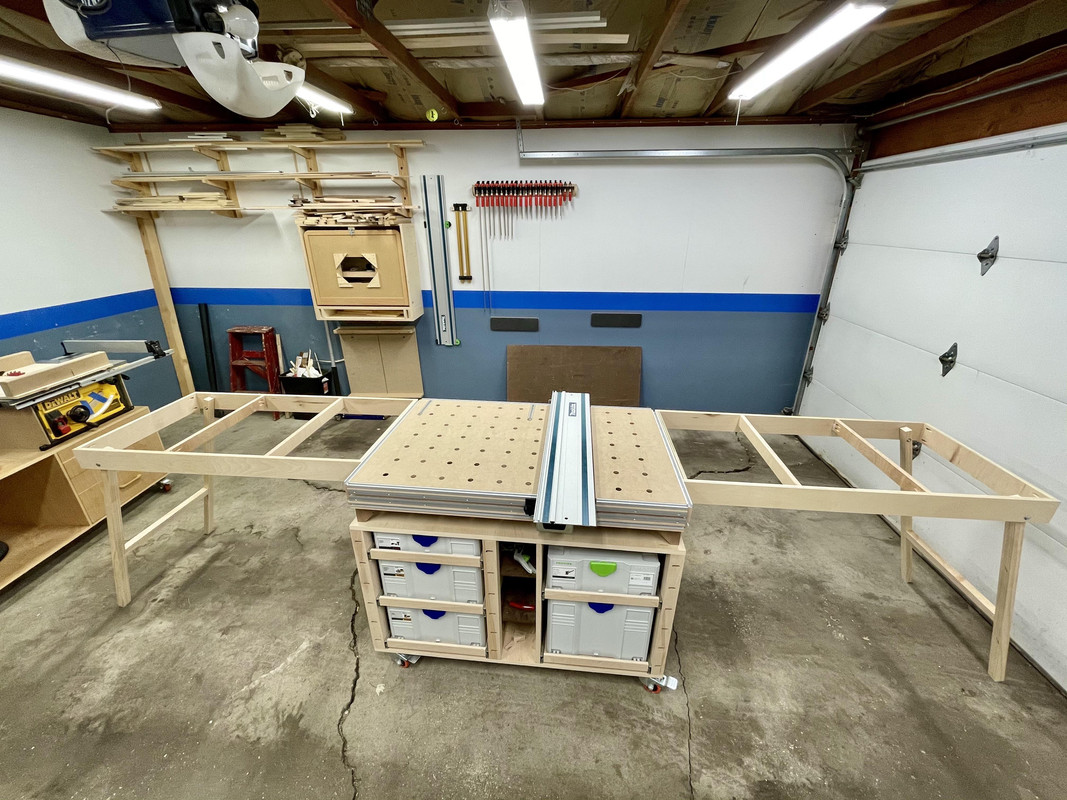
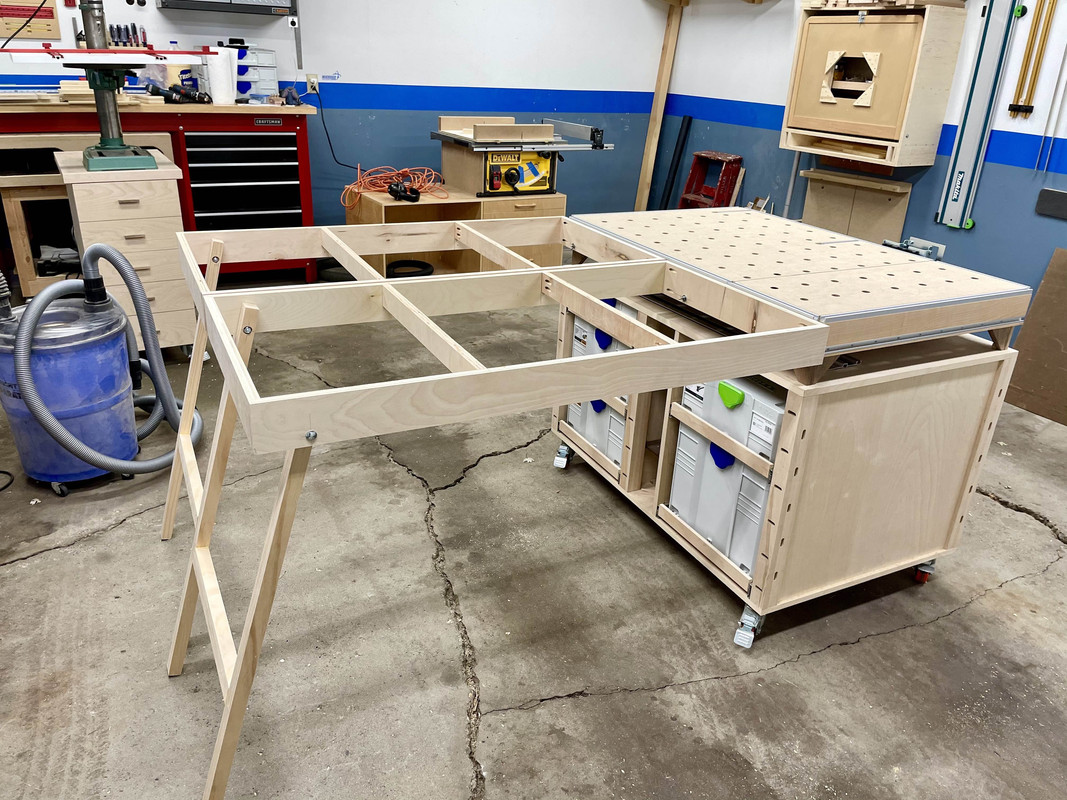
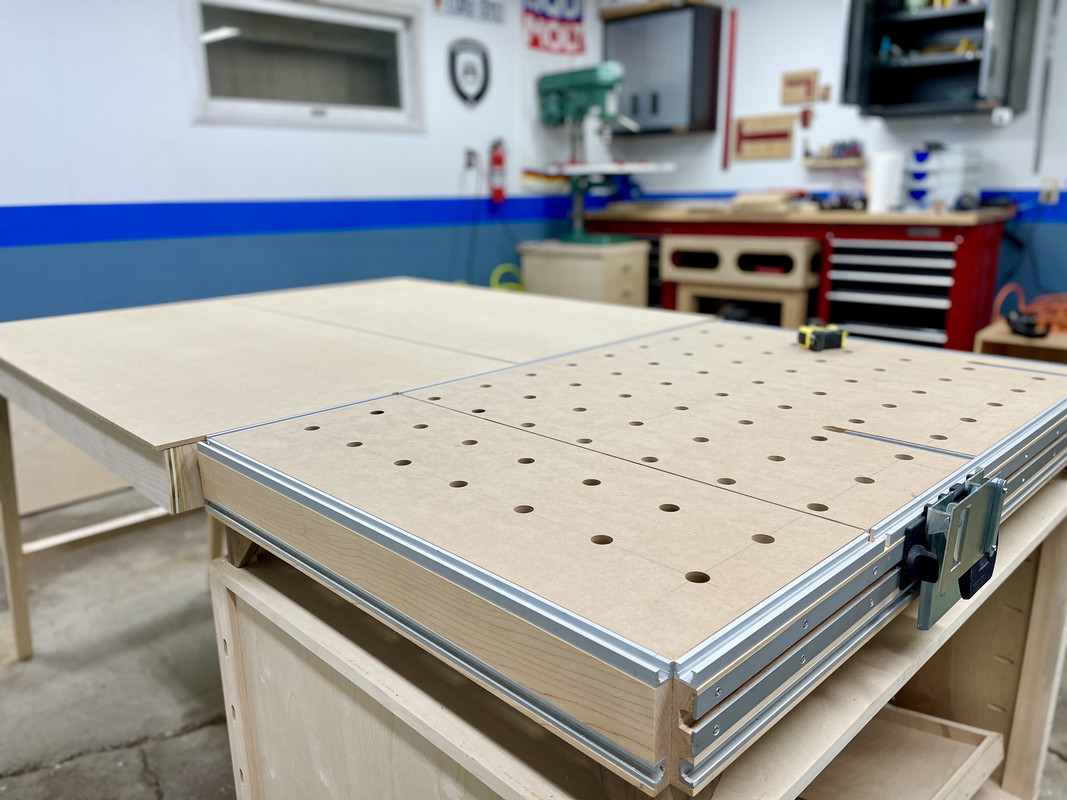
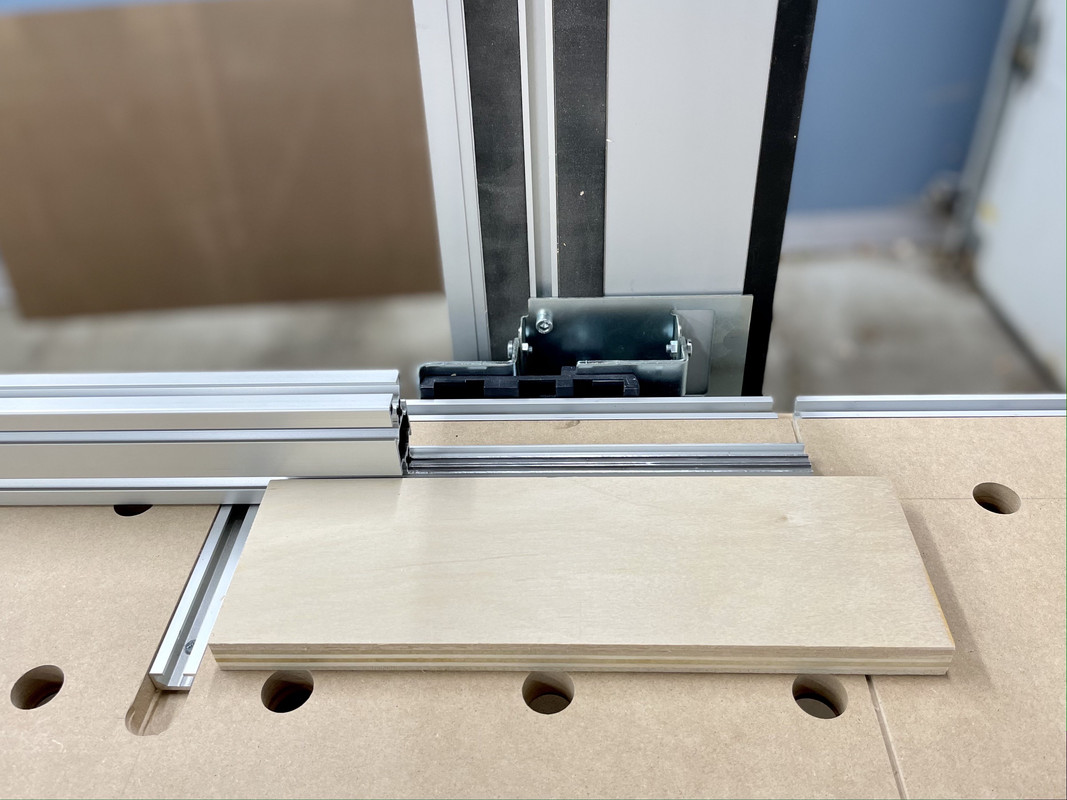
Too many holes later I think I'm finally done. This is the basic configuration, providing extra workspace and off cut support for long stock.
But the main reason I made them is for this configuration:
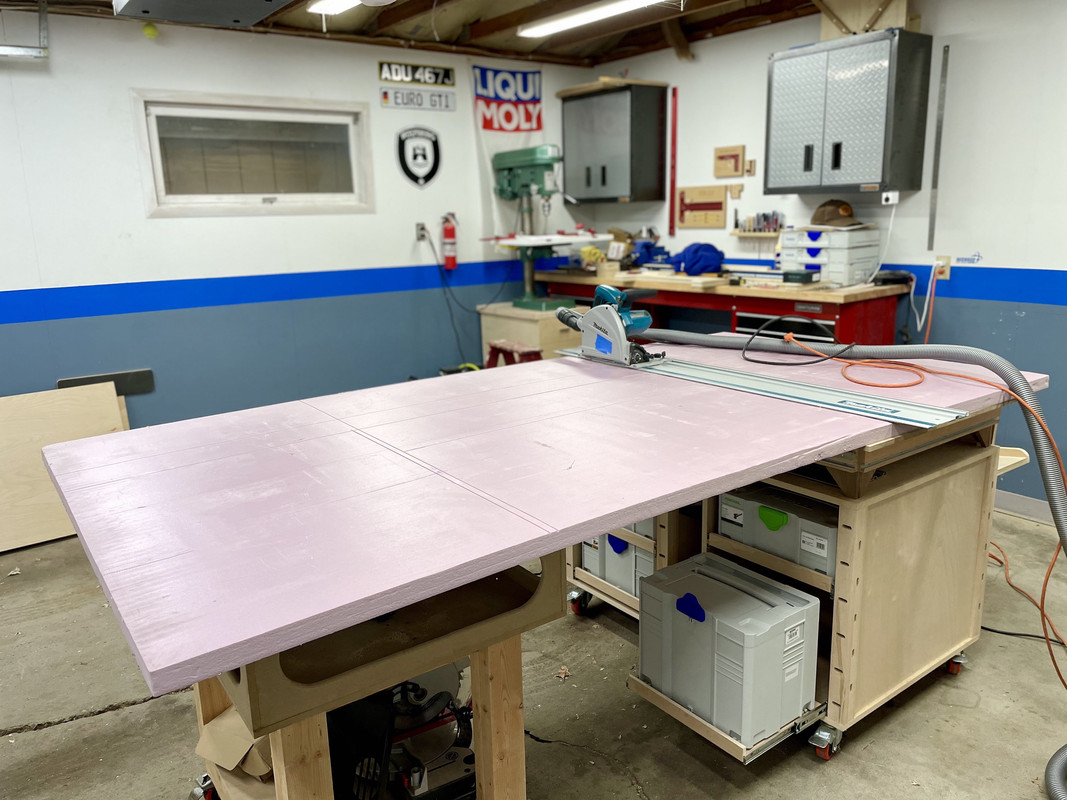
It's not quite 96", but the idea is throw the insulation foam on top to support a full 4'x8' sheet of plywood for breakdown.
They will get 1/4" MDF tops, still deciding if I should give them the holey-pattern treatment:
They are not quite finished, I still need to add stops for the legs, adjustable feet for the legs, some magnets so the legs stay folded, and some french cleats so I can hand them on the wall.
But overall their footprint is small:


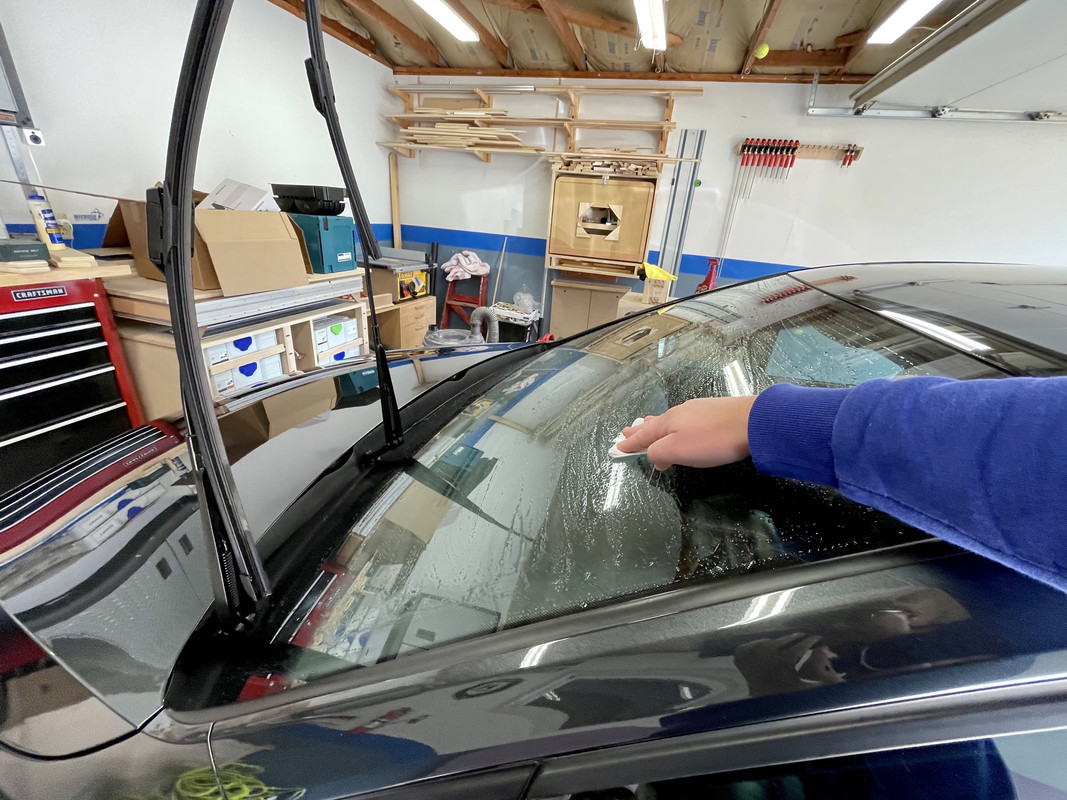
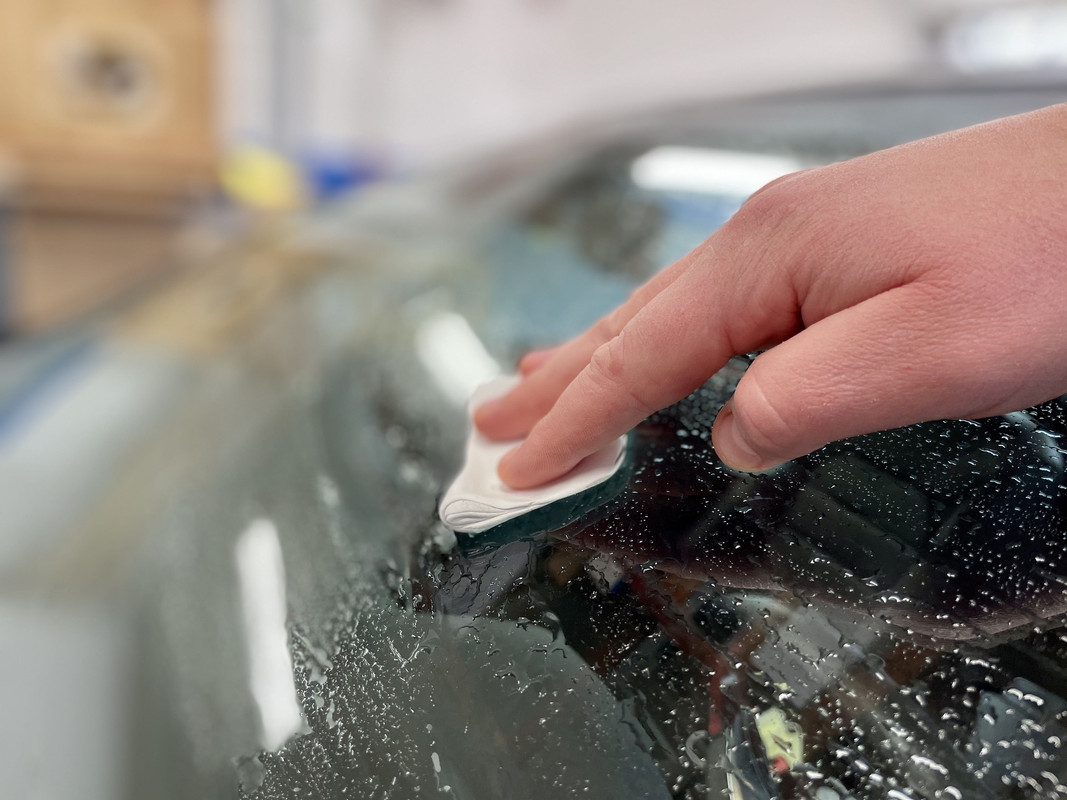
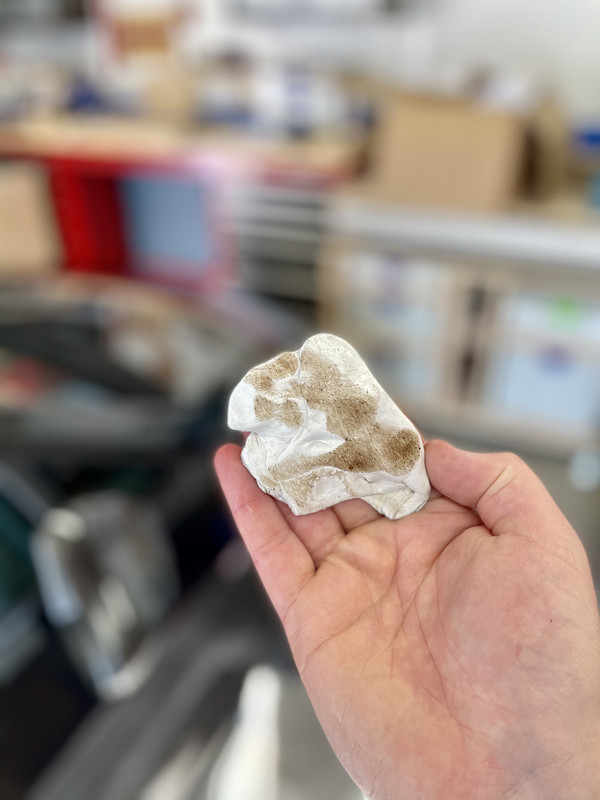
 I'm not a "detailer" by any means but I try to clay bar the car before and after winter to maintain the paint.