Finallygotit
ALLIANCE MEMBER
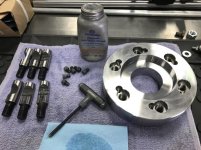
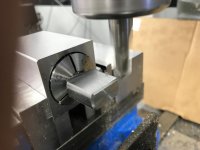
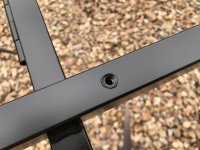
Nice work Paco! That jig slides effortlessly. 


")

Beautiful work on the chuck jig Paco.
Work of art right there.
That’s slick Paco, nice job!
Nice job Paco, that will go on my to-do list once the new shop is all set up.
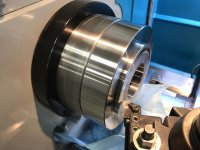
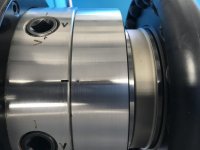
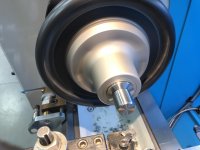
That is a really great design, I have never thought of using that material but it makes perfect sense! I have a 15" chuck, D1-6 somewhere (not used often) and that thing is silly heavy.
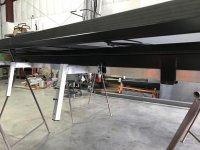
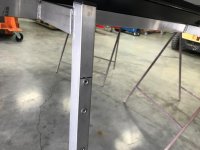
Maybe time for a jib crane or a back-to-back unistrut monorail over the lathe
I got & cut down this one for my weld area and its additive, now I'm preparing one for the middle of this shop and could see another one for my lathe and mill...
It claims only 125 lbs via official sticker but I find the dimensions identical with those with capacity of 250#...
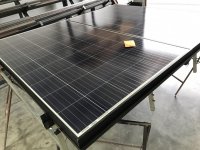
Apologize in advance for posting a picture into your thread....I've never figured out if that's bad internet etiquette or not, my reason is just to illustrate the point rather than typing a bunch of words....but would gladly take it down if anyone sees it as an issue too.
...........The best part is no heat generated like the old halogen bulbs.


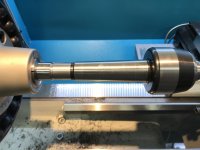

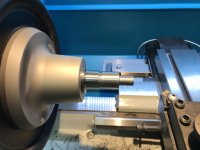
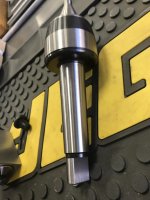
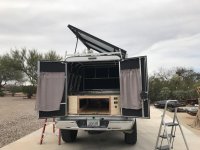
Beautiful work Paco. Much more elaborate than my ejector.
I used a piece of all-thread threaded into the end and then a dab of weld on the end to make up the last 1/8" or so. I always intended to go back and make something nicer but it works and I never pushed the issue nor made the time. Now it looks like I may have to because mine looks like *** compared to yours.
Paco,
If you're looking for a threading insert with more than 2 sides like your Kennemetal Top Notch inserts, you might want to look at Sandvik. Unlike the more familiar vertical triangular insert used by Valenite and others, Sandvik makes a horizontal triangular insert. It is even available in specific pitch sizes if you want to "top" the threads you are cutting. You can see more at this link: https://www.sandvik.coromant.com/en...to-choose-thread-turning-insert-and-shim.aspx and it explains it better than I could with just words.


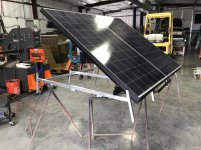


Wow, that's cool! Impressive design with the 2-way tilt. Am I understanding it correctly that the user chooses which piano hinge to "release" via the DeStaCo clamps and then the strut goes under that edge?
I was also admiring your sawhorses in the pics above. Seem very lightweight and easy to use for light stuff like that! Maybe 3/4" round tubing? I'm thinking they also fold flat...
Another top notch product Paco!. I sure wish we were a bit closer, I've been jonesing to build something.......anything. lol
After Zmotorsports and I discussed it in his thread I reached out to Paco but got no response. So I decided to do the morbid thing and search the obit’s as I have all his contact info and thank god didn’t find anything. Hopefully everything is good and he just burned out on his online presence.