crazybrit
Well-known member
Off topic but searching here I see "prior art" so .....
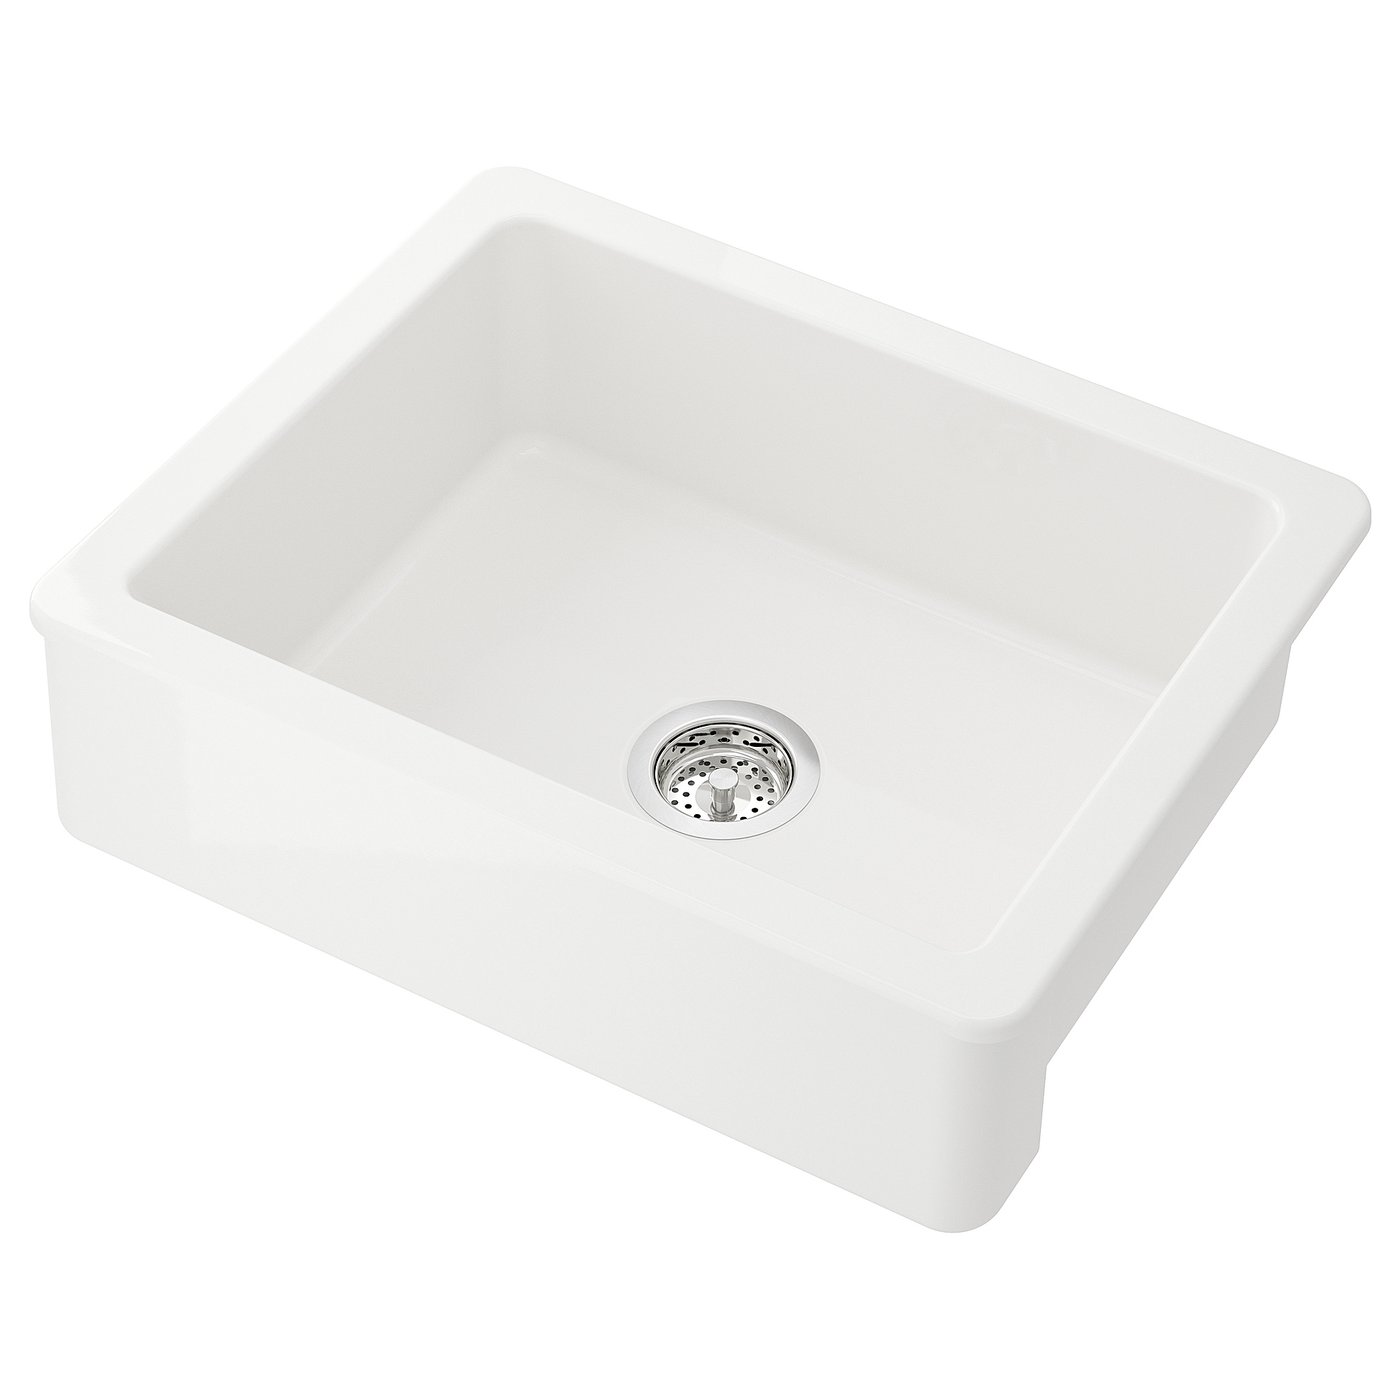
I managed to crack our Corian sink It's built into the Corian counter. Two cracks, both from the drain across entire bottom of sink and one extends 2" up the side. I've seen claims you can epoxy but I don't believe it, especially given size of the cracks. I read a couple of threads where someone tried it on a much smaller crack and the repair failed. We dislike the kitchen and plan to do a full remodel in next few years but until then need a "temporary" fix.
The bowl dimensions (where it transitions from granite to white in attached photo) is 21" x 15 3/4". Counter depth is 25-1/4" The problem is that the undercabinet is only 23" wide.
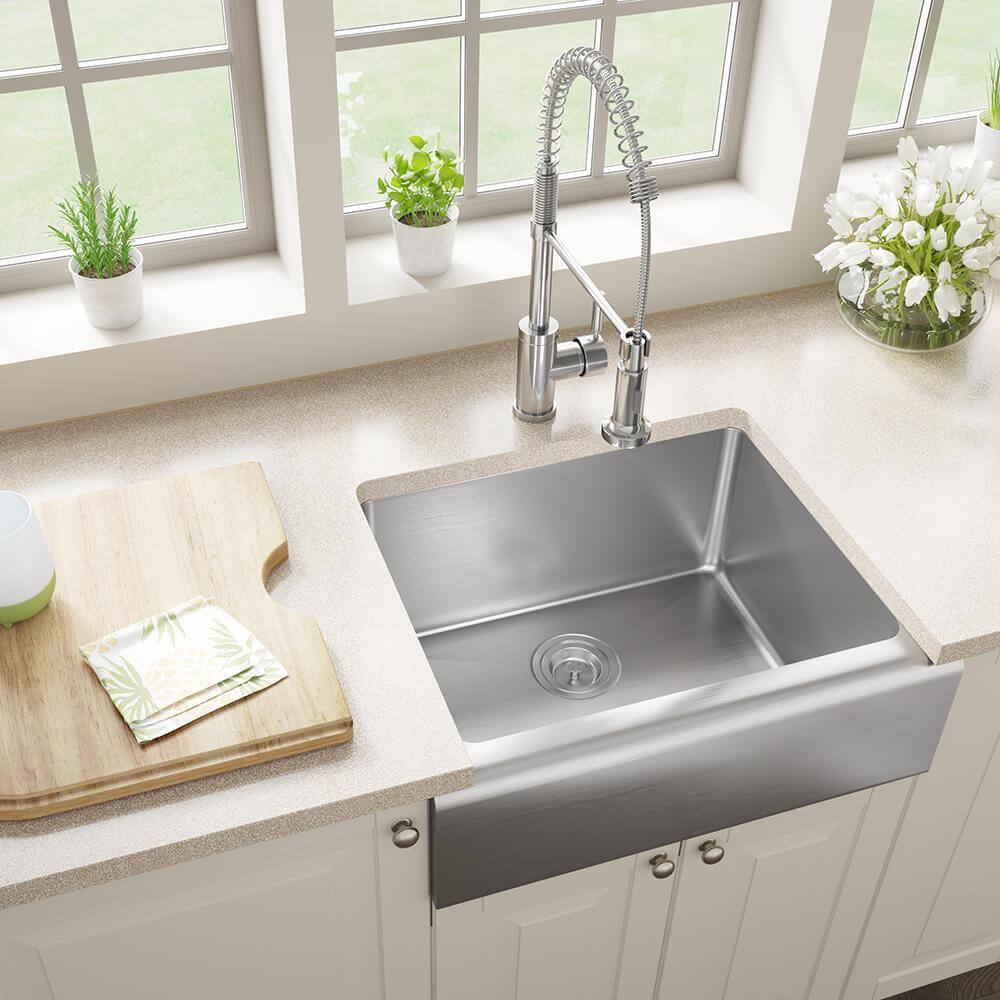
Local plumbing store suggested this Elkay. The bowl size is pretty much spot on but it turns out the actual cut out is much larger than the bowl, 24-3/8" x 21-3/8" in order to accommodate the channels spot welded to the underside of the sink that attach the counter clamps. The specs are for a 30" wide cabinet. As I said, our cabinet is only 23" wide so the clamps are basically directly over the walls of the cabinet/into the adjacent cabinets. To the left is a dishwasher so I could maybe cut away the top of the cabinet wall to gain access but the right is a set of drawers including a pull out cutting board and the wall thickness is much larger.
I have several routers and carbide tipped bits and I'm fairly confident I can get the sink out but I'm concerned I'm opening up a pandoras box in terms of using this particular replacement and so want to pause and think before ordering it. Right now there is a 5g bucket under the sink which at least means the sink can be used.
A smaller sink isn't ideal (practically) but it's the obvious option but I'm not finding much, especially inexpensive.
There is a company www.backtoperfection.com (seems like a franchise) that supposedly cuts out the old sink and glues a new corian replacement (same size) but I cannot get them to give me an estimate. I suspect I won't like the price anyways and given we plan a remodel in the near-future I'm not sure it's money well spent.
Hoping someone here can help me think outside the box. Thanks!
I managed to crack our Corian sink
It's built into the Corian counter. Two cracks, both from the drain across entire bottom of sink and one extends 2" up the side. I've seen claims you can epoxy but I don't believe it, especially given size of the cracks. I read a couple of threads where someone tried it on a much smaller crack and the repair failed. We dislike the kitchen and plan to do a full remodel in next few years but until then need a "temporary" fix.The bowl dimensions (where it transitions from granite to white in attached photo) is 21" x 15 3/4". Counter depth is 25-1/4" The problem is that the undercabinet is only 23" wide.
Local plumbing store suggested this Elkay. The bowl size is pretty much spot on but it turns out the actual cut out is much larger than the bowl, 24-3/8" x 21-3/8" in order to accommodate the channels spot welded to the underside of the sink that attach the counter clamps. The specs are for a 30" wide cabinet. As I said, our cabinet is only 23" wide so the clamps are basically directly over the walls of the cabinet/into the adjacent cabinets. To the left is a dishwasher so I could maybe cut away the top of the cabinet wall to gain access but the right is a set of drawers including a pull out cutting board and the wall thickness is much larger.
I have several routers and carbide tipped bits and I'm fairly confident I can get the sink out but I'm concerned I'm opening up a pandoras box in terms of using this particular replacement and so want to pause and think before ordering it. Right now there is a 5g bucket under the sink which at least means the sink can be used.
A smaller sink isn't ideal (practically) but it's the obvious option but I'm not finding much, especially inexpensive.
There is a company www.backtoperfection.com (seems like a franchise) that supposedly cuts out the old sink and glues a new corian replacement (same size) but I cannot get them to give me an estimate. I suspect I won't like the price anyways and given we plan a remodel in the near-future I'm not sure it's money well spent.
Hoping someone here can help me think outside the box. Thanks!


") Once I cut out the old sink I'm going to have a hole 21-1/4 by 16. I don't see how I'd get an undermount that fits that cutout into a 23" wide cabinet. Sinks designed for a 24" wide cabinet generally have a 18.5" wide cutout.
Once I cut out the old sink I'm going to have a hole 21-1/4 by 16. I don't see how I'd get an undermount that fits that cutout into a 23" wide cabinet. Sinks designed for a 24" wide cabinet generally have a 18.5" wide cutout.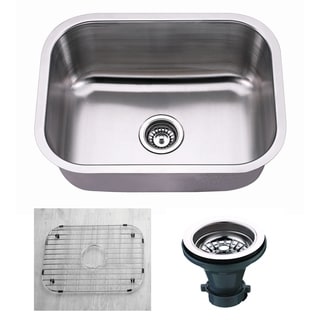


 , but that’s just me