
Rhyno
Well-known member
Here's my contribution to a topic that is still debated and wondered about.
I built a good parts washer well over 20 years ago, and now I need another one. Unfortunately, the first one was built for someone else, with their money, so I don't have access to it.
I have been needing to do this for a few years, but now it is finally the right time, again.....
I had some parts for a "By-Pass" oil filter that I was supposed to install on my last 5.9L Cummins. That project got "shelved," and I have been shuffling the parts around. The parts included some custom length, fuel/oil rated hoses and fittings. (Fuel is considered a solvent) I also had a common filter and filter housing that is used in the Medium to Heavy trucking industry.
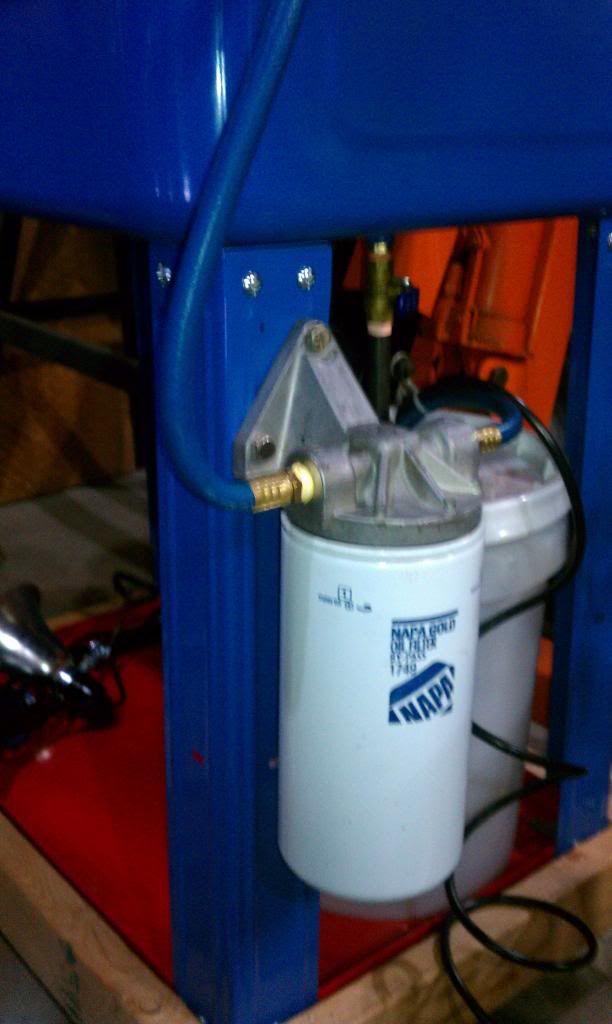
http://i1219.photobucket.com/albums/dd424/BlueLightRhyno/PartsWasherBuild/ByPassFilter.jpg
I got some motivation, and 25% coupon and headed to HoBo Freight. I bought the washer for $94.99 - 25% and also a small "Dolly" for $9.00.

http://www.harborfreight.com/movers-dolly-93888.html
The dolly gave me 4 casters, nuts, washers, and bolts. (plus some firewood with caustic smoke.)
I lowered the parts washer shelf by measuring and drilling. I can't remember the exact numbers, but the shelf will now allow the 17" Five Gallon bucket. While I was there, I drilled and tapped and added some fittings, a 1/4 turn valve, and a short ******. I used Epoxy to secure the fittings to the basin. (Glued and Screwed)
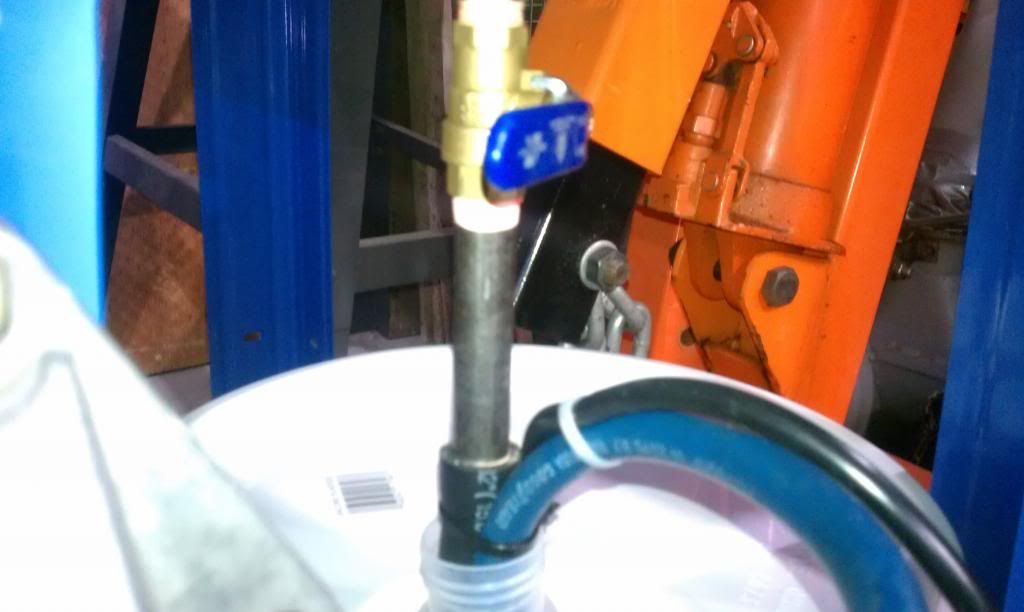
http://i1219.photobucket.com/albums/dd424/BlueLightRhyno/PartsWasherBuild/DrainValve.jpg
http://i1219.photobucket.com/albums/dd424/BlueLightRhyno/PartsWasherBuild/EpoxiedDrainFitting.jpg
I cut some scrap MDF, lined the perimeter with some 2x4 scraps and attached the casters from the HoBo Dolly. This was made to have a tight fit and is used as a base. I also mounted the metal shelf upside down. That way there is a stop to keep stuff from falling off of the back and sides.
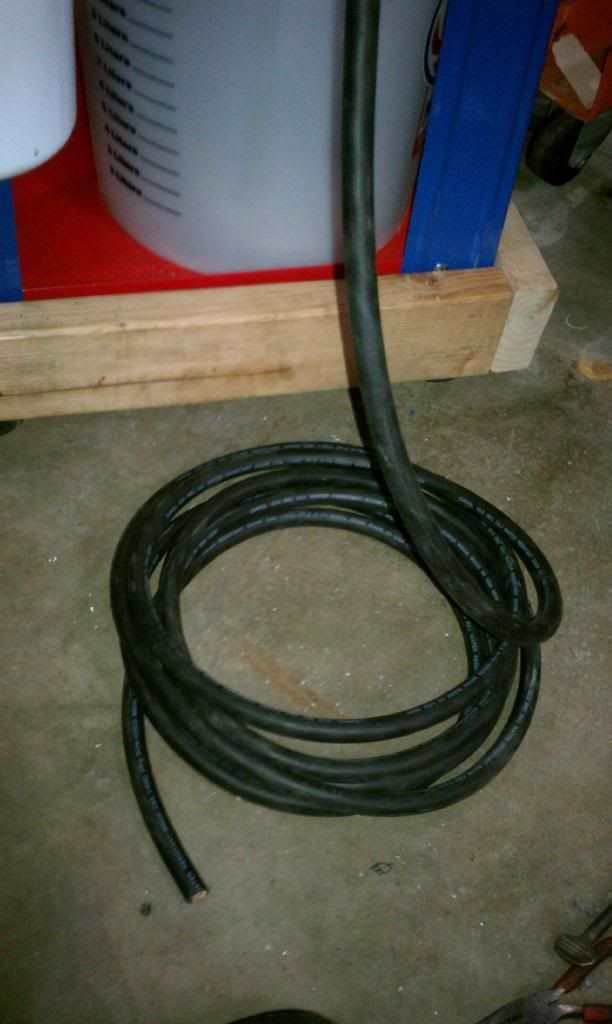
http://i1219.photobucket.com/albums/dd424/BlueLightRhyno/PartsWasherBuild/18FtCord.jpg
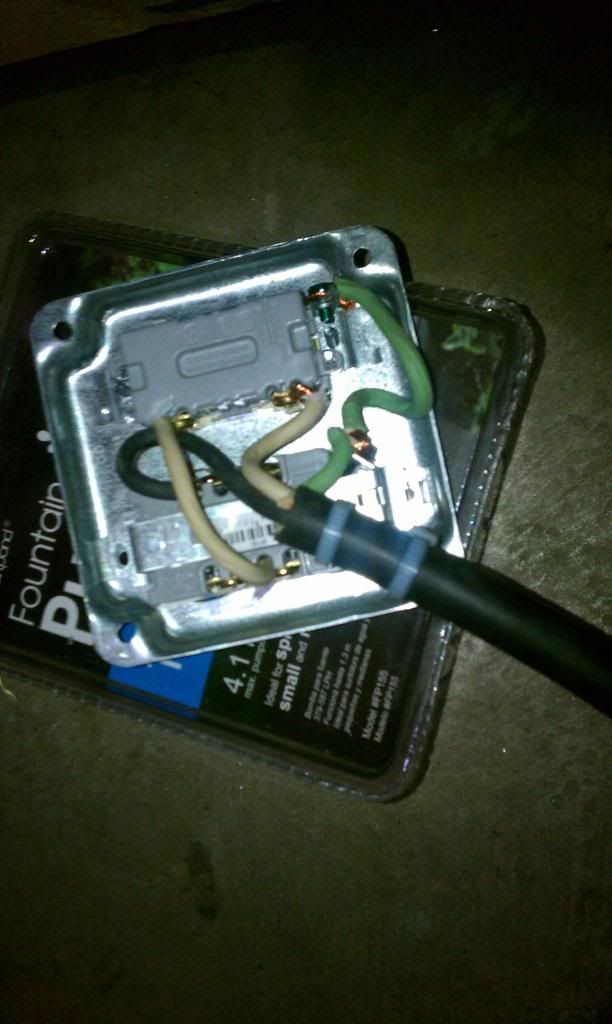
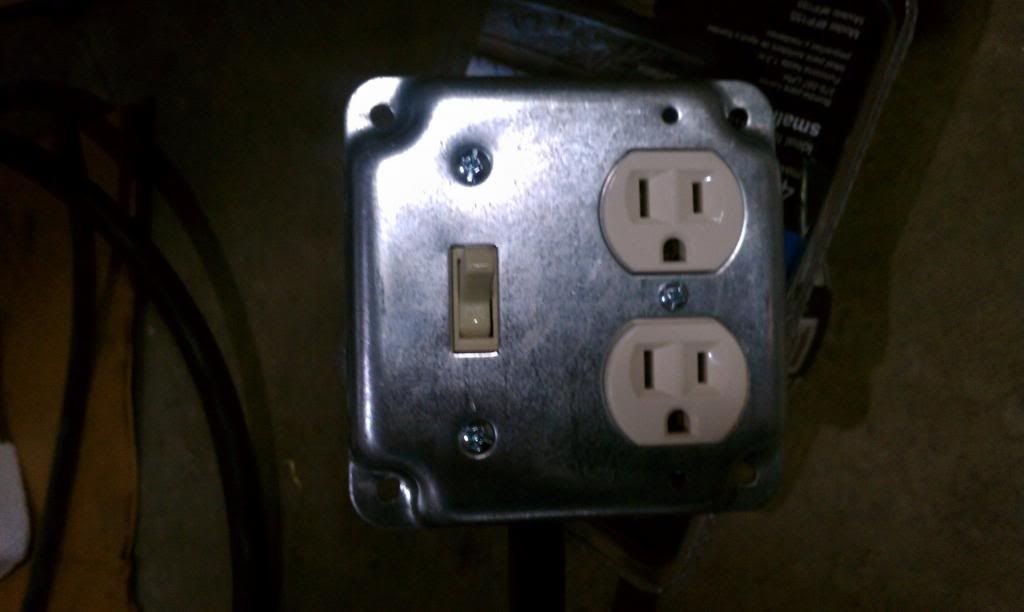
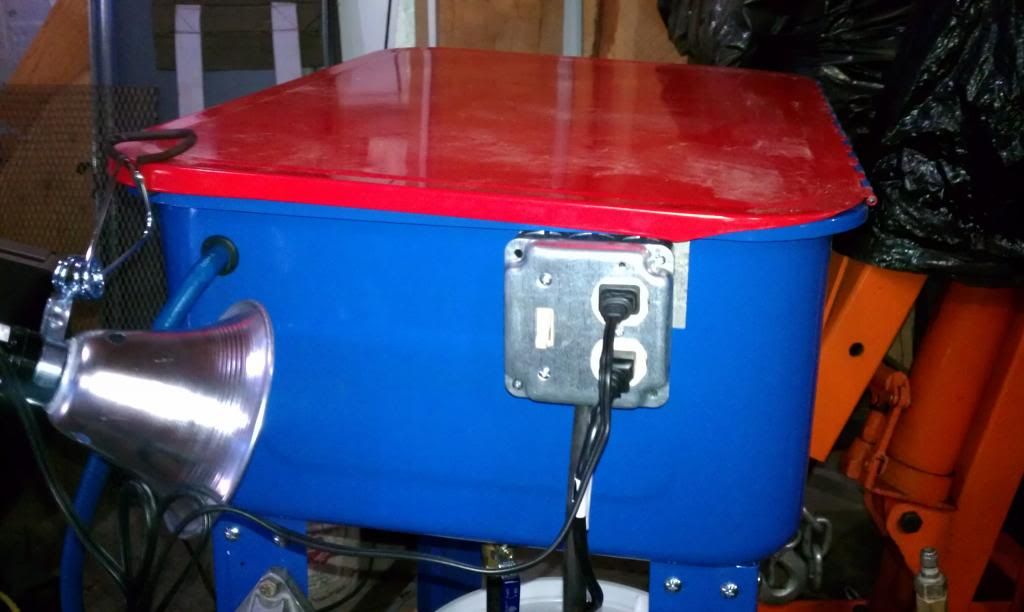
My garage doesn't have a lot of electrical outlets, so I put on an 18 foot cord. (of course another garage surplus) This was after wiring up a junction box so that a switch controlled the electricity to two outlets and also cosmetically covered a hole in the basin. The inside edge was covered by a piece of Aluminum, clamped between 2 pieces of steel channel and "Hammered" into perfection.
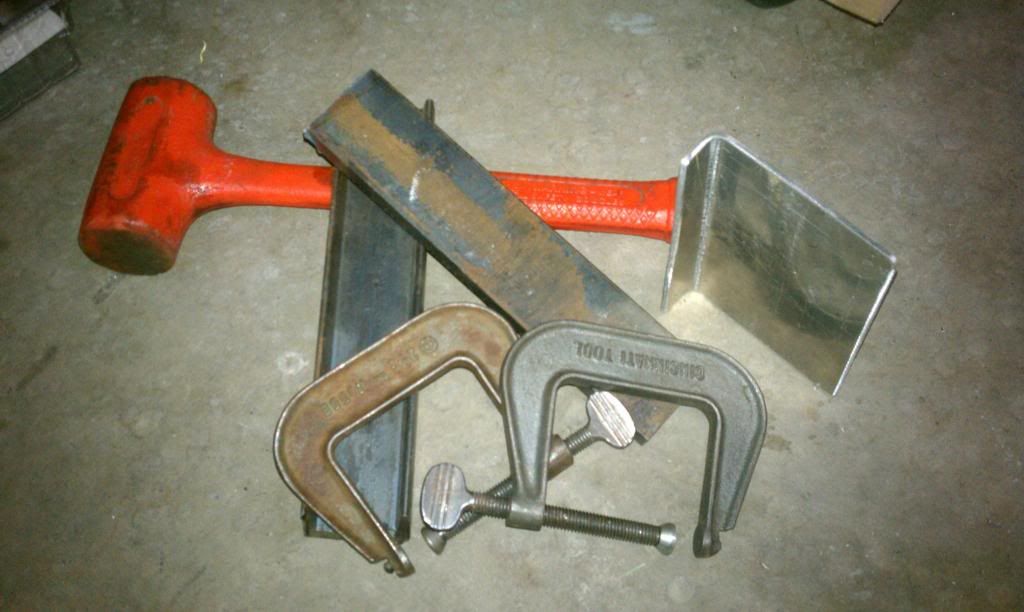
http://i1219.photobucket.com/albums/dd424/BlueLightRhyno/PartsWasherBuild/AlumBenderTools.jpg
The Aluminum and junction box were then Pop Riveted together.
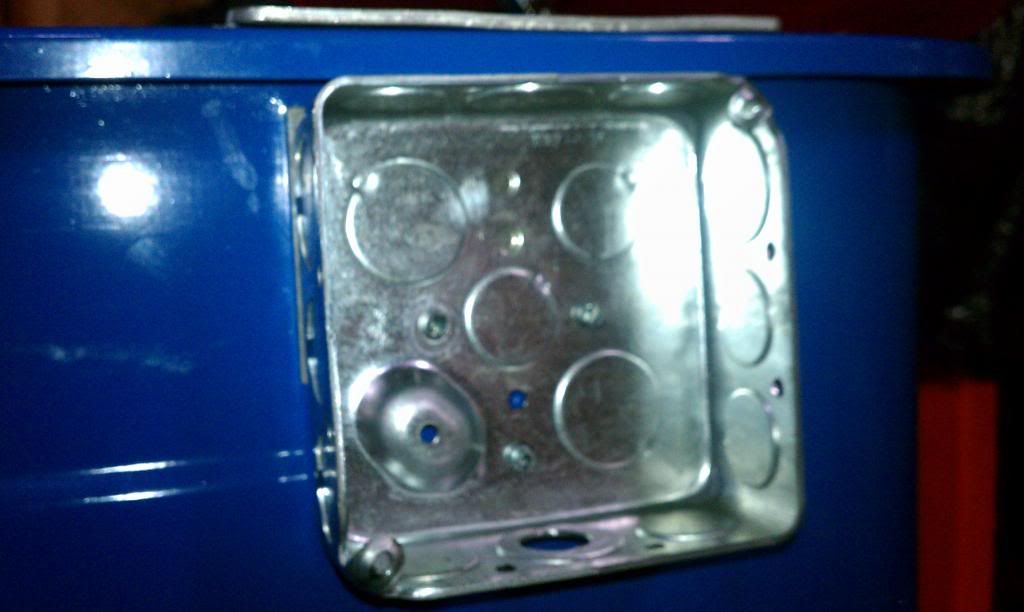
http://i1219.photobucket.com/albums/dd424/BlueLightRhyno/PartsWasherBuild/SwitchBoxPopRivet.jpg

http://i1219.photobucket.com/albums/dd424/BlueLightRhyno/PartsWasherBuild/TestFit2.jpg
http://i1219.photobucket.com/albums/dd424/BlueLightRhyno/PartsWasherBuild/PlugSwitchWire.jpg
http://i1219.photobucket.com/albums/dd424/BlueLightRhyno/PartsWasherBuild/PlugSwitchFront.jpg
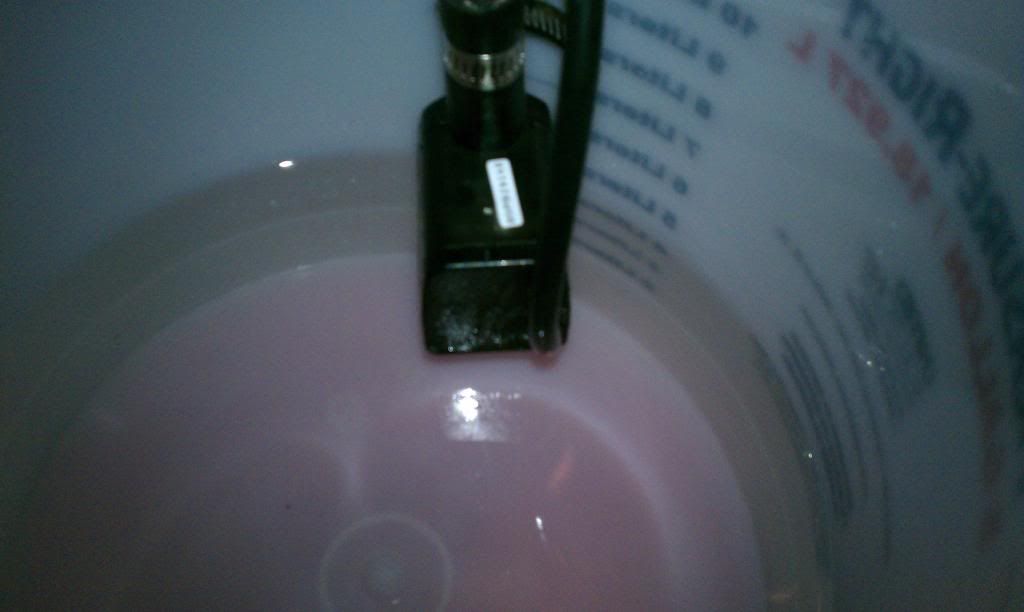
Drilled and added a grommet for the pressure hose. It just flops around....it does have a brass fitting and kind-of simulates a nozzle.
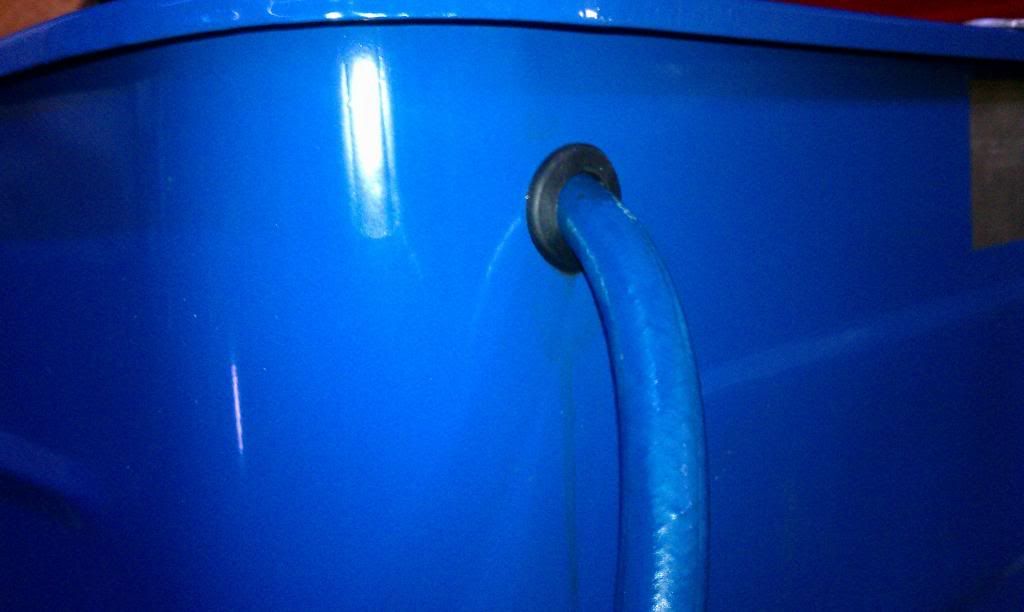
http://i1219.photobucket.com/albums/dd424/BlueLightRhyno/PartsWasherBuild/OilHoseGrommet.jpg
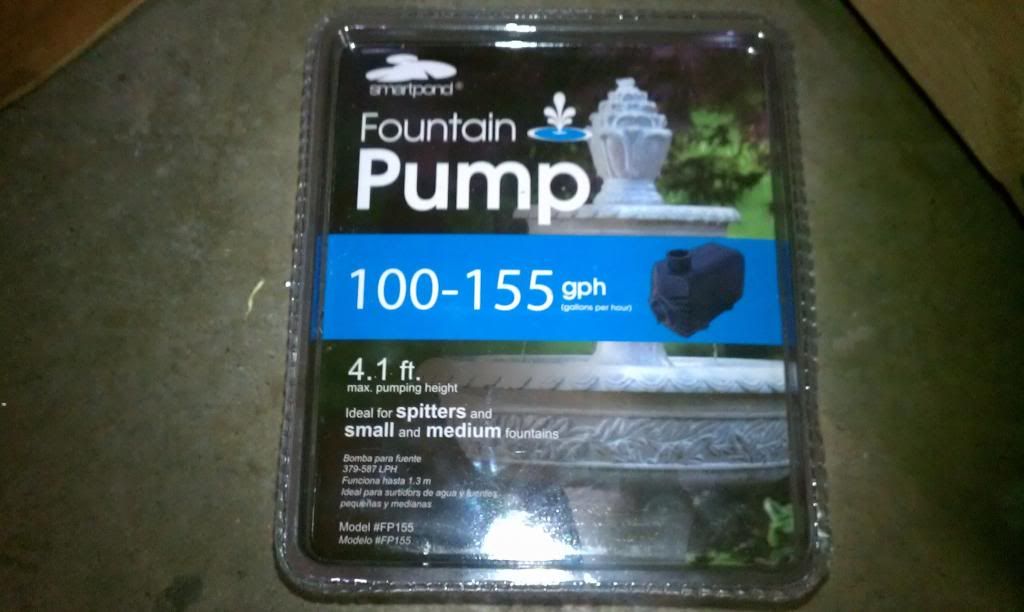
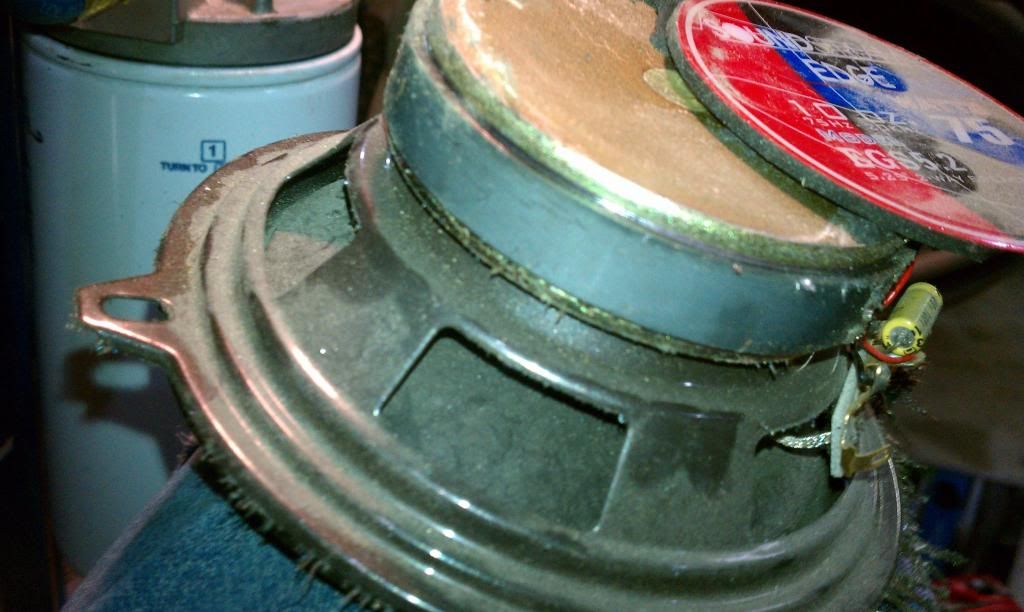
I used a Submersible Pond Pump from Lowes. I think that it was close to $19.99. It hangs from the pressure line, and is close to 3.5 inches off of the bottom. I didn't add any filtering, other than water filled to 2 inches below the bottom of the pump.
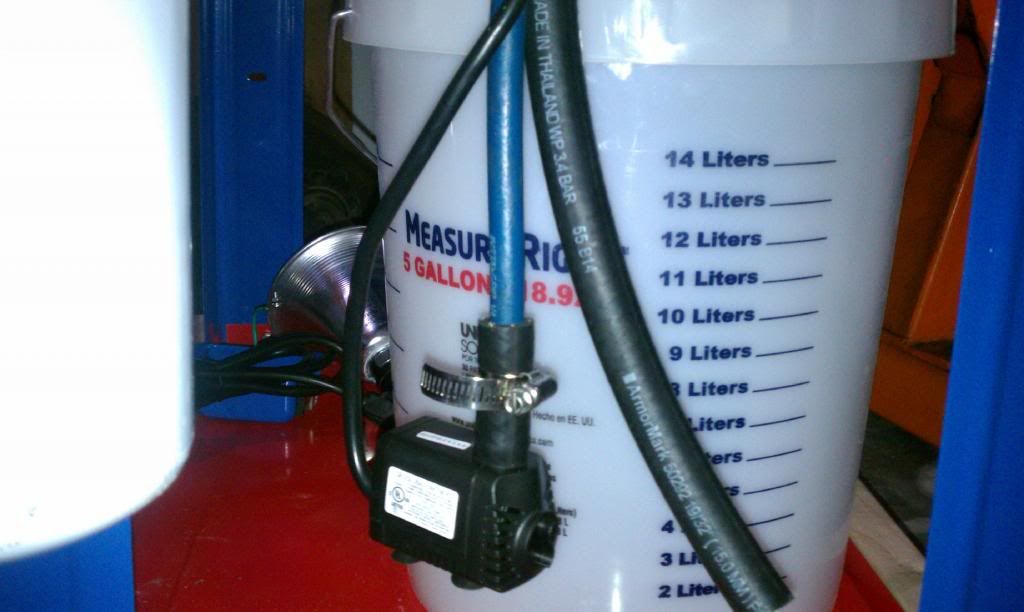
http://i1219.photobucket.com/albums/dd424/BlueLightRhyno/PartsWasherBuild/PumpDrainTube.jpg
http://i1219.photobucket.com/albums/dd424/BlueLightRhyno/PartsWasherBuild/Pump.jpg
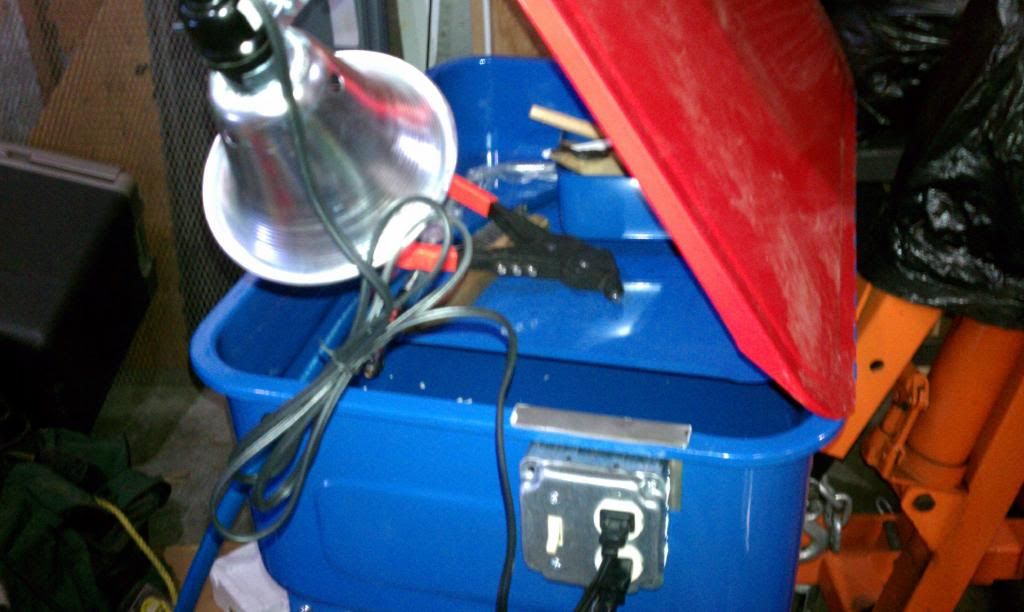
Lid open, simple work light and everything turns off with the switch.
http://i1219.photobucket.com/albums/dd424/BlueLightRhyno/PartsWasherBuild/Finished.jpg
The lid closed with the light still in place. The lid doesn't close completely with the light clamped on, but far enough for me....
http://i1219.photobucket.com/albums/dd424/BlueLightRhyno/PartsWasherBuild/LidClosed.jpg
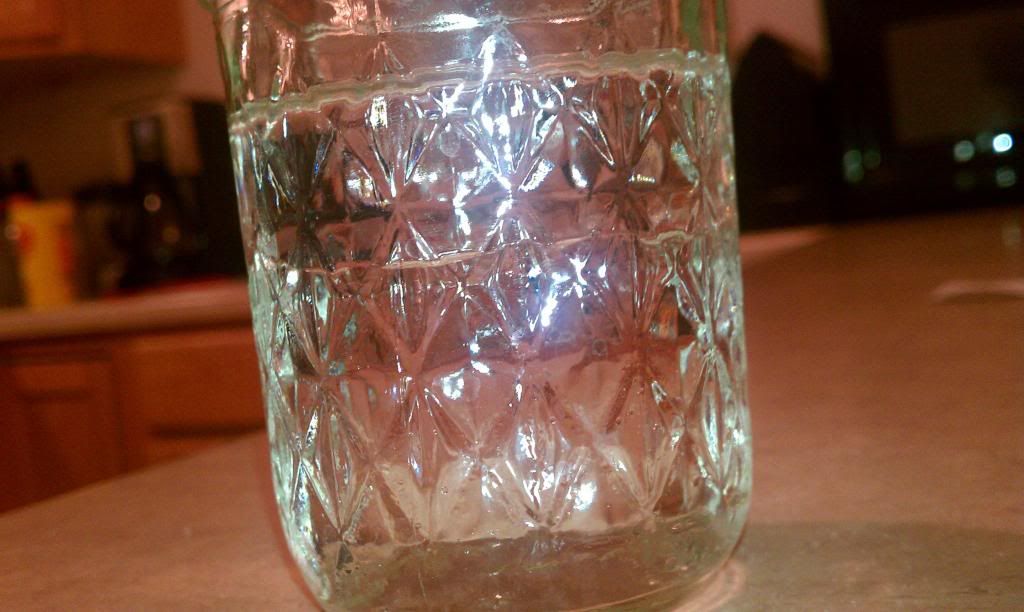
And I use Solvent that was purchased from a gasoline style pump at a Fuel/Oil Distribution center. $5.19 a gallon
It might be Stoddard Solvent, Naptha, White Gas, Mineral Spirits, but the pump said "Solvent" and it has a very light smell of kerosene and is clear.
I built a good parts washer well over 20 years ago, and now I need another one. Unfortunately, the first one was built for someone else, with their money, so I don't have access to it.
I have been needing to do this for a few years, but now it is finally the right time, again.....
I had some parts for a "By-Pass" oil filter that I was supposed to install on my last 5.9L Cummins. That project got "shelved," and I have been shuffling the parts around. The parts included some custom length, fuel/oil rated hoses and fittings. (Fuel is considered a solvent) I also had a common filter and filter housing that is used in the Medium to Heavy trucking industry.
http://i1219.photobucket.com/albums/dd424/BlueLightRhyno/PartsWasherBuild/ByPassFilter.jpg
I got some motivation, and 25% coupon and headed to HoBo Freight. I bought the washer for $94.99 - 25% and also a small "Dolly" for $9.00.
http://www.harborfreight.com/movers-dolly-93888.html
The dolly gave me 4 casters, nuts, washers, and bolts. (plus some firewood with caustic smoke.)
I lowered the parts washer shelf by measuring and drilling. I can't remember the exact numbers, but the shelf will now allow the 17" Five Gallon bucket. While I was there, I drilled and tapped and added some fittings, a 1/4 turn valve, and a short ******. I used Epoxy to secure the fittings to the basin. (Glued and Screwed)
http://i1219.photobucket.com/albums/dd424/BlueLightRhyno/PartsWasherBuild/DrainValve.jpg
http://i1219.photobucket.com/albums/dd424/BlueLightRhyno/PartsWasherBuild/EpoxiedDrainFitting.jpg
I cut some scrap MDF, lined the perimeter with some 2x4 scraps and attached the casters from the HoBo Dolly. This was made to have a tight fit and is used as a base. I also mounted the metal shelf upside down. That way there is a stop to keep stuff from falling off of the back and sides.
http://i1219.photobucket.com/albums/dd424/BlueLightRhyno/PartsWasherBuild/18FtCord.jpg
My garage doesn't have a lot of electrical outlets, so I put on an 18 foot cord. (of course another garage surplus) This was after wiring up a junction box so that a switch controlled the electricity to two outlets and also cosmetically covered a hole in the basin. The inside edge was covered by a piece of Aluminum, clamped between 2 pieces of steel channel and "Hammered" into perfection.
http://i1219.photobucket.com/albums/dd424/BlueLightRhyno/PartsWasherBuild/AlumBenderTools.jpg
The Aluminum and junction box were then Pop Riveted together.
http://i1219.photobucket.com/albums/dd424/BlueLightRhyno/PartsWasherBuild/SwitchBoxPopRivet.jpg
http://i1219.photobucket.com/albums/dd424/BlueLightRhyno/PartsWasherBuild/TestFit2.jpg
http://i1219.photobucket.com/albums/dd424/BlueLightRhyno/PartsWasherBuild/PlugSwitchWire.jpg
http://i1219.photobucket.com/albums/dd424/BlueLightRhyno/PartsWasherBuild/PlugSwitchFront.jpg
Drilled and added a grommet for the pressure hose. It just flops around....it does have a brass fitting and kind-of simulates a nozzle.
http://i1219.photobucket.com/albums/dd424/BlueLightRhyno/PartsWasherBuild/OilHoseGrommet.jpg
I used a Submersible Pond Pump from Lowes. I think that it was close to $19.99. It hangs from the pressure line, and is close to 3.5 inches off of the bottom. I didn't add any filtering, other than water filled to 2 inches below the bottom of the pump.
http://i1219.photobucket.com/albums/dd424/BlueLightRhyno/PartsWasherBuild/PumpDrainTube.jpg

http://i1219.photobucket.com/albums/dd424/BlueLightRhyno/PartsWasherBuild/Pump.jpg
Lid open, simple work light and everything turns off with the switch.
http://i1219.photobucket.com/albums/dd424/BlueLightRhyno/PartsWasherBuild/Finished.jpg
The lid closed with the light still in place. The lid doesn't close completely with the light clamped on, but far enough for me....
http://i1219.photobucket.com/albums/dd424/BlueLightRhyno/PartsWasherBuild/LidClosed.jpg
And I use Solvent that was purchased from a gasoline style pump at a Fuel/Oil Distribution center. $5.19 a gallon
It might be Stoddard Solvent, Naptha, White Gas, Mineral Spirits, but the pump said "Solvent" and it has a very light smell of kerosene and is clear.
Last edited:


 Sadly again, Photobucket's decision to hold our pics hostage have ruined an otherwise very informative thread. Hopefully sometime in the future RHYNO can re-post the pics some other way.