To avoid these ads, REGISTER NOW!

rattle_snake's random shop projects v0.1

OP
R

rattle_snake

Well-known member
Joined
Jun 25, 2015
Messages
5,194
Location
Chandler, AZ
I debated suggesting flaring the tube and using an AN tube nut & sleeve with the appropriate fitting on the FP, but the advantage of the rubber coupler is that the NVH from the pump is better isolated. There are good noises and there are bad noises, and FP's are to be not seen and not heard AFAIC.

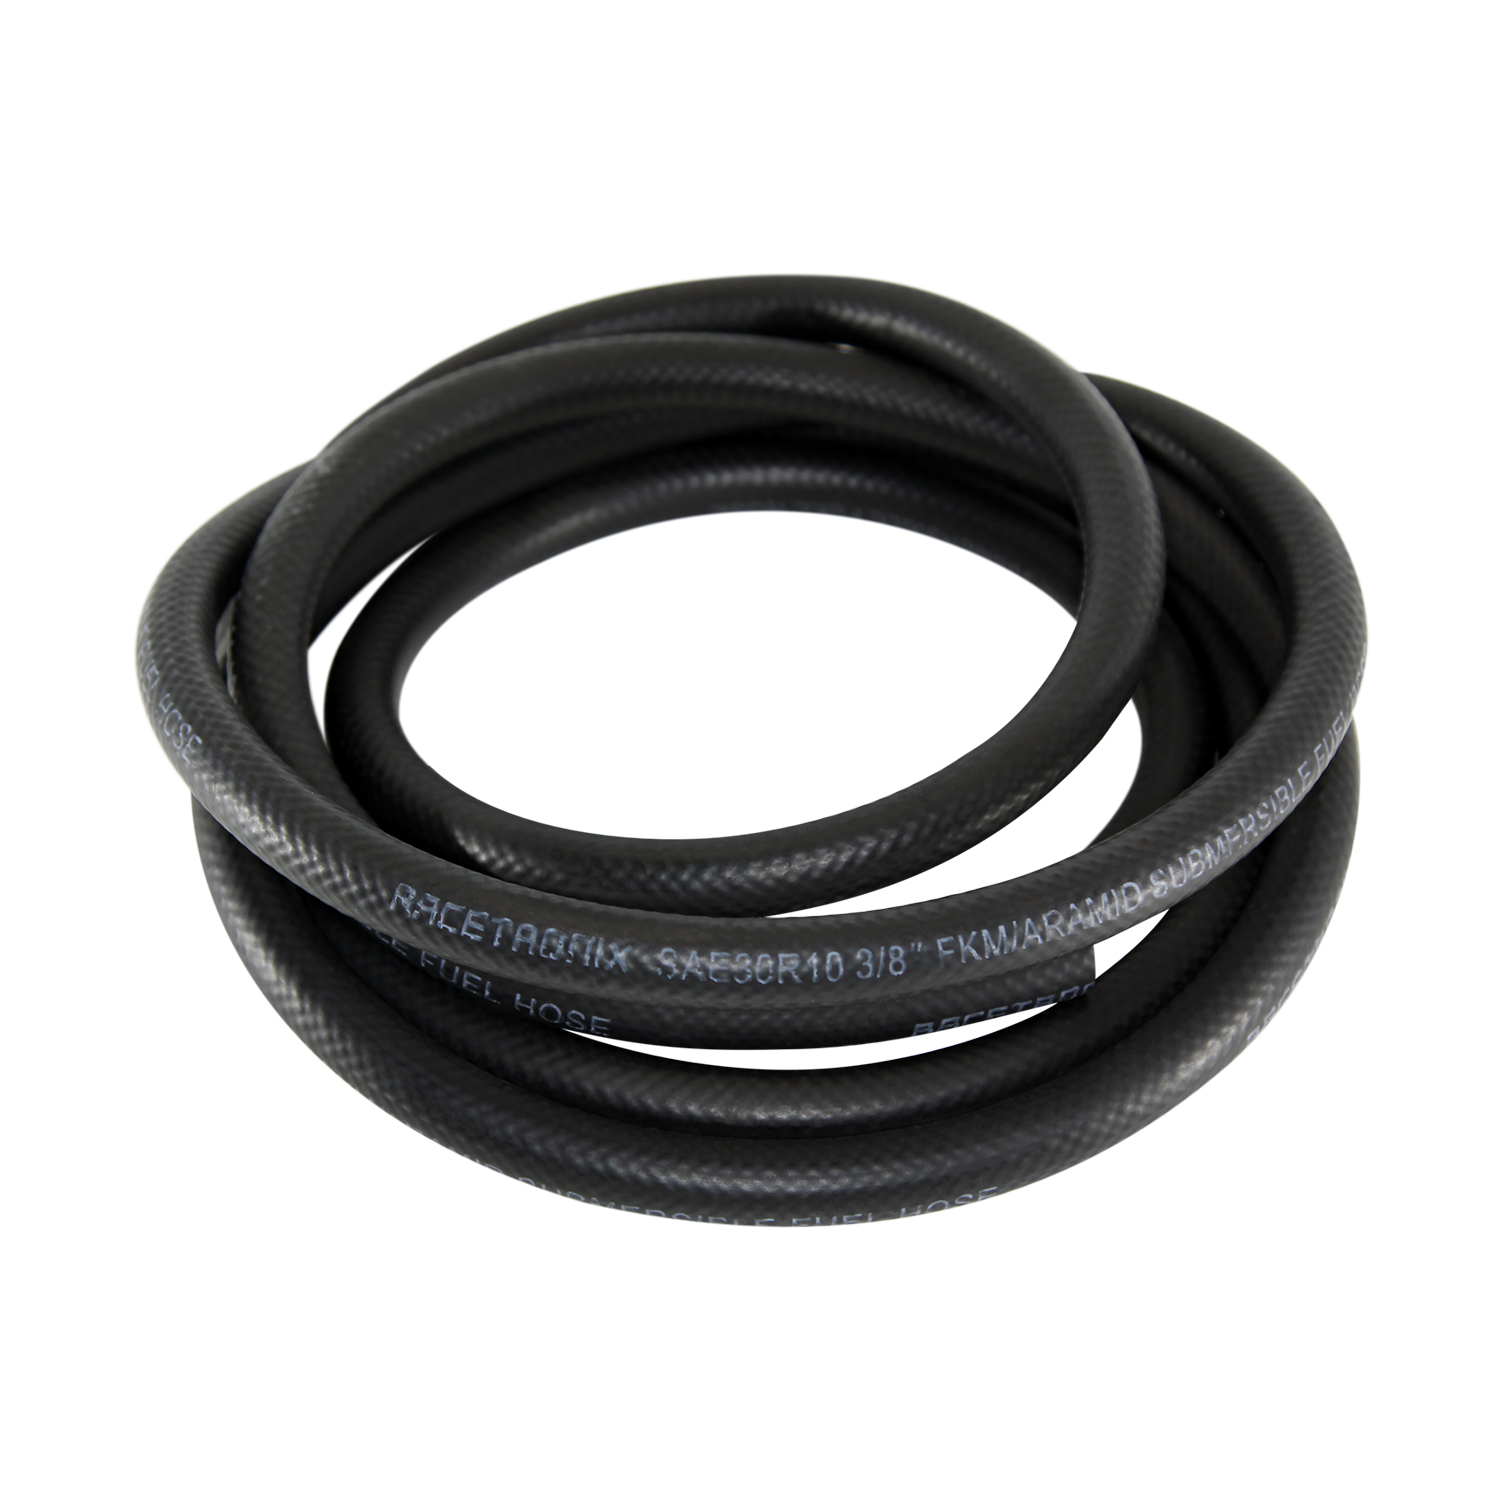
From experience fuel hose not rated for submersion will split like that just from the submersion. I suspect that what ever caused the buckling is the root cause.
The pump has a plastic housing with a barb fitting, so hard to adapt. agree the rubber helps isolate.
I use rated lines on my system along with Oetiker clamps. Back when I was building systems for the jeep crowd I had the same issue you experienced and upped my game.

0B745D91-595D-4238-AC3A-4094008FF7A0.jpeg

Please excuse my first feeble attempt at home anodizing 🙄
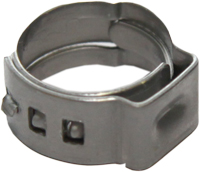
We all know you like pink Cam. Looks like you also needed to touch up your finger nail polish, haha
😆
 
To avoid these ads, REGISTER NOW!
OP
R

rattle_snake

Well-known member
Joined
Jun 25, 2015
Messages
5,194
Location
Chandler, AZ
I think I found the reason for the failure. Hose was too small for pump barb and got over stressed. I vaguely remember the dilemma at the time. I find so many reasons and excuses to halt progress and get stuck in analysis paralysis. Guess I figured since the hose was supplied with the pump that it should fit the pump. Silly me....

I had another piece of 'unmarked' tubing from tank pickup assembly. It is 5/16, and is too small to fit the 340 lph pump.

I found some SAE 30R10 submersible fuel line. 3/8" is sold out almost everywhere, although I found a source. Going to use smooth no overlap Oetiker clamps is specific sizes (thanks @ntsqd) . Also bought a cheap assortment with a crimp tool.


The metal supply tube in the pickup/sender necks down to 5/16-ish at end, so I think it was designed for a 5/16 outlet pump. Contemplating cutting off that section, adding a ******, to keep it all 3/8 on supply side

I slapped it back together with some 3/8 J1532 TOC hose so I can move the truck around. Tested depth, goes in smooth doesn't bind on tank floor. Regulates at 60 psi now.
 
OP
R

rattle_snake

Well-known member
Joined
Jun 25, 2015
Messages
5,194
Location
Chandler, AZ
Started on Exhaust 2.0. Pulled tail pipe and hacked off muffler. Mocked up mufflers, they are wide and don't leave much room between driveshaft and frame. Will need to rework hangers and collector extensions. Long way to go....

New setup will have more case volume and only 4 cylinders going though one muffler instead of 8 through two.
iExkYMwS6rH1kCcCp-bt4CSlZ=w1216-h912-no?authuser=0.jpg
 

ntsqd

Well-known member
Joined
Jan 22, 2005
Messages
967
Location
Lower left coast
You're welcome. The stuff that I've learned from Enginerds locally and on forums is amazing. Good to be able to pass some of it along. That little tidbit about 30R10 & Oetiker clamps came from the author of the semi-new book on Broncos.

Maybe not the theoretical ideal, but a short section of smaller ID won't hurt the flow except for maybe out at the 95th+ percentile. Just like smashing, er... forming a divot in a header tube for bolt access doesn't markedly change the flow thru that tube.
If it starts to lean out or lose pressure at the top end of a long WOT run then maybe you need to revisit that short section of 5/16. Until then I wouldn't worry about it on one of my own vehicles.
 

OutlawDrifter

Well-known member
Joined
Jan 20, 2015
Messages
3,876
Location
KS
Racetronix is a solid site. That's where I buy a lot of my fuel pump stuff.

I'm looking forward to "the song of my people" version 2.0 :rocker:
 
OP
R

rattle_snake

Well-known member
Joined
Jun 25, 2015
Messages
5,194
Location
Chandler, AZ
Finally found a place in PHX area to refill nitrous bottles. That lead to a quick peek on craigslist and found a older but unopened NOS system + purge kit for cheap so I had to help out and put it to use in the 72 Ford.

Bottles need to be cold to fill quickly enough to wait in person. A pair fit in a cooler, but now I have 3 :rolleyes:
fPHsrqpIe0zktsvAhnMG68I3W=w1052-h789-no?authuser=0.jpg
 
OP
R

rattle_snake

Well-known member
Joined
Jun 25, 2015
Messages
5,194
Location
Chandler, AZ
yes. Yes indeed.
Got all three bottles filled. Been a long time since I had some sauce. looking forward to some street shenanigan's in the Cobra.
:3gears:

Had fun unpackaging the N2O system and coming up with plans for the various aspects of the system. It is complete and could just be installed, but I simply can't just do that. Oh no, have to complicate and customize everything, but that is what I enjoy.

Wiring will use factory windshield wiper+ wash switch (1P3T + Mom) and indicators in existing Dakota digital instrument cluster, all hidden in interior. Going to make a few harness with ease of maintenance in mind, so each piece can be removed easily.

Solenoids will get a custom mount plate and all be on right side of engine. Not going to use cheesy supplied HW or brass compression fittings, instead ANs and stainless hard lines.

Tank mount is already done as 10# N2O is same as existing C02 bottle.
Umpr53eXUMXlp-YxkU_jVz467=w1292-h970-no?authuser=0.jpg

But first have to finish fuel tank repair and exhaust system, so lots of toys to play with. And yard work, landscaping, family and so on. :)
 

lilscorpion

Well-known member
Joined
Mar 15, 2010
Messages
3,600
Location
Colorado
Damn it Justin. What the hell do we need Nitrous for? Yes, way back when I had port nitrous injection under the dominator on my 502 BBC in my 69 Chevelle…aren’t we past that now?! For gods sake, now I’m gonna have to start shopping around… 💀
 

ntsqd

Well-known member
Joined
Jan 22, 2005
Messages
967
Location
Lower left coast
That's a LOT of cavities!
Finally found a place in PHX area to refill nitrous bottles. That lead to a quick peek on craigslist and found a older but unopened NOS system + purge kit for cheap so I had to help out and put it to use in the 72 Ford.

Bottles need to be cold to fill quickly enough to wait in person. A pair fit in a cooler, but now I have 3 :rolleyes:
fPHsrqpIe0zktsvAhnMG68I3W=w1052-h789-no?authuser=0.jpg
 
OP
R

rattle_snake

Well-known member
Joined
Jun 25, 2015
Messages
5,194
Location
Chandler, AZ
Something comes to mind...
Yes have to follow the signs.
:)
Damn it Justin. What the hell do we need Nitrous for? Yes, way back when I had port nitrous injection under the dominator on my 502 BBC in my 69 Chevelle…aren’t we past that now?! For gods sake, now I’m gonna have to start shopping around… 💀
Need? The nitrous on the truck is purely for fun and to take things to the next level. No we certainly are not past that and never will be. My wife thinks it's completely ridiculous and she may be right.

Now on my Cobra it is a beneficial addition as the N2O cools boost from the supercharger. Think 'synergy'.

Ok well it was the cheapest way to big power. I gapped rings and put in enough fuel system to leave the option open for N2O. Else it was custom pistons, aftermarket heads, expensive valve train and so on to get past 500 hp N/A. So I saved thousands and ended up with a motor that is built for lower RPM truck use. Motor has cast hyper pistons so will not go past +75 hp/150 tq which is only +17% hp / +28% tq. Estimate 500/675 on bottle.

And you can never have too much power at the sand drags.

Happy shopping.
That's a LOT of cavities!
haha took a minute to get that one.
:)
 

Bodj Built

Well-known member
Joined
Feb 3, 2016
Messages
1,165
Location
Moorpark, CA
Started on Exhaust 2.0. Pulled tail pipe and hacked off muffler. Mocked up mufflers, they are wide and don't leave much room between driveshaft and frame. Will need to rework hangers and collector extensions. Long way to go....

New setup will have more case volume and only 4 cylinders going though one muffler instead of 8 through two.
iExkYMwS6rH1kCcCp-bt4CSlZ=w1216-h912-no?authuser=0.jpg
For the mounts look to Deedsengineering. They are here in my city and I just used their stuff to hang my exhaust. Very high quality parts, nice machining, and incredibly nice father/son duo. I went to their shop and got stuff, but they also have 2 day shipping. I highly recommend them
 
OP
R

rattle_snake

Well-known member
Joined
Jun 25, 2015
Messages
5,194
Location
Chandler, AZ
oh boy those are some nice mounts. I went ahead with my existing hanger hardware, but after seeing Deed's I wasn't so happy with it. The rubber dog bones are too loose for the 3/8 bar.
 
OP
R

rattle_snake

Well-known member
Joined
Jun 25, 2015
Messages
5,194
Location
Chandler, AZ
Wrapped up the fuel system repairs. The TOC hose was already a soft slippery noodle after a week of soaking in fuel.
Installed the 30R10 hose and Oetiker clamps. The larger size 16.1mm clamps I ordered were just right to get 3/8"-15.8 mm hose over the barbs.
The metal pickup supply tube necks down to 5/16, I left it intact but put the clamp up on the portion that is still 3/8. I don't think the Oetiker style would crimp down enough to work on 5/16. Also the hose would be over compressed. I also put a worm clamp around the pump body and return tube to hold it in position.

7hFO5stbmZ1dTIzfgVMPBCaPP=w1292-h970-no?authuser=0.jpg

I like the clamp style and bought assortment kit with the tool. Always need more tools.
 

OutlawDrifter

Well-known member
Joined
Jan 20, 2015
Messages
3,876
Location
KS
I've had a kit of the clamps and pliers saved in my Amazon list for quite a while, just haven't pulled the trigger yet.

It's probably time!
 
To avoid these ads, REGISTER NOW!

zmotorsports

ALLIANCE MEMBER
Joined
Oct 20, 2009
Messages
21,387
Location
Northern Utah
I love the oetiker style of clamps and have used them quite extensively over the years. Very clean and professional looking, but the only downside can be the minimal clamping range.
 
OP
R

rattle_snake

Well-known member
Joined
Jun 25, 2015
Messages
5,194
Location
Chandler, AZ
Making progress on exhaust v2.0, if feature creep counts. Decided to rework the left collector extension, is it was tight to trans cross member due to engine being moved down and back for A/C. Time was now as other end was getting connected to new mufflers.
Did simple partial cut to shape pipe as to gain clearance.
LYQglk-exGM7frZPPN9bs3xia=w1292-h970-no?authuser=0.jpg

Like it never happened
K_NuQyJASe4BgT2gjgbj1Mo5l=w1292-h970-no?authuser=0.jpg
Some day I will pull motor and fix rear main seal. Some day...
 
OP
R

rattle_snake

Well-known member
Joined
Jun 25, 2015
Messages
5,194
Location
Chandler, AZ
Got creative with clamps, straps and bars to position mufflers in chassis. Space is tight between driveshaft and frame. Once located fit existing tubing from mufflers to v bands.
IFIzXHvVxTNN4xU50tpPljDJA=w1292-h970-no?authuser=0.jpg

Moved hanger to back side of mufflers and used it to space and connect the two cases together. Not ideal location but fit well with offset outlet. Tailpipes can be removed and rest of system is still supported.
FNfKGKY25v8_G4FfRCHzZjSKc=w1292-h970-no?authuser=0.jpg

Also added a cross over tube, h pipe, bank equalizer, whatever.
COzWYnXIRJVDBMk_O2Ua1-aWK=w1292-h970-no?authuser=0.jpg
 
Last edited:

zmotorsports

ALLIANCE MEMBER
Joined
Oct 20, 2009
Messages
21,387
Location
Northern Utah
Justin, if you end up having a premature failure on that rod hanging out like it is, you can always add a curved bracket and hang the rubber isolator directly down to the hanger on the exhaust. I have had some issues in the past with a rod hanging out any more than about an inch over time developing fatigue and breaking off. I used a metal bracket in an arc with dimple died speed holes in one and it completely solved the metal fatiguing over time issue.

Something like this is what I did.
exhaust.jpg


Just a thought in case you have issues with that rod breaking.
 
OP
R

rattle_snake

Well-known member
Joined
Jun 25, 2015
Messages
5,194
Location
Chandler, AZ
DAMN Justin, you're getting pretty good at that exhaust work. :thumbup:
Thanks Mike. Wish my welds were better. Using 308 SS 0.030 wire with C25 (should be trimix) on mild, 4 & 3 series SS tube. Had to fart with machine to minimize splatter. Working on better fit-up and getting pipe ends flat to minimize gaps. Lots of test fit, trim and repeat.
Justin, if you end up having a premature failure on that rod hanging out like it is, you can always add a curved bracket and hang the rubber isolator directly down to the hanger on the exhaust. I have had some issues in the past with a rod hanging out any more than about an inch over time developing fatigue and breaking off. I used a metal bracket in an arc with dimple died speed holes in one and it completely solved the metal fatiguing over time issue.

Something like this is what I did.

Just a thought in case you have issues with that rod breaking.
Thanks for suggestion. Yes the chassis end hanger is out there pretty far. It works in conjunction with 2 other hangers on the rear shock cross bar that are fairly close so vertical load is shared. I was able to tweak all the hangers to preload the rubber a specific amount.
The rear two hangers are 90* opposing to limit longitudinal wiggle.

GHZdSoPQpEPlp9tPkTrrBE9HW=w1040-h781-no?authuser=0.jpg

Fz6d1qYSR81uymrhNNu-vIbyi=w1040-h781-no?authuser=0.jpg
 

ntsqd

Well-known member
Joined
Jan 22, 2005
Messages
967
Location
Lower left coast
Flip side is, as I found out the hard way, if you make the exhaust side supports too short the heat burns thru the rubber. Had to re-make that side of the hanger with the pin in the same place but it's attachment point further away.
 
OP
R

rattle_snake

Well-known member
Joined
Jun 25, 2015
Messages
5,194
Location
Chandler, AZ
Finished tail pipes. Kept them separate pieces that can be adjusted independently with the v-bands. Didn't buy enough 2.5" tube so made it work with what I had. Pipe ends are a bit tucked in but out of the way and get heat/fumes away from fuel tank.
VeQWLS-oPJKA2mBEp_lPWDyBf=w1040-h781-no?authuser=0.jpg

I chose to go between spring and frame which makes for limited space, between tire and fuel tank. Not completely happy with upper pipe and how they lay together but good enough for test drive.
IKS3TNzTE0-V39Ce2Oi5uhfgt=w1040-h781-no?authuser=0.jpg

How does it sound? Still evaluating with just a short test drive.
Idle is louder and has a more mean and burly tone.
Same for tip in.
Mid throttle had a drone/resonance which is unfortunate. Will see if this is a issue on highway or not. Is a fairly narrow range.
Heavy throttle and WOT are clean and have no blatty-ness or rasp. More attitude than before with a nice tone.
 
Last edited:
OP
R

rattle_snake

Well-known member
Joined
Jun 25, 2015
Messages
5,194
Location
Chandler, AZ
Thanks everyone. I enjoy doing exhaust/piping/pluming. Having the right tools, bench grinder, band saw and a decent welder makes all the difference. I don't measure angles just try remnants and tape or tack them together for test fit. The SS 180* mandrel I got this time was 18 ga (pipe was 16) and had a smaller OD and even less in bend area. So no way to make them perfect, and didn't waste time trying.
 
OP
R

rattle_snake

Well-known member
Joined
Jun 25, 2015
Messages
5,194
Location
Chandler, AZ
I 'fixed' the upper tailpipe so they lay nicely together. Cut pie slice and rewelded. Went a bit over on angle and tips stay together without a fastener or weld.
z_R47E0bGhARWDfAL_C_fzXPY=w1216-h912-no?authuser=0.jpg
Much better. Still too short, but can address that later. Extend, cut to same length, custom oval tip, or something else.
2f76Jry3TpLc5GZ_jrBizgizO=w1216-h912-no?authuser=0.jpg
 
Last edited:
OP
R

rattle_snake

Well-known member
Joined
Jun 25, 2015
Messages
5,194
Location
Chandler, AZ
Made some stop rings for the bump stop tubes. Didn't have any 2" ID tubing, closest was 2" sch 40 pipe. Trued up ends in lathe and made a pretty looking ring. Cut a slice out to reduce ID for a slip fit, rewelded.
HI81LMa1zpcLOWHI3WOwOQOjk=w1216-h912-no?authuser=0.jpg

To secure I put a decently hot tack each 90*. Weld in in compression so I think it will hold under most extreme conditions. Can easily cut and move to adjust. I moved the bump down 1/2" based on previous test and the fact that foam bumpers will compress more than the poly ones. Will see how they work.
I gained 1/2" of bump gap by outboarding and 1/2" by ride height increase. Then -1/2" for soft stops. This still yields only 2.5" of gap with the foam setup. Need some more miles to see how it handles bottoming out at speed.
fuXU3tu8E7Ty6Q6riUObPGDtwX=w684-h912-no?authuser=0.jpg
 

zmotorsports

ALLIANCE MEMBER
Joined
Oct 20, 2009
Messages
21,387
Location
Northern Utah
Fantastic work on both the bump stops and the exhaust tailpipes Justin.

Question, do you think the tailpipes being that close at the tips will vibrate and cause an audible rattle or vibration? I HATE rattles.....:mad:
 
OP
R

rattle_snake

Well-known member
Joined
Jun 25, 2015
Messages
5,194
Location
Chandler, AZ
Drove truck today including some freeway miles. There is some drone at 30-50% throttle with new system. On the street it's not too bad, on highway at 75 it is in that zone at times. So not too happy with that aspect. I have some ideas and extra mufflers laying around. But for now it will stay as-is. On to steering v2.0 and nitrous.
 
To avoid these ads, REGISTER NOW!
Top Bottom