sevenzeronova
Well-known member
- Joined
- Mar 23, 2014
- Messages
- 53

Finish or last should stay below.
Maybe I misinterpreted you description.
New charging hoses out gas when new. Probably your rise.
Really should use vacuum rated hoses. They are usually black and micron rated.
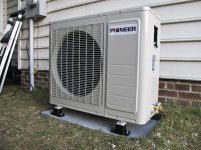
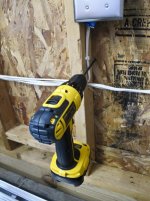
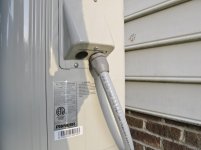
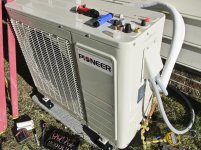
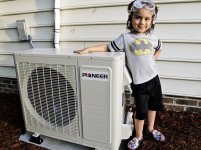
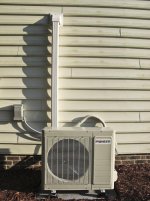
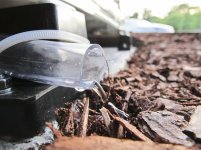
Not trying to be capt buzzkill here, but u sure u have enough room between the wall and the back of your condenser? Looks REAL good otherwise. Nice install.
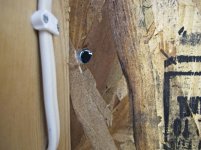
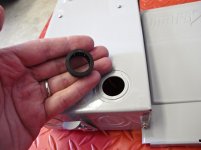
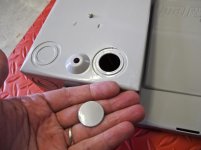
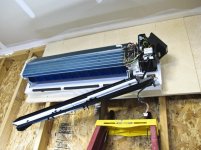
 I really hope Parker Davis comes through for me on Monday and can ship me the new part soon. Has anyone replaced a squirrel cage fan in a mini split before? Can you usually get it out without messing with the coils or refrigerant?
If it is similar to a mitsubishi, sanyo, fujitsu. You should have no problem changing the the blower wheel. Left side has a sealed bearing . Right side is attached with set screw to motor. A lot a screws in cover and sub cover. But I have replaced many without pumping system down.
Jonathan,
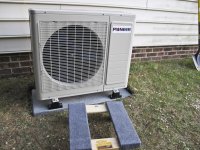
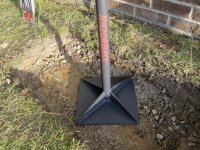
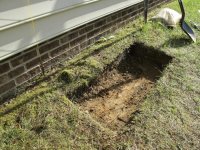
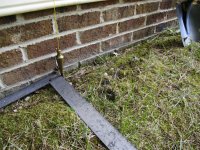
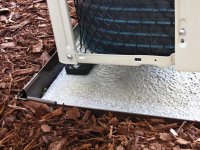
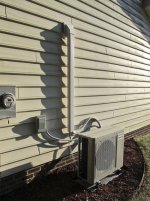
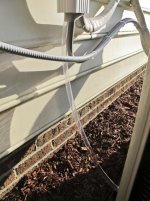
That drain tube will eventually clog since it is below the mulch. It should be elevated so it can drip several inches above the ground.
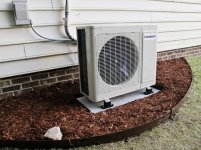
Great write up and pics!!
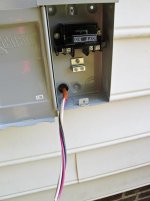
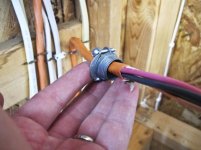
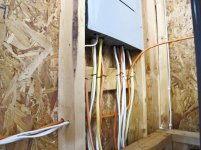
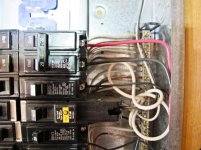
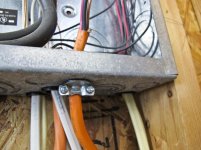
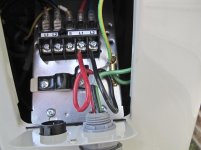
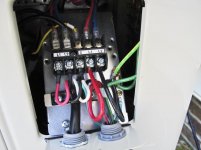
One question I have though and it has been bothering me for a few days before I start my install, what wiring are you using for your installation and where did you get it from?
I really don't want to run 12-3 Indoor NM inside a conduit to the outdoors (even tho some people say its ok and some don't) but it is about impossible to find 12-3 outdoor anywhere unless you pony up $200+ for a 250' bundle!
Do you or anyone else have any tips you could share?
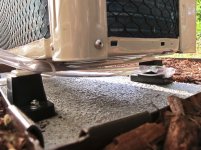
I hope you get squared away on the squirrel cage! I have the same vibration dampeners as you and hope they work!
Thank you for making everyone pay more for these because you didn't read the directions and evacuate the system.
Appreciate the insult...Actually, the directions do not say anything about having to evac the system, and they make it seem like the heat exchanger is in the main wall unit. Nice to see your first official post was to cut someone down.
 It is like telling you *********** someone but please don't kill anybody.
 Jonathan, I would certainly recommend cleaning the filters in the wall unit every 2 weeks per the instructions. They get pretty dirty, and can be just rinsed with water. I enjoy my unit greatly.
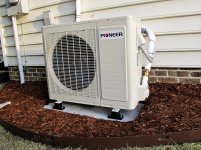
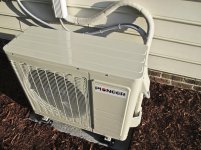
BTW, really like your install. Looks sweet!
New freon is supposed to be environmentally safe...lol
Safer. There is a difference. R410a (the new stuff) doesn't damage the ozone, but it does contribute to the greenhouse effect.

Run the drain tube up onto the base slab and use a clamp to hold it in place.
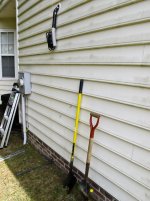
...while your legs are getting bruised on a ladder for over 2 hours is not fun..: