Today I finished installing my outlets. My fingers hurt and I got skinned up knuckles but everything works
")
I'll call tomorrow to schedule my inspection.
After spinning my wheels at the first box, I moved it over with a 4x4 deep. Now I could start laying conduit down the line
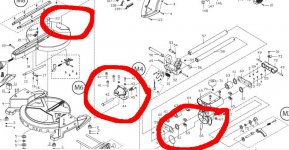
How one person with one arm jigs it up
Don't have picture but for the other side I used the extension ladder with a couple of wood blocks on the top rung.
Went down the line and got here. You might be able to spot my mistake. I didn't catch it yet
Start pushing wire. Was pretty easy on these straight runs
Estimated how much wire right on the nose. What you see dangling there was perfect for the outlet pigtails
I then wired the end receptacles. For some dumb reason I got the handy boxes that I was told NOT to get. Wired the first outlet and tried to put the cover on and the back of the outlet hit the inside edge of the offset coupling. I knew it as soon as I did that.

Called it a day. I got no sleep that night as my brain worked on that mistake all. night. long. Got up the next day, got the proper boxes. I go to grab new outlet covers and there are only two in the box
Roll over to another store and got the final two covers. I came hoe and immediately pulled off the handy boxes and got to work. In the process of rehanging the boxes I had to cut off another 1/2" or so of conduit. Up until this point I was using a hack saw. That took forever. Why am I not using my awesome new saw for this? Well, the clamping system on it ***** and wouldn't secure the conduit. The saw blade would grab the conduit and pull it up and jam in the blade. It was crazy the first time it happened.
Anyway I finally got smart. Used square tubing and angle iron to secure the conduit. Worked like a charm
Now I'm thinking.
I pulled the conduit off the walls and quickly made my cuts. Put the wiring back in, secured and wired it up. Much better.
Next day I took on wiring the ceiling outlet. Here's my GFCI connection. I temporarily secured the outlet to the box via zip ties. Working overhead with one hand means dropping things, a lot. Wasn't going to 1) chance breaking the outlet and 2) hassle with it. You'll notice the tape and zip ties holding the wires together for twisting.
Worked well enough to get it done
I pigtailed the remaining outlets
The final two hurdles look like this. They were a PILL to get wired. Twisting 5 wires of 12ga is just a nightmare.
But it got done
Feels good, but kind of surreal to get this done. I cleaned up the garage. Looked like a tornado struck. I had to use the shopvac and I plugged it into an outlet on the wall. It felt weird using it a different way. No orange extension cord. Which outlet should I choose??


Did you have that in mind when you made the bench???
 (Rick seems to be able to read my mind, it's uncanny)


 ..
..


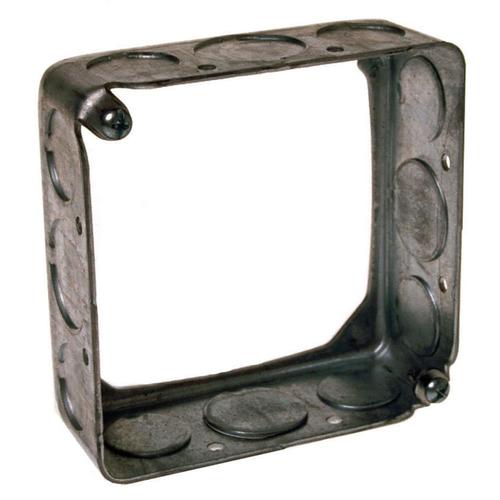
 A 4x4 box won't fit. Instead I installed a 4x2 extension box. I backed it with a mud ring since the drywall was cut generously which left a very noticeable gap between it and the box. I thought an inspector would surely ding me for it.


 I just wanted outlets