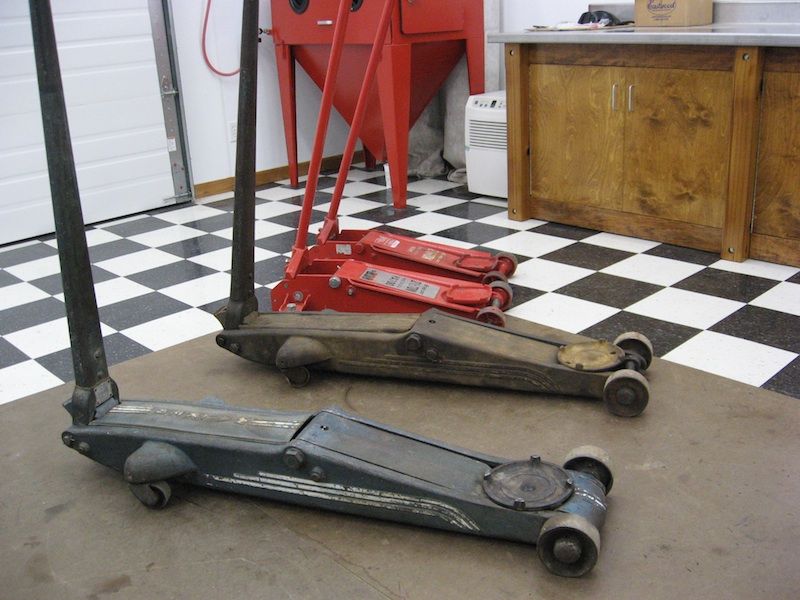
Here are more "items" in the tool shed.
This is the shop made grinder.
Side view. The bottom feet of the stand is wood.
This is the back side, belt drive easily seen. The grinder wheel on the right shows they got their money's worth out it! Not much left of it.
")
I haven't looked at the motor yet but it's pretty old. BTW this grinder was operational in the shop as long as I can remember as a little kid and the sound of the flat belt slapping when it was running is very distinctive. It still works, turns fairly slow. The sound of it really moves me back in time. Almost eerie the way that sound also conjures up sights and smells from back then. Shut your eyes with it running and it's like a kind of time machine, really.
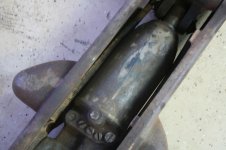
This is an early honeycomb radiator. Guessing from the 1920's. There are no identifying marks as to the manufacturer that I've found. It's in pretty decent condition. I suppose that's why it was left.
There are a bunch of items here. Gates Radiator hose display board on the left, steering column and steering wheel still attached from before 1920. I think it's from a truck, not sure. The valve cover is a Chevrolet script one.
I think the blue cabinet falling over has a Walker script of some sort on it as I recall. To the left of the Gates hose display board is a red Thermoid Radiator hose display board. The curved object in front is a wood handled, horse drawn, single bottom plow. Wood is in excellent condition.

There's a display board that I can't remember the manufacture's name but it's for brake lines. Bendix maybe.The plow share is buried in the dirt. In the foreground what looks like two 2 X 4's next to each other is really a steel wheeled portable engine stand. They used these to move a large single cylinder engine around the farm when that was the only power source. This was before the Rural Electrification Program (REP) in the 1930's which brought electrical power to the country's farms and remote areas. With a single cylinder gas engine and belt drive, farmers were able to pump water from their wells when the wind died down, power a clothes wash machine etc. They didn't have dedicated engines back then usually, couldn't afford them. Instead they had one and moved it from task to task. In some cases farmers couldn't even afford that so engines were brought to the farm by the engine's owner and rented out to the farmer for a few hours or days. I'm sure there is someone reading this who can fill us in more on this. Anyway, that's the stand for one of those engines, pretty cool really. It's in great condition. I'll have to get better pictures of it, that's all I've got right now. Sorrrrrrry


The curved wood handles of the plow seen. Two steel spoke wheels from some farm machine. They still have grease in the hubs. I'm betting they're in good condition and not too worn. Lack of grease is what usually wore them out. The dusty white angled object on the blue cabinet is an exterior sun visor for a car or truck.
Beside the older Studebaker radiator shell, note the old " gum ball " red emergency light in the background. There is also an illuminating red "STOP " light that was used on the back of an ambulance which is what this is from I'm told. The ambulance checked in for repairs and never checked out. It was parted out and these parts were saved.
Here's an old wood bench I just recently uncovered. That's a specialized vice whose name escapes me. OK, here's someone's chance to dazzle us with their vast knowledge. What kind of vice is it and what was it used for?
Don't be shy. It has a leg in the rear that goes all the way to the floor.
These are a bunch of old tools I rounded up. A lot of them are sockets on dedicated handles before they made interchangeable socket heads. Haven't looked to find any manufactures marks yet. All in good time. Patience grasshopper, patience.
Thomas

, but I do remember removing them from the shelves. I still have several pieces of equipment in the shop with tile scraps under them to protect the floor in those areas.


 How items out there interrelate fascinates me. I recently uncovered the instrument dash from a late 40's-early 50's Willys that no doubt came from their service truck and the Willys engine which was left in the north room. I'm really looking forward to finally cleaning the remaining buildings to see just exactly what I do have and how they might be related. I still have some old family photographs I haven't posted and will look at them to see if I can find some of these items.