Nice work on that bracket. You have skill!
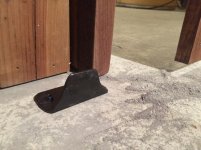
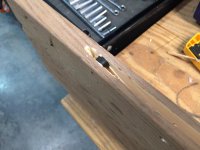
I'm about to delve into my DIY barn door hardware for doors to cover a window in my shop. I'm using meat vintage hook trolleys. My stops are fabbed from angle iron and I need to source some type of rubber plug as a bumper. I haven't figured what exactly but I have a few options. I have less than $50 into it (so far) and it should look dang-near identical to commercially offered kits new or vintage.
I'm about to delve into my DIY barn door hardware for doors to cover a window in my shop. I'm using meat vintage hook trolleys. My stops are fabbed from angle iron and I need to source some type of rubber plug as a bumper. I haven't figured what exactly but I have a few options. I have less than $50 into it (so far) and it should look dang-near identical to commercially offered kits new or vintage.