JCQuick
Well-known member
oooh ouch lol

") I got mine back when i worked for a Bosch WD and it was promotion, we had a few left over.
I got mine back when i worked for a Bosch WD and it was promotion, we had a few left over. I know you still need a home for that Marino Jersey

Red Leader, so, when do you want to head this way to get out of your snow and sleet! And this is only October!
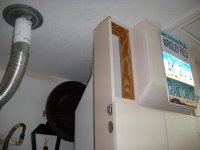
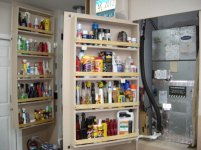
Everyone has a system that works for them. And yours works well for you and we all follow along with you.
BTW, I'm heading to Miami for a couple days. I wonder how far I can break down a RAS to fit in an SUV...
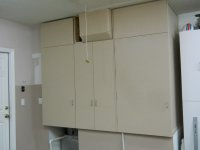
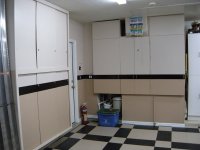
Jeff, Great work on the entertainment center, looks great! Merry Christmas to you.
v/r
Shaun
pitterpat Thanks for taking time out of your busy schedule to catch up on the progress in the Hideout. I hope some of the ideas might be useful on your garage project(s). I'm sure having one VW shop and a 2-car will be very helpful keeping projects organized.
You will find our weather this week a little more comfortable than you left back home. Although I might need to dig out a sweatshirt for tomorrow. And, we are not too far from Wesley Chapel.
Get the important projects caught up and then on to the VW projects. I can see the light at the end of the tunnel for me to be finished with our entertainment center project. I just hope the light isn't a delivery truck coming with more work to do.
Thanks for stopping by. I hope you enjoy a wonderful Florida Christmas!
Nice job on the design....I have to admit I was surprised to see you using it. What did you think of it, given your experience with AutoCad and other more professional software?


Wingnut65, all I can say is wow, what a thread. I've lurked for a while and stumbled across your thread looking for info on garage doors. I like your ideas and have been planning many things out for a few years now for all types of project and have been doing what you suggest about saving an image and link to take me back. Get going on that bug, it will be great to have it running again.

Jeff
I just caught up nice entertainment center
And now you are trying to catch up with red leader and the craftsman tools??
Nice
Don


Good idea!!!(mental note: Don't wait 8 months to post an update!)[/I]


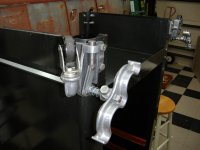
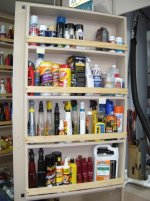
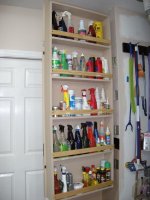
 They work great.


That's one heck of a project to be doing in the middle of the house. Did Lady Wingnut deal with it okay? (My guess is yes, since she seems like a pretty easy-going person)


 (Or is it just me not seeing them?)