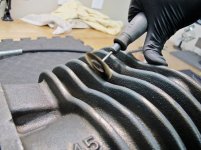
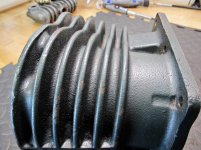
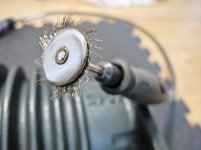
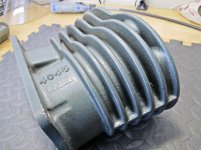
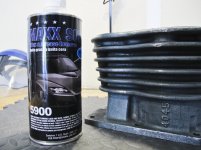
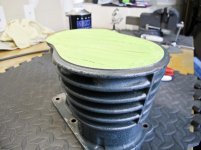
Your block was machined,it was bored right? Any professional engine builder (race car motors) thats worth a **** does this.You could go to any top fuel,NASCAR or pro stock event and 9 out of 10 of the motors will be glyptoled.Mine were blown alcohol and blown gas. They were pulled down and "rebuilt" on an average of every 4 weeks.They were changed out every 2 weeks (I had 3)The insides were so clean and dry that we would never touch them,because most of the dirt and foriegn stuff that contributes to bearing failure is lint,yeah lint, from shop towels,or dirt that falls off of the mechanics body.Try to wipe lint off of an unpainted cast iron surface once.So the painting does serve an important role.My thoughts and policys were always to make it work and run first,make it pretty later.Always worked for me.