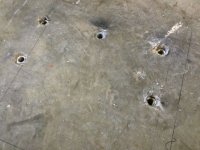
WTF? Measuring the heights of the tall Lista and the Stanley, they turn out to be about 3/8' difference in height. The "feet" on the Lista is a little taller.
Oh welcome to Garage Journal where you will be shown wonderful tools and things you can't live with (the tool cabinets in this case). Oh, they don't match? Well they have to match or you will get your GJ man card suspended. ****, can't have that!
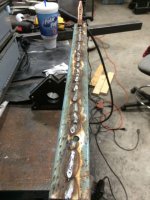
I decided to section the Lista feet since they unbolted from the cabinet. While finishing the pieces so I could **** weld them the very dim light bulb went off. Why don't you take some scrap plate and use them has spacers on the Stanley.

To late!!! And this was good practice project for me. Besides Jack O, who else can say they have a "sectioned" tool cabinet.

I'll have to get a picture of all three cabinets together.


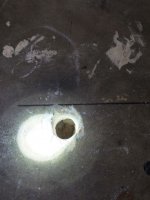
 With this bad offset, the anchor pull out and moving lift to a better location I hope the move will be a win-win for me.


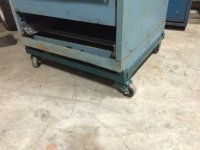


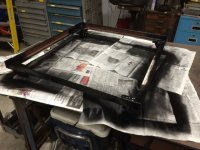


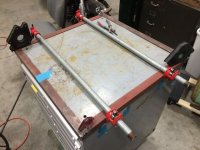
 Good job on the frame and castors.